Week 1
Teacher’s Guide
- Divide students into groups;
- Conduct a brief instruction on working with scissors and cardboard products;
Goals:
- Introduce students to the Möbius strip;
- To expand students’ knowledge in the field of experimental mathematics;
- Develop logical thinking;
Read the safety instructions before you start [ safety insructions ].
Introduction
The Möbius strip resembles an inverted figure eight and the sign of infinity in mathematics. This sign is also called “lemniscate”, which means ribbon in ancient Greek. Imagine that this sign is very similar to a mathematical figure

A Möbius strip (Möbius loop, Möbius strip, Möbius ring) is a loop with one edge and one surface.
The Möbius strip was discovered by the German mathematicians August Ferdinand Möbius and Johann Benedikt Listing in 1858.

The Möbius strip is a non-orientable one-sided surface with one edge. It would seem that the paper from which it is made has two sides. Try to fill one side of the tape with a marker, at the end you will hit the starting point, and the entire tape will be painted over with a marker. This confirms that she has only one side.
Application of the Möbius loop
The Möbius strip is not only needed for the purposes of mathematics, it also applies in real life. For example, the belt that moves suitcases at the airport works on the principle of the Möbius strip. This design allows you to increase the life of the luggage tape.

Also, the Möbius strip is used in printers that use ribbon when printing. In addition, the Möbius ring has allowed scientists to make many discoveries in the field of physics and engineering.

References:
[1] https://kalkpro.ru/interesting-facts/lenta-mebiusa/
Practical part
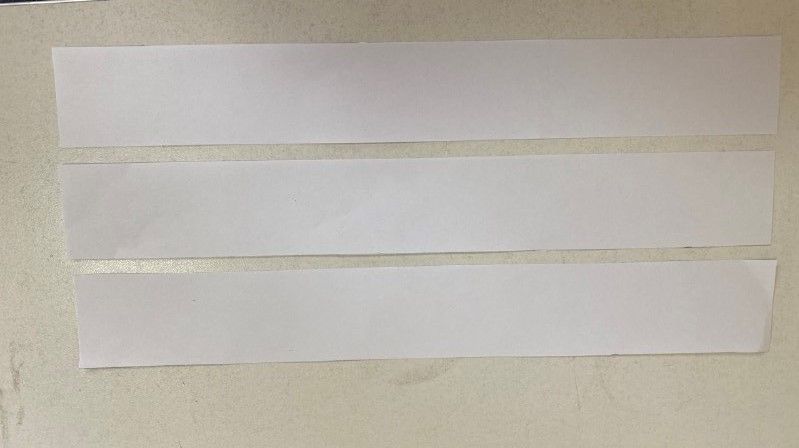
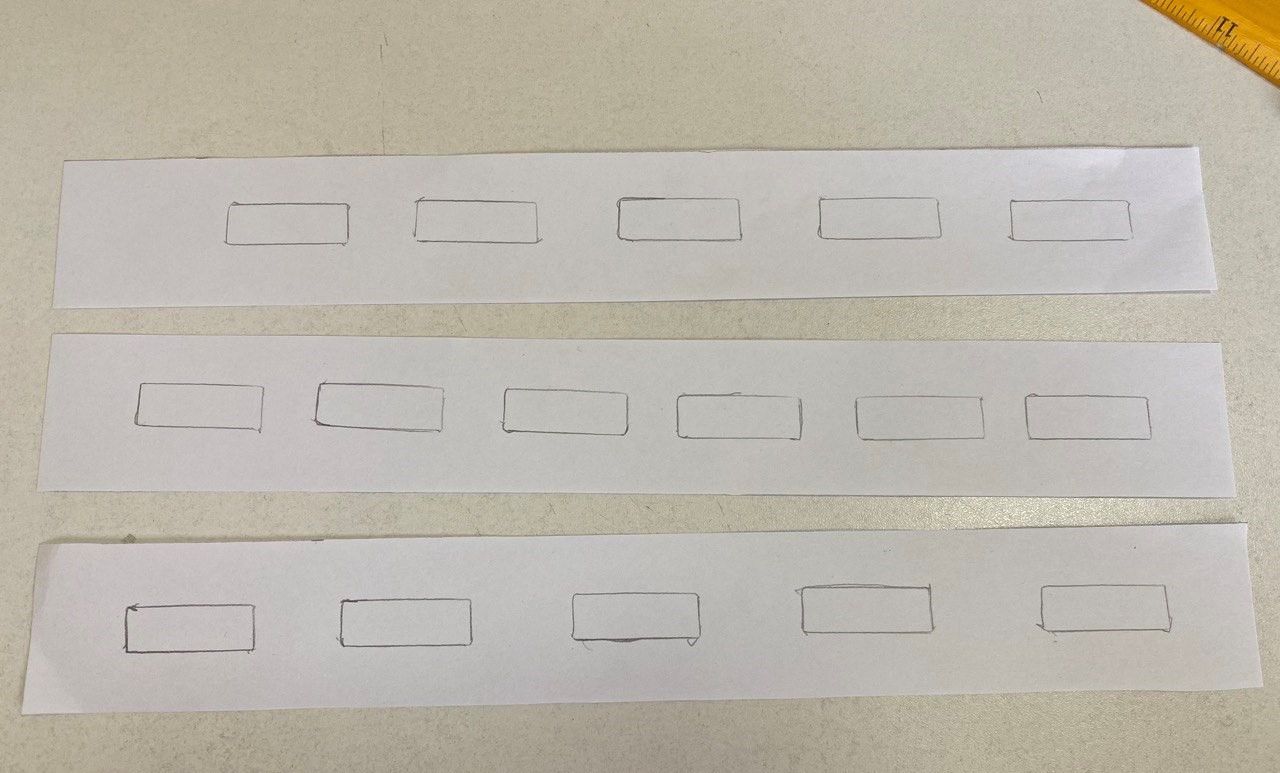
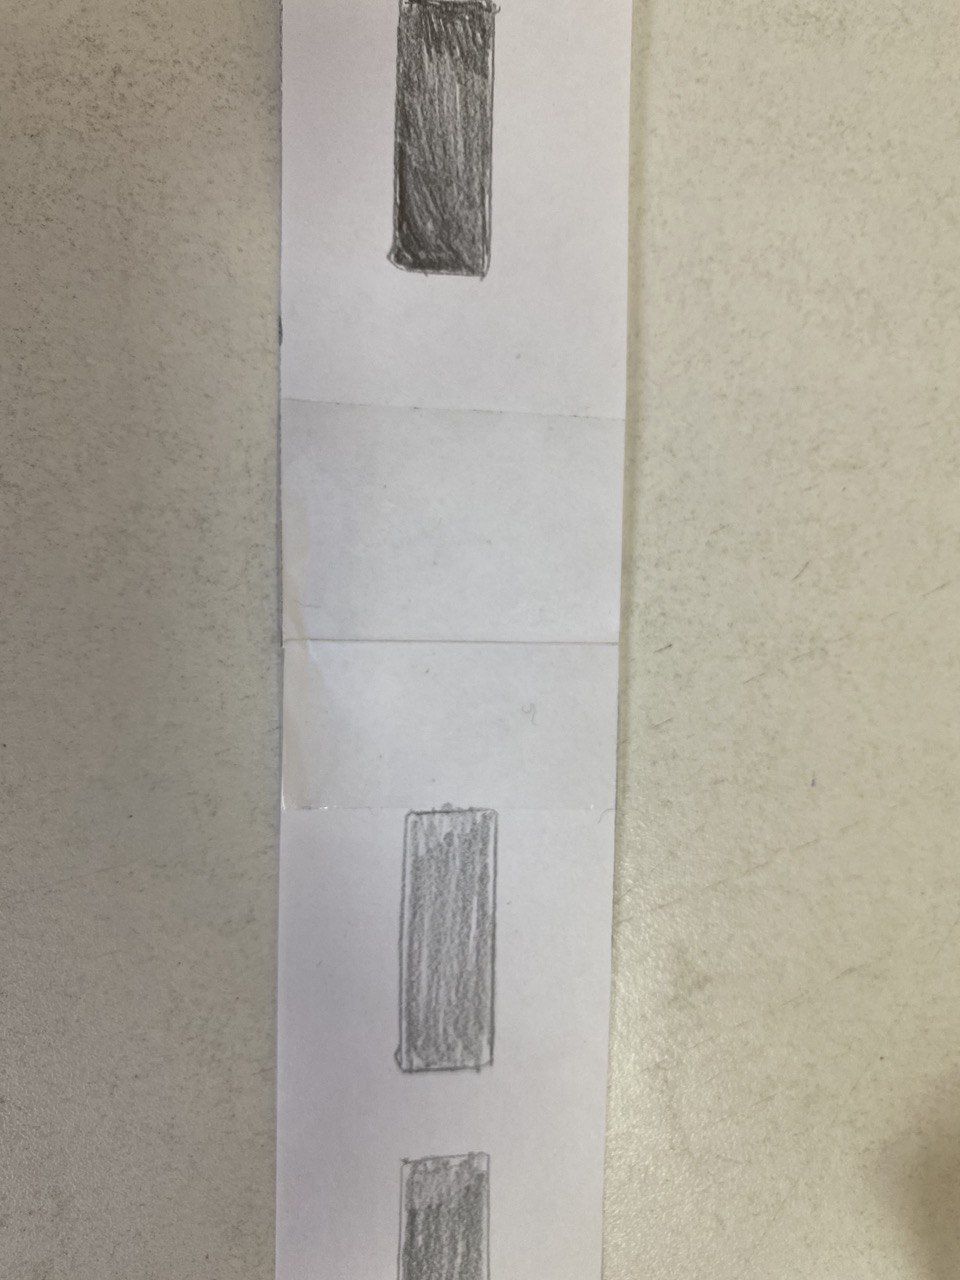
Cut three pieces 4 cm wide from A4 sheet
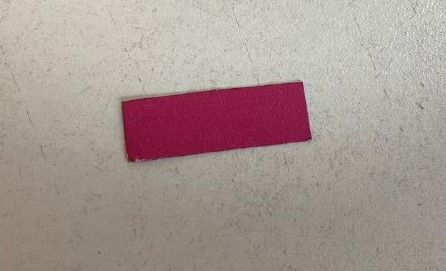
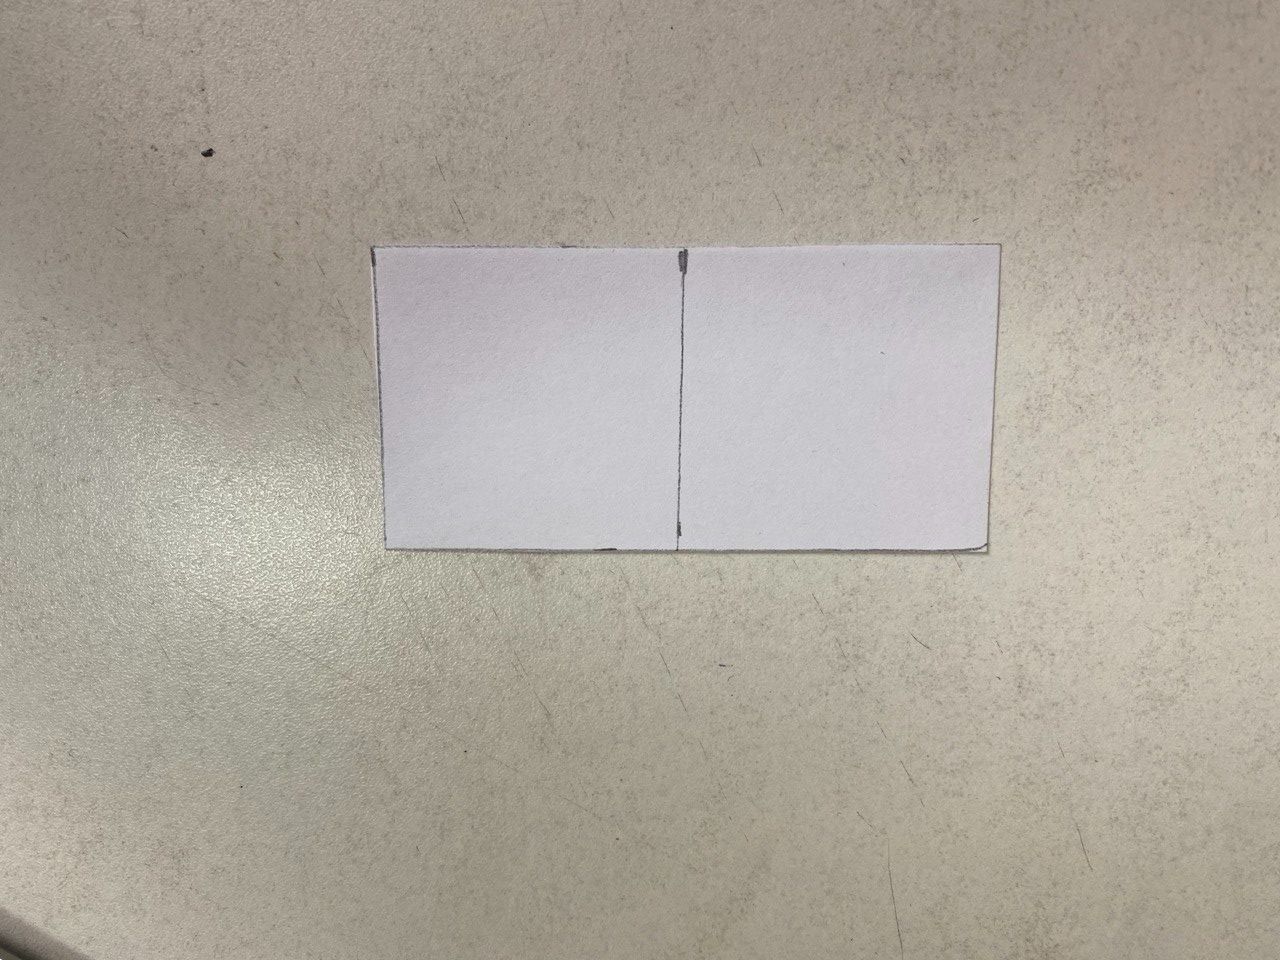
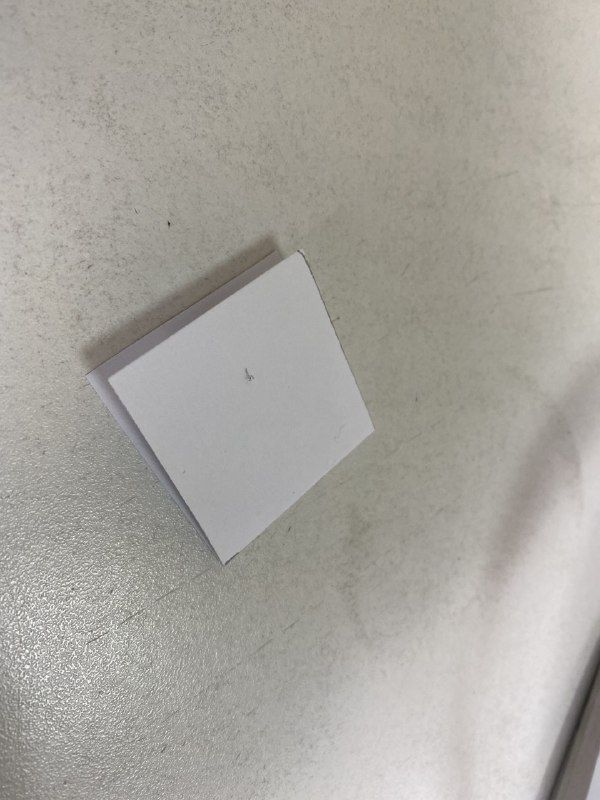
Cut a rectangle from a sheet of colored cardboard with sides 1 cm x 3 cm
Using the resulting stencil, draw a road tape on pieces of A4 as shown in the figure below
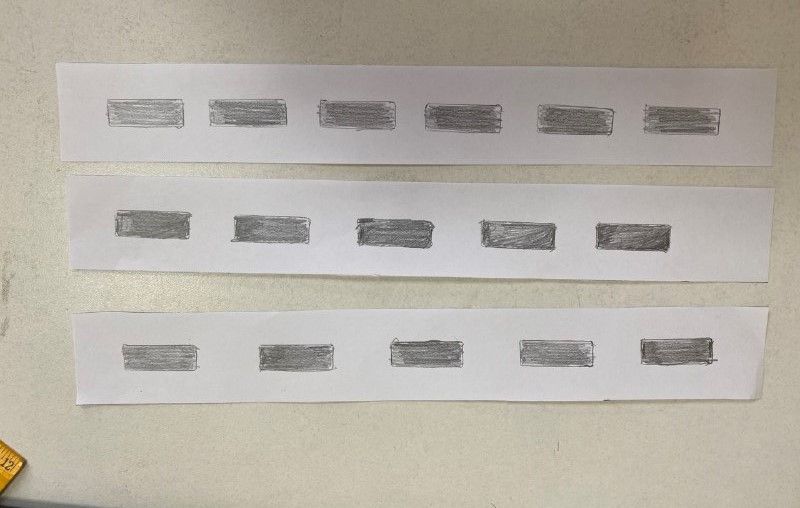
Paint the road tapes black
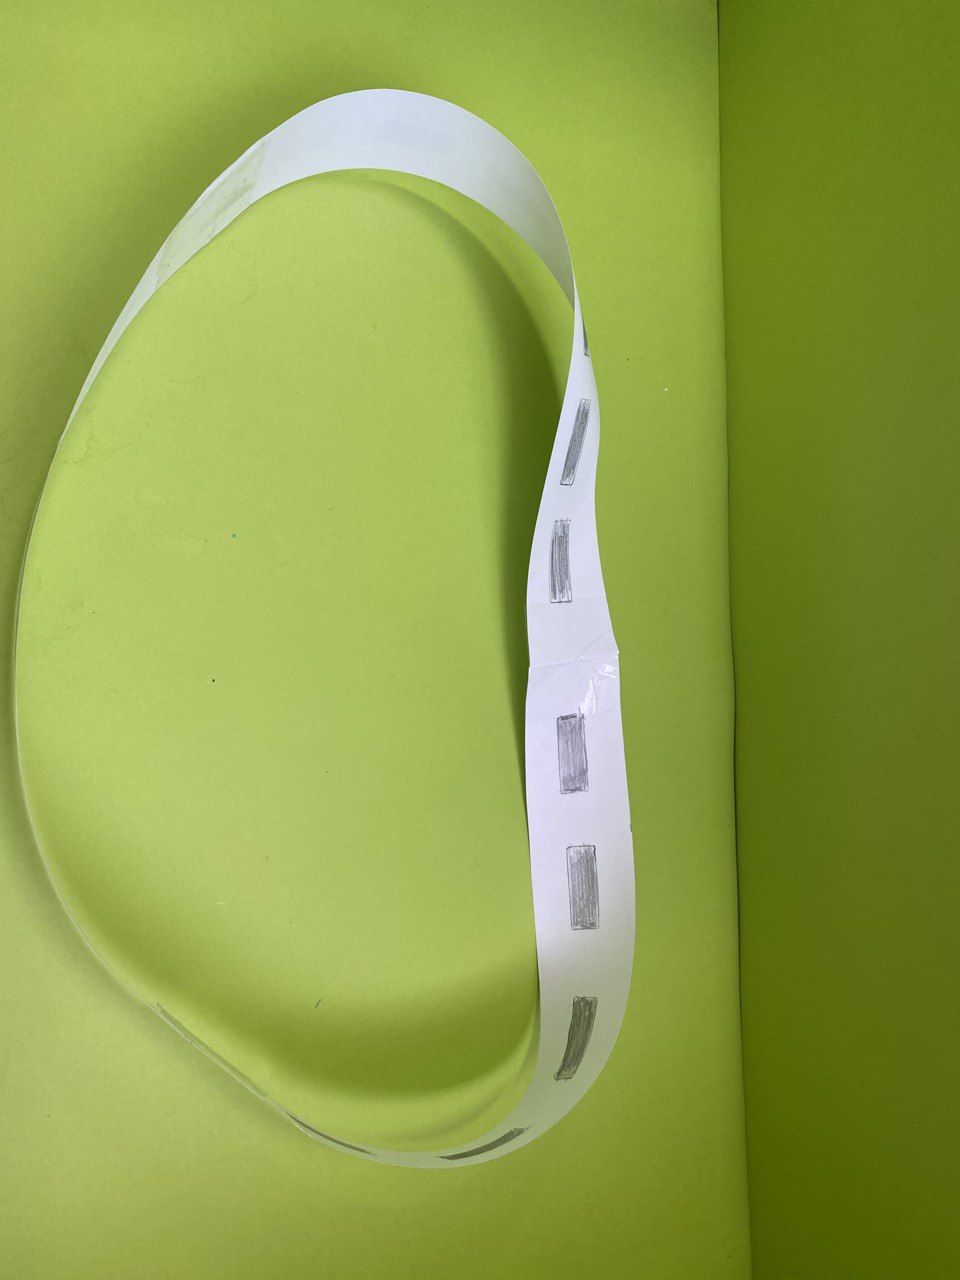
Glue three pieces of A4 to each other using adhesive tape
When closing the extreme pieces, turn one of them over to the other side and close the pieces of paper with adhesive tape
Cut out a 12 cm x 4 cm rectangle from a sheet of colored cardboard.
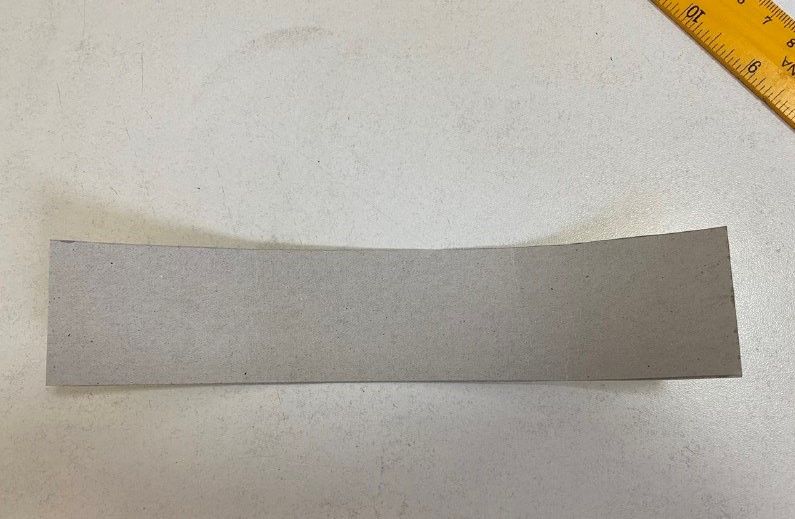
- Arrange the resulting piece horizontally
- Starting on the left side, step back to the right side 2 cm, 4 cm, 4 cm, 2 cm as shown in the picture below
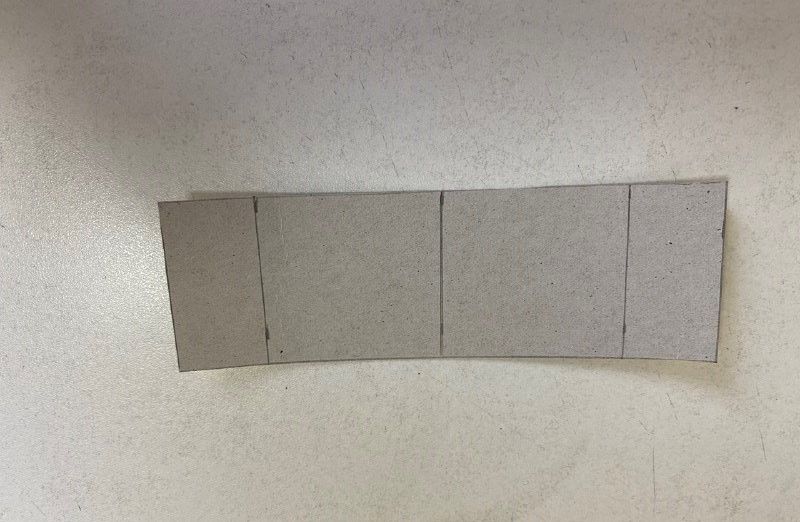
Bend the resulting part along the lines as in the picture
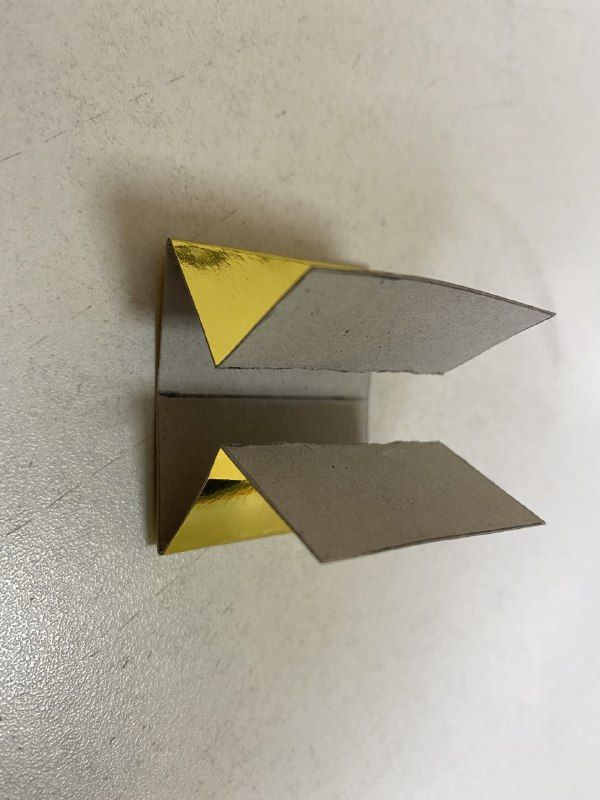
Place the piece on a Möbius strip and seal the top with paper glue
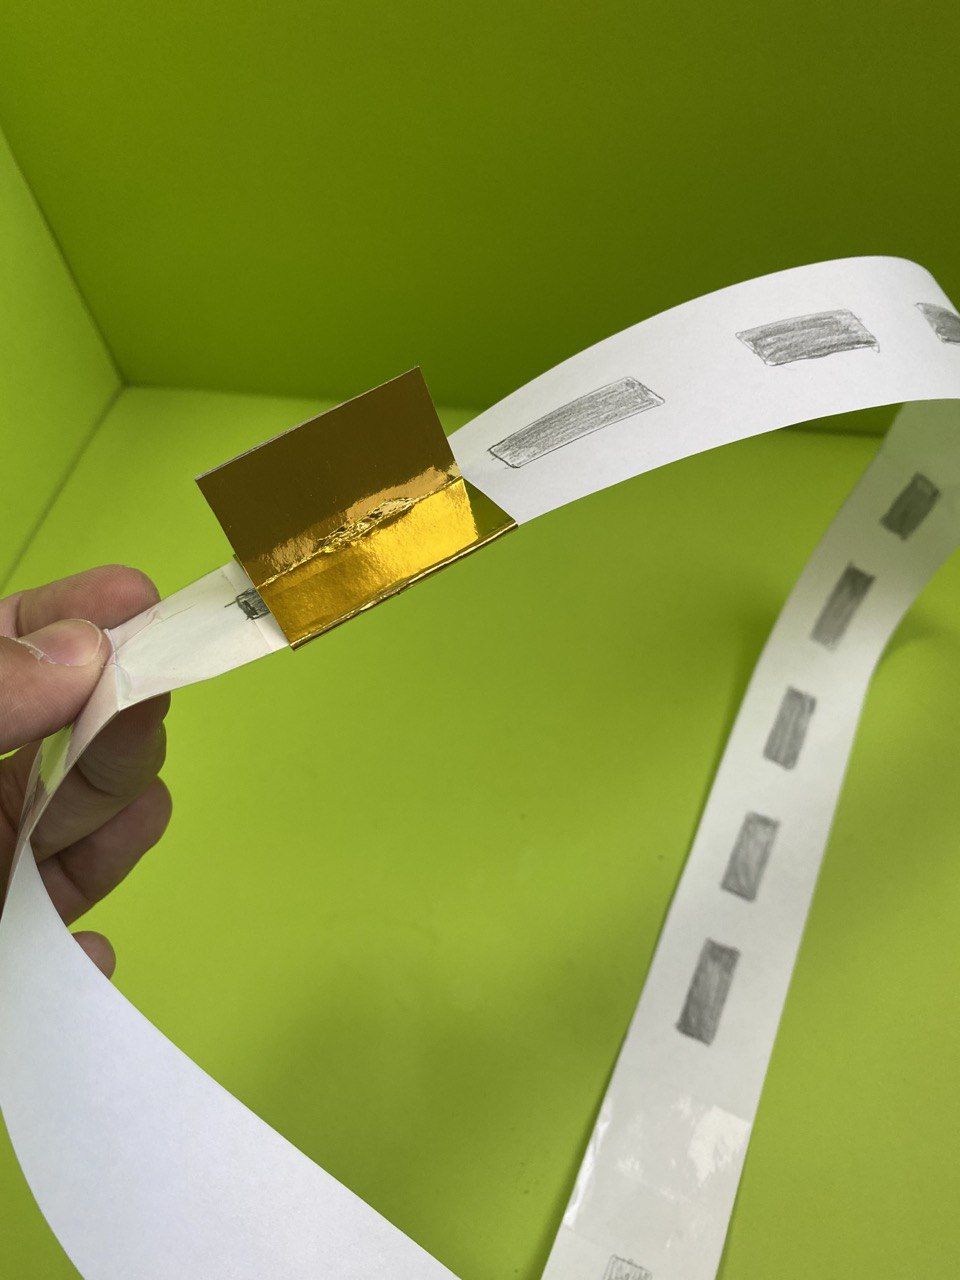
- Cut a rectangle from A4 sheet with sides 8 cm x 4 cm
- Starting from the left side step back to the right side 4 cm, 4 cm as shown in the picture below
Bend the part in half
Have students draw a bicycle on both sides of the piece using colored pencils and markers.
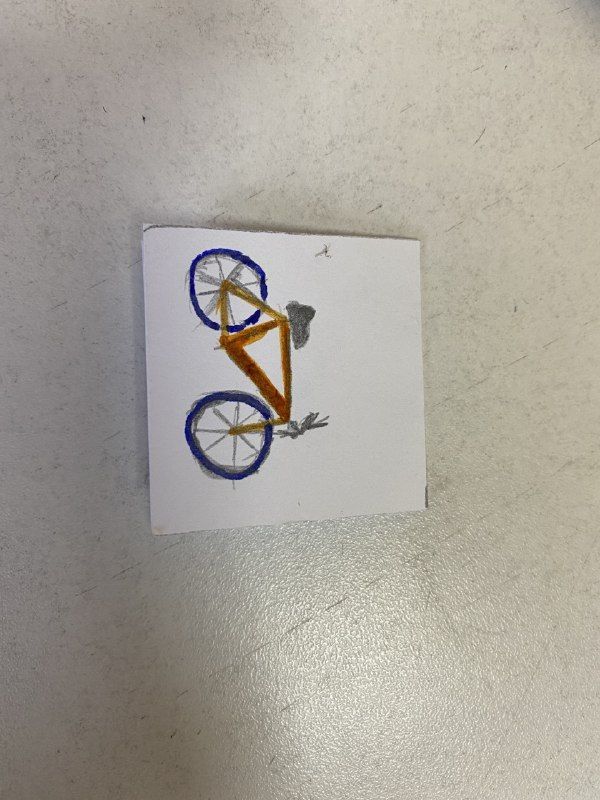
Glue the part to the base as shown in the picture.
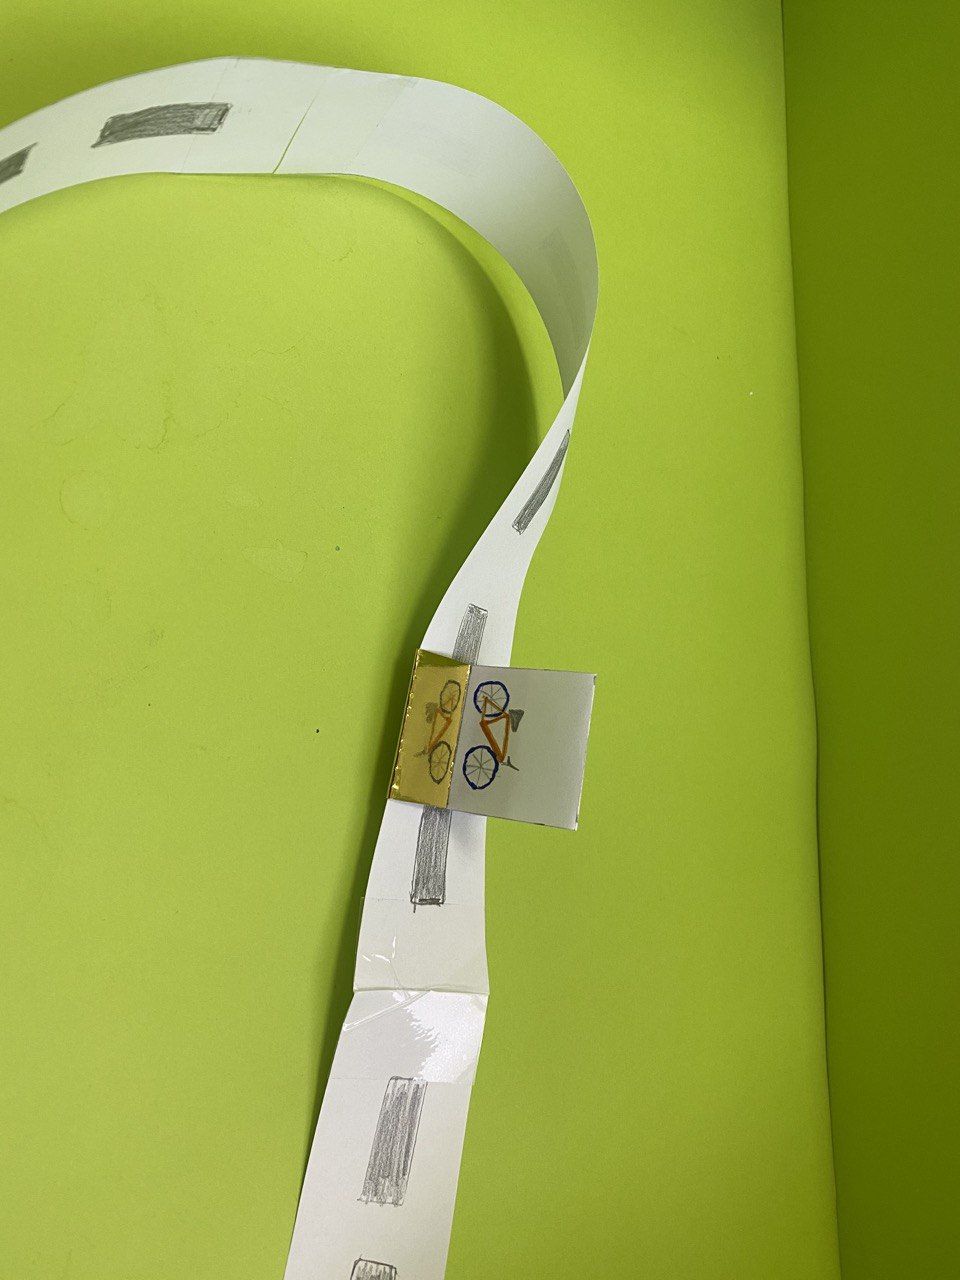
The bicycle must move on the Möbius strip
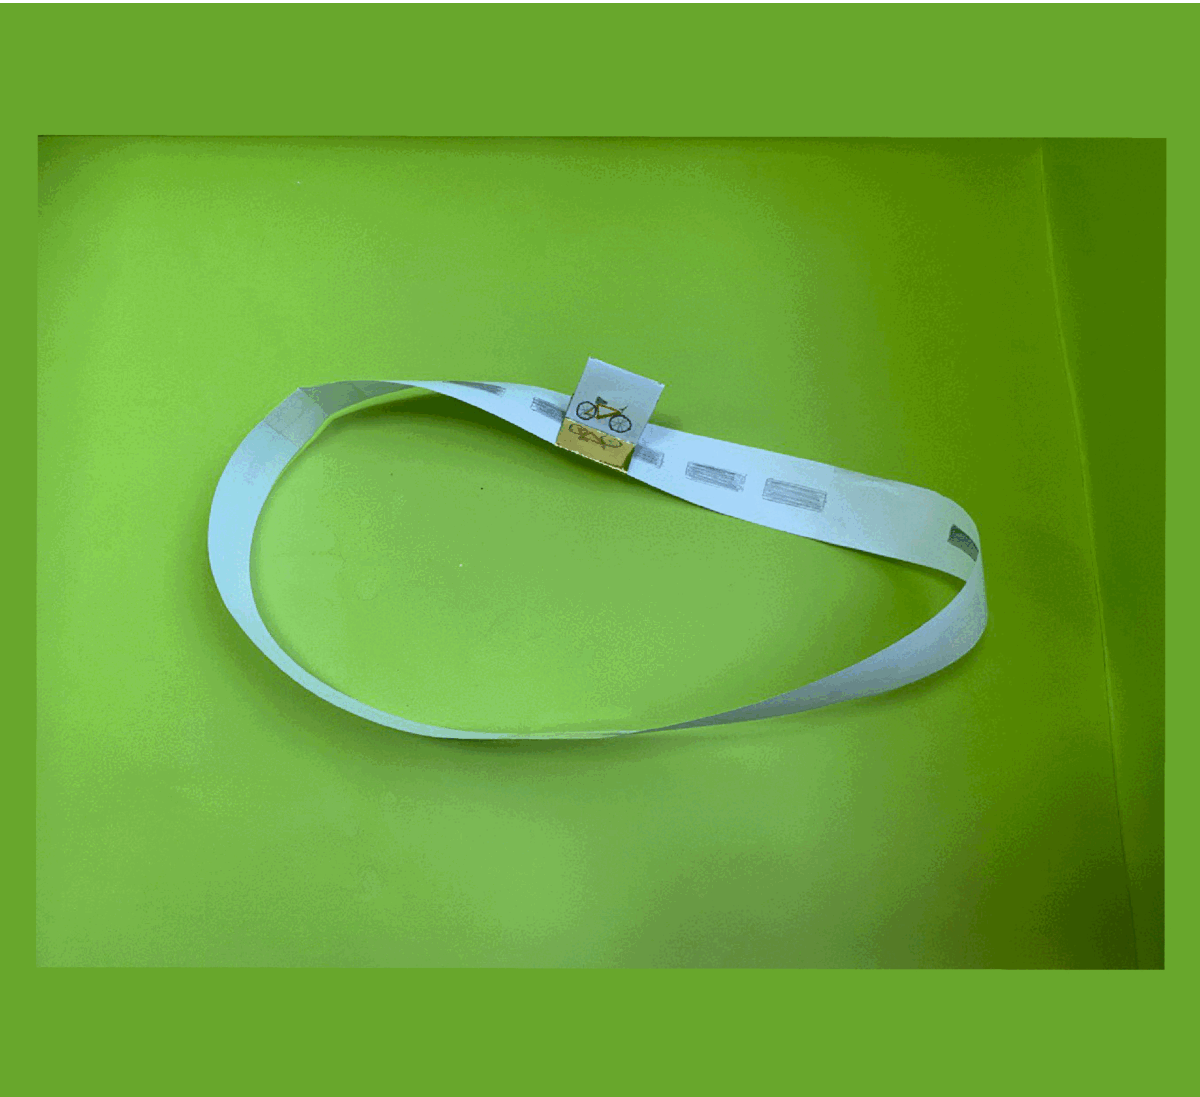
In this example, the students conducted their experiment and saw that the Möbius strip is a one-sided surface with one edge.
Conclusion
On this project, students got acquainted with the Möbius strip and its application in life. Also, students were able to see the properties of the Möbius loop in practice by creating its layout.

Evaluation