Lesson 1
Project objective
– To explain the drip irrigation method;
– Application of drip irrigation method with seed planting ;
– To compare the differences between drip irrigation and manual irrigation.
Teacher’s guide
– Work in pairs in the practical part of the project. And over the course of 2 weeks, water these plants in two different ways, noticing which is most effective and convenient.
– The students should become familiar with topics such as drip irrigation.
– Introduce and provide the students with all the necessary material before starting the practical part.
– Provide a brief tutorial on how to work with hot glue.
– At the beginning of the lesson, explain the PBL (project based learning) – Skills 4K (critical thinking, collaboration, creativity, presentation) rubric to the students
Safety in Steam lessons
Before we begin the lesson, teachers are advised to familiarise themselves with safety procedures. If necessary (in the case of items specified in the PPE), brief the students. Go to Safety in Steam lessons
Theoretical part
Planting seeds is one of the most important stages in the cultivation of any plant. Every gardener knows that this stage must be handled responsibly; the growth, fertility and quality of the plant all depend on the right seed being planted.
When the dry season approaches, the whole garden can be at risk if you do not water at the right time. The clever organisation of watering in your garden not only promotes healthy and beautiful plants, but also saves water and time. An automatic drip irrigation system will help.
Drip irrigation is a method of watering in which the water goes directly to the roots of the plants. This saves water and other resources such as time, energy and fertiliser.
With drip irrigation systems you have the option of wasting extra water to irrigate objects, weed and get onto the leaves of the plants, which leads to early growth of fungus and mould. It also reduces water evaporation and does not wash treatment or fertiliser products. This method has been proven to work better than conventional spraying from a garden hose or sprayers.
Applications
Nowadays drip irrigation systems are widely used both in greenhouse production and in the open air for the cultivation of vegetables, fruits, bushes and trees.
It is also appropriate to use drip irrigation systems in cases where the use of other irrigation methods is impossible or inefficient:
 | On difficult terrain and a large slope of the site (45 degrees and above) |
 | In places with prolonged drought and constant strong winds |
 | In local springs with relatively limited water |
 | On soils with a low thickness of the fertile layer and very low or high hygroscopicity |
 | On soils prone to salinity |
 | When used to irrigate water with a high content of water-soluble salts |
Practical part
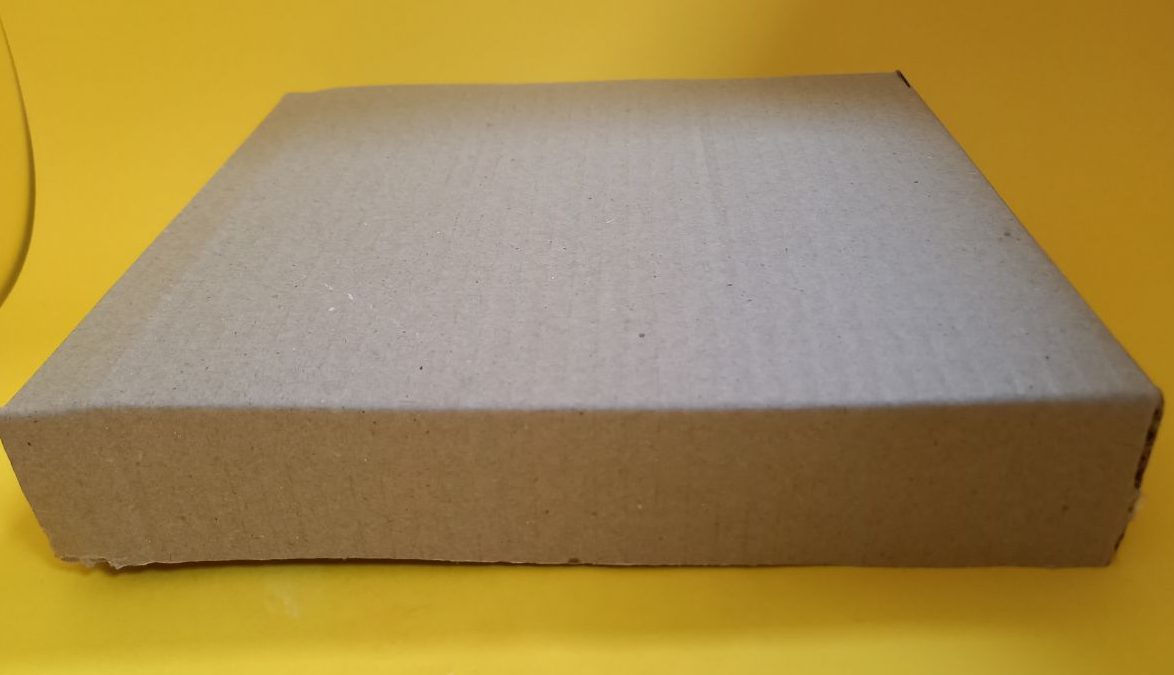
Step 1. Take 30×20 cm cardboard and make a base as shown on the picture
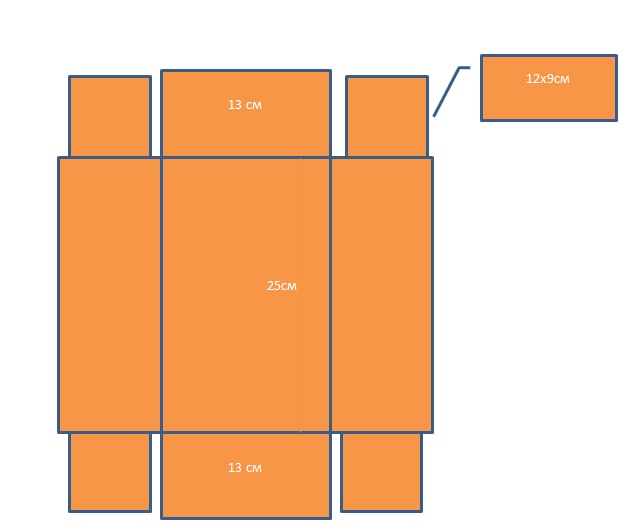
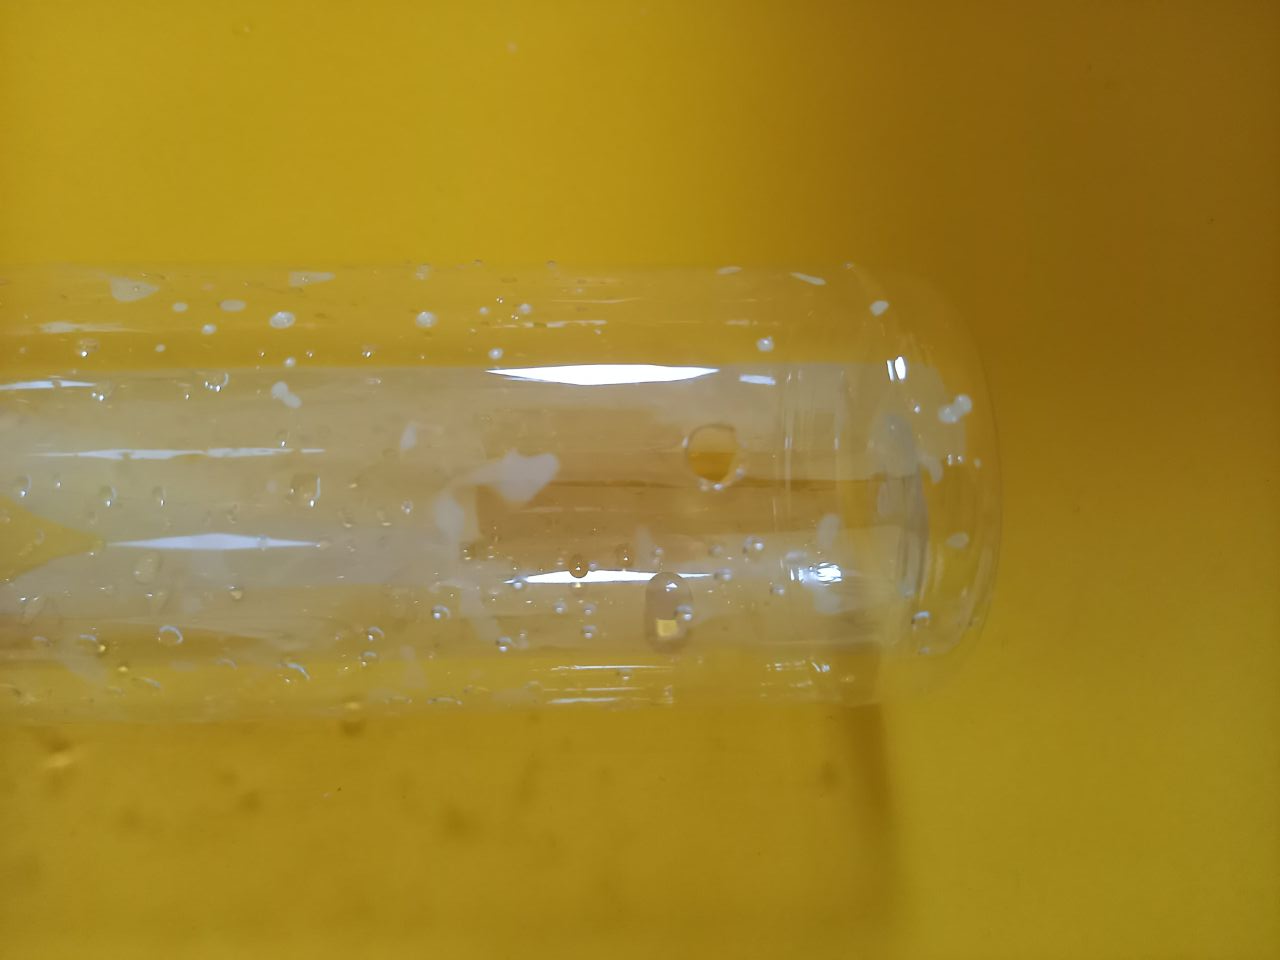
Step 2. Make a small opening for a 0.5 litre bottle. To allow the infusion system to be carried out
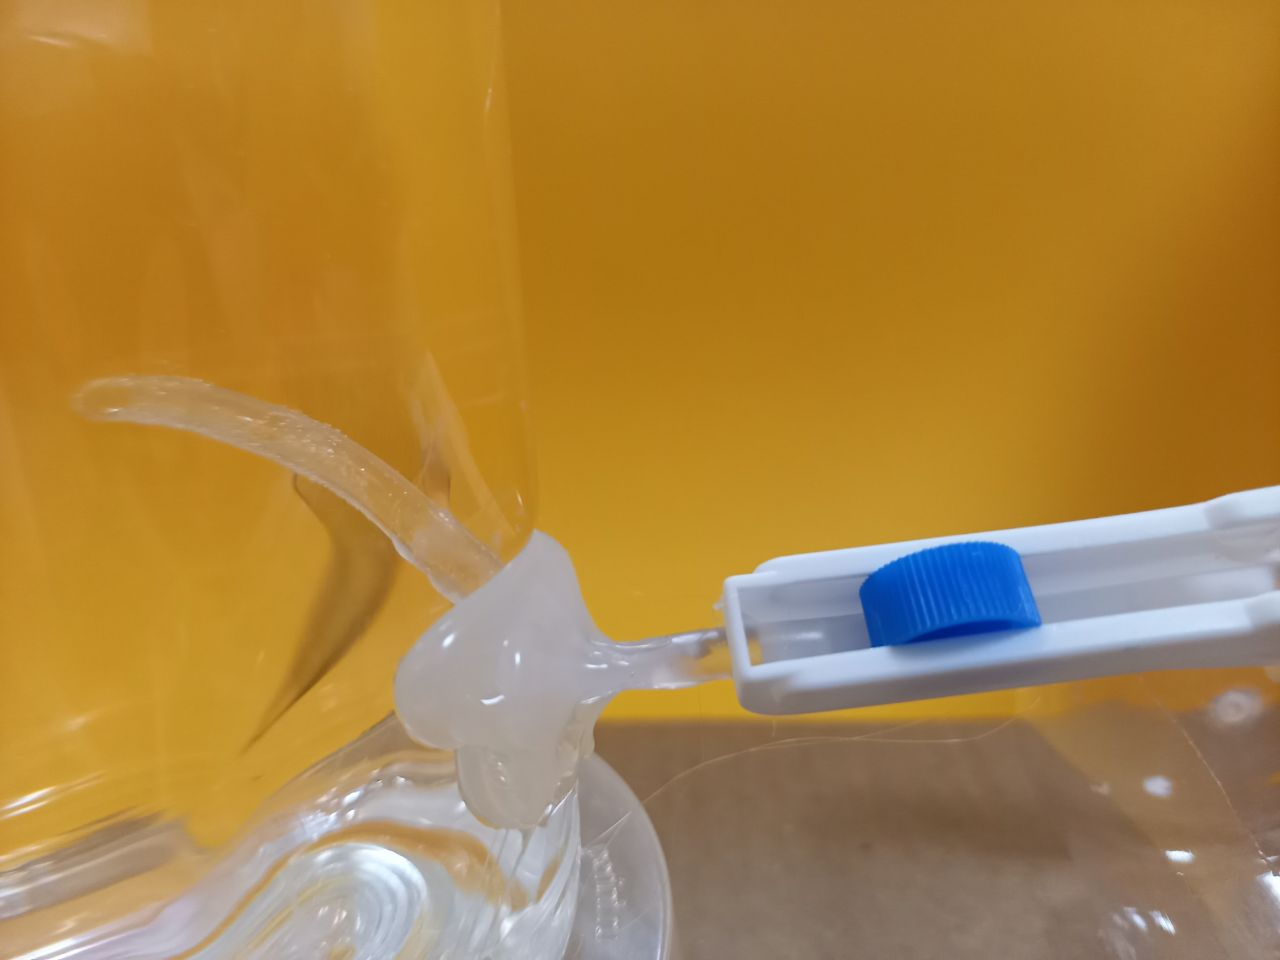
Step 3. Pass the hose and the infusion system retainer through the hole. We cut off the unnecessary parts before passing the hose through. The hole through which the hose goes is fastened with hot glue so that the water doesn’t leak out
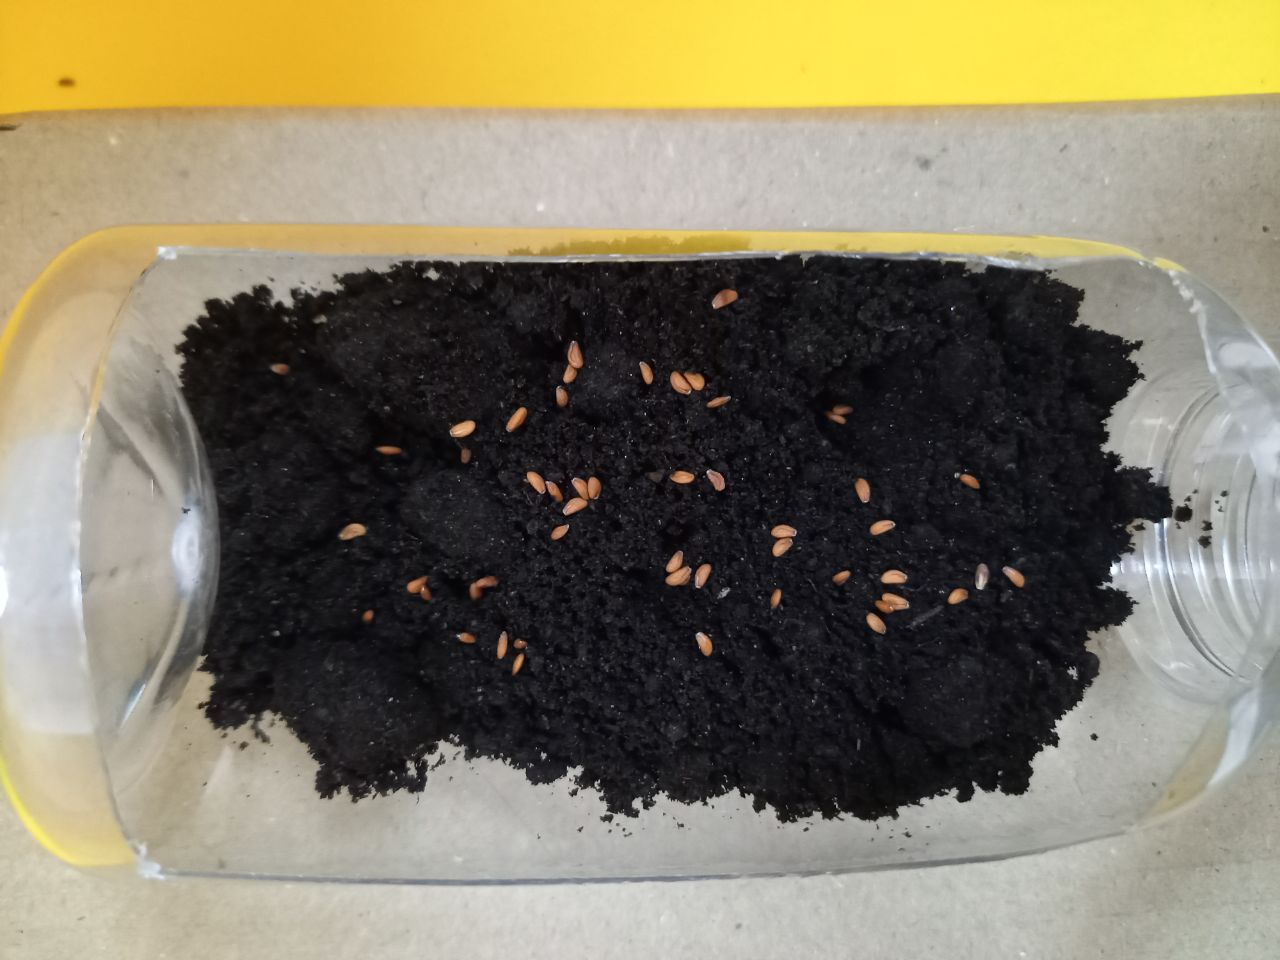
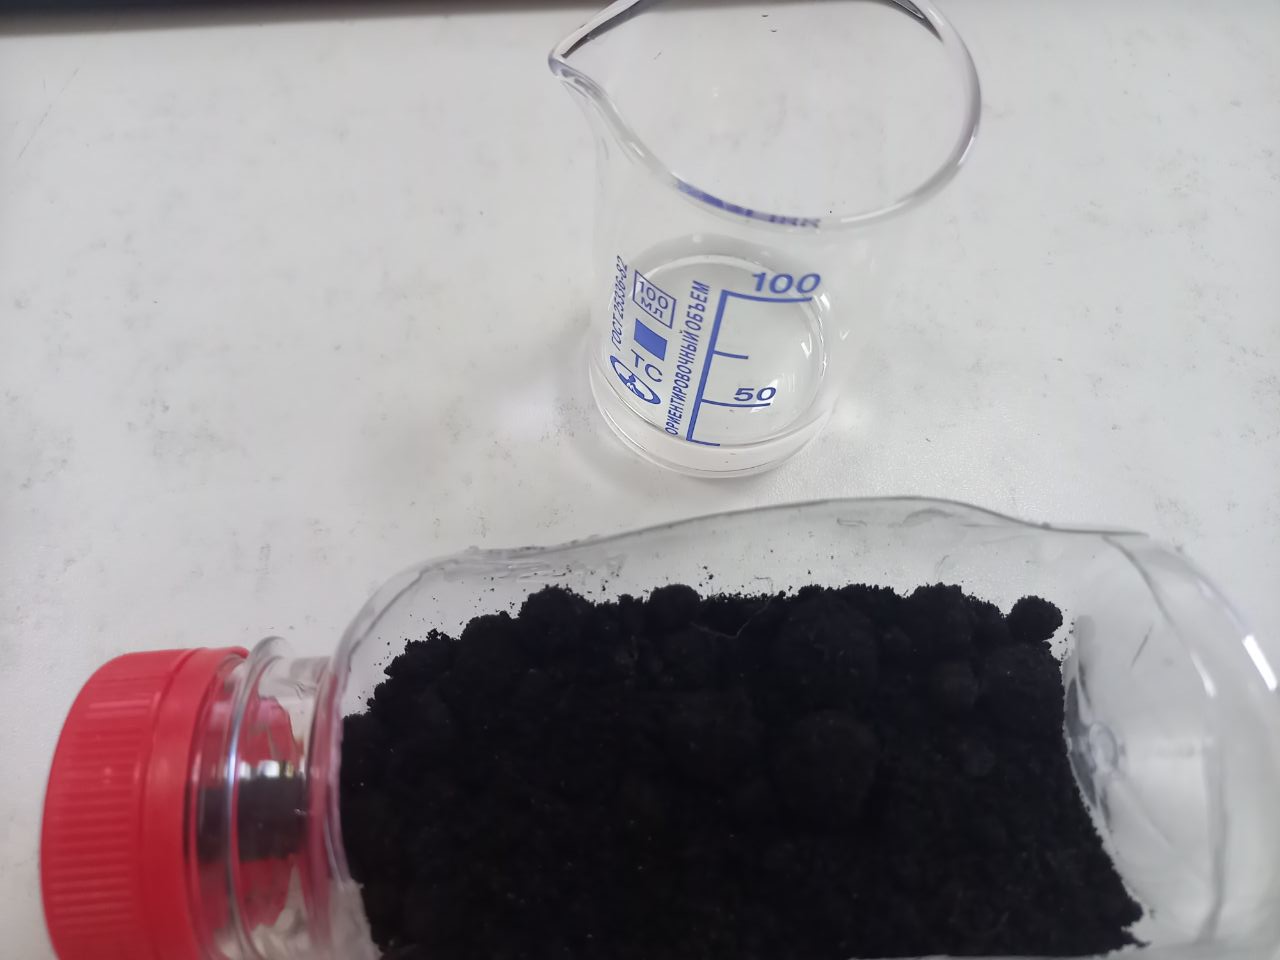
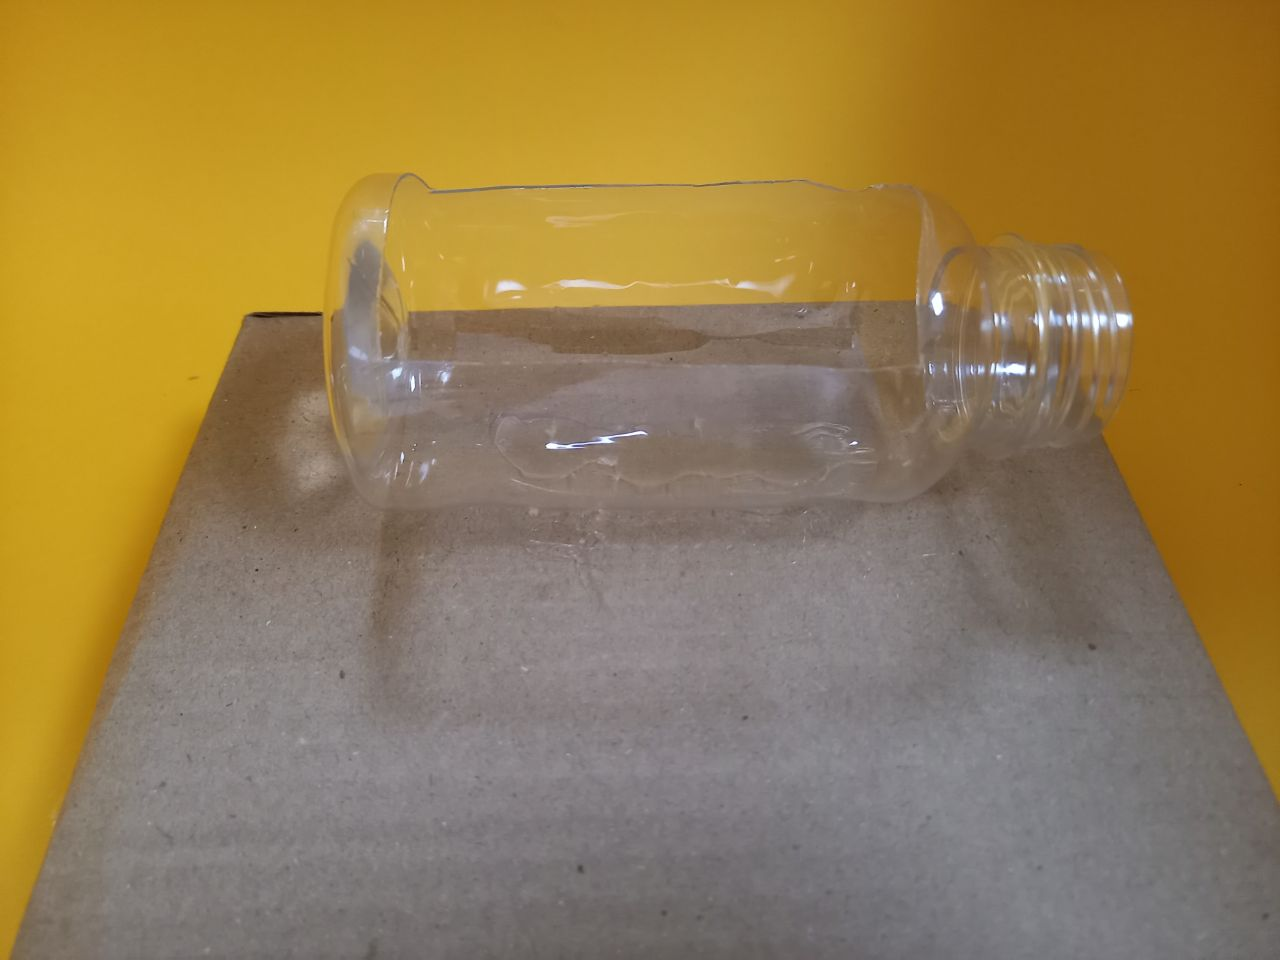
Step 4. Cut out the surface of a 0.3-litre square bottle and fix it to the surface of the cardboard base with hot glue. Then fill in the potting soil and sow the seeds.
Hint! You can find soil and seeds at any garden shop. Each pupil can sow different seeds if they wish. Remember to keep the soil clean!
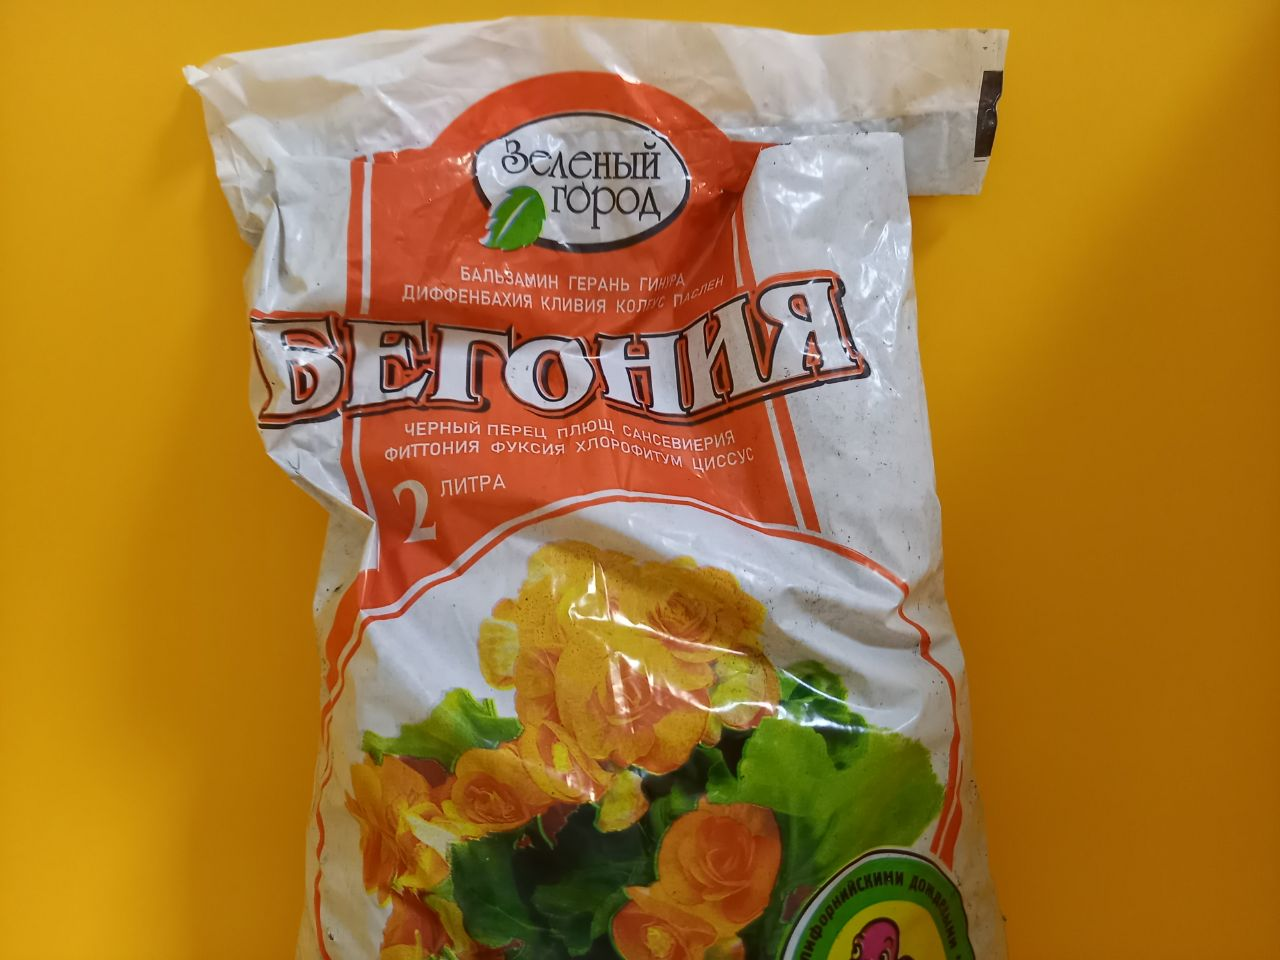
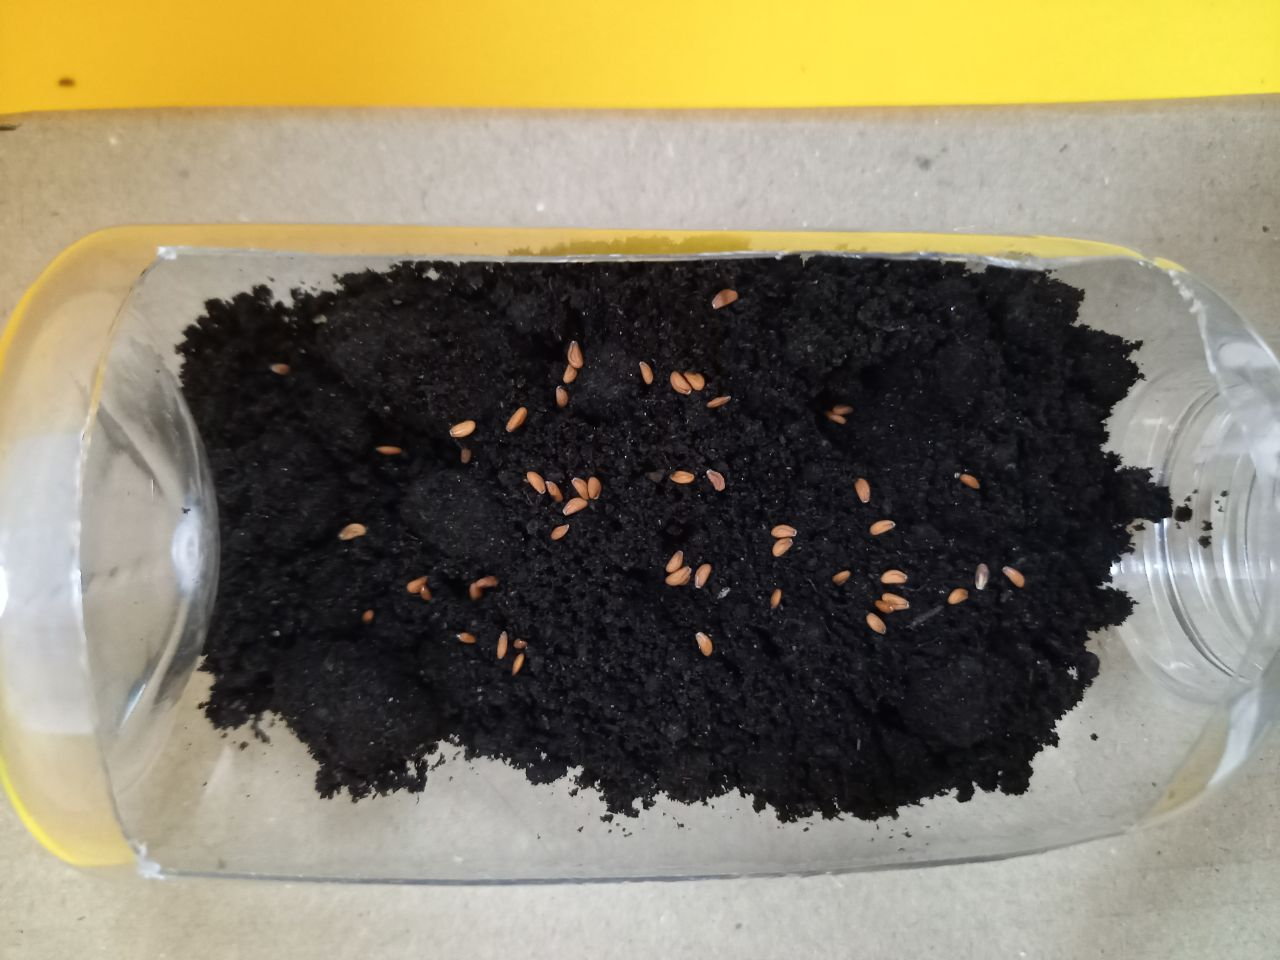
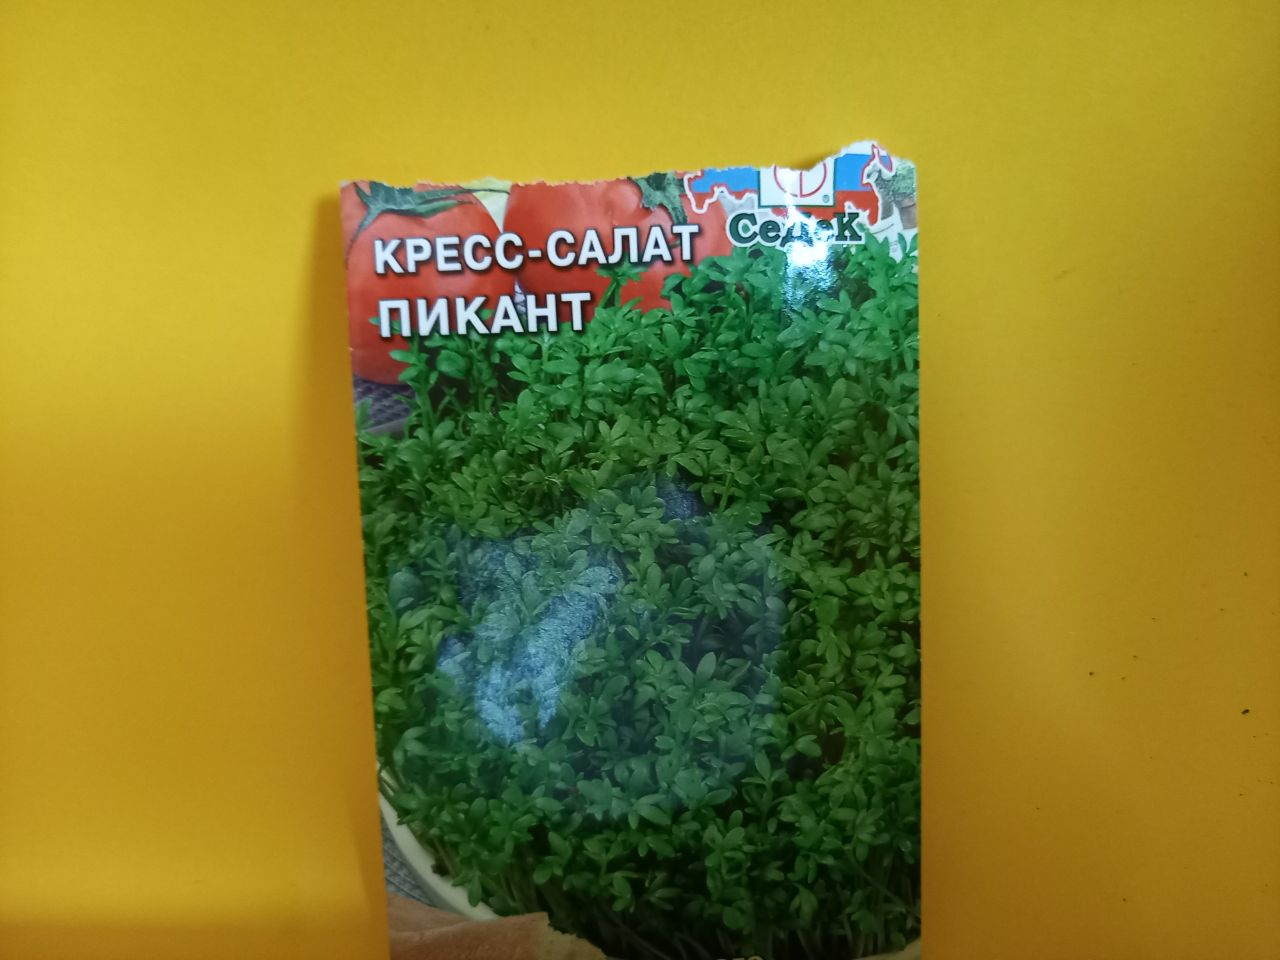
Step 5. On the cardboard base, turn the plastic container upside down and attach a 0.5-litre bottle to it exactly as pictured. Close the cap on the head of the two bottles and make a hole in the 0.5-litre bottle cap
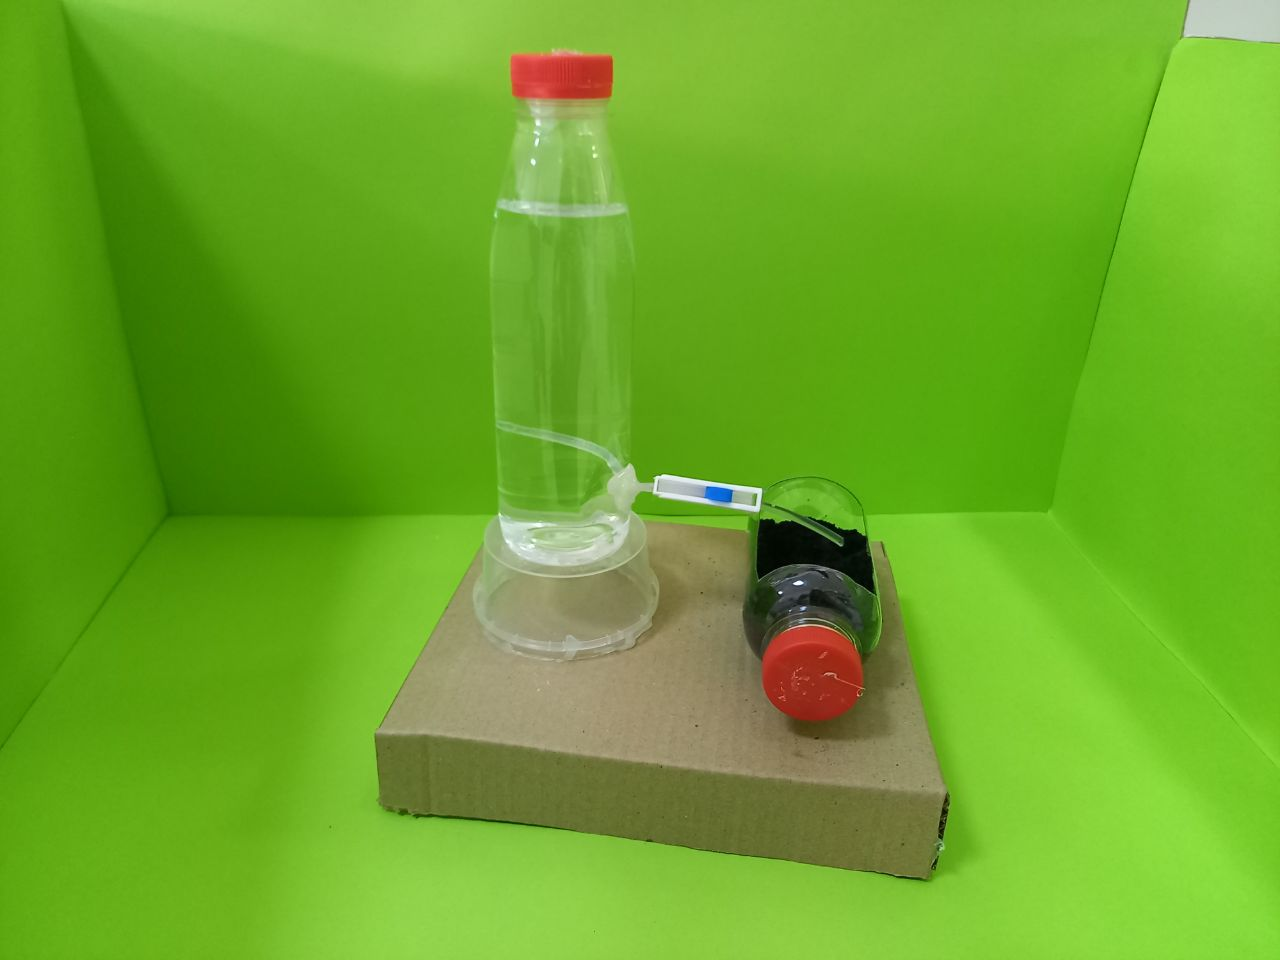
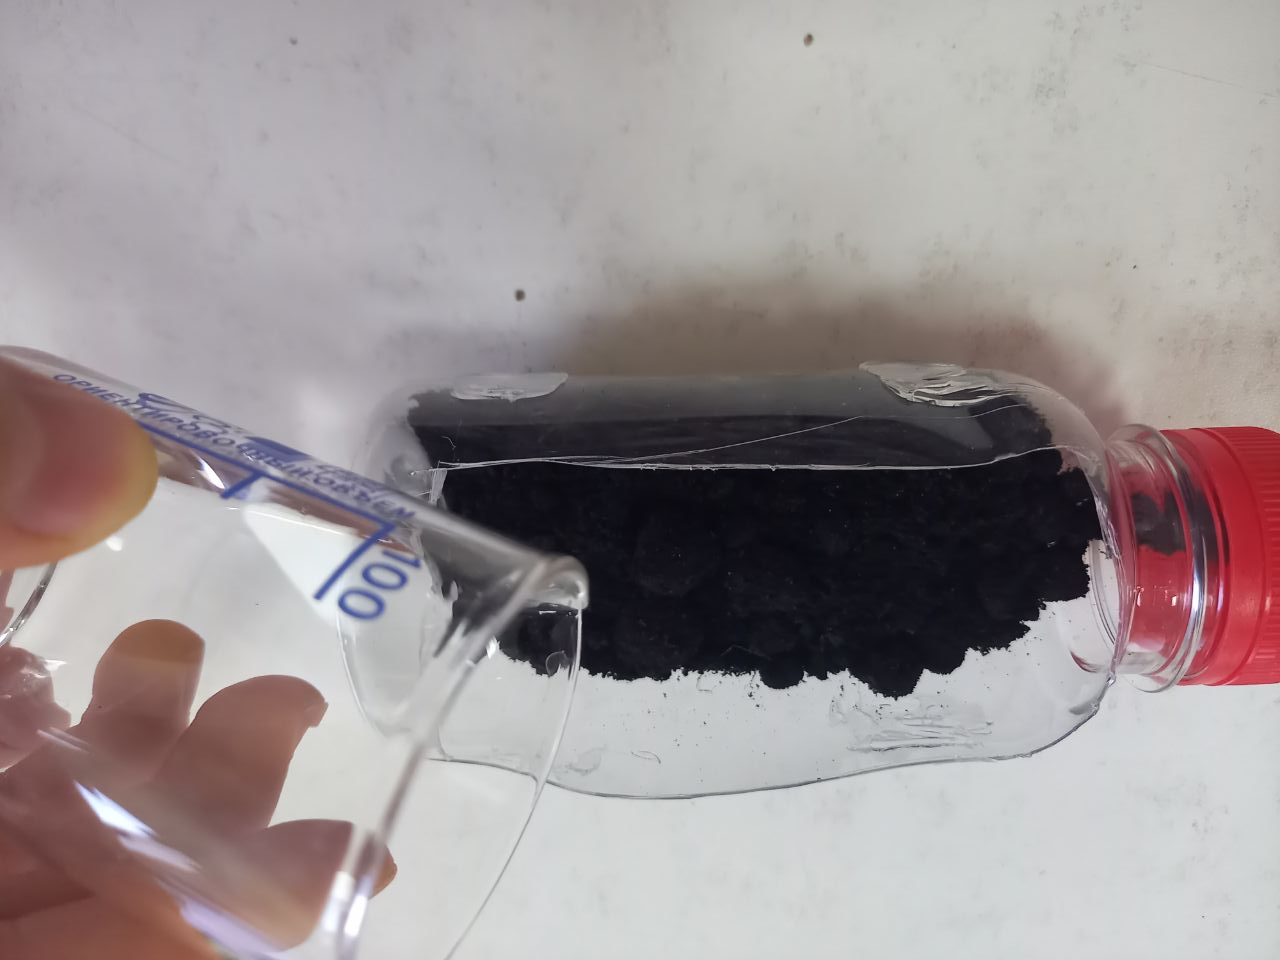
Step 6. Now sow another seed and water it in the traditional way. i.e. pour a little 30ml of water into a glass jar. To sow the seed, make a bottle as shown in step 4