Week 1
Guide for the teacher:
- Divide the students into groups of 5 students.
- Conduct a brief safety instruction (toothpicks must be handled with care; the sharp ends of the toothpicks must not be used against other students).
- Before starting the project, tell the students what a pyramid and a tetrahedron are.
Goals:
- Improve teamwork skills
- Improve knowledge of geometric shapes and the shape of objects
- Develop figurative, logical and spatial thinking
Read the safety instructions before you start [ safety insructions ].
Introduction
A tetrahedron is a simple three-dimensional shape made up of four equilateral triangles. A tetrahedron can also be called a pyramid.
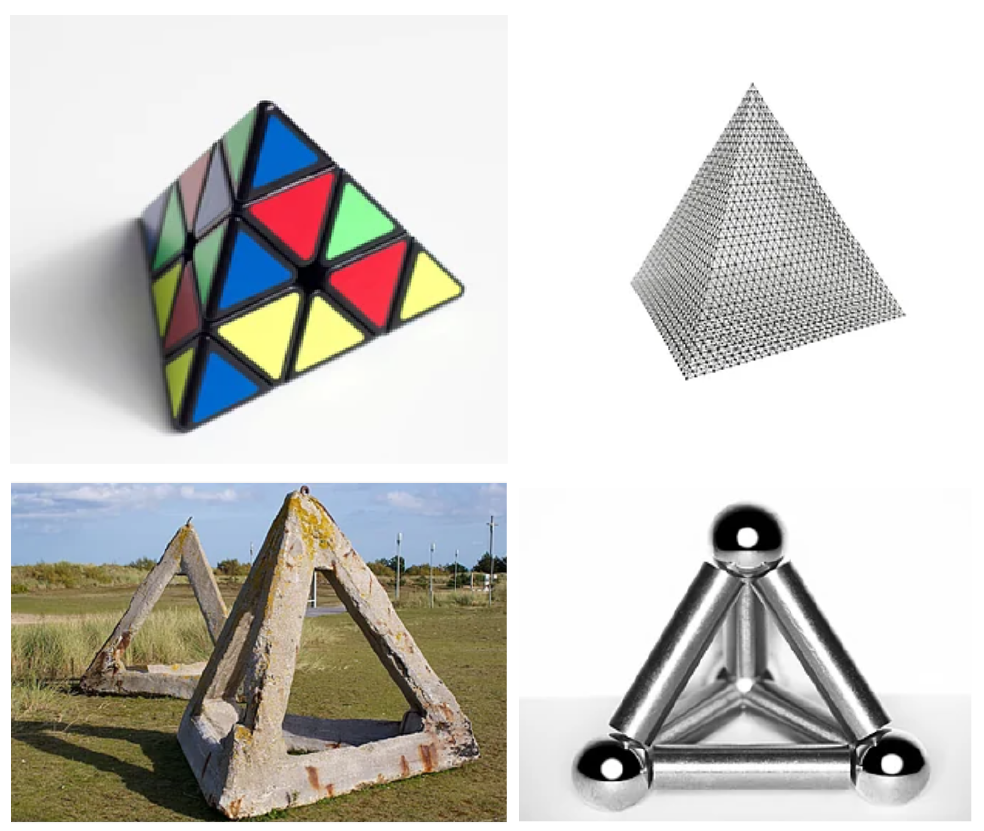
Ask students:
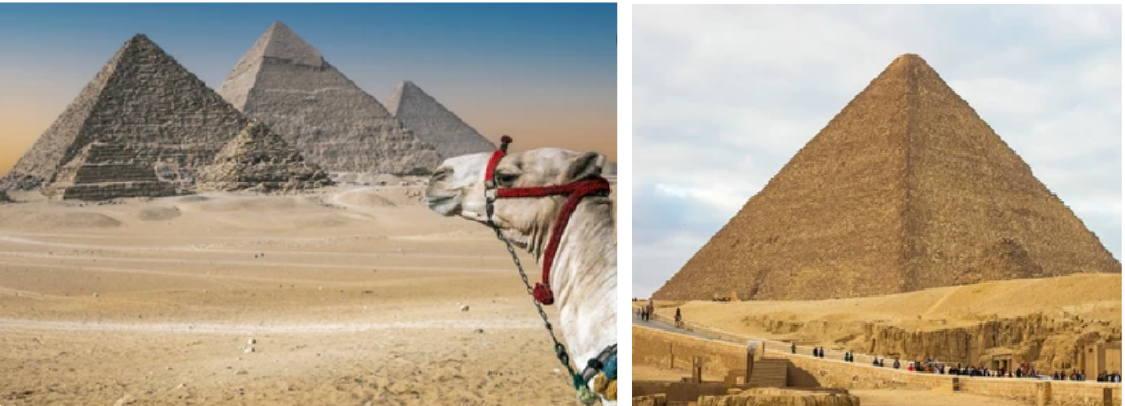
Do you know what a pyramid is? Where can you find pyramids? (This is a figure with triangular faces. Pyramids can be found in Egypt, South America, etc.)
A pyramid is a polyhedron with triangular faces. The base of the pyramid can be any polygon (triangle, square, rectangle).
Project instructions.
Each team will make 4 tetrahedra. As a result, the teams must combine all 16 figures into one large pyramid model.
Divide the piece of plasticine into 8 pieces and distribute 4 pieces to each student.
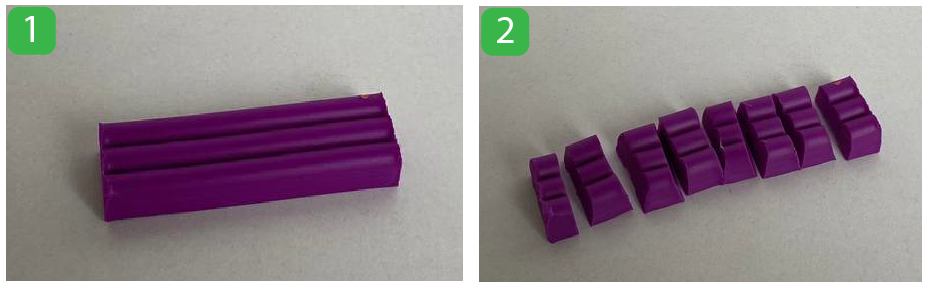
Each student from the group receives 4 pieces of plasticine and 6 pieces of toothpicks. Ask students to build a pyramid.
1. Take 3 pieces of plasticine and connect them using toothpicks. You should get the base of the pyramid – an equilateral triangle.
2. Using three toothpicks and a piece of plasticine, assemble the pyramid as shown in the figure.
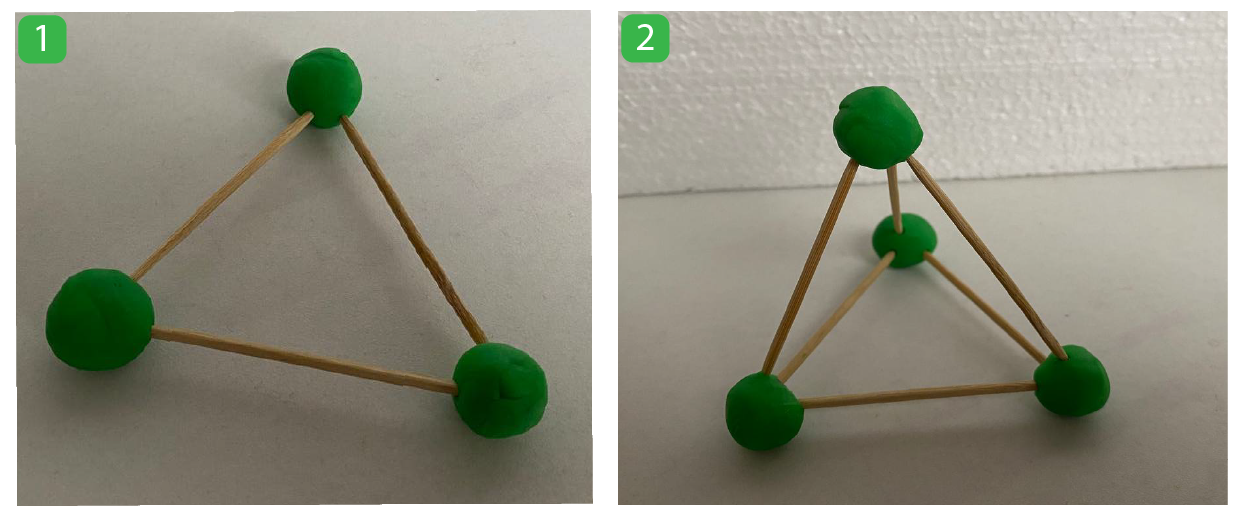
At this stage, the entire group of four people should receive four pyramids. Next, all members of the group must assemble a common pyramid from the resulting four pyramids.
3. Place 3 pyramids so that a triangle forms in the center as shown in the figure below. Attach the pyramids to each other by pressing the plasticine at the edges.
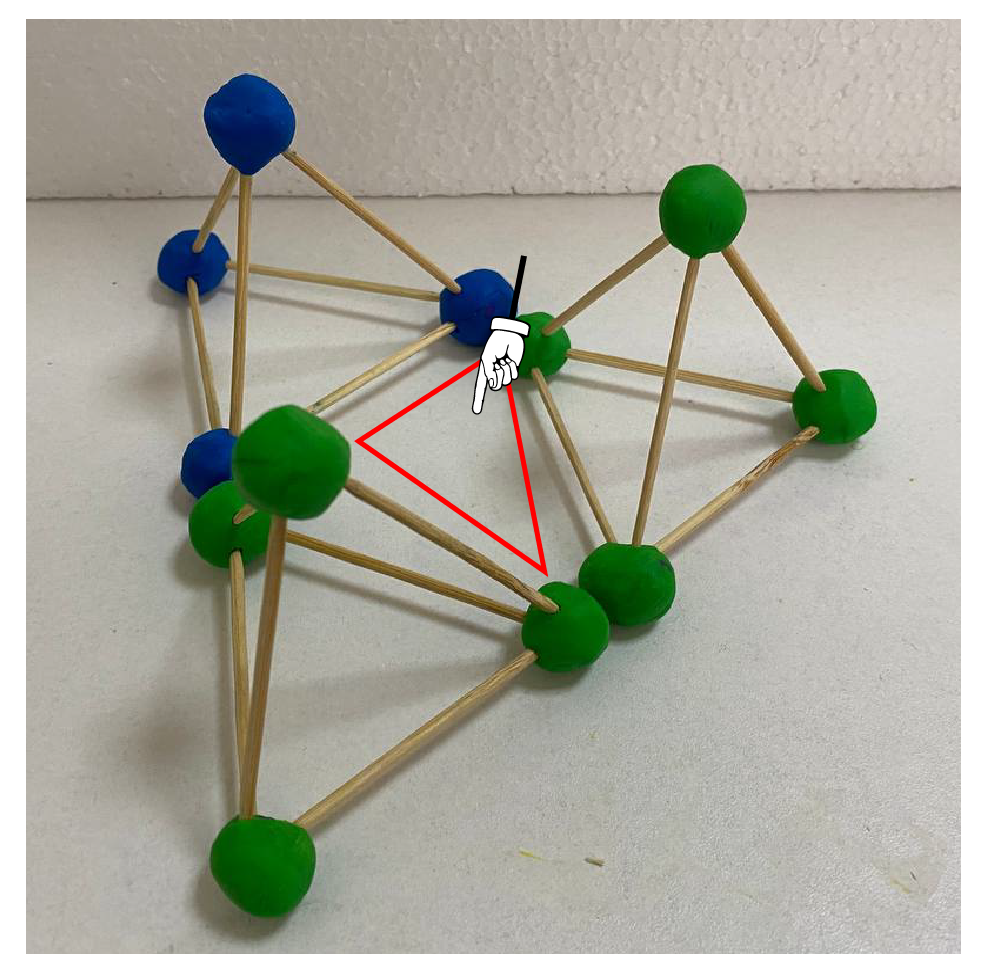
4. Position the fourth pyramid at the top of the resulting base. You should get one common pyramid.
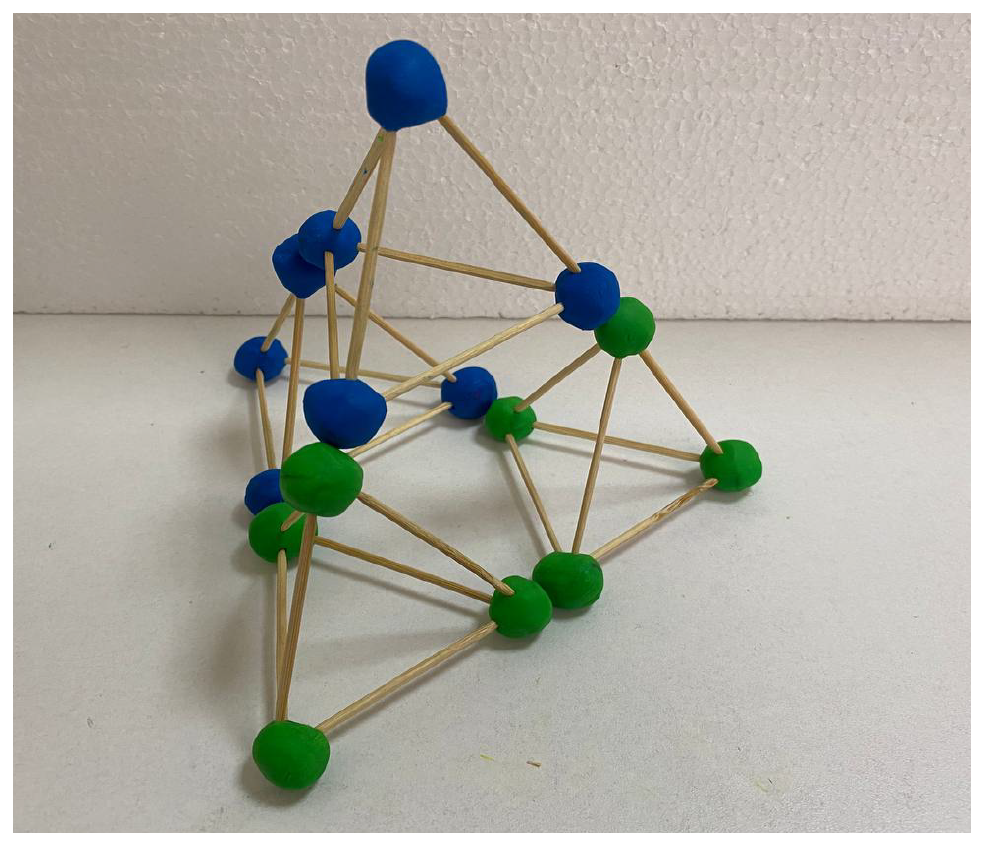
At the next stage, all groups must unite the pyramids. The four groups should have four common pyramids.
5. Arrange 3 pyramids so that a triangle forms in the center as shown in the figure below. Attach the pyramids to each other by pressing the plasticine at the edges.
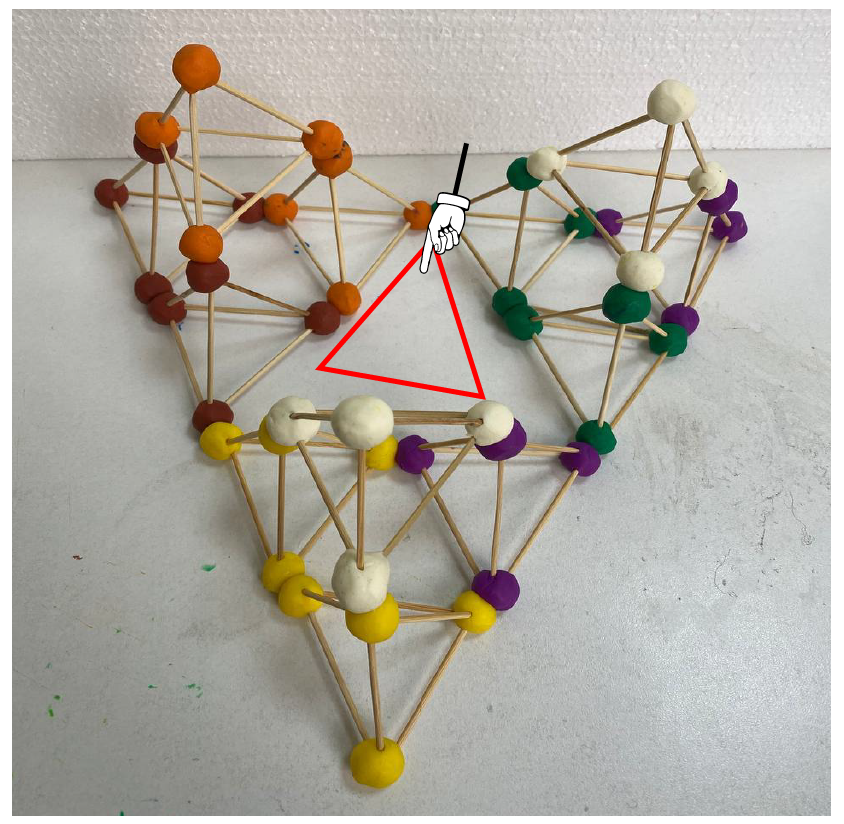
6. Position the fourth pyramid at the top of the resulting base. You should get one common pyramid.
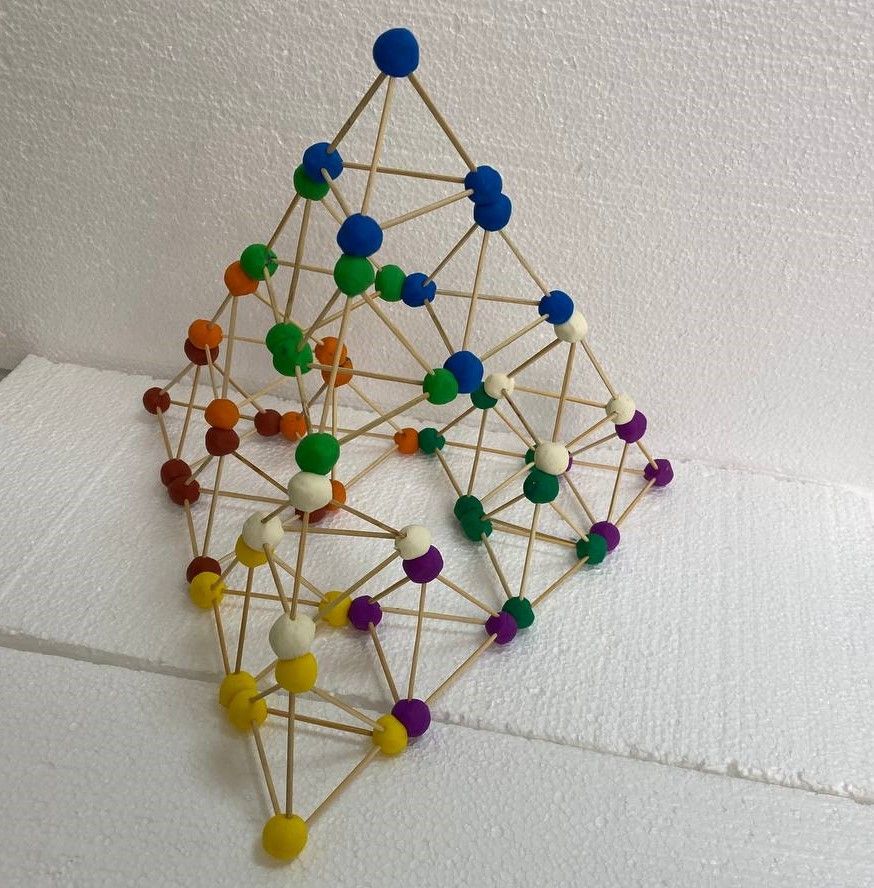
Conclusion
In this project, the students developed teamwork skills. The students also developed figurative, logical and spatial thinking by assembling a pyramid using tetrahedra.