Week 1
Teacher’s Guide:
- Divide students into groups;
- Students should be familiar with the following geometric shapes: cuboid, cube, cone and cylinder;
- Conduct a brief instruction on working with scissors and cardboard products.
Goals:
- Learn to draw geometric shapes;
- Learn to distinguish geometric shapes;
- Develop spatial thinking.
Read the safety instructions before you start [ safety insructions ].
Introduction
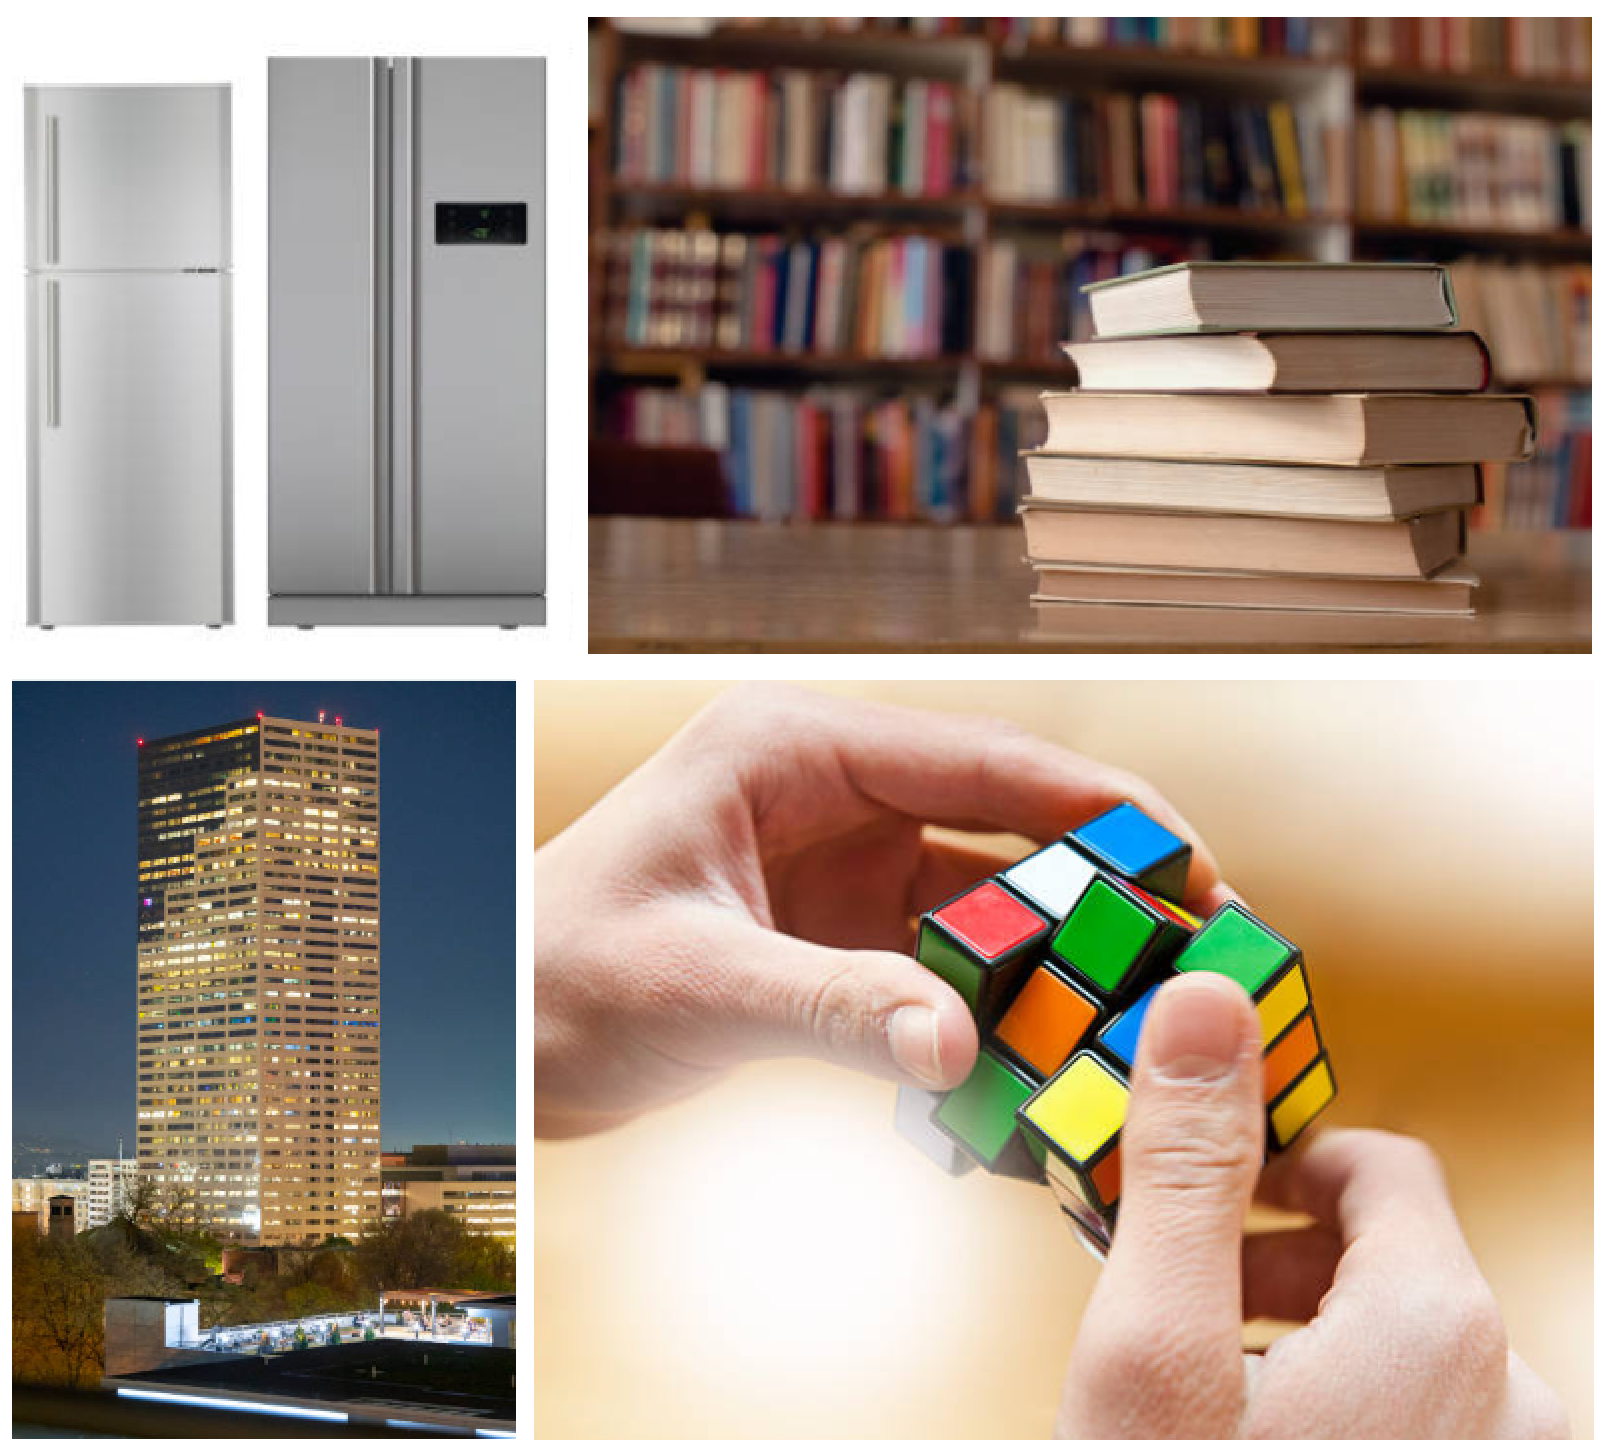
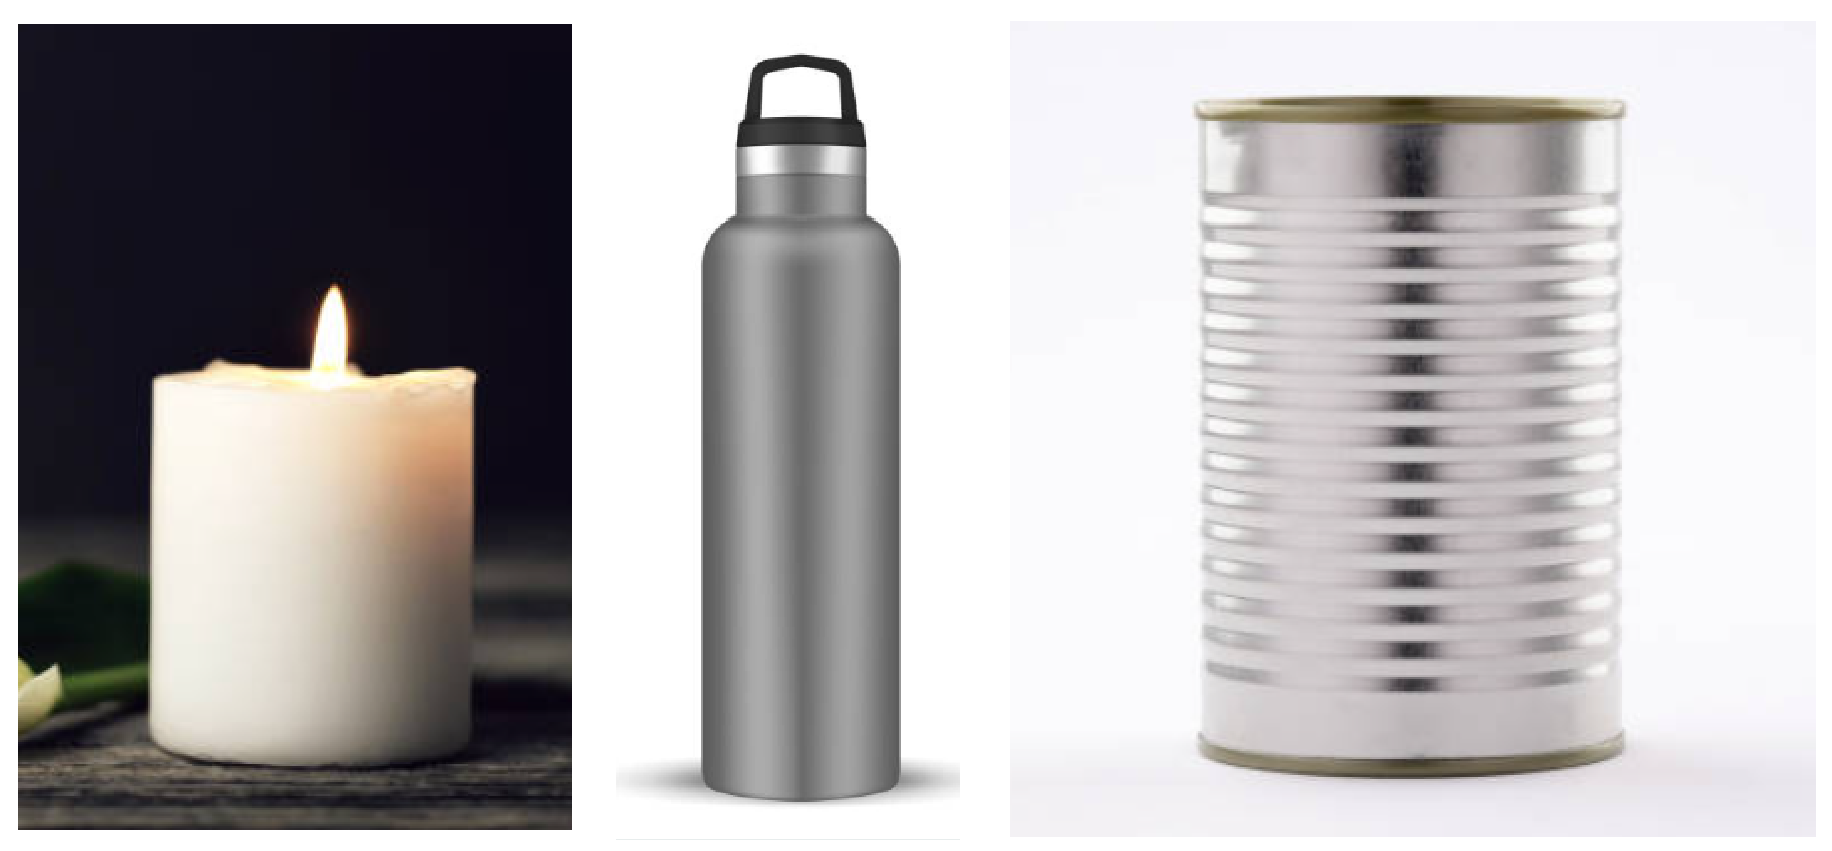
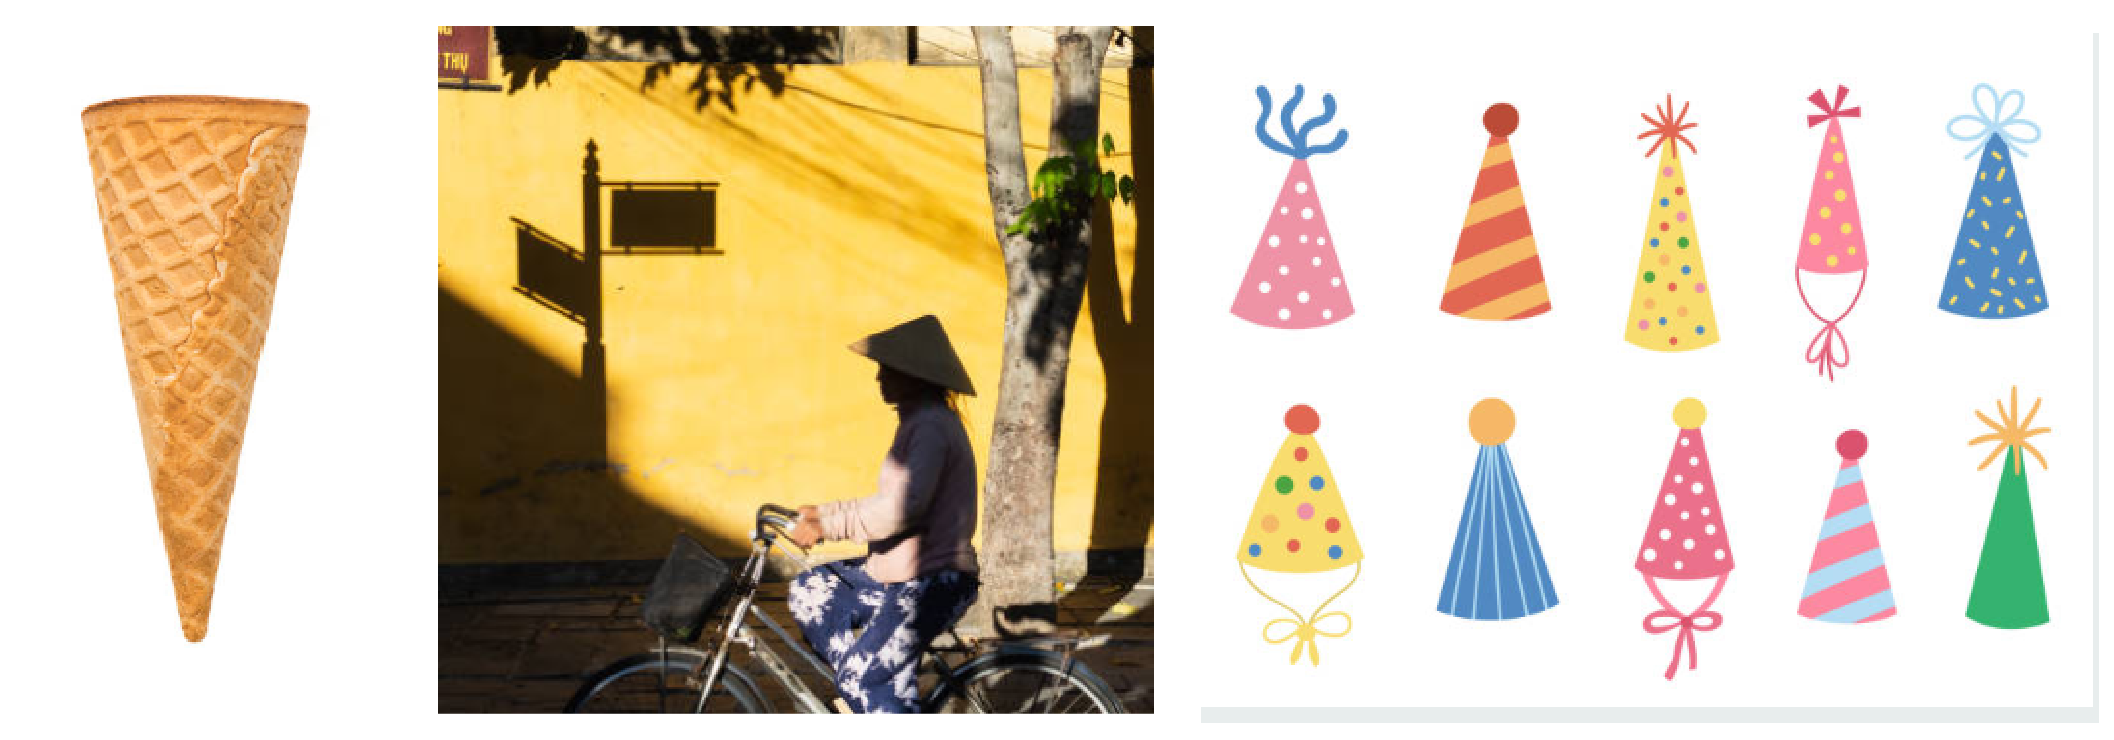
Discuss with students the definitions of cuboid, cube, cylinder, and cone. Ask students where in real life they have seen these figures.
Ask students where in life you can meet a rectangular cuboid and a cube? (Refrigerator, books, buildings, rubik’s cube, etc.)
Ask students where in life you can find a top hat? (Candle, thermos, canned food, etc.)
Ask students where in life you can find a cone? (Ice cream waffles, Asian hat, party hat, etc.)
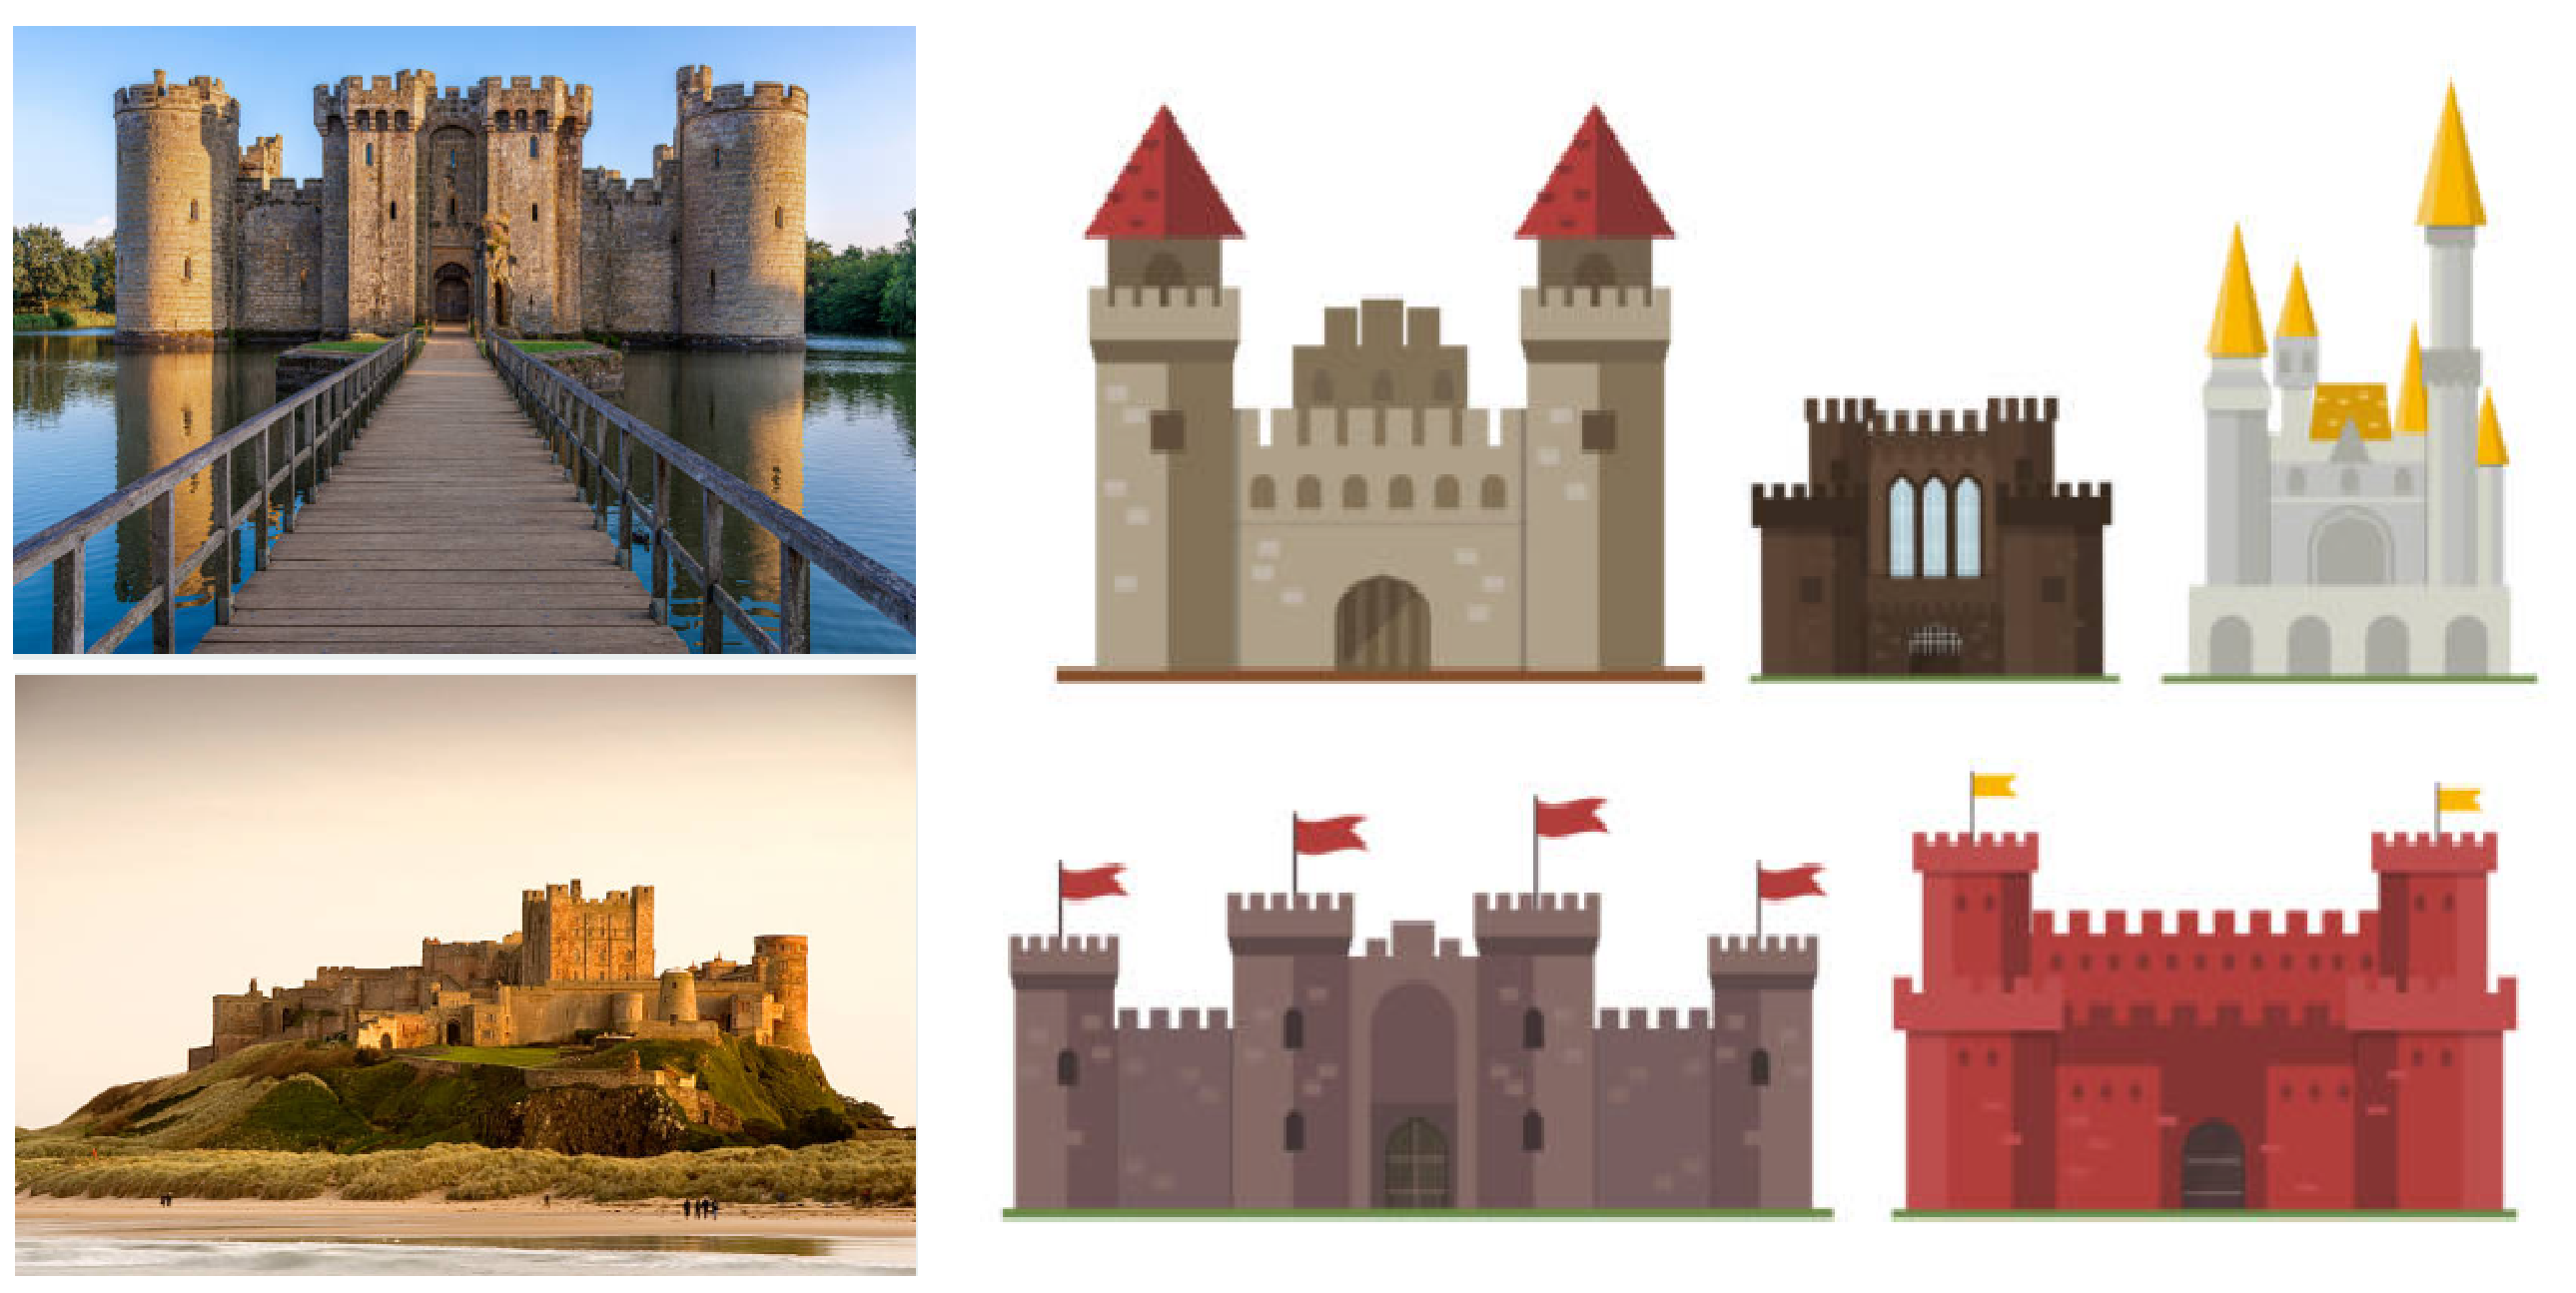
Before the practical part, explain to the students what is a castle .
The castle is a medieval building, which is protected by high walls where noble kings and knights lived.
Practical part
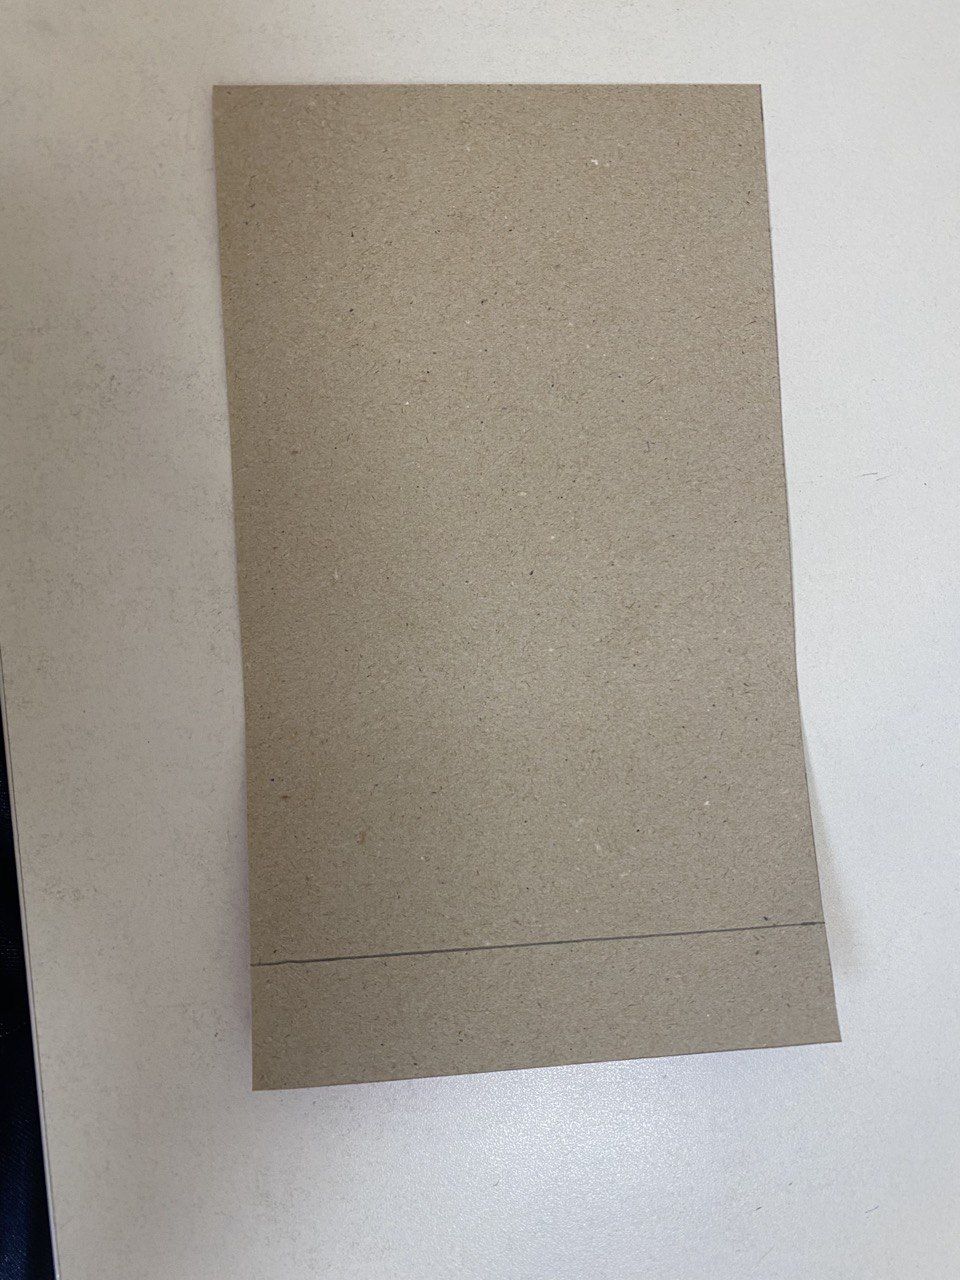
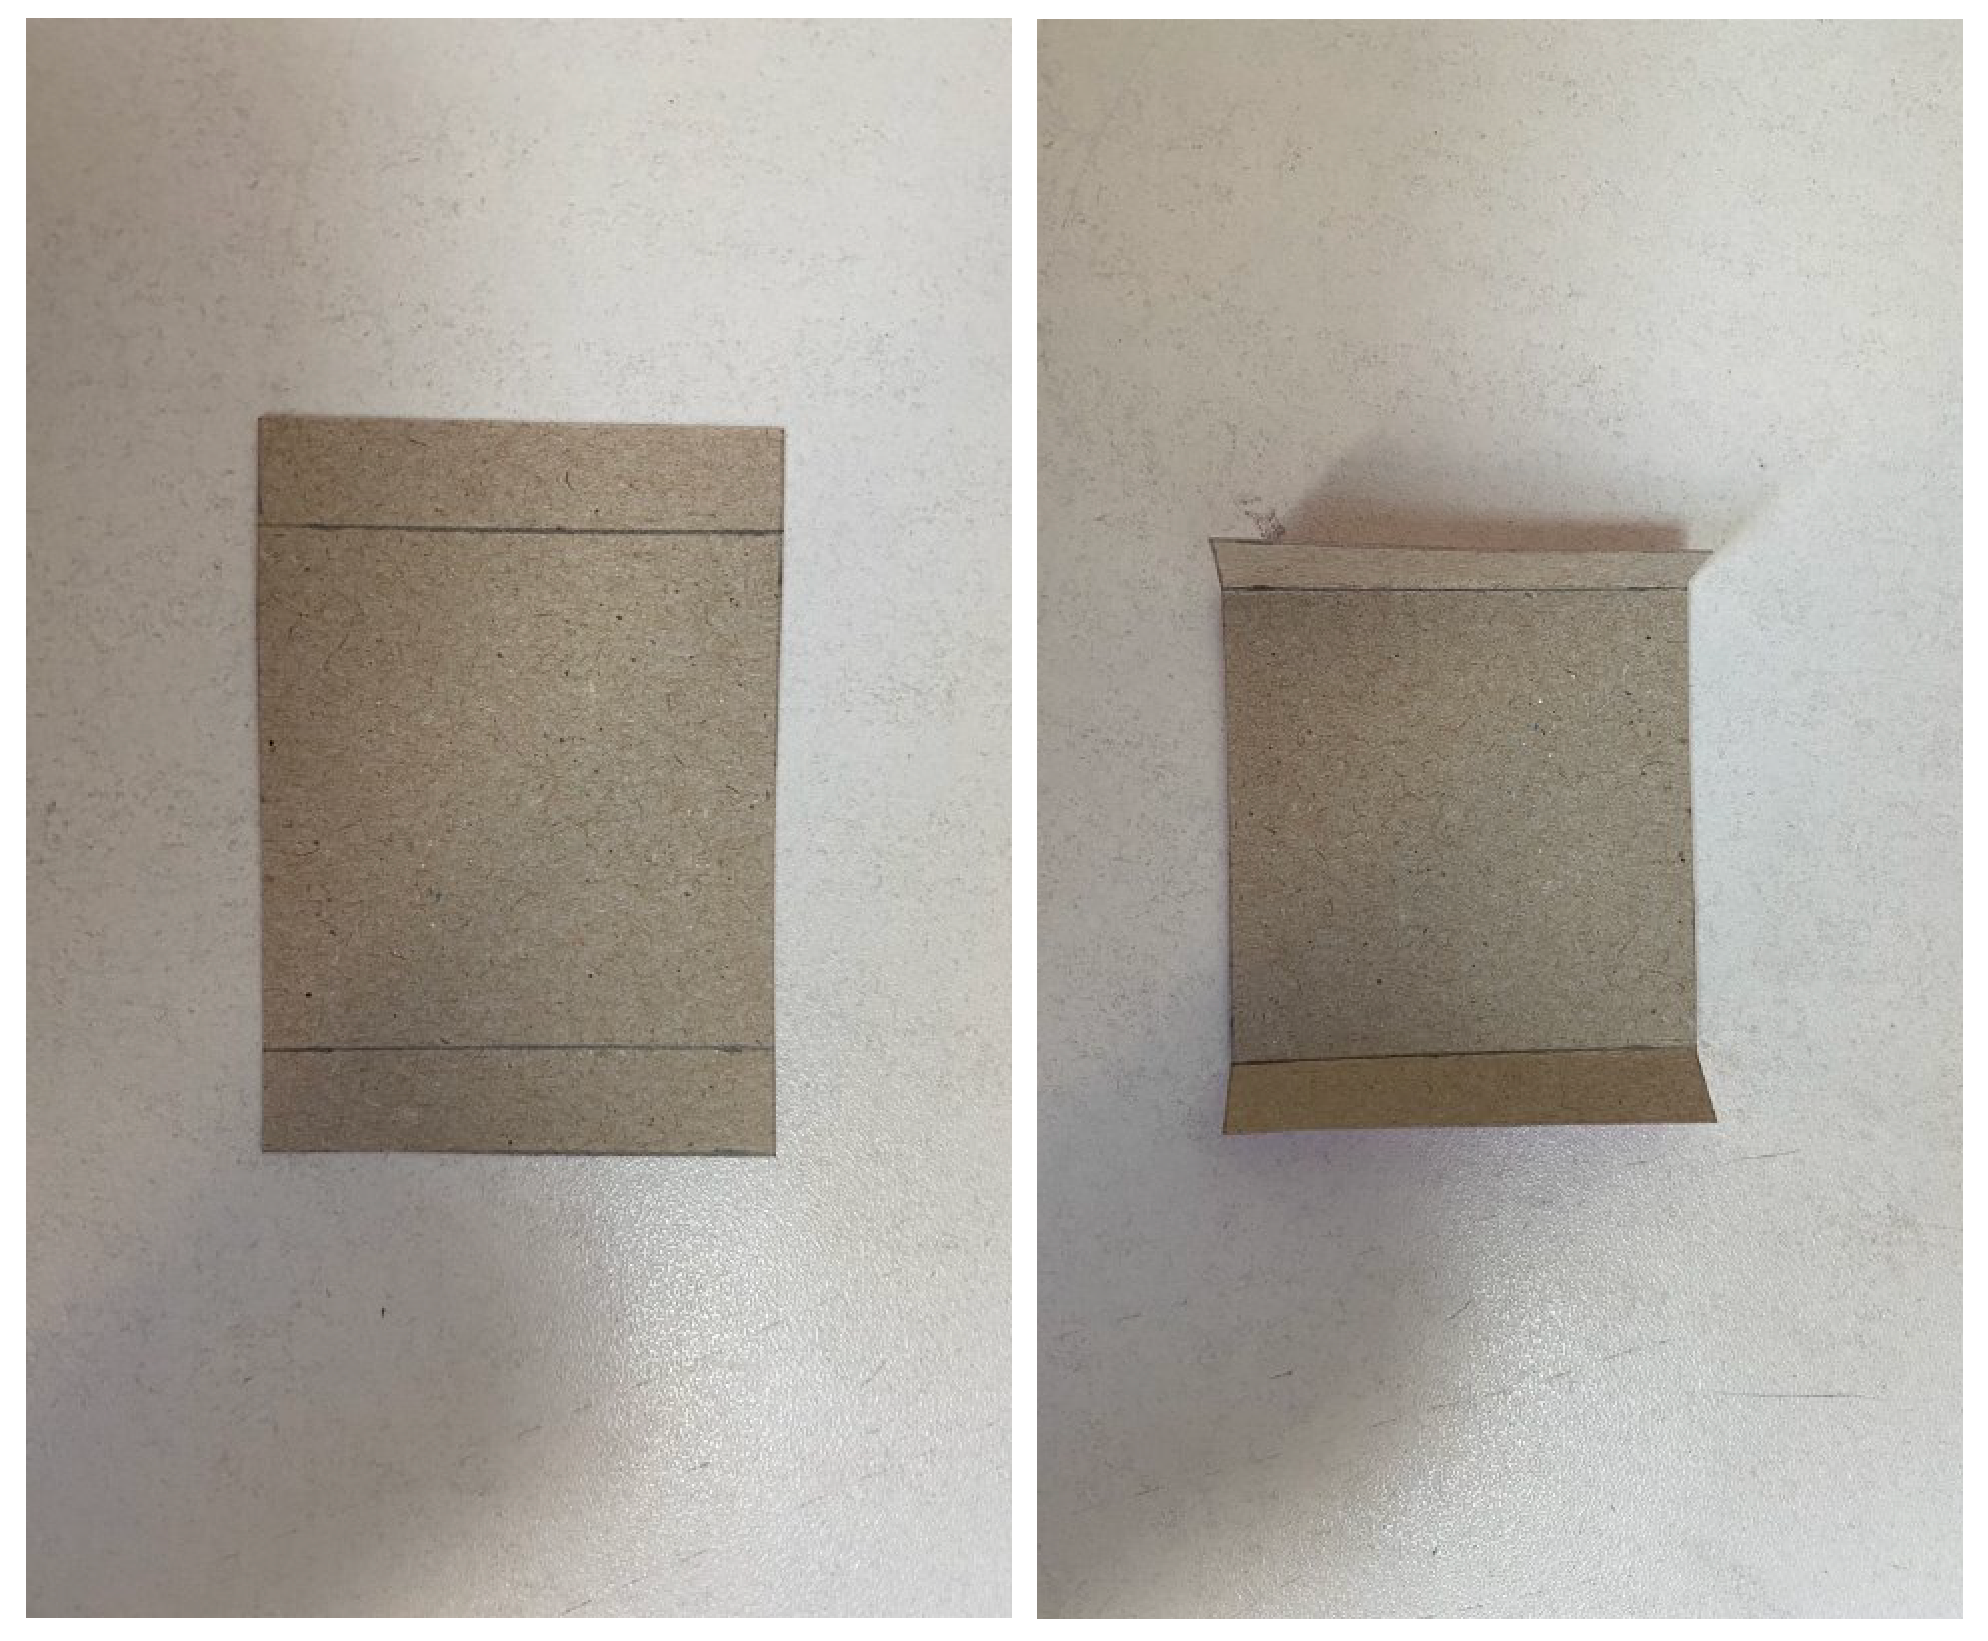
Cut out a 13 cm x 21 cm piece of colored cardboard
Step back from the bottom side 1 cm to the inside as shown in the picture below
- Bend the part from the bottom up from the line that you receded
- Bend the part in half 2 times
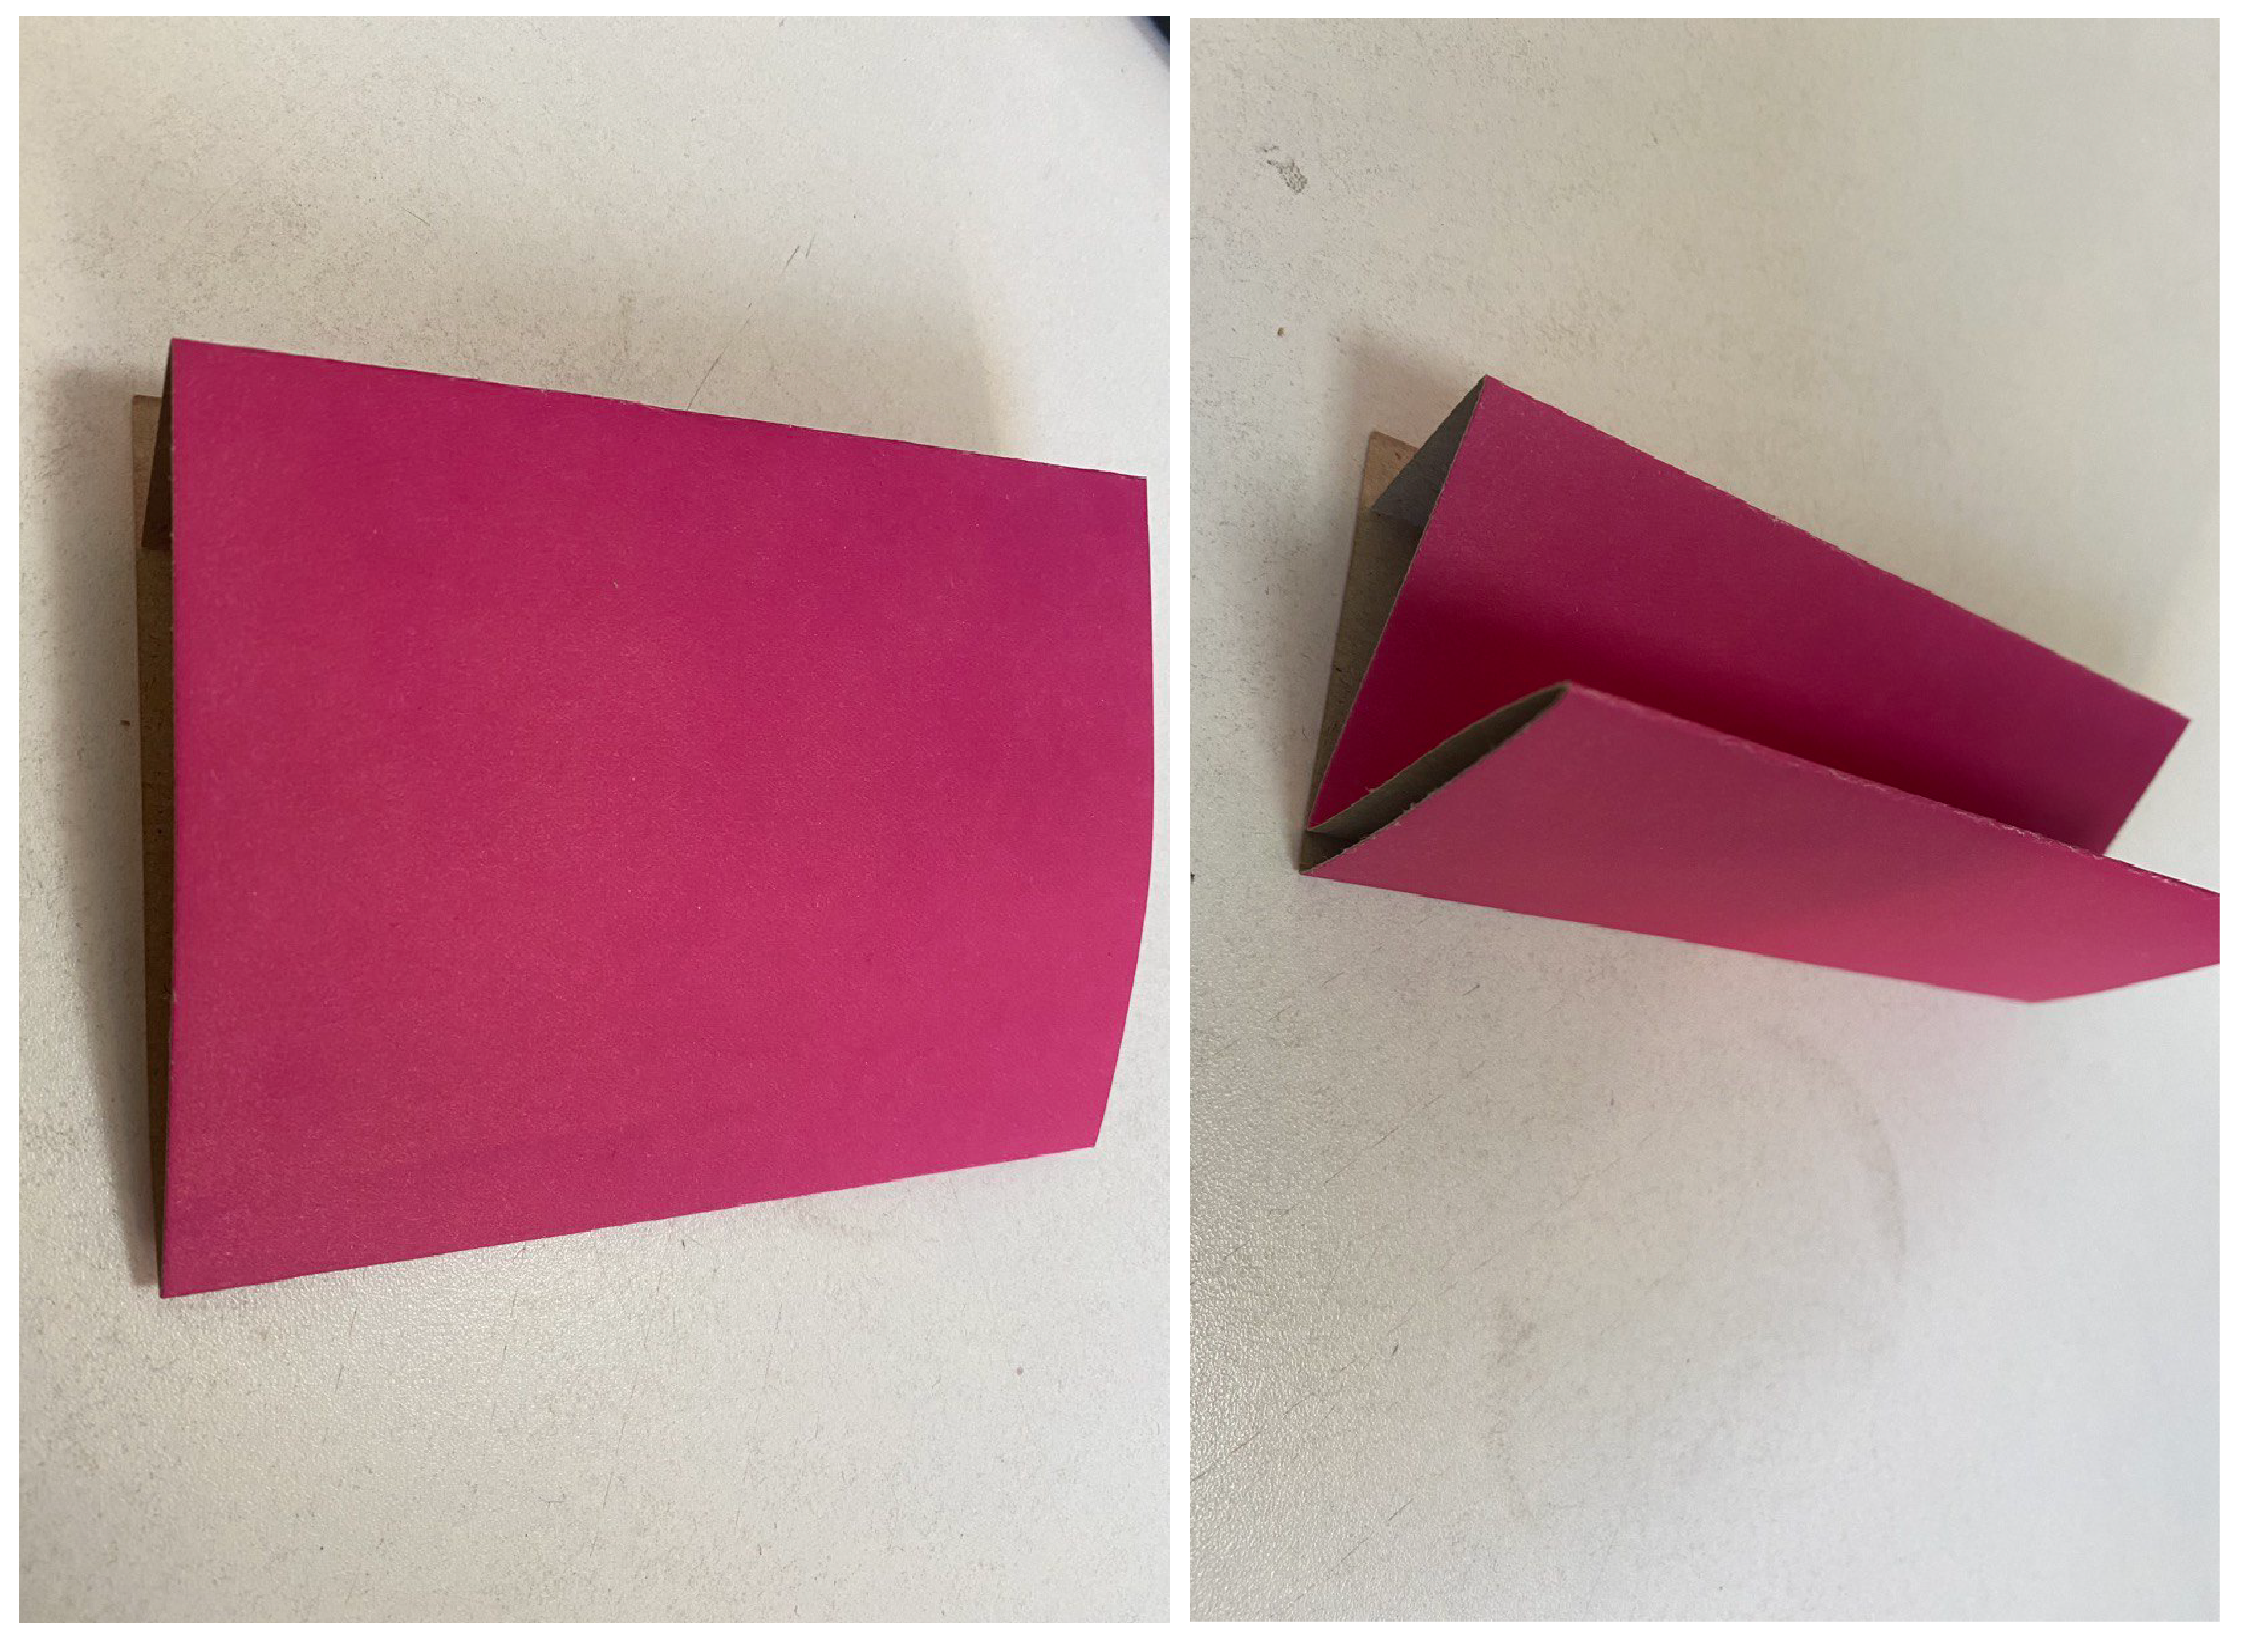
- Open Detail
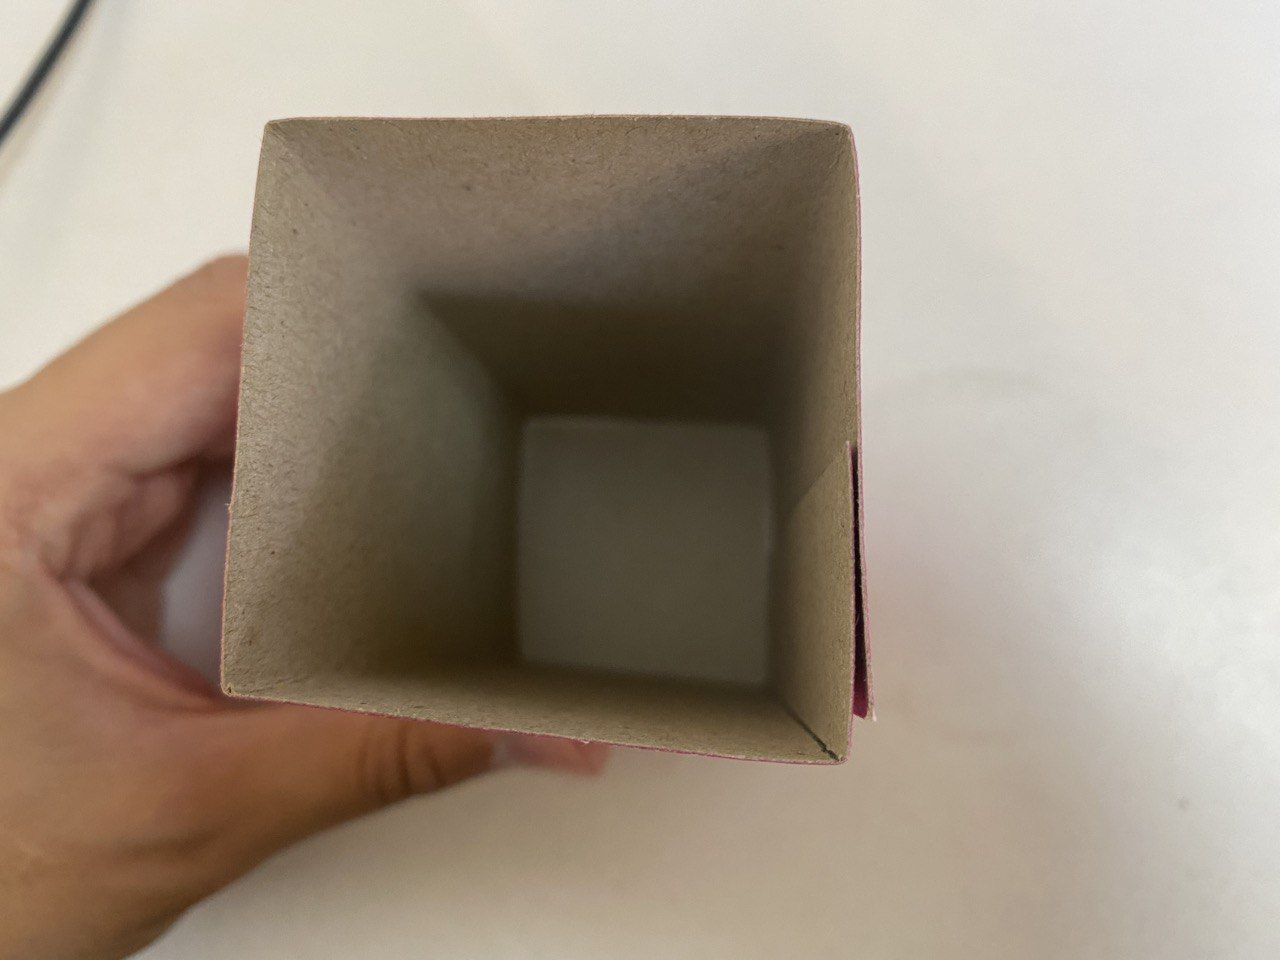
- Assemble the cuboid using the folded lines (glue the connection with paper glue)
- Draw a square with a side of 5 cm on cardboard
- Step back on both sides of the square 1 cm
- Bend the part along the lines that receded from the square
- Glue the square to the cuboid by applying glue to the bent joints
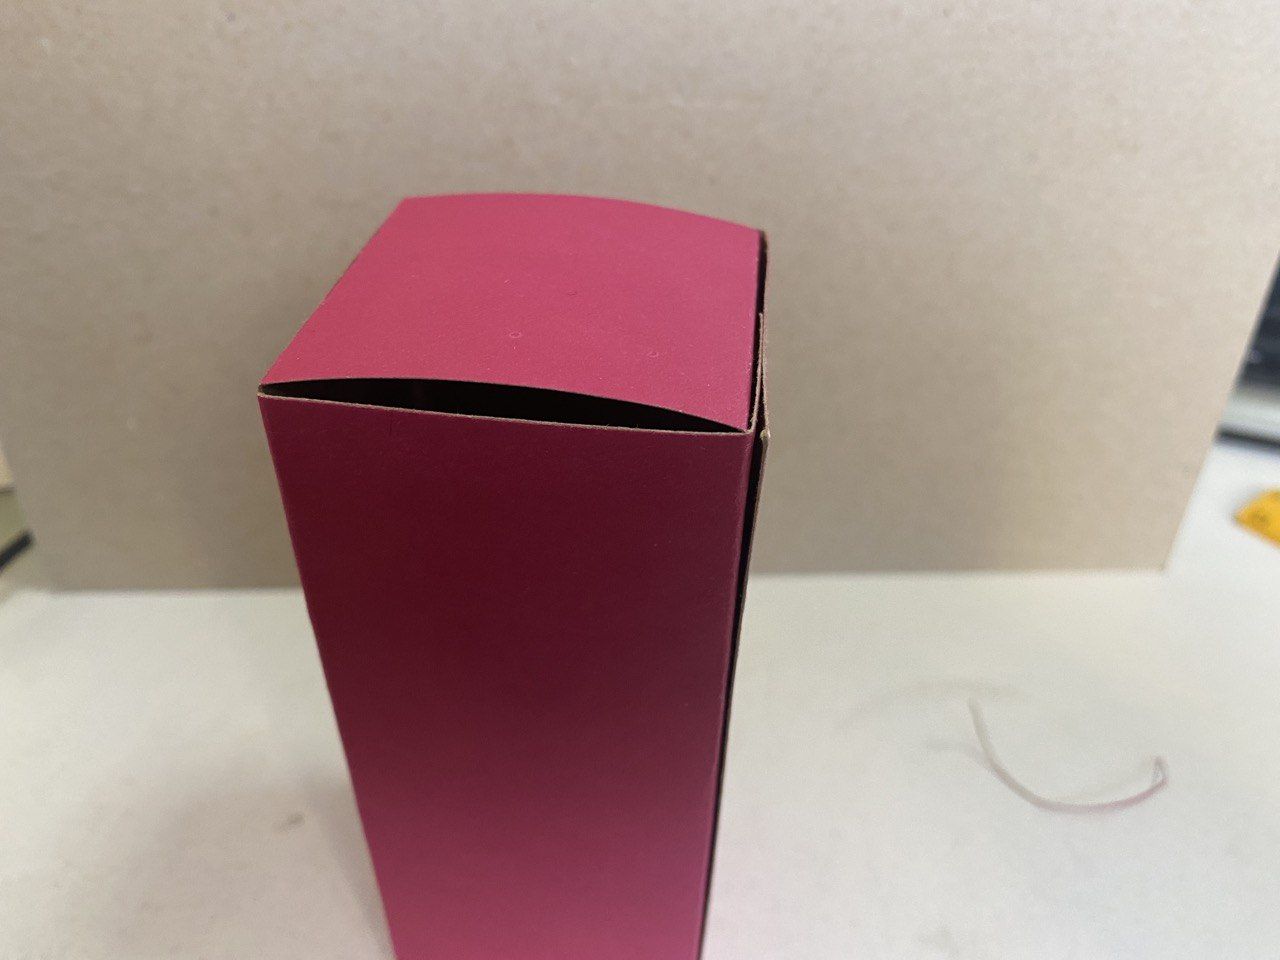
- 4 students should get 4 parallelepipeds
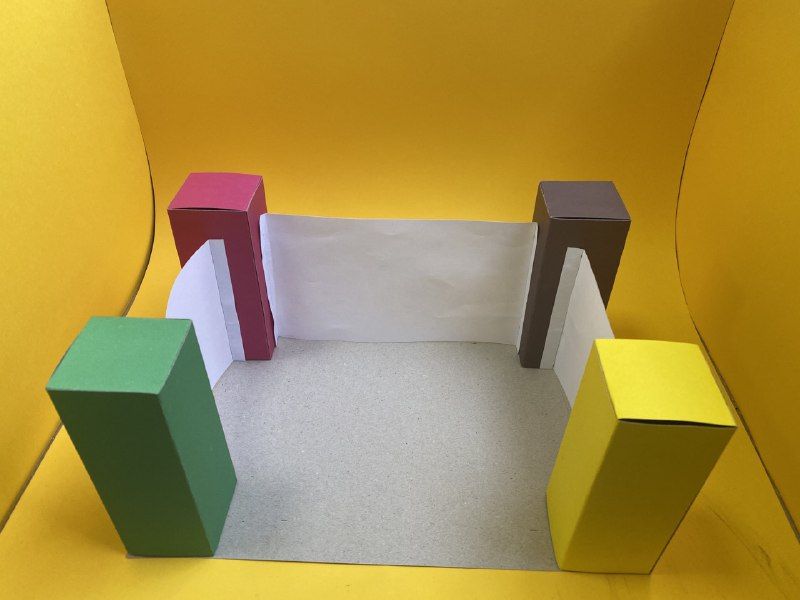
- Glue the rectangular boxes to the cardboard base (the size of an A4 sheet)
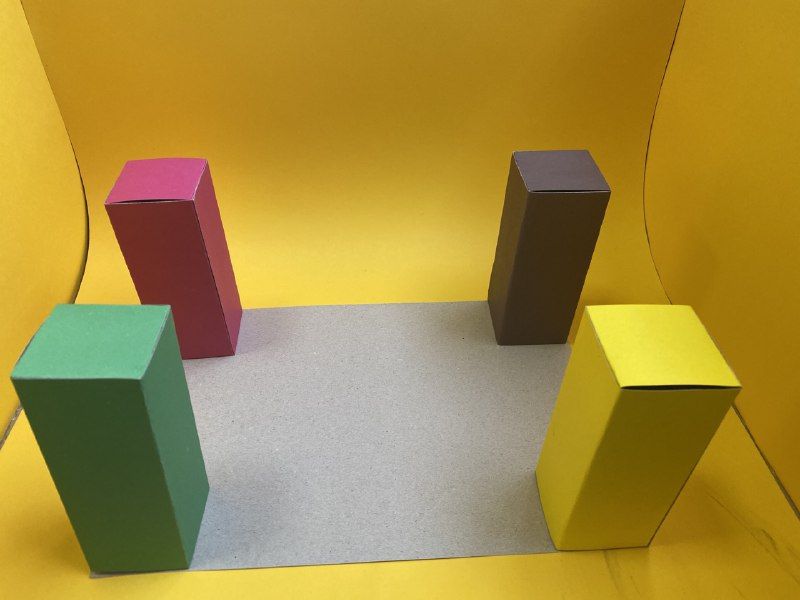
- Use a ruler to measure the distance between the parallelepipeds
- Cut out a piece of A4 sheet with a width of 11 cm and a length equal to the distance between the parallelepipeds
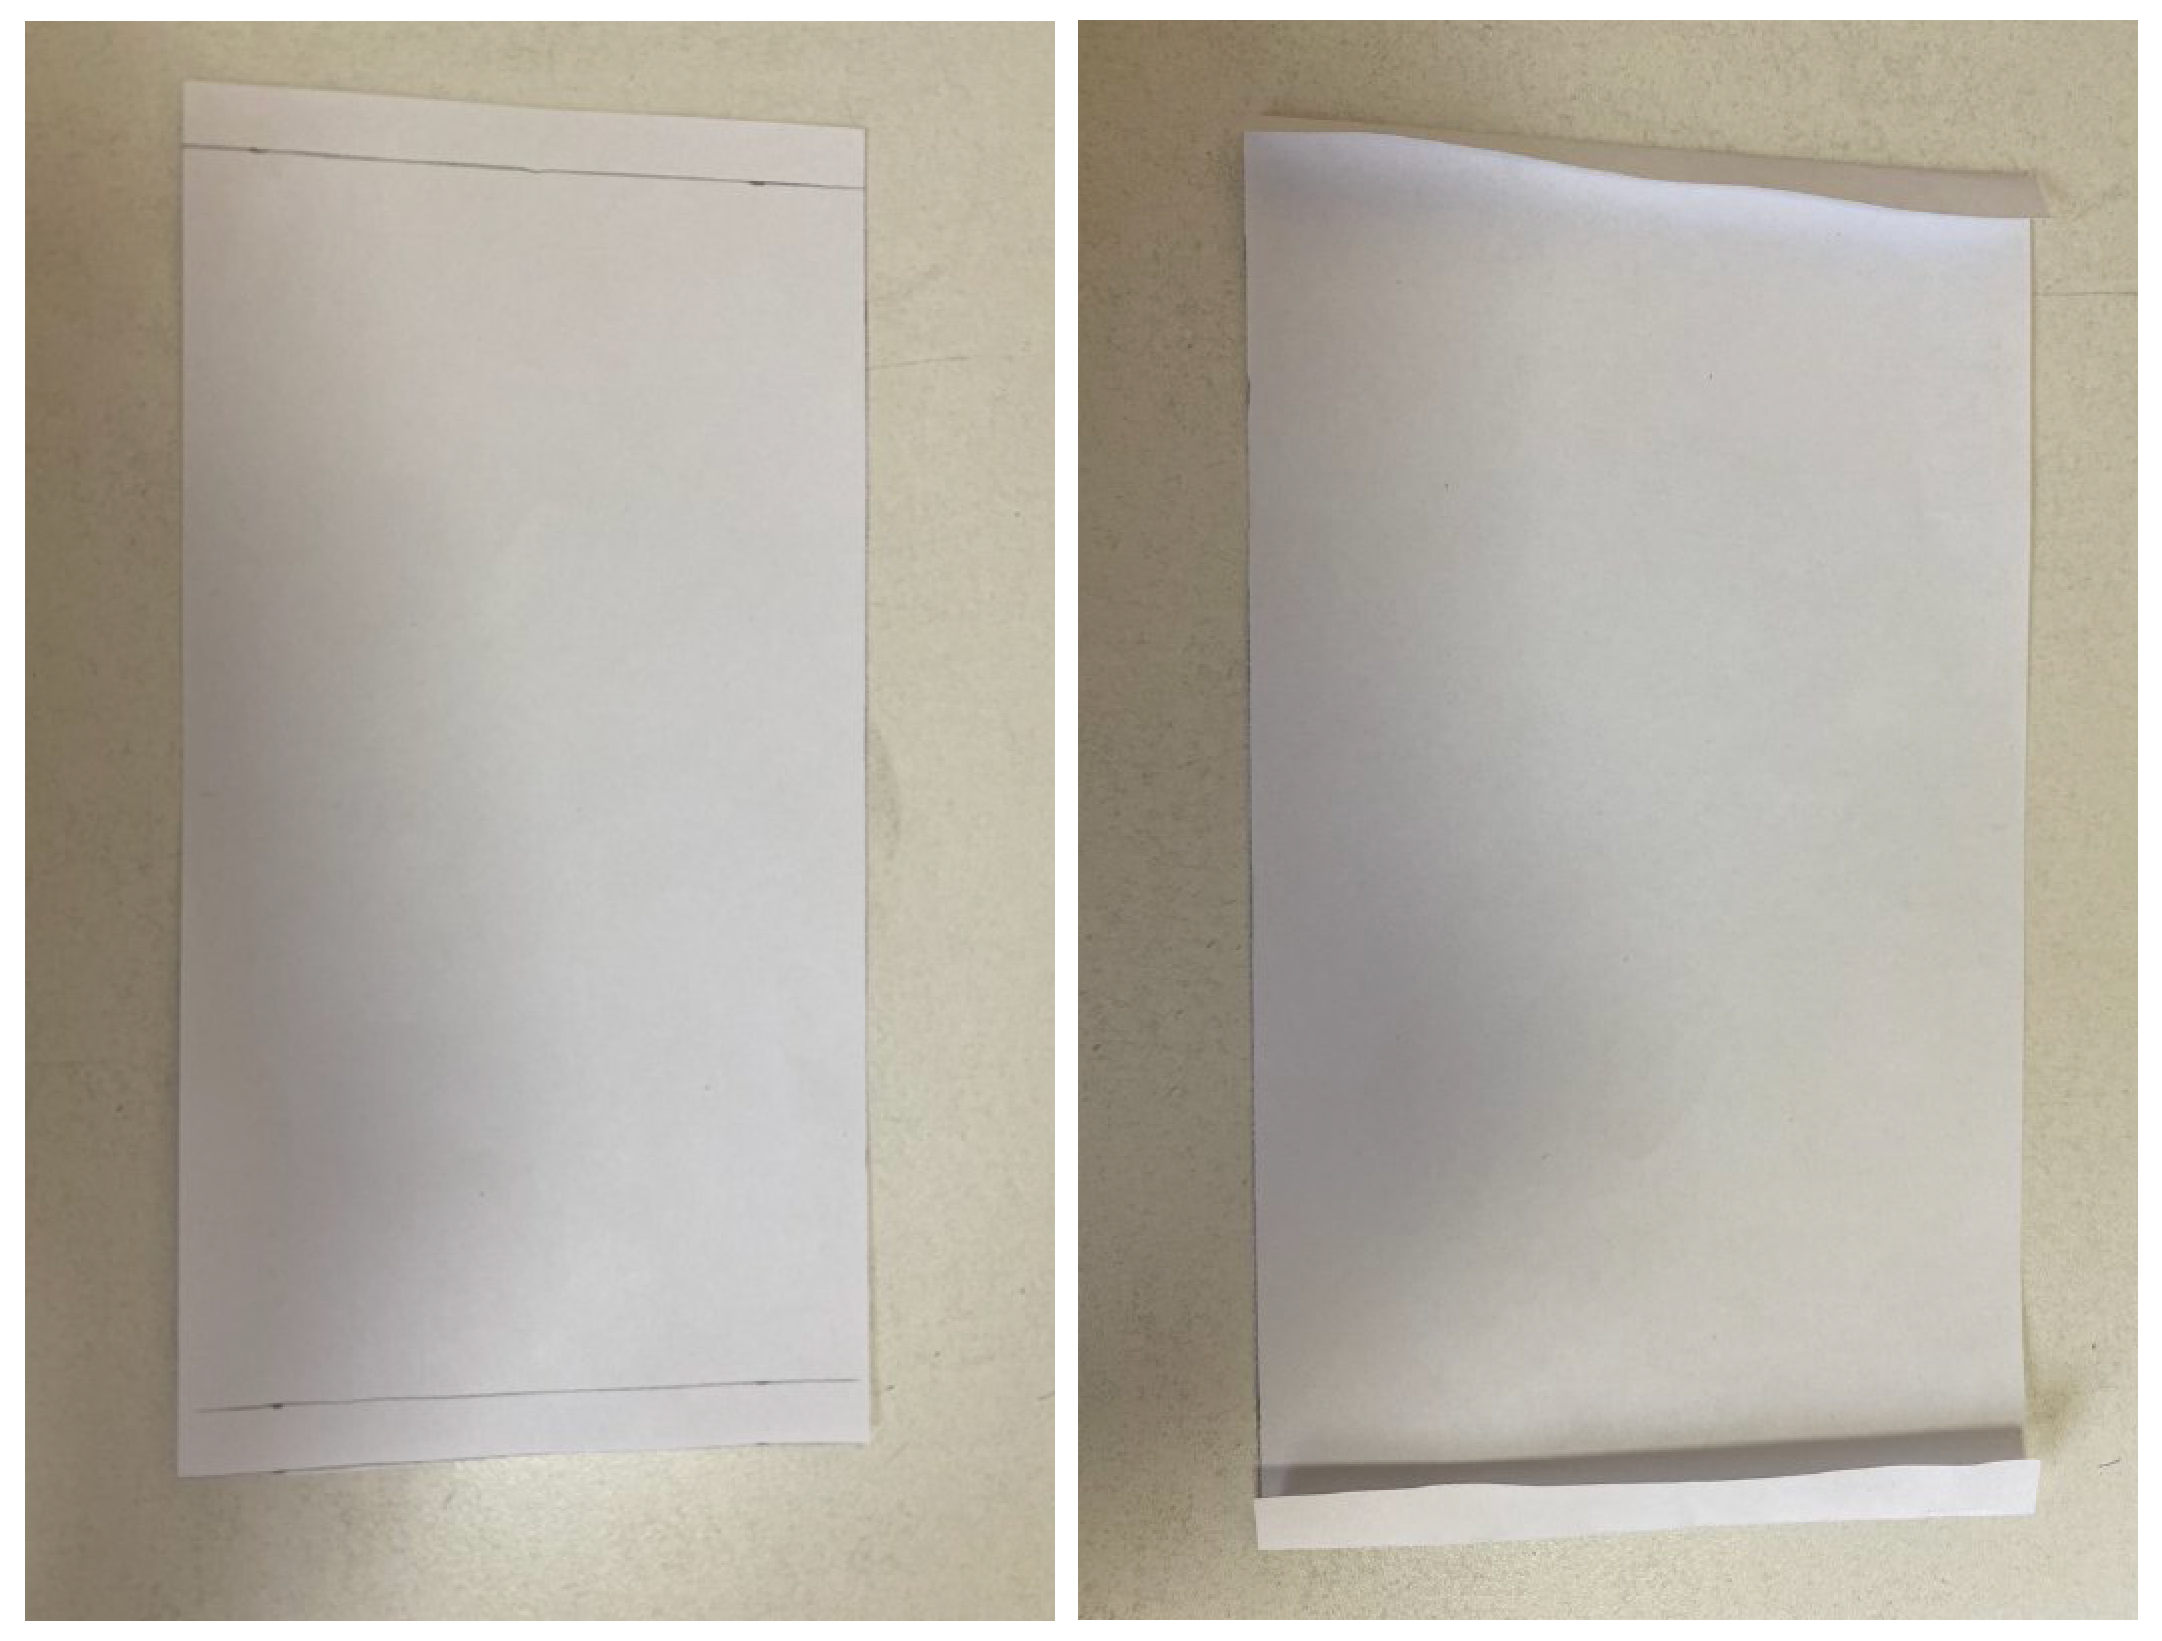
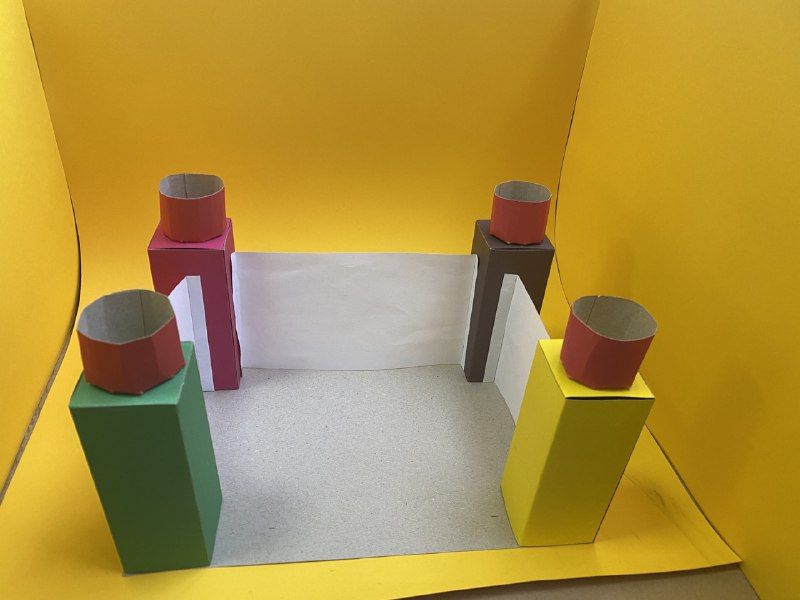
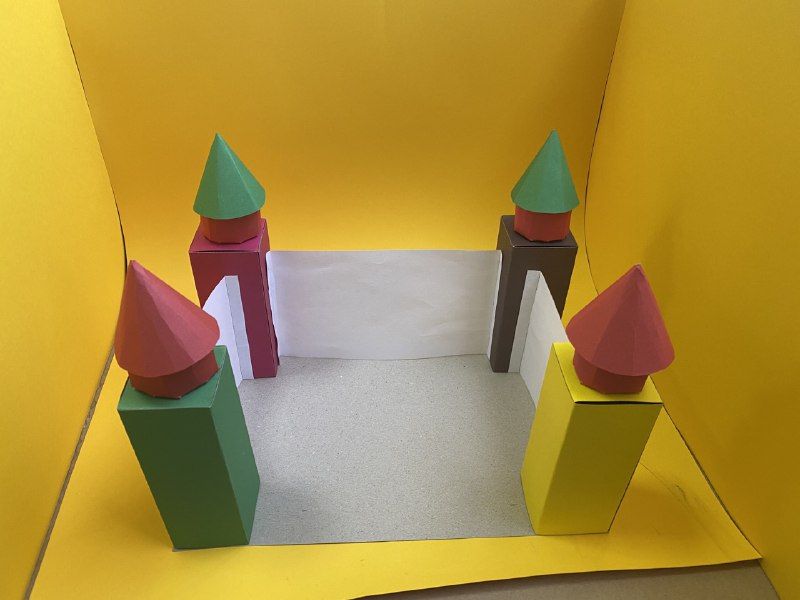
Glue the resulting pieces of A4 sheet to the middle of the parallelepipeds so that you get walls (shown in the picture below)
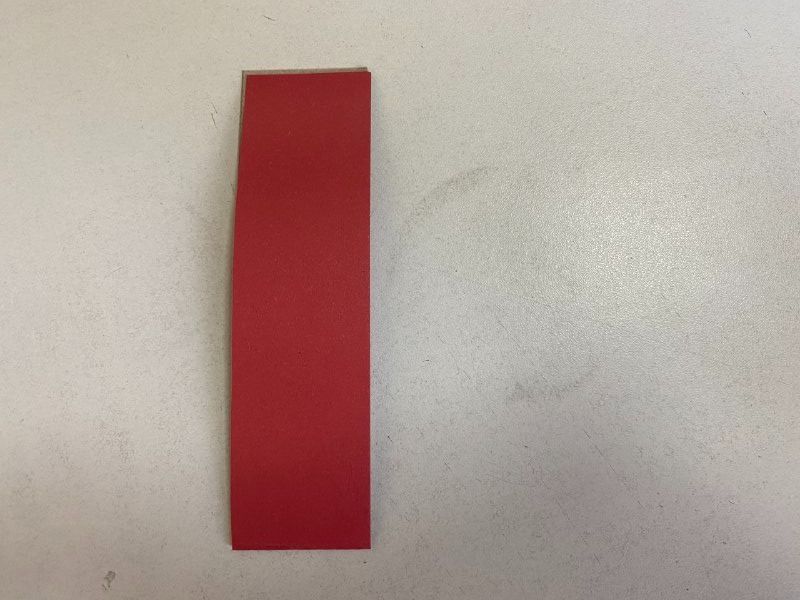
Cut out a piece of colored cardboard measuring 15 cm by 4 cm. (4 students should get 4 pieces)
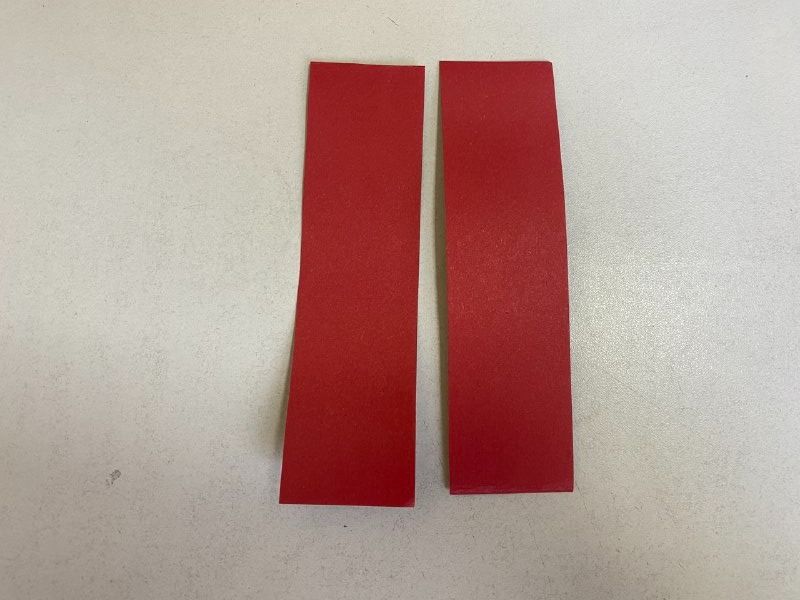
Glue the edges of the part so that you get a cylinder
- Make 1 cm vertical cuts in one side of the cylinder
- Bend the resulting incisions to the inside
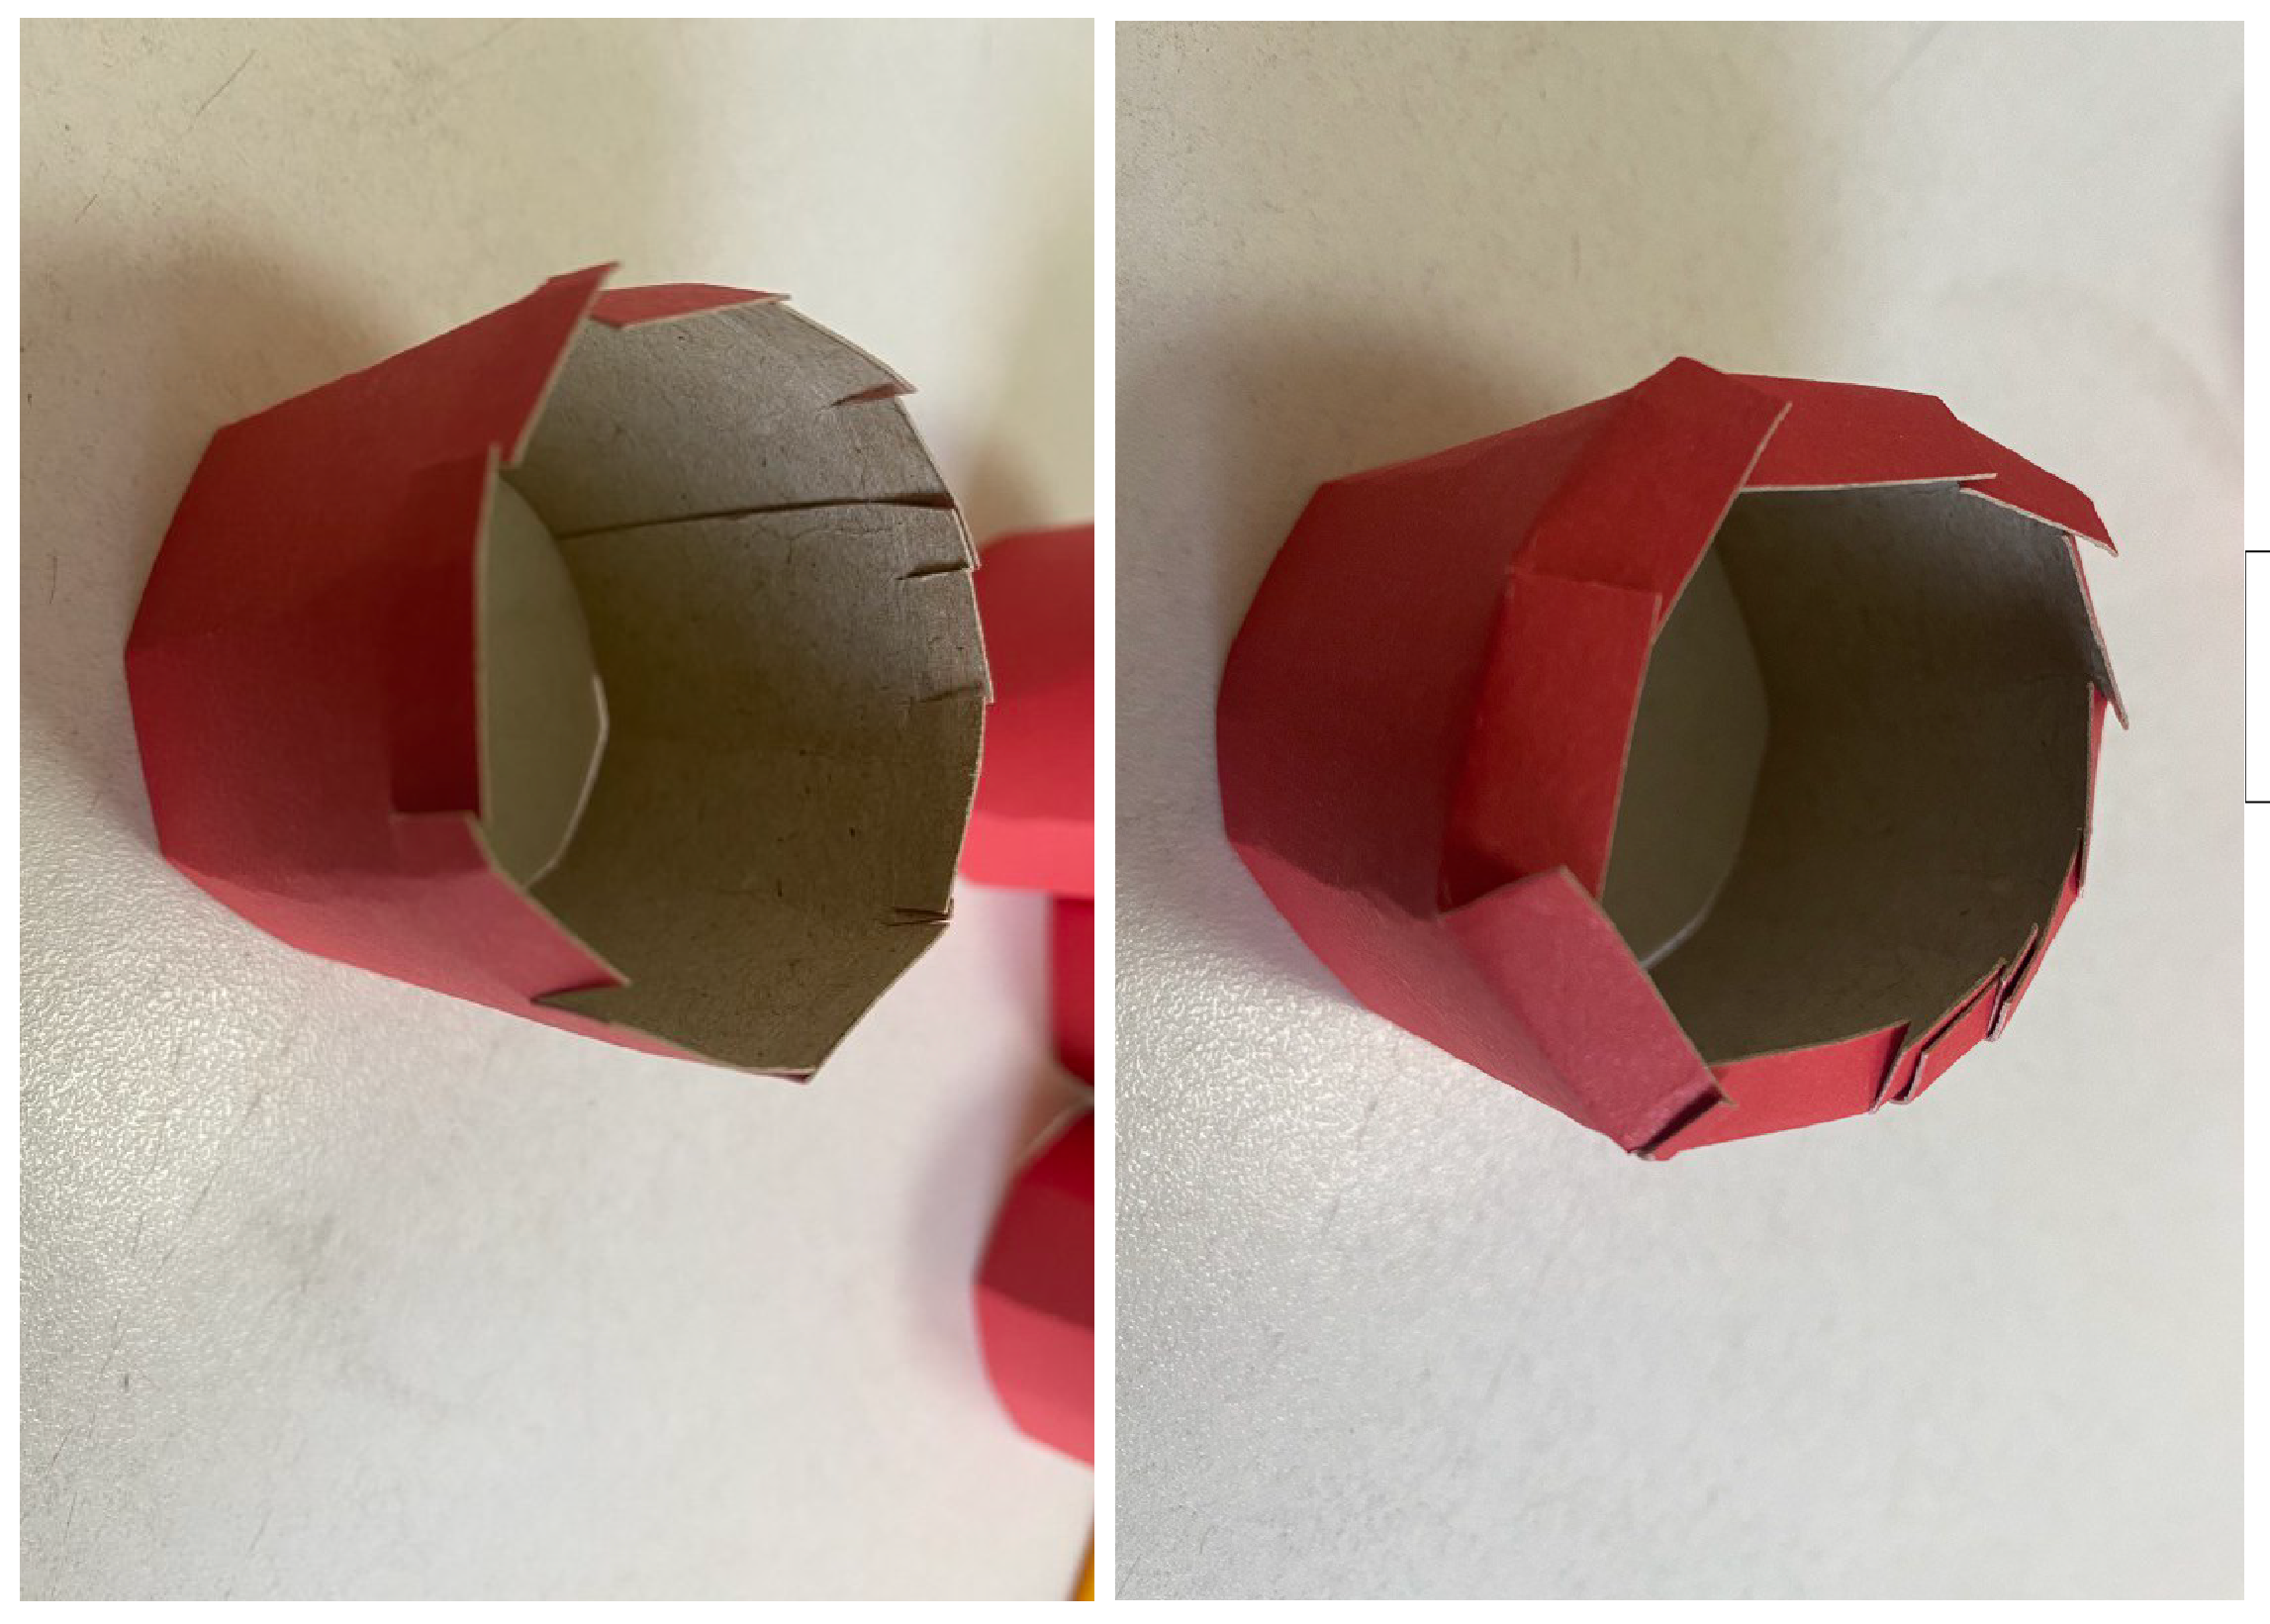
Glue the resulting cylinders to the top of the boxes (the side with the bent notches pointing down)
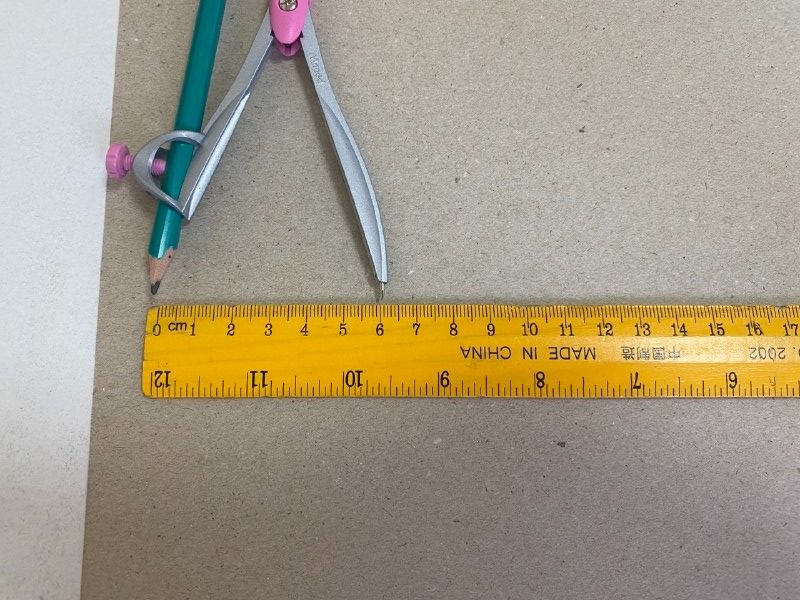
Open compasses 6 cm
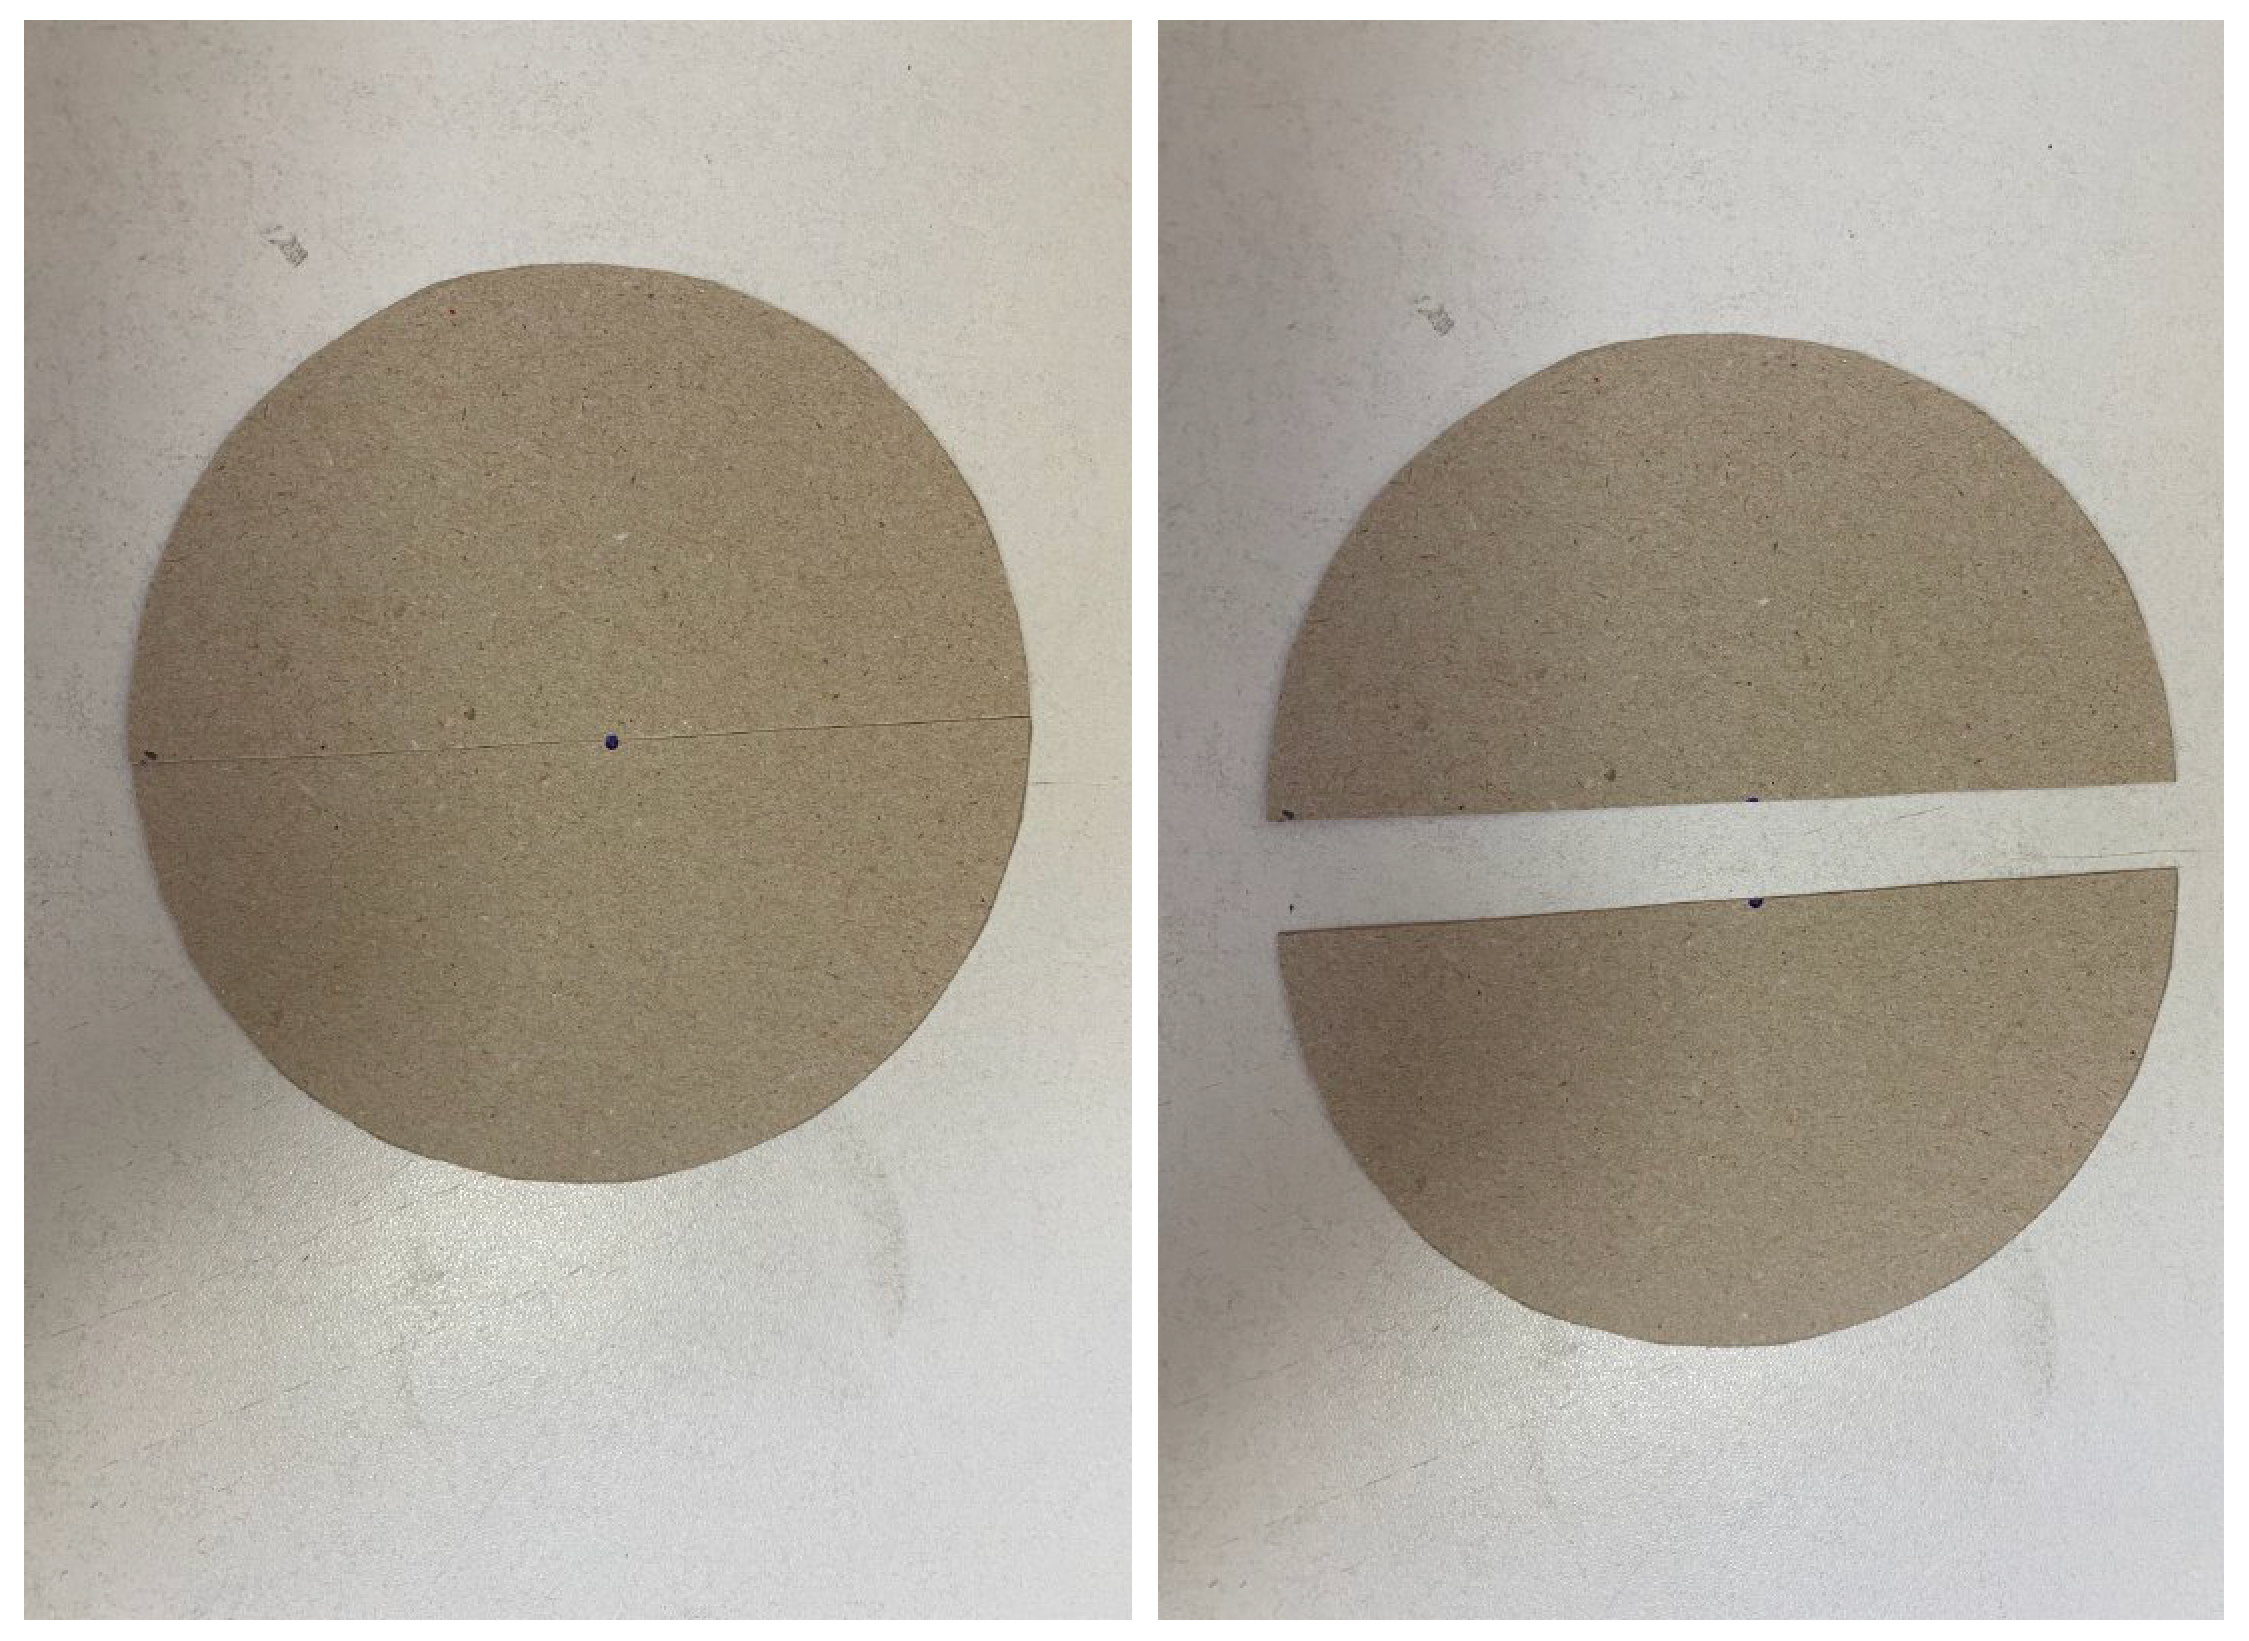
- Draw a circle on a piece of colored paper and cut it out.
- Divide the circle in half
Take one half of the circle and bend it to make a cone (glue the edges with paper glue)
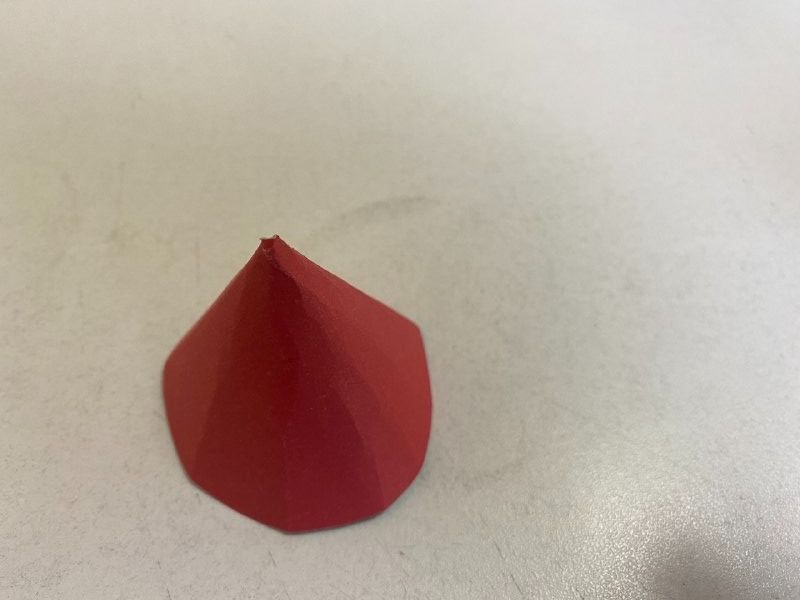
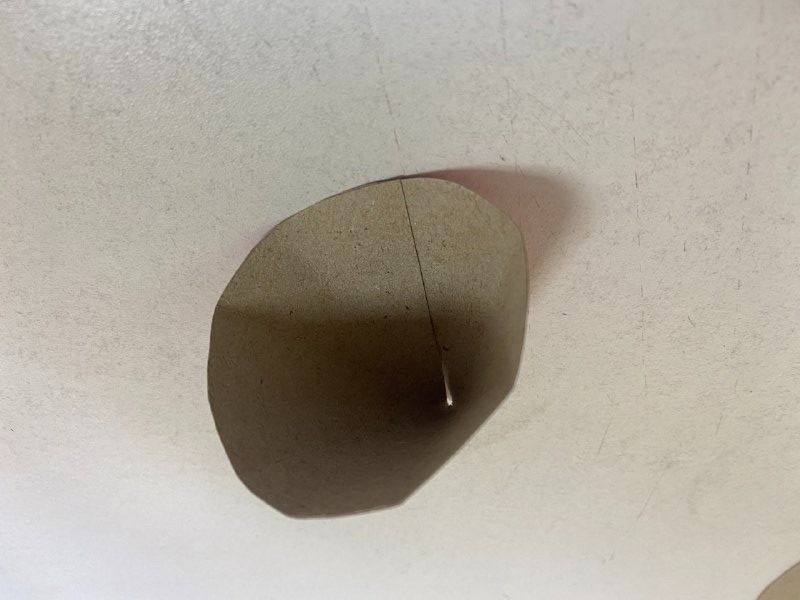
Attach the resulting cones to the top of the cylinders
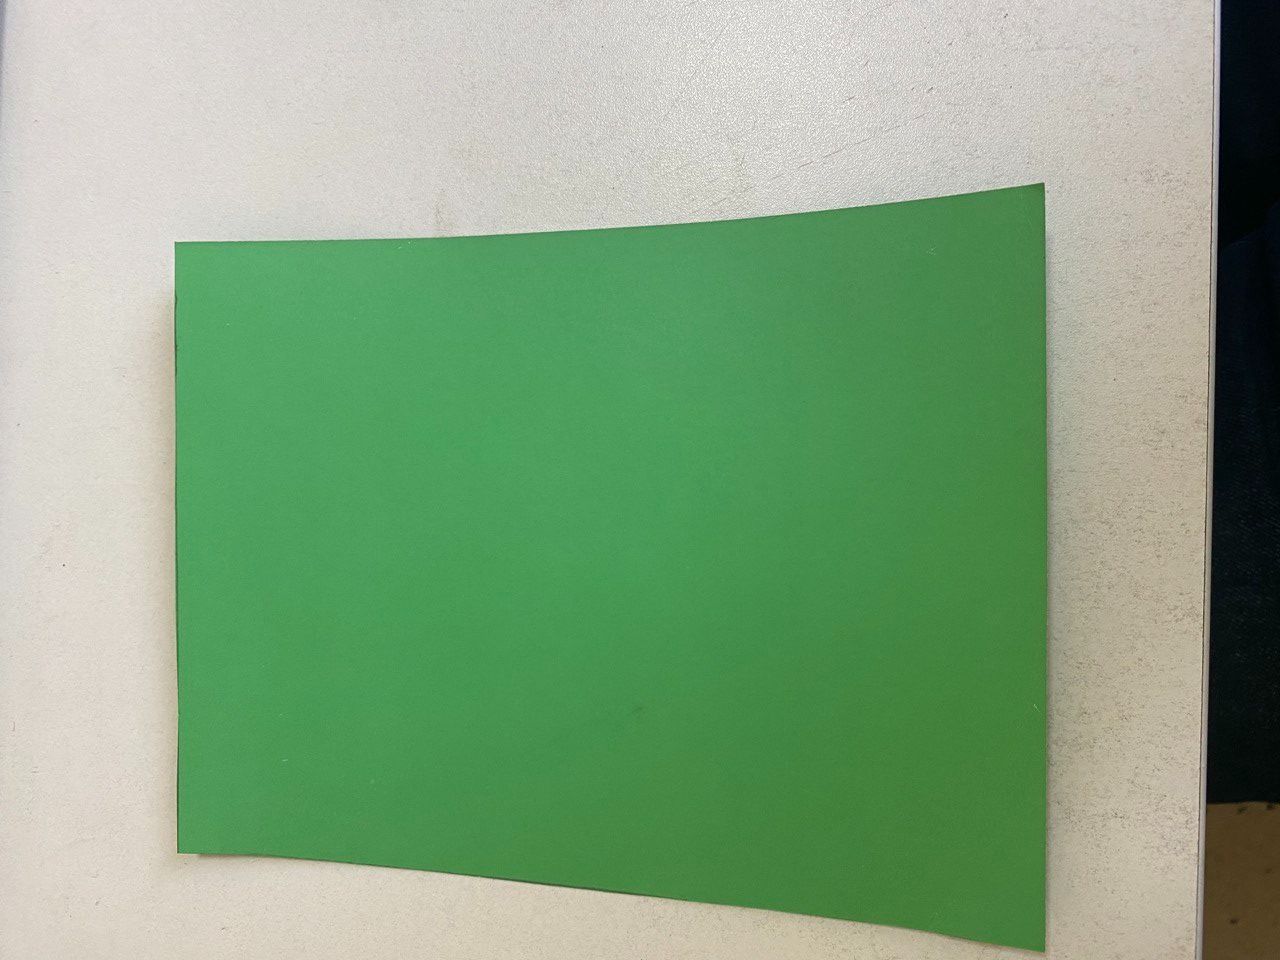
Cut out a piece of colored cardboard measuring 15 cm by 18 cm. (4 students should get 4 pieces)
Glue the edges of the part so that you get a cylinder
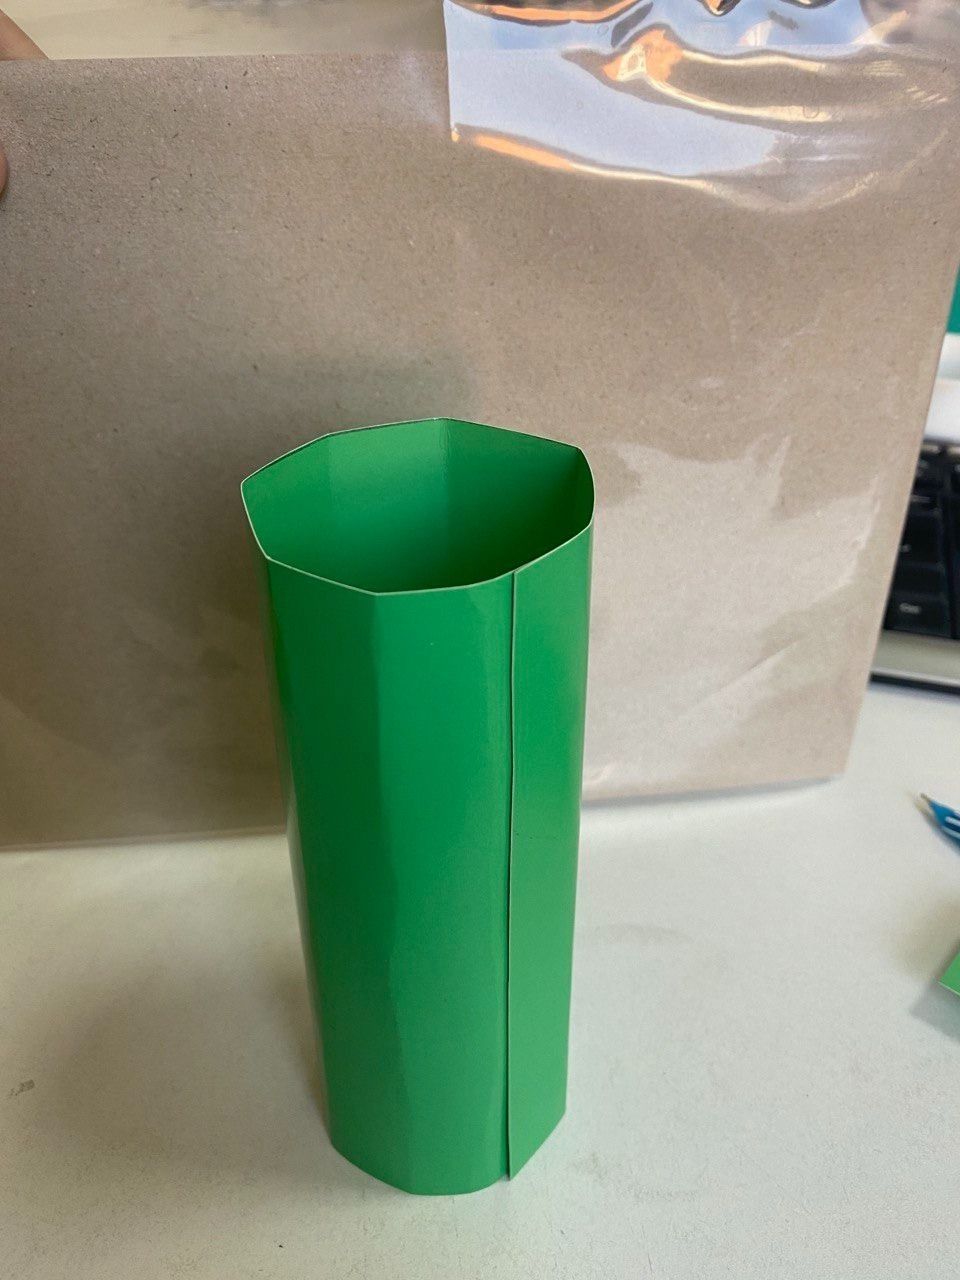
- Make 1 cm vertical cuts in one side of the cylinder
- Bend the resulting incisions to the inside
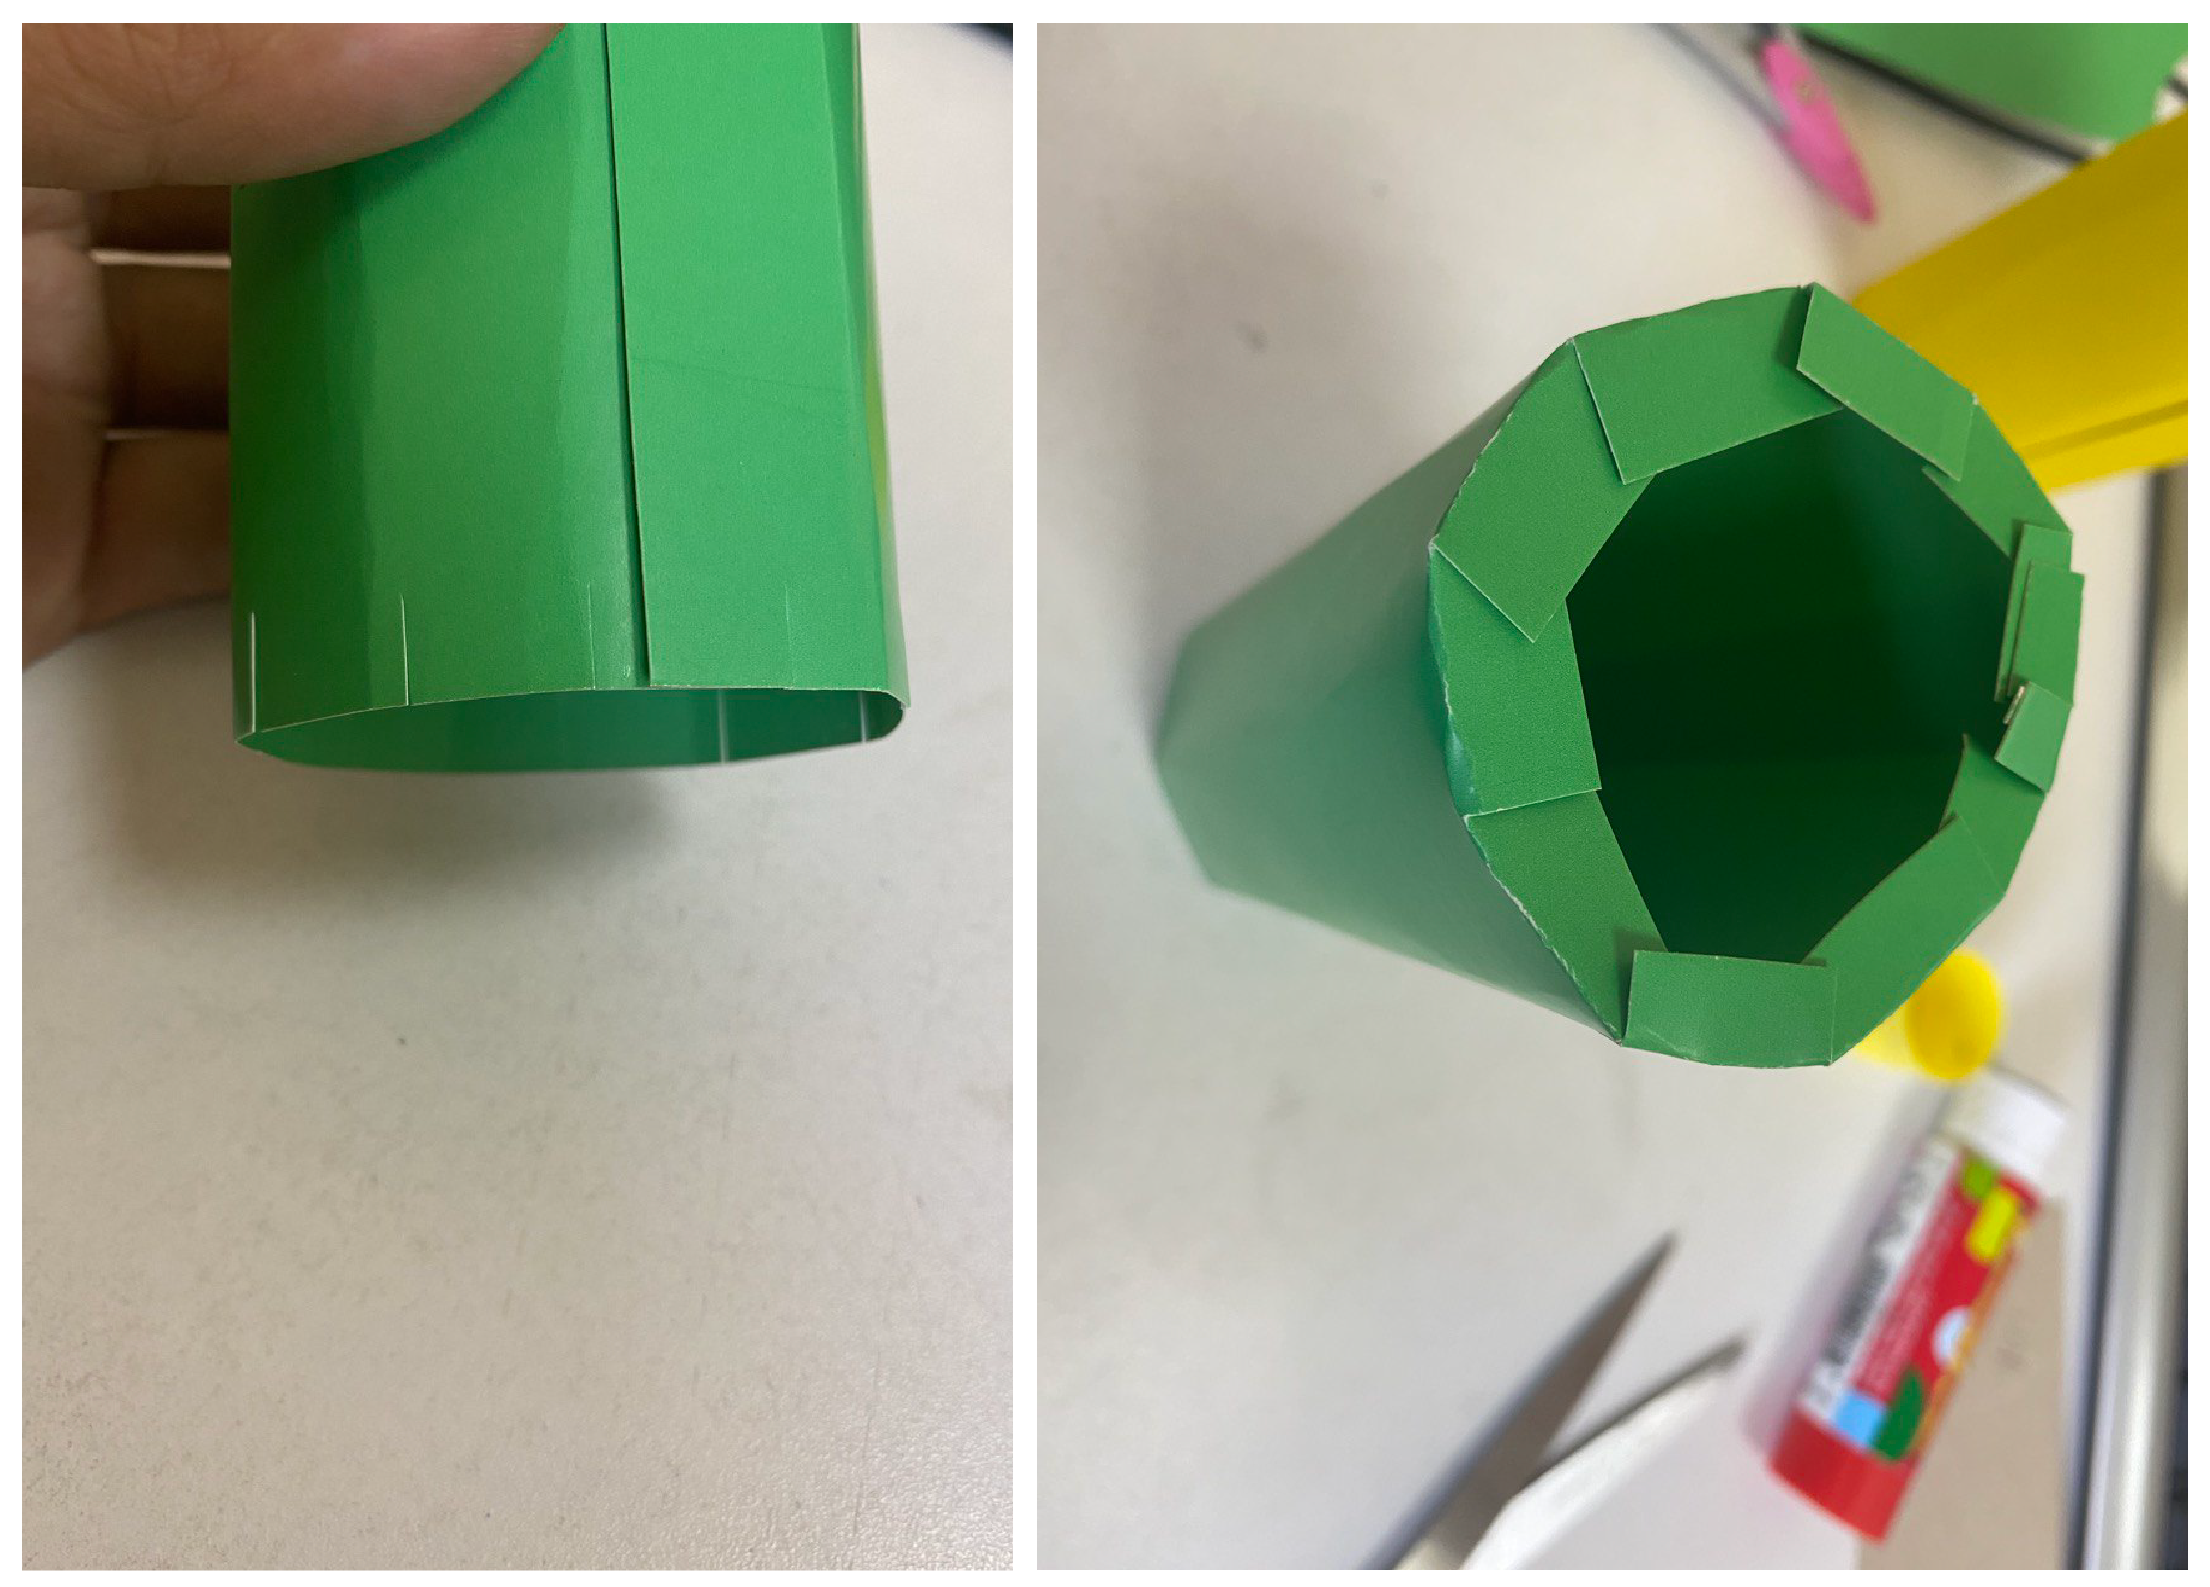
Glue the resulting cylinders in the areas shown in the picture below (the side with the bent notches pointing down)
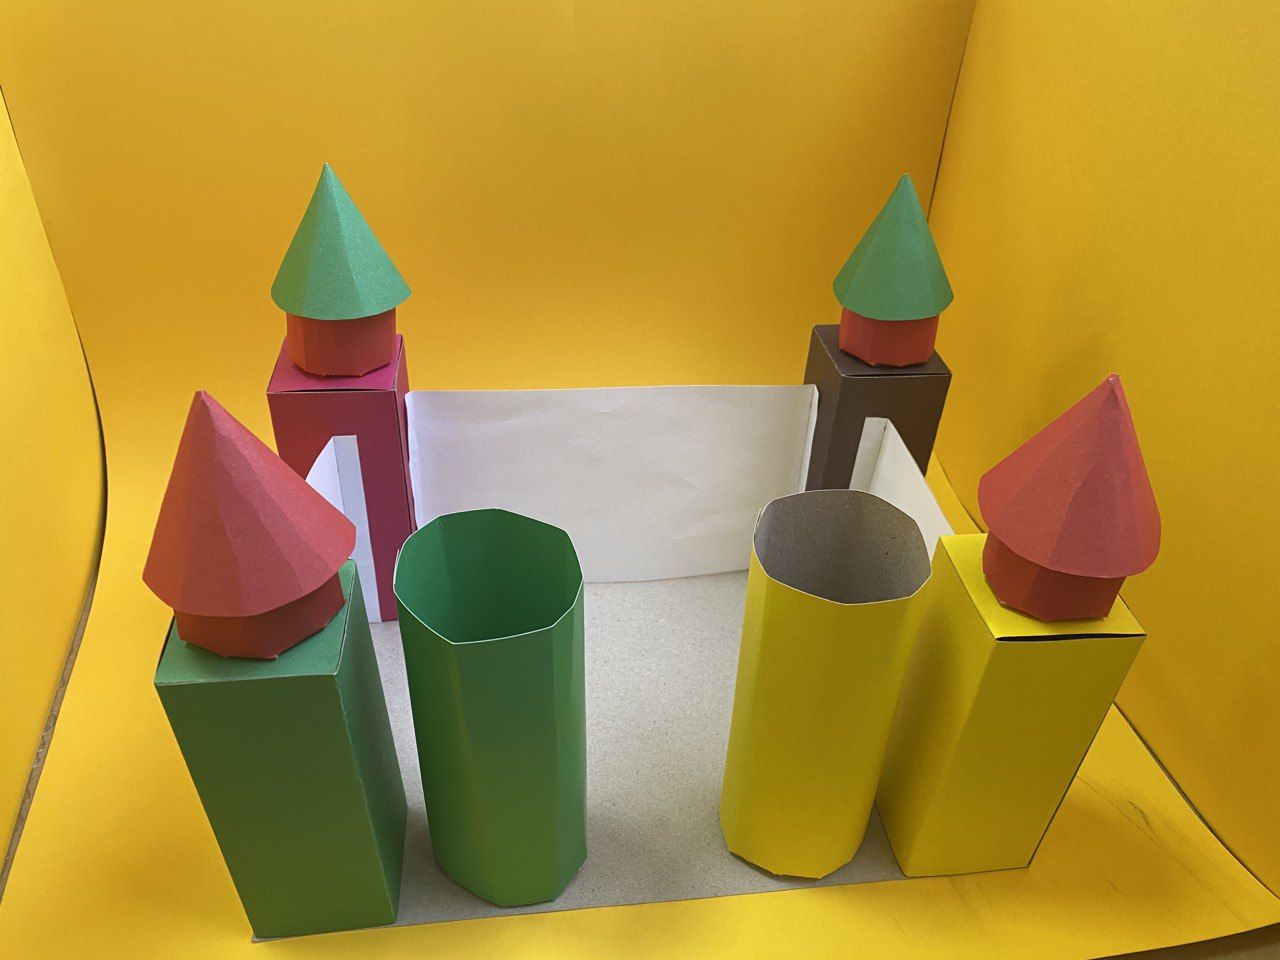
- Make 2 cones in the same way as shown above.
- Attach the cones to the top of the cylinders
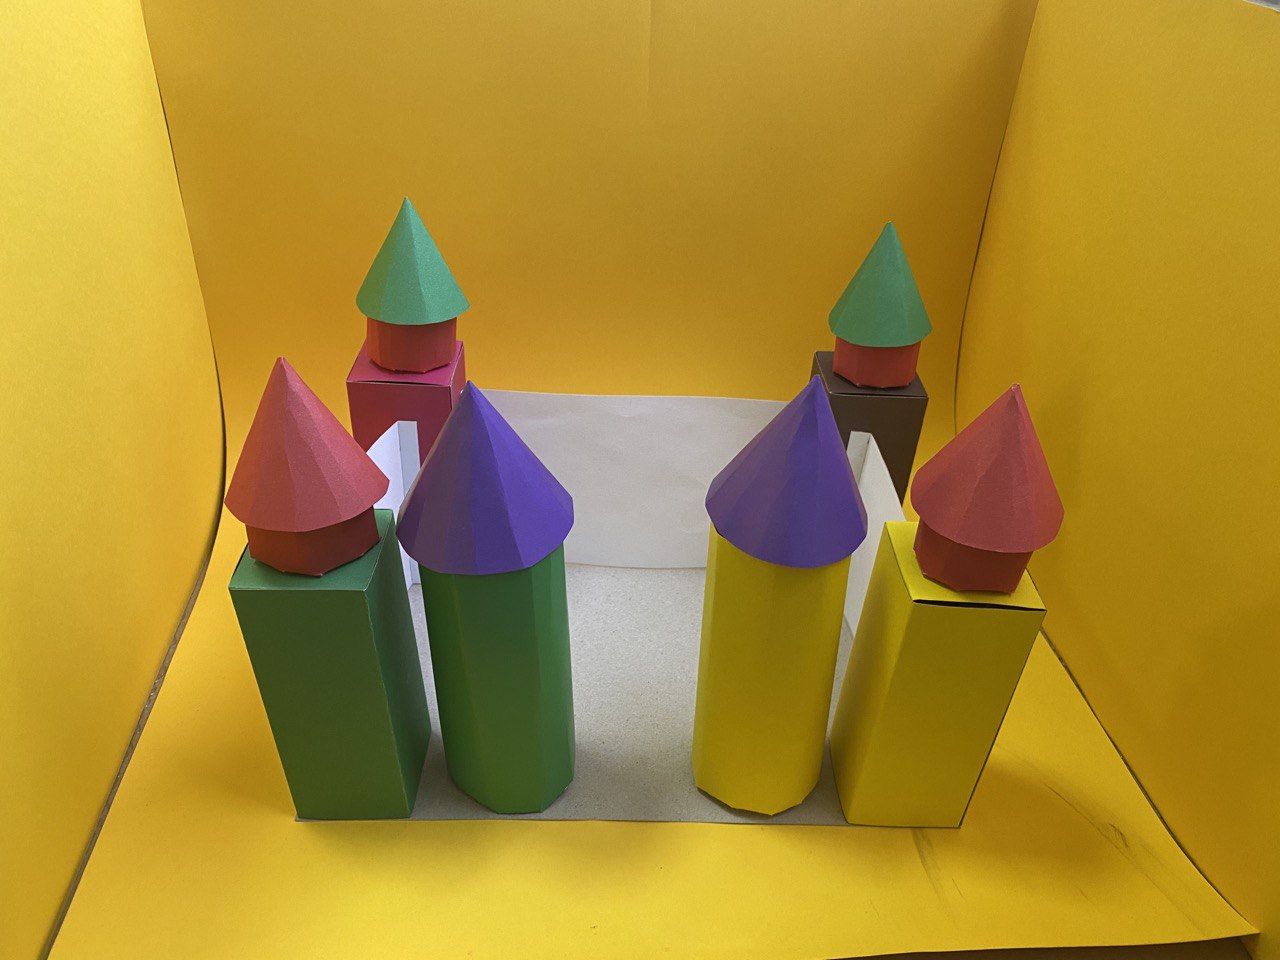
Conclusion
The students improved their knowledge of geometric figures through the creation of a command castle from geometric figures. Students also learned to distinguish between types of figures.
Evaluation