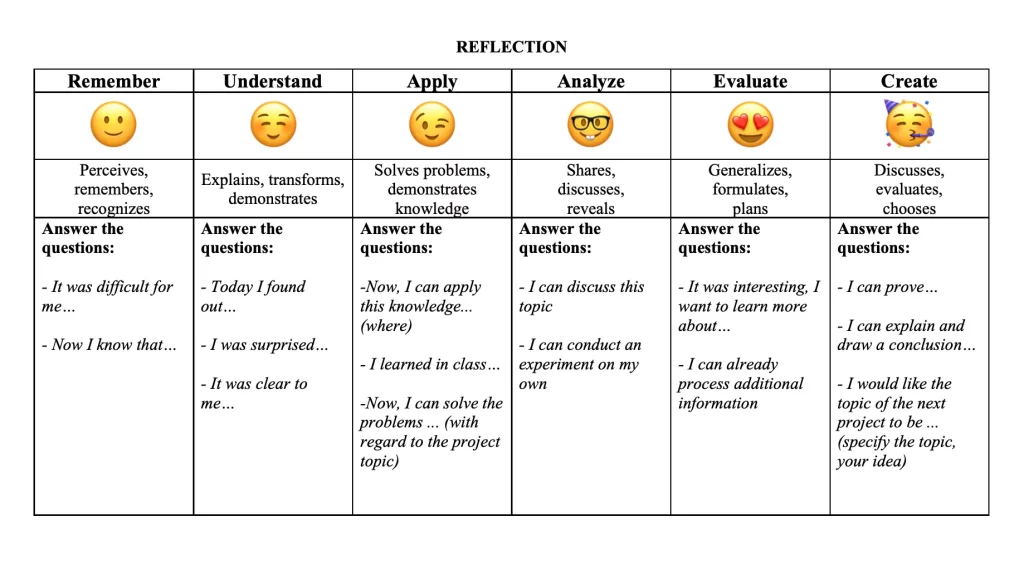
week 1
Teacher’s guide:
- Divide the students into groups;
- Give brief instructions on how to work with scissors and cardboard;
- Before beginning, tell the students about the history of fractions.
Objective:
- To learn how to represent geometric shapes;
- To improve their understanding of fractions;
- Develop imaginative and logical thinking
Before starting work, familiarise yourself with safety procedures [ safety insructions ].
Introduction
History of fractions
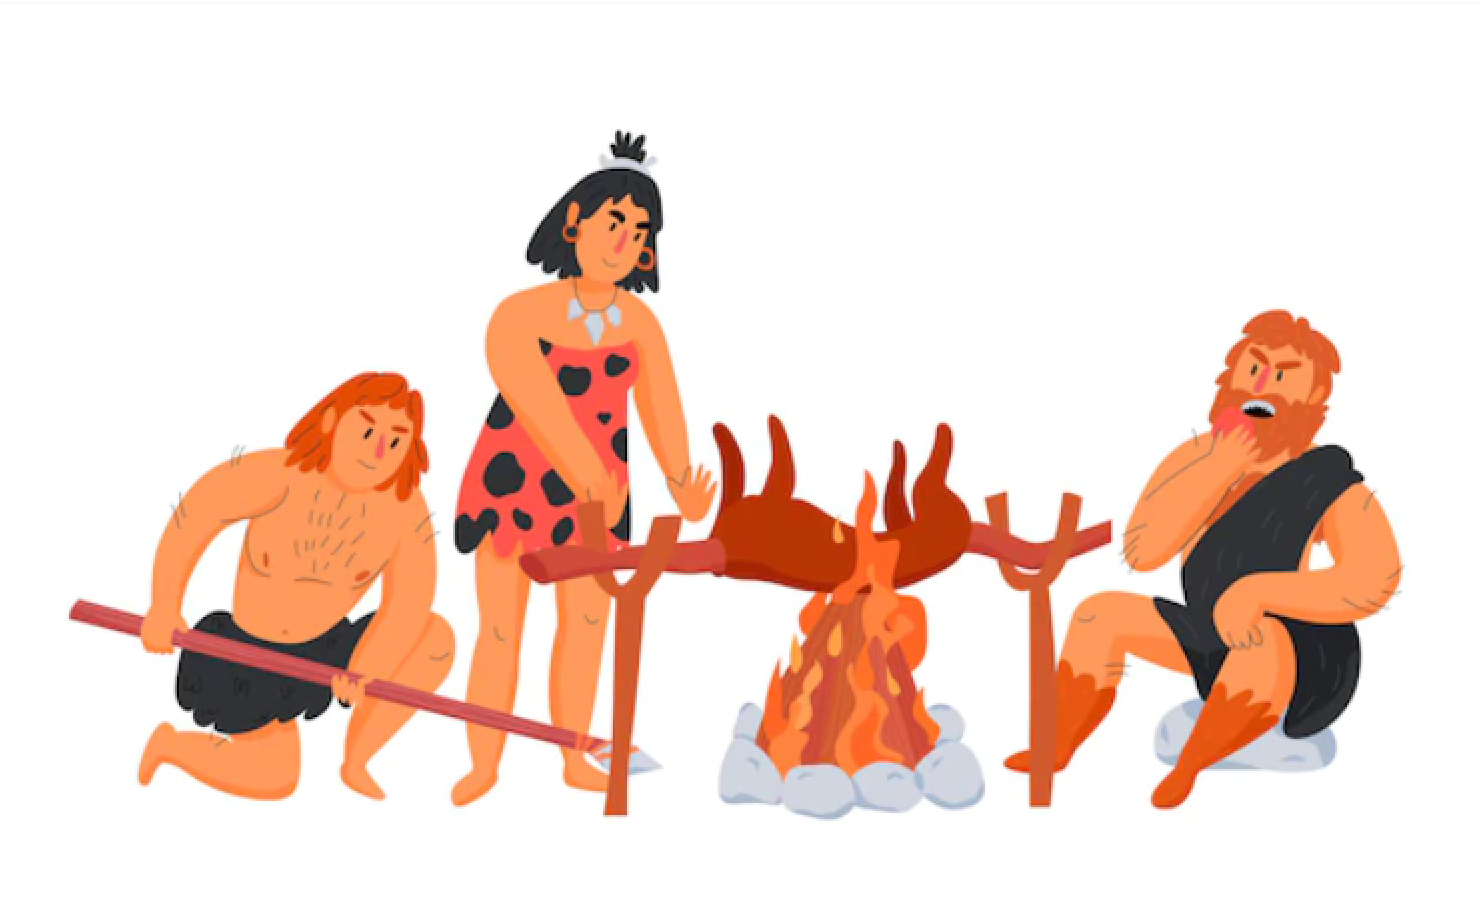
Humans started to use fractions at a very early stage of their development. When the number of prey was not equal to the number of hunters, primitive man needed to use the concept of fractions to divide the prey evenly between tribesmen.
Historically, it was the process of measuring that led people to use fractions. Since ancient times, people have needed to be able to measure length, area, time and other quantities. They were not always able to express their measurements in terms of a whole number (a natural number). Therefore, they had to account for parts of the measure used.
Also, as time went on, people had a need to use more precise measurements. Therefore, units of measure began to be divided into 2, 3 or more parts. Smaller units of measure were given an individual name. Thus, people began to use such expressions as one-third, one-half, two-and-a-half and others.
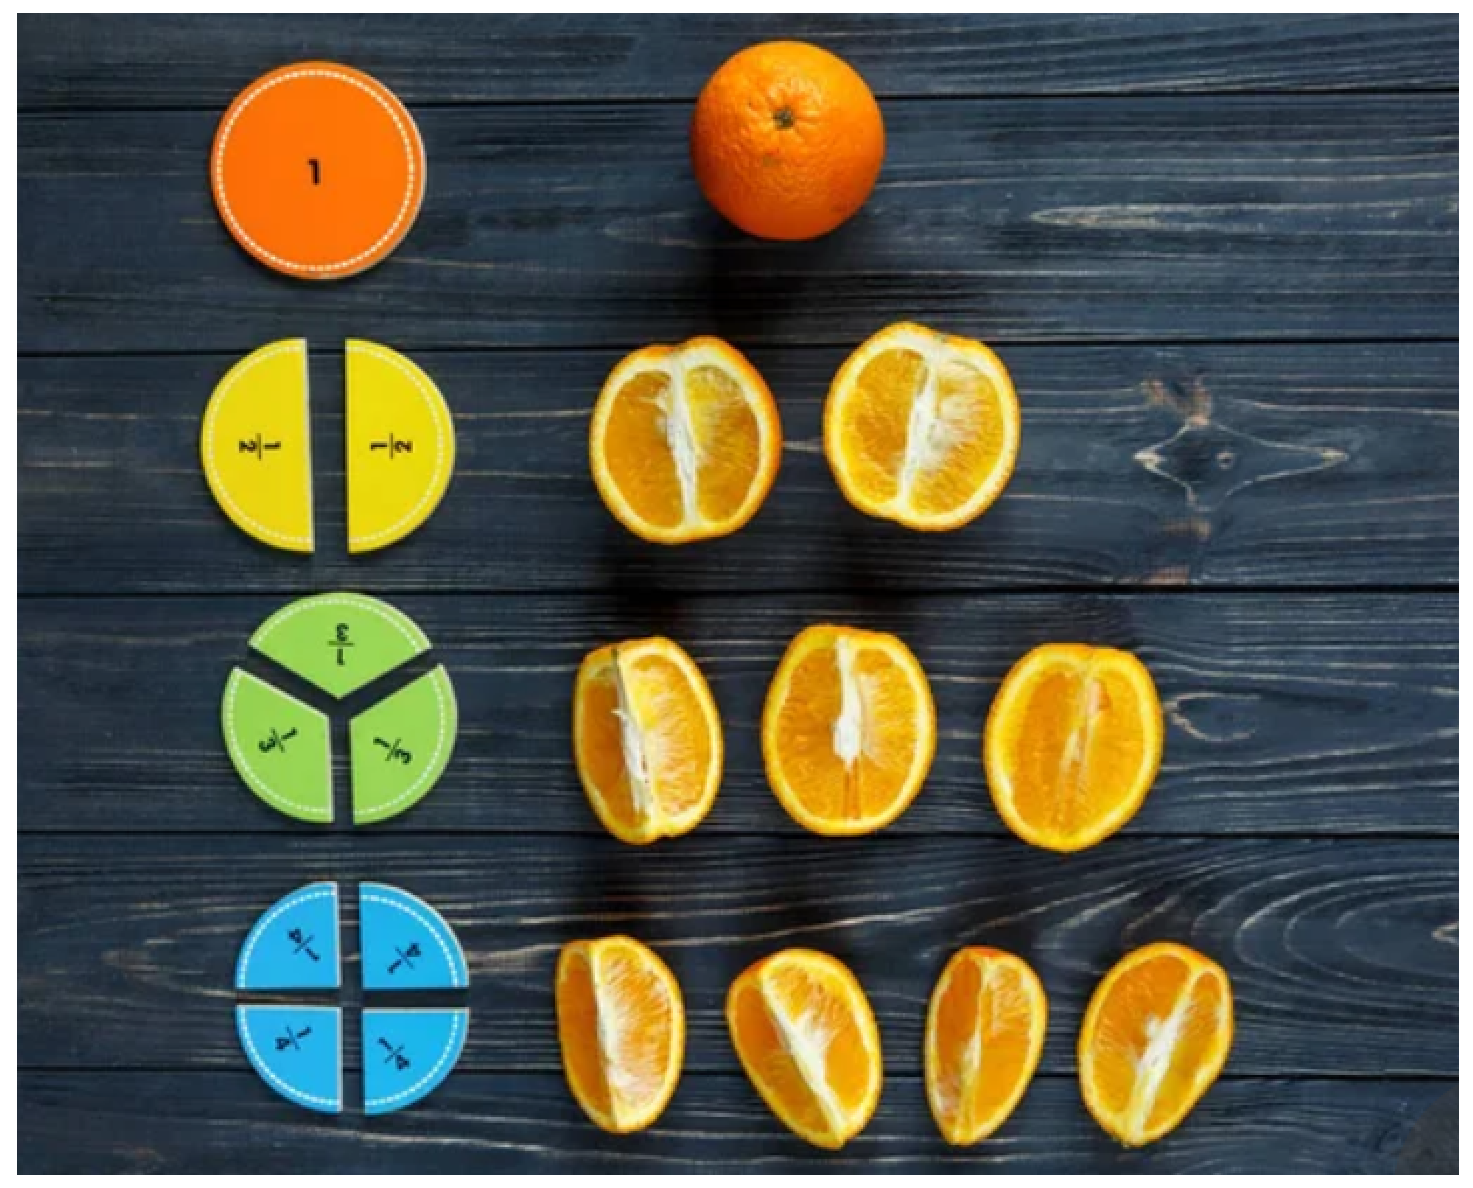
Fractional notations varied between peoples until they all came to the same modern form of notation [1].
Resources:
[1] https://pandia.ru/text/78/053/30631.php
Practical part.
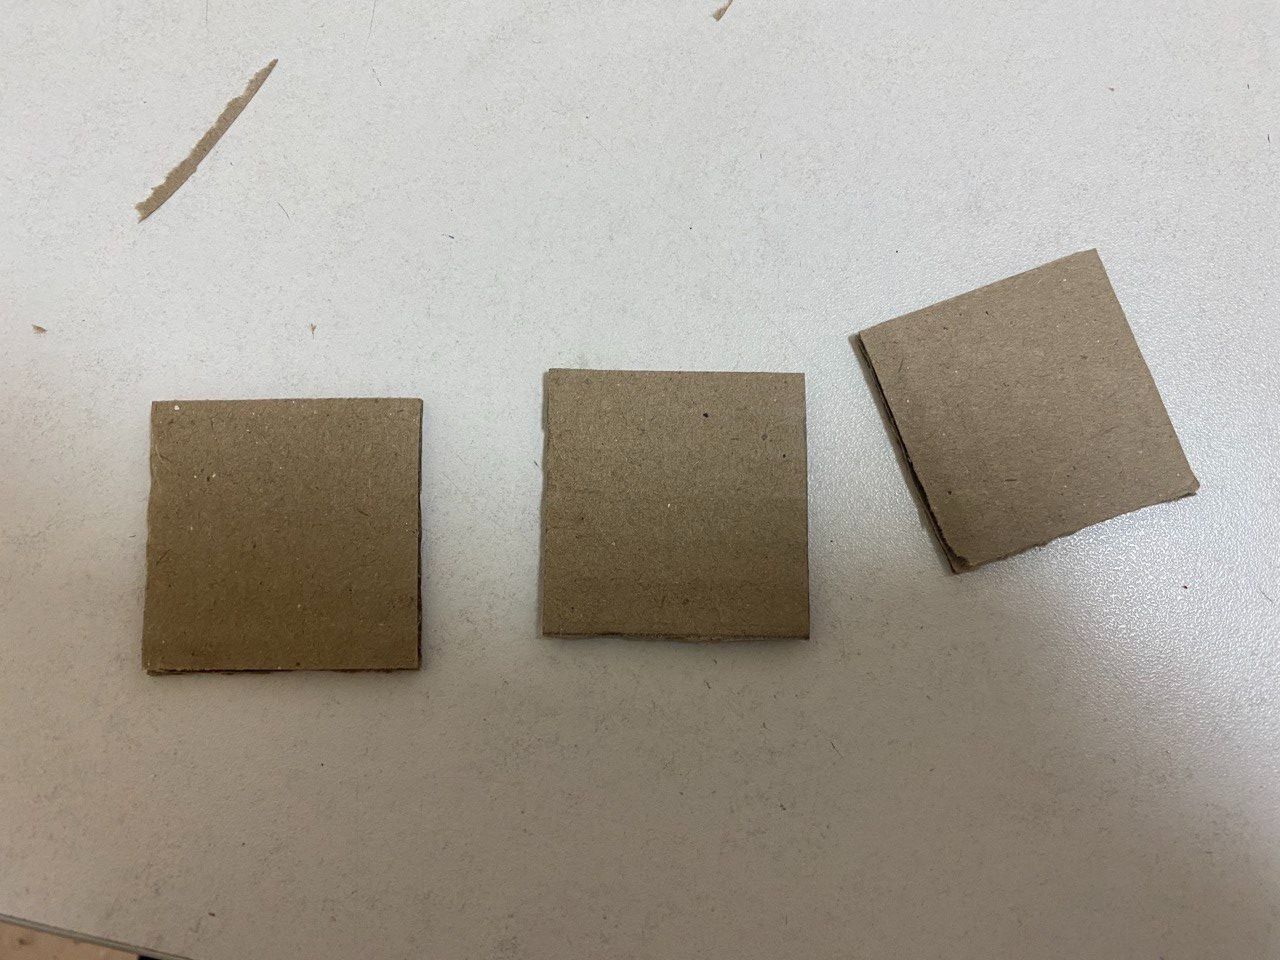
Cut out 3 squares of cardboard with sides of 4 cm.
Step back 2 cm from the edge
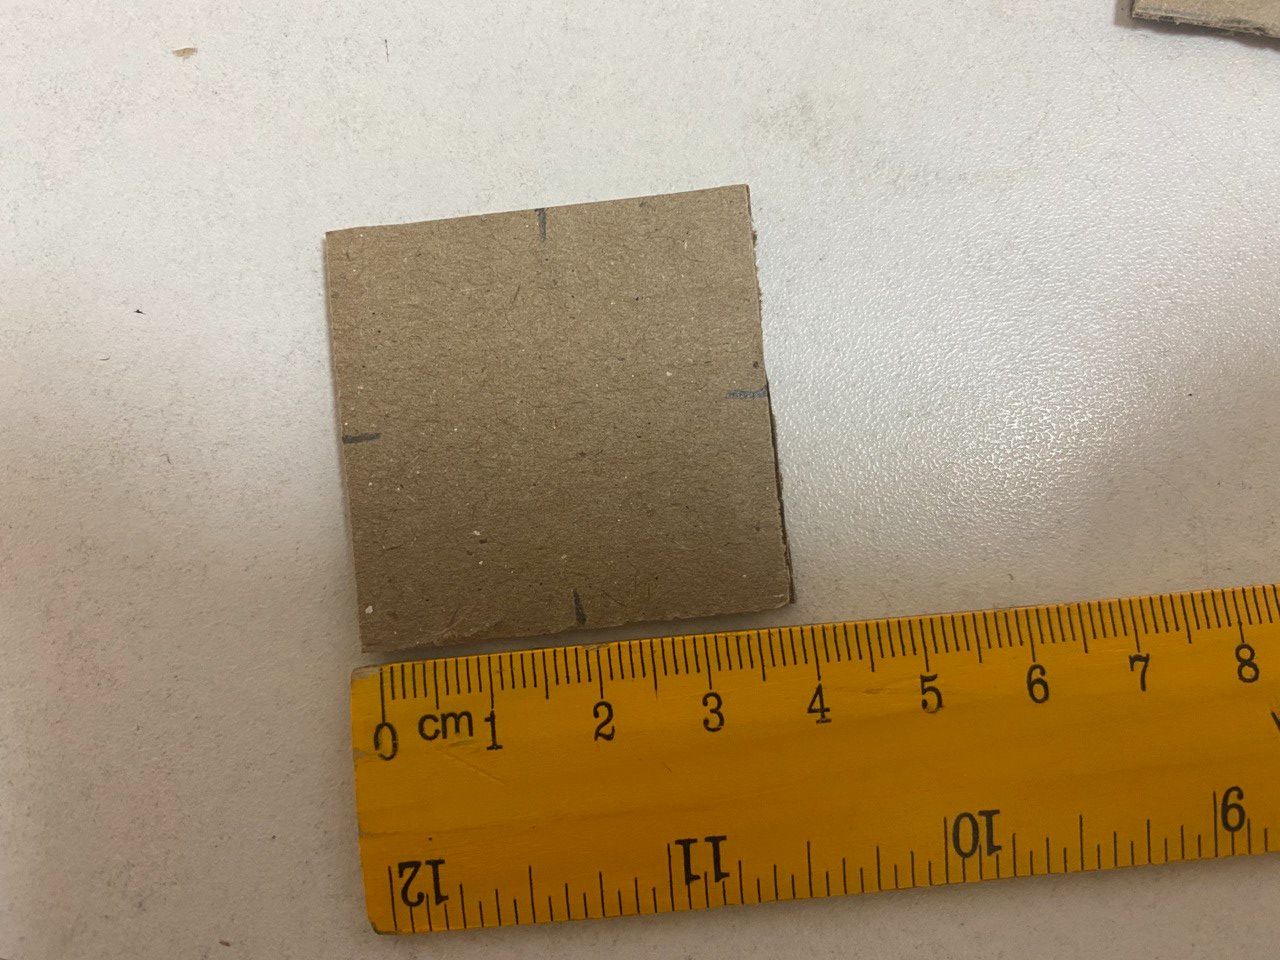
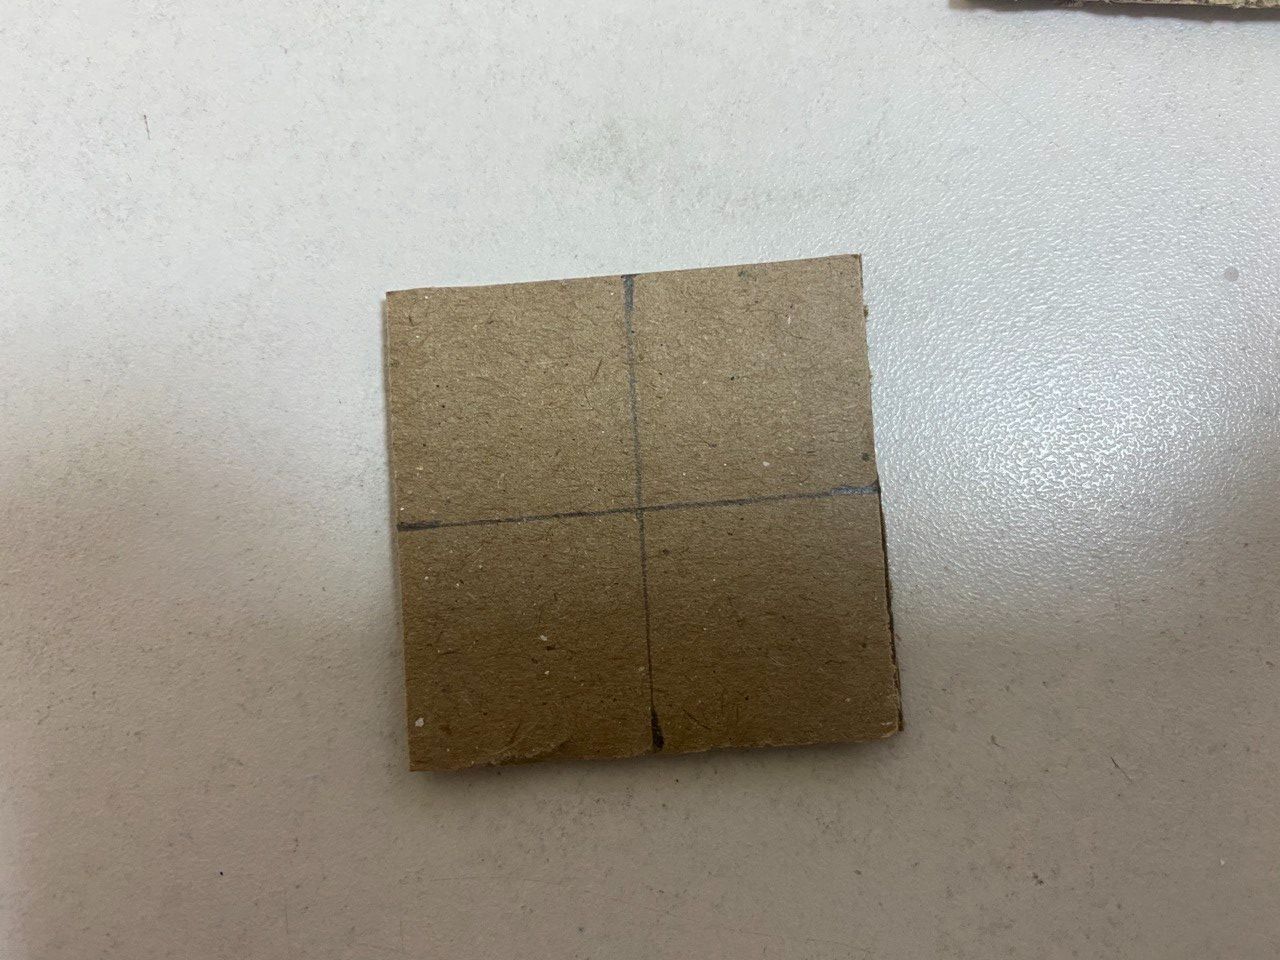
Draw lines in the middle of the square
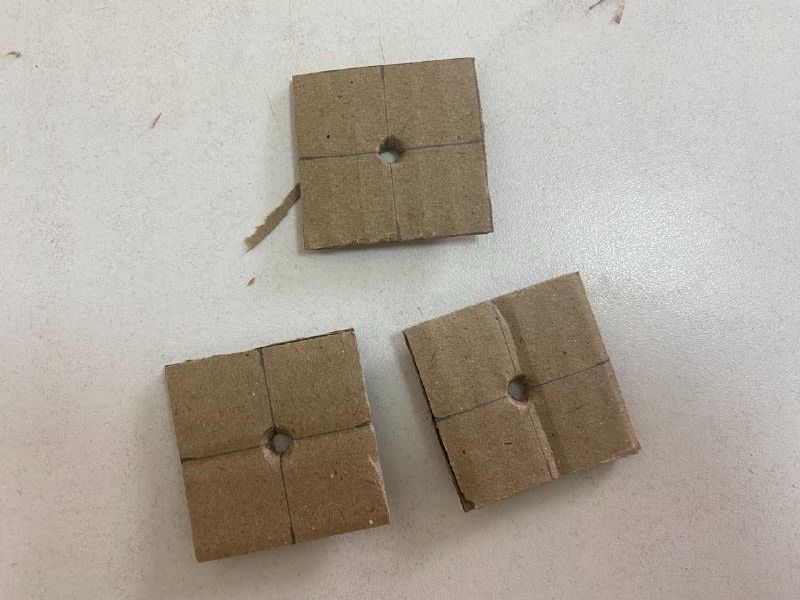
Make a hole in the middle of the piece of cardboard using a pen
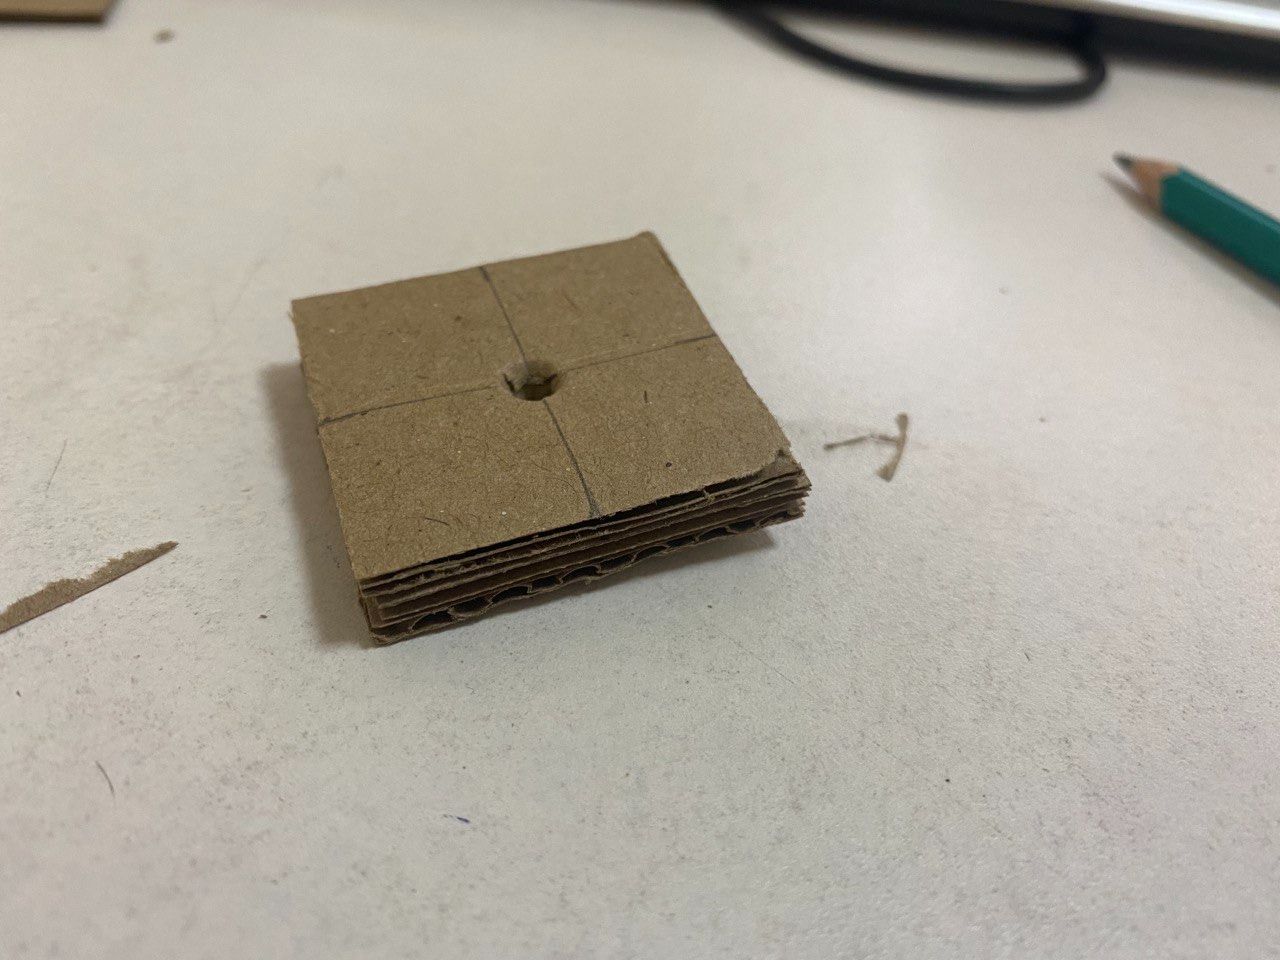
Glue the 3 squares together using paper glue
Step back from the edge of the sheet 1 cm – 0.5 cm – 1 cm as shown in the picture
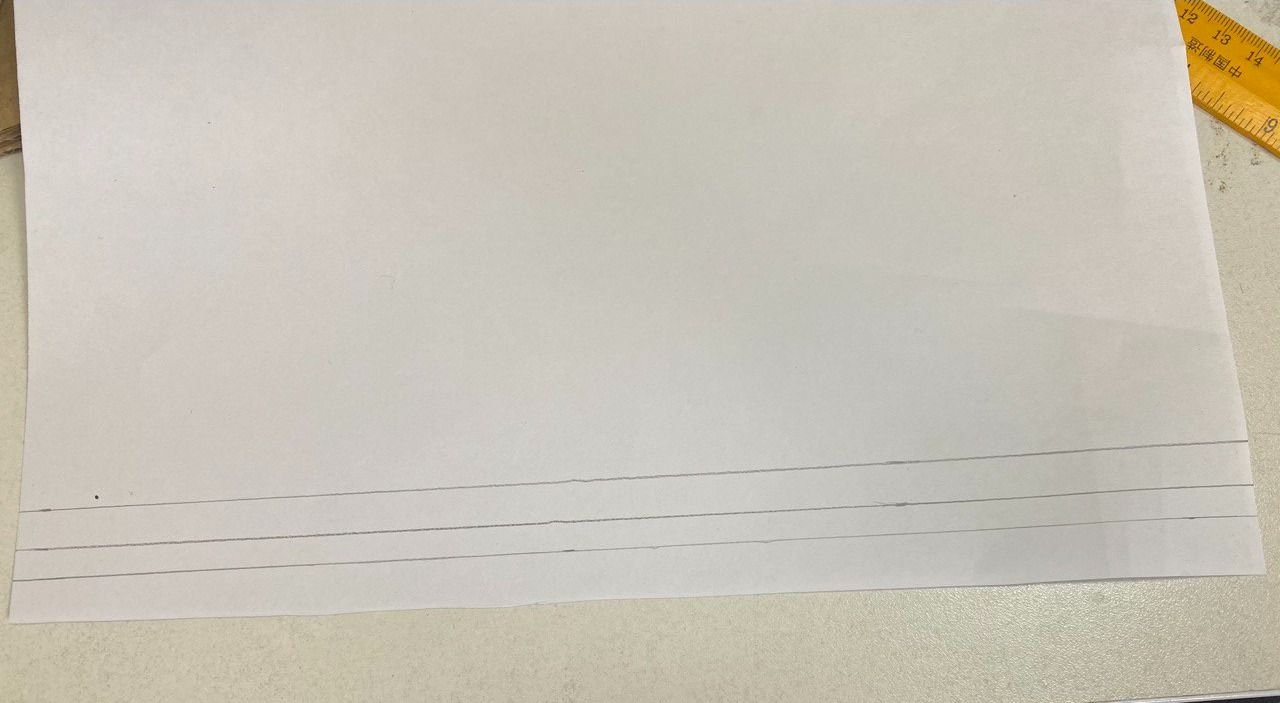
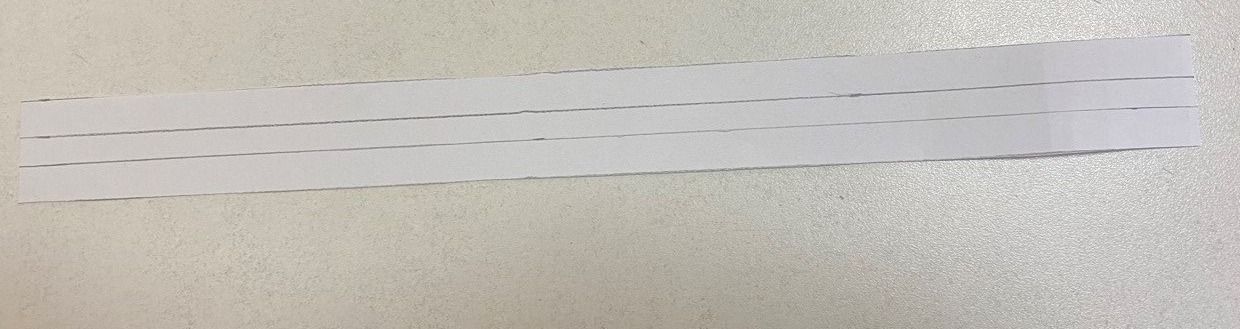
Cut out the part
- Glue the middle piece to the parallelepiped using paper glue.
- Make cuts in the corners of the white paper
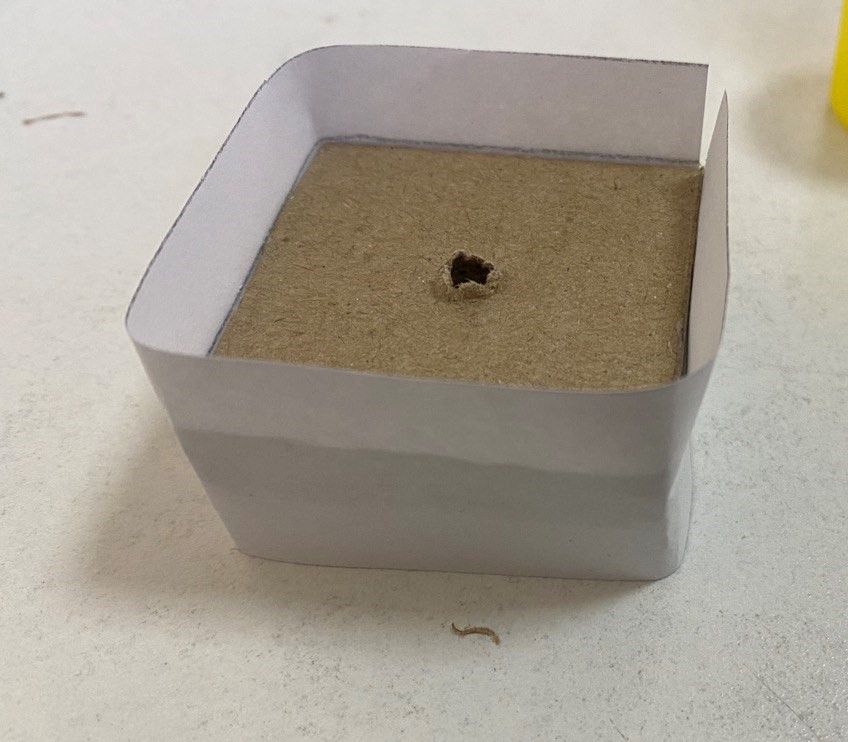
- Glue the edges of the white paper to the parallelepiped
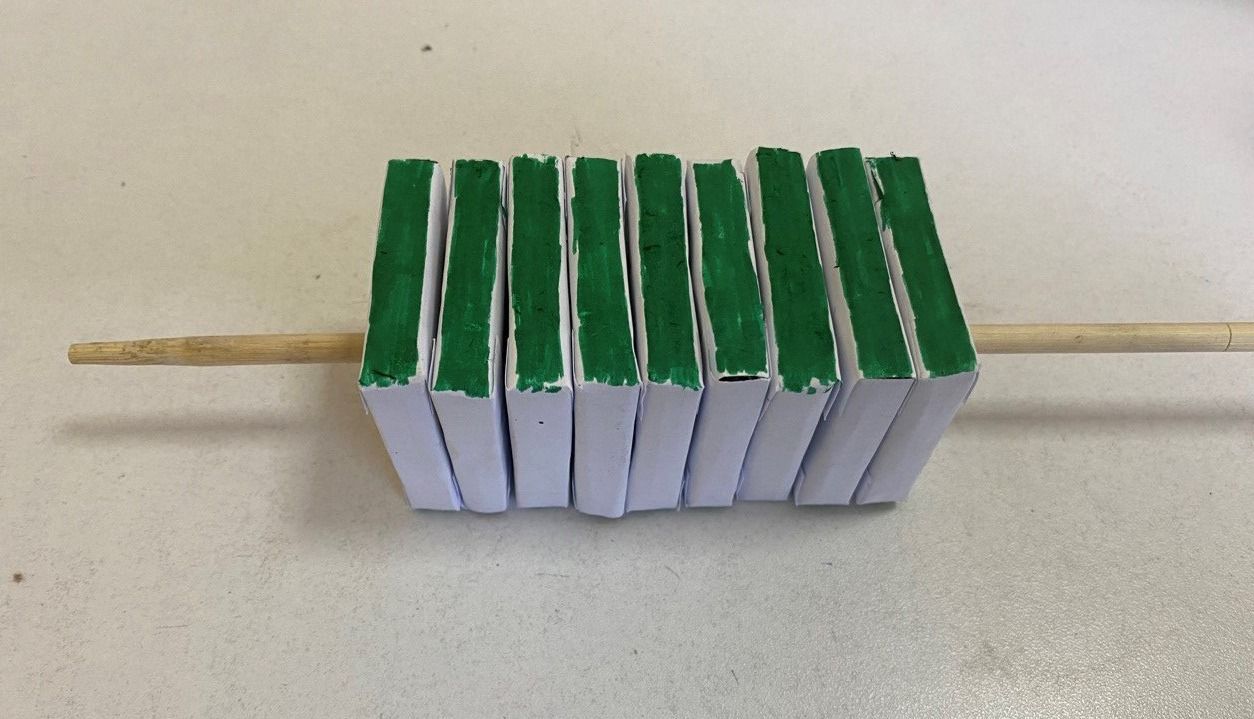
- Colour the two parallel sides of the parallelepiped with the same colour marker (all students should use the same colour marker)

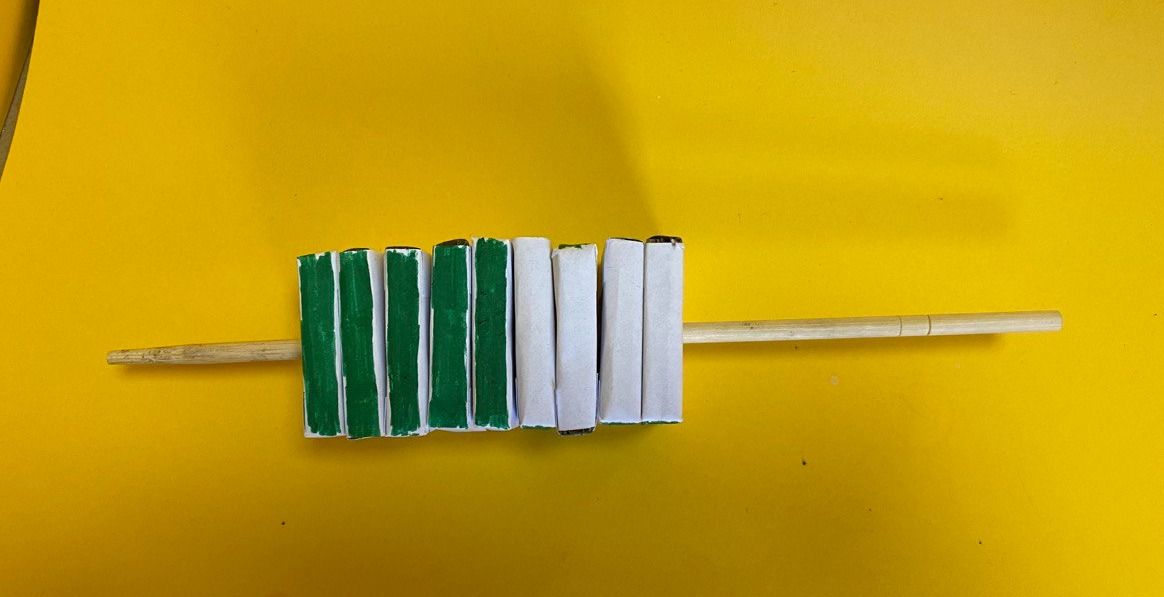
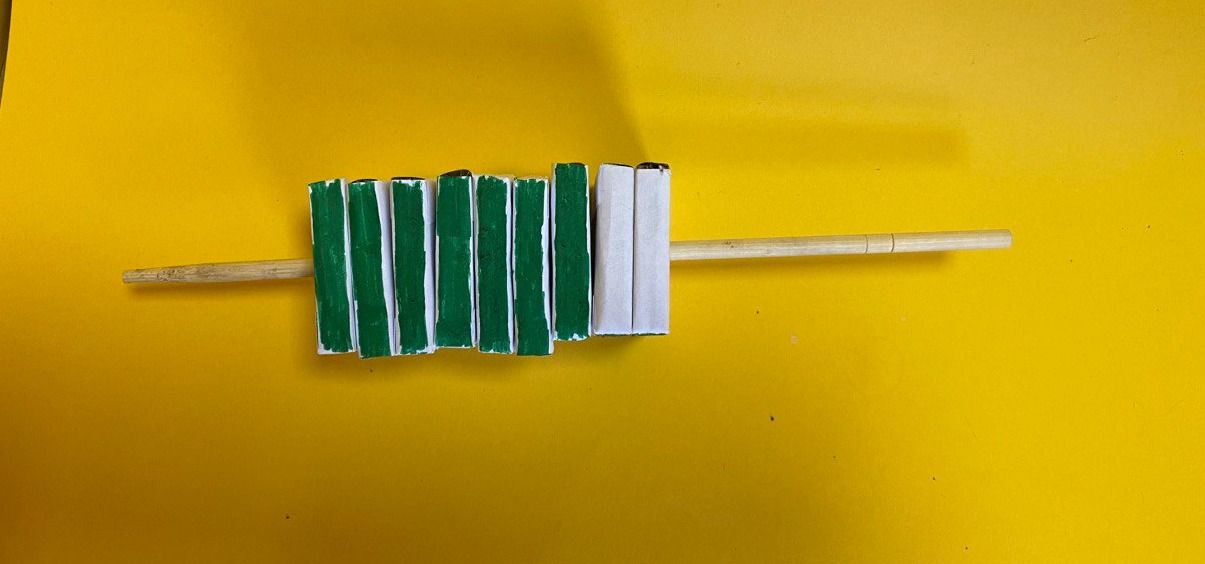
In the next step all the students have to put their parts on a wooden skewer. This example shows a piece assembled from 3 groups of 3 people (9 people).
Ask the students to play with the layout they have received. One student should show a fraction which a second student should read aloud. The pictures below show examples of fractions.
3/9
.jpg)
5/9
7/9
Conclusion
Pupils improved their understanding of fractions using the layout of rotating parallelepipeds (rectangles). Pupils have also developed imaginative thinking about parallelepipeds.