Week 1
Teacher’s Guide:
- Divide students into groups;
- Conduct a brief instruction on working with scissors and cardboard products;
Goals:
- Learn to draw geometric shapes;
- Learn to distinguish geometric shapes;
- Develop figurative thinking
Read the safety instructions before you start [safety insructions].
Introduction
Discuss with students the definitions of triangle, square, and circle. Ask students where in real life they have seen these figures.
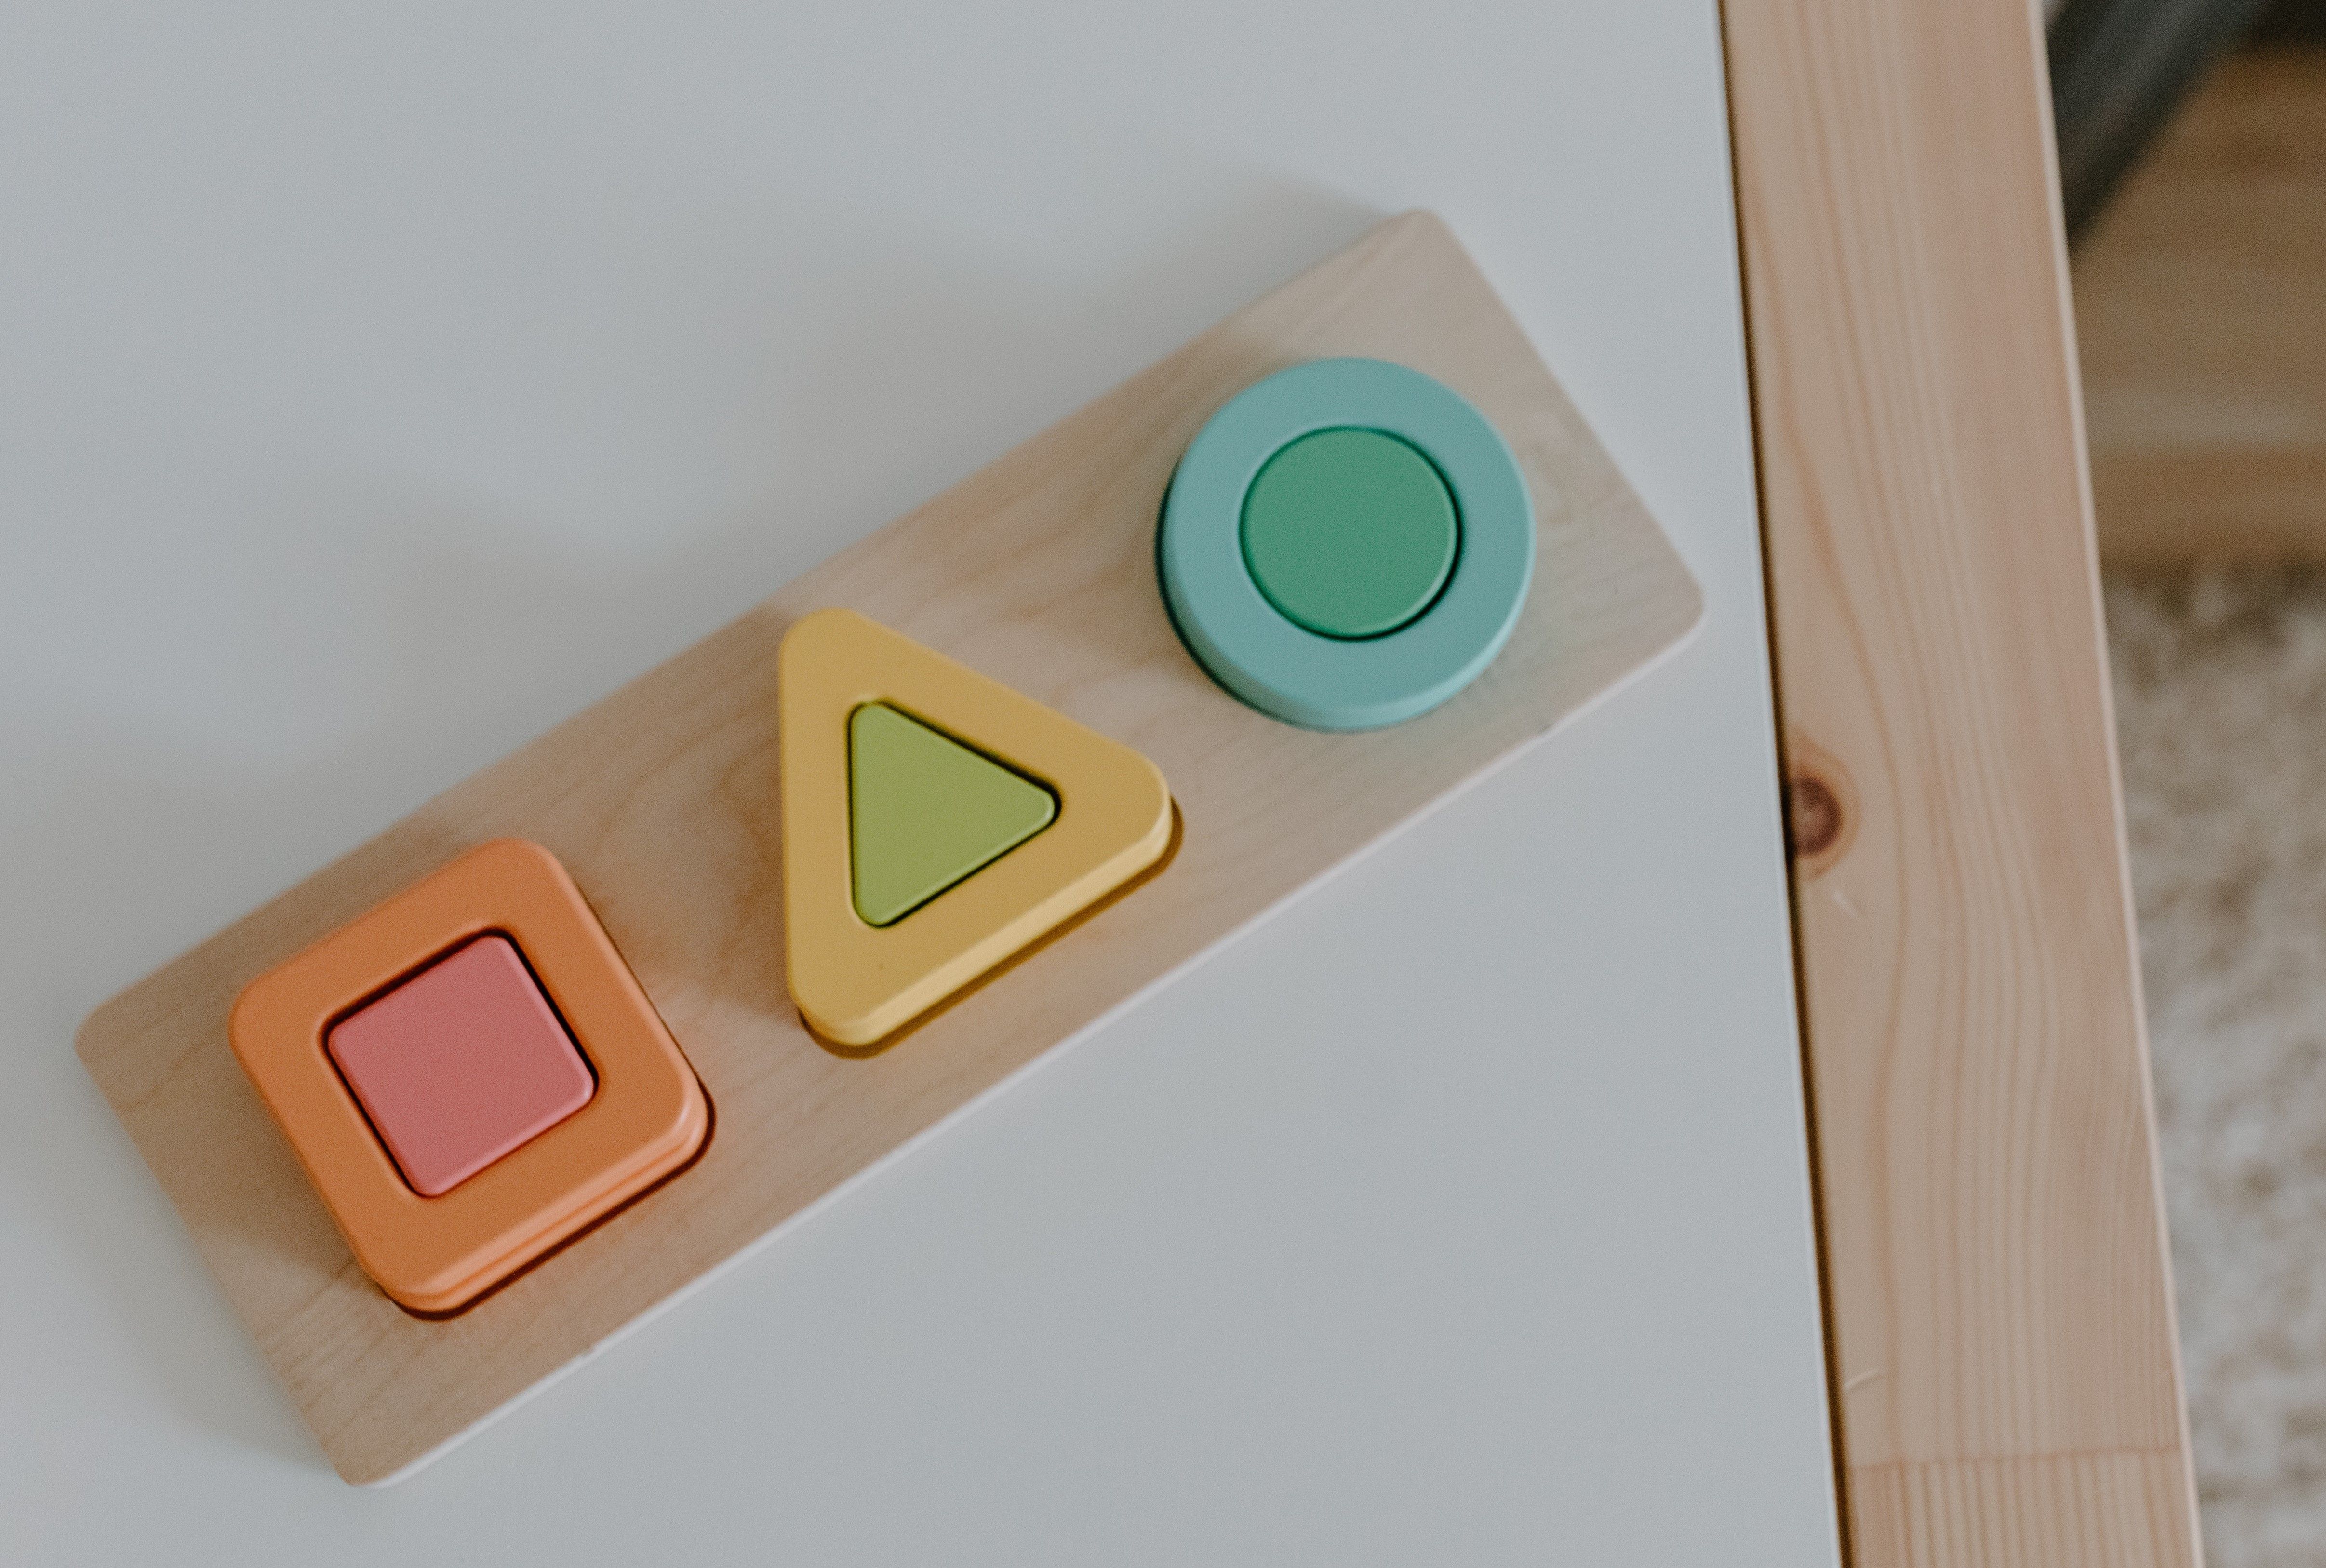
A triangle is a geometric figure that has three sides and three angles (the vertices of the triangle).
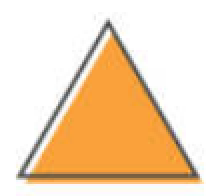
Ask students where in life you can find triangles? On what objects can you see triangles? (Hanger, top of houses, triangular chips, pyramids, etc.)
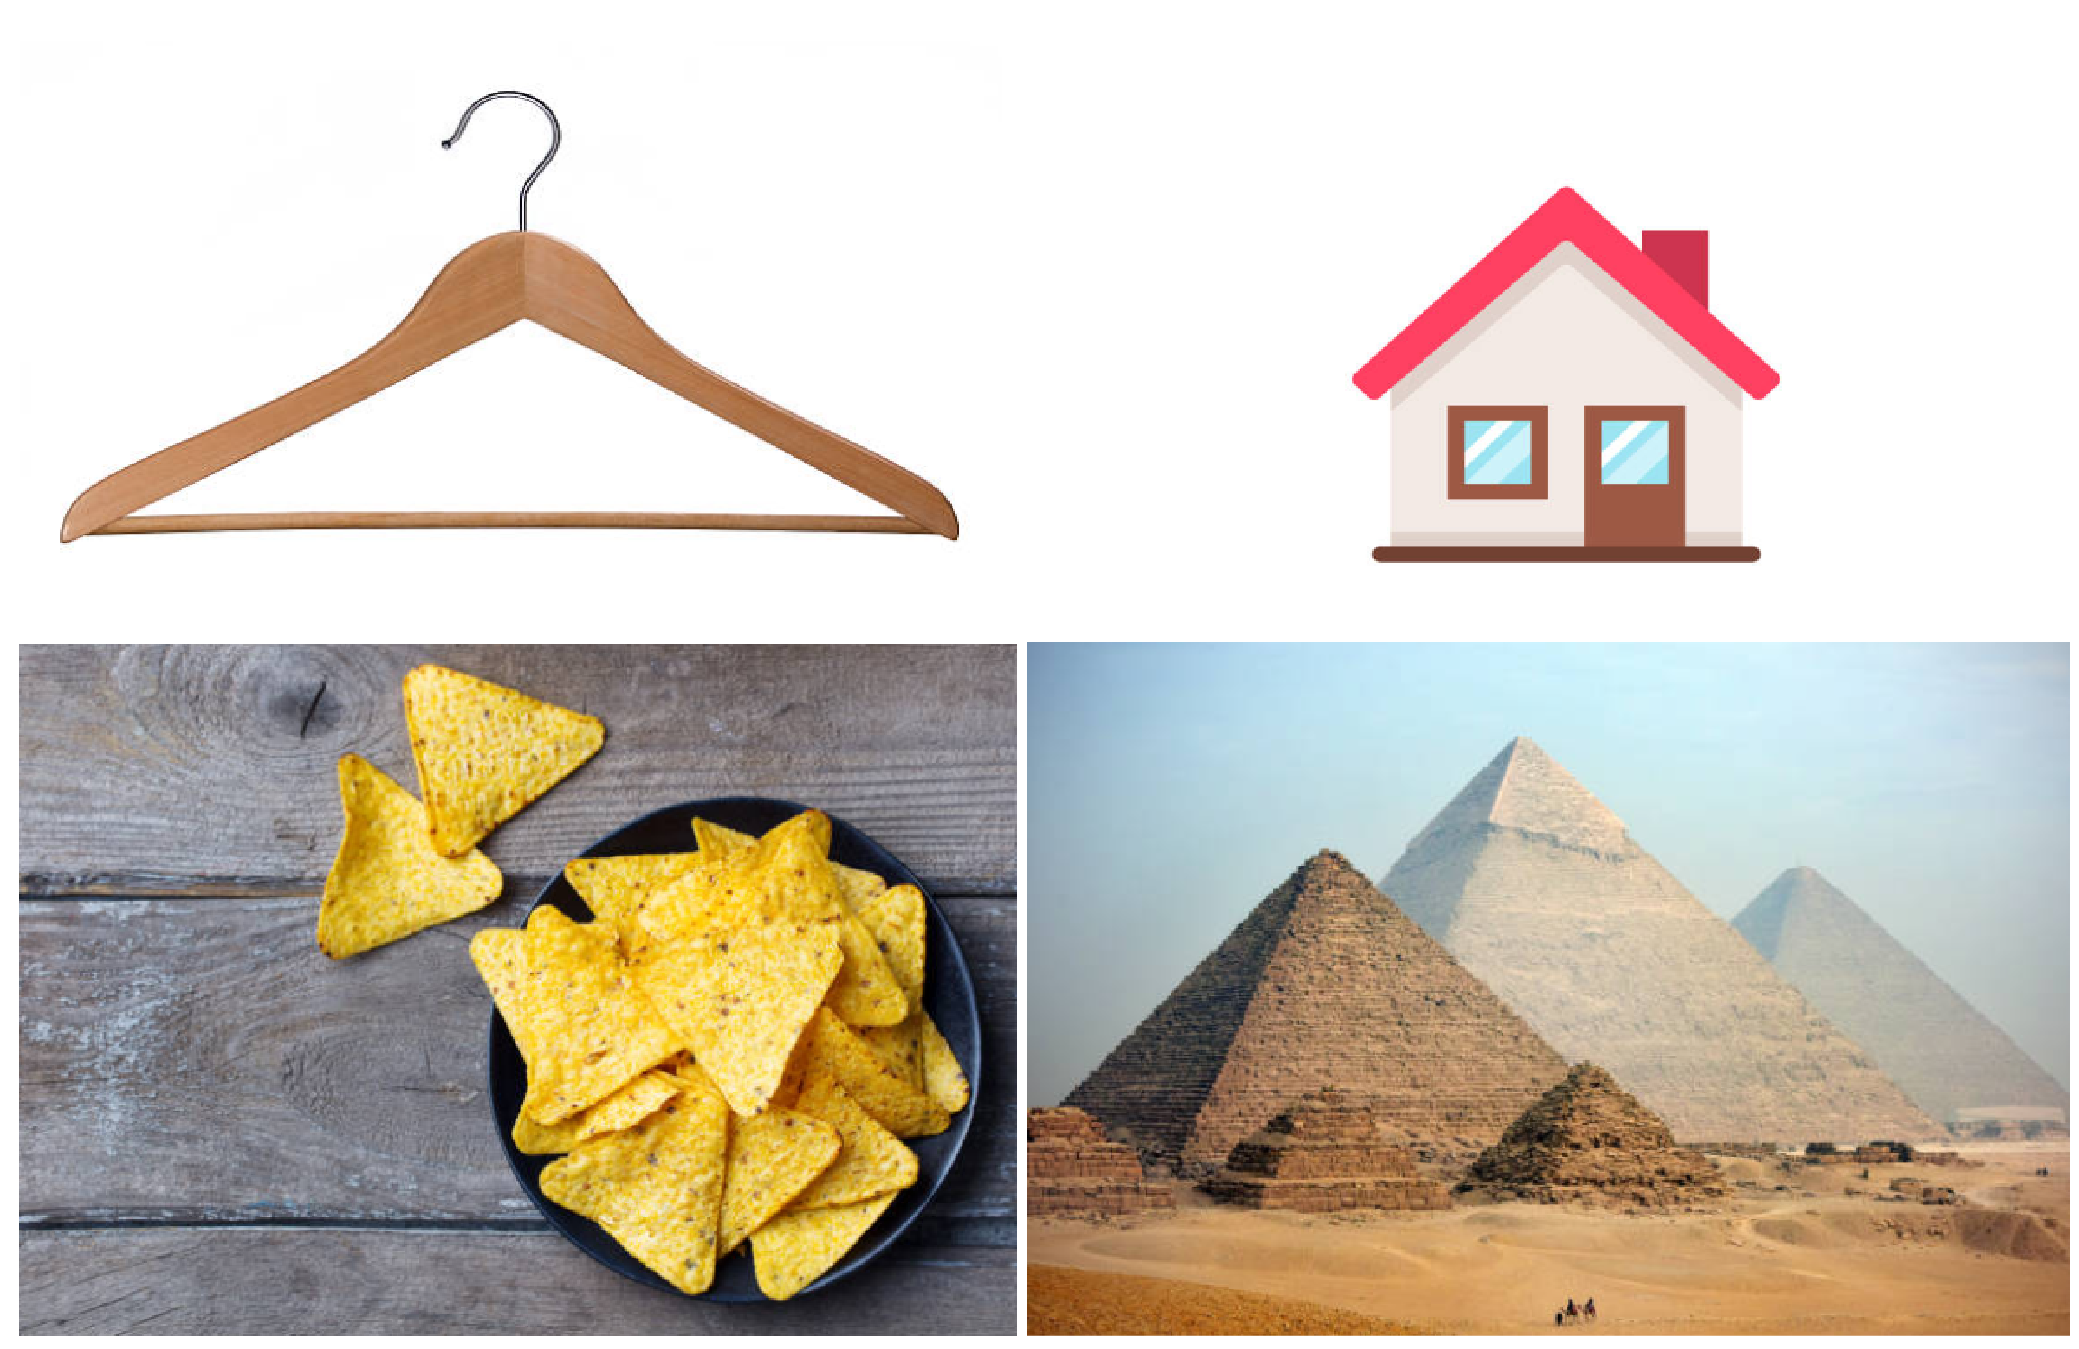
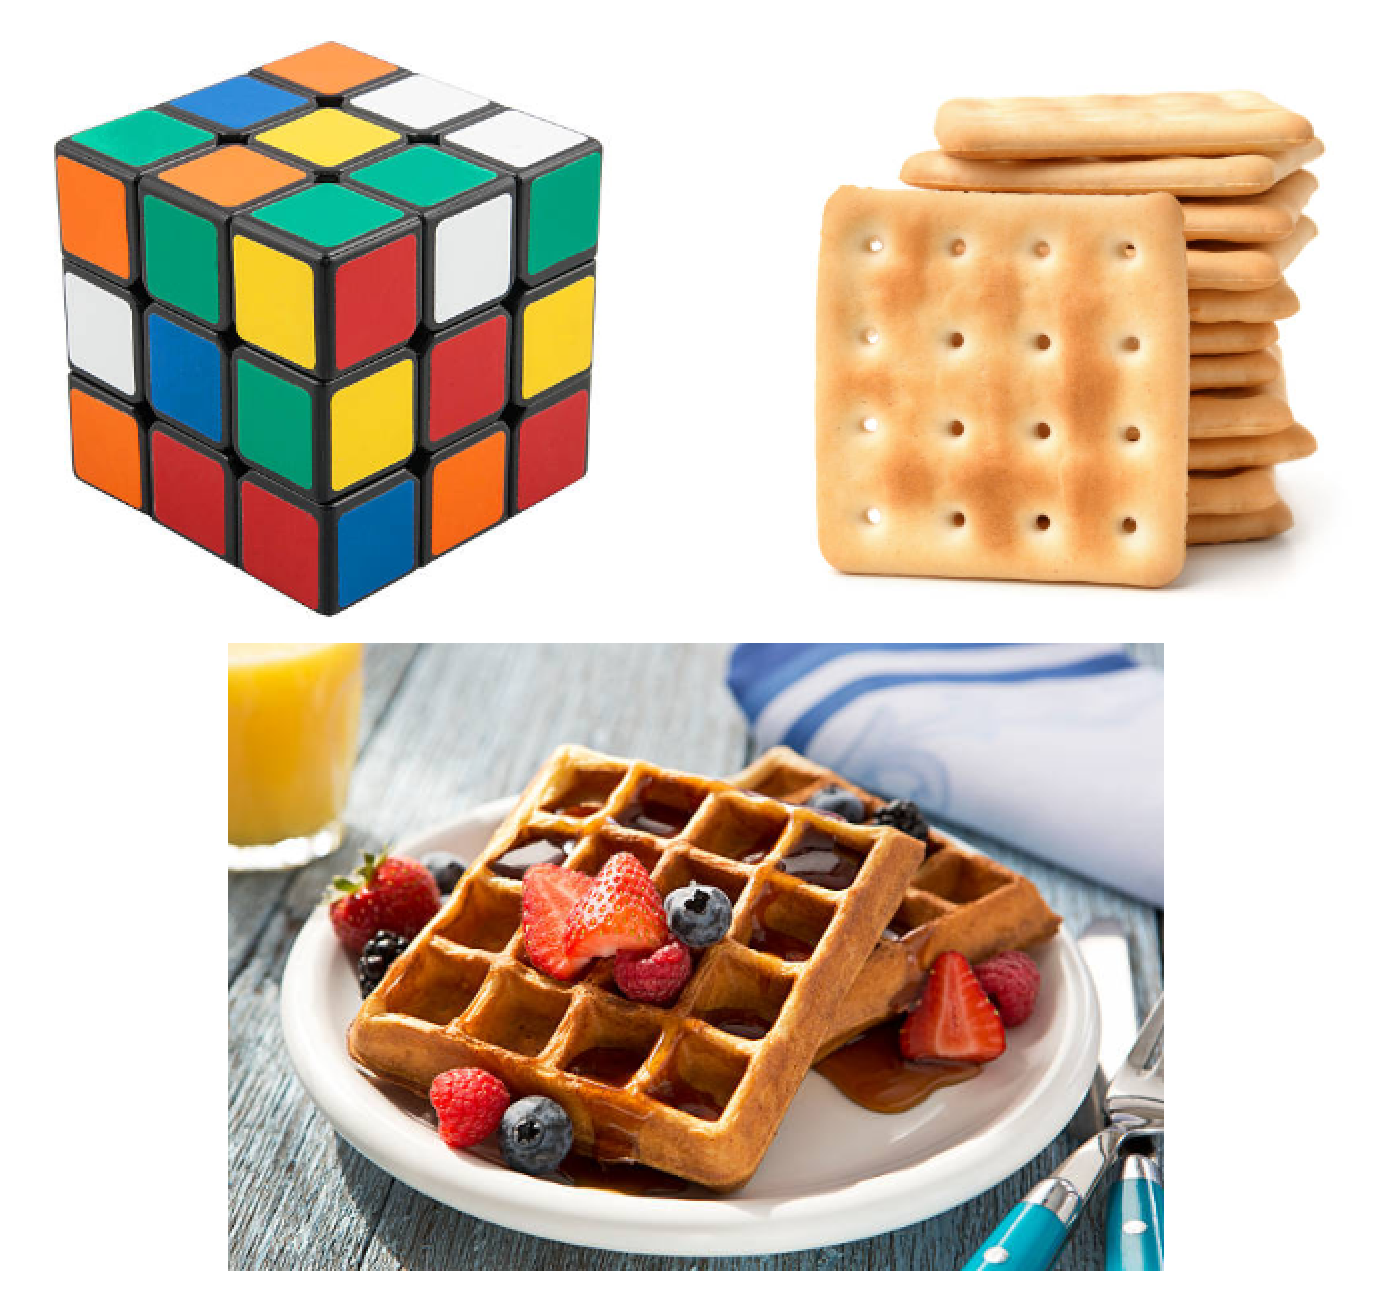
A square is a rectangle with all sides equal.
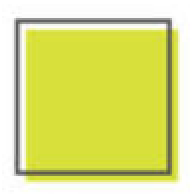
Ask students where in life you can find a square? On what objects can you see a square? (Rubik’s cube, square cookies, square waffles, etc.)
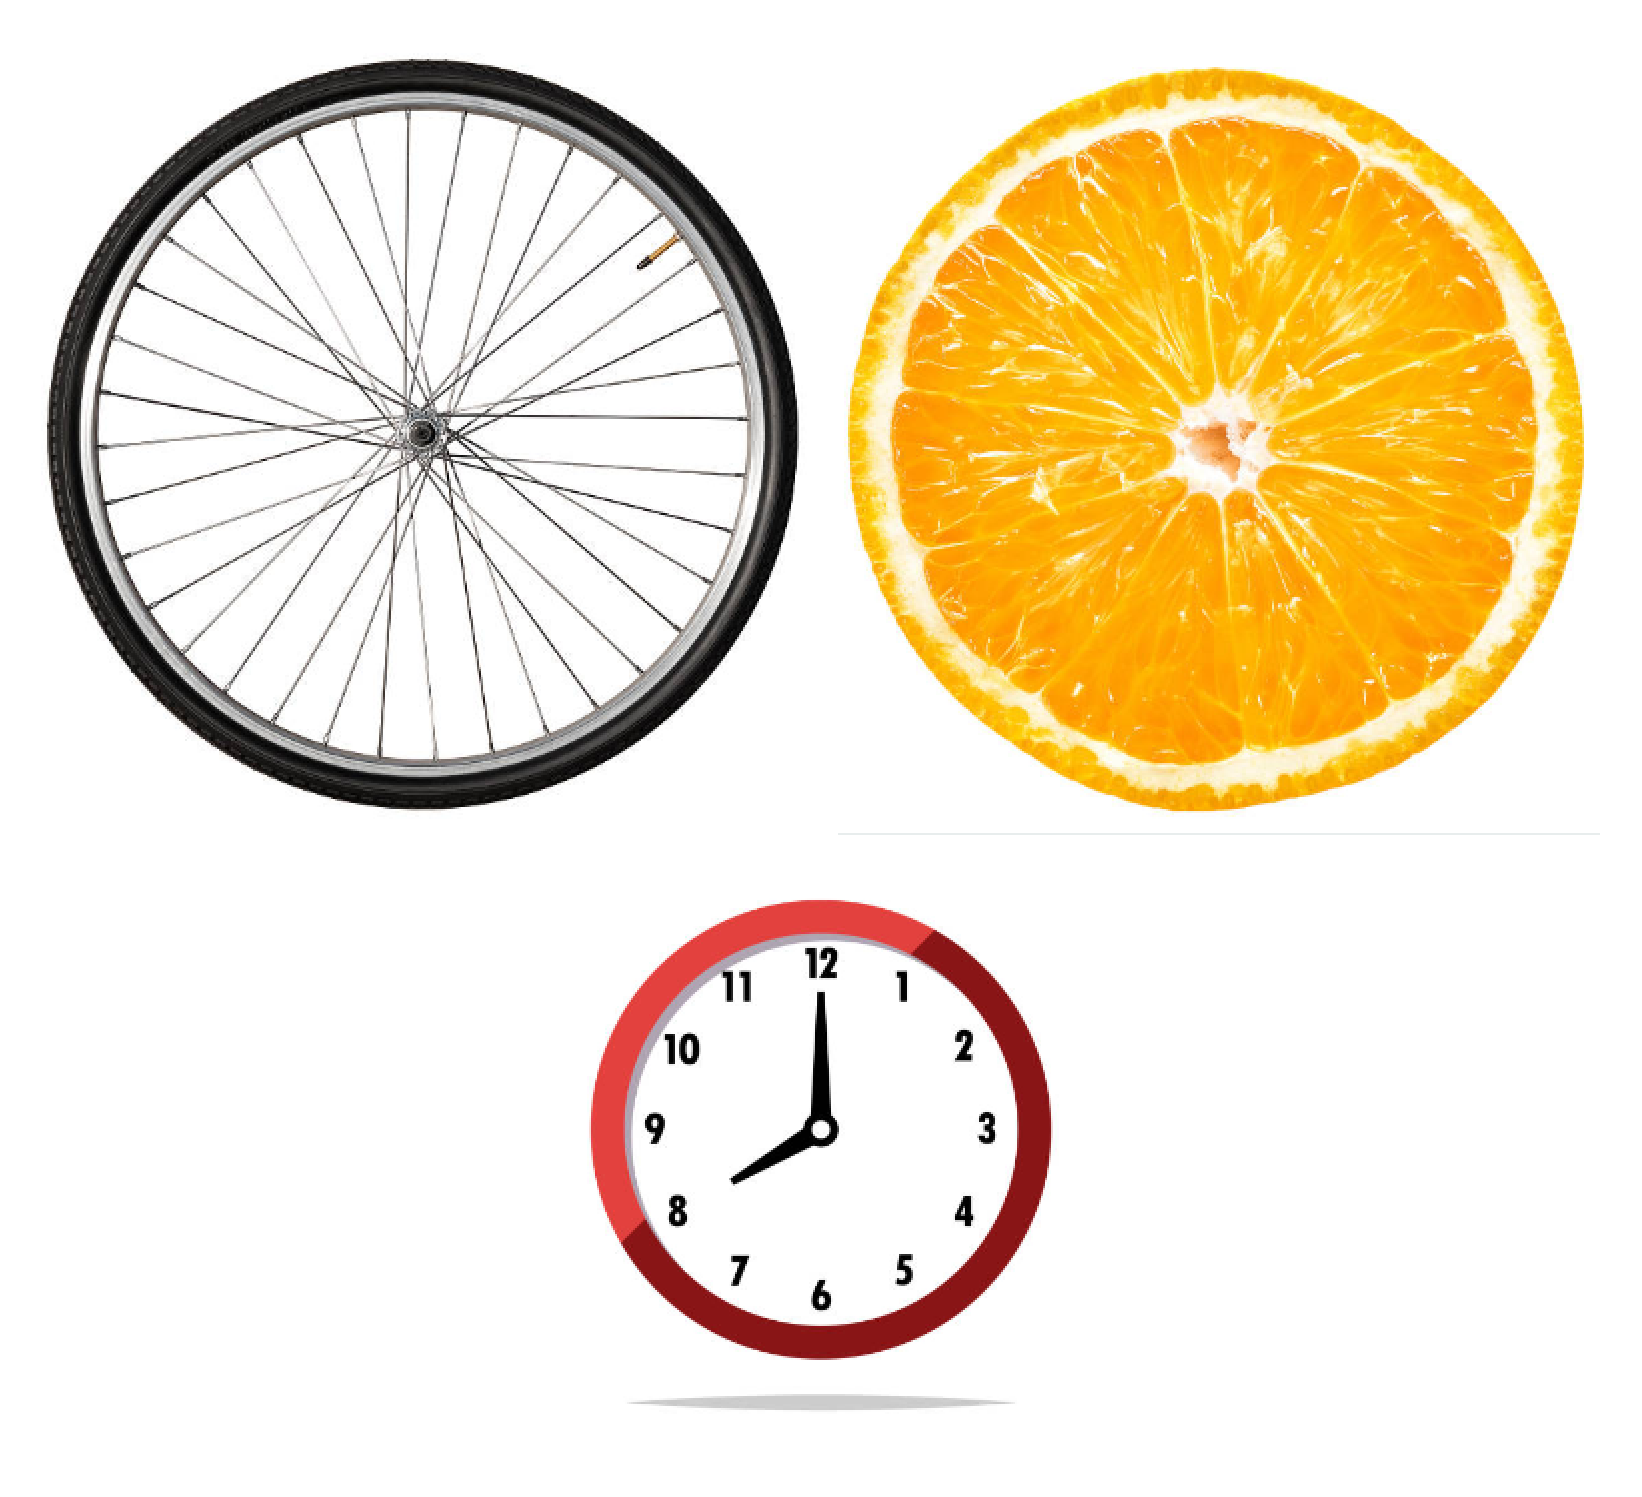
A circle is a geometric figure that is bounded by a circumference.
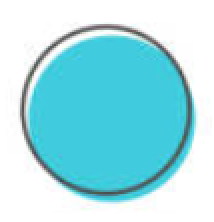
Ask students where in life you can find a circle? On what objects can you see a circle? (Wheel, tangerine, round clock, etc.)
References:
[1] https://infourok.ru/geometricheskie-figuri-izuchaemie-v-shkole-1925920.html
Practical part
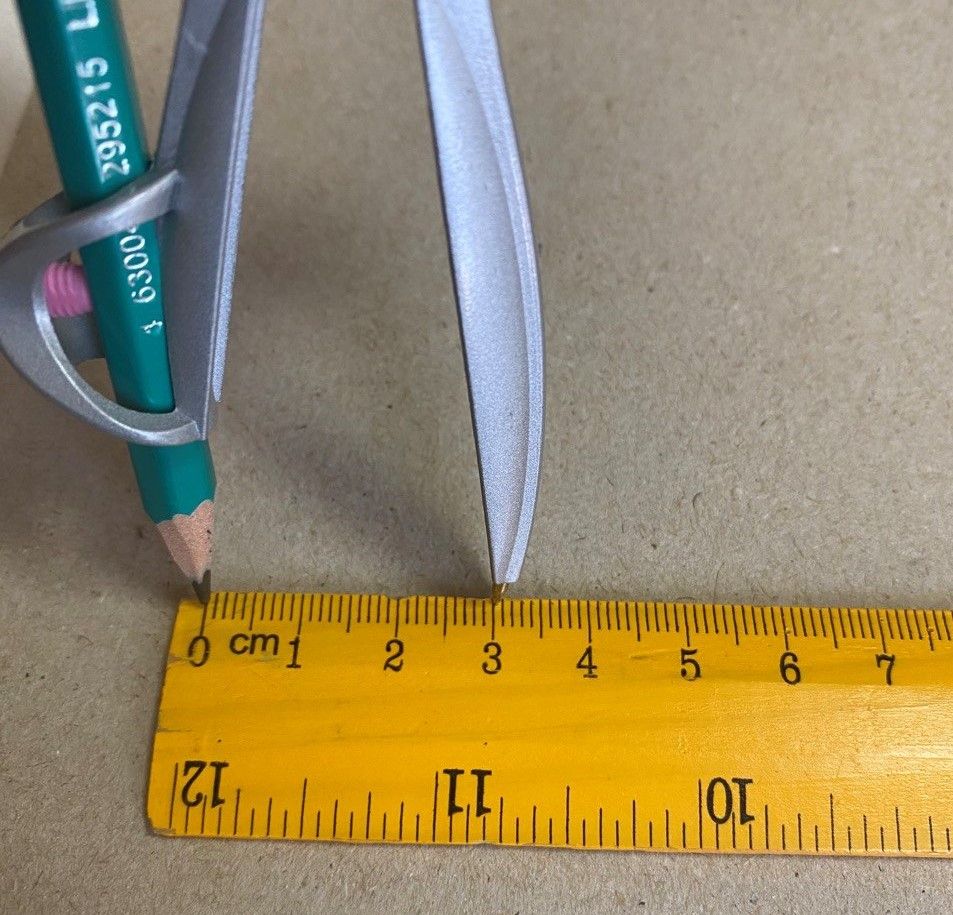
Open compasses 3cm
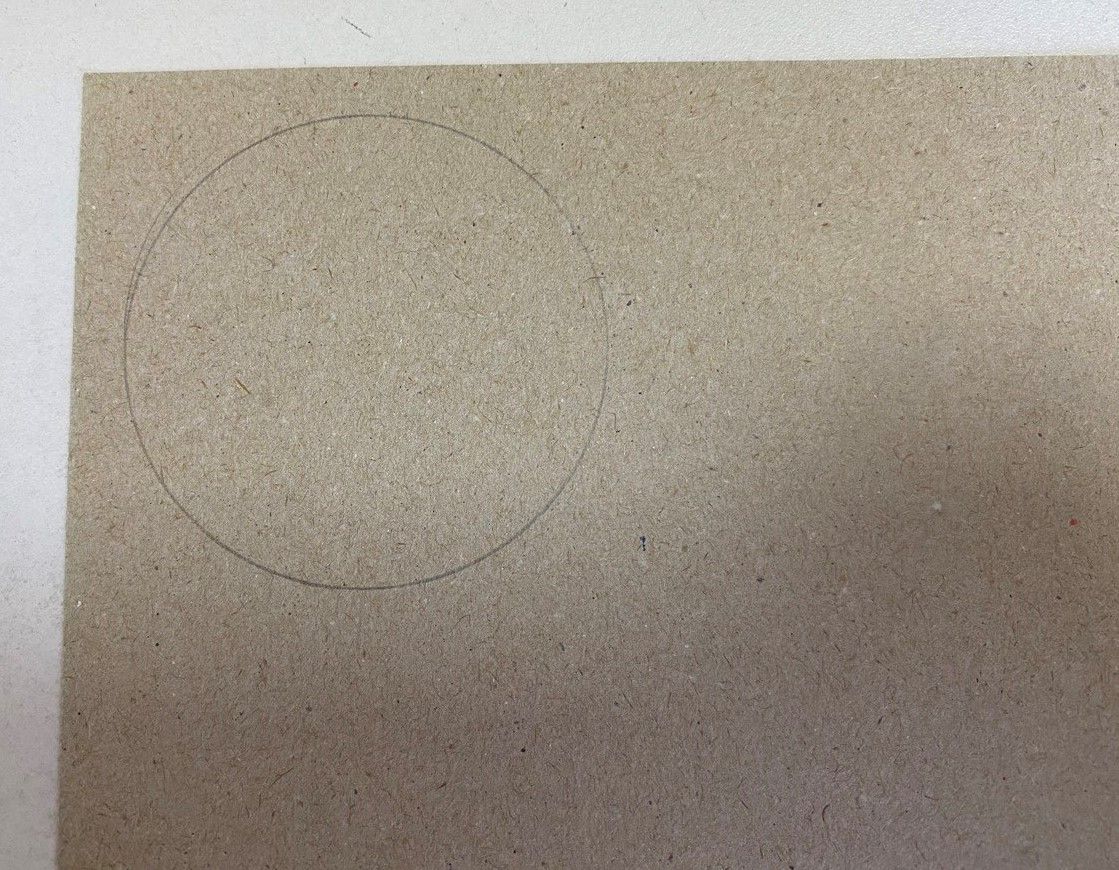
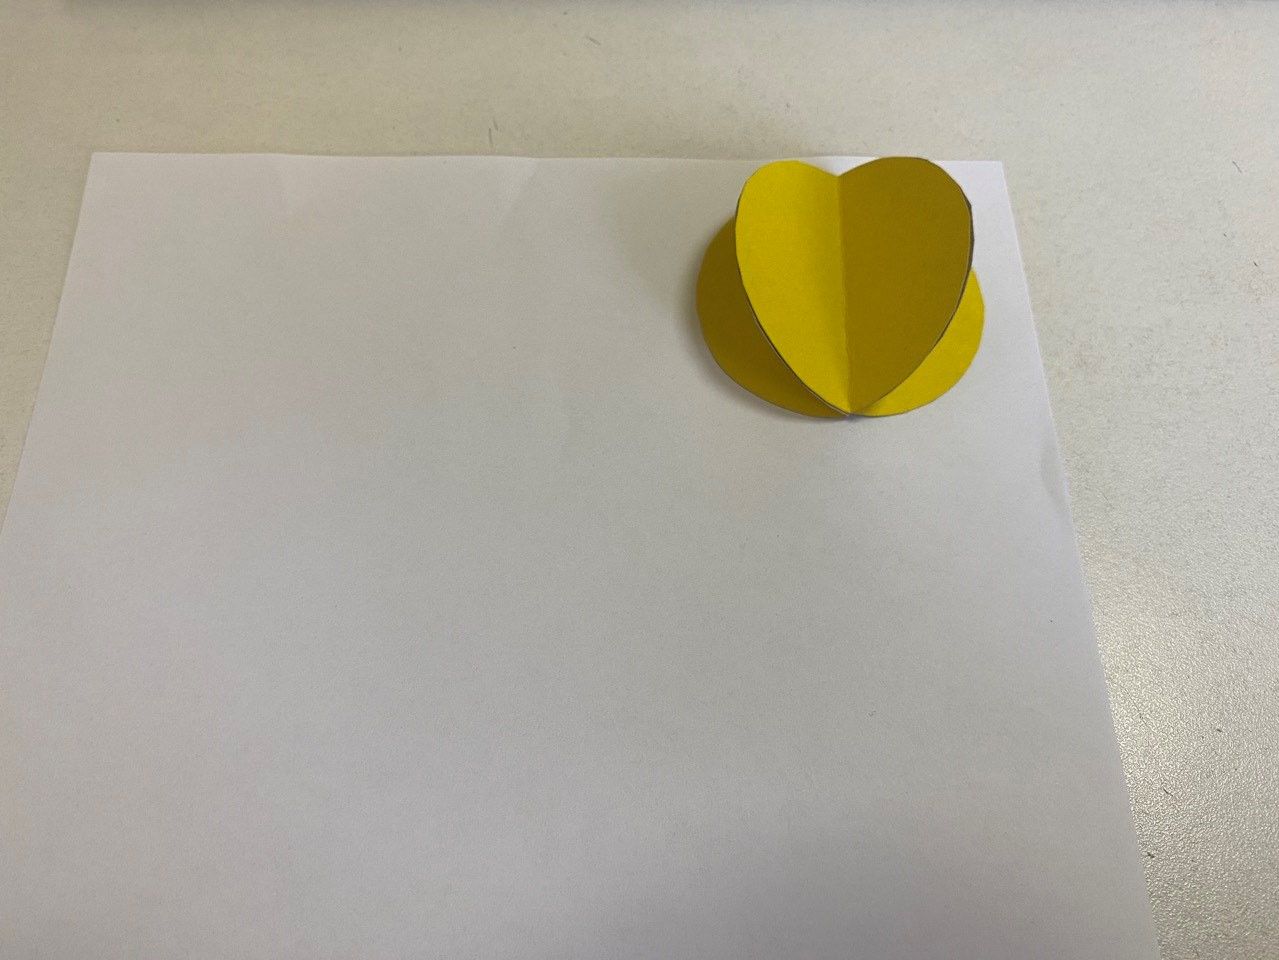
Draw a circle on the back of a sheet of colored cardboard (yellow)
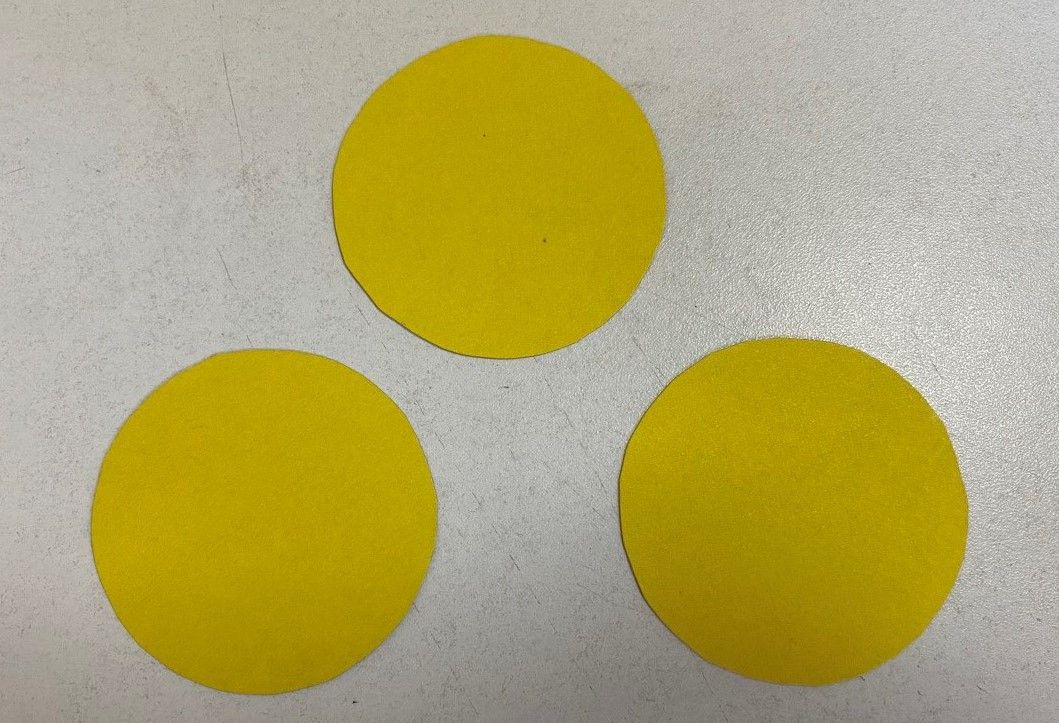
Each team member must receive one lap
Fold the resulting circle in half
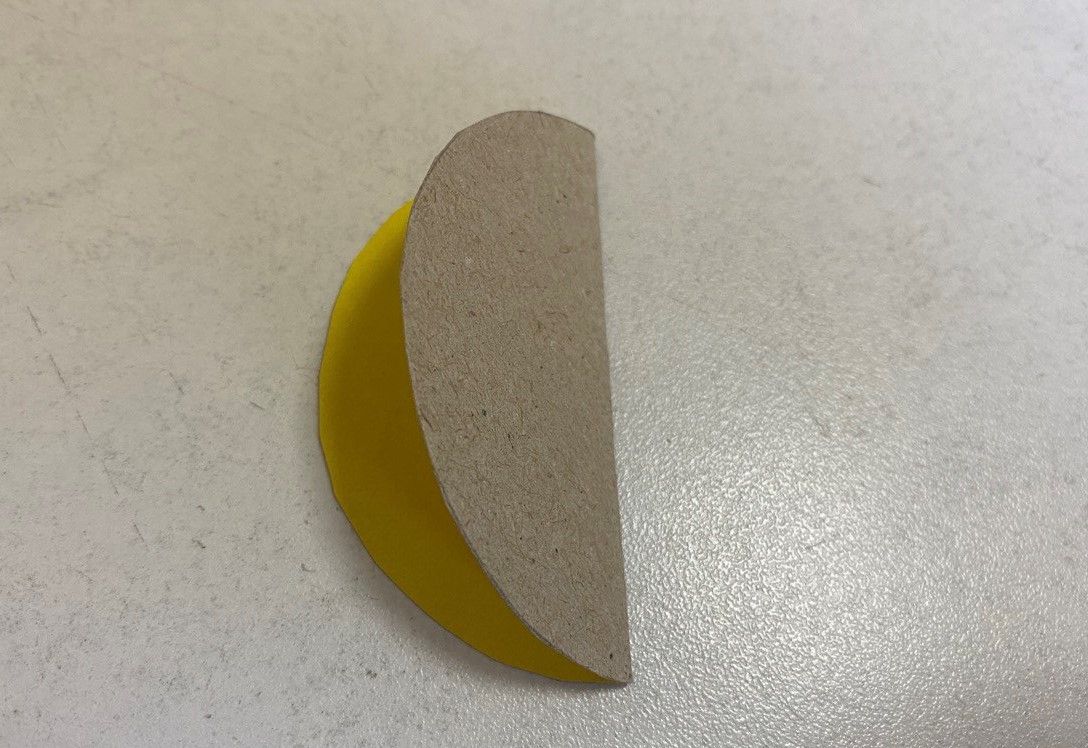
- Glue 3 circles together with paper glue
- Glue the resulting part to the upper right corner of A4 sheet
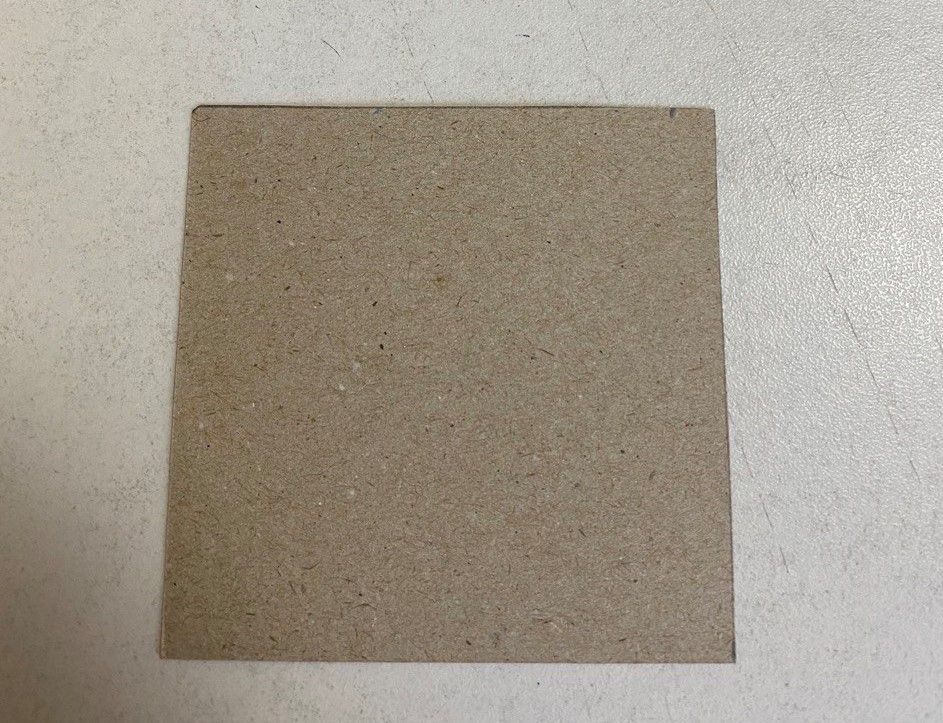
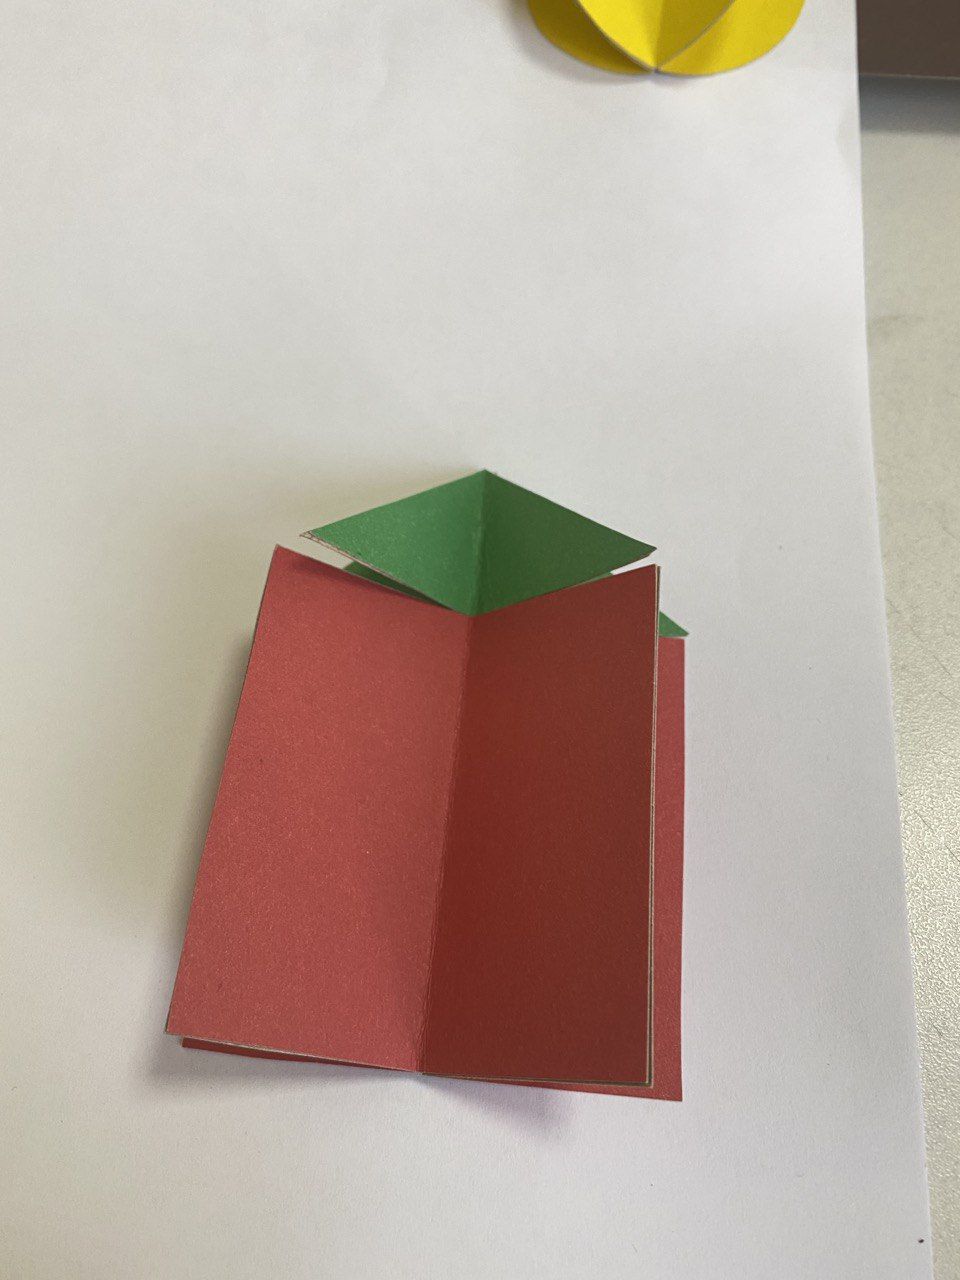
Cut a 7cm x 7cm square out of colored card stock (red or brown)
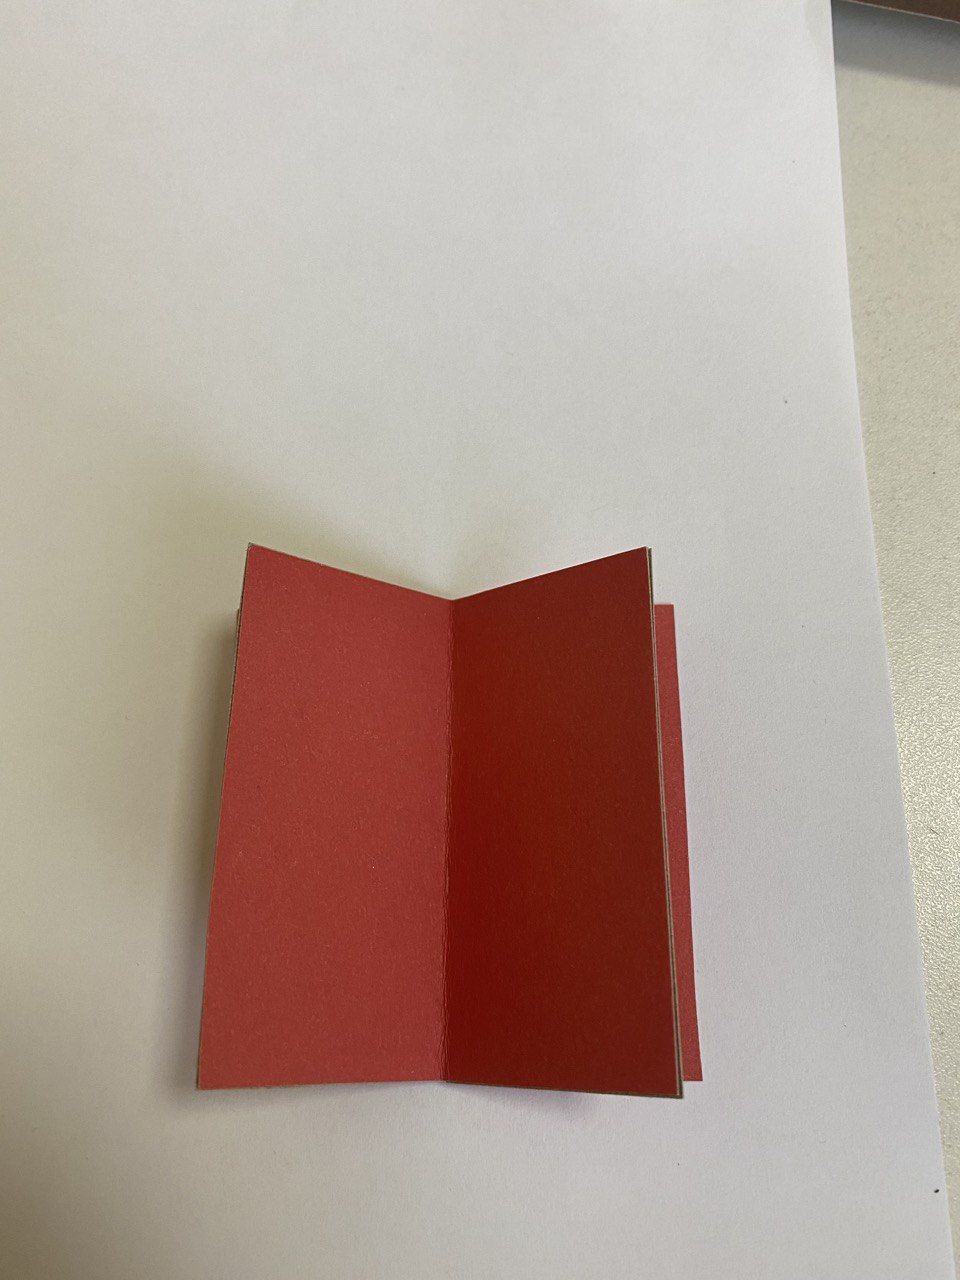
- Fold the squares in half and glue to each other as shown in the picture below.
- Glue the resulting part in the lower right corner of A4 sheet
- Cut out triangles with a base equal to 7cm
- Fold the triangles in half
- Glue the triangles to each other
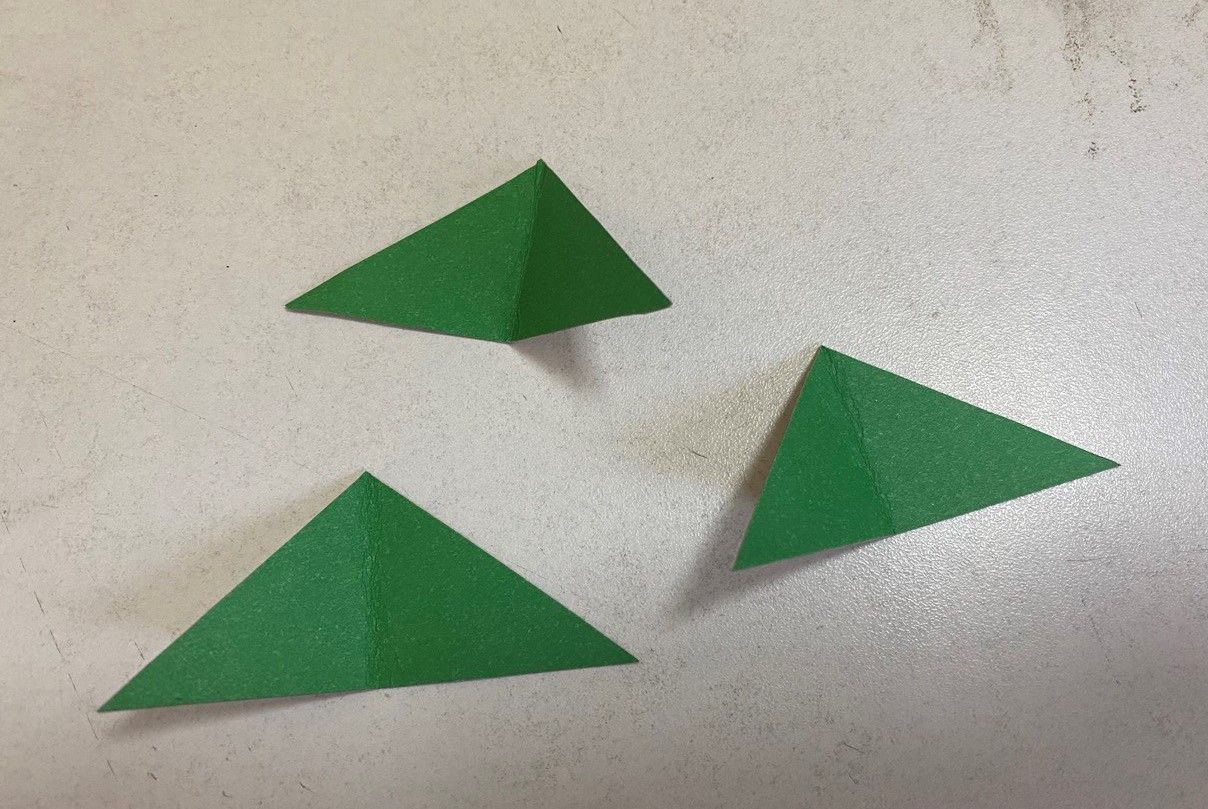
Glue the resulting piece to the top of the house
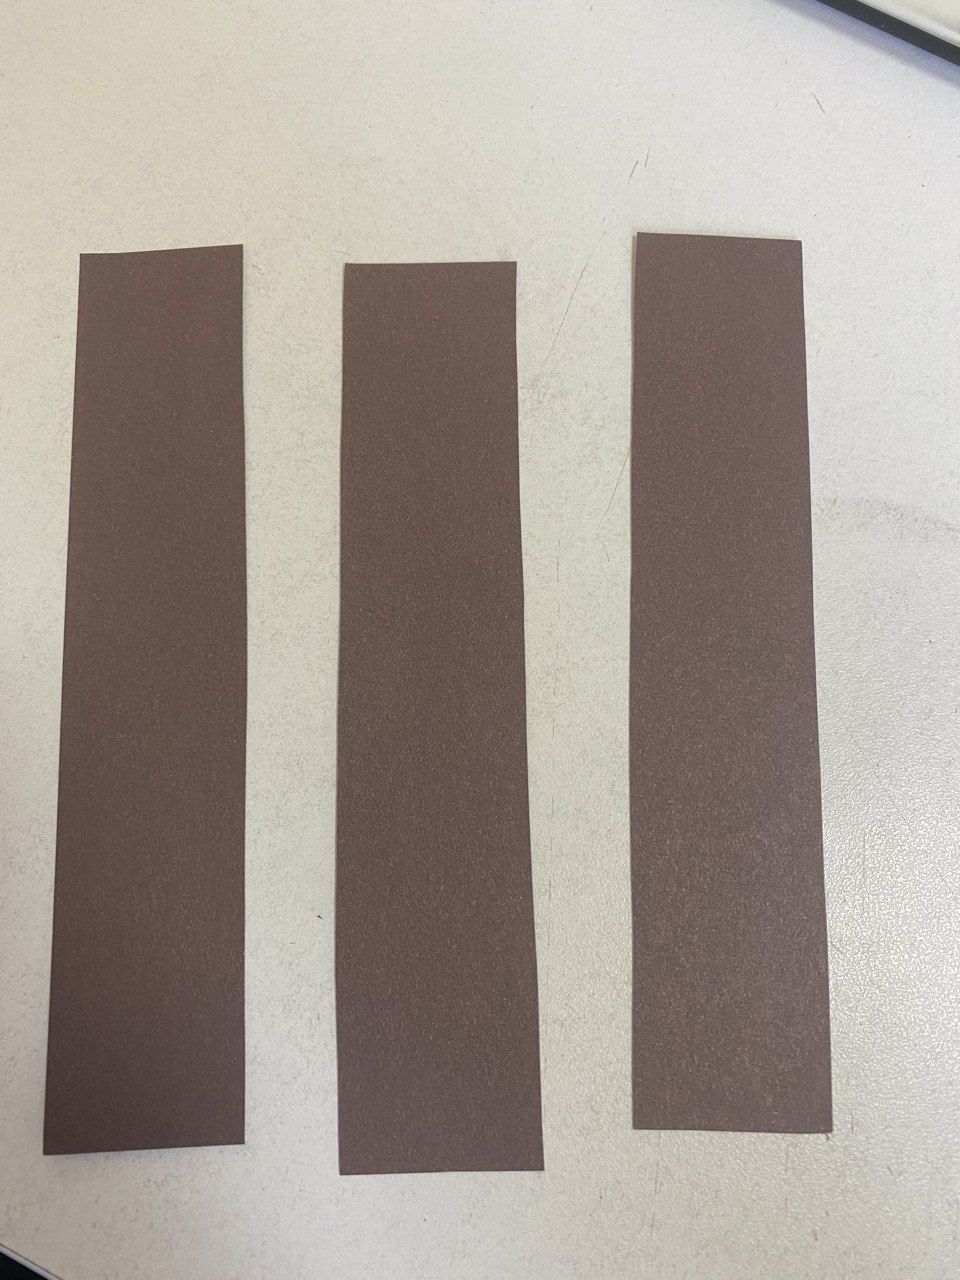
Cut out a 13cm x 3cm rectangle from colored cardboard (brown)
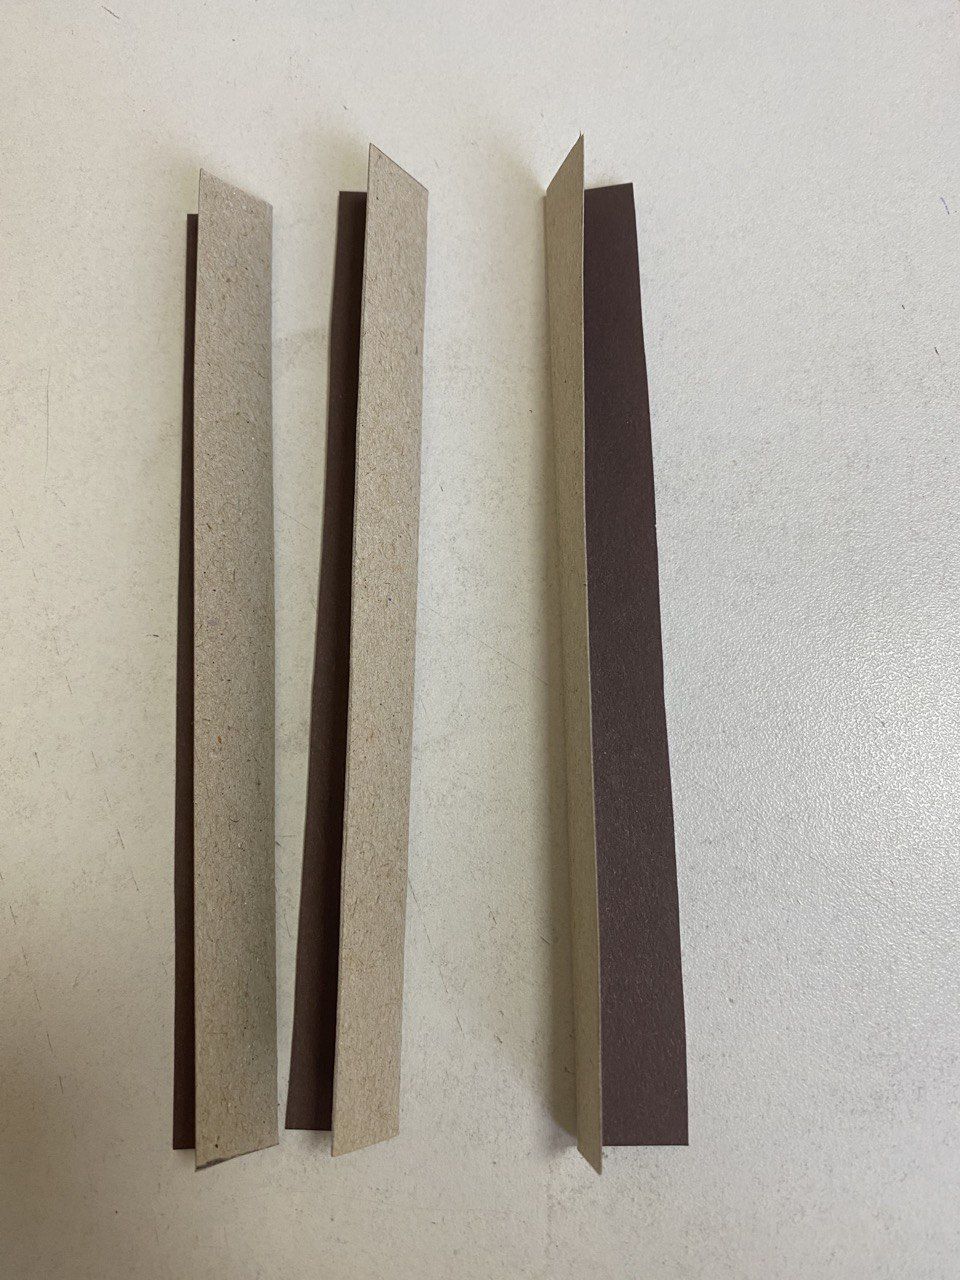
Fold the pieces in half and glue to each other
Glue the resulting part to the left of the house layout as shown in the figure.
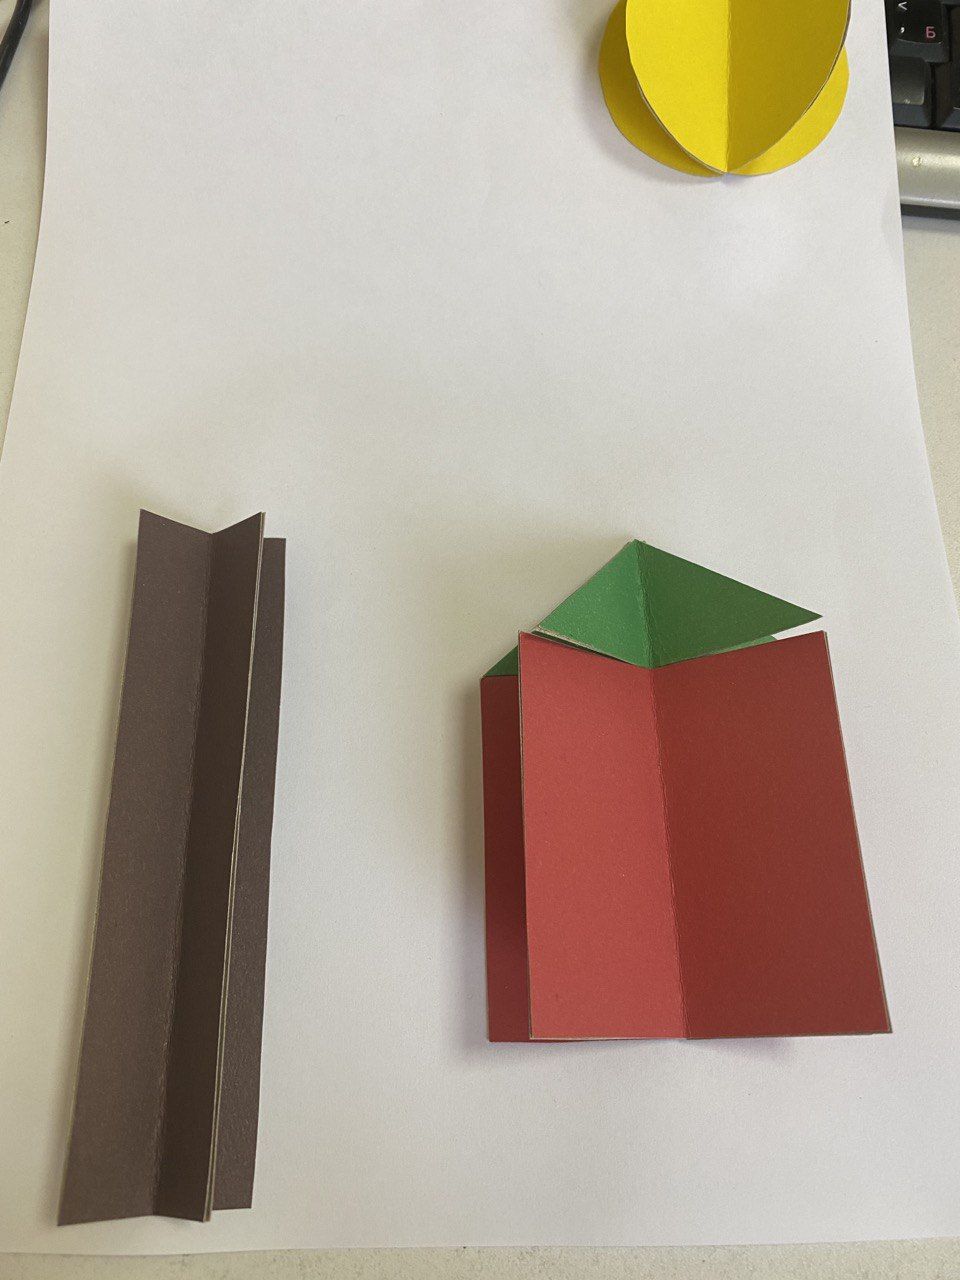
- Cut out circles with a radius of 4 cm and glue 3 circles to each other in the same way as shown earlier
- Glue the resulting part on the top of the rectangular part as shown in the picture.
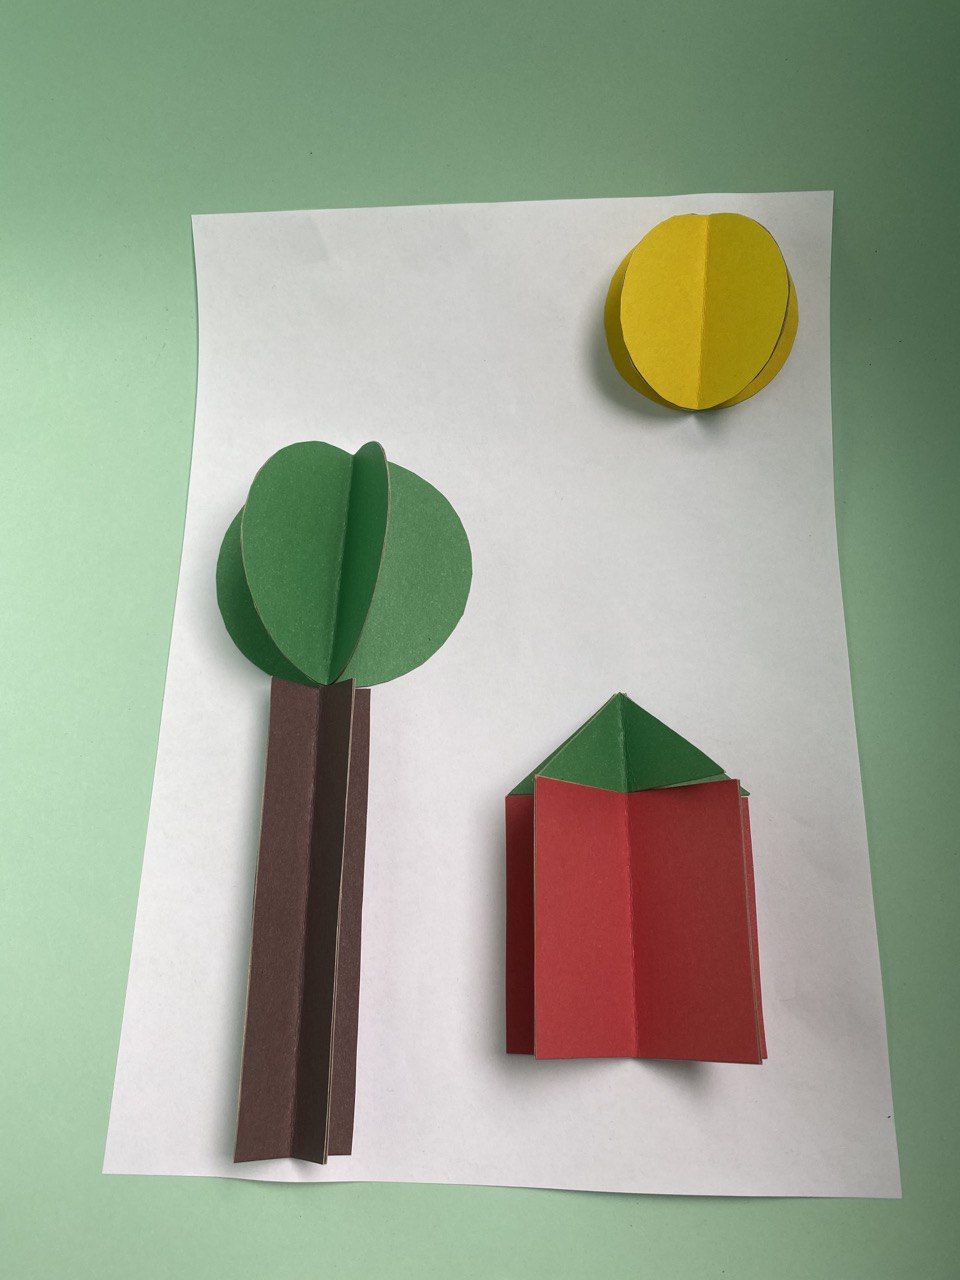
Let the students add their own details to the drawing with colored pencils
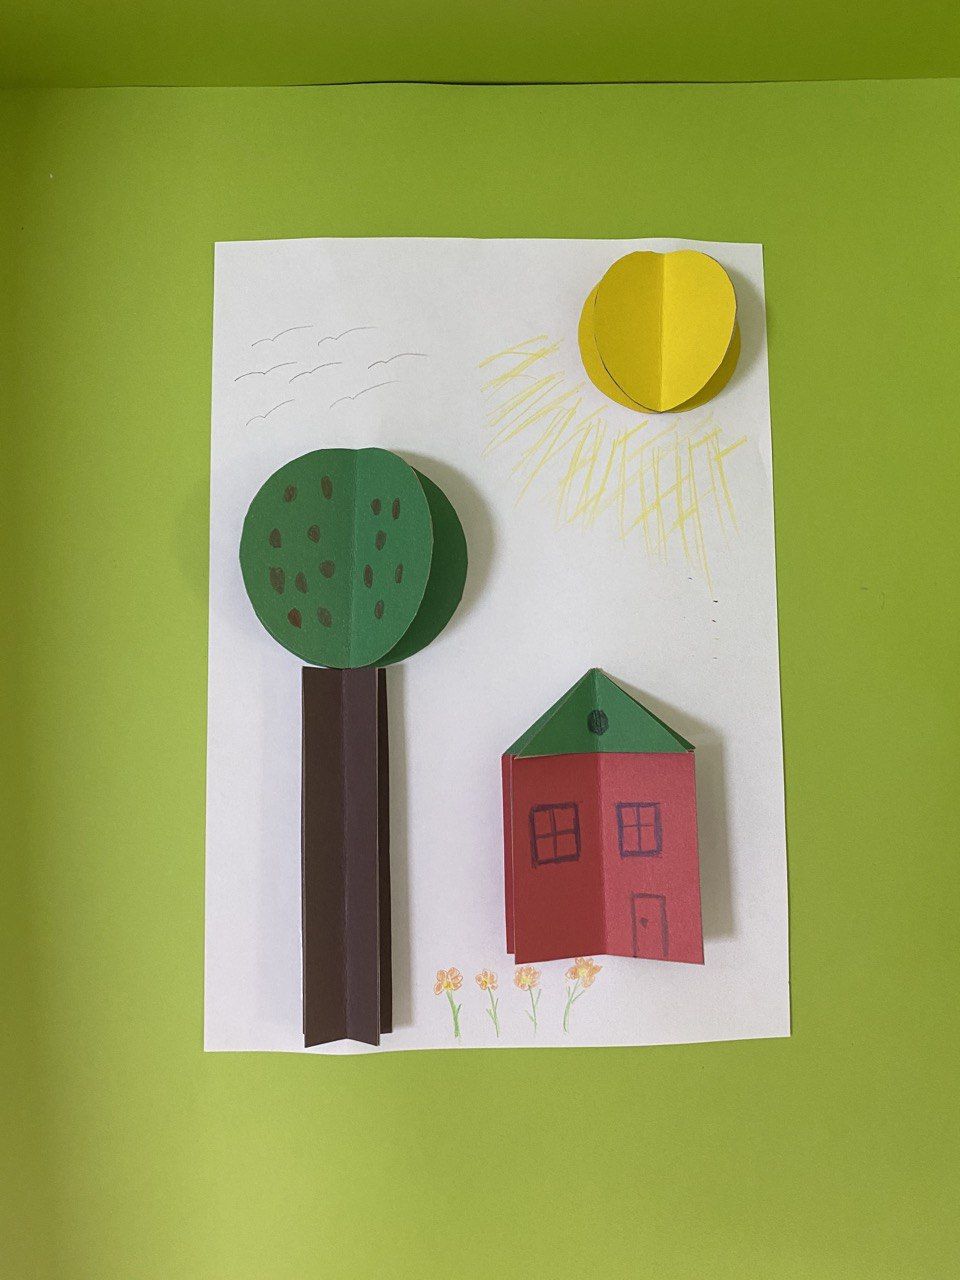
Conclusion
The students improved their knowledge of geometric shapes through the creation of a team drawing of geometric shapes. Students also learned to distinguish between types of shapes.
Evaluation