
Lesson 2
The practical part
| Step 1: In the last lesson, you combined the leg parts and held the sponges together. Now secure these sponges with rubber on the back side | 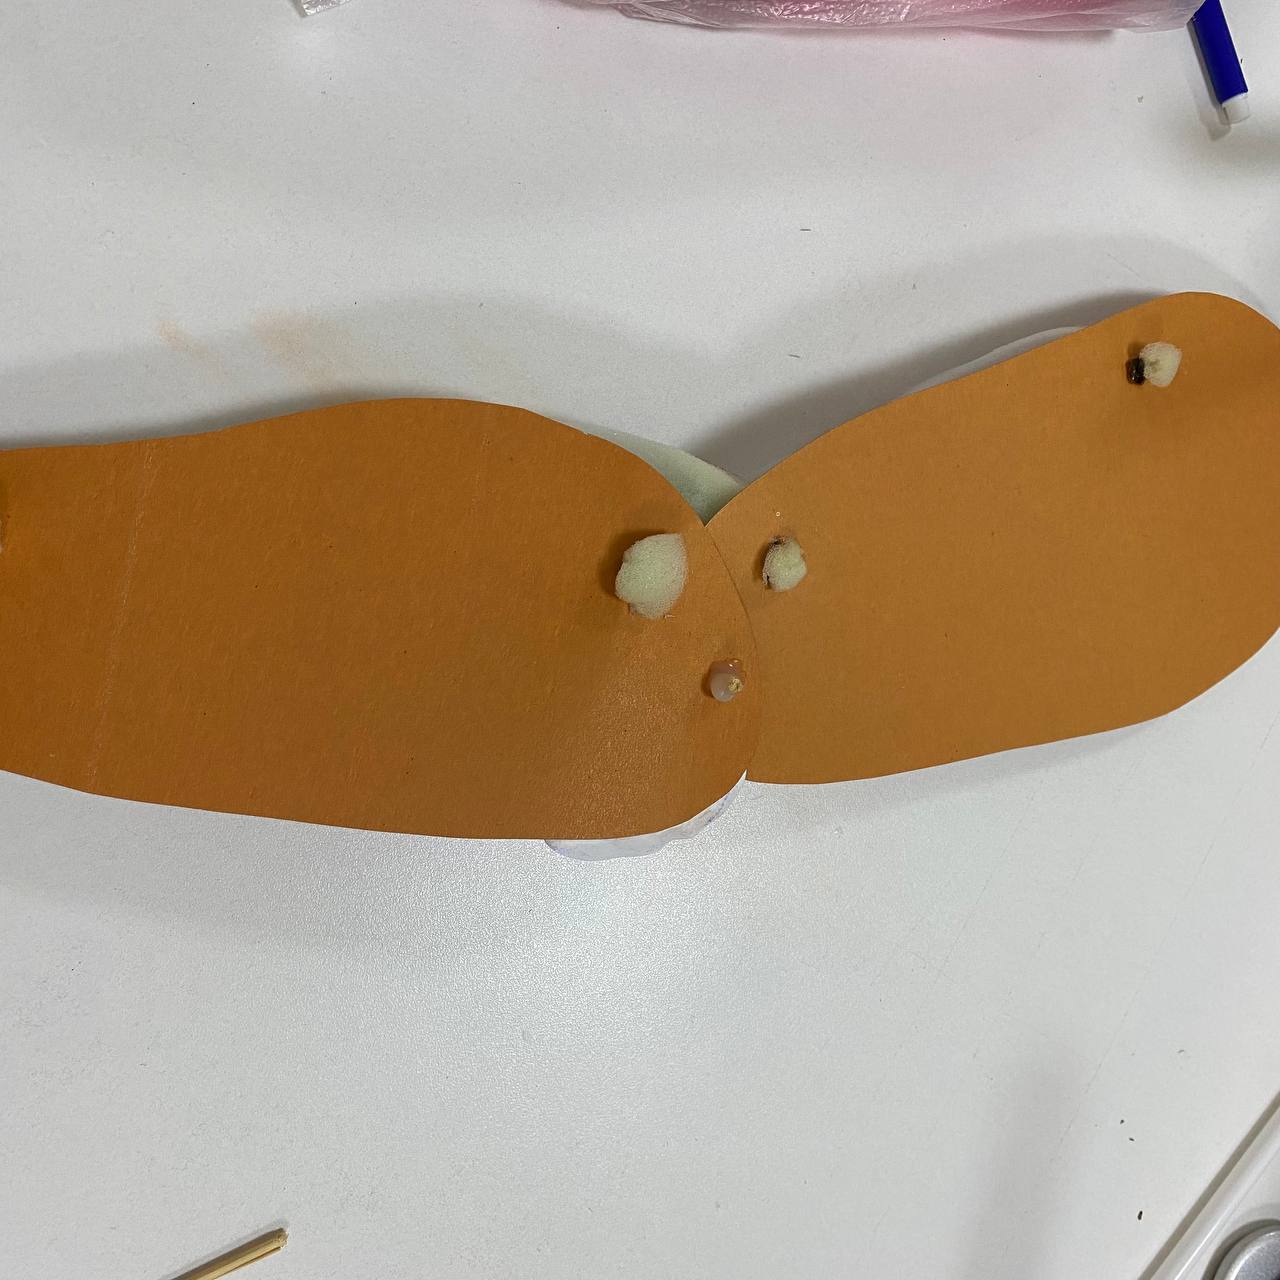 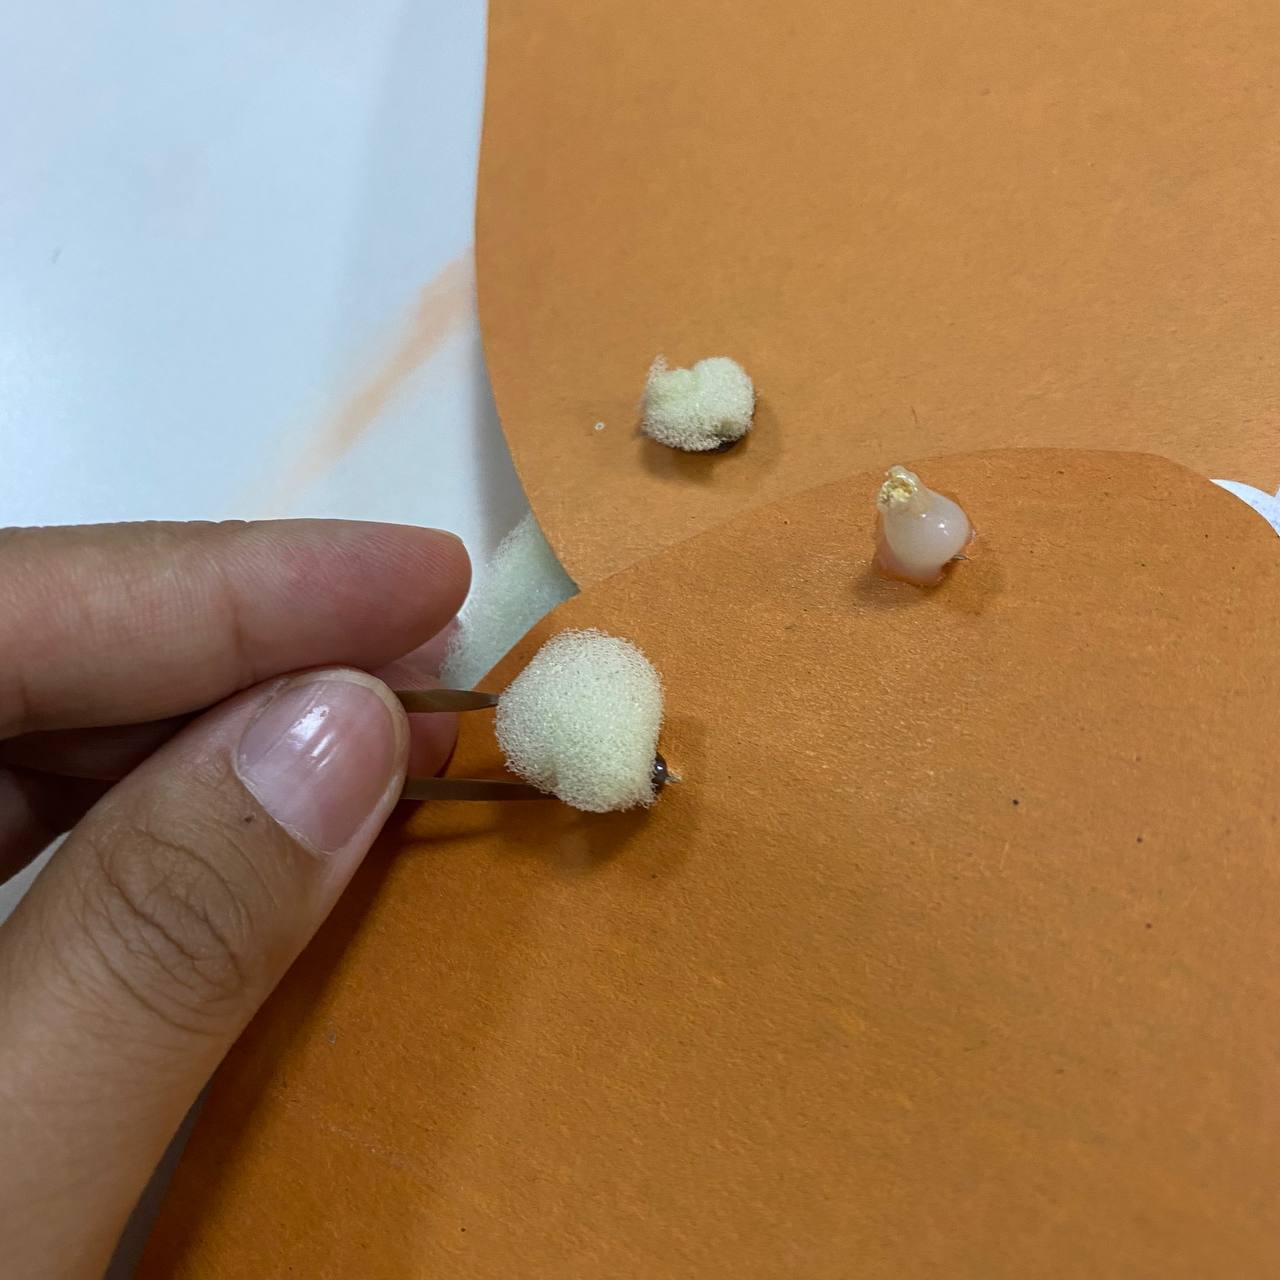 |
| Step 2: Take the lid and make a hole the size of the tube | 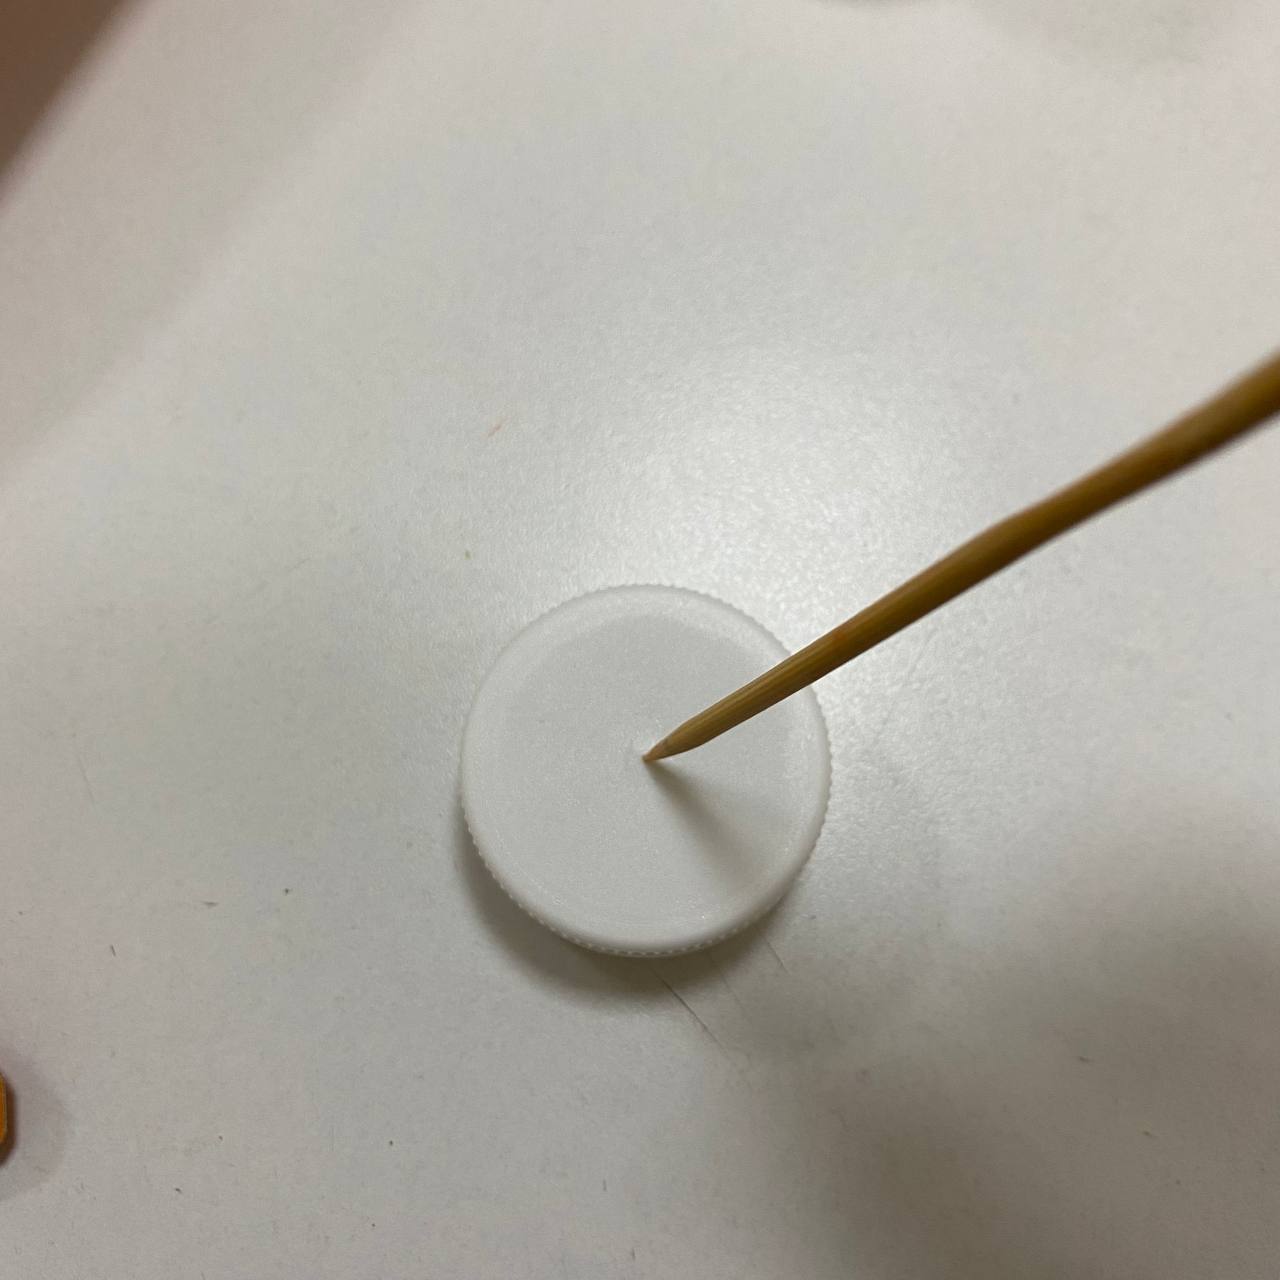 .jpg) |
| Step 3: If the hole is small, use a pencil to enlarge the hole | 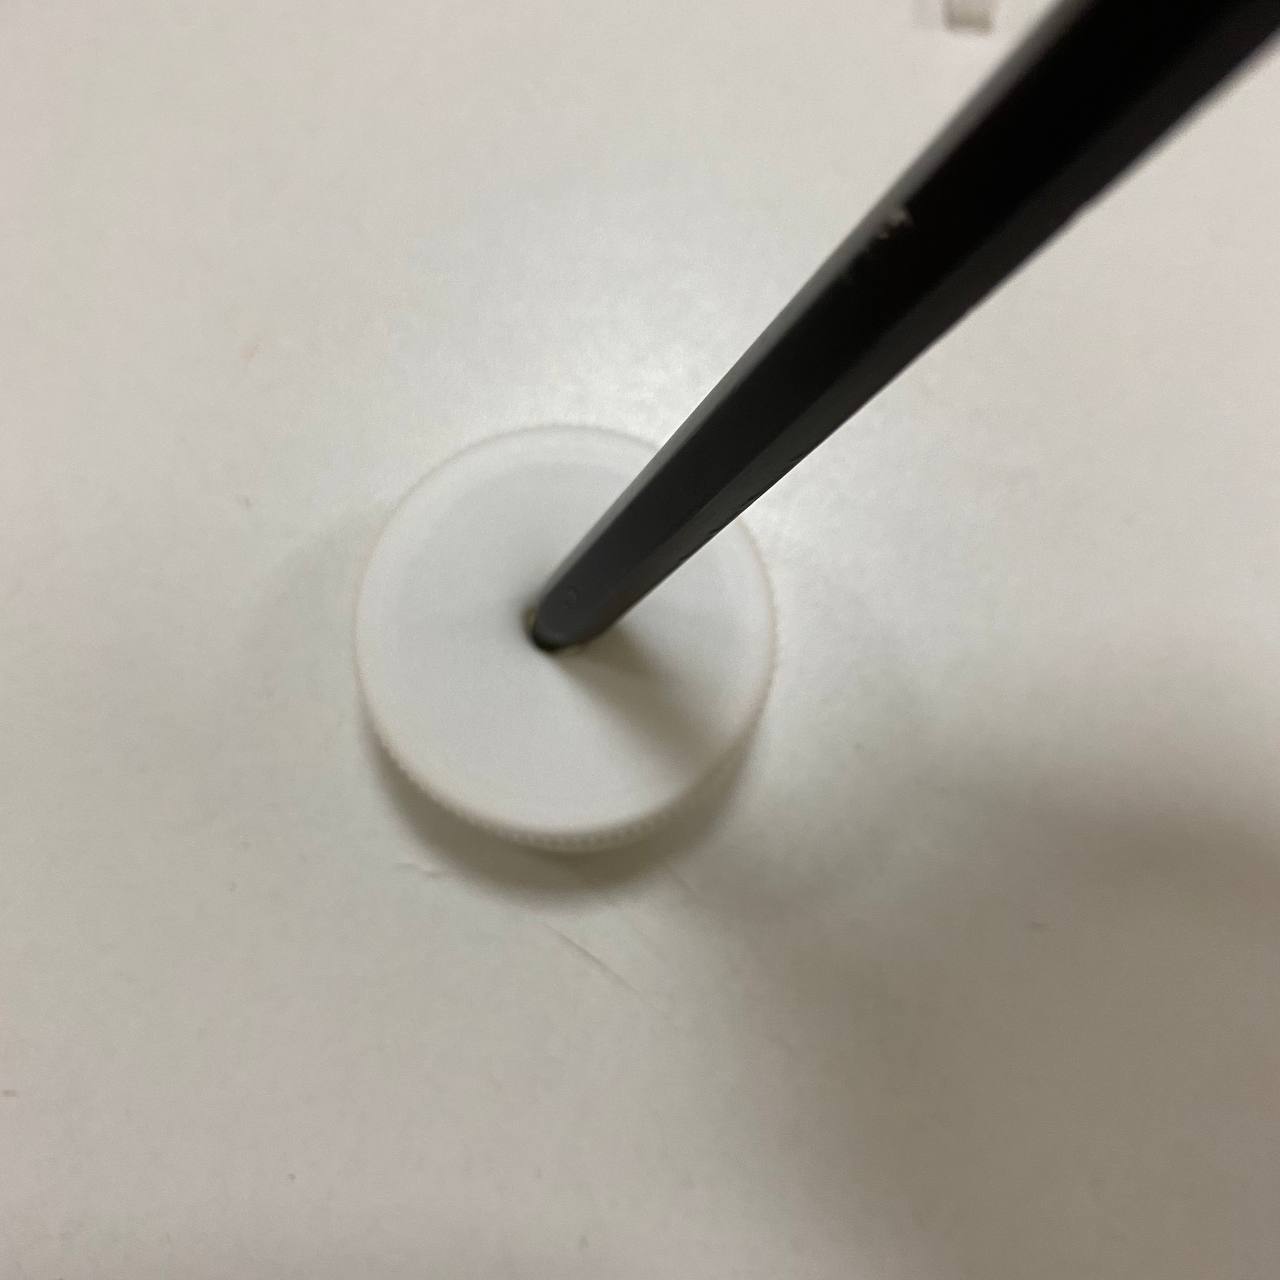 |
| Step 4: Run the tube and secure with hot melt glue | 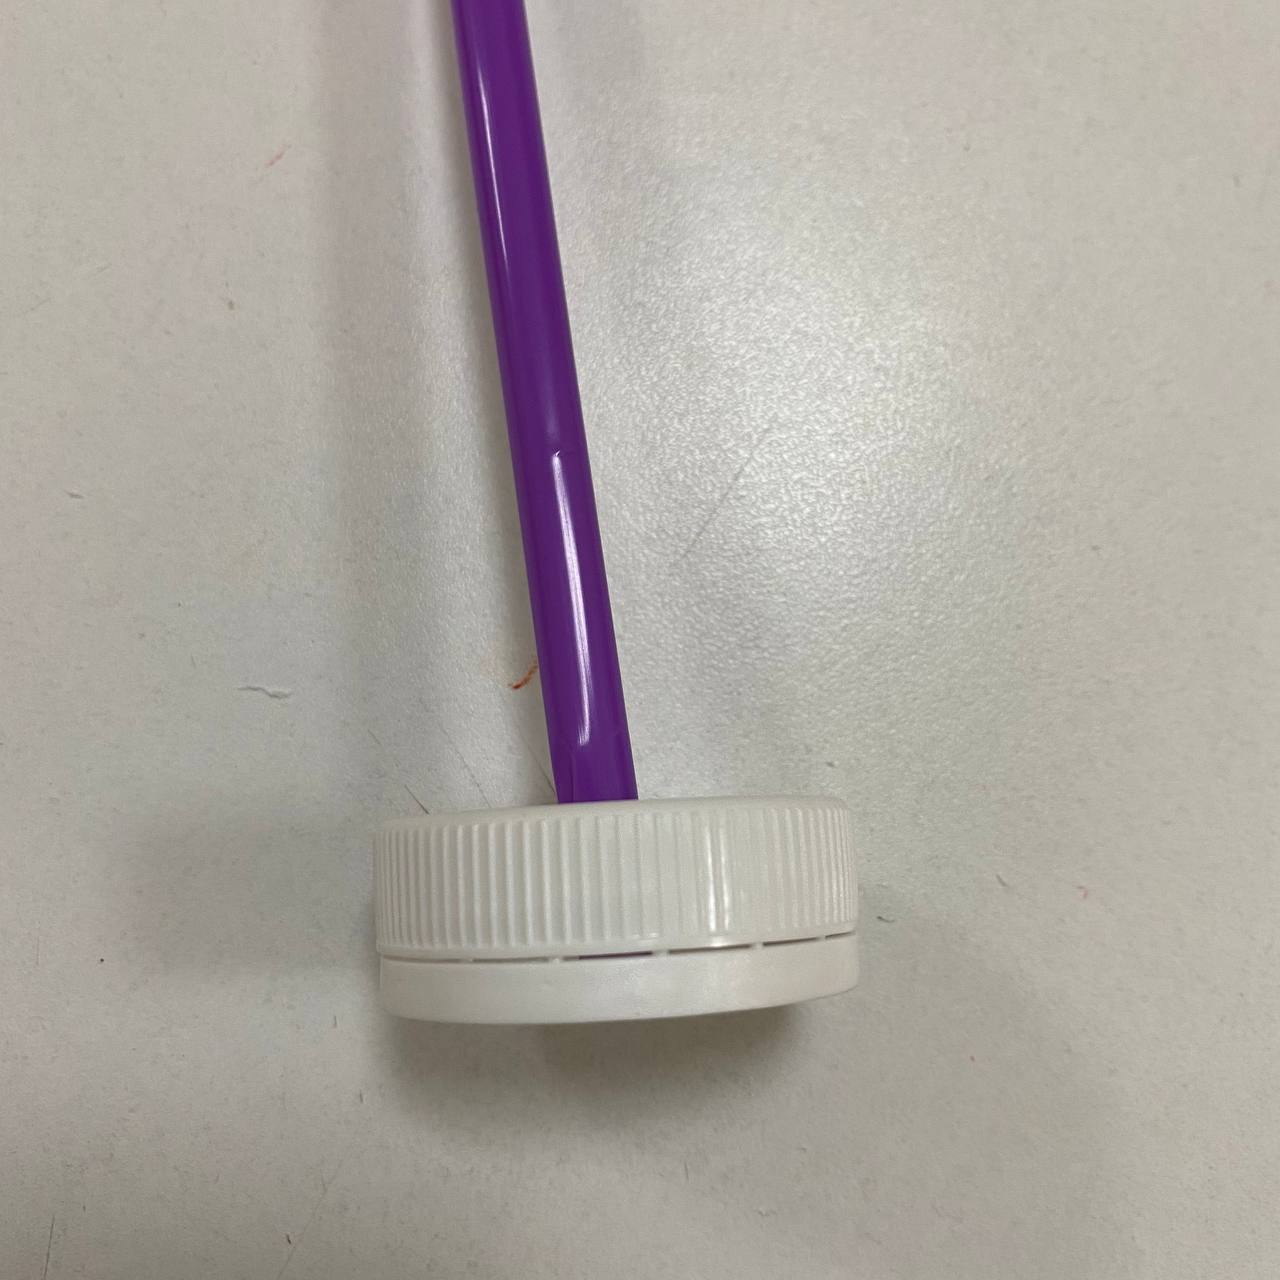 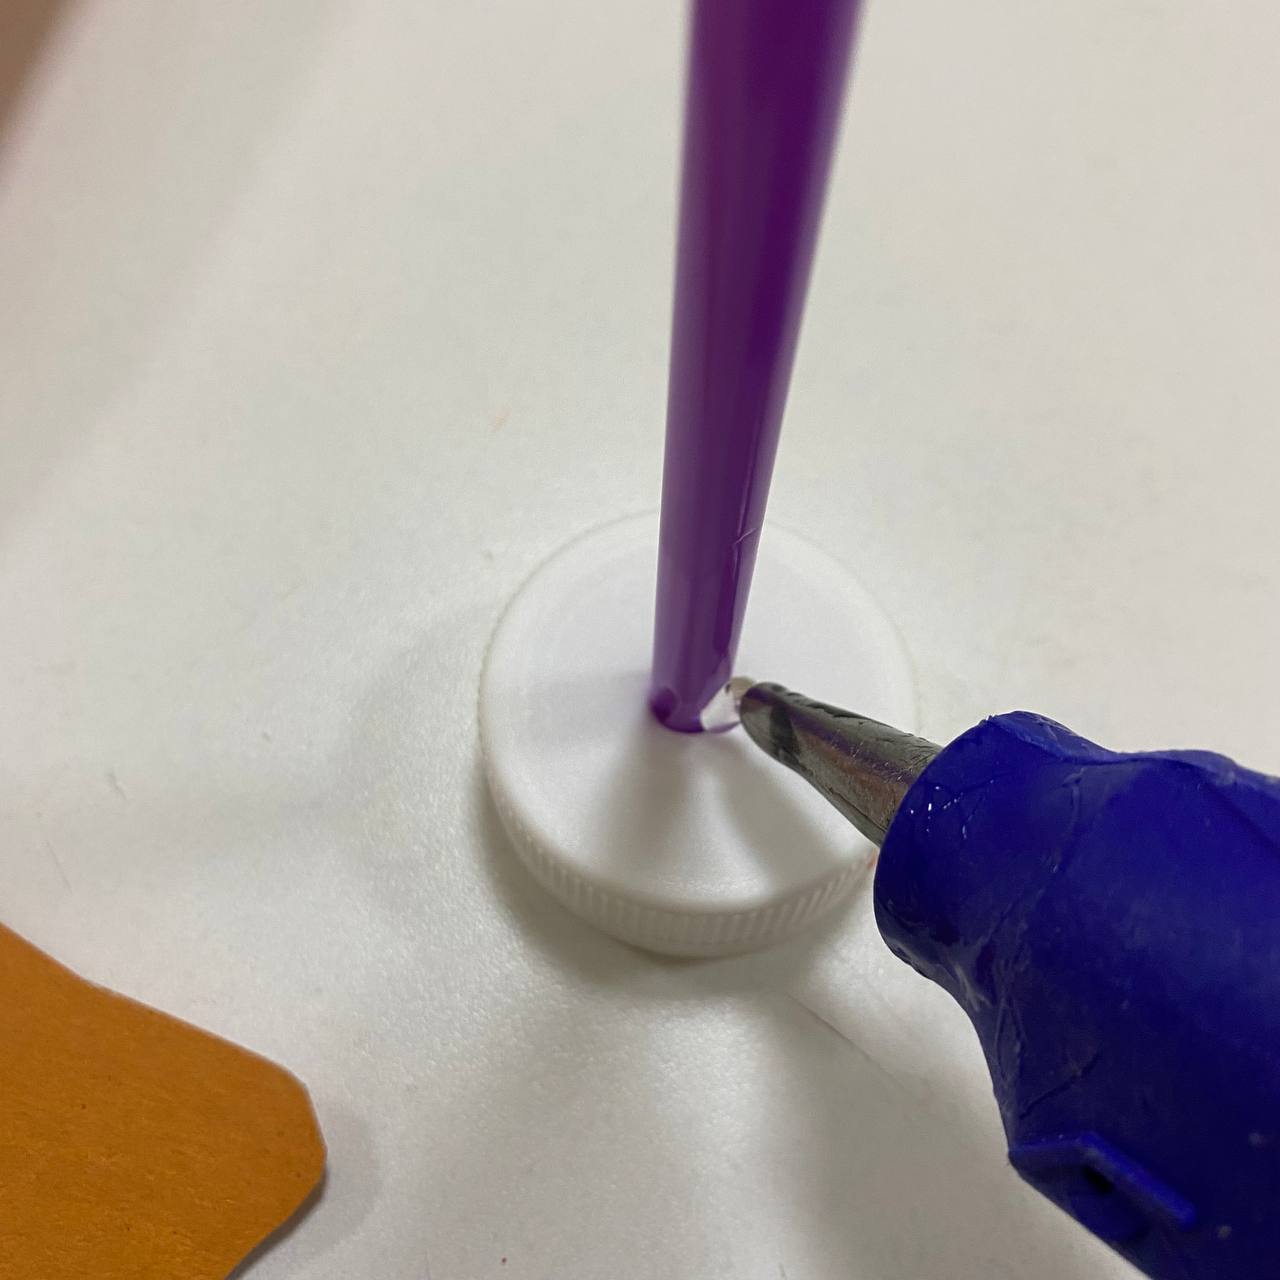 |
| Step 5: Glue the prepared piece to the foot (next to the foot), on the back | 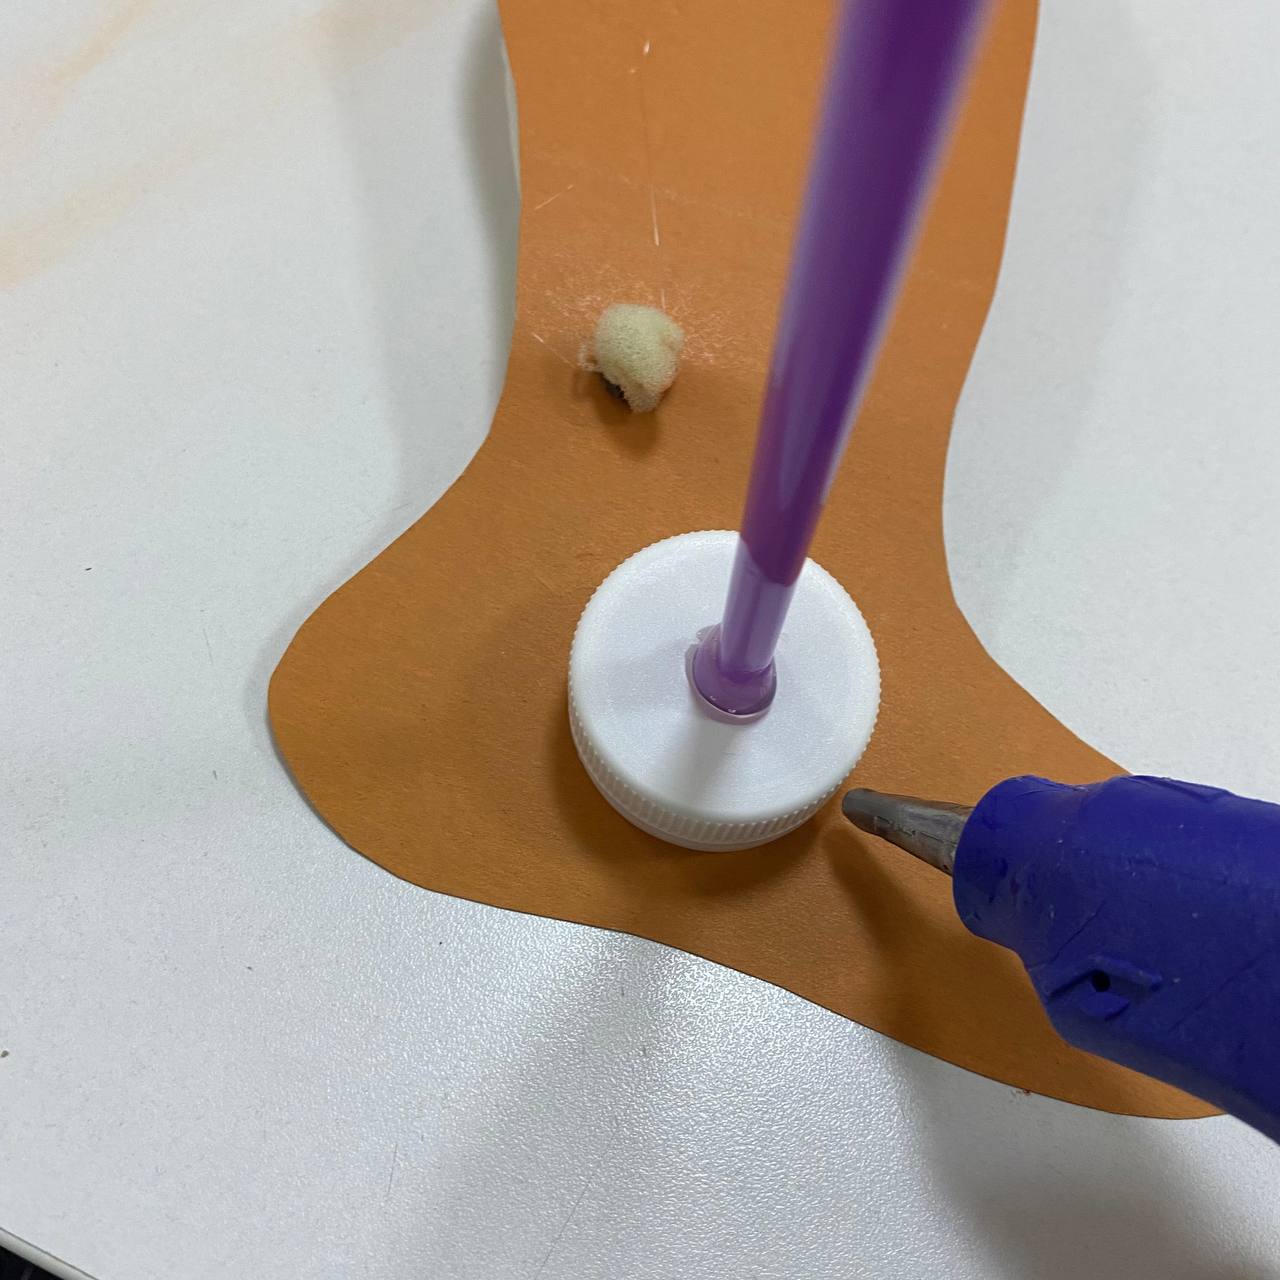 |
| Step 6. Then take 3 more lids, and glue them to the top, middle and bottom | .jpg) 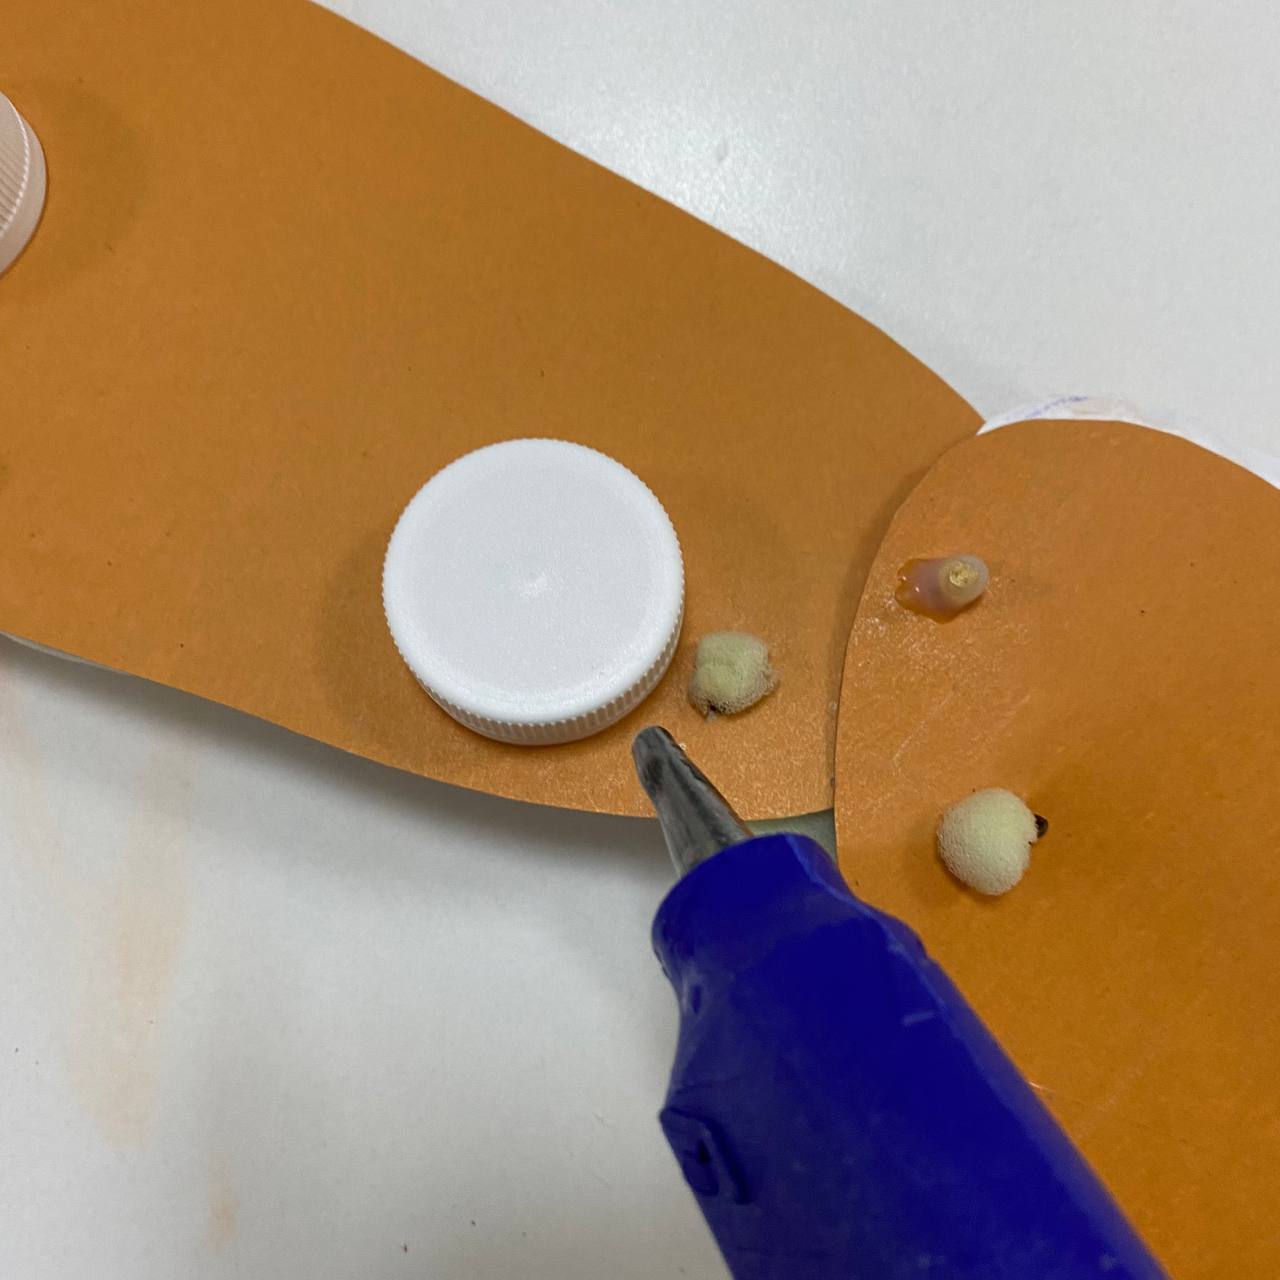 |
| Step 7: Prepare cardboard shorter than the leg |  |
| Step 8. Then glue the cardboard to the lids (3 lids) And the lid with the tube should protrude from the back | 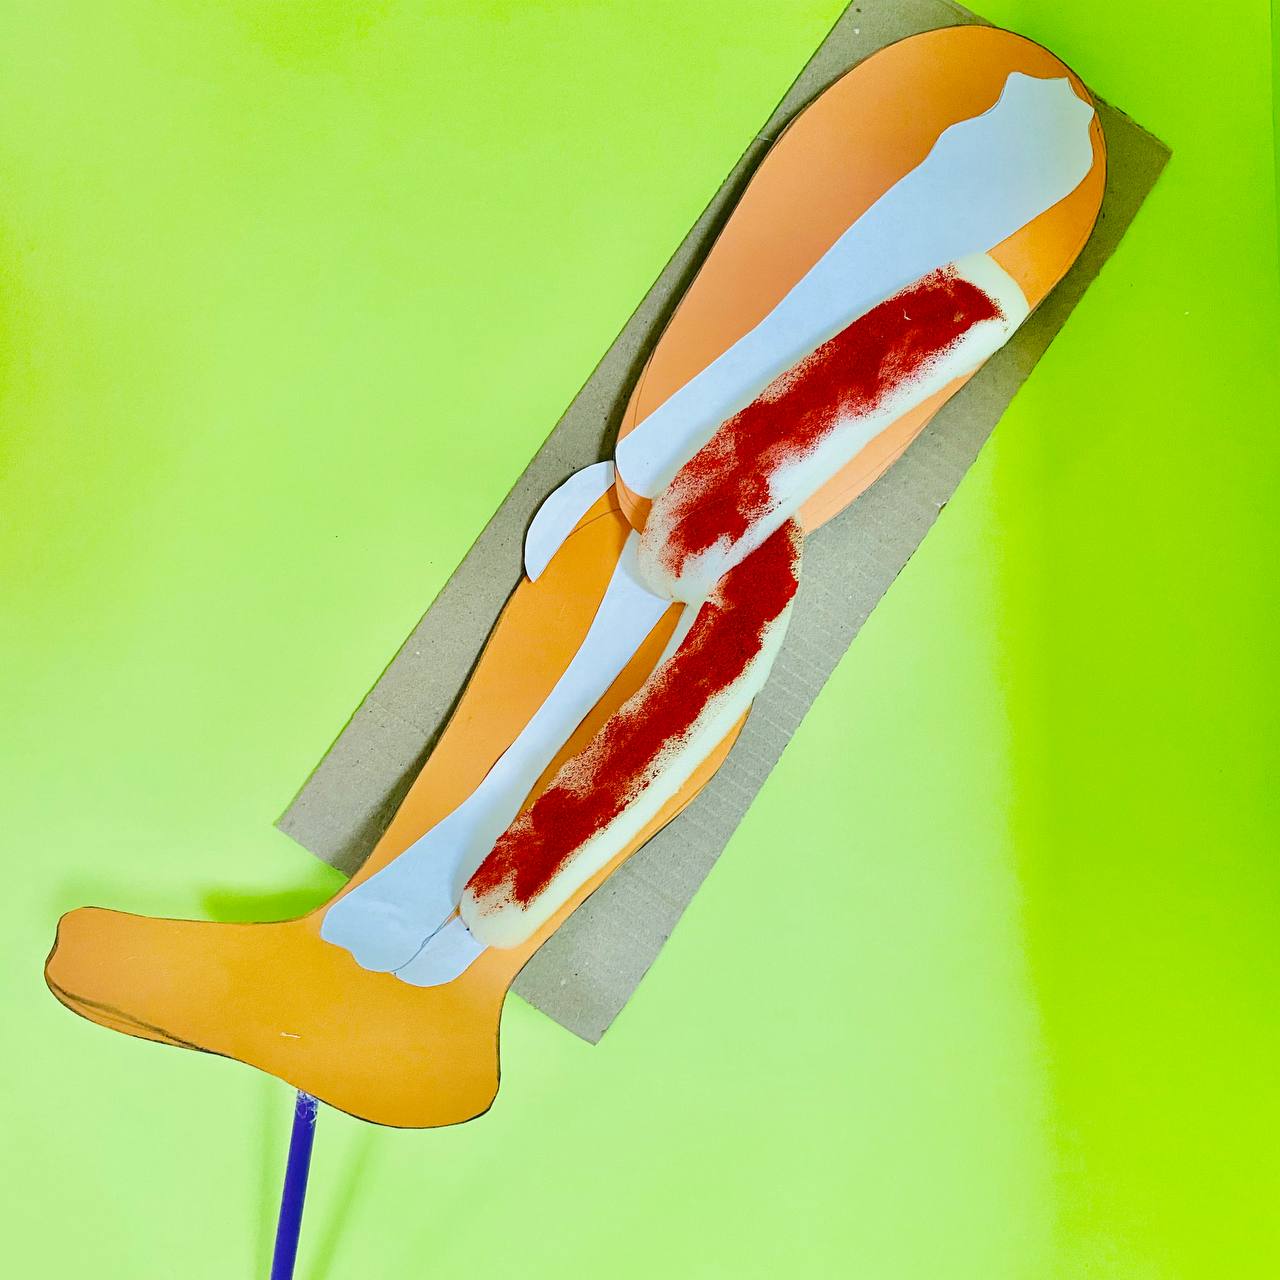 |
| Step 9: You can make a stand from different materials: skewers, straws, ice-cream sticks, cardboard, etc. But not necessarilyCongratulations, the anatomical foot model is ready and it moves: forwards and backwards by attaching a skewer in the middle. | 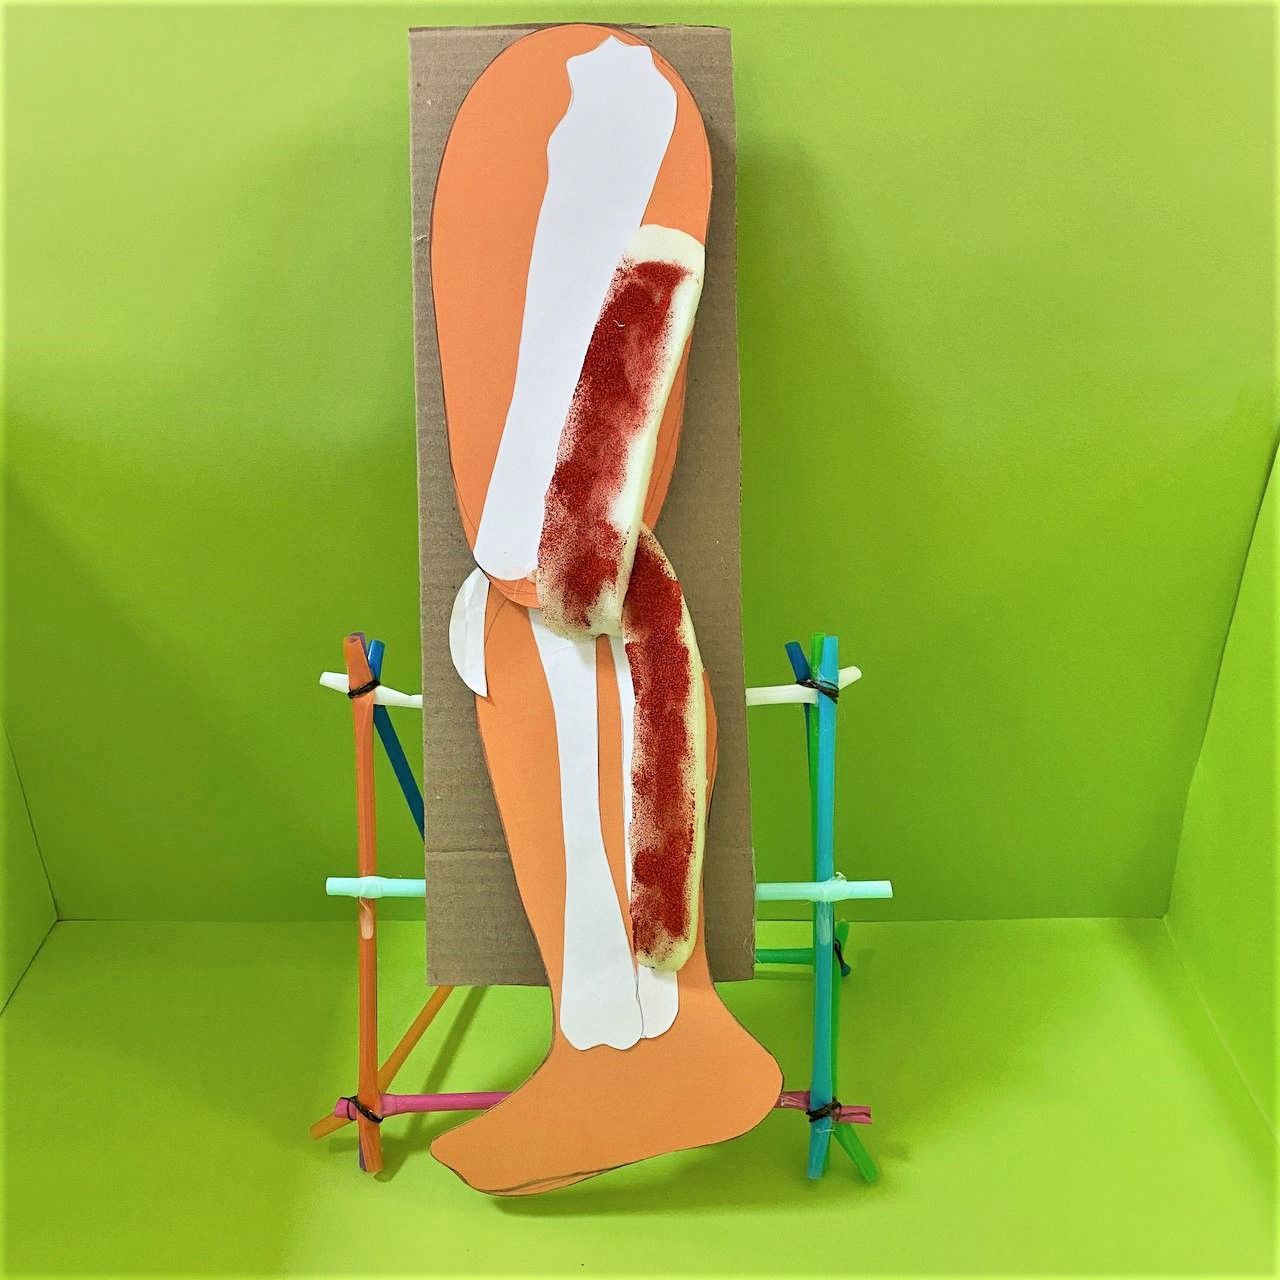 |
Conclusion
In this project the pupils investigated the function of the human locomotor system. They then made an anatomical model of the leg.
On this project, each pupil is awarded a STEAM title, in several categories:
– You have researched the human musculoskeletal system on your own! You are a young orthopaedic researcher!
– You have created a model of a leg on your own! Perhaps you are a future biotechnological engineer!
Evaluation
