Lesson 1

Objective of the project
– To show that different objects move at different speeds and with different forces
– Make a mini-model of a working crane
Teacher’s guide
– For the practical part of the project, students work in groups of 3-4.
– The students should be familiar with the topics like the speed of movement of different objects and the force exerted on it.
– Before starting the practical part, familiarise and provide the students with all the necessary materials.
– At the beginning of the lesson explain the PBL (project based learning) rubrics to the students. Skills 4K (critical thinking, collaboration, creativity, anticipation)
Safety in Steam Lessons
Before starting a lesson, the teacher is advised to familiarize himself with the safety precautions. If necessary (in the case of using the items specified in the TB), conduct a brief briefing for students. Follow this link Safety in Steam Lessons
Theoretical Part
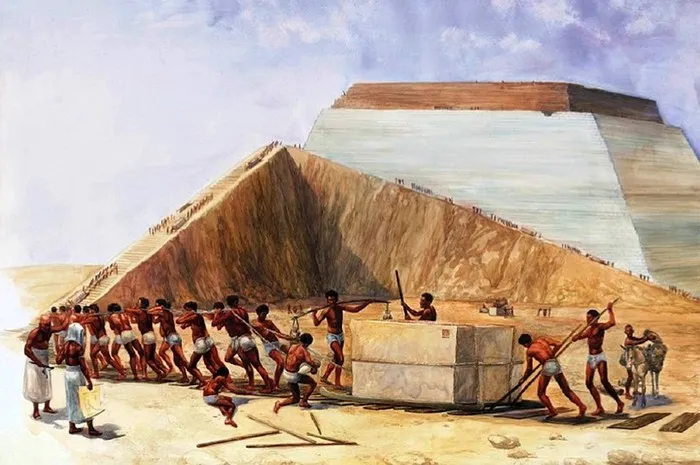
Image 1. Construction of the pyramid
Mankind has been able to build big buildings for a long time, but a lot of manpower was put into their construction. This means that it takes a very long time to lift various large objects. For example, to build a pyramid like the one in the picture, it took man almost a lifetime.
Later, engineers and scientists developed various structures to solve this problem. One of the achievements invented by mankind is considered to be the crane. Because through the tap many problems of people were solved. For example, the speed of substitution of various objects, the reduction of work on the part of mankind.
Link: https://pikabu.ru/story/sekret_stroitelstva_egipetskikh_piramid_raskryit_polnostyu_6256420
Let’s try to design a small mock-up of this invented structure ourselves
Practical part
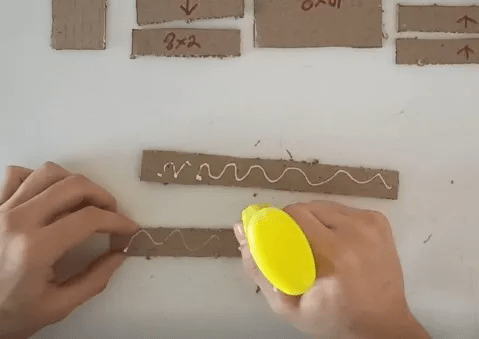
Step 1. We take a 34×28 cardboard and draw out the patterns as on the picture. (If you show 20×4 you have to change 20×2 by counting two parts together)
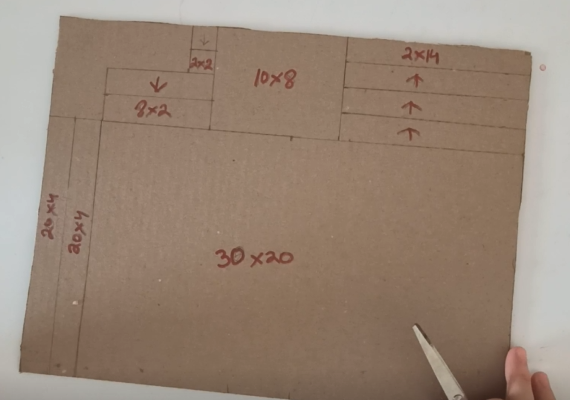
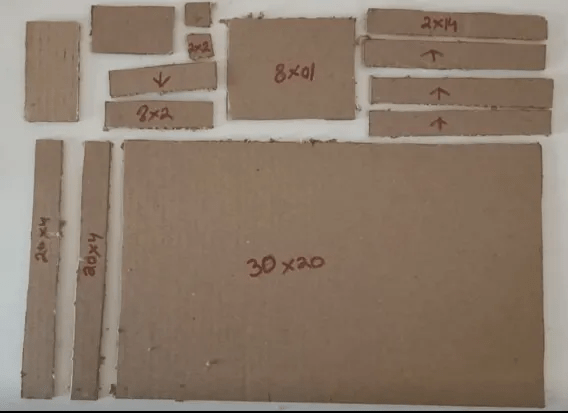
Step 2. we can trim to the appropriate size
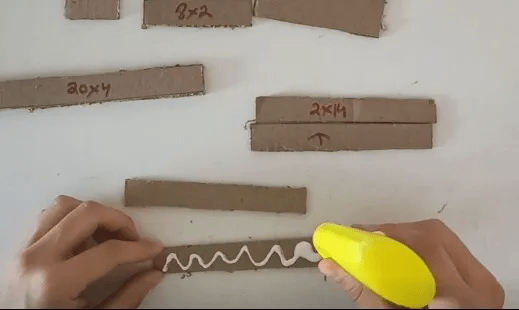
Step 3: Glue two 20×2 pieces of cardboard together with PVA glue
Step 4: Glue four 14×2 cardboards together in two
Step 5: Punch a 20×2 square of cardboard with a skewer upwards and downwards
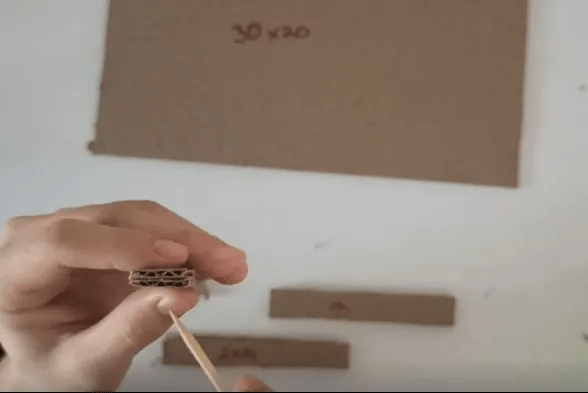
Step 6: Pierce two 14×2 cardboard from the top only
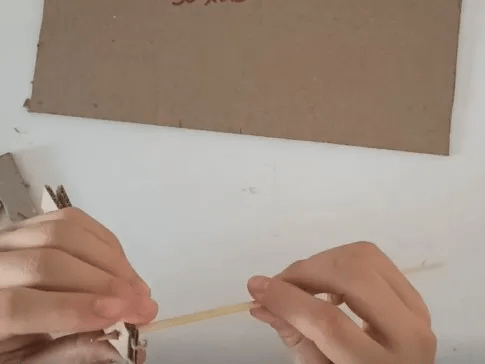
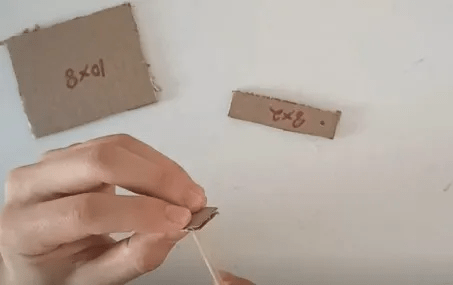
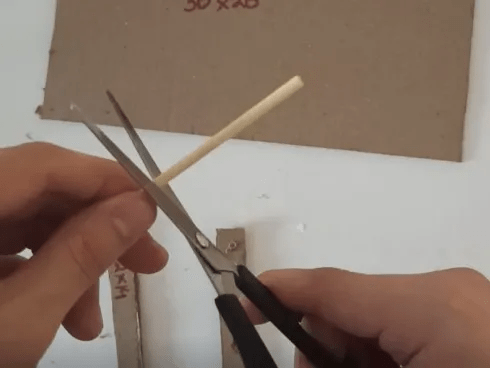
Step 7: Use scissors to separate the stick, twist a little with scissors and then break it with your hands
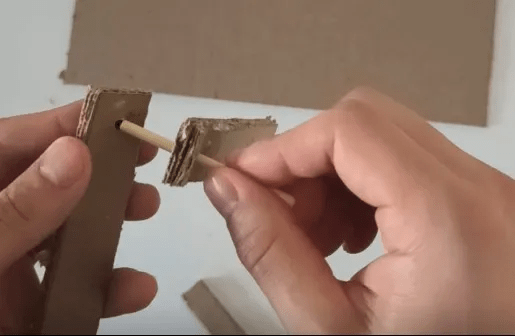
Step 8: Lead the cut stick through the 14×2 cardboard, 20×2 cardboard in the centre to the other edge of the 14×2 cardboard
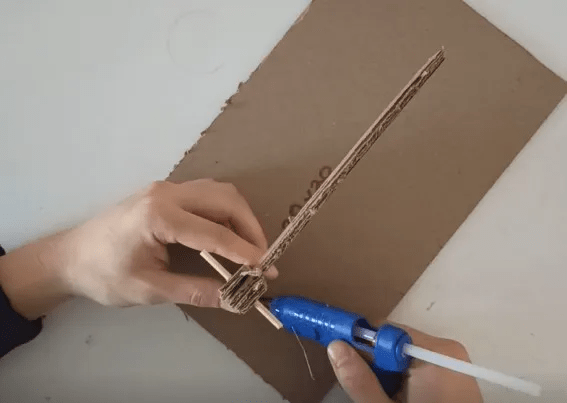
Step 9. Place 2×2 cardboard in the centre of the 14×2 cardboard and glue with hot glue to a bigger 30×2 cardboard.
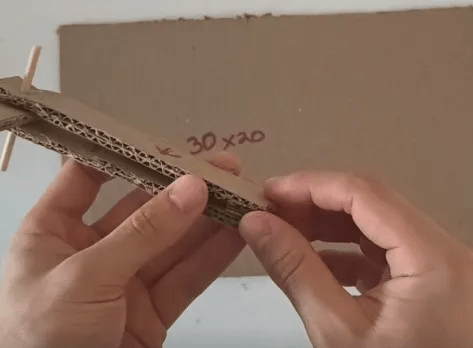
Step 9.1. The teacher should glue and the pupils can then hold on until the glue hardens
Step 10. Pierce two 2×8 cardboards equally at the top