Lesson 2
The practical part
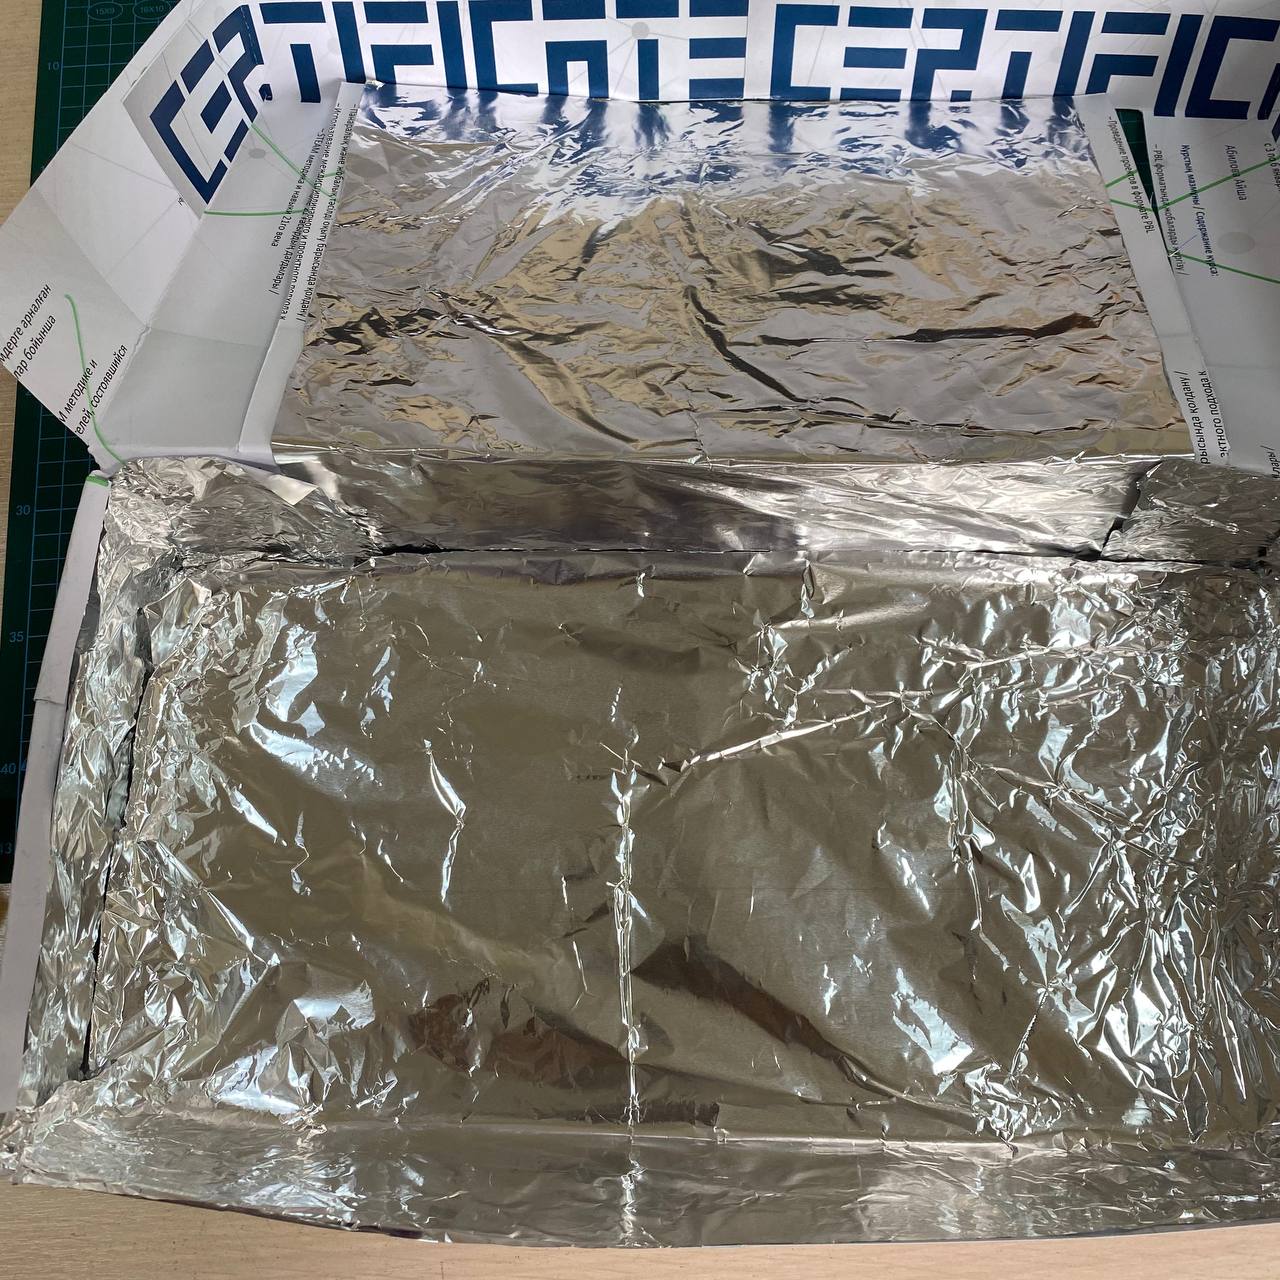
Step 1: In the inside of the box, glue the foil to the correct size
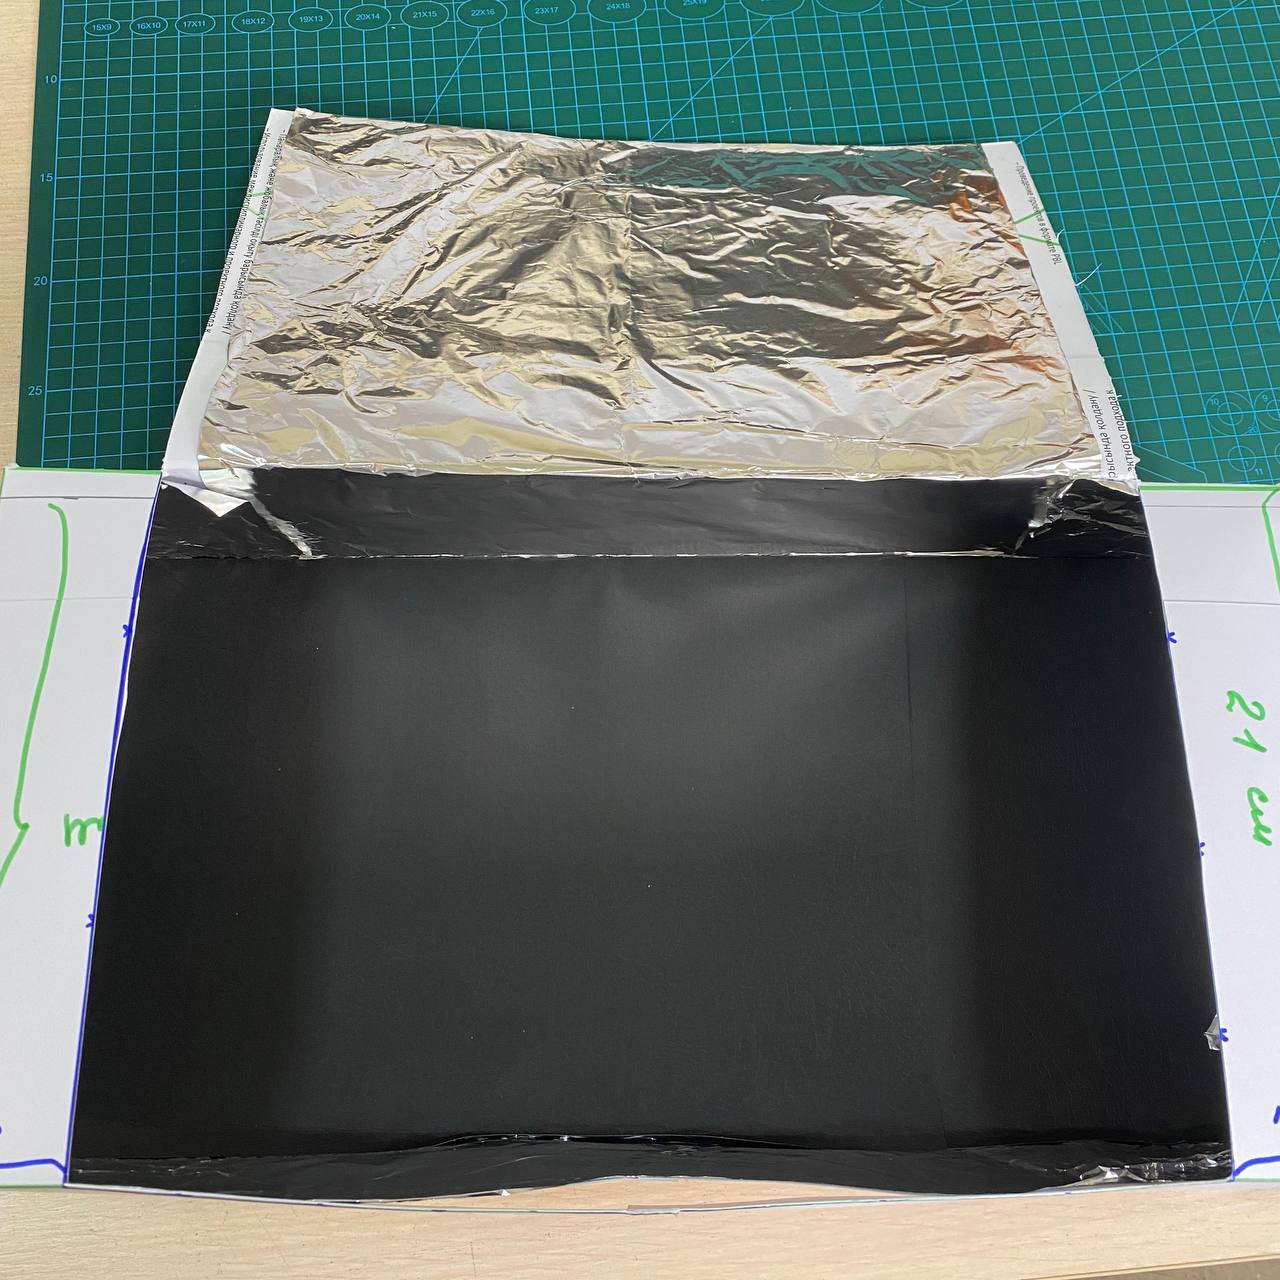
Step 2. Then lay black paper on the bottom
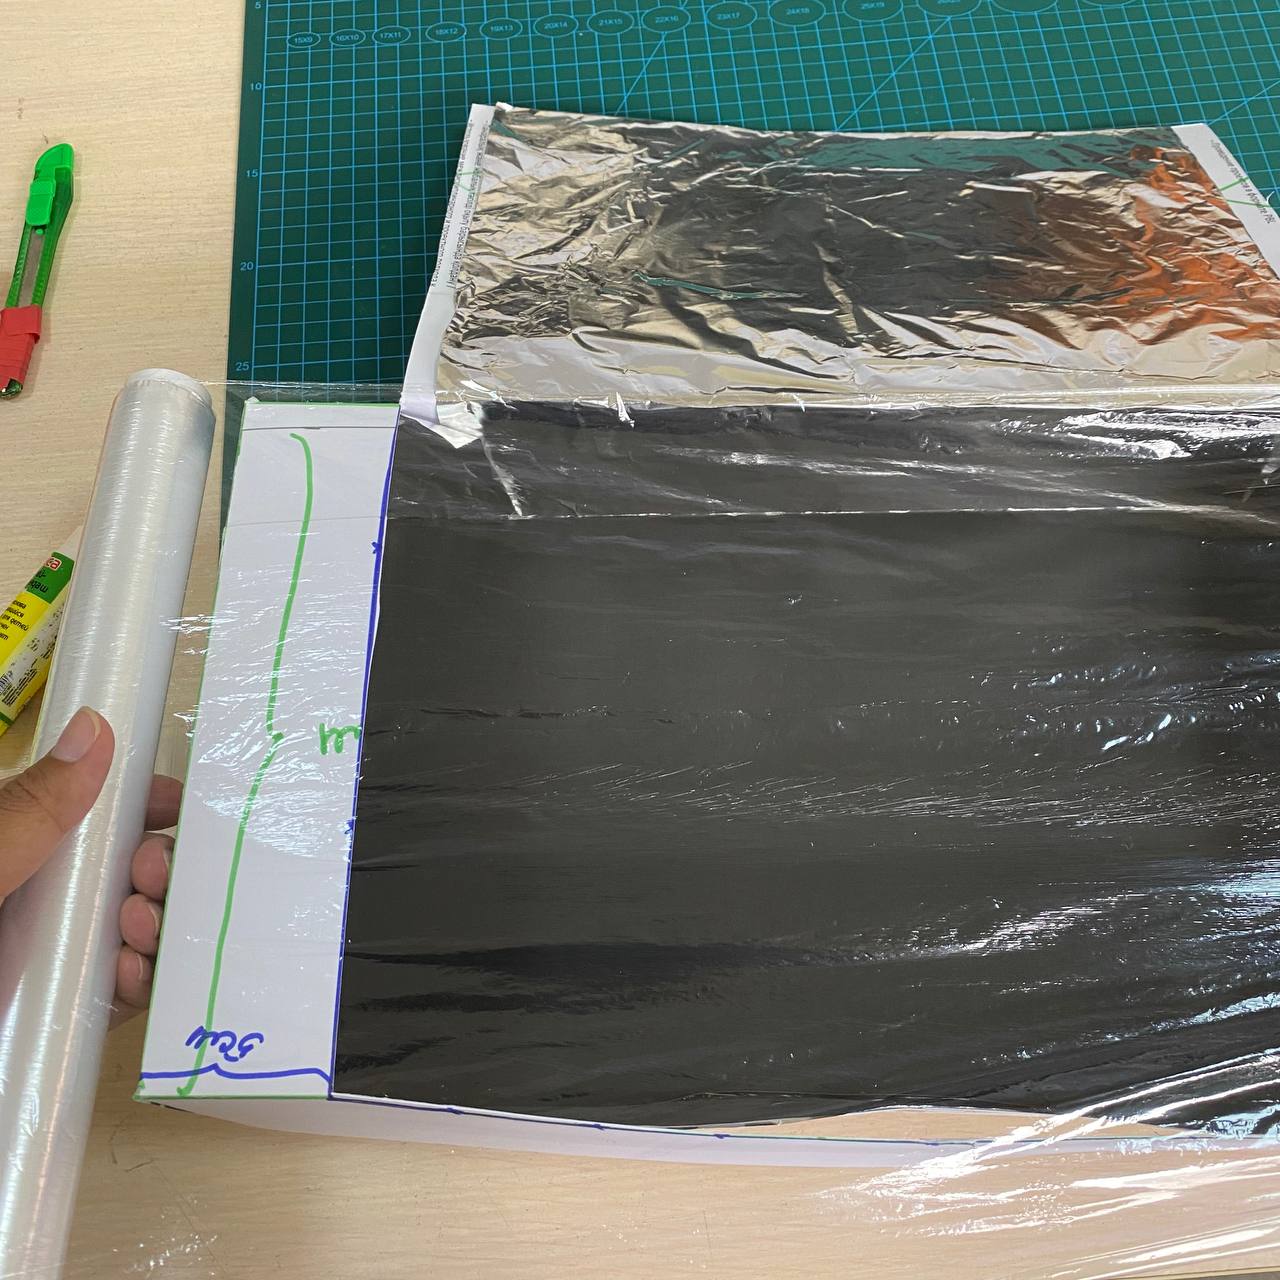
Step 3: With the lid closed and the cut-out open, glue the cling film on. You can use scotch tape.
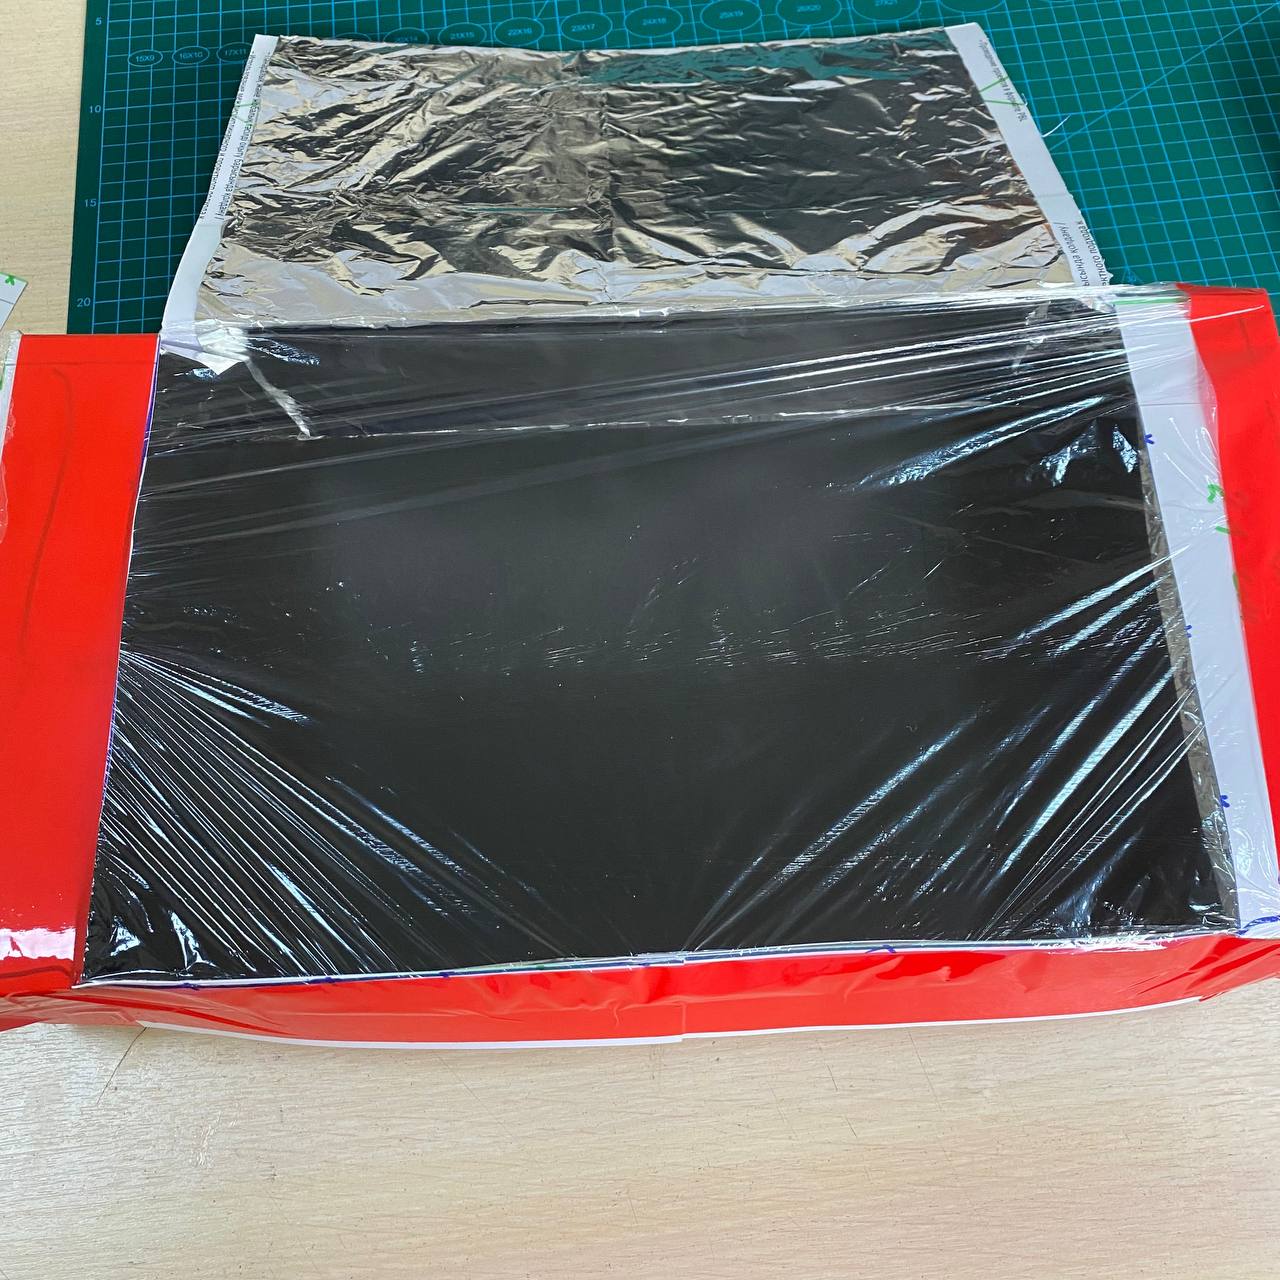
Step 4. This should come out as shown in the illustration
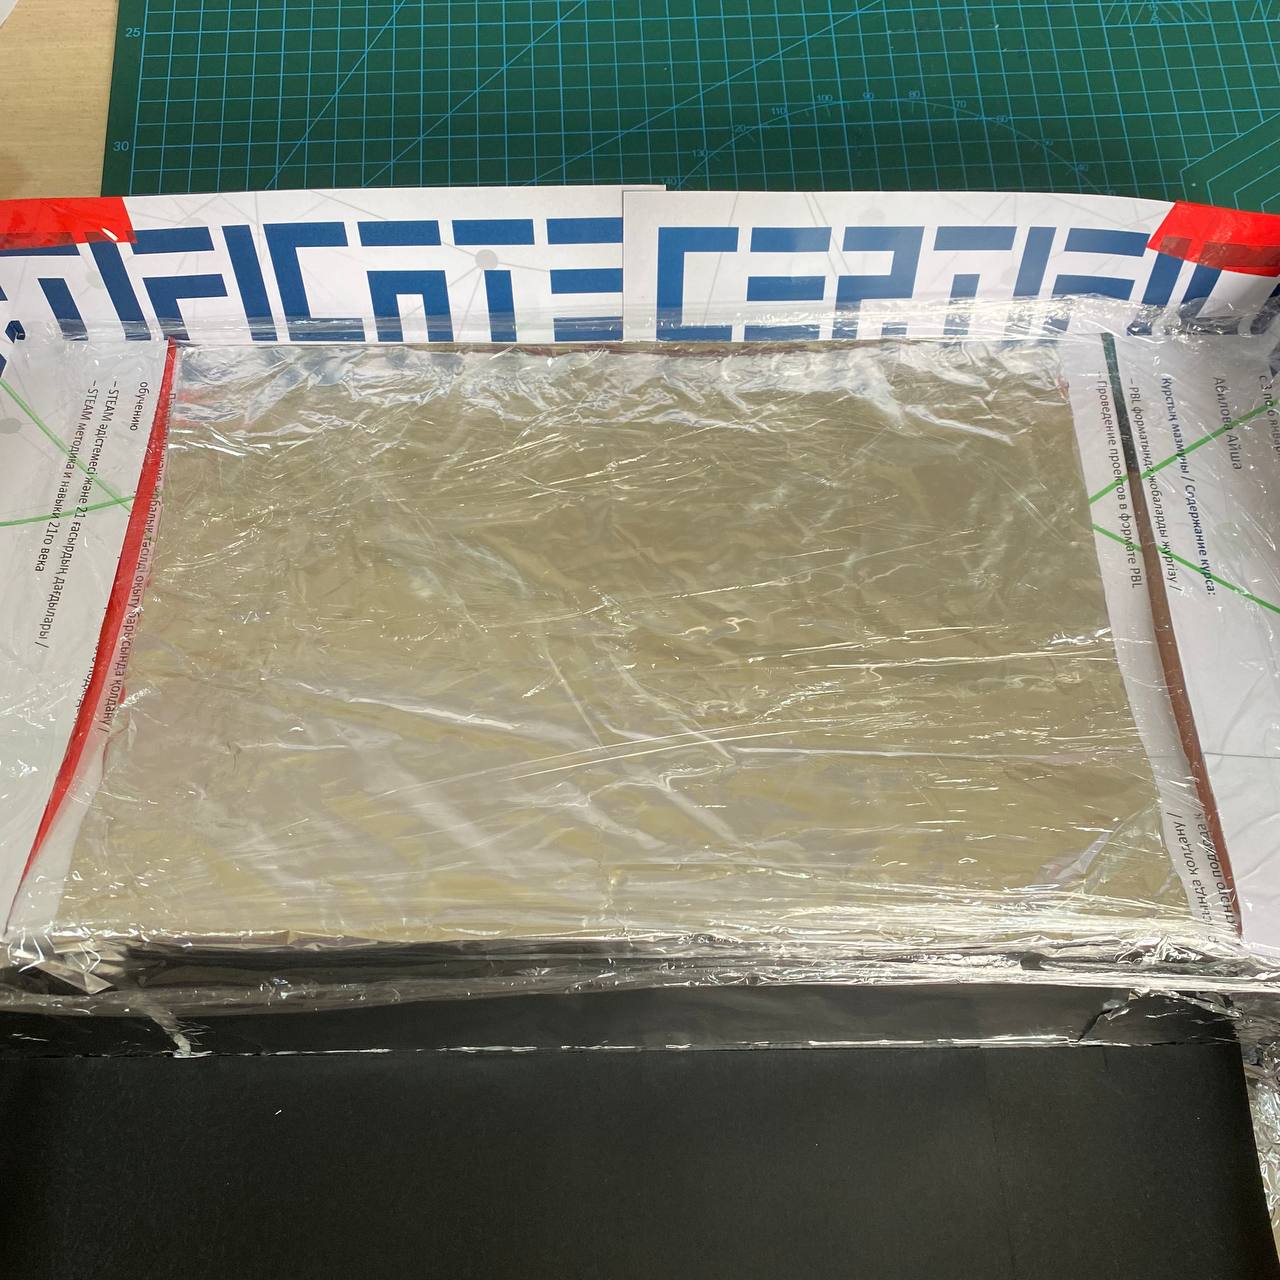
Step 5: film on the inside as well (but not necessarily)
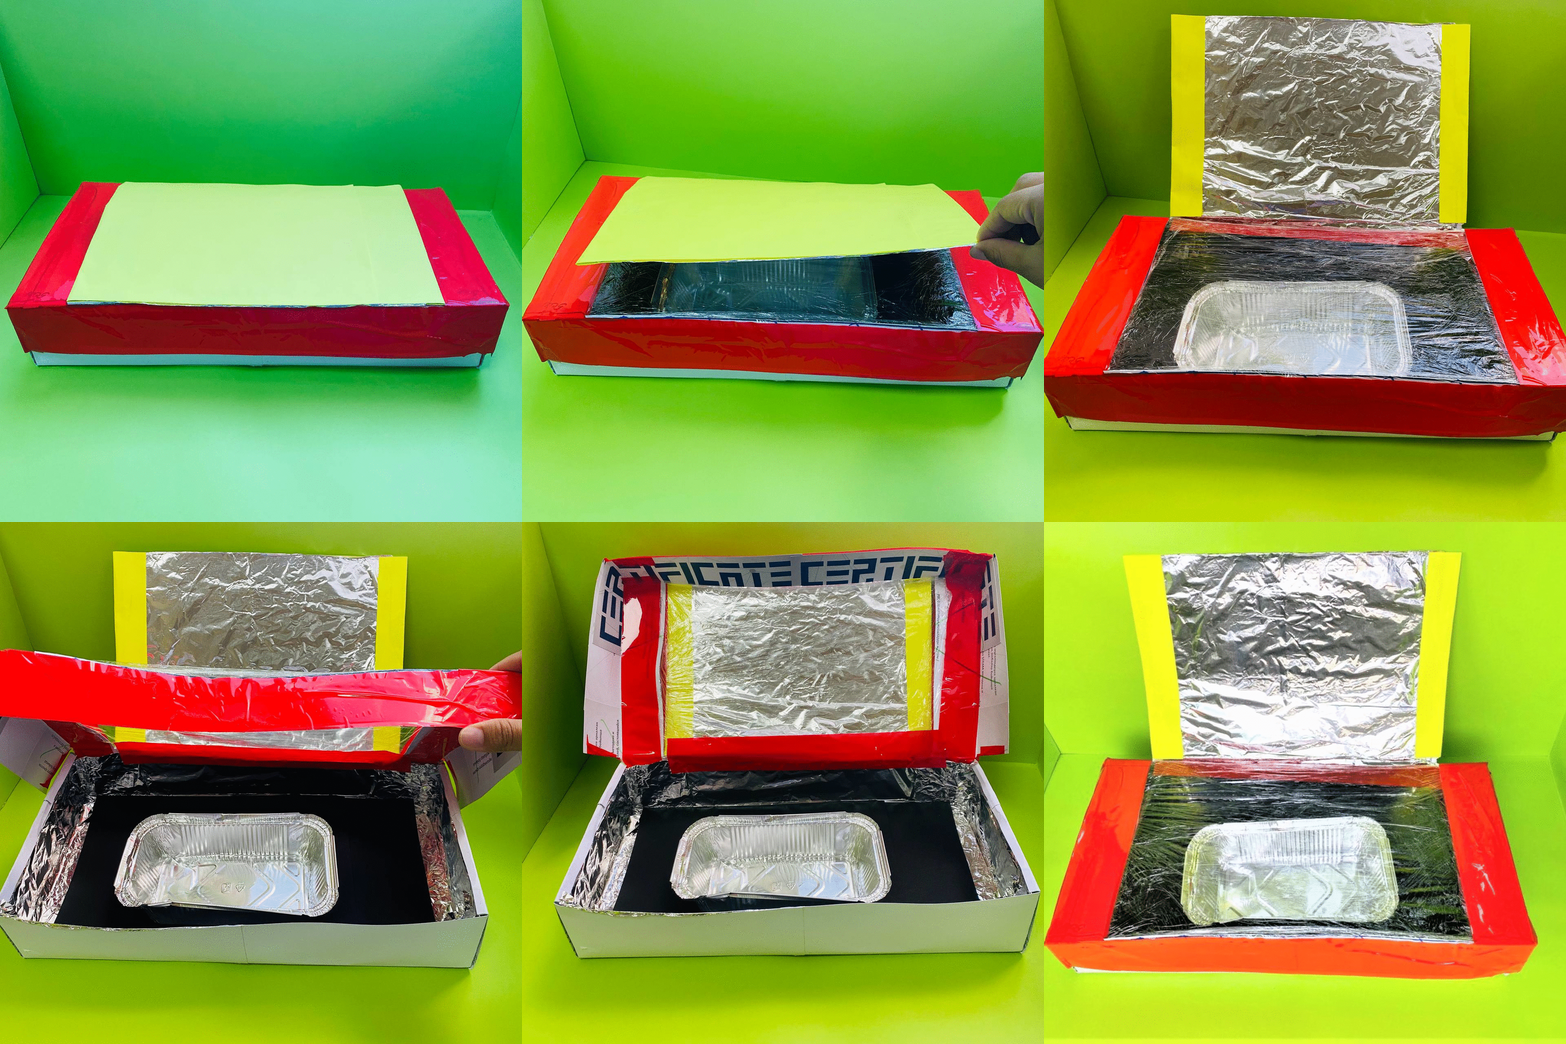
Step 6. You can put a plate inside for food, etc.
.jpg)
Step 7: Use in sunlight.
Research part
1. You have brought food from home such as biscuits, chocolate bars and marshmallows.
2. Now each group makes a sandwich in the following pattern: biscuit – chocolate bar – marmalade – biscuit.
3. Then together with the teacher, on a sunny and warm day, go out of the classroom onto the school grounds and find a place where the sun’s rays are falling well
4. Then place your solar oven facing the sun, so that the rays of the sun fall on the foil.
5. After that, time yourself.
6. Determine how long it takes for a bar of chocolate and marmalade to dissolve. Write it down in a notebook and discuss it with the whole class.
7. If you want to consume the food, wash your hands!
Conclusion
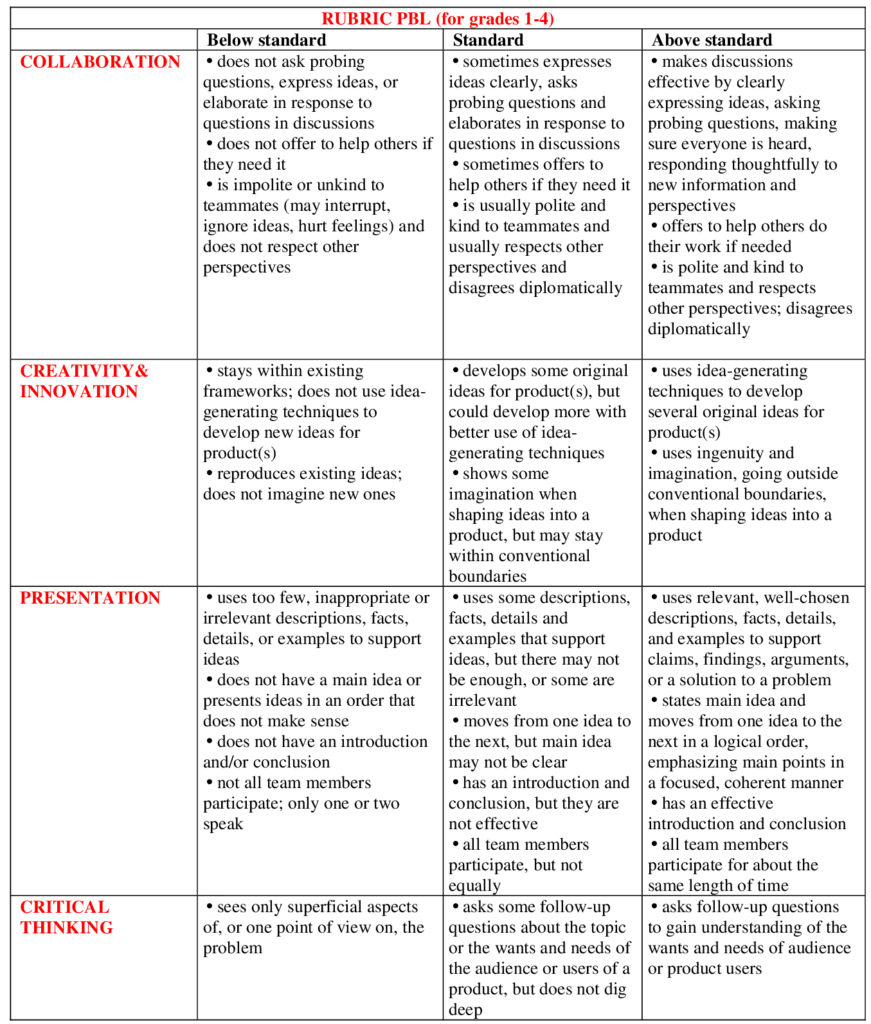
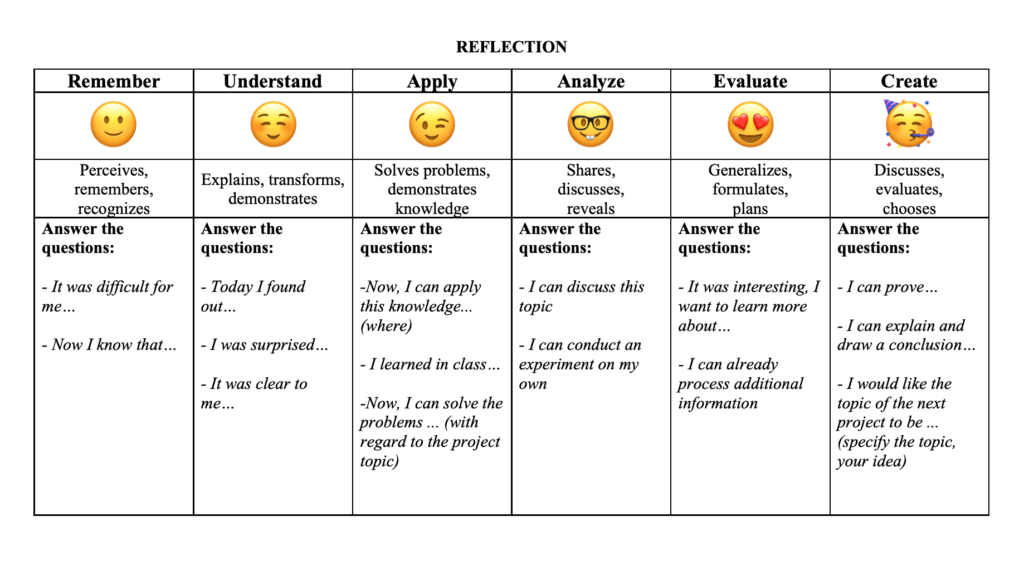
In this way, the students have designed a solar furnace and learned how it works, that is, how light is absorbed, reflected and transmitted.

In this project, each pupil is awarded a STEAM title in several categories:
– You have investigated the path of light and the bodies they absorb and reflect light yourself, you are a true physics scientist!
– You’ve made a solar oven yourself. This, in turn, is a technological process. Congratulations, you are a young process engineer!
Evaluation