Week 1
Objective of the project
1. Study magnetism and magnetic field.
2. Make a pocket magnetic compass.
Teacher’s Guide
– Students work in groups in class.
– Students should be familiar with topics like magnetism and magnetic field
– Before starting the experimental part, familiarize and provide the students with all the necessary materials.
– Show and explain to students how to work with a magnet
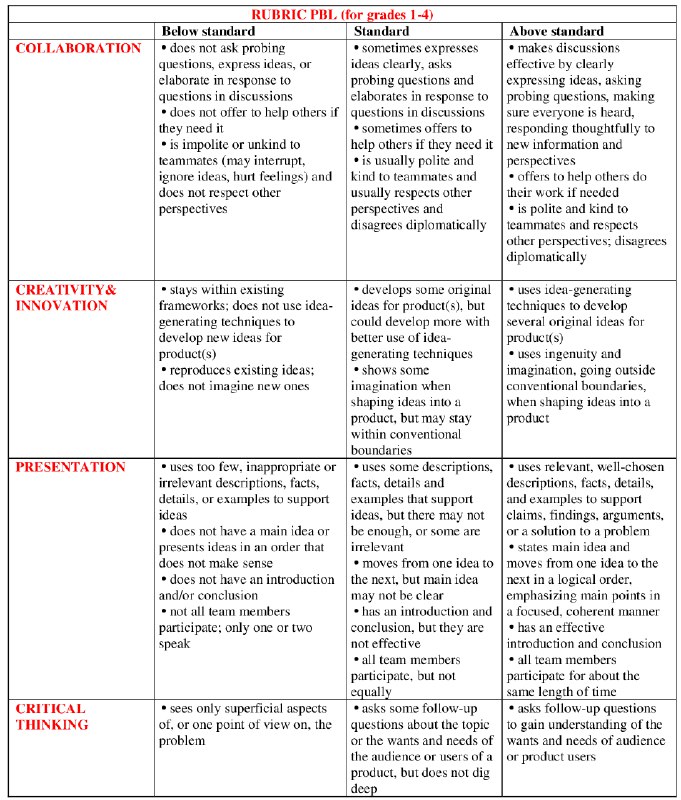
– At the beginning of the lesson, explain to the students the rubrics of PBL (project based learning). 4K skills (critical thinking, collaboration, creativity, presentation)
Safety in Steam lessons
It is recommended that teachers are fully aware of the safety procedures before the beginning of the lesson. If necessary (if they are using items specified in the PPE guidelines), brief the students. Visit Safety in Steam lessons: Safety
Theoretical part
A magnet is a body that can attract iron or steel objects. He has another ability – he can repel objects. This happens due to the magnetic field.
The scope of magnets is wide. They are used to lift metal objects, hold them, move them and separate them. They are also needed in order to convert electrical energy into mechanical energy and vice versa.
Magnets can be found in:
- Headphones;
- fans;
- mobile phones;
- Refrigerators;
- dishwasher;
- TV;
- toys;
- Electric toothbrush.
This list can be continued for a long time, because. thanks to the magnet, the work of devices that a person uses daily is carried out.
You can not do without a magnet in the automotive industry. Magnets are installed almost everywhere in the car. For example, in a starter, generator, fan, pump, sensors, power windows, blockers that are installed on the doors.
Do not forget that the magnet is also used in medicine.
Practical part
Step 1: Familiarise yourself with all the necessary materials.
- Magnet – 1pc.
- Plastic container with a lid (saucepan 50ml)
- Water bottle – 1pc
- Paper glue
- Smartphone
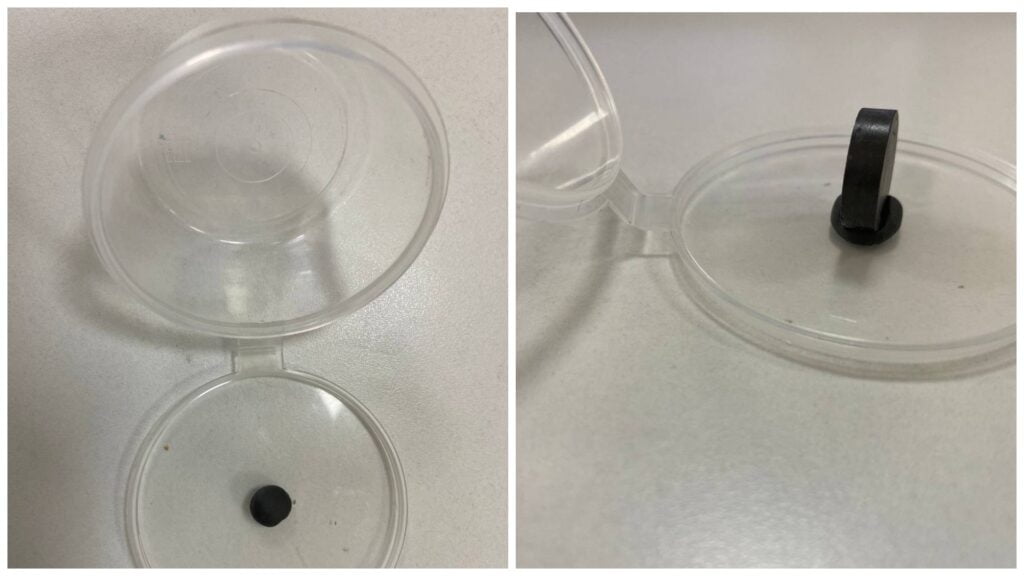
Step 2: Take a piece of plasticine and place it centrally on the lid of the saucepan. And on top of it, place the magnet in an upright position.
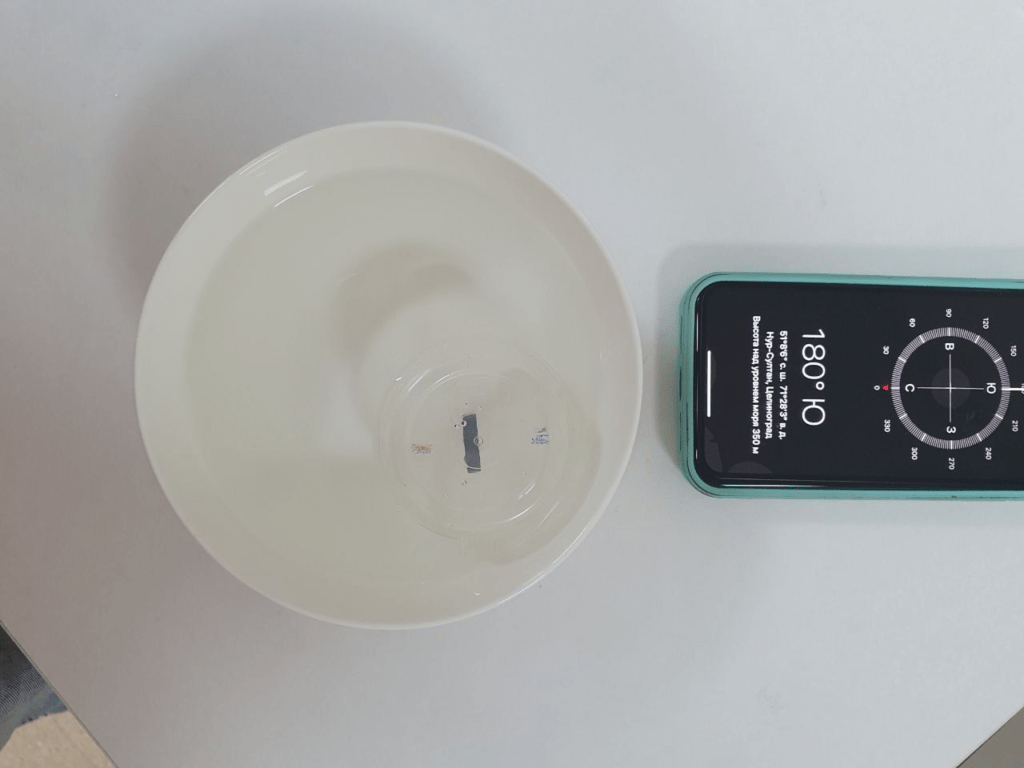
Step 3. Close the gravy boat container tightly and Immerse in water with the lid facing downwards and twist – to determine the direction:
N – North
S – South
E – East East
W – West
Attention!!!
You have to check the magnet with your phone.
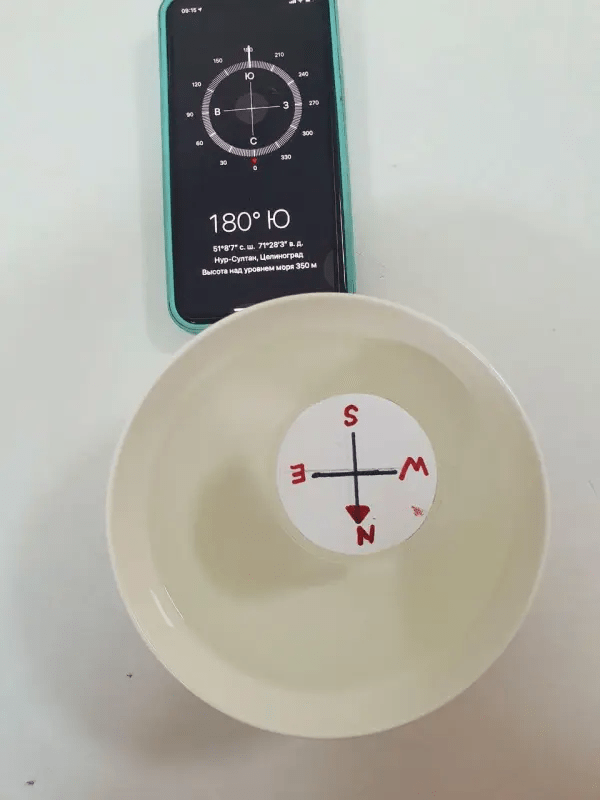
The magnet stops facing North. As shown in the illustration. This means that the magnetic compass arrow (red) is pointing towards the magnetic north pole.

Step 4: Mark the direction of the compass with a marker, taking all the rules into account. And mark North on the outside of the cover with a red marker
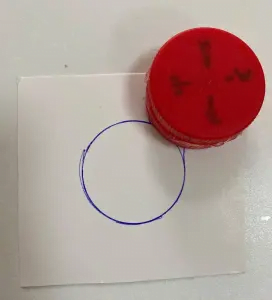
Step 5. Mark a circle on the paper using the bottom of the saucepan container. Then cut out the circle
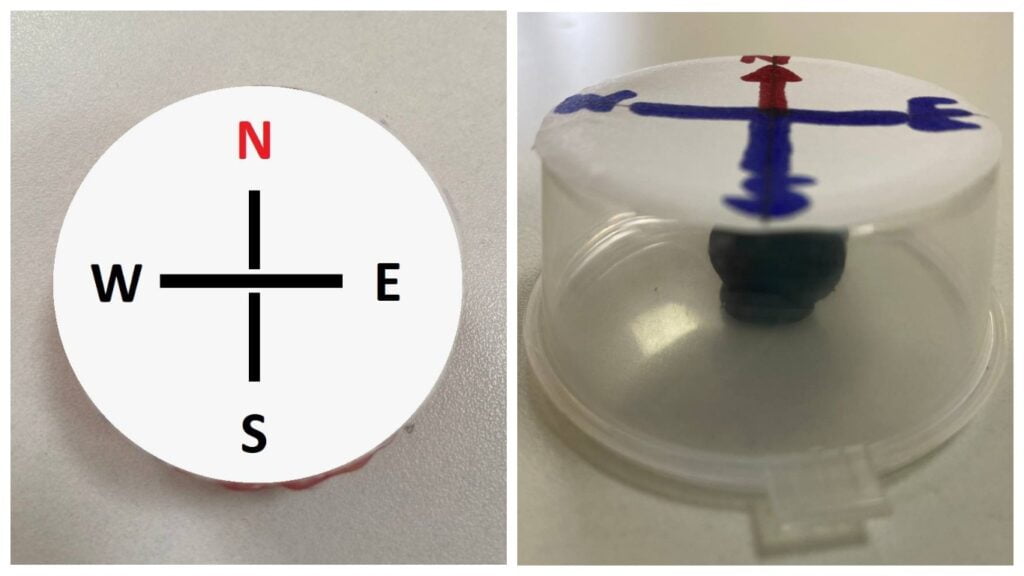
Step 6. Draw the compass directions:
N is North.
S – South
E East
W – West
Then glue the paper to the bottom of the container (not to the lid where the magnet is). The magnet stays on the bottom.
Mark North in red.
Step 7. Now check your compass. Immerse it in water and watch your direction. Switch on the compass on your smartphone.
Congratulations, your compass is ready!

Conclusion
So, in this project, the students have learned how a magnetic field is measured and what magnetism is. They learned the direction of a magnet. They made their own pocket compass.

On this project, each student is awarded a STEAM title, by category:
– You, on your own, have researched the structure of the Compass and the direction of the compass, you are a real scientist – a metrologist!
– You independently, made a model of a real pocket magnetic compass. Congratulations, you are a young engineering technologist!
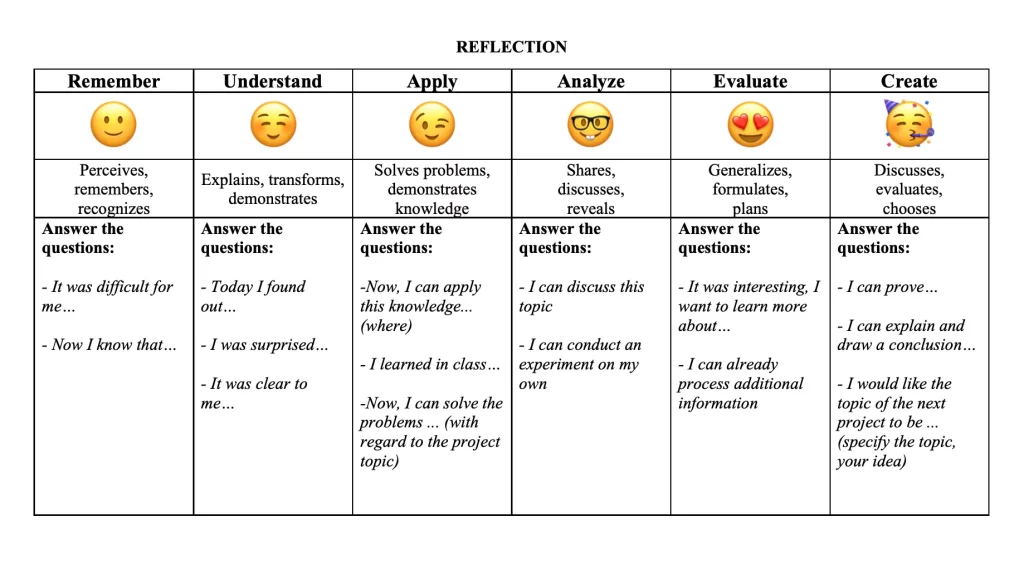
Evaluation