Lesson
Project objective
To study the human organs and their location in the body
Study the function of each organ
Modelling the organs with clay
Teacher’s guide
– For the practical part of the project, students work in groups of 4-5.
– The students should be familiar with the topics like the human body, the location of the organs and their functions and what they look like.
– Before starting the practical part, familiarise and provide the students with all the necessary materials.
– At the beginning of the lesson explain the PBL (project based learning) rubrics to the students. 4K skills (critical thinking, collaboration, creativity, presentation).
Safety in Steam lessons
Before we begin the lesson, teachers are advised to familiarise themselves with the safety procedures. If necessary (if using items specified in the PPE), brief the students. Visit Safety in Steam Lessons
Theoretical part
The human body is a system of organs which are interconnected and form a coherent whole.
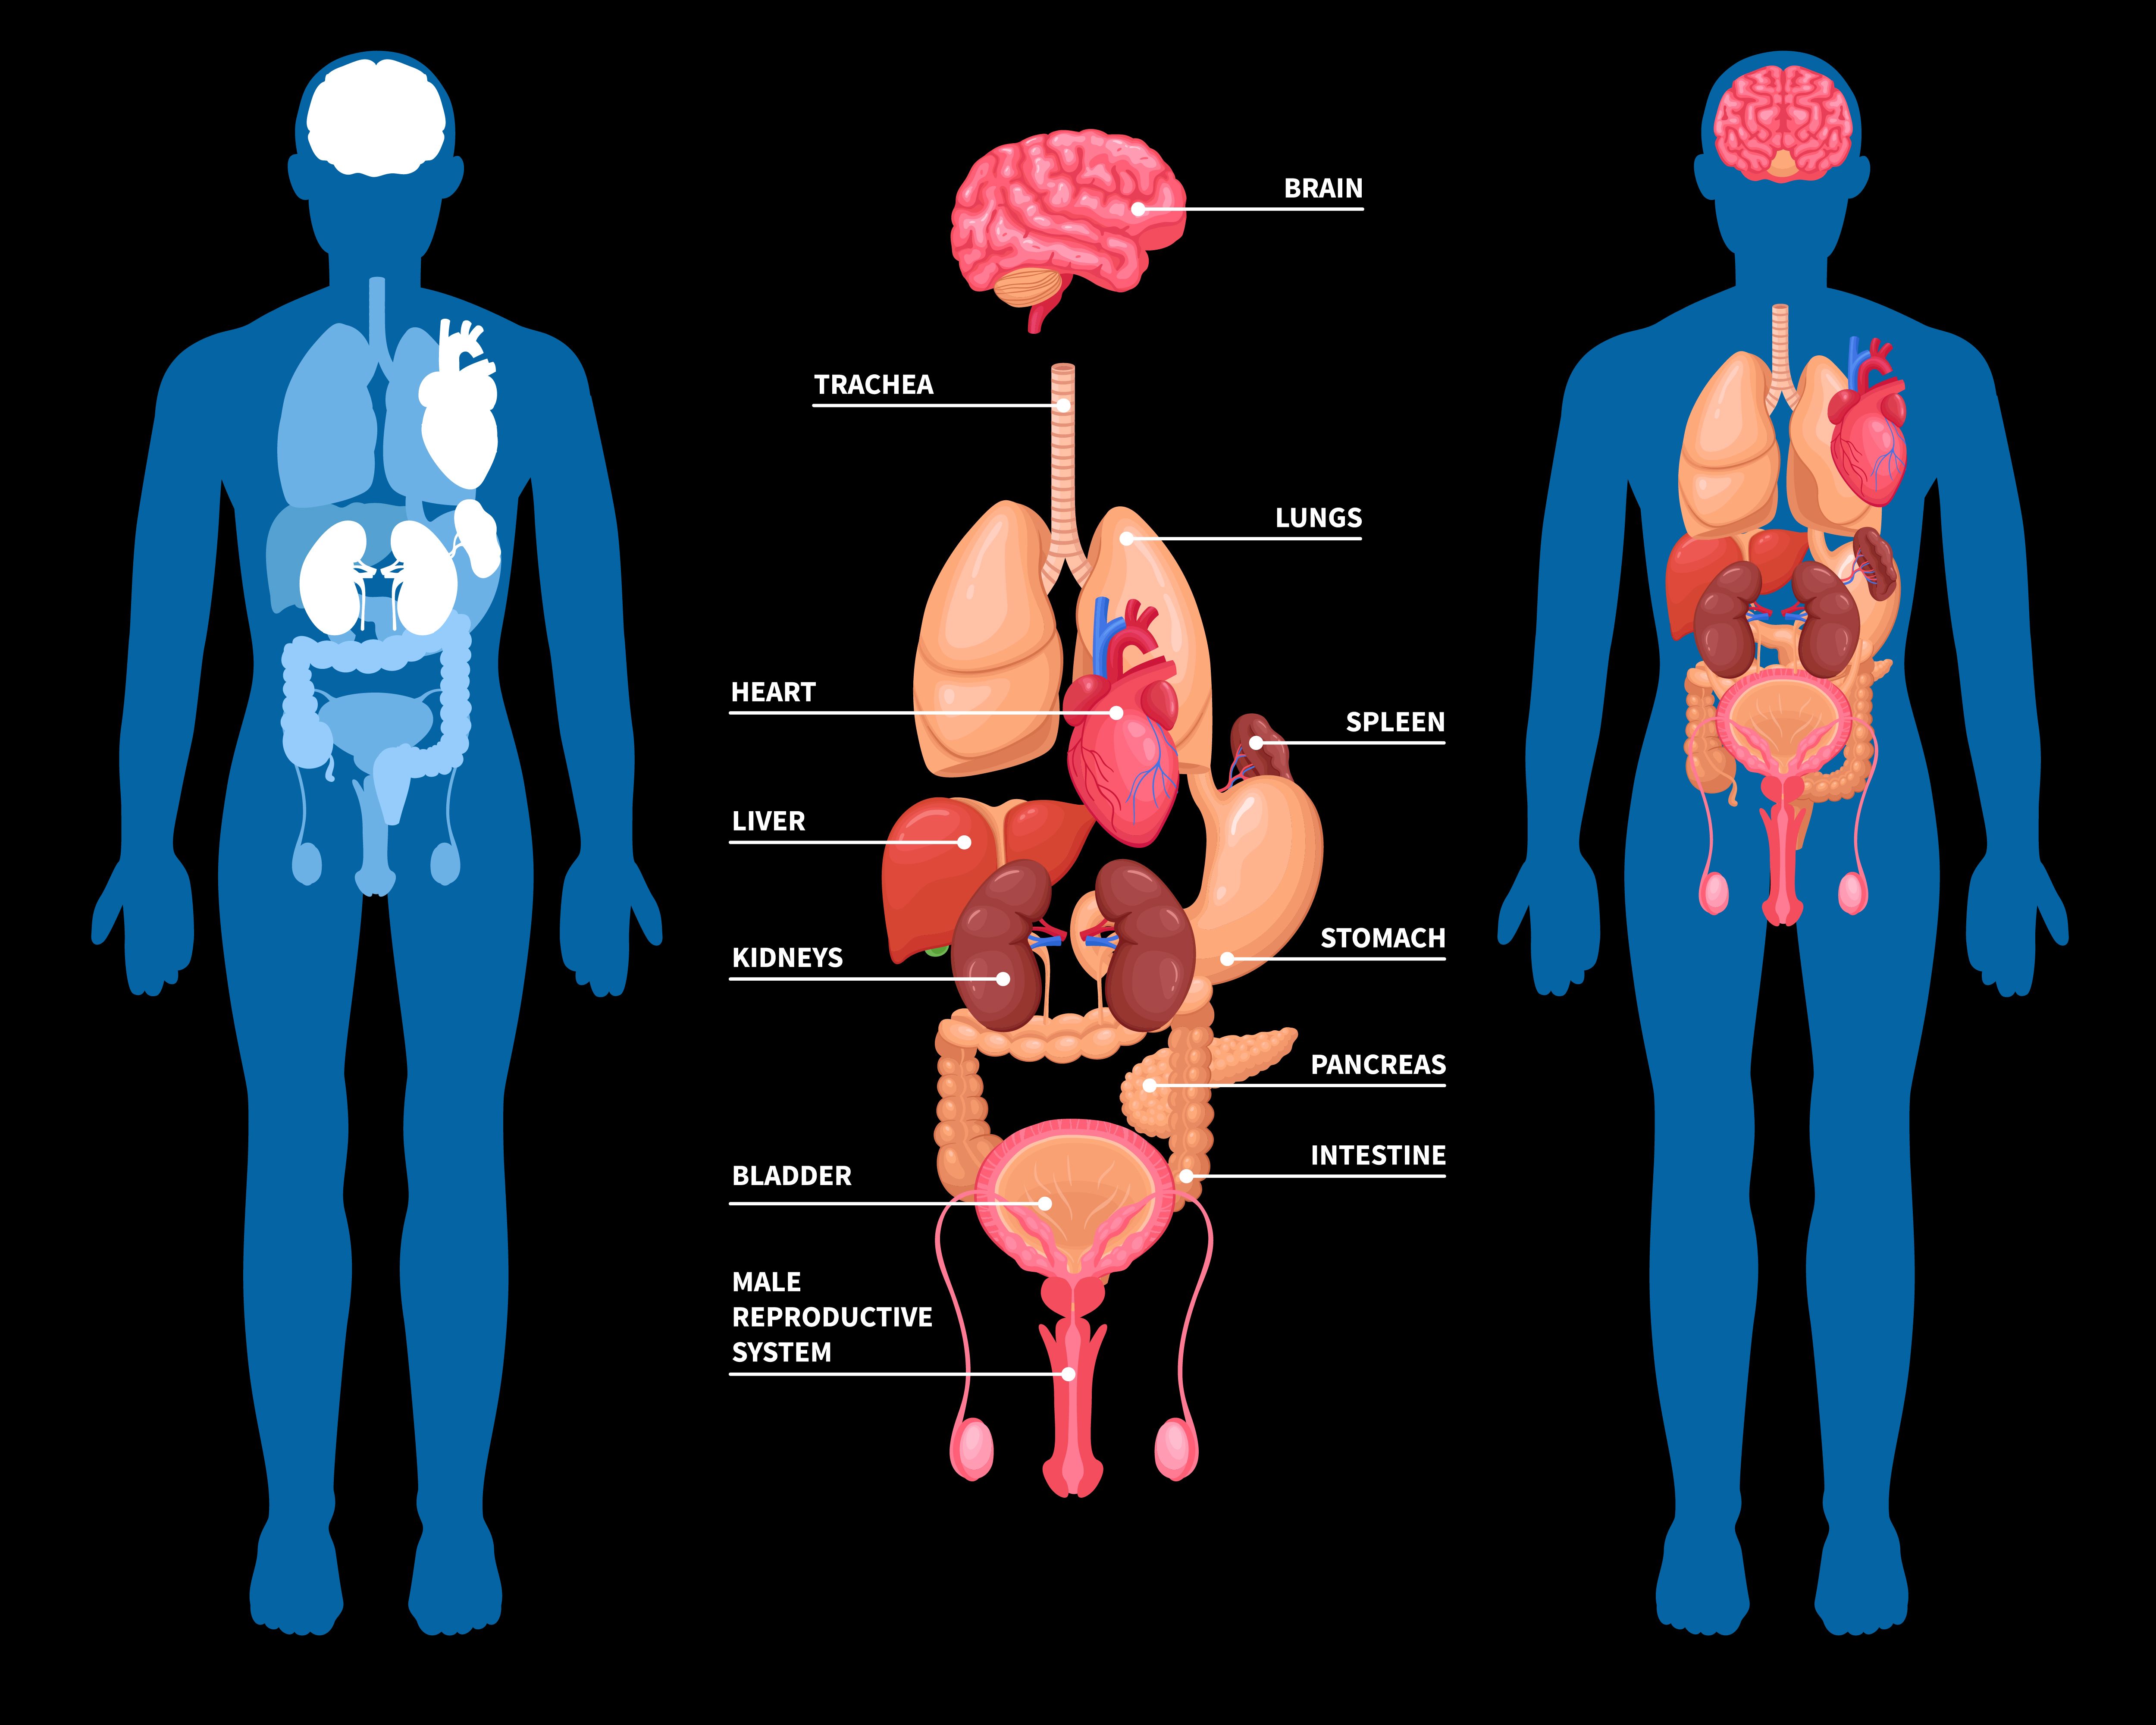
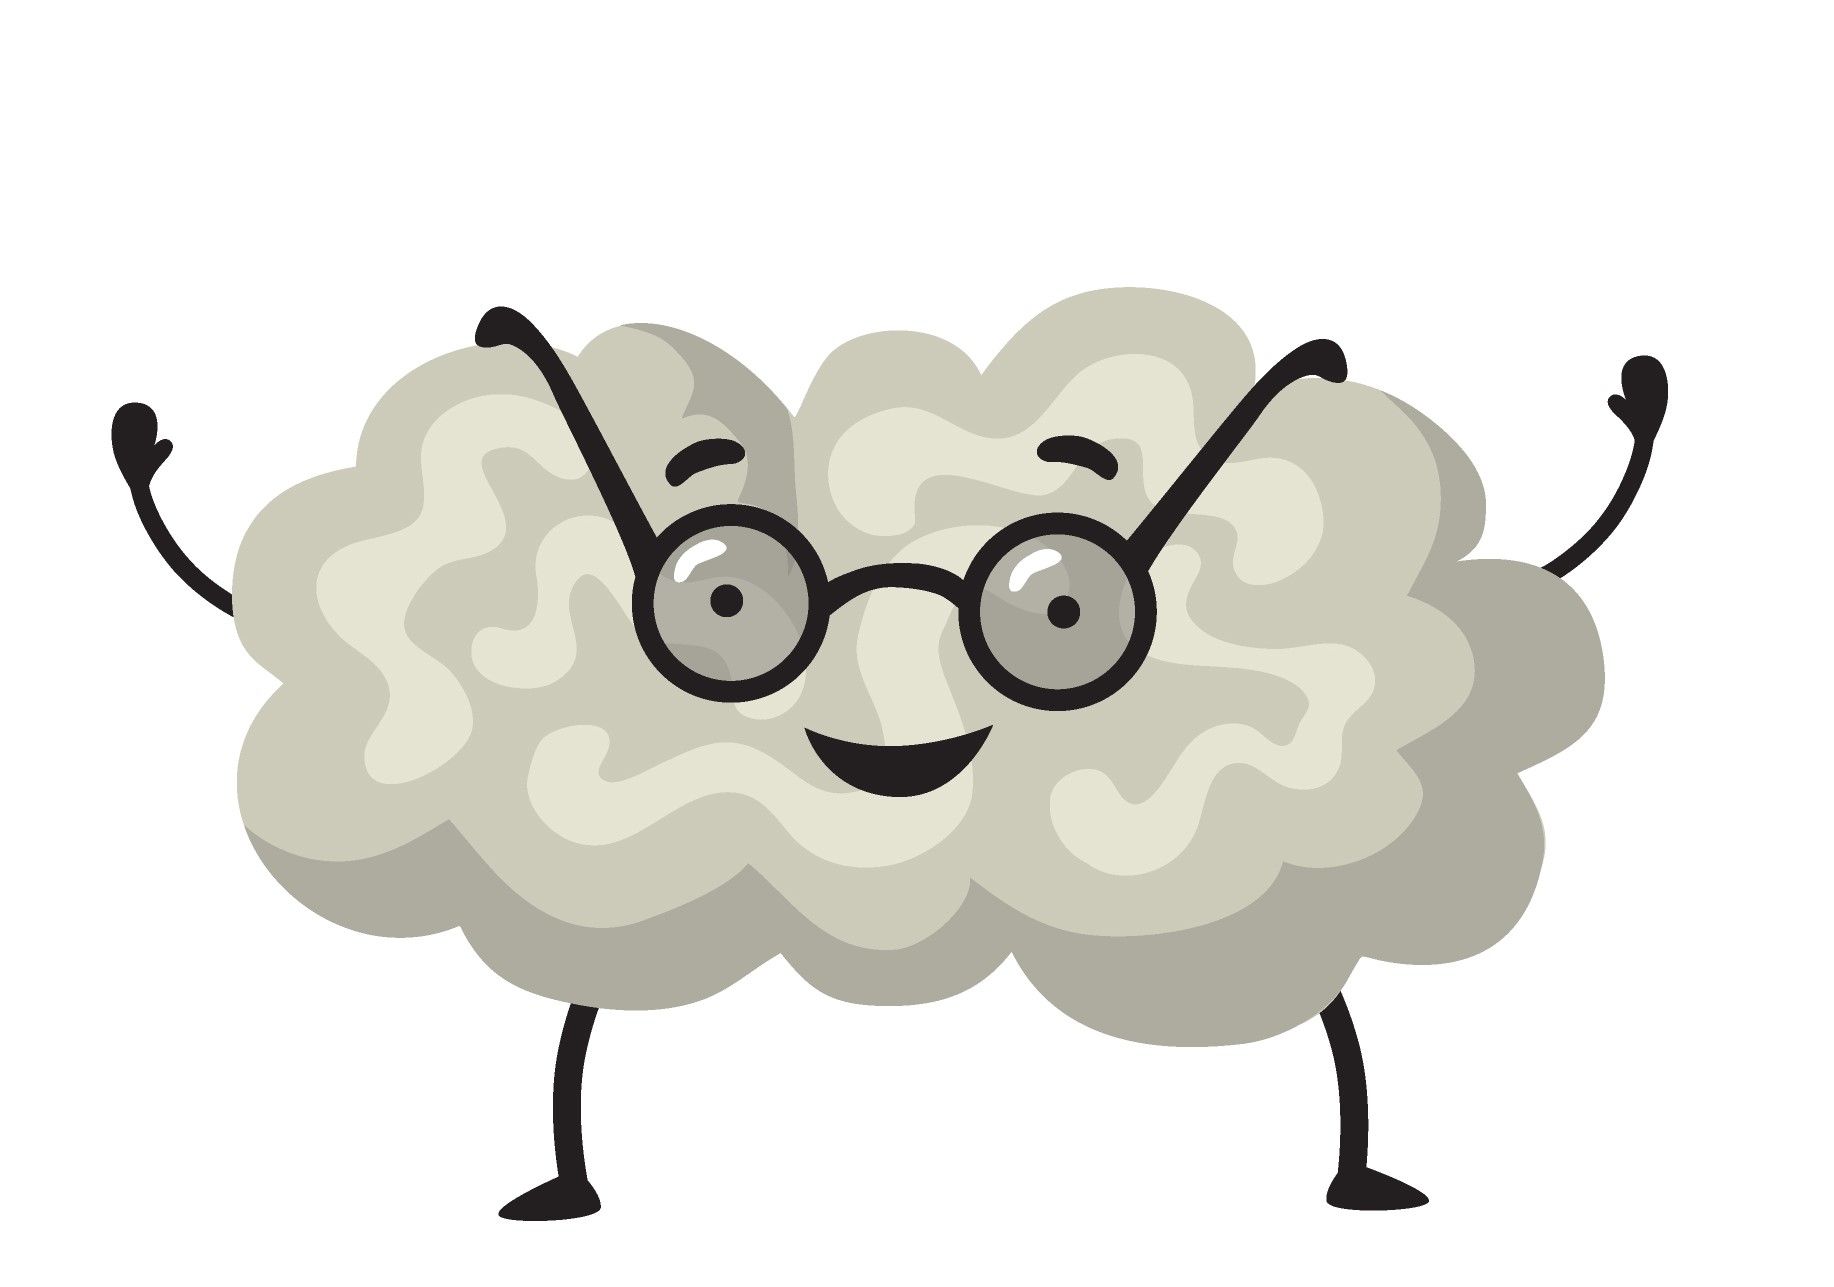
Brain functions: processing information from the senses, planning, decision-making, coordination, movement control, emotions, attention, memory.
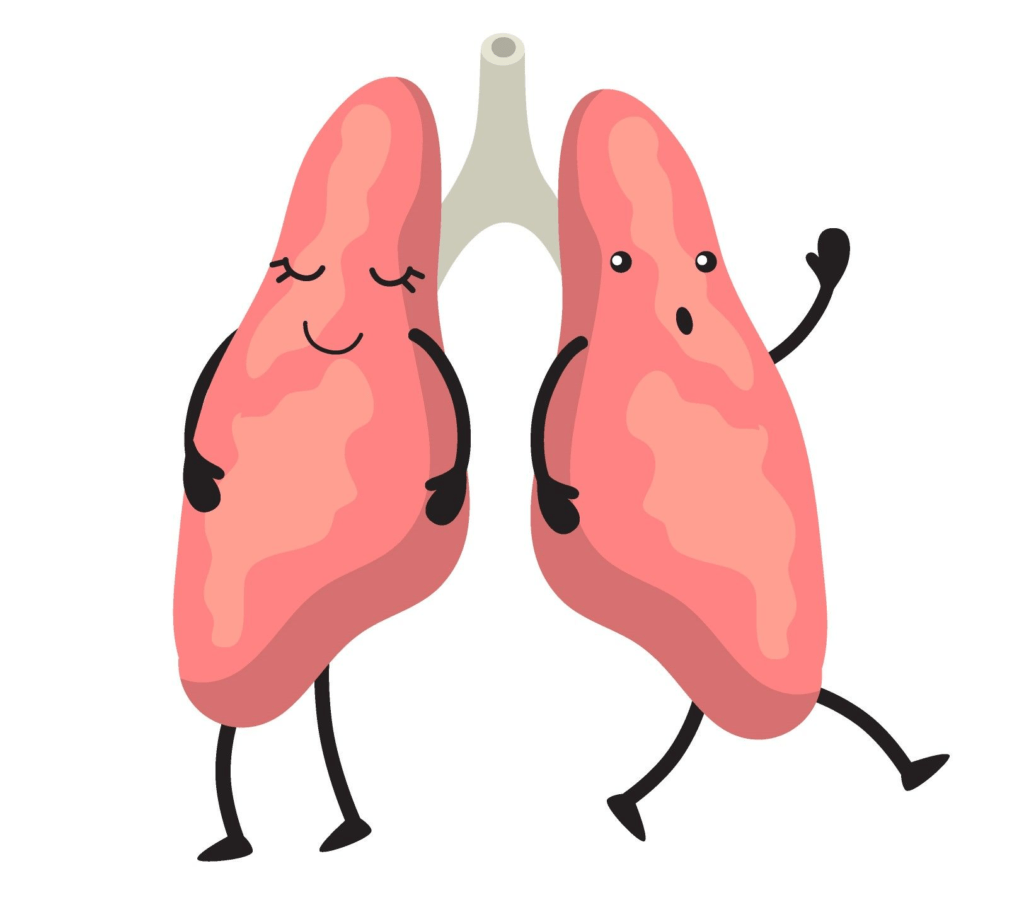
Lung function: Gas exchange between the atmosphere and the blood.
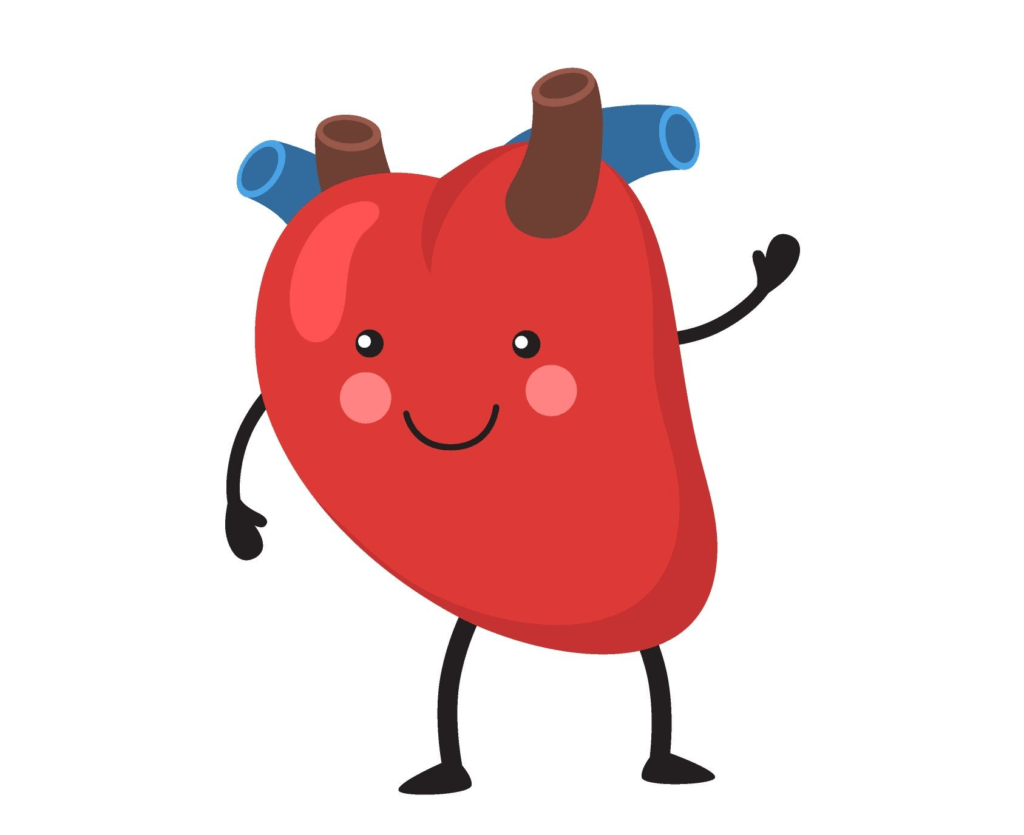
Functions of the heart: The heart is a pump that ensures the constant and continuous movement of blood through the blood vessels in the right direction
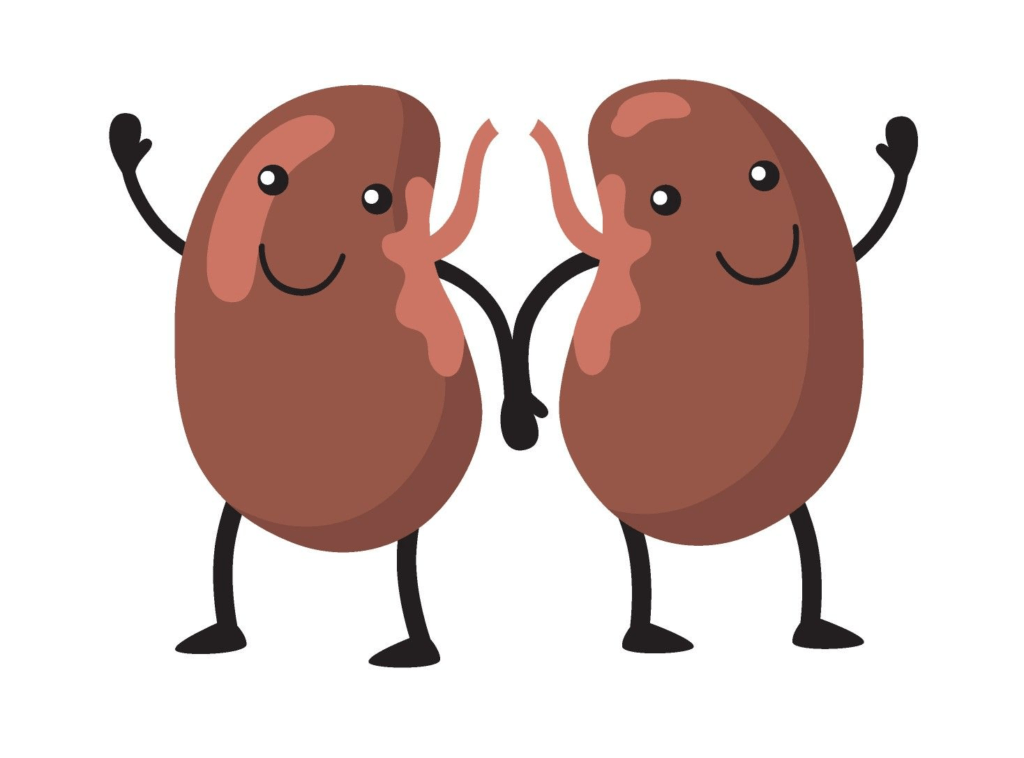
Functions of the kidneys: cleansing the body of toxic substances and removing excess fluid
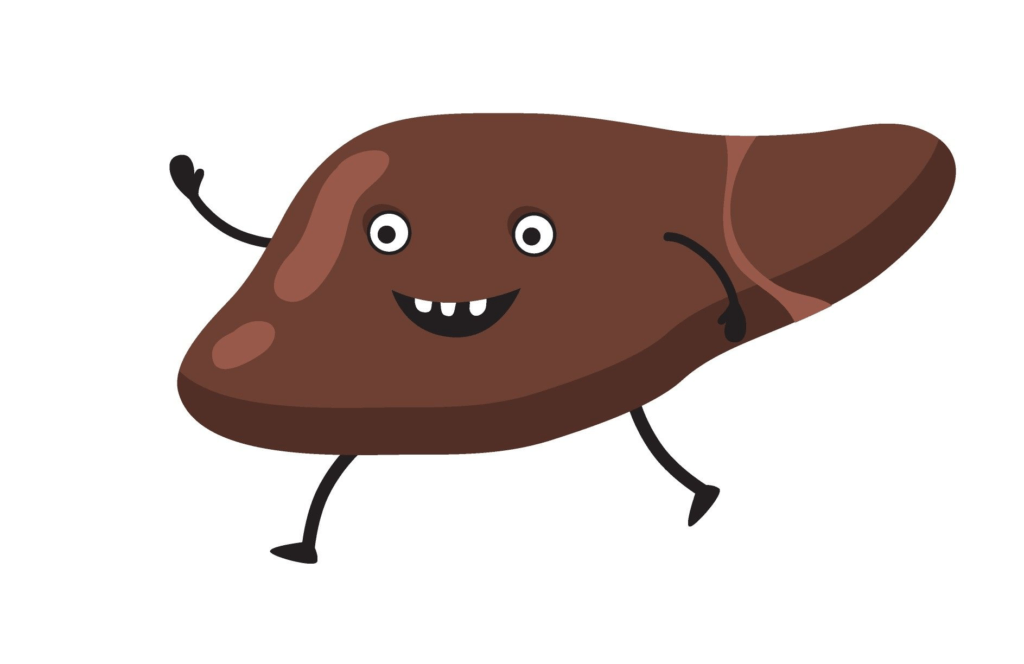
Functions of the liver: neutralisation of various foreign substances and involvement in vitamin and micronutrient metabolism
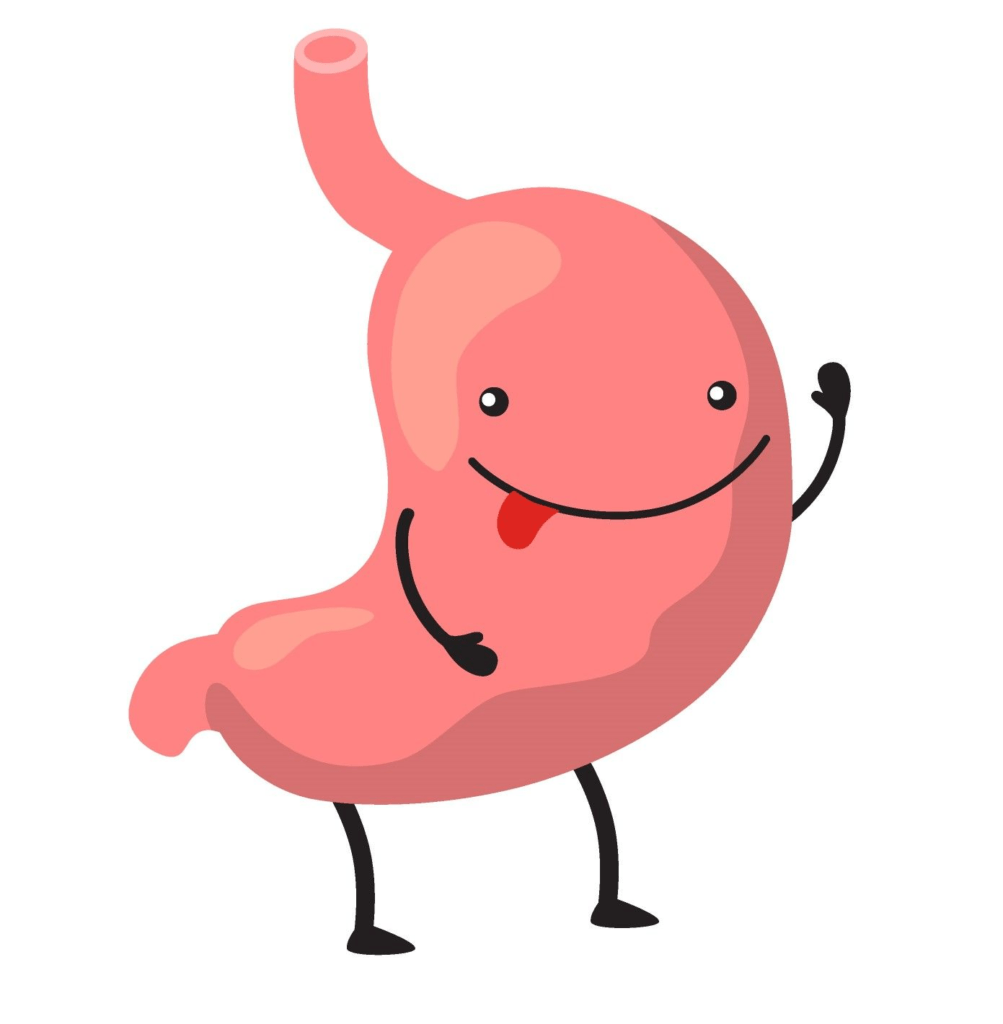
Stomach function: The stomach serves as a reservoir for swallowed food, which is mixed and digested by gastric juice
Intestinal functions: In the intestines, the final absorption of simplified nutrients into the bloodstream takes place
The practical part
Step 1: Familiarise yourself with all the necessary materials
– plasticine
– A 4 paper – for working with clay
– tool or ruler
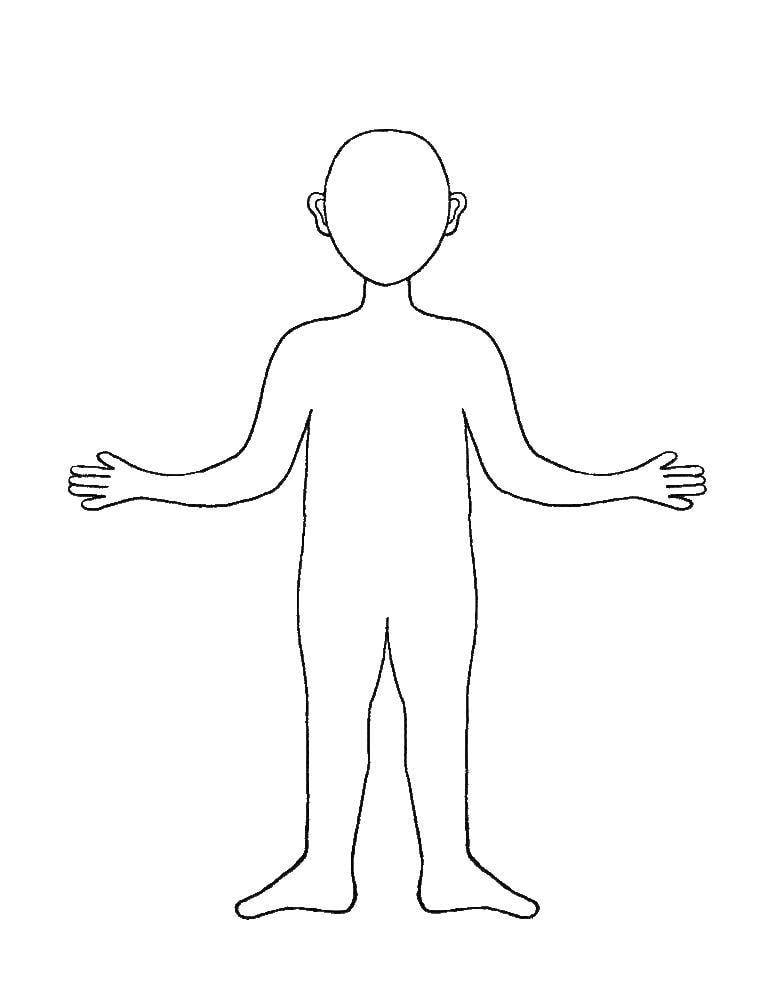
– human silhouette
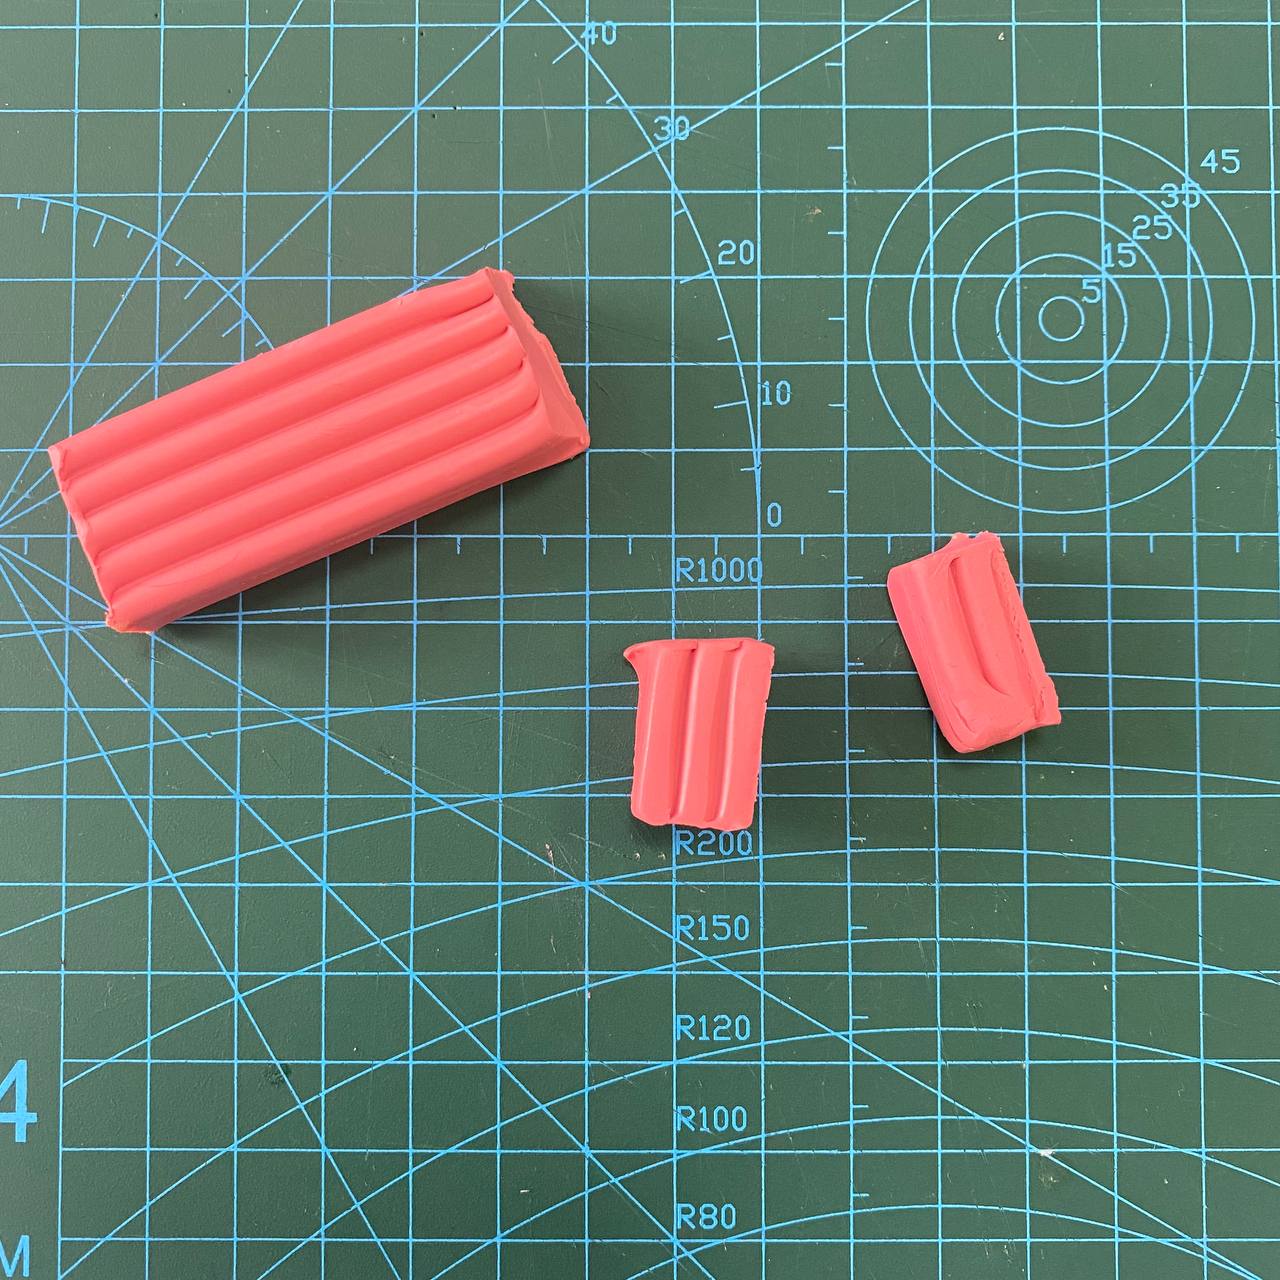
Step 2: Take a piece of pink plasticine. Make a ball and 2 thin lines.

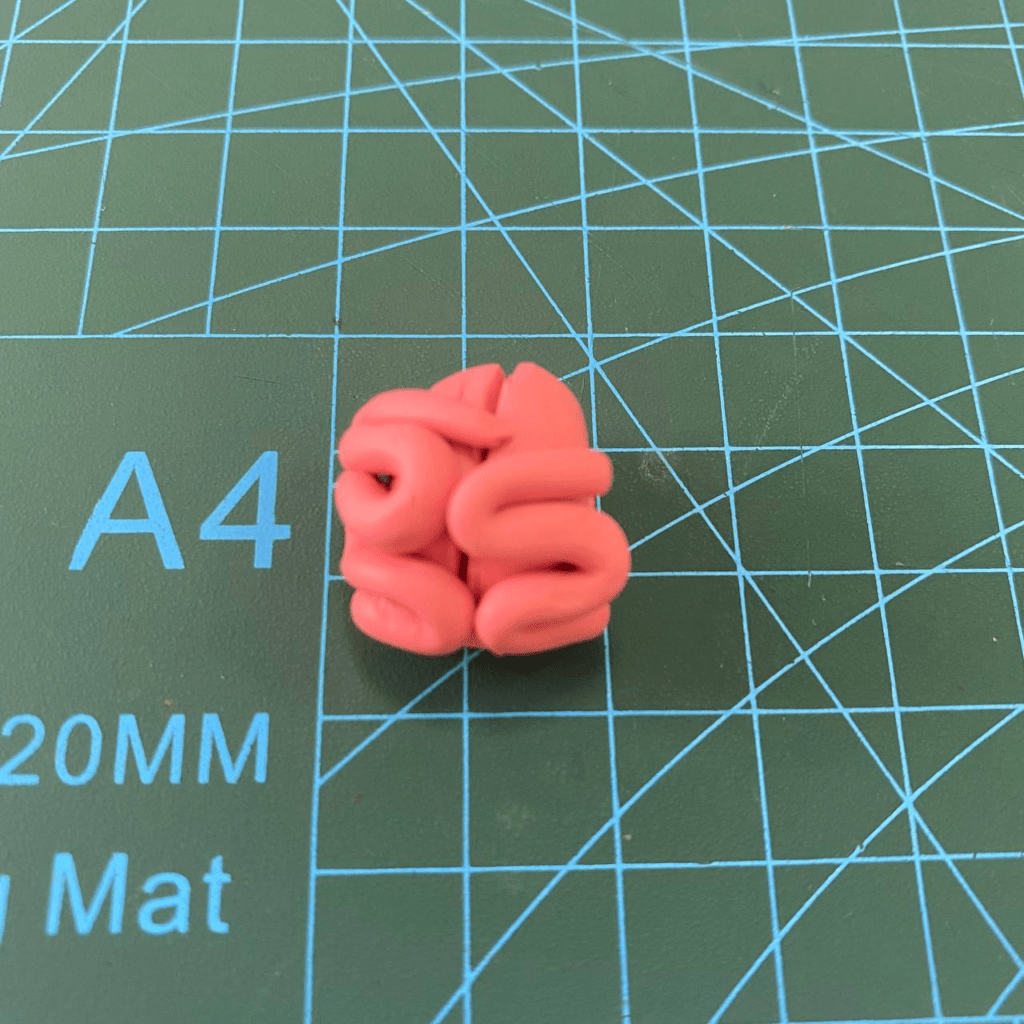
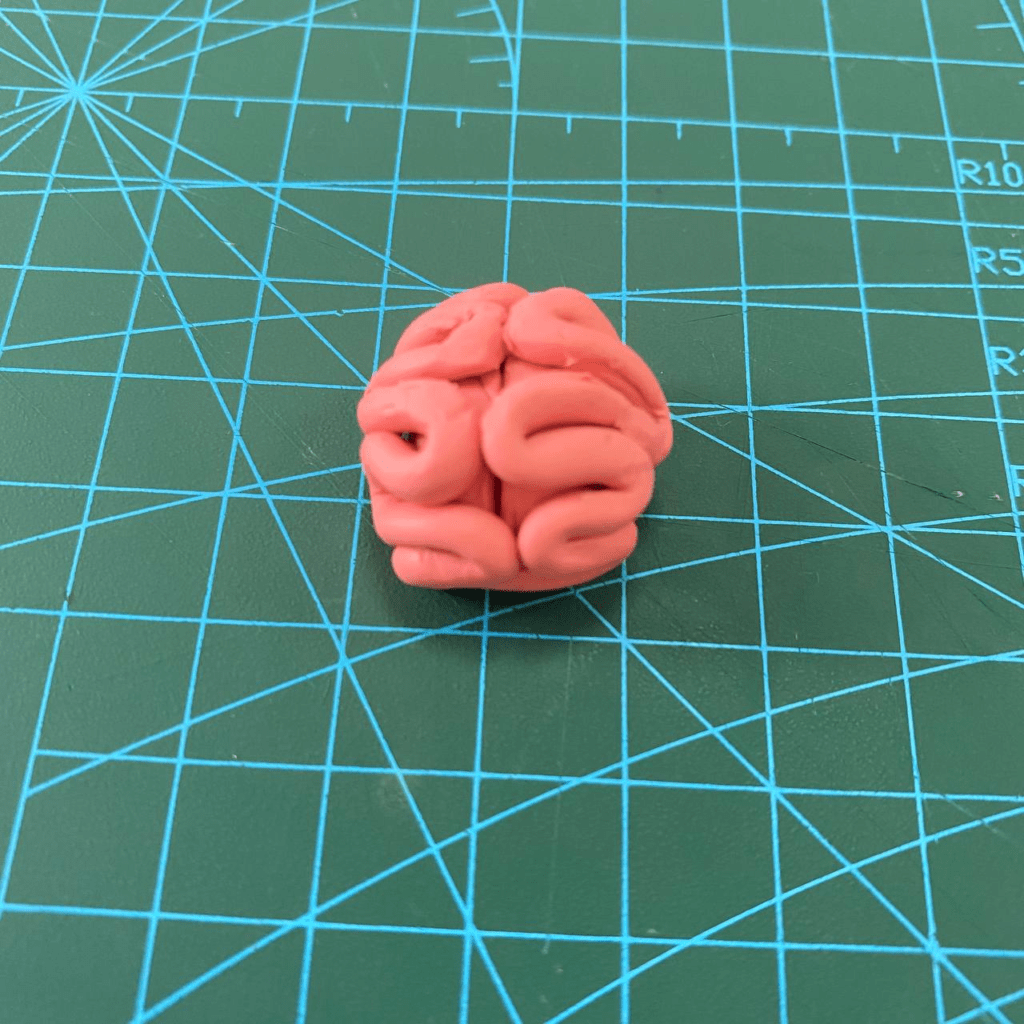
Step 3. Then wrap the balloon around two lines.
This is the brain!
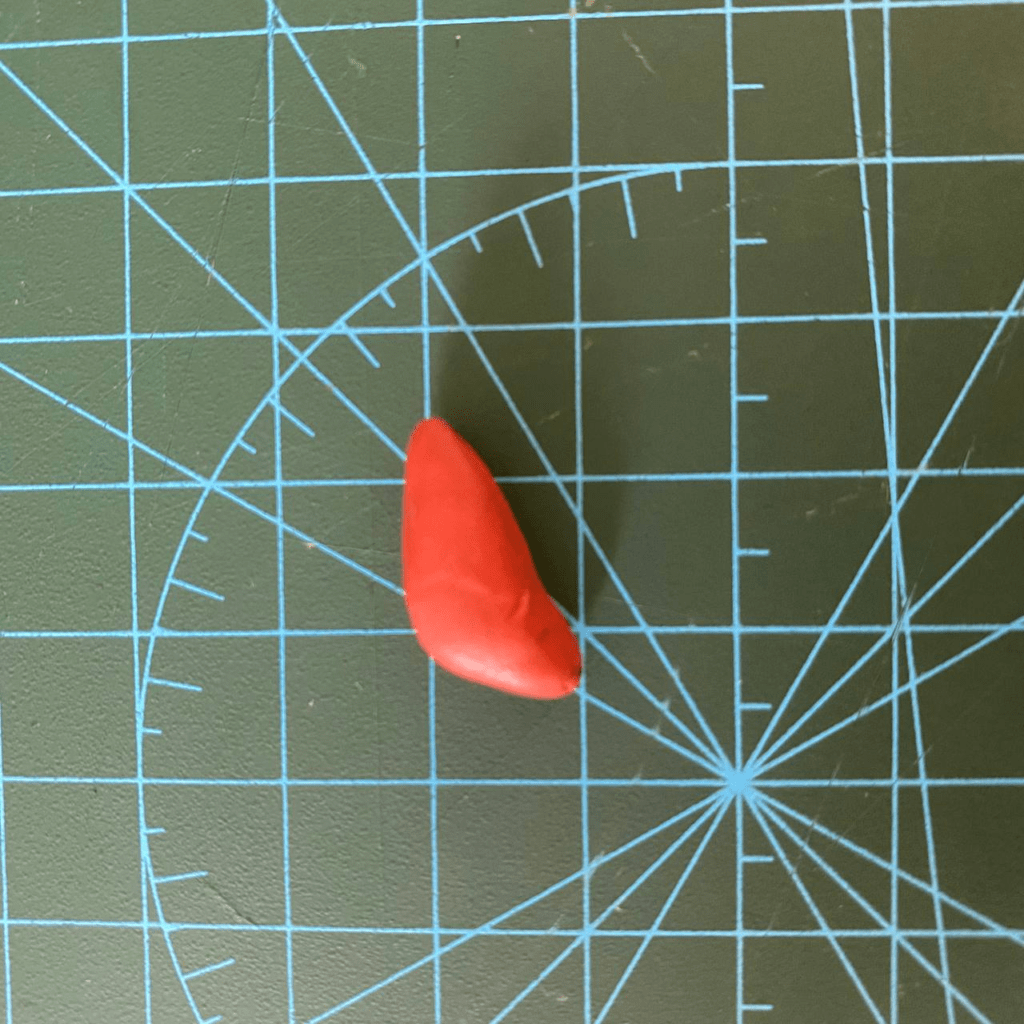
Step 4: Take a piece of red clay and small pieces of blue clay.
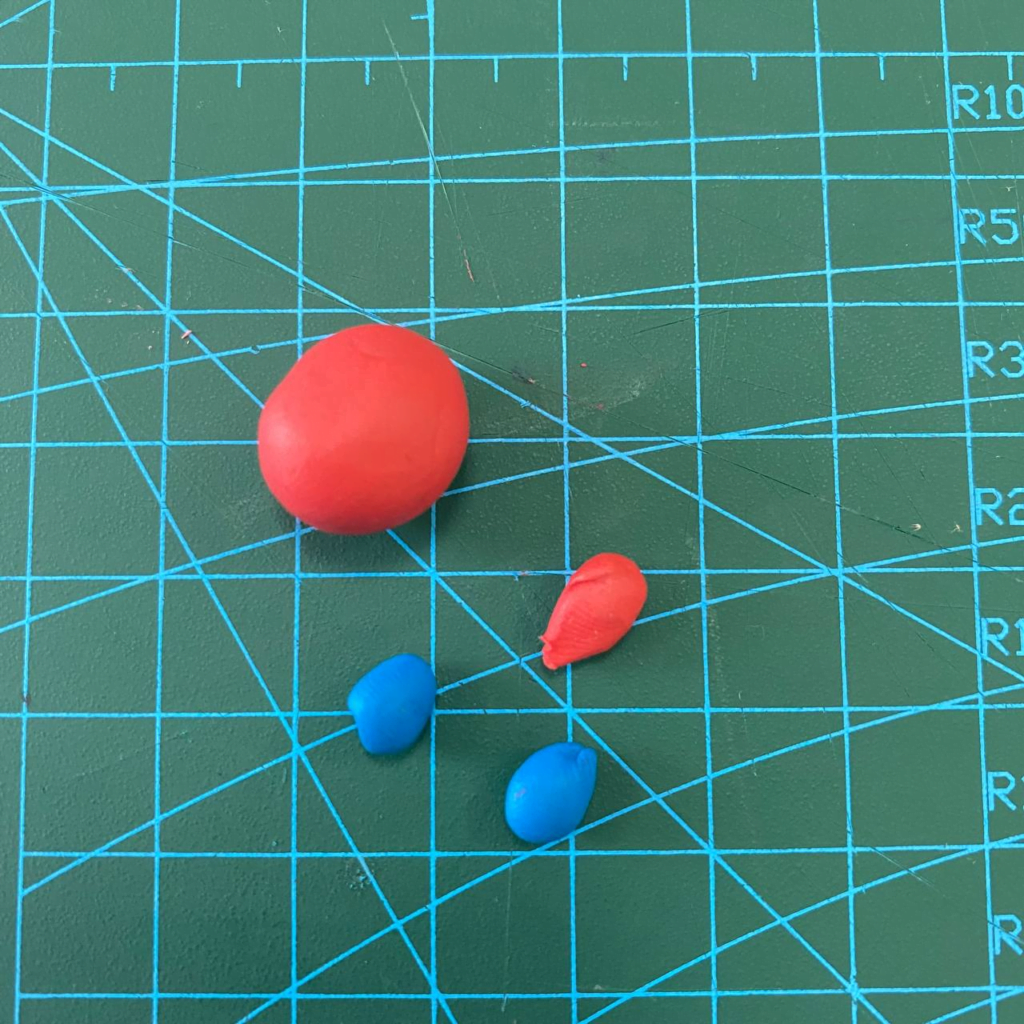
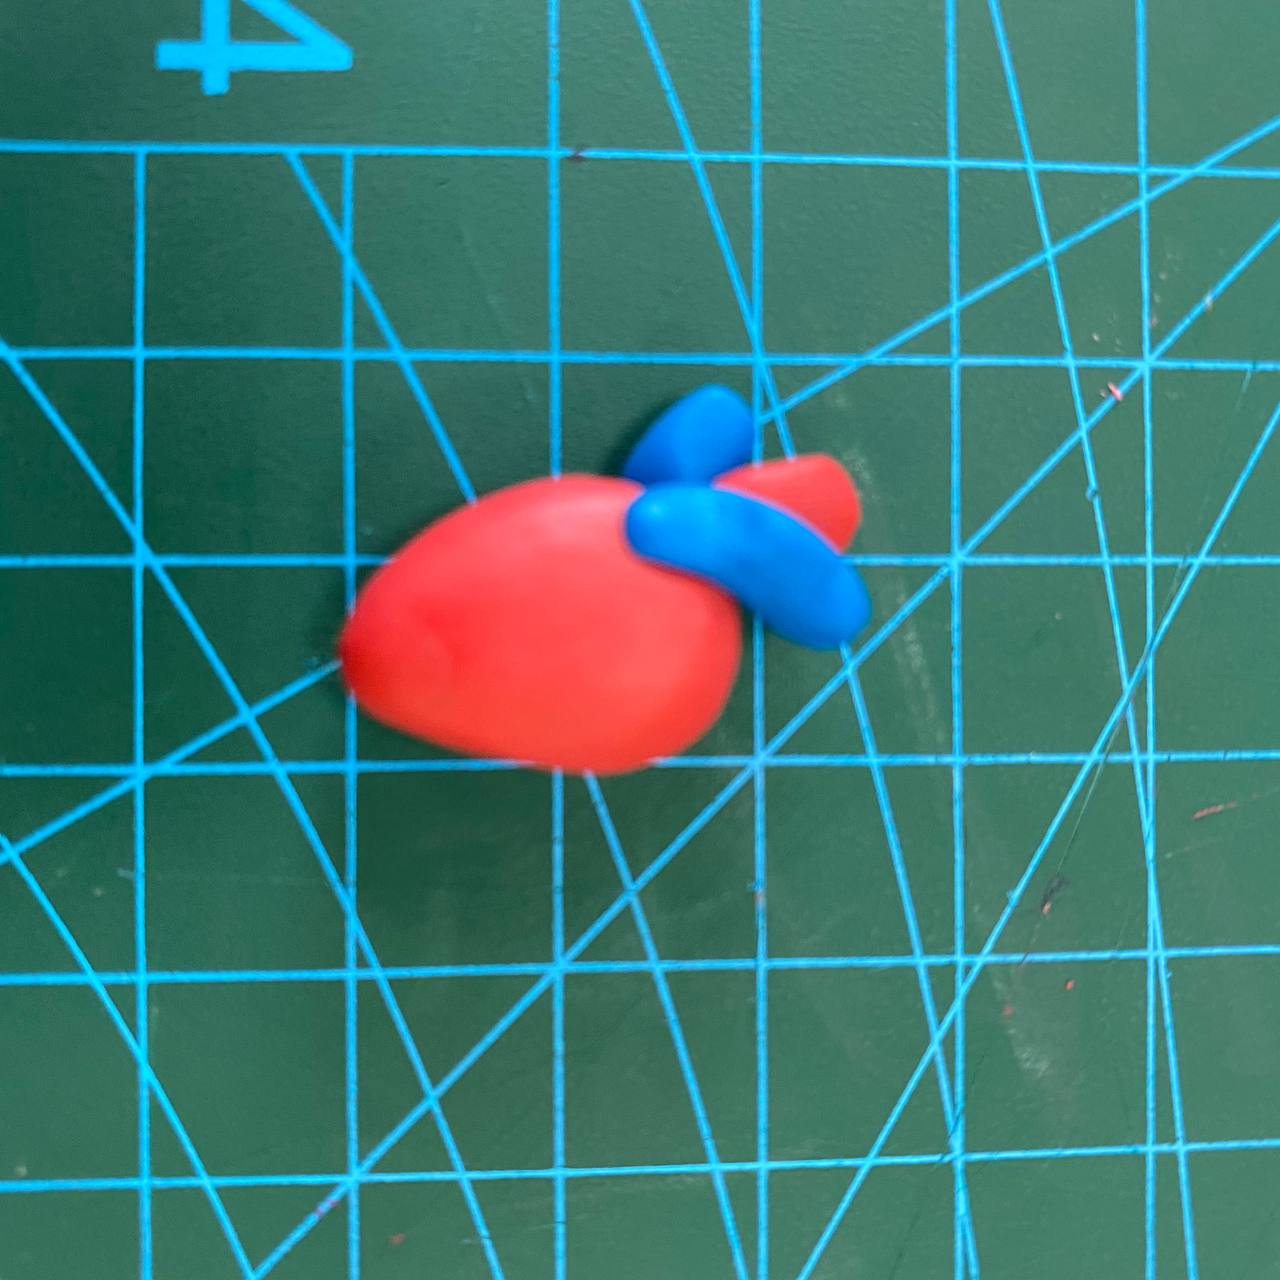
Step 5. Then make an oval sphere in the shape of a heart and add an artery and a vein to it – this red and blue plasticine will serve as vessels
That’s a heart!
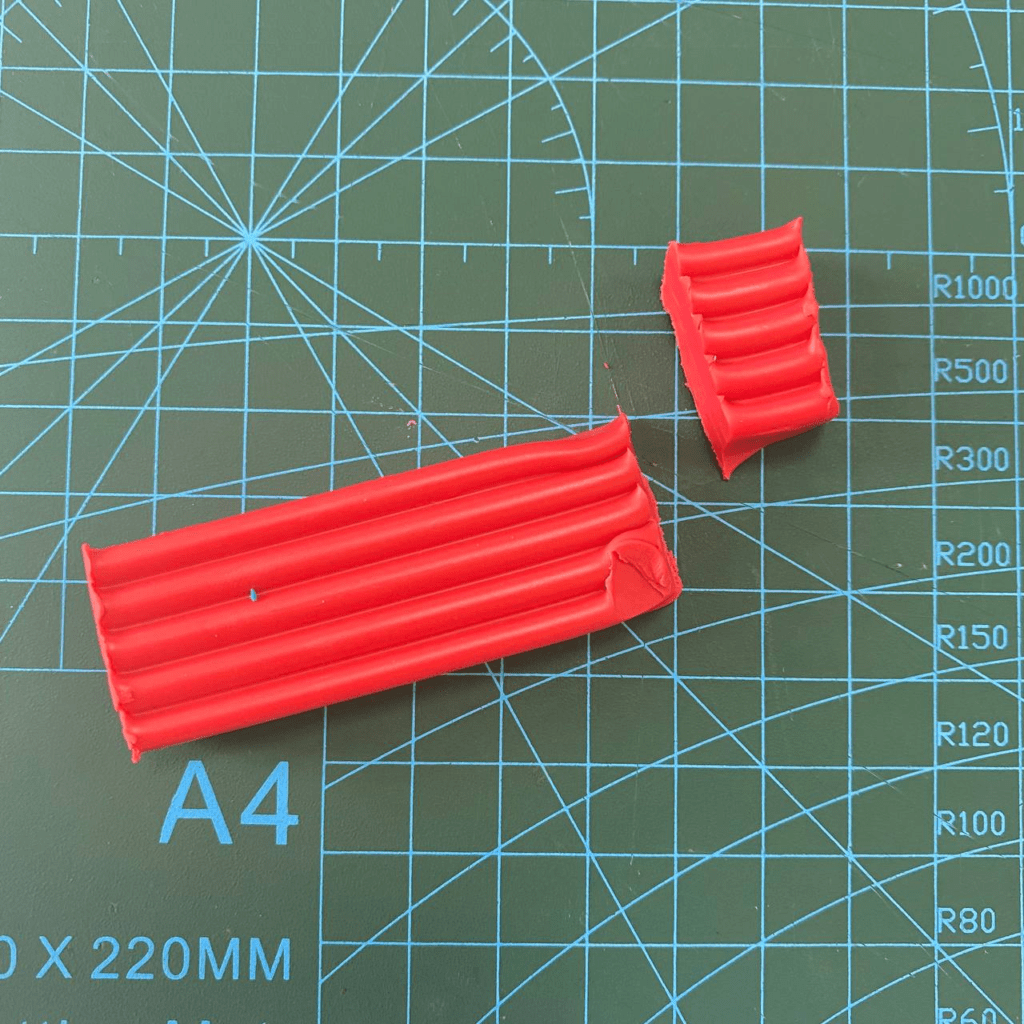
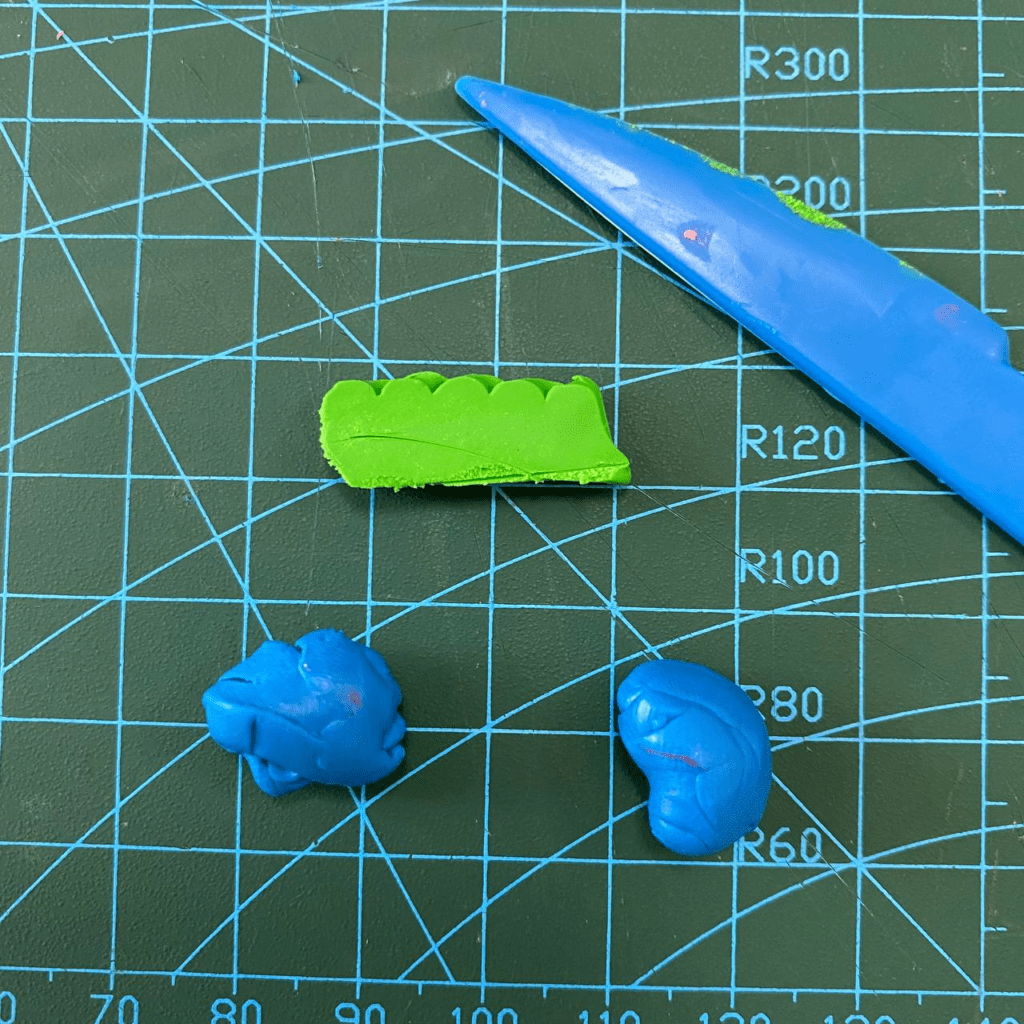
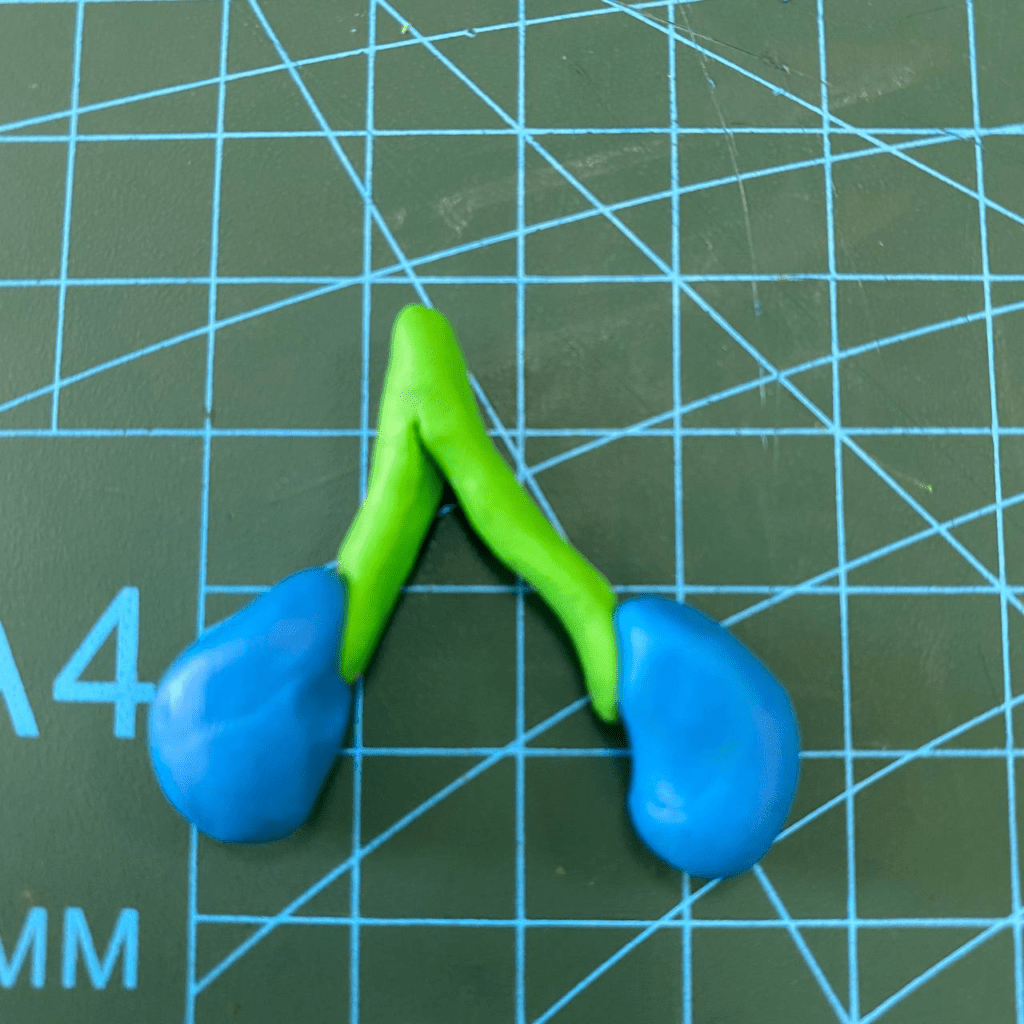
Step 6: Take small 2 pieces of blue clay and 1 piece of green clay. Make shapes in the shape of lungs.
These are the lungs!
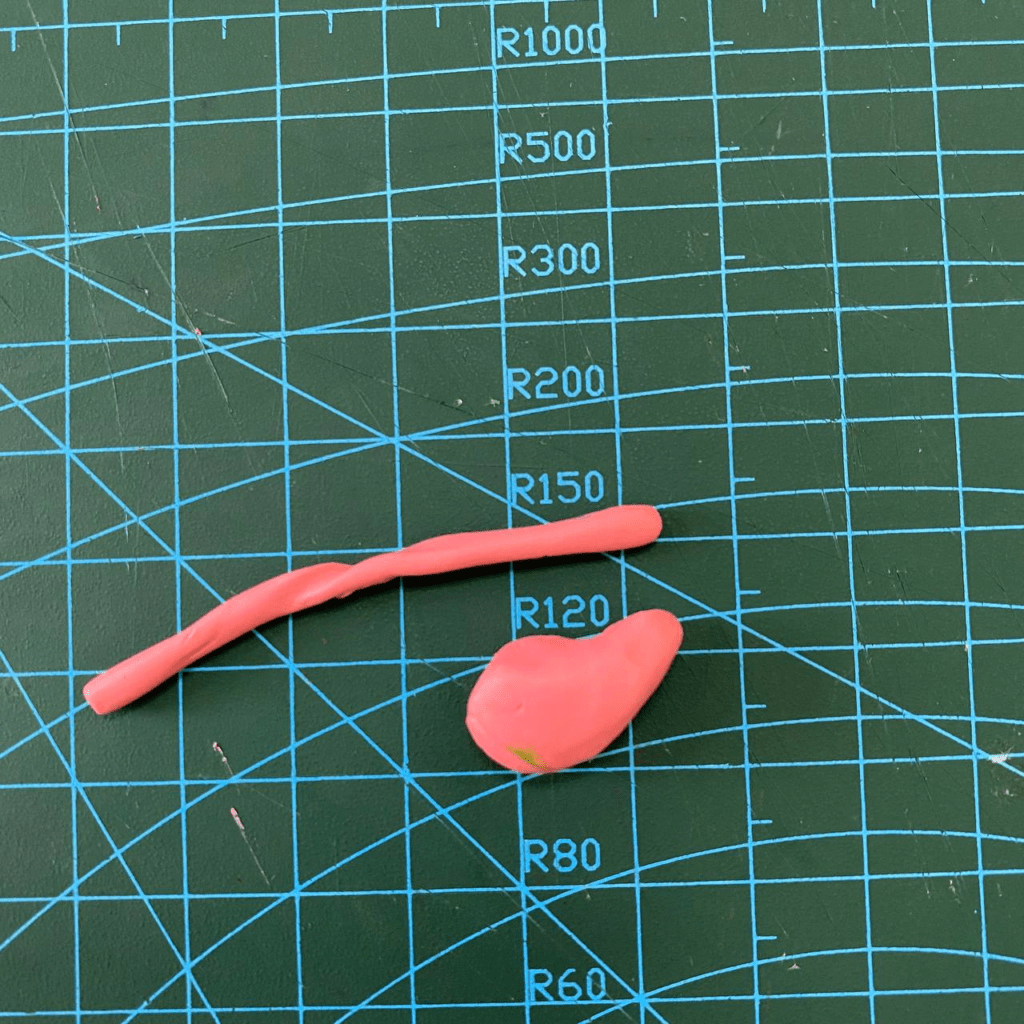
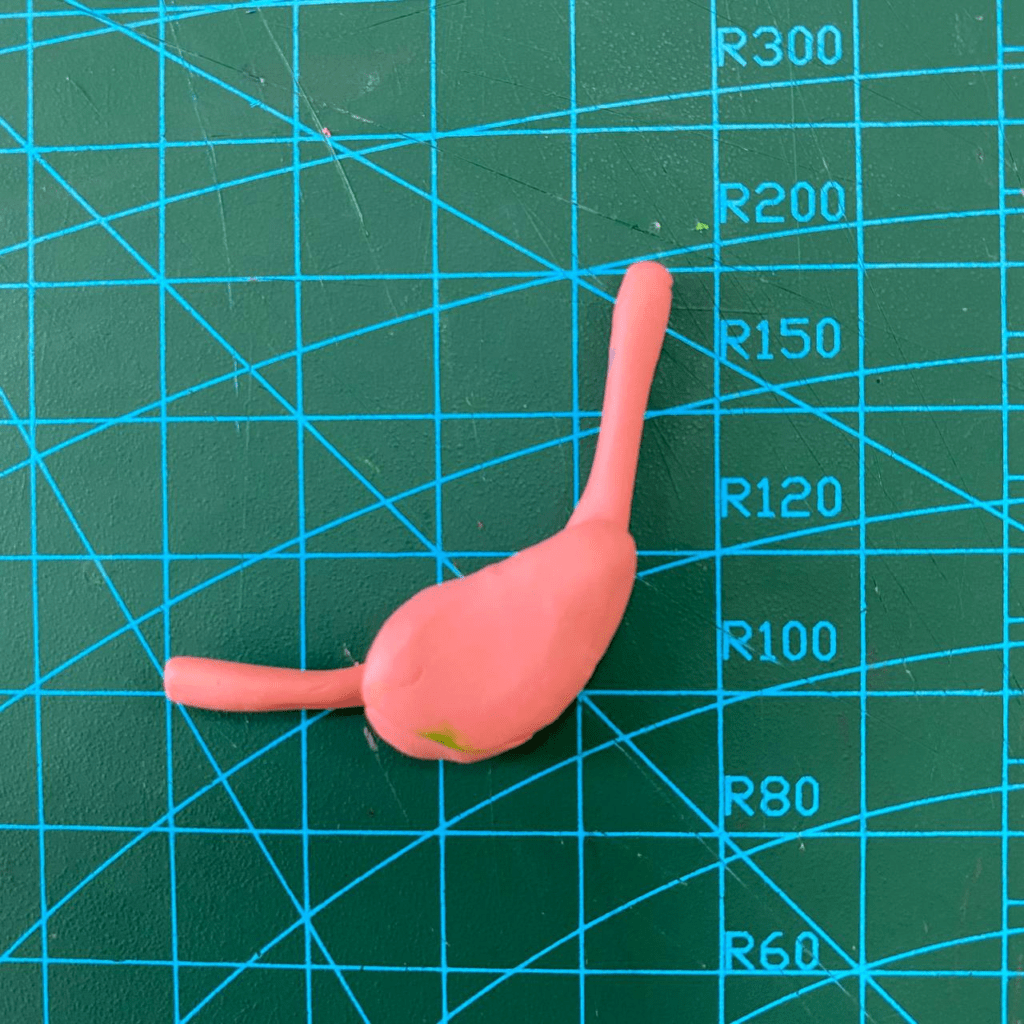
Step 7: Making – the stomach!
For this, take a piece of pink plasticine and make a ball and a line. Then connect the 2 parts. The long line is the oesophagus and the stomach.
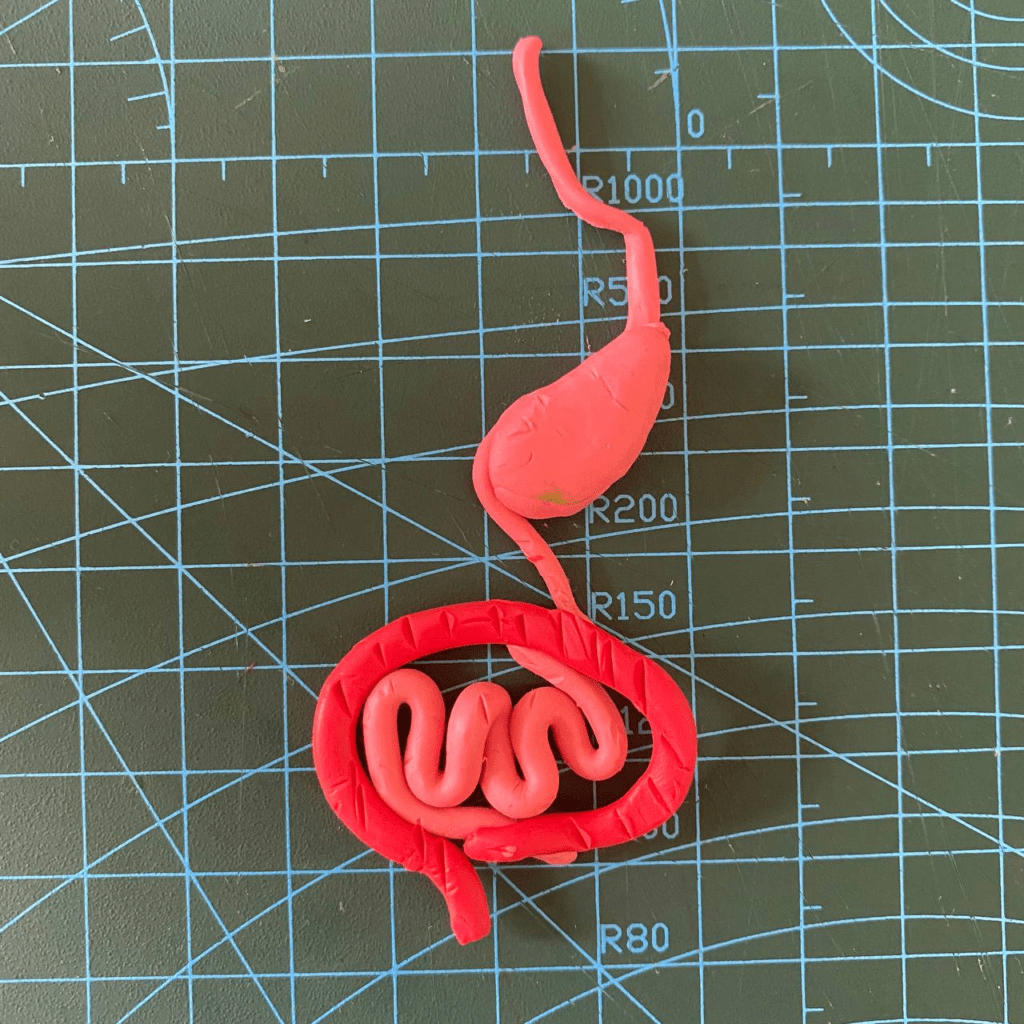
Step 8: The stomach is followed by the intestines. Take pink and/or red plasticine. Make a long line and then lay everything out as shown.
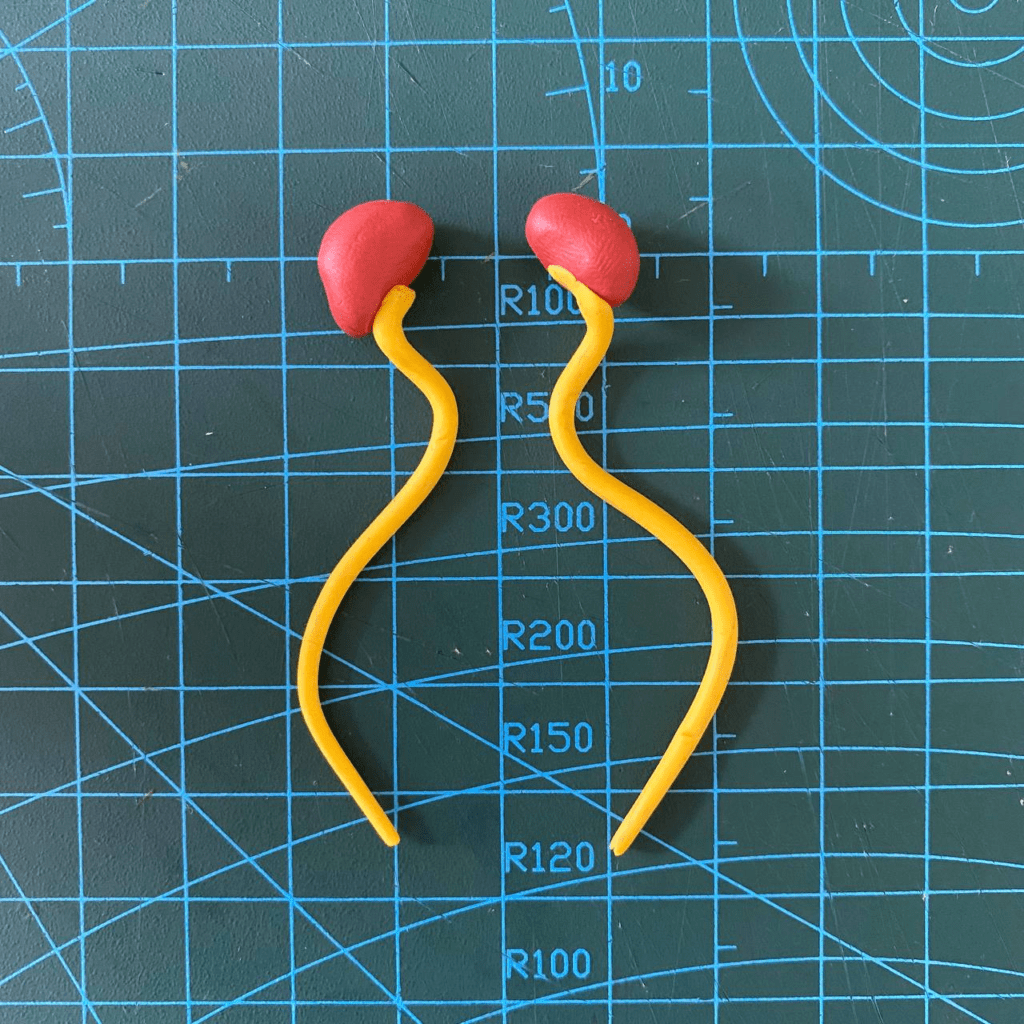
Step 9: Take 2 small pieces of brown plasticine to make kidney shapes. Then use yellow clay to form 2 long lines to make a ureter).
Step 10. Take a piece of brown plasticine and make a liver.
Step 11. Connect all the organs on the human body in sequence:
– brain
– stomach + intestines
– lungs
– heart
– liver
– kidneys
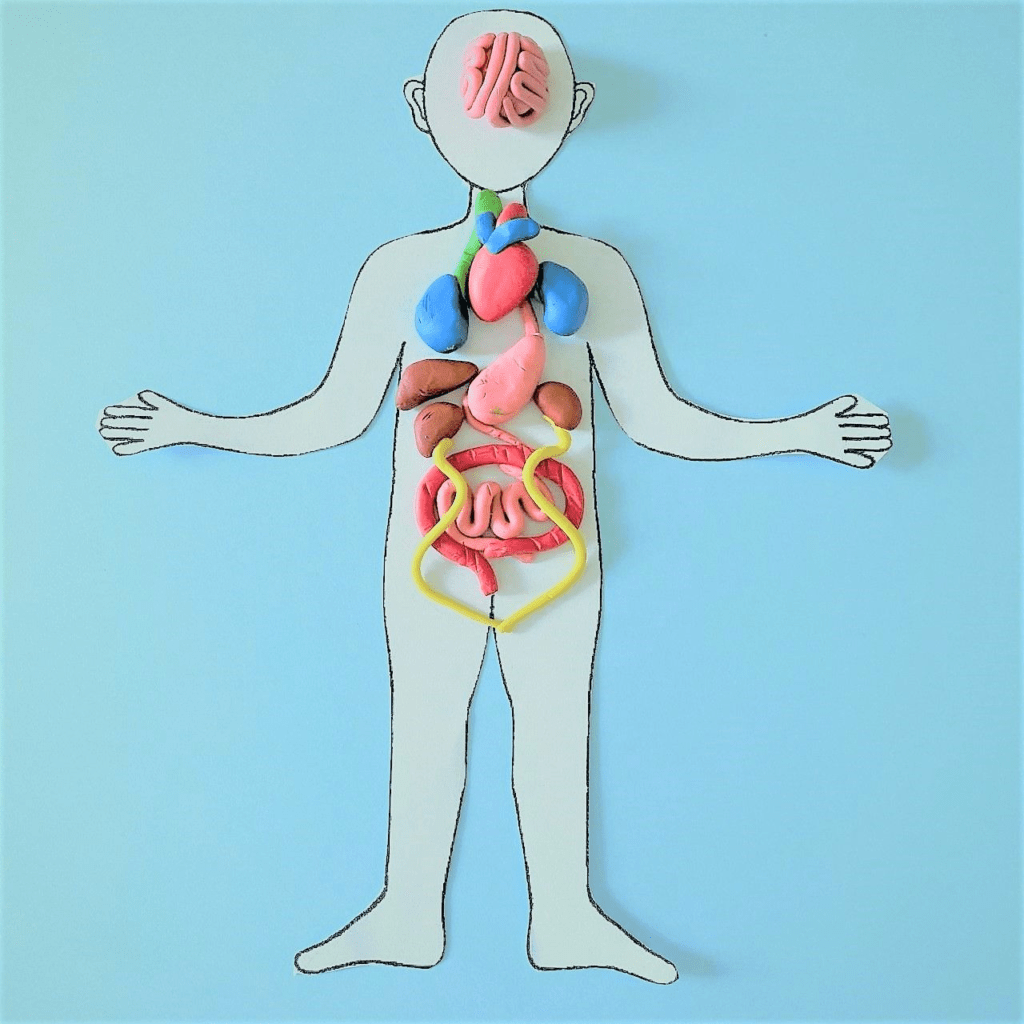
Congratulations, you did well!
Assignment!!!
Bring each team to the board in turn. Name the organs one by one and the students compete with each other to see who can show the location of the organs first.
Conclusion
In this project the pupils have mastered the position of the human organs and their function. In this way, they made a model of the organs out of plasticine.

On this project, each student is awarded a STEAM title, in two categories:
– You have independently, researched the organs, namely their function and location in the body, you are a real research scientist and a great doctor!
– You have made human organs out of plasticine yourself. In the future, having deepened your knowledge in this area, you will be able to print necessary organs for a patient on a 3D printer and save someone’s life! Congratulations, you are already a young bioengineer!
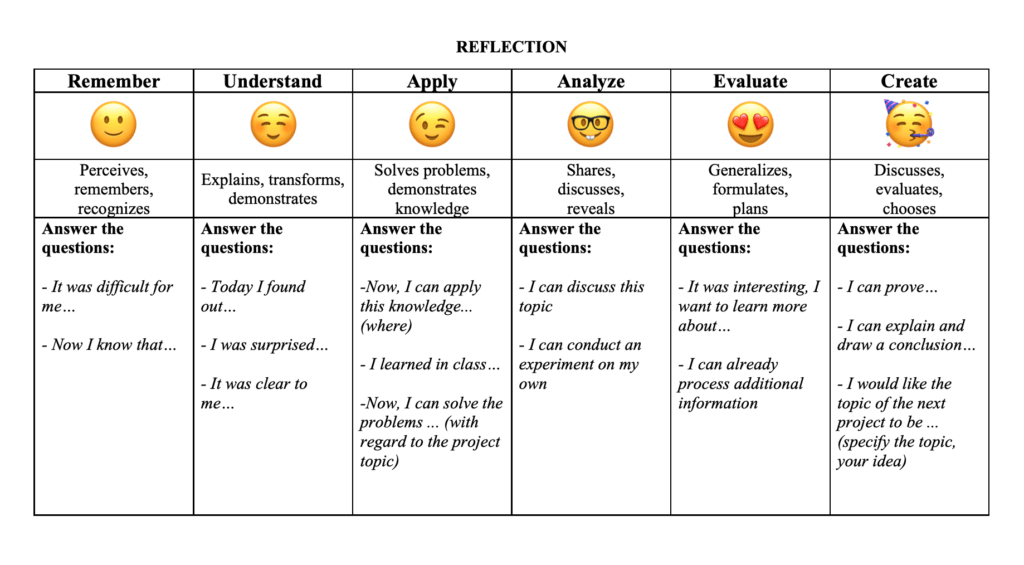
Evaluation