
Lesson 1
Project Goals
– Give examples of the movement of various bodies at different speeds;
– Use of qualitative characteristics when explaining speed (fast, slow);
– Make a roller coaster to explain speed (fast, slow).
Teacher’s Guide
– Divide students into groups;
– Briefly explain the topic of the lesson;
– At the first lesson, you need to draw a diagram of the path and make legs;
– In the second lesson, you need to make rails and finish the slide;
— At the end of the lesson, you can compare the speeds of the balls in different groups.
Safety in Steam Lessons
Before starting a lesson, the teacher is advised to familiarize himself with the safety precautions. If necessary (in the case of using the items specified in the TB), conduct a brief briefing for students. Follow this link Safety in Steam Lessons
Theoretical part
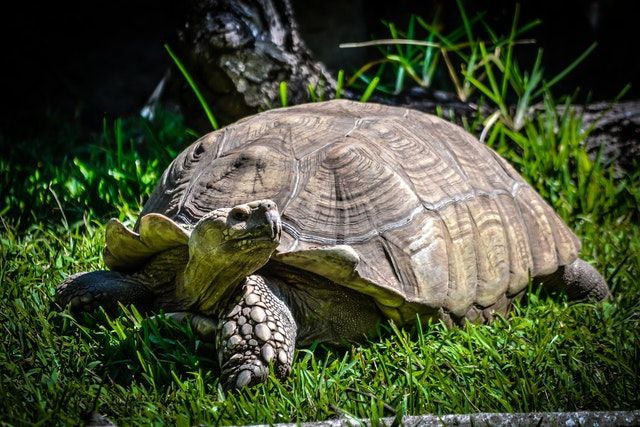
Look around and remember all the moving bodies around. Cars, planes, trains, people, animals, insects, birds, etc. As we can see, they all move at different speeds, one is faster, the other is slower. Moving bodies can have different speeds.
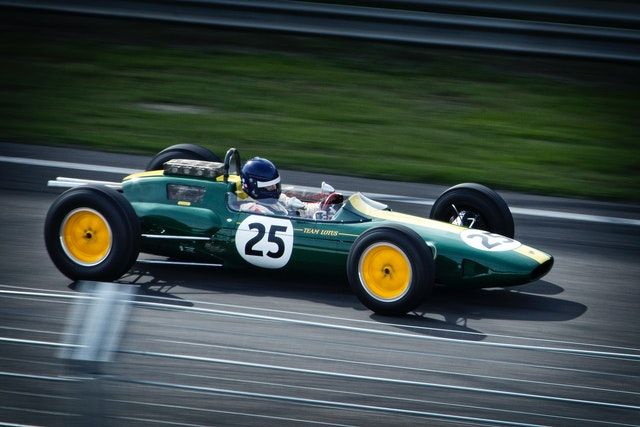
Photographer: Chris Peeters: https://www.pexels.com/ru-ru/photo/timelapse-12801/
Photographer: Edwin Lopez: https://www.pexels.com/ru-ru/photo/6483159/
Photographer: Vlad Chețan: https://www.pexels.com/ru-ru/photo/3387165/
Velocity determines the path that an object will cover in a unit of time (for example, 1 minute or 1 hour).
Practical part
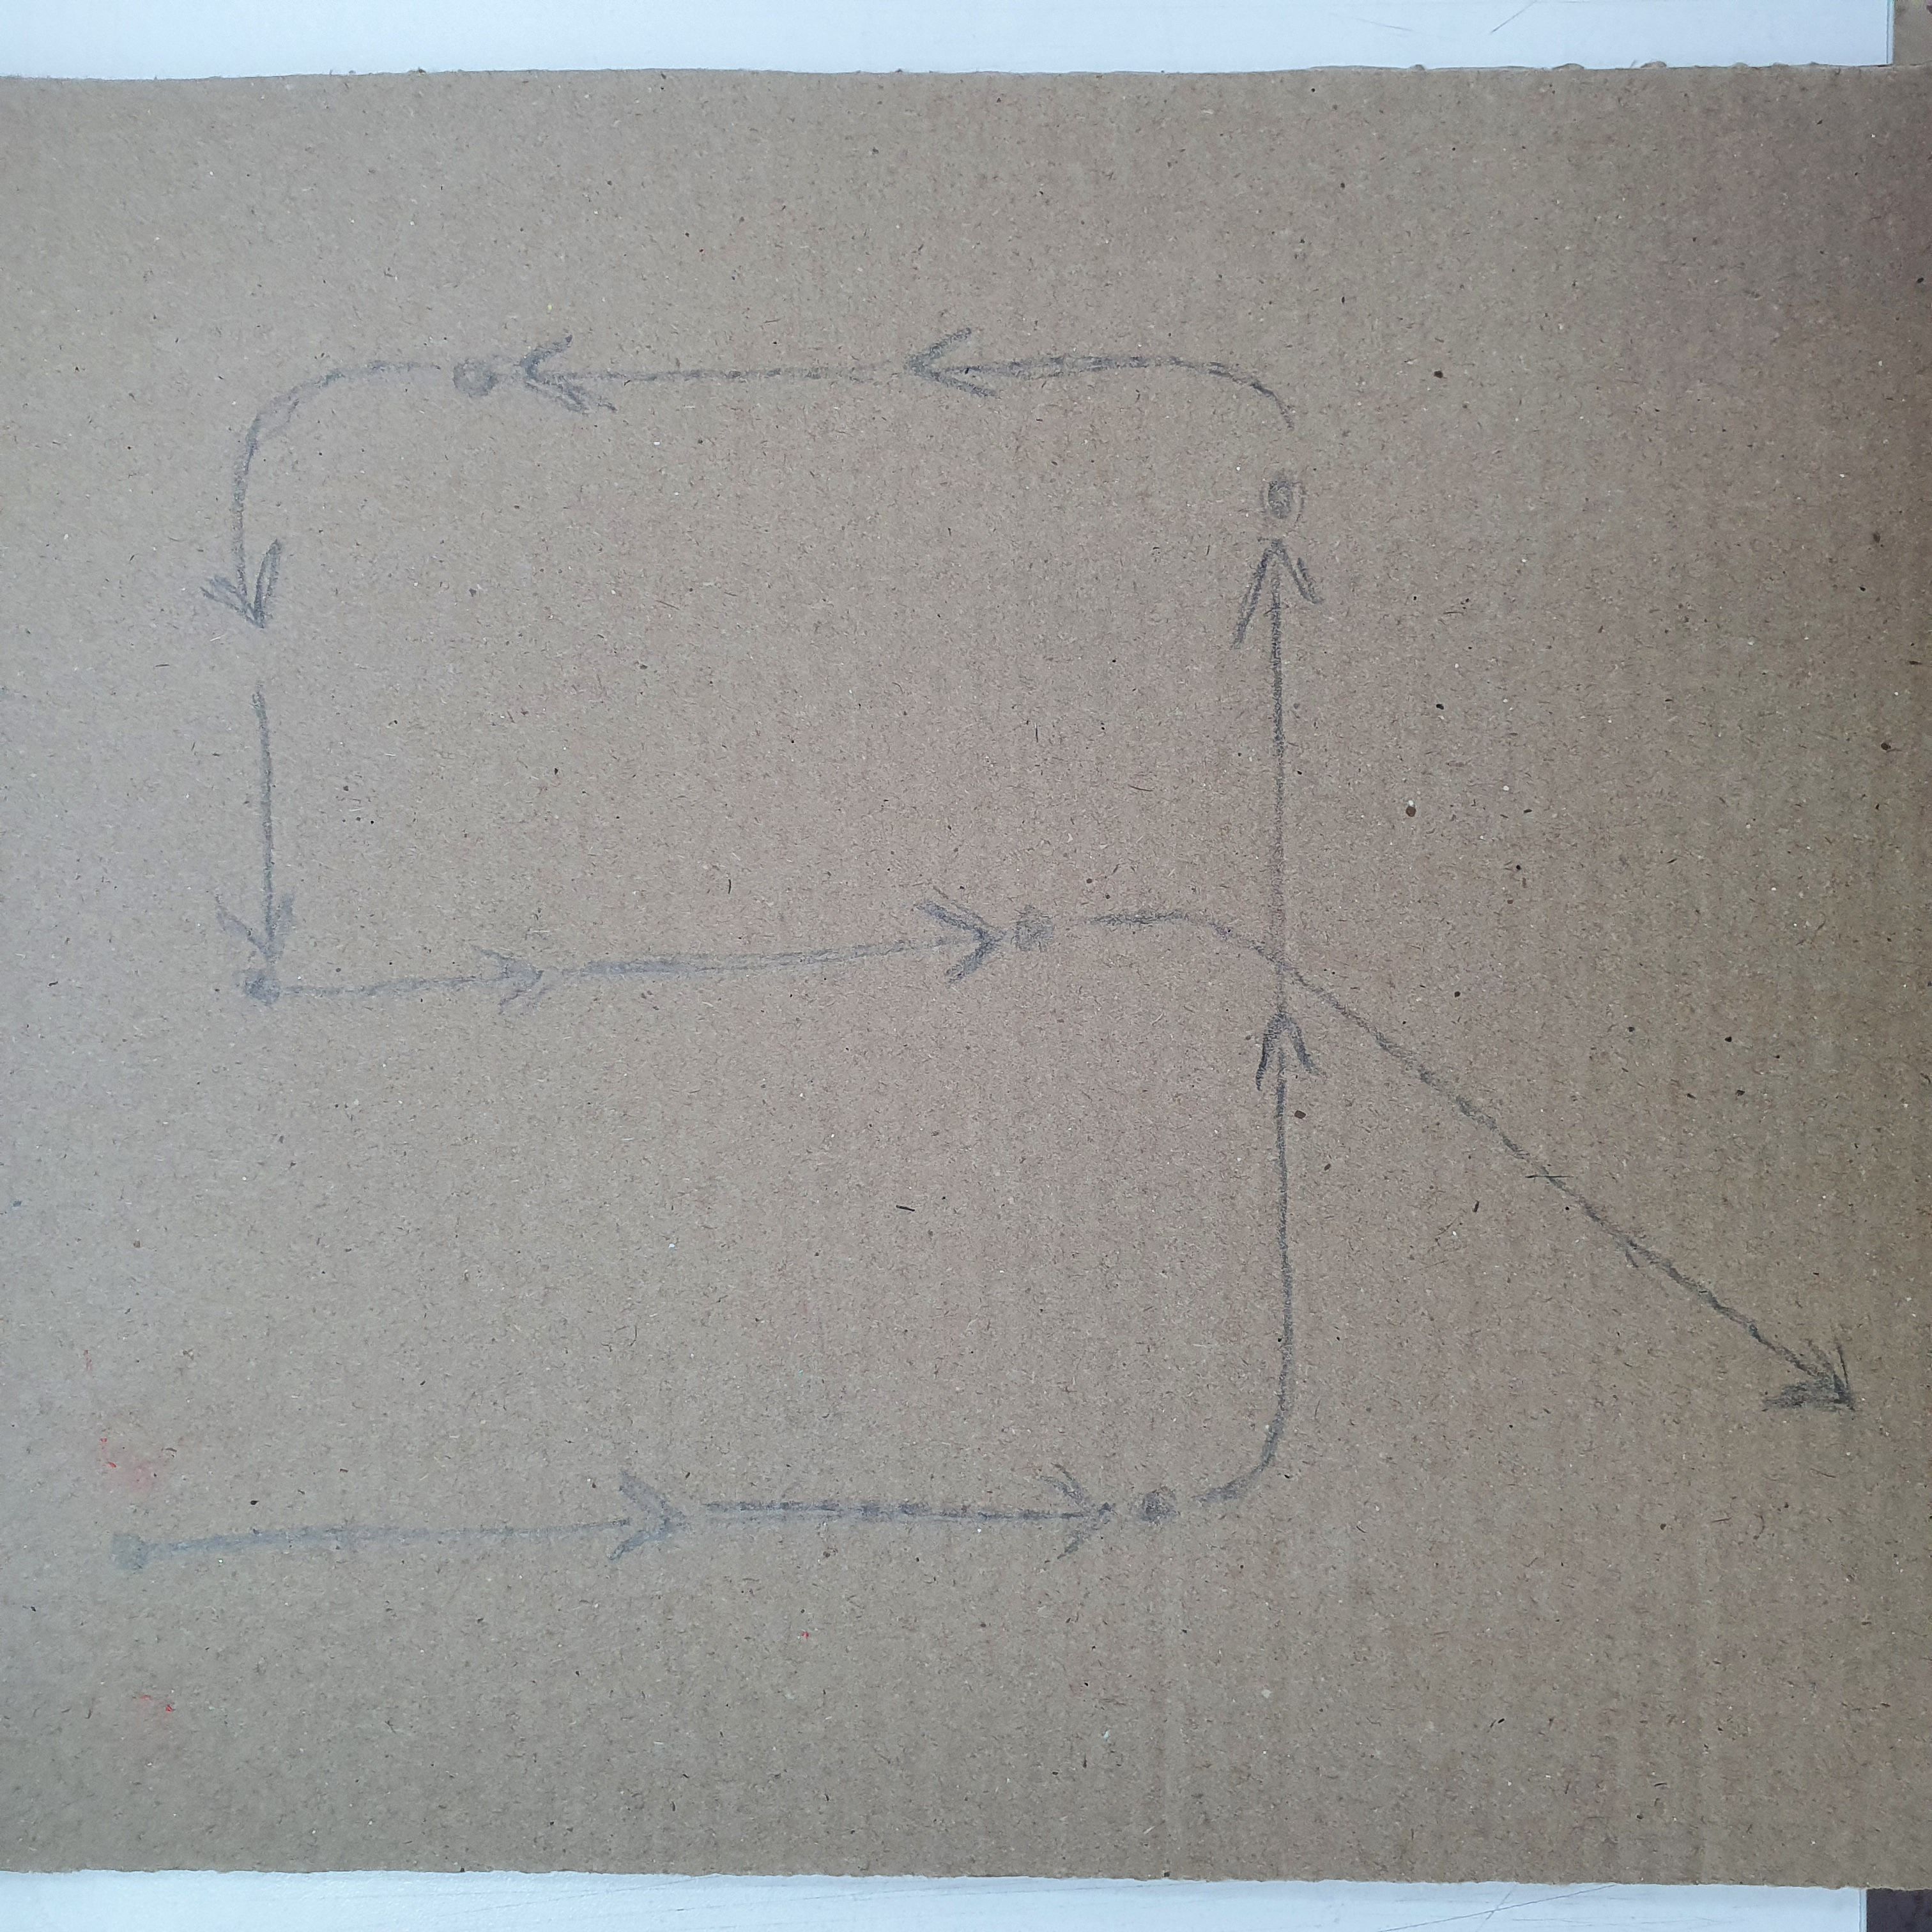
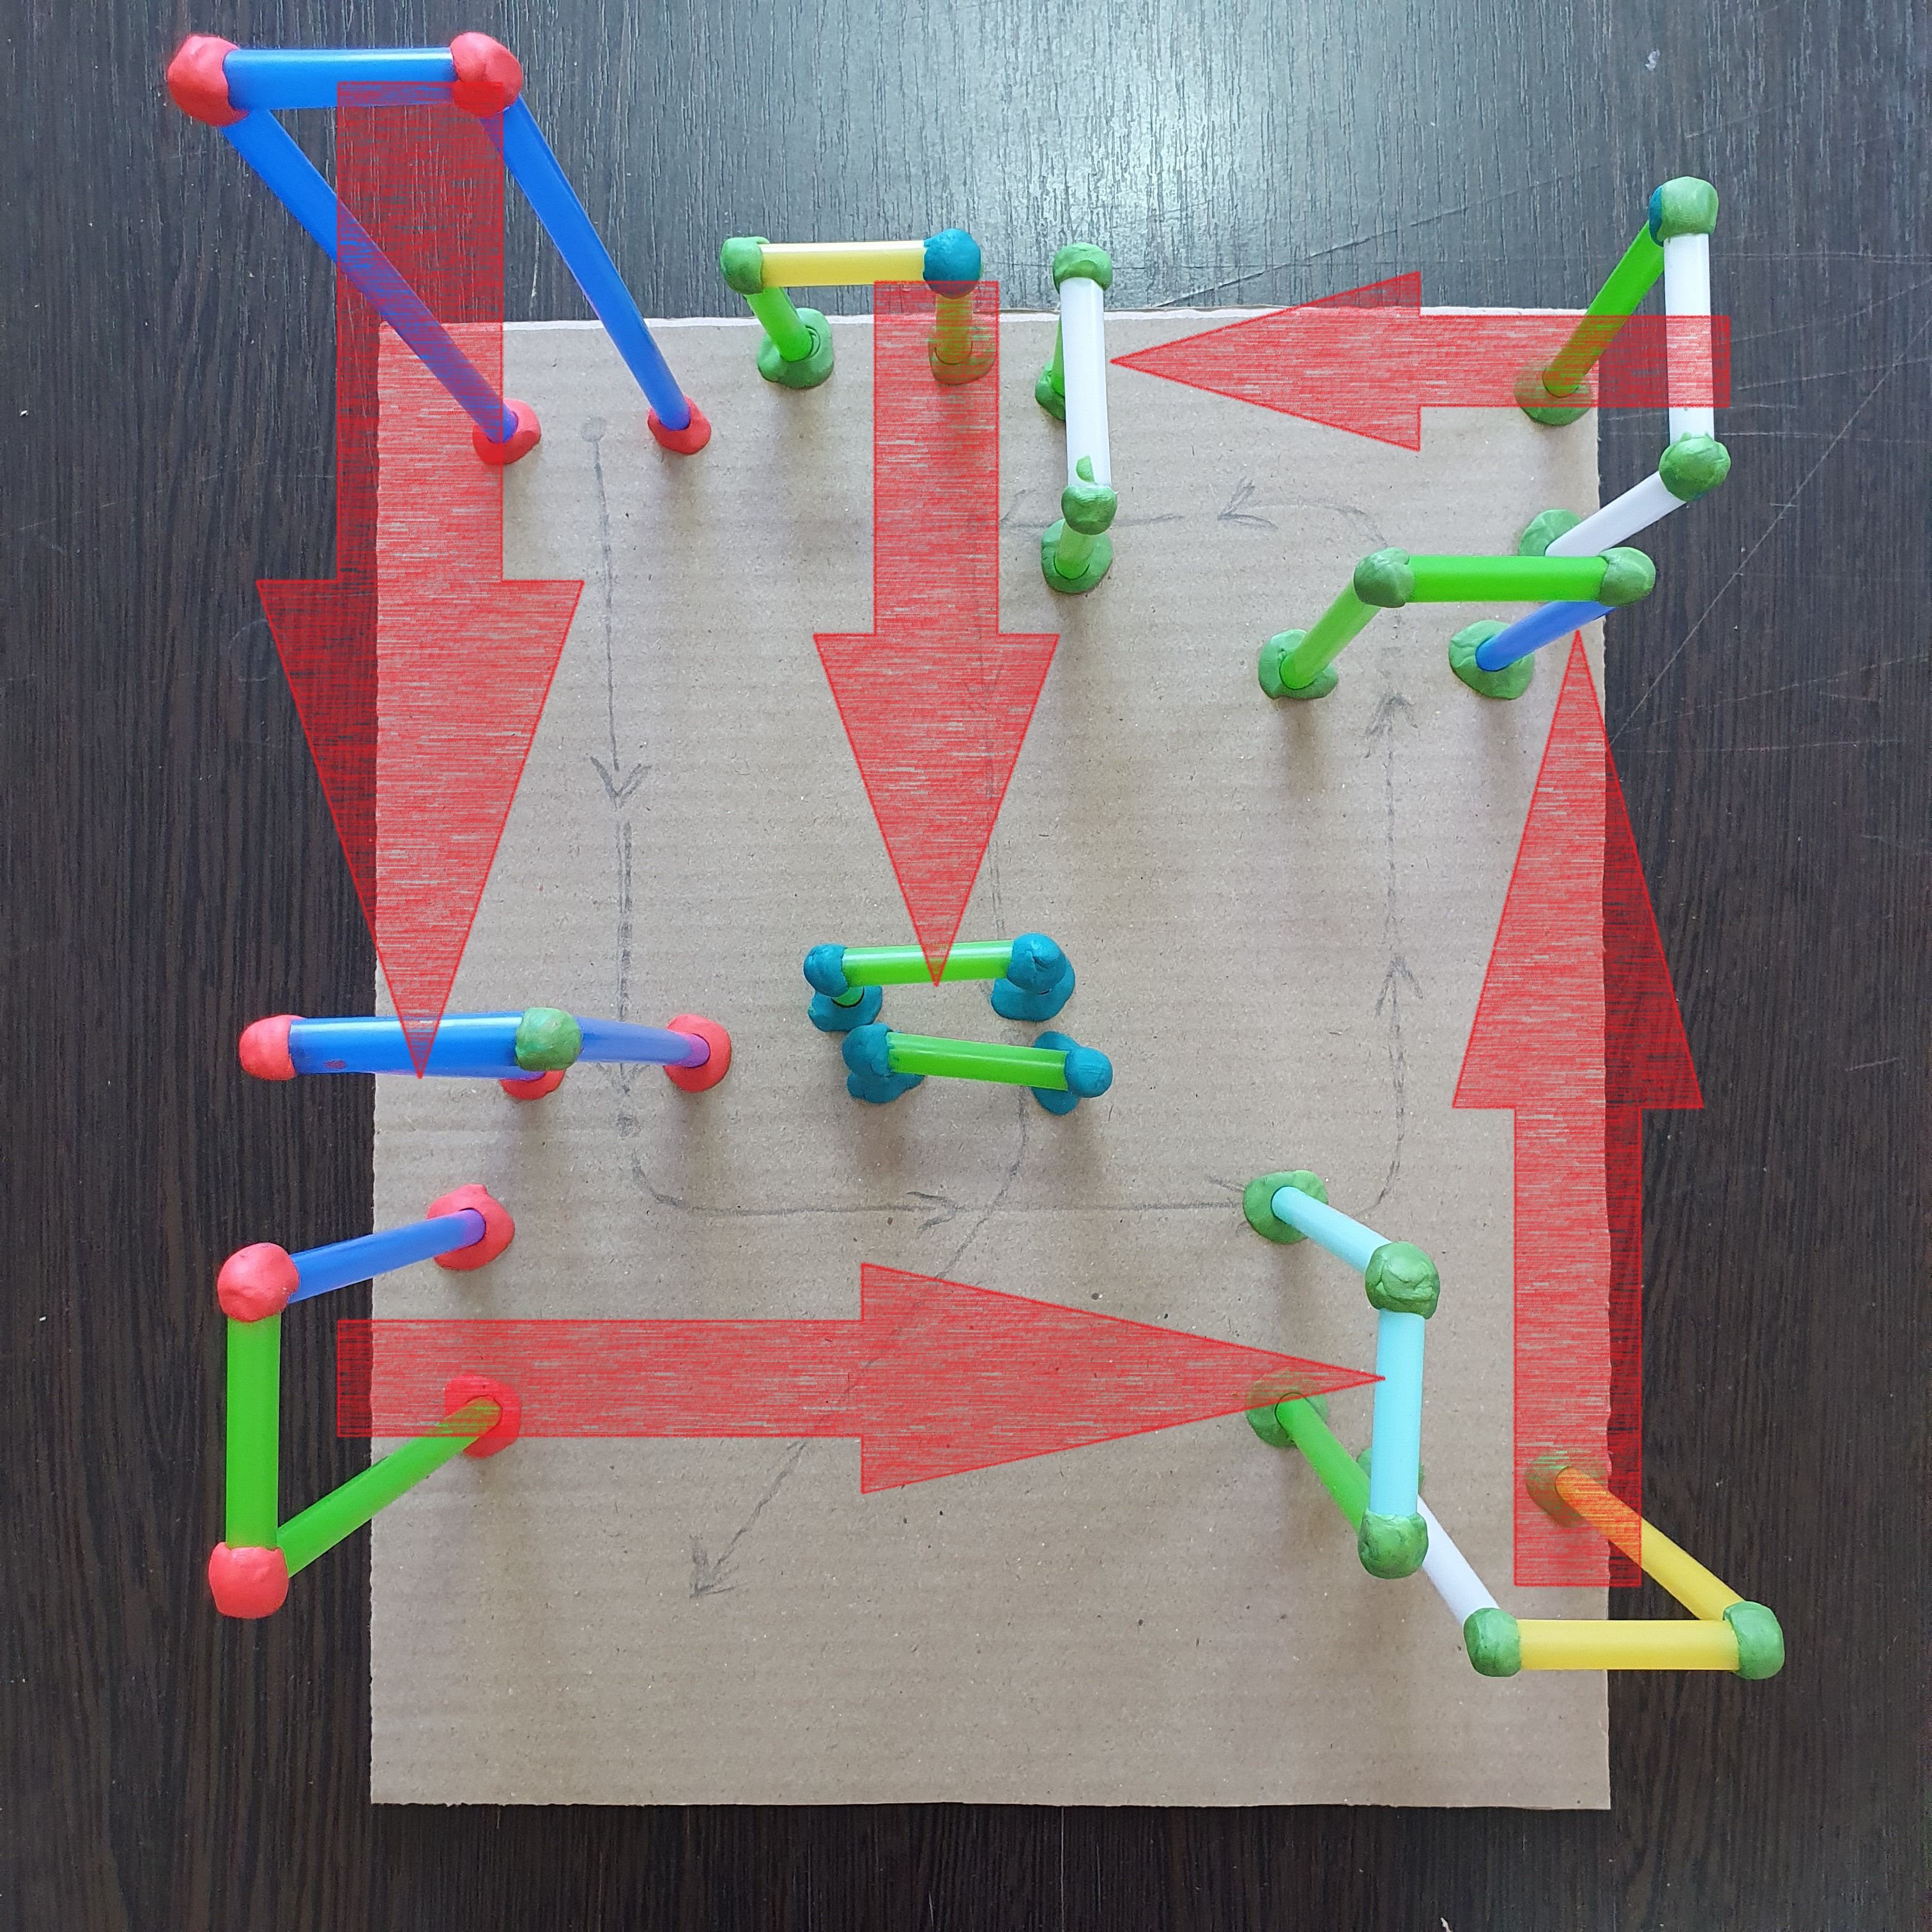
Step 1. First you need to figure out how to move the ball. On cardboard or paper, draw directions for future slides according to your imagination.
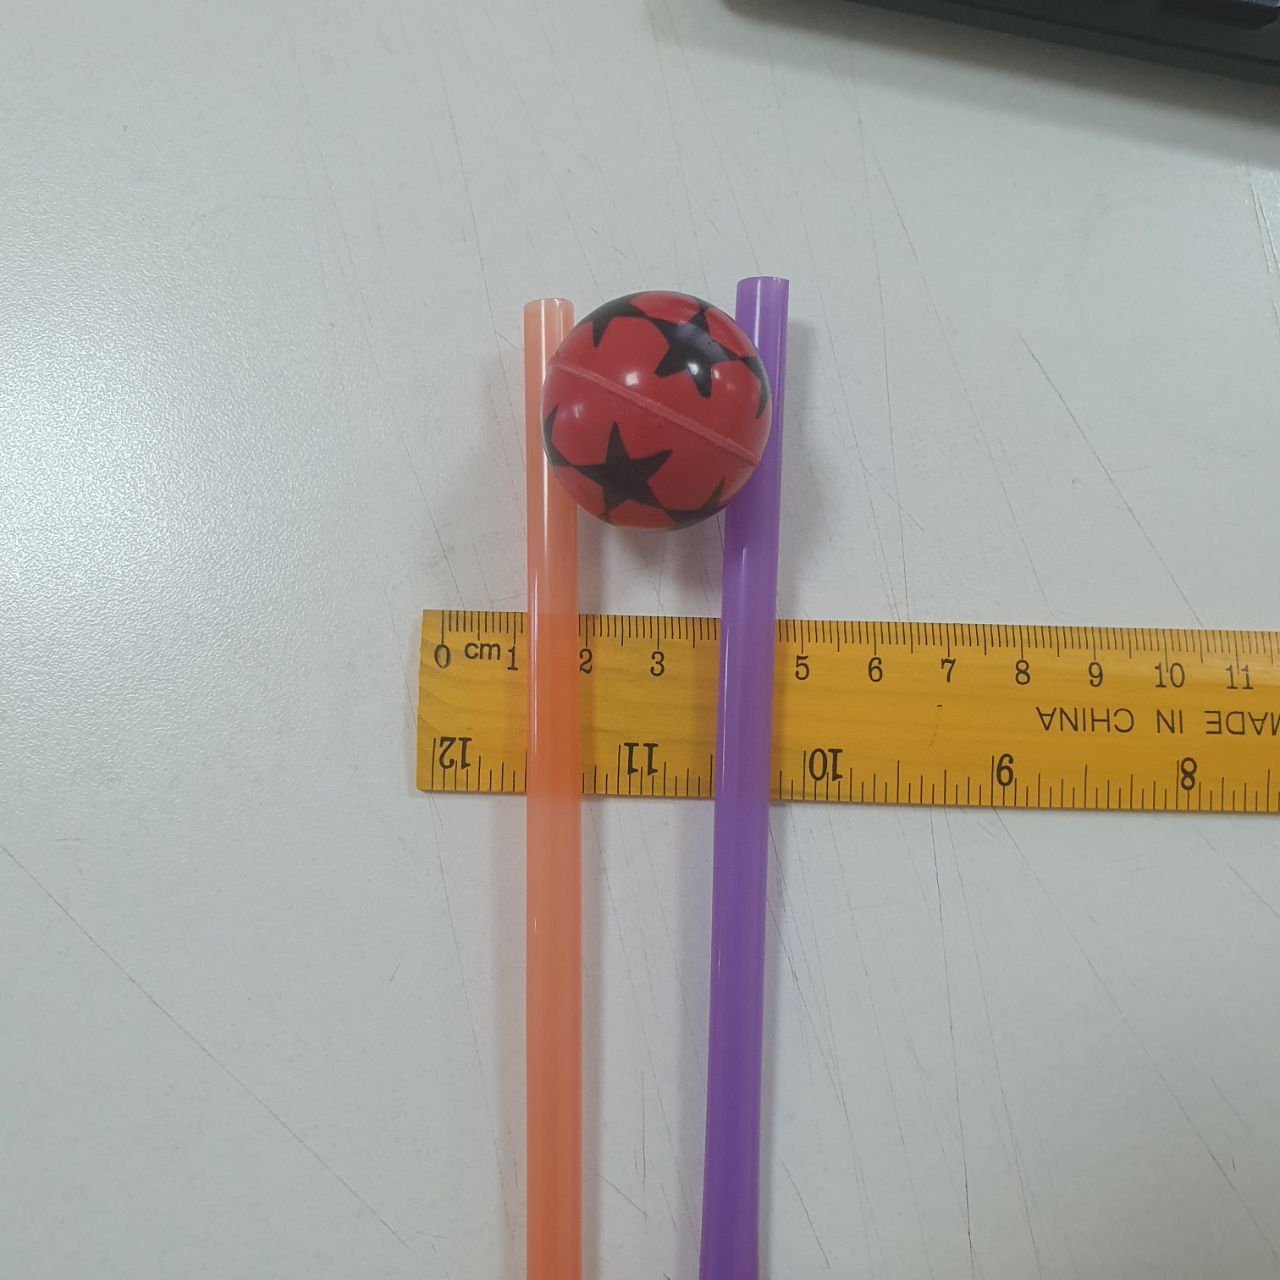
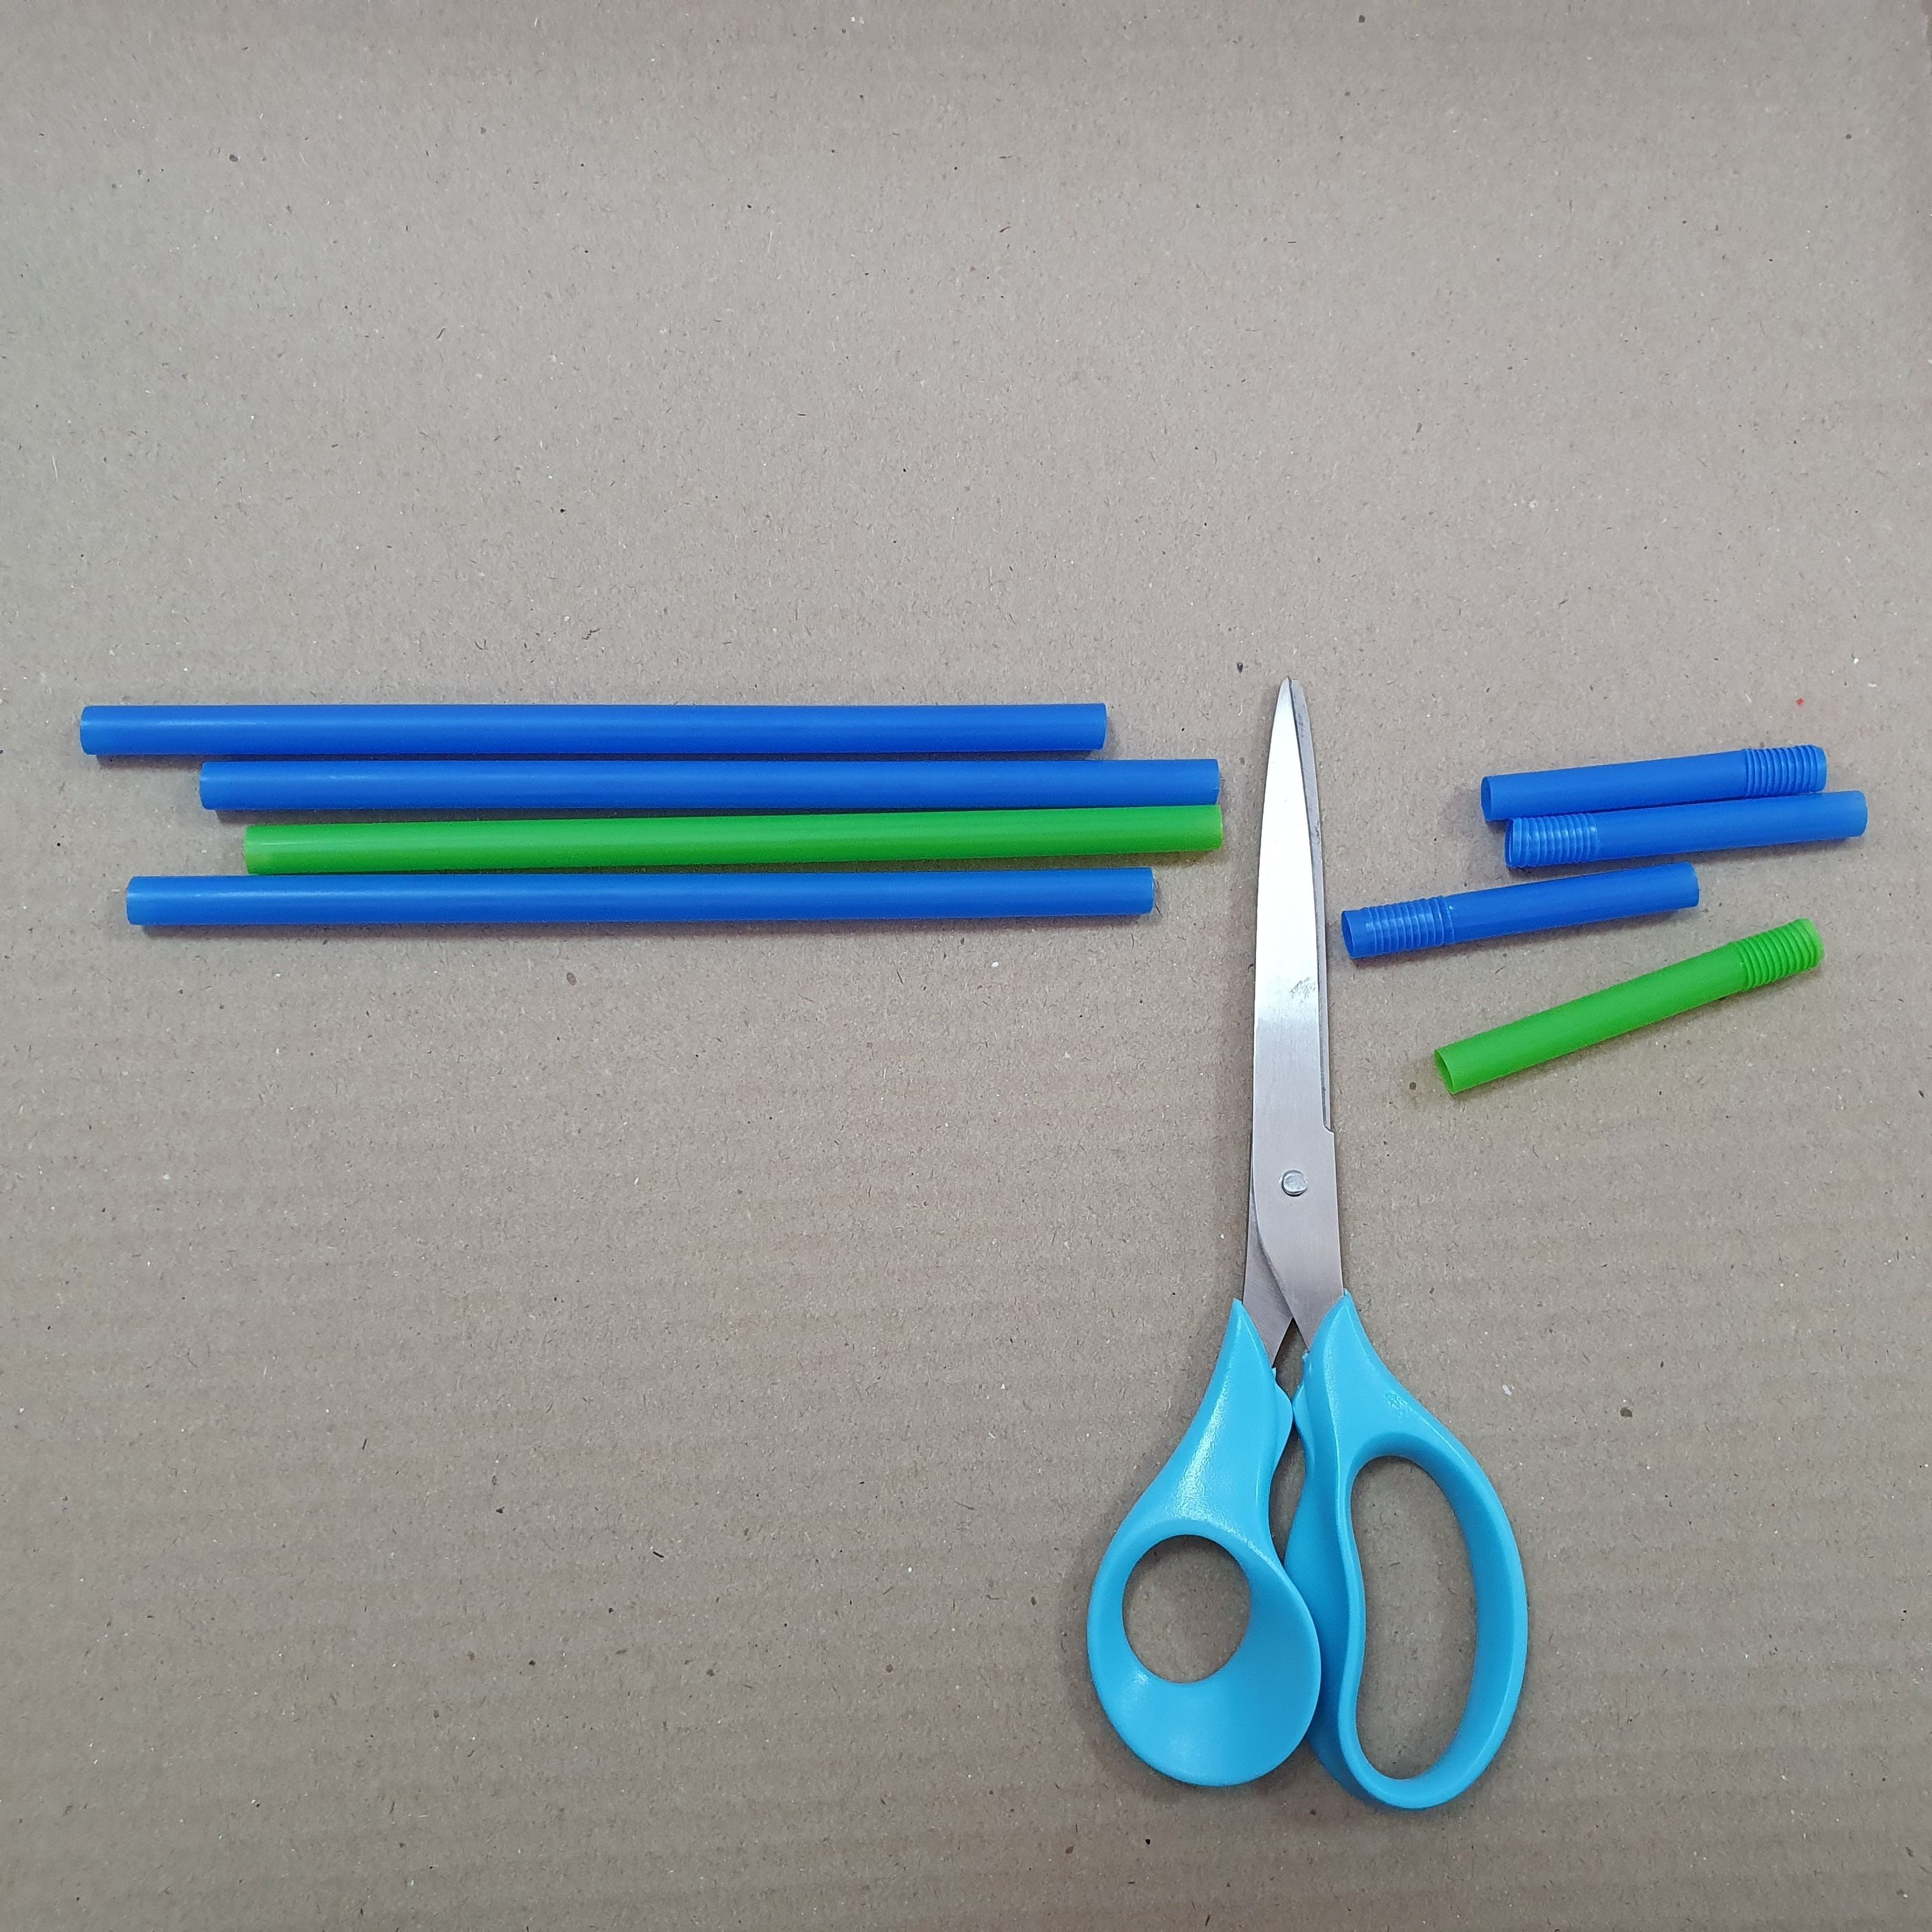
Step 2. Then put two straws on the ruler, and then put the ball on top so that it sits well between the straws and does not touch the surface on which the straws lie. Pay attention to the width of the straws – this is the width of the roller coaster paths. We will make the legs of the roller coaster a little wider so that we can glue the tracks on top.
Step 3. Make legs for slide tracks. To do this, take straws, cut off the excess. The first two straws will be the longest. And the next should decrease.
Step 4. Use plasticine to install the legs as a surface for attaching the straws to each other.
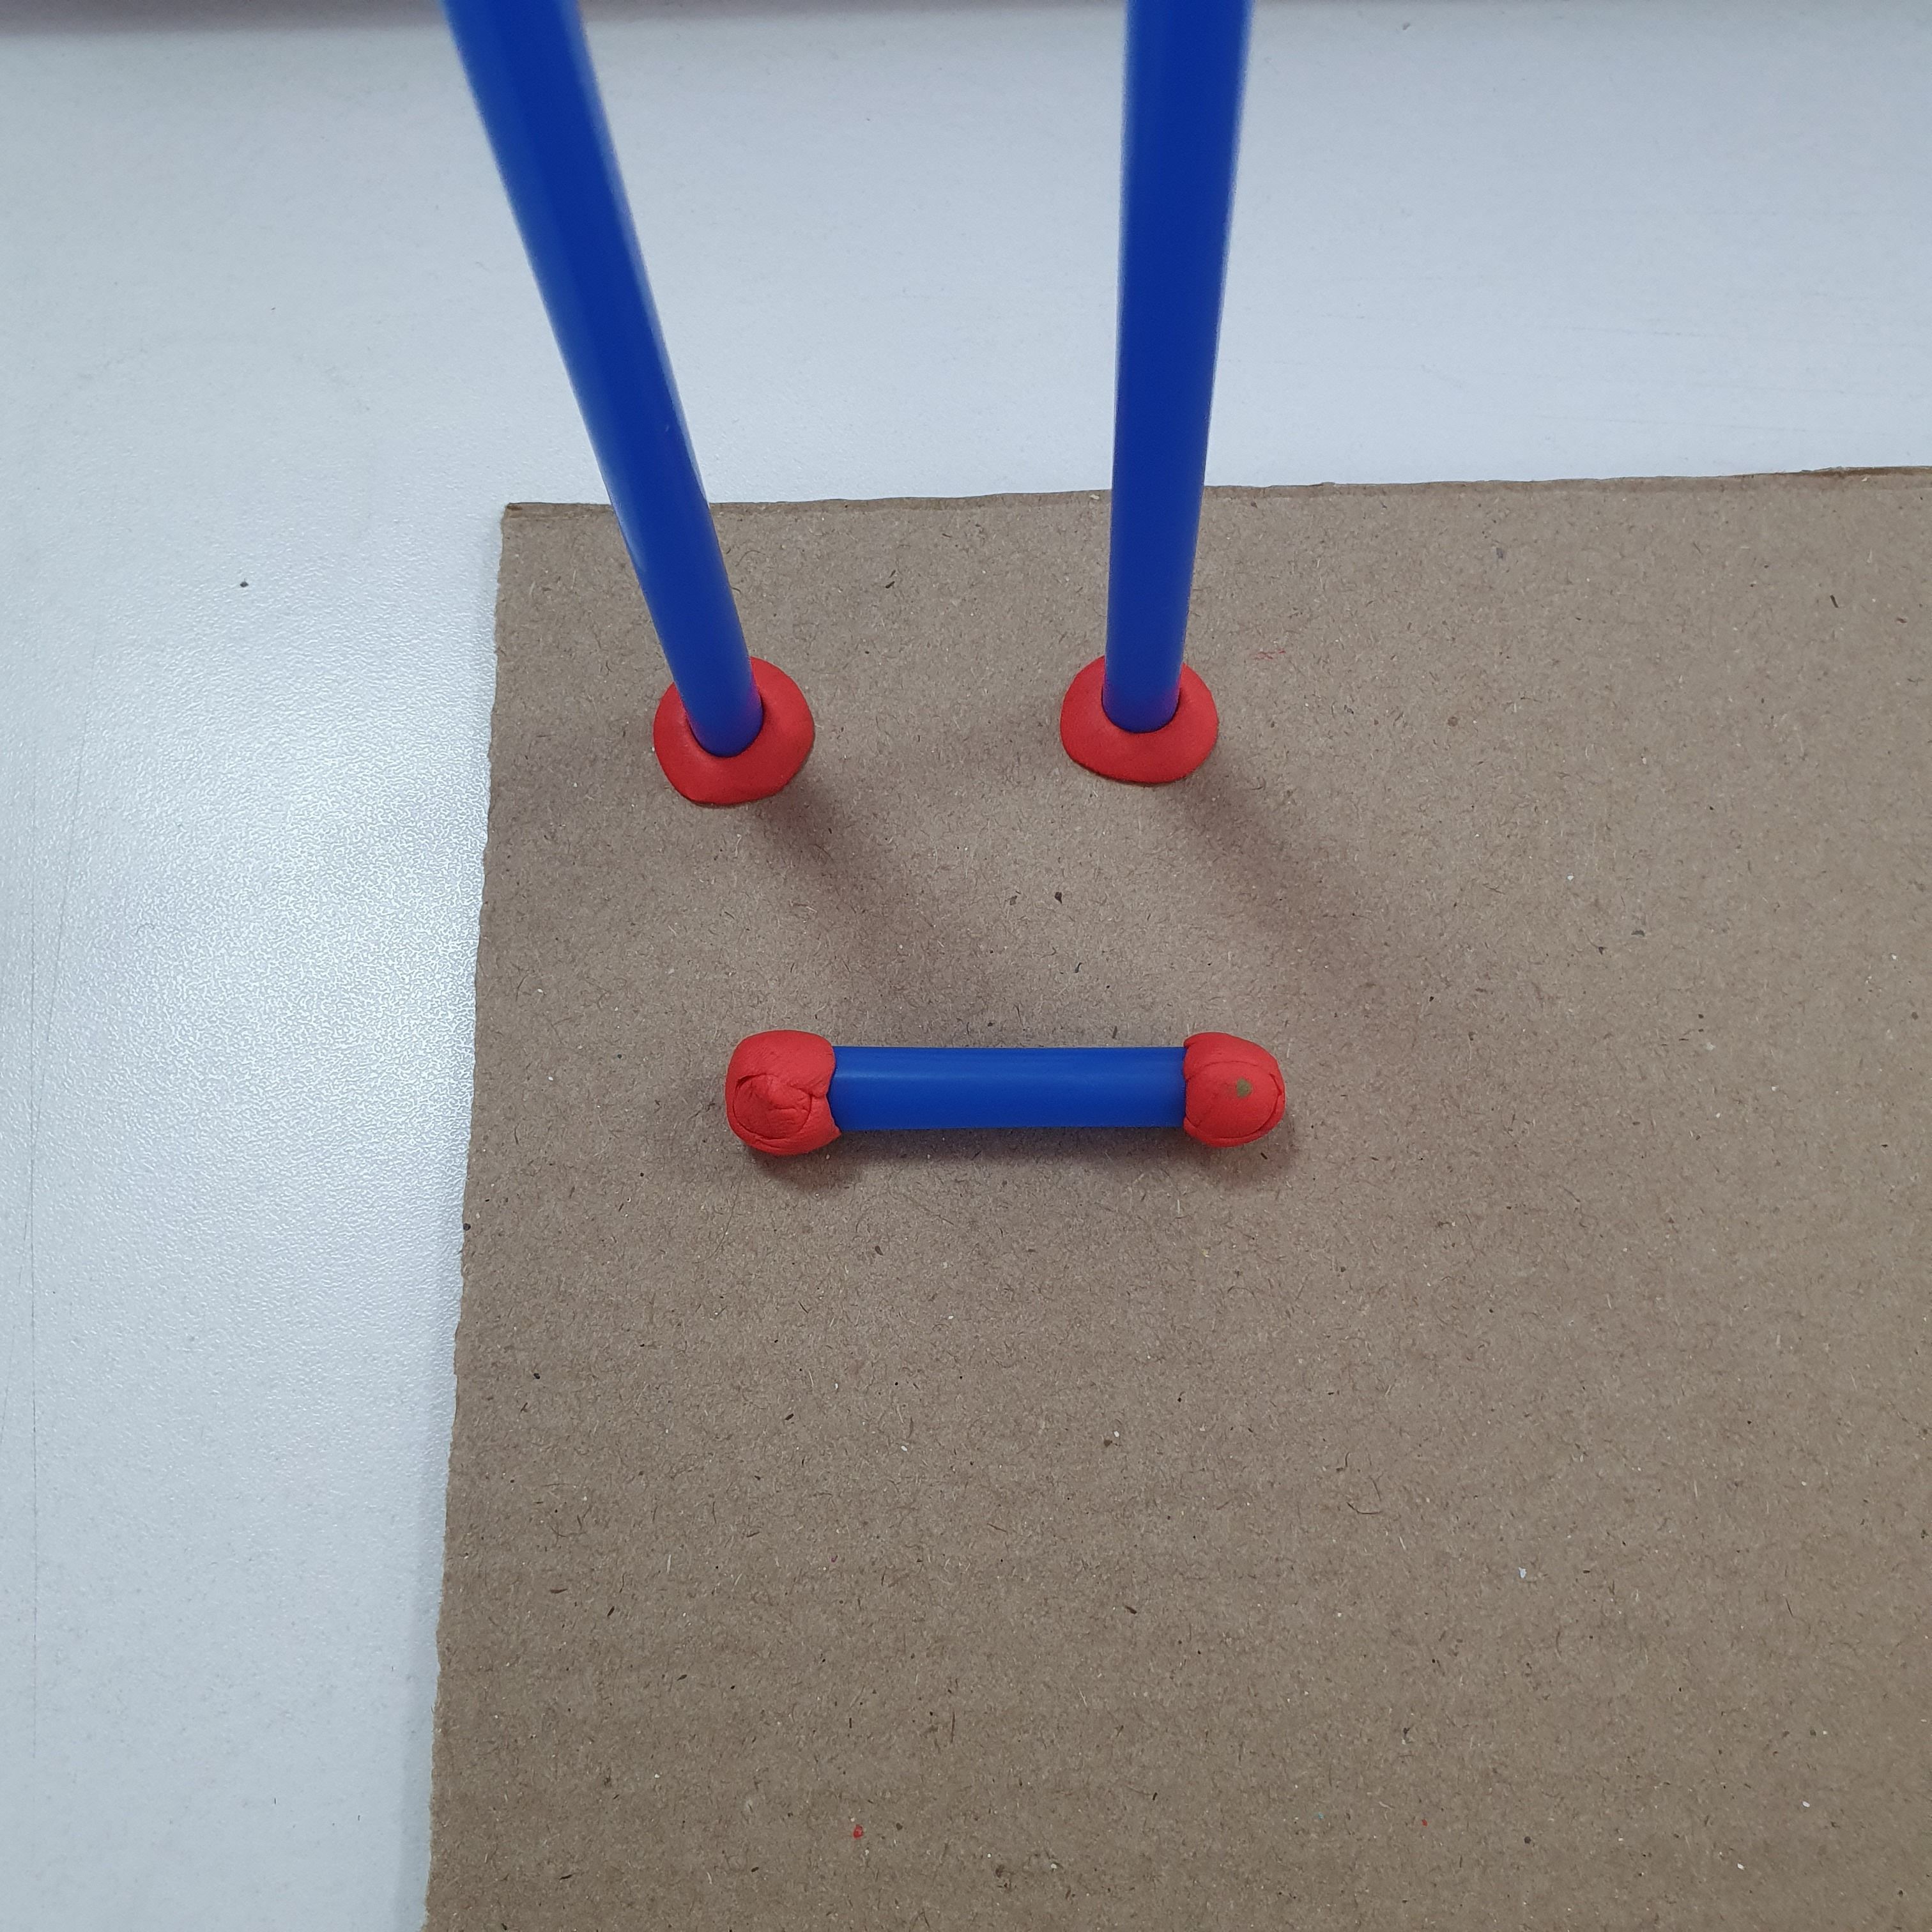
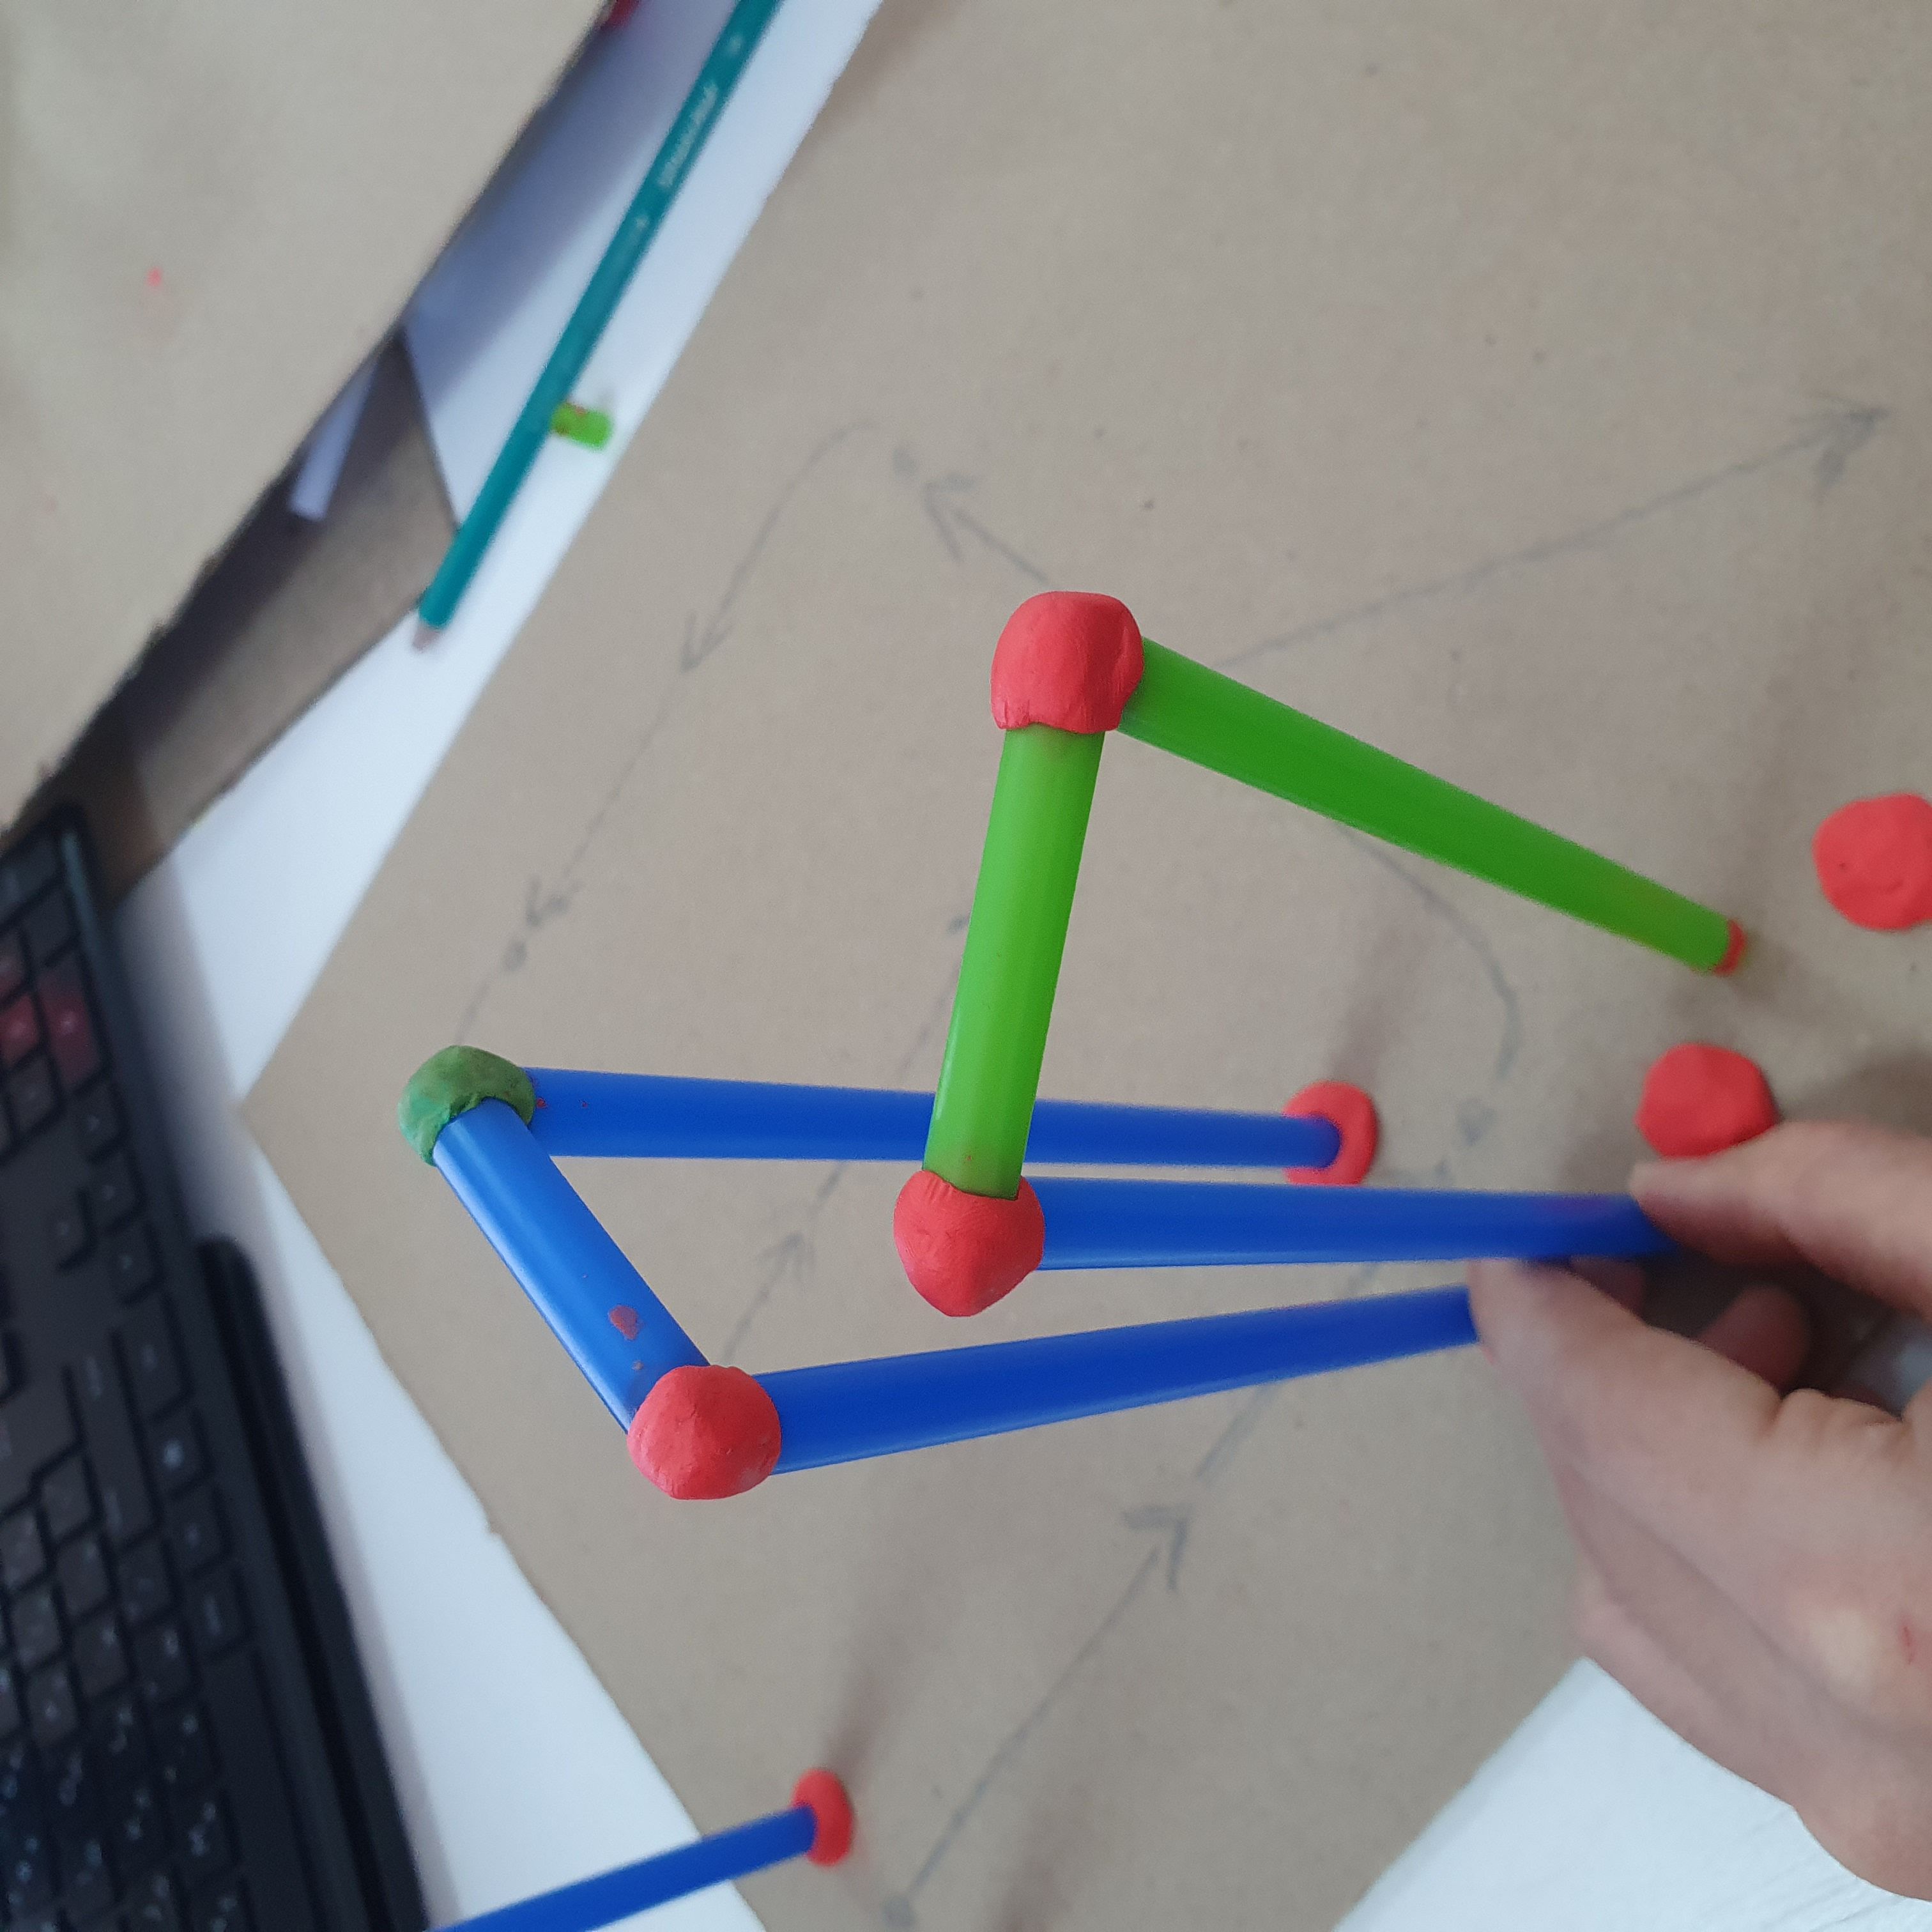
Step 5. Thus, put the legs in sequence according to your plan. Do not forget that each leg should be slightly smaller than the previous one in order for the ball to roll down.
To rotate, simply rotate the legs perpendicularly.
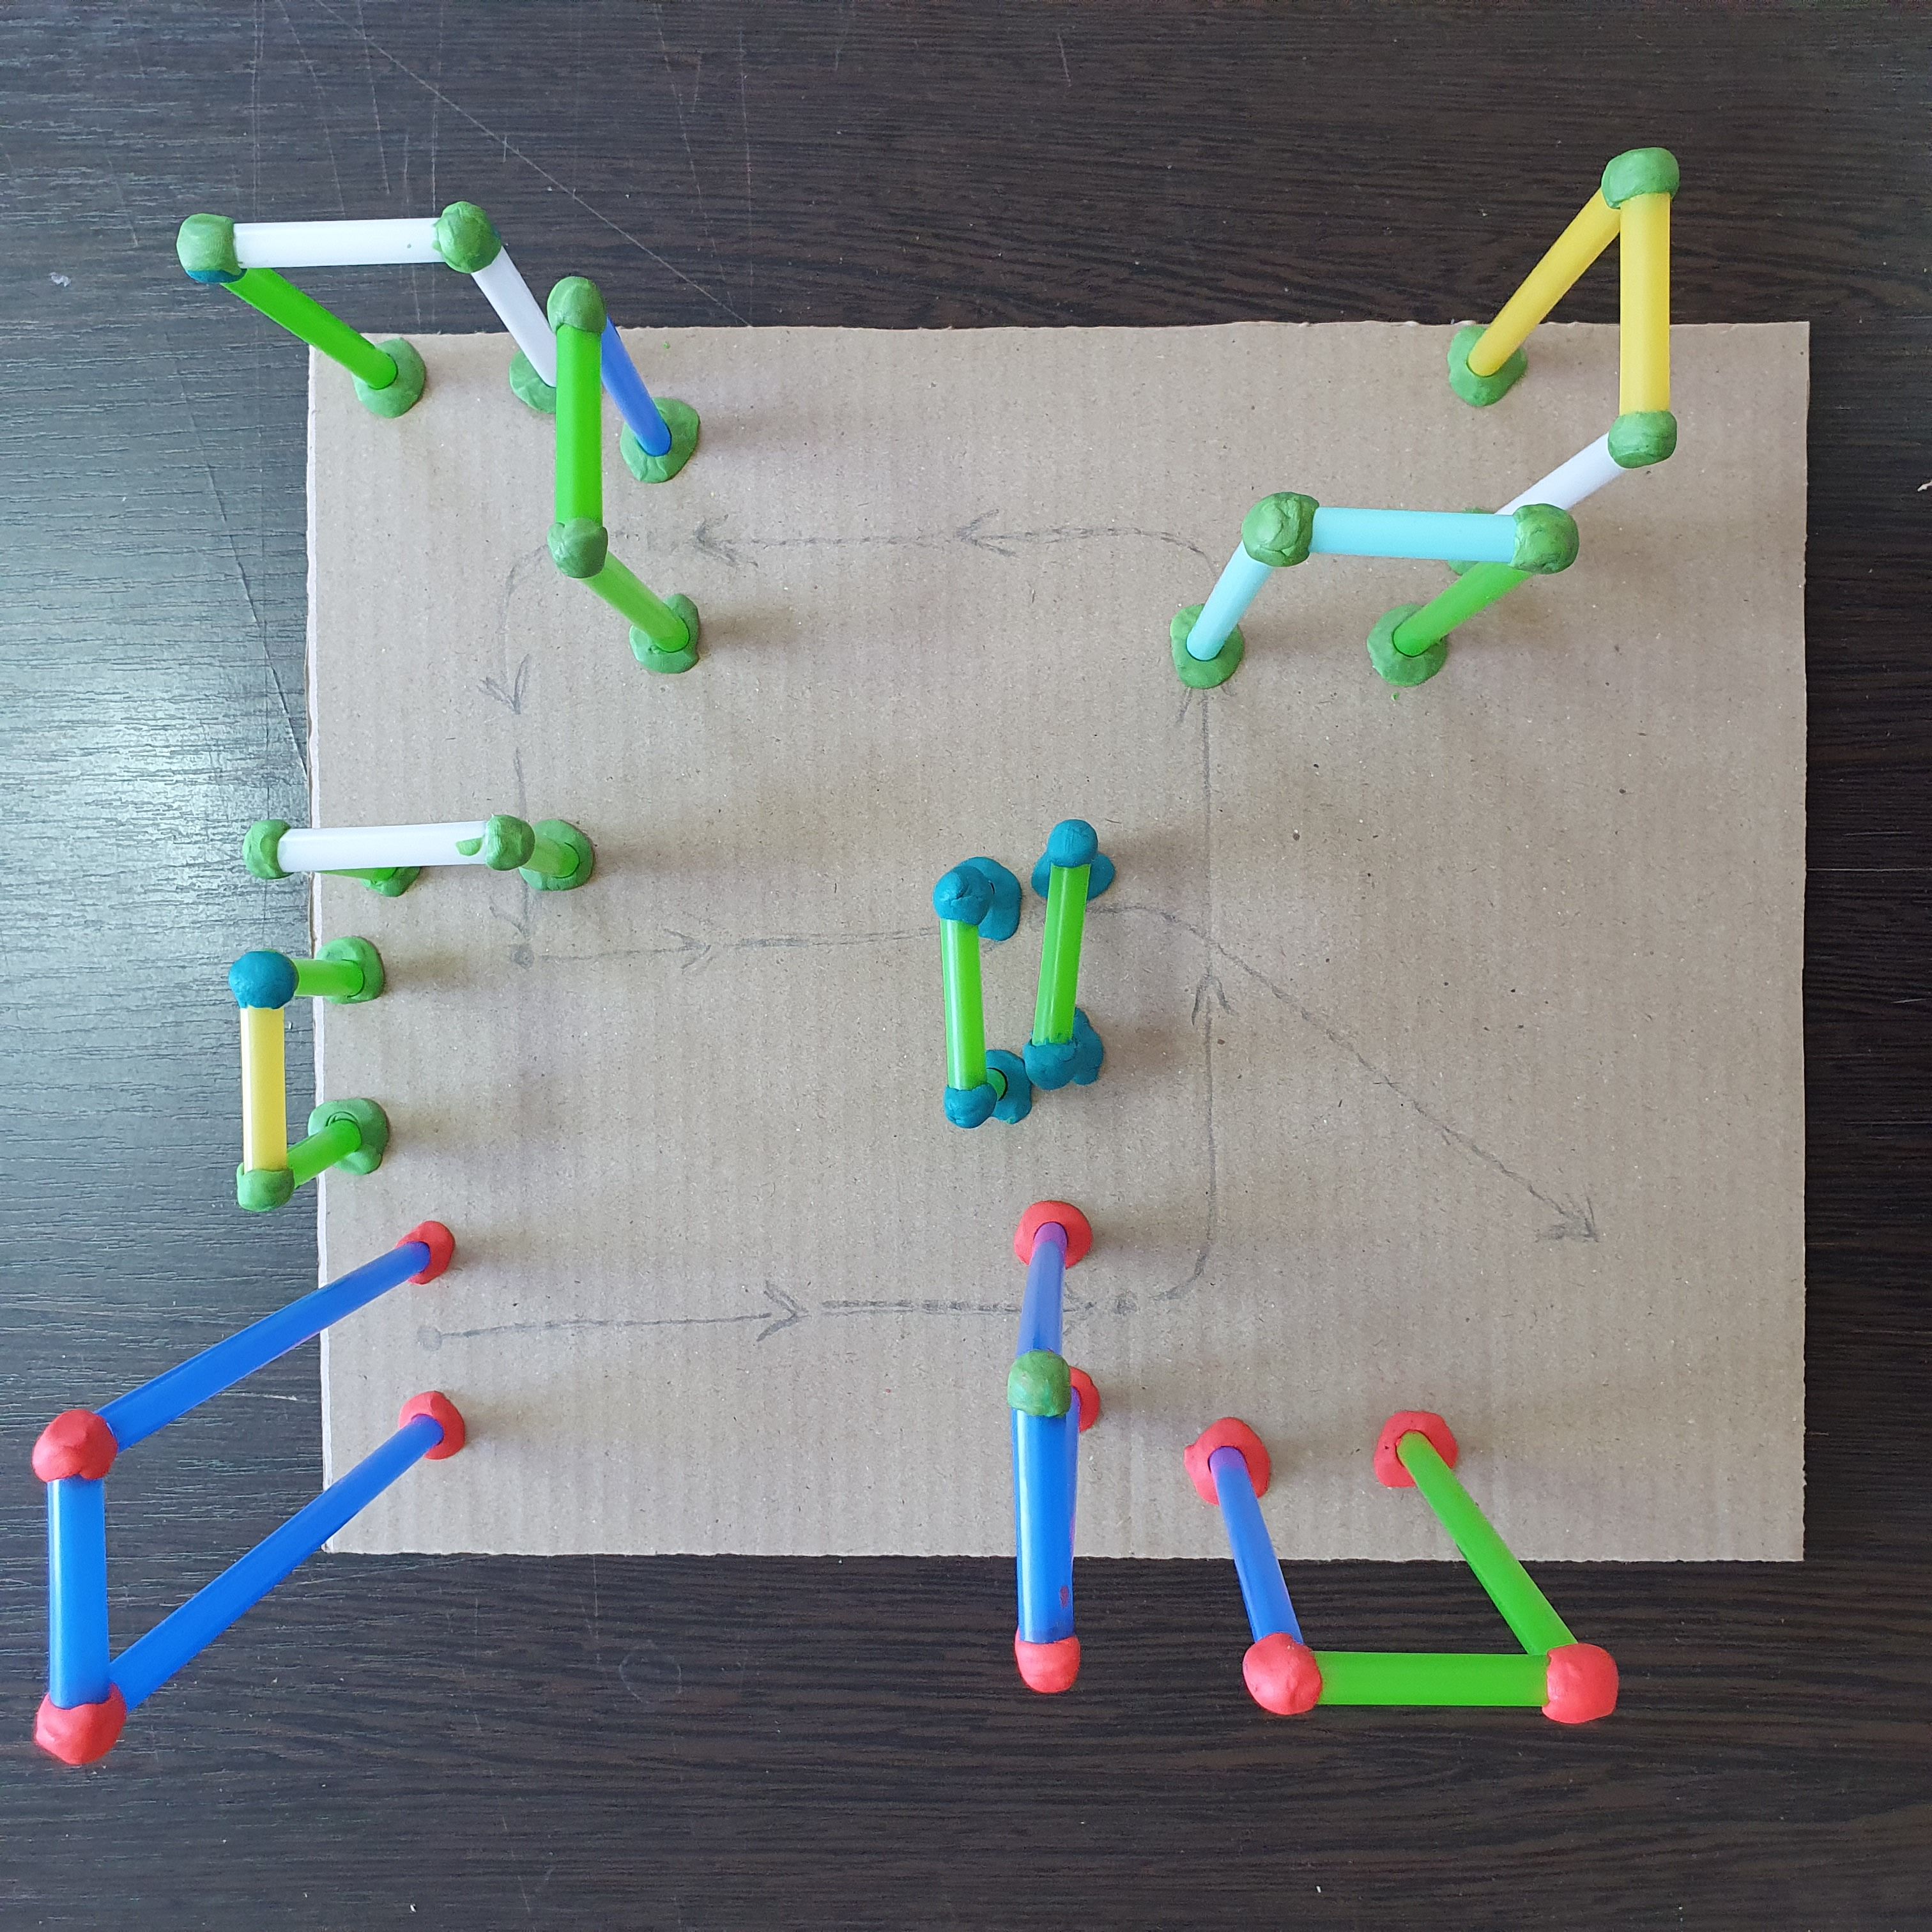
The plan and legs for the slides are ready. In the next lesson, we will make tracks and compare the speed of the ball with which it will roll down the hill.