Lesson 1
Project Goals
– Determine the direction of the force;
– Make a pantograph with your own hands.
Teacher’s Guide
– Pupils work individually;
– Make a brief overview of the theoretical part and start the practical part.
Safety in Steam Lessons
Before starting a lesson, the teacher is advised to familiarize himself with the safety precautions. If necessary (in the case of using the items specified in the TB), conduct a brief briefing for students. Follow this link Safety in Steam Lessons
Theoretical part
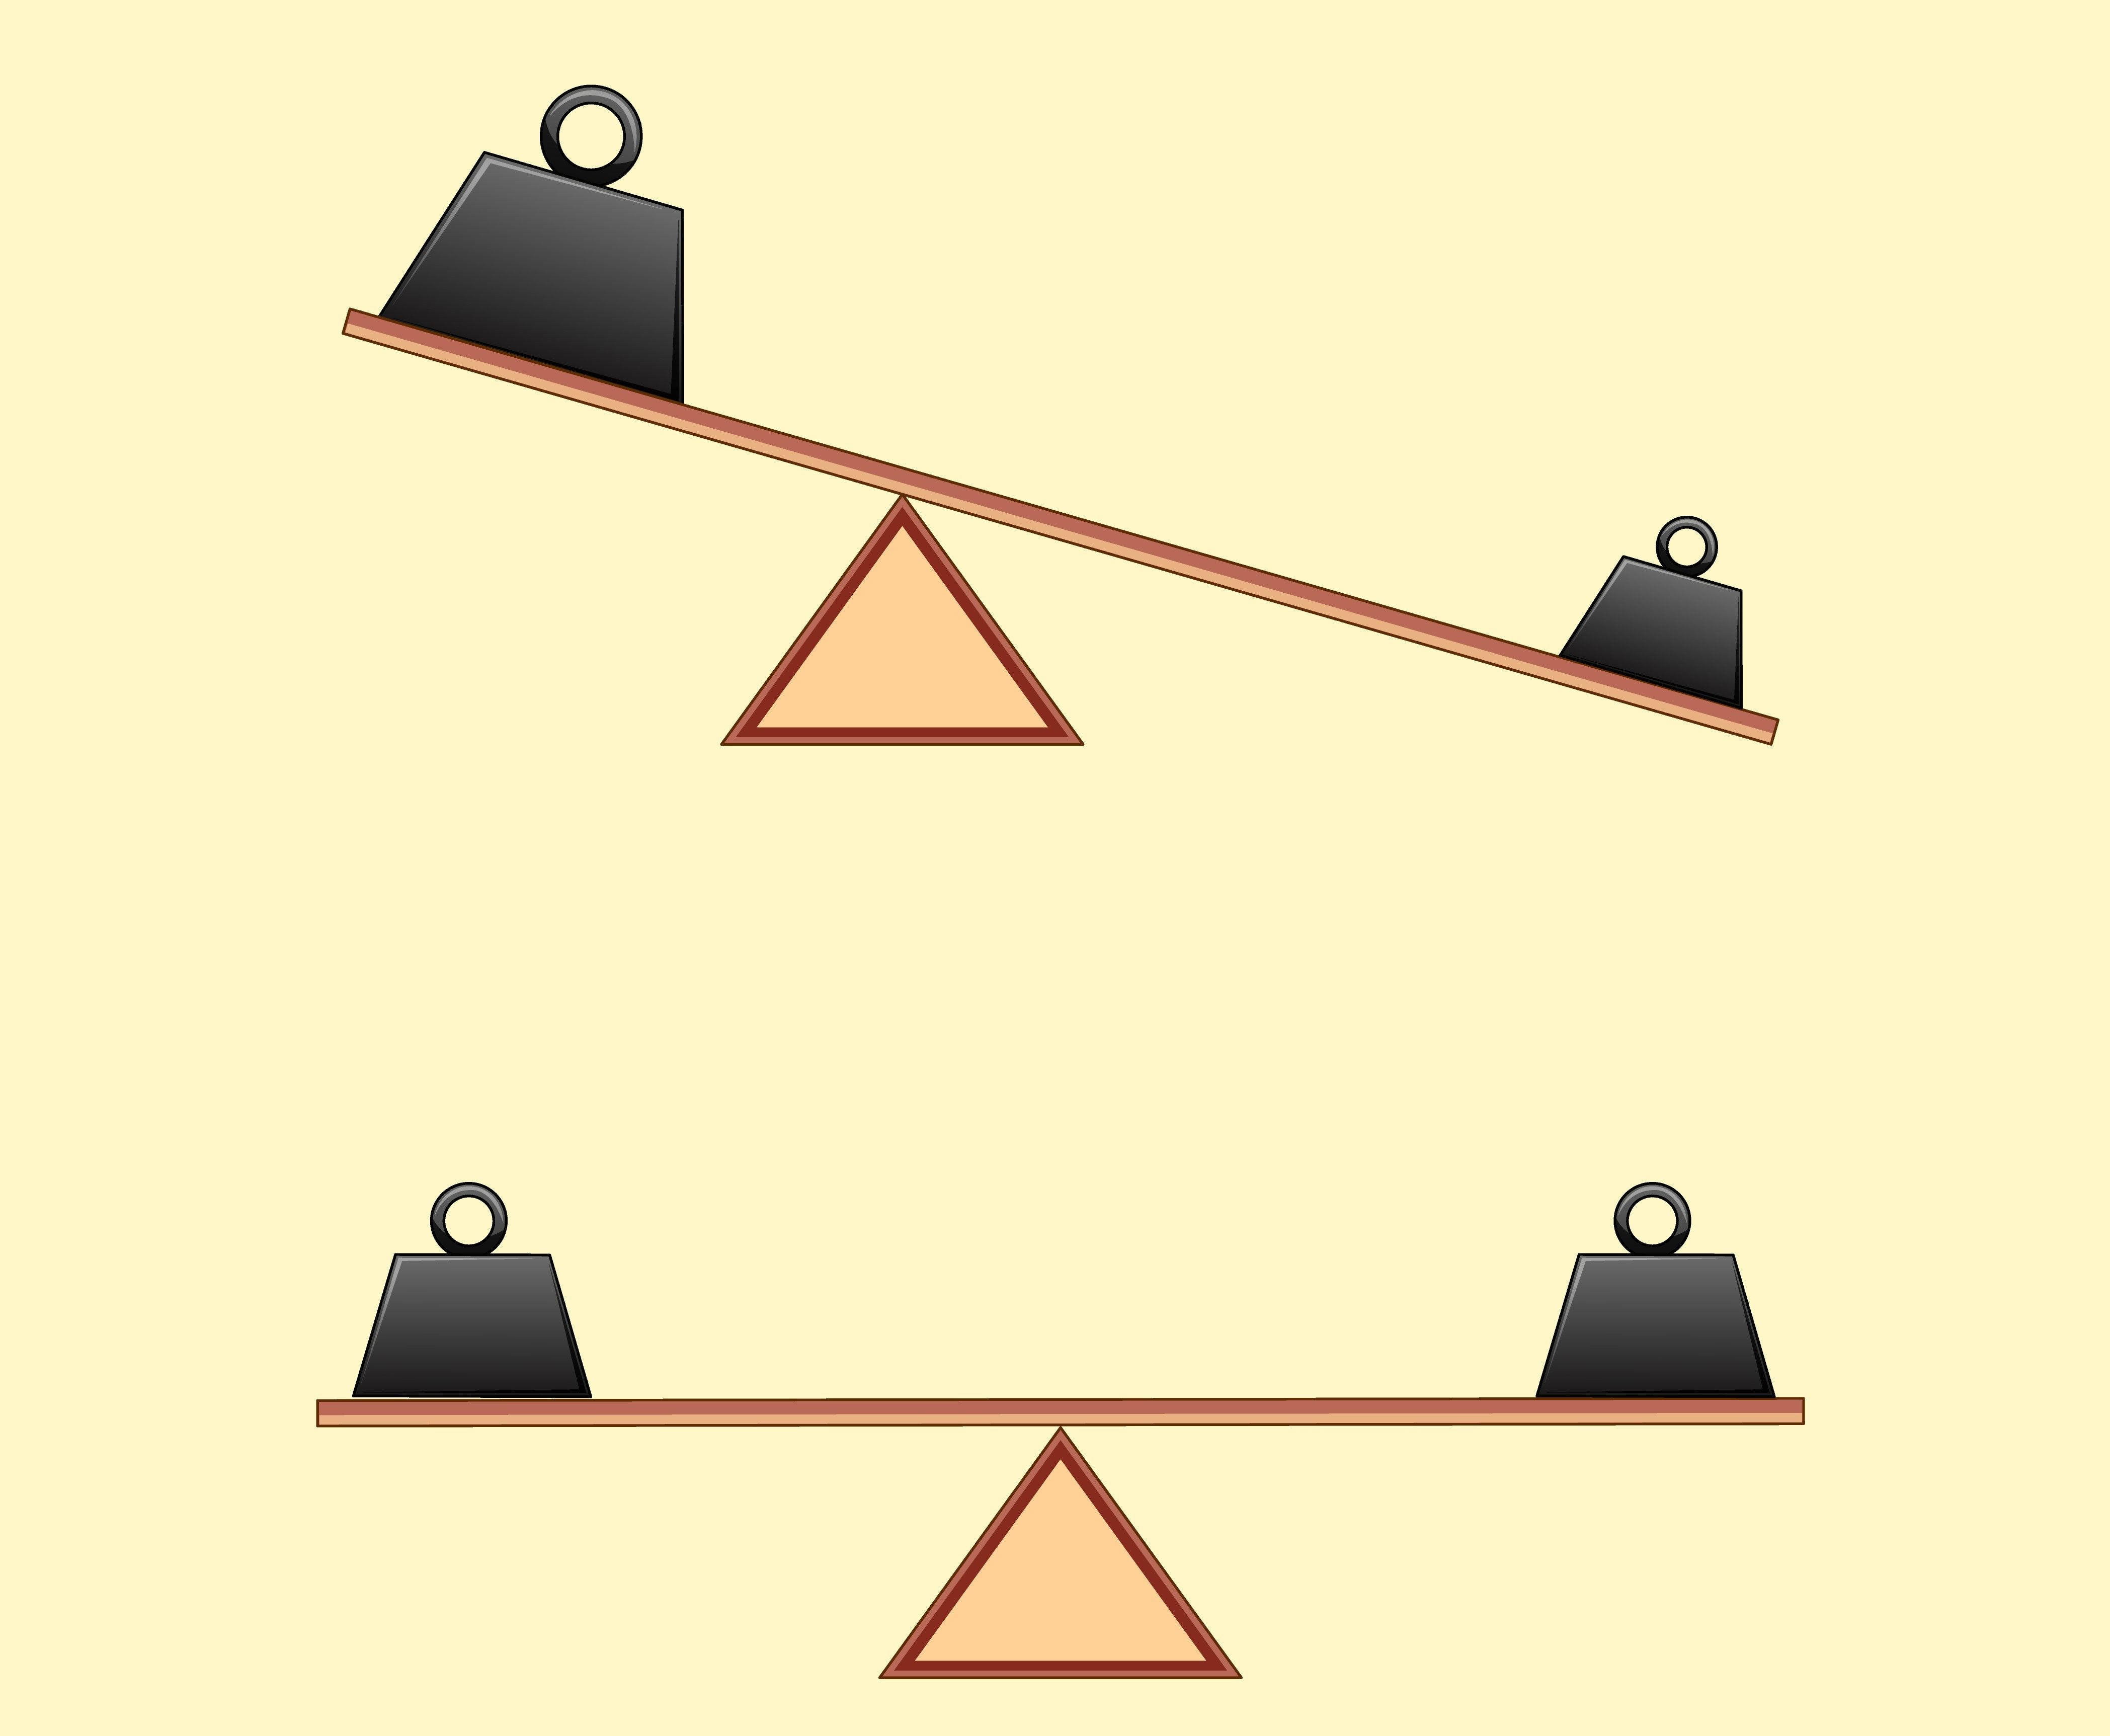
Several forces can act on each body. From the value of these forces, the object moves or is motionless or in equilibrium. When several forces act on the body and the body is motionless, then these forces are equal and directed in the opposite direction. Every force acting on a body has a direction. For example, the force of attraction is always directed downwards. The force of friction always acts in the opposite direction of motion.Люди с давних времен используют механизмы чтобы изменить направление и величину этих сил. На этом уроке мы сделаем один из таких механизмов.
https://ru.freepik.com/vectors/background’>Background вектор создан(а) brgfx – ru.freepik.com
Mechanisms are mechanical devices that we use to perform certain tasks. Simple mechanisms such as levers allow us to use force to accomplish a task that we otherwise would not be able to accomplish. (Renaissance scientists identified six types of simple machines: the lever, the wedge, the pulley, the screw, the wheel and axle, and the inclined plane.) Imagine a swing in a playground. You may not be able to lift your friend off the ground on your own, but if each of you sits on opposite sides of the swing, you can probably move to get your friend up in the air. This is due to the operation of the lever.
A pantograph is a machine that helps copy blueprints. It combines two levers. How you use it determines whether you get an enlarged, reduced or inverted copy.
Practical part
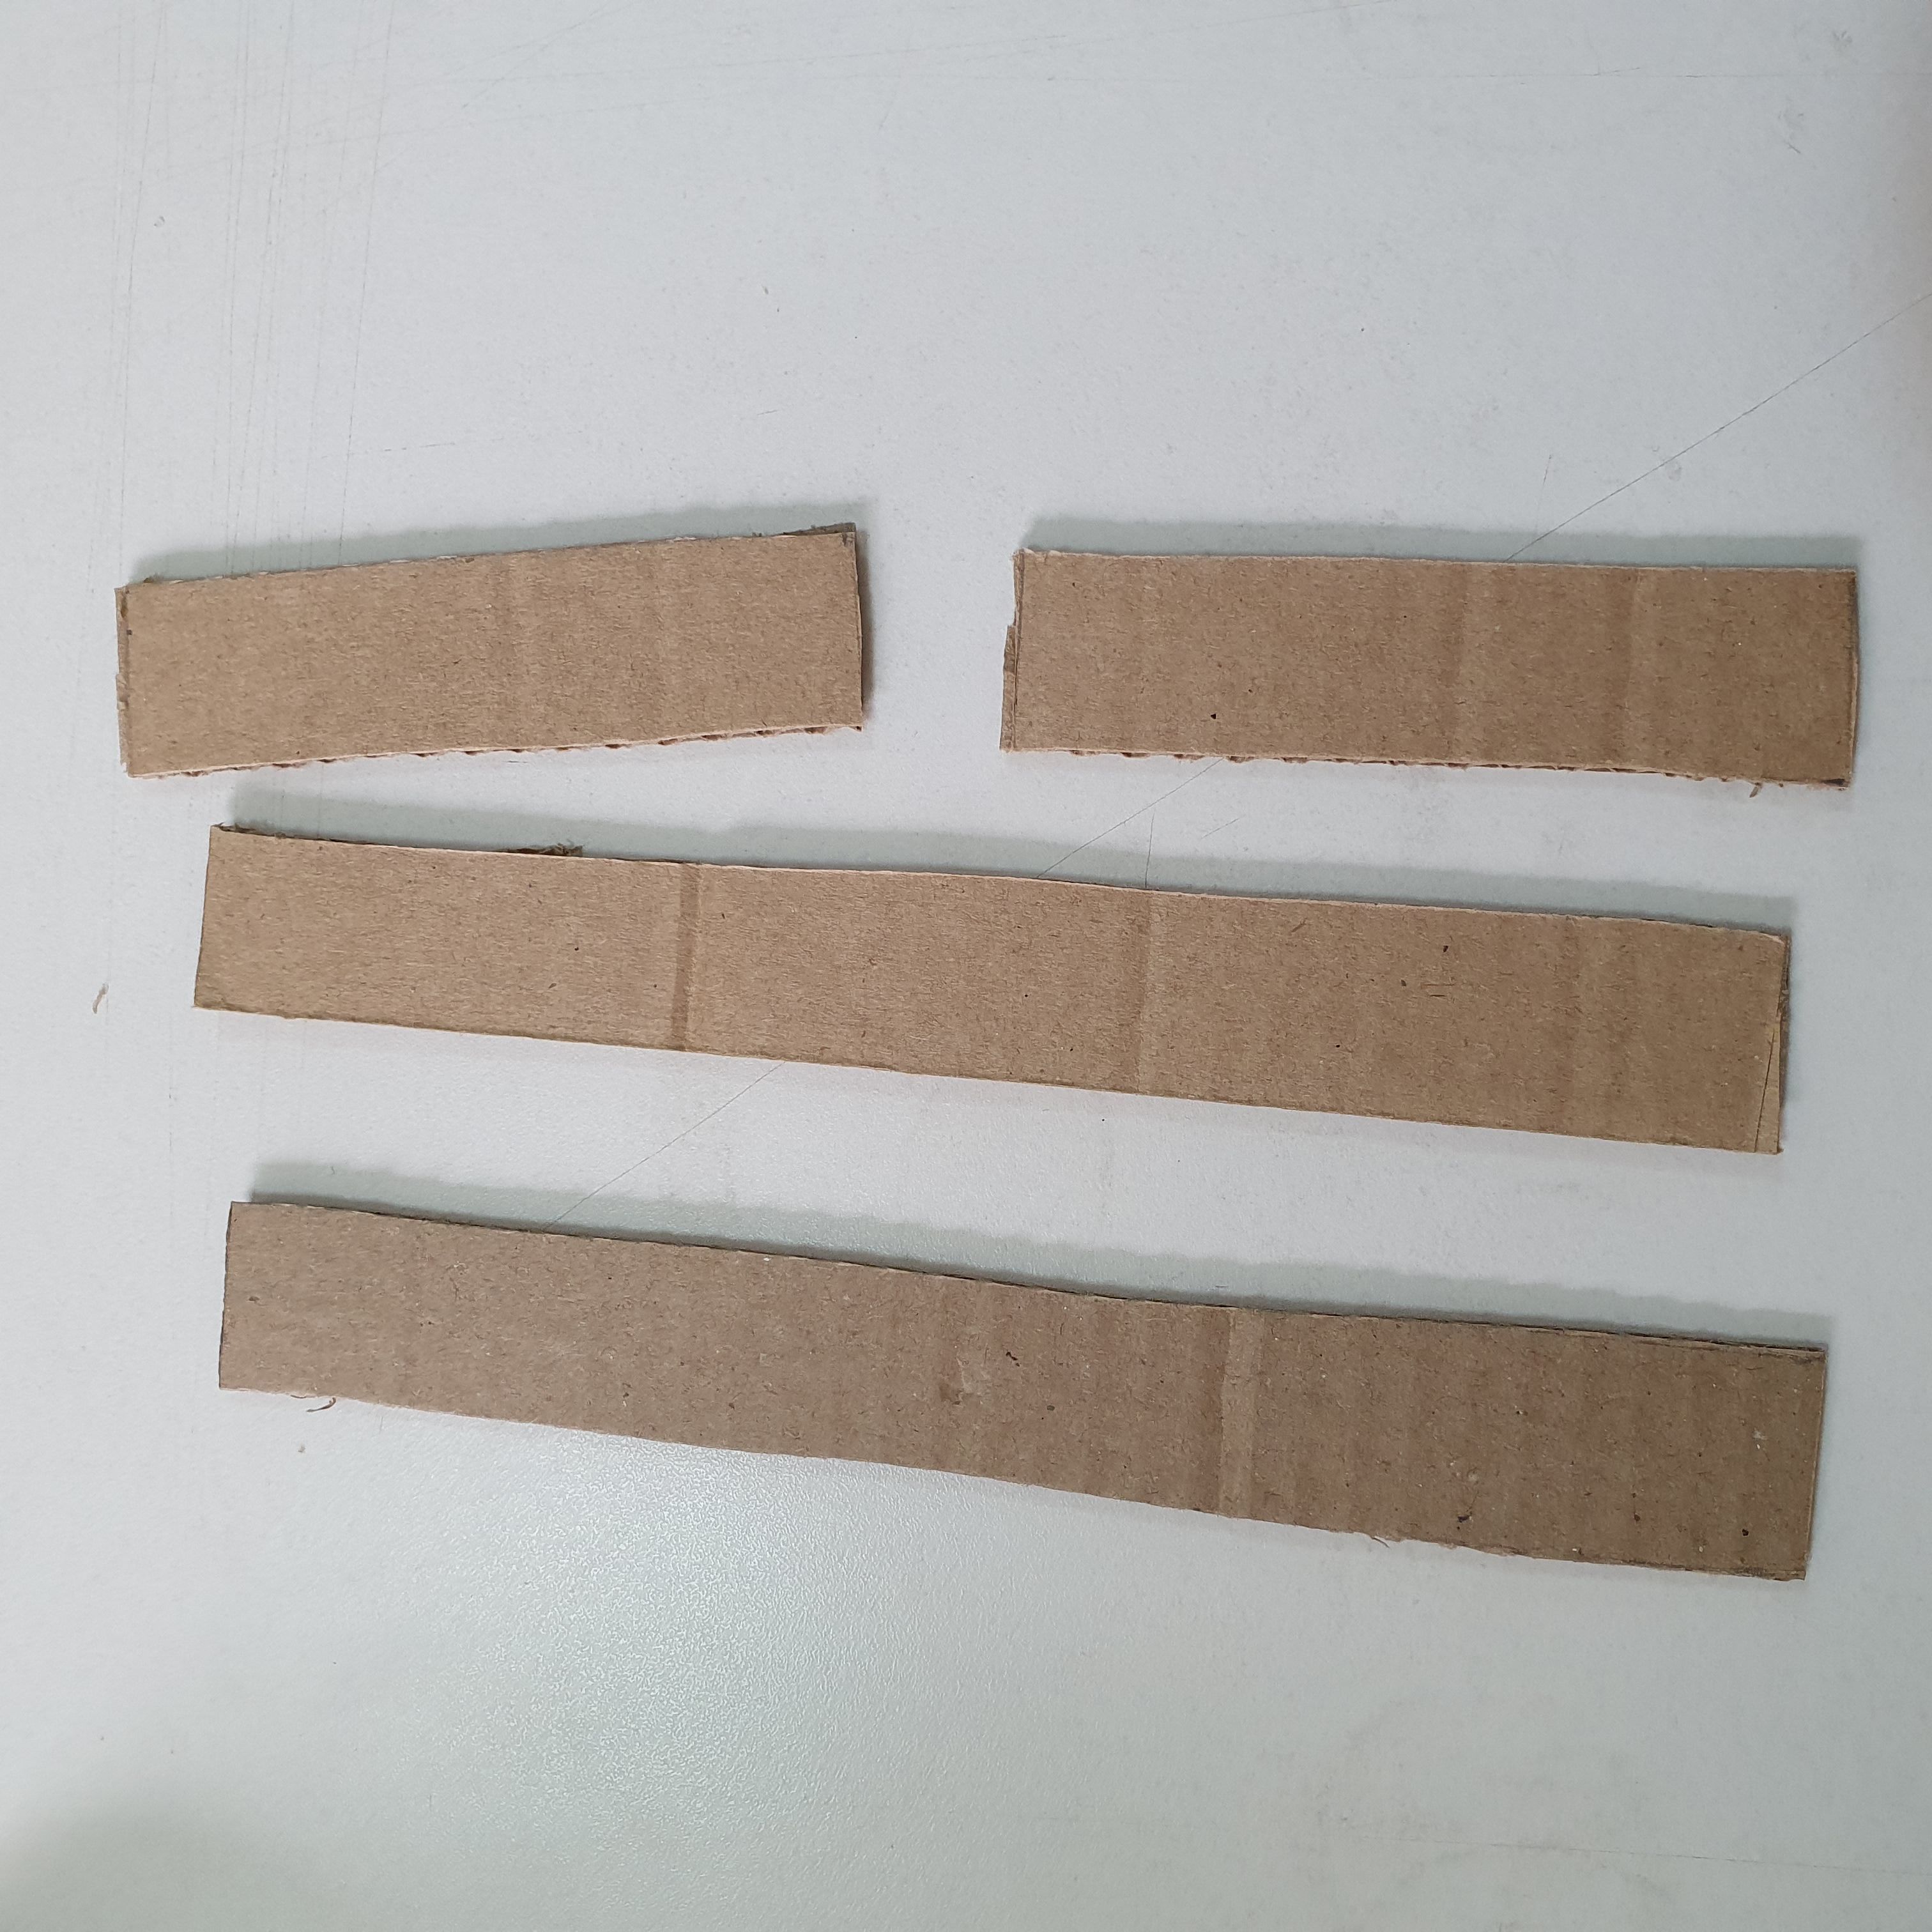
- Carefully cut out (or have an adult help you cut) two 20 x 2.5 cm cardboard rectangles. These will be the pantograph arms.
- Carefully cut out two 10cm x 2.5cm cardboard rectangles to create the pantograph folding piece.
- Place a longer rectangle in front of you so that it forms an “I” shape.
- Use another long rectangle and a short rectangle to convert the “I” shape to an “F” shape.
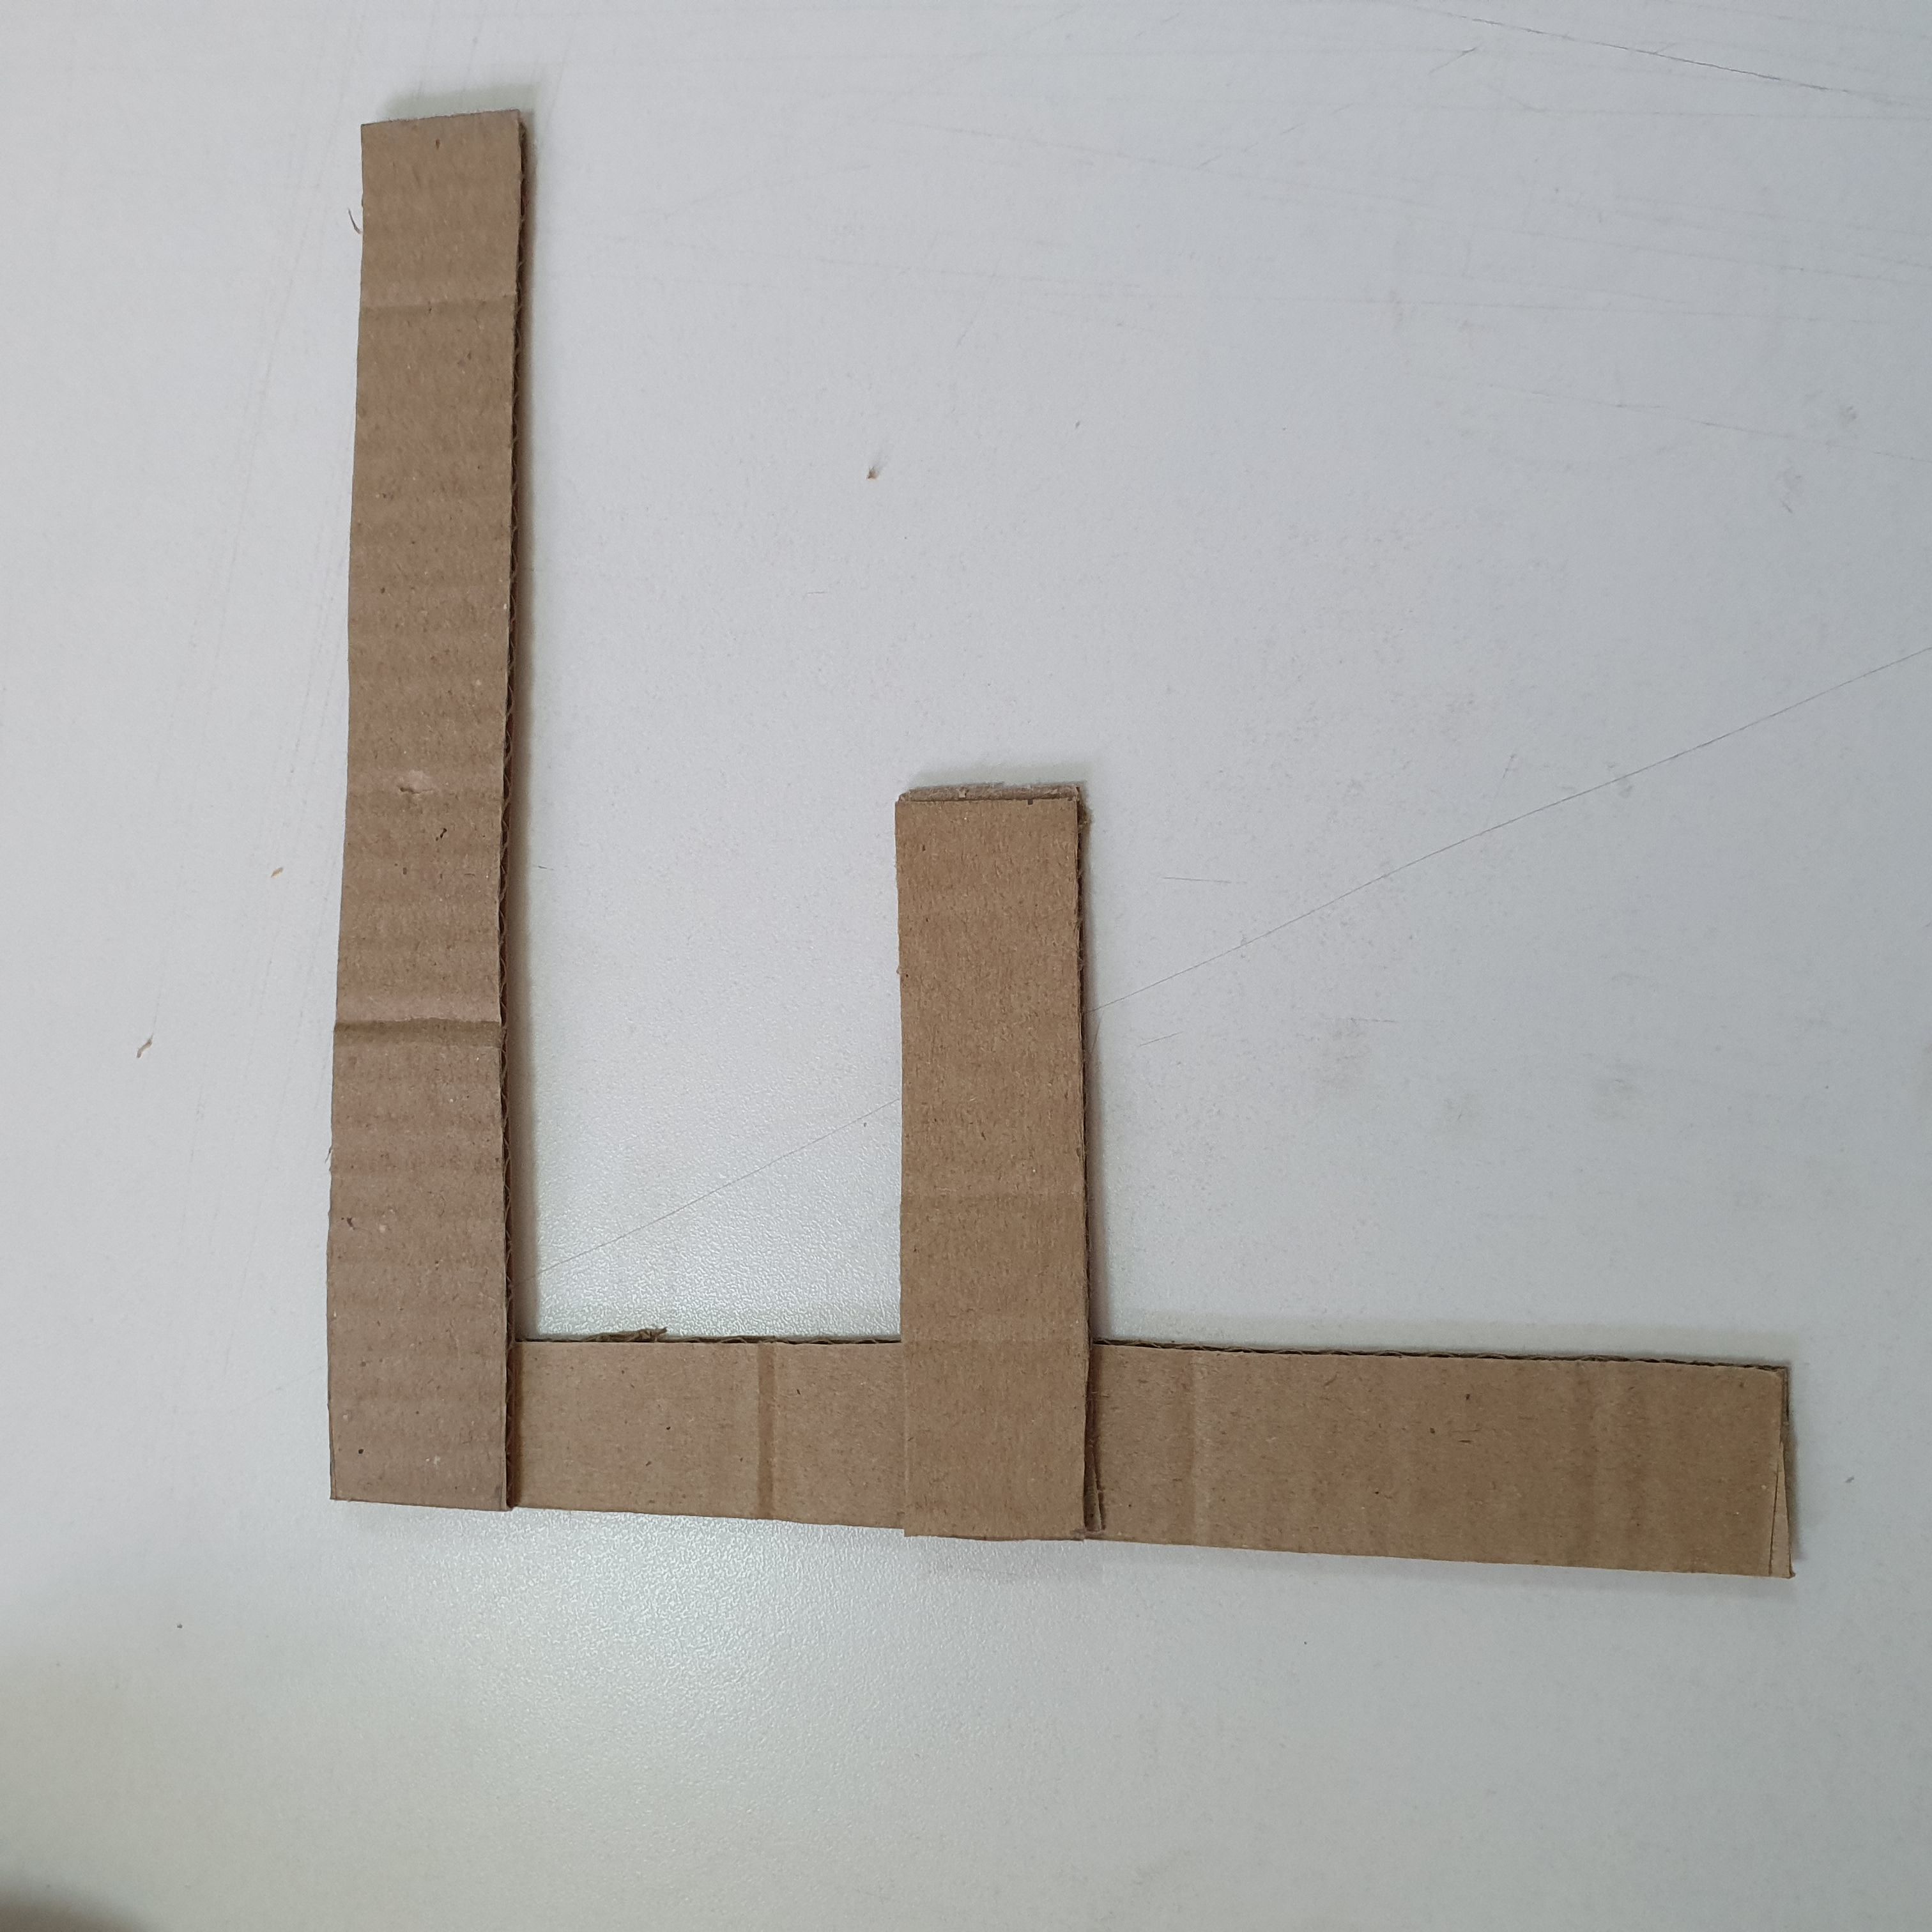
- Use the last short rectangle to connect the end of the short “F” shaped horizontal line to the middle of the top “F” shaped line.

- Use the buttons on the intersections to connect the sticks. Make three holes for the pencil and set them as shown in the photo. One in the middle, the other two at the ends of long quadrangles.
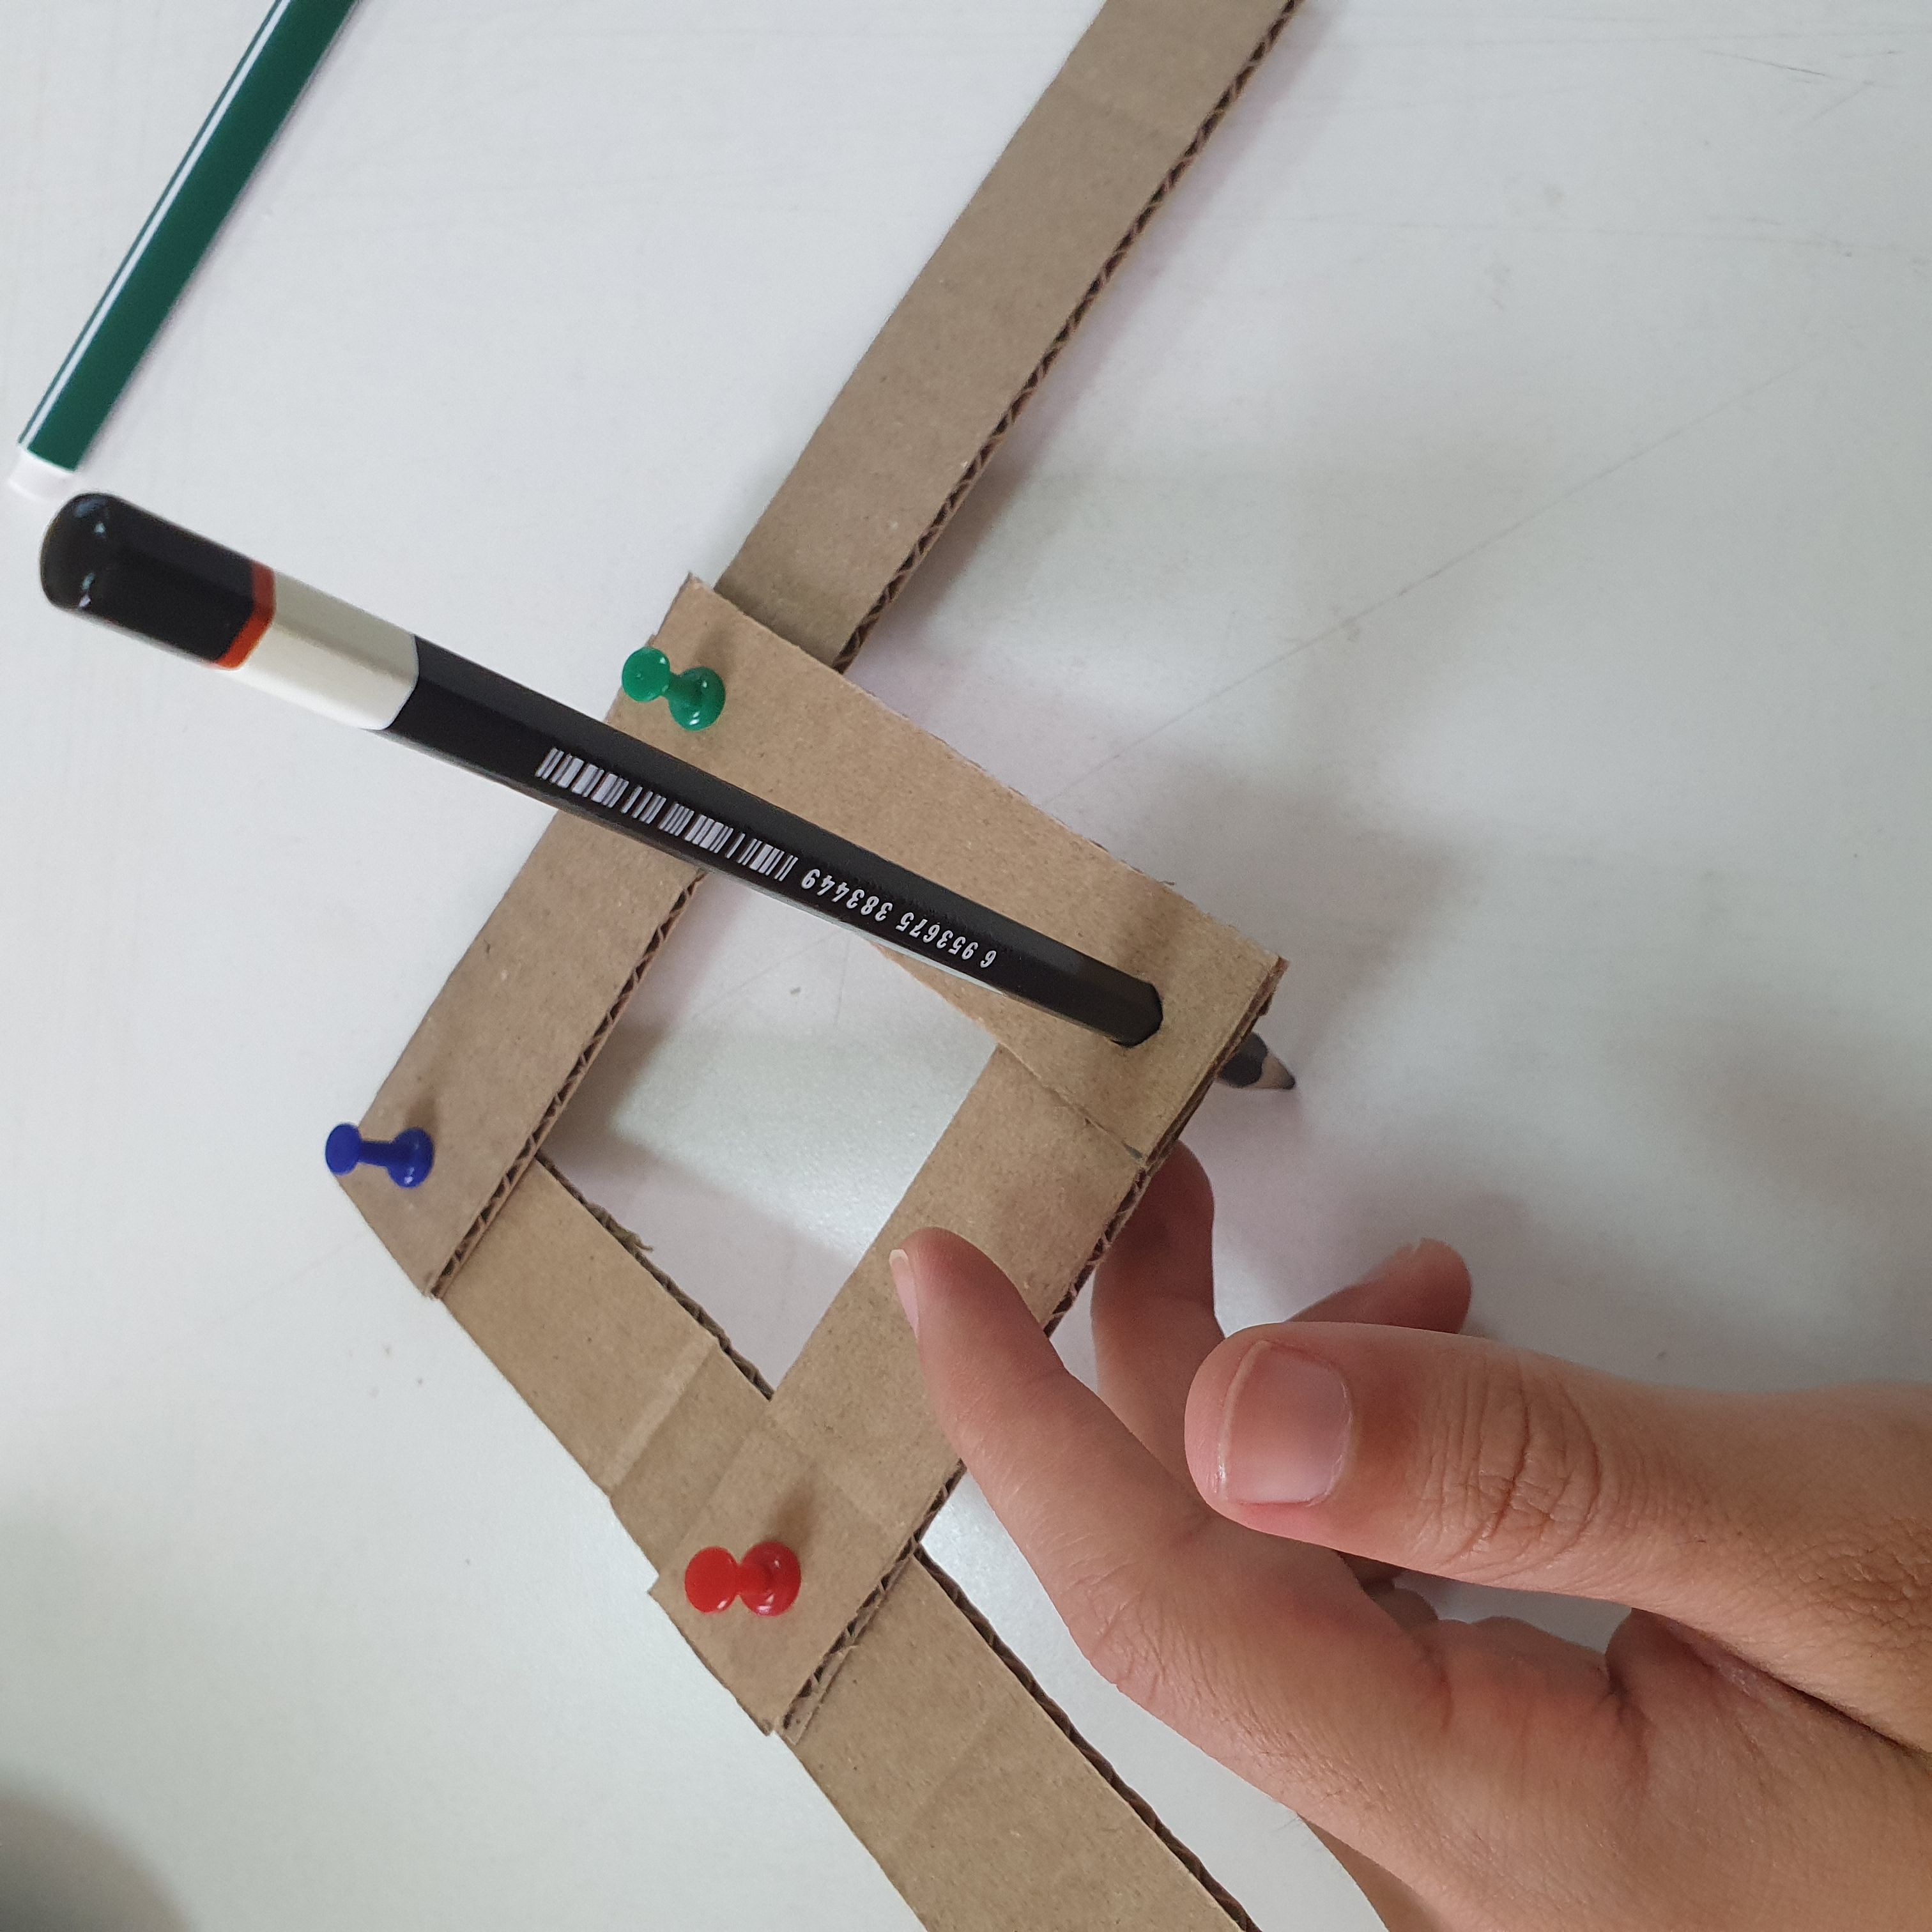
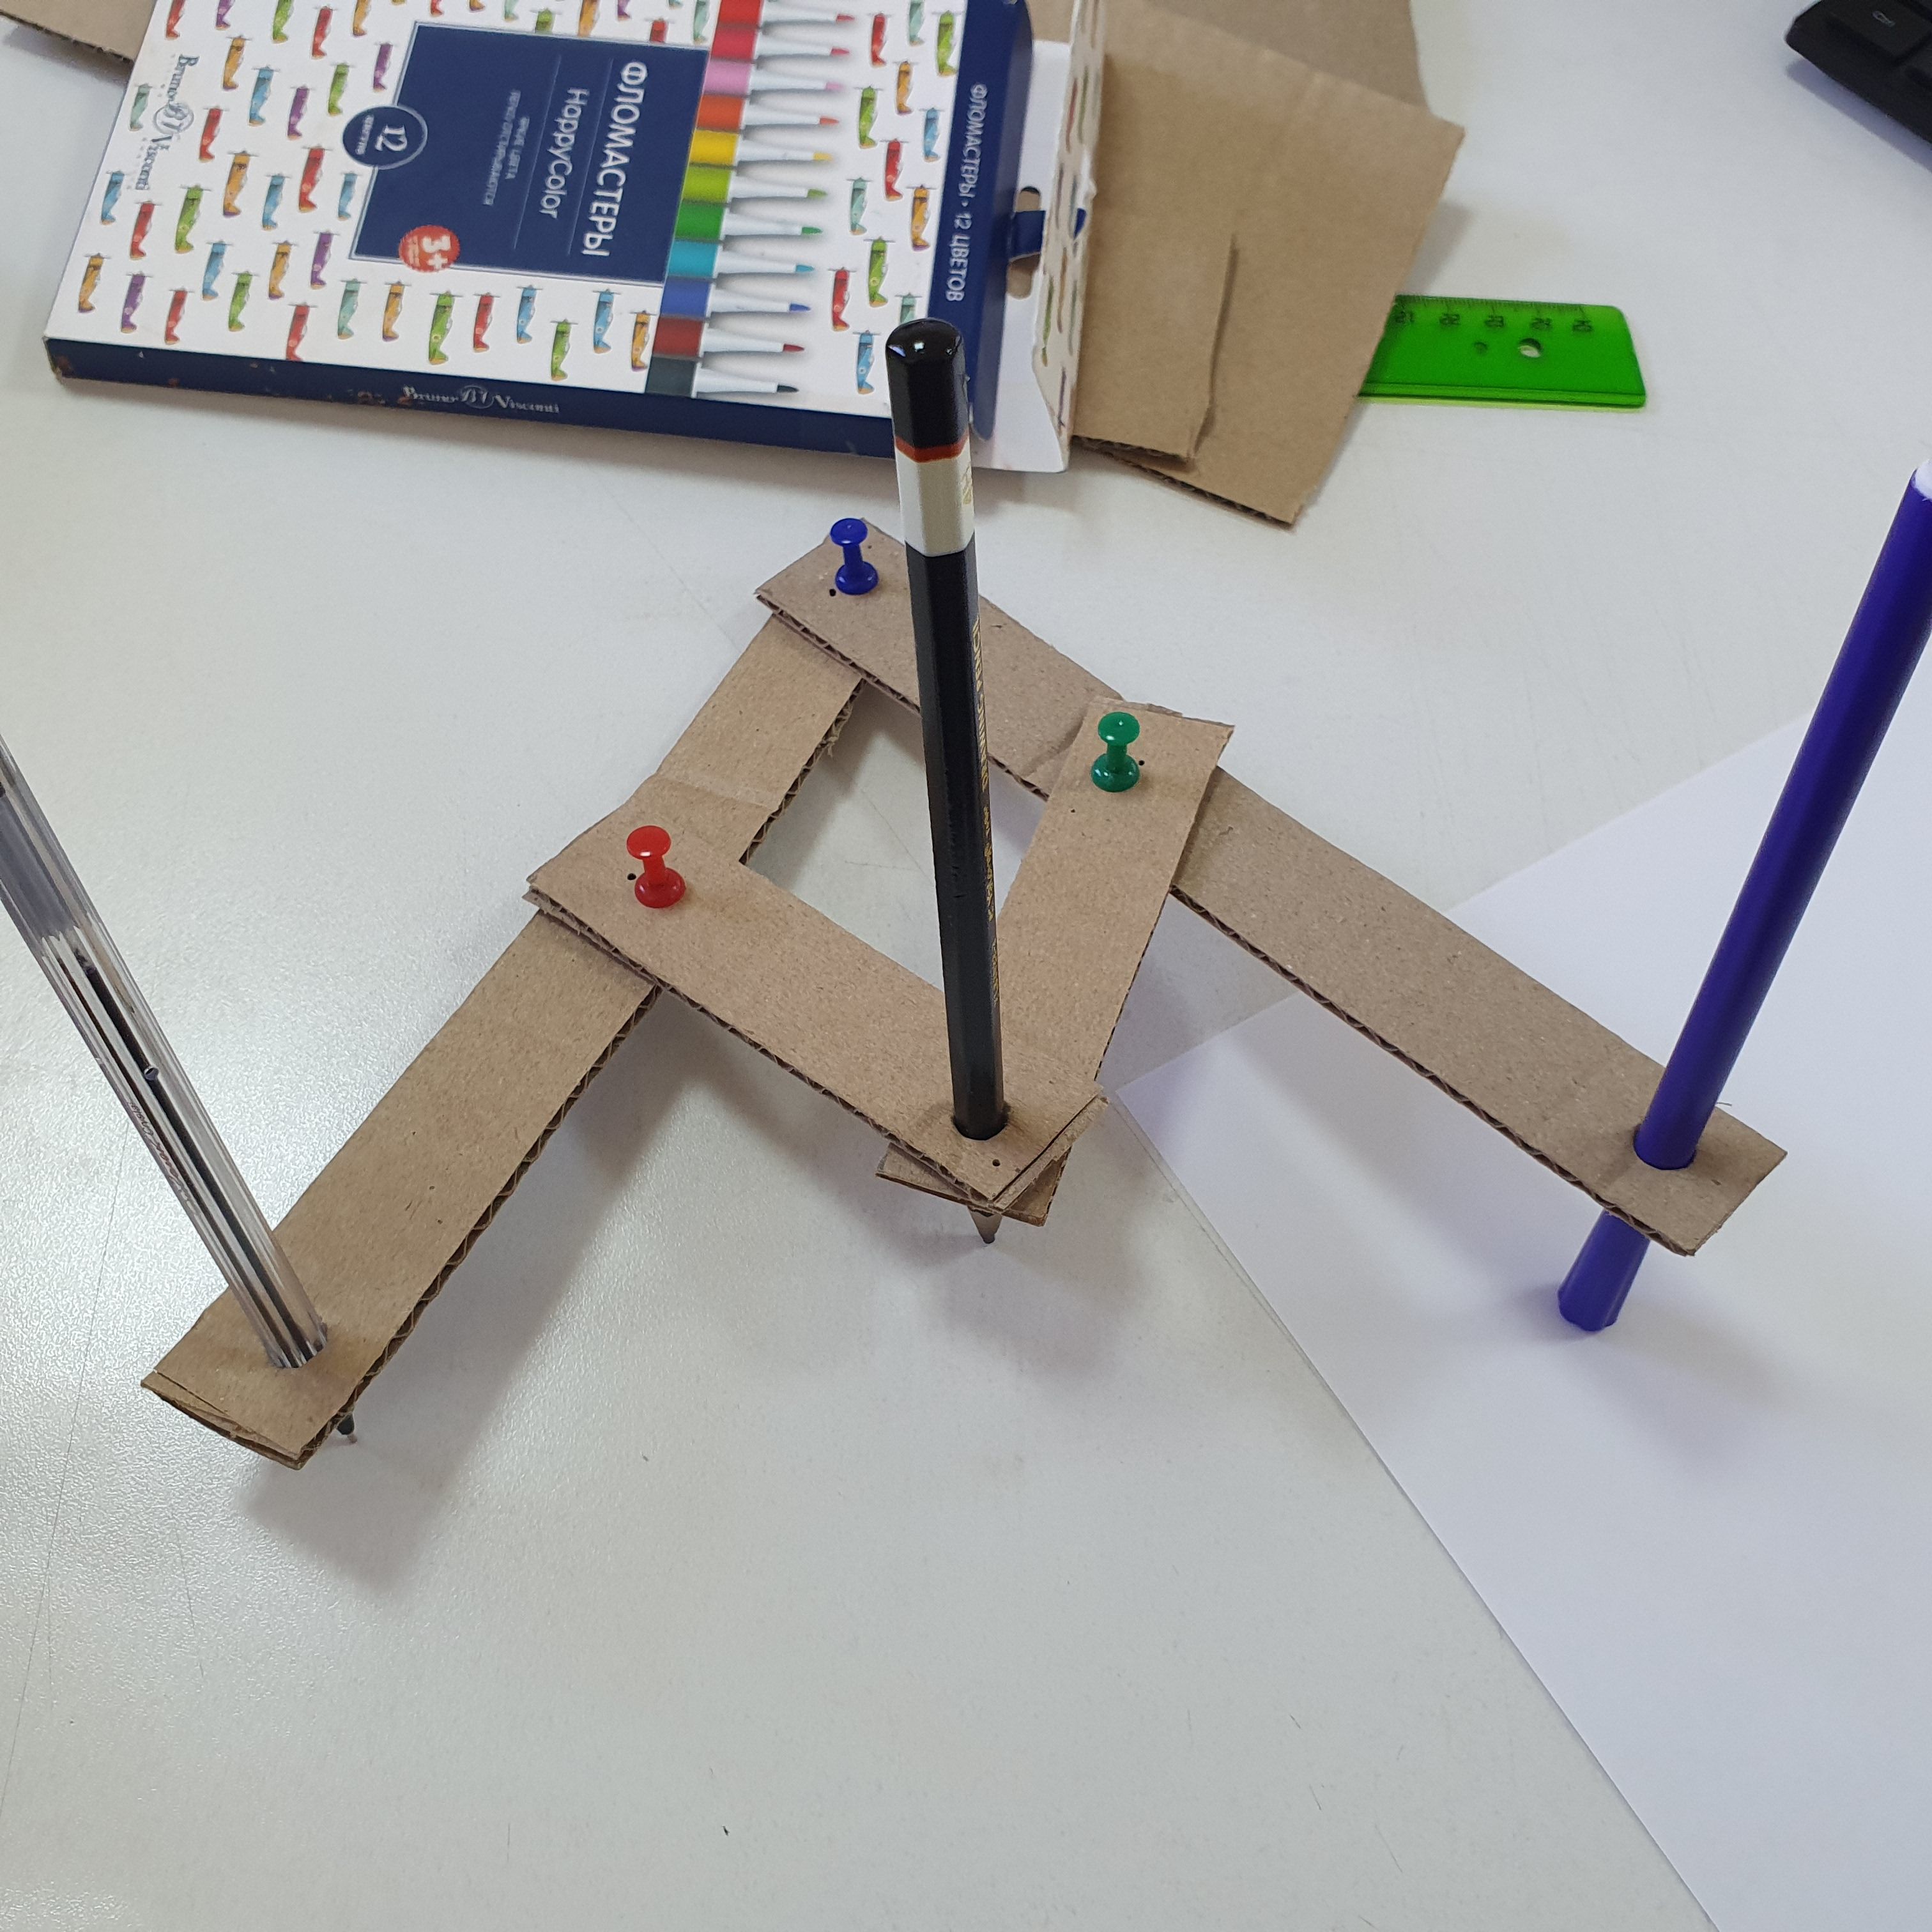
- You now have a pantograph that is ready to be tested. Hold one end of the pantograph steady and use the other end to draw on the paper. Try drawing with the other end, with a pencil in the middle. You also need to keep one pencil motionless. You draw with a second pencil, and the third one will draw an enlarged version of the drawing itself.

When you draw with a pencil, you push and pull levers, making the whole pantograph move like an accordion. However, unlike children’s swings, these arms do not raise or lower a weight—they control the distance an object (in this case, a marker) moves.

On this project, each student will be awarded the STEAM title in the following categories:
- You managed to explain and build a mechanism for copying, you are a real engineer!
Evaluation
PBL grading criterion:
Project based learning is a learning method in which students acquire the knowledge and skills by working on a single project to explore and find an answer to a genuine, interesting, and complex question, problem, or challenge.