
Lesson 2
Making a model of a traffic light
This week we are going to make a traffic light model
for this we need 3 LED’s and cardboard paper and wires (long ones)
Practical part
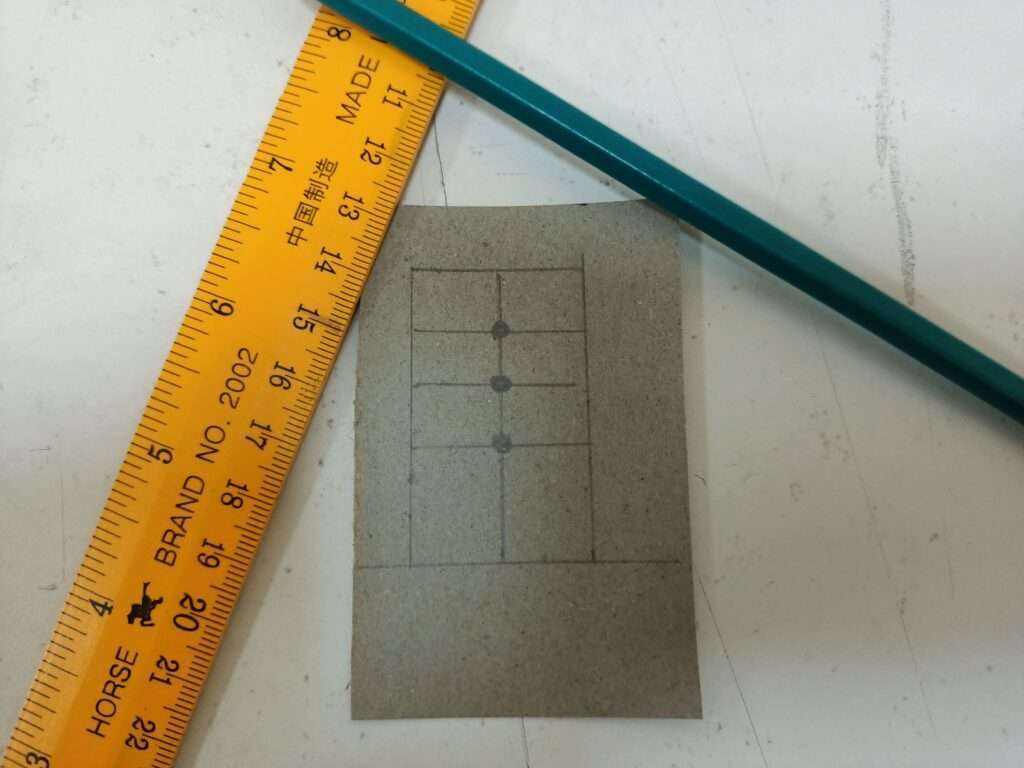
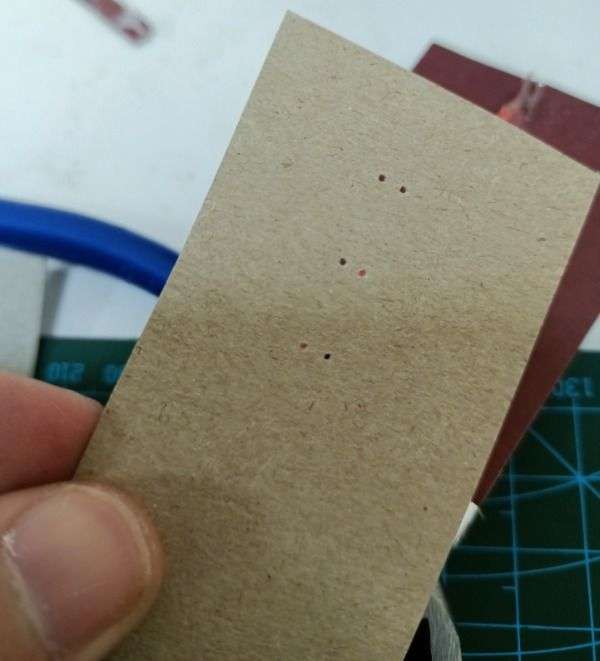
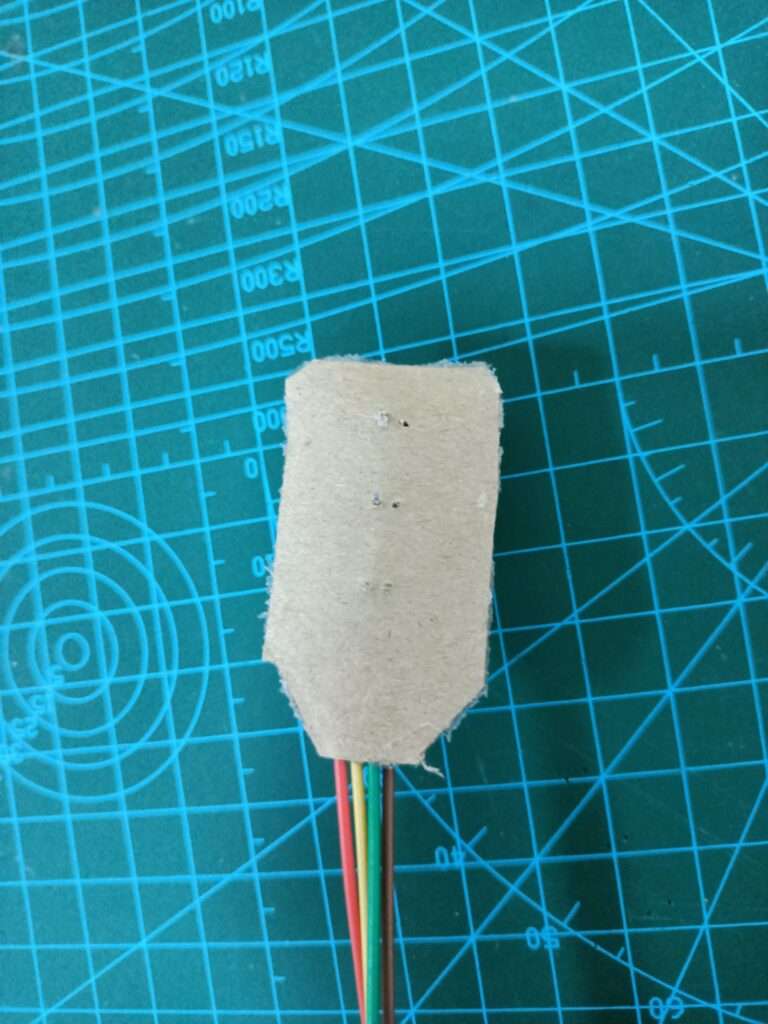
1.Mark the position of the traffic lights on the cardboard
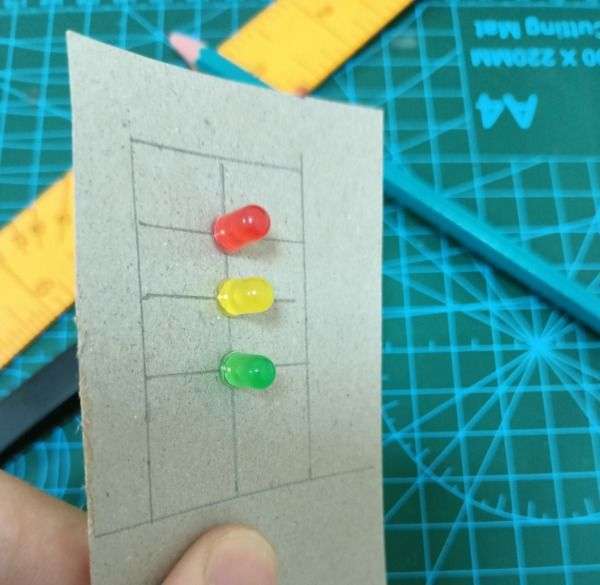
2. Pierce these places and fit the LEDs in their places
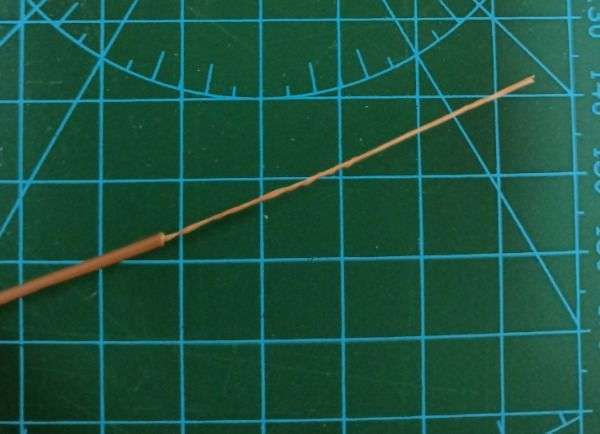
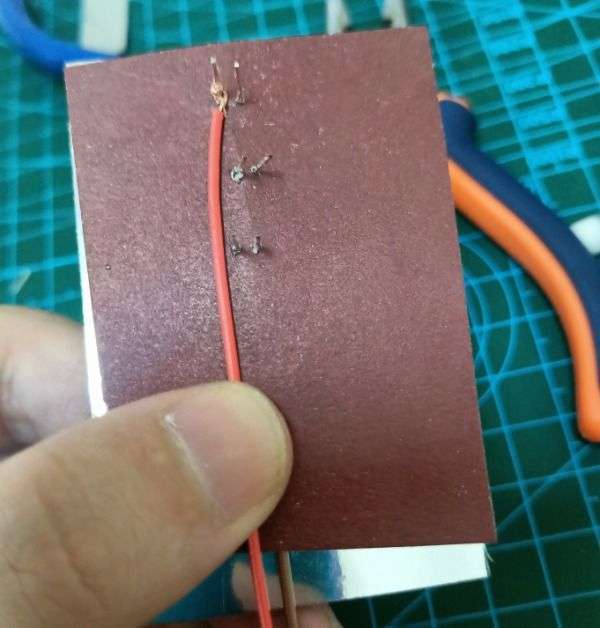
3. Strip the rubber of the brown or black wire, about 4-5 cm. Leave the sharp part untouched
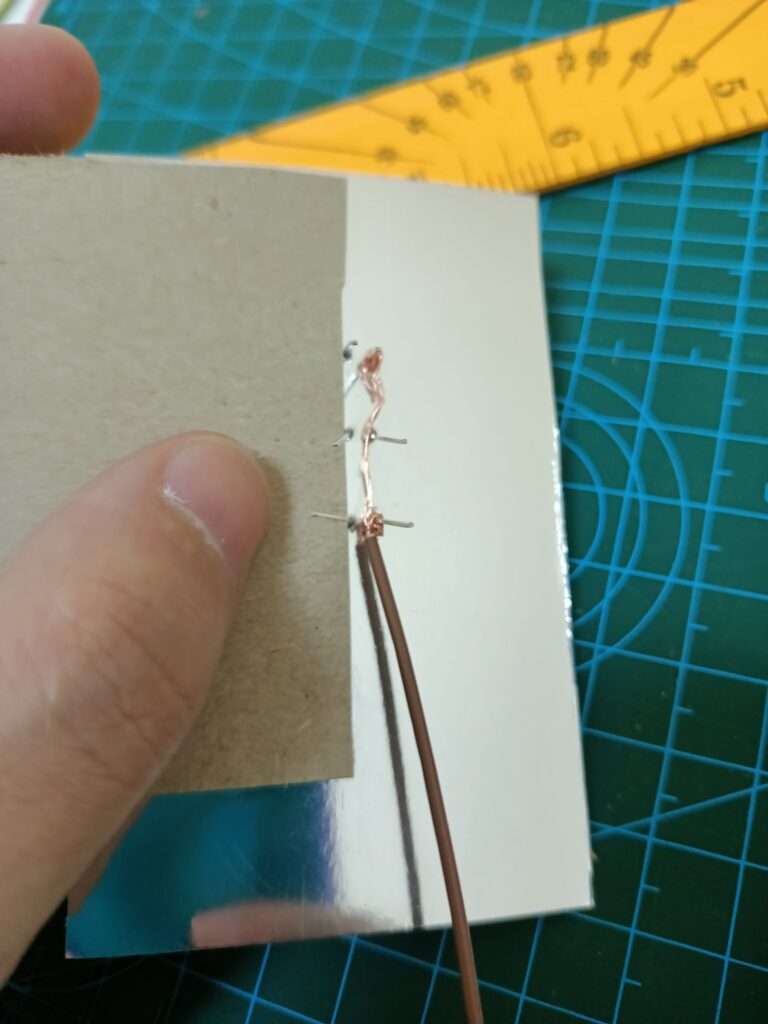
4. Connect the short plugs on the back of the LEDs to each other. Make sure that the wire does not touch the adjacent plug
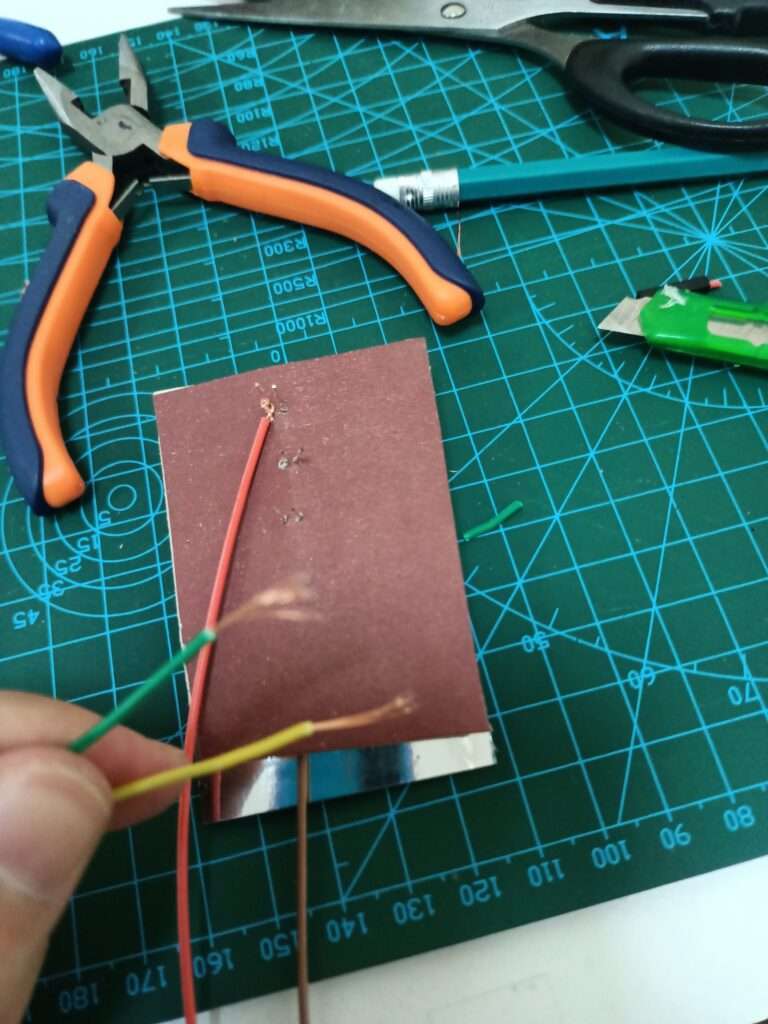
Wiring diagram to the Arduino
- green wire to D2
- red wire to D3
- yellow wire to D4
- black wire to GND
Now open the ArduinoIDE, if you don’t have it installed you can watch the installation video tutorial
Create a new sketch and run this code
void setup() {
  pinMode(2,OUTPUT);
  pinMode(3,OUTPUT);
  pinMode(4,OUTPUT);

}

void loop() {
  digitalWrite(2,HIGH);
  delay(8000);
  digitalWrite(2,LOW);
  delay(500);
  digitalWrite(2,HIGH);
  delay(500);
  digitalWrite(2,LOW);
  delay(500);
  digitalWrite(2,HIGH);
  delay(500);
  digitalWrite(2,LOW);
  delay(500);
  digitalWrite(2,HIGH);
  digitalWrite(2,LOW);
  delay(500);
  digitalWrite(4,HIGH);
  delay(500);
  digitalWrite(4,LOW);
  delay(500);
  digitalWrite(3,HIGH);
  delay(8000);
  digitalWrite(4,HIGH);
  delay(2000);
  digitalWrite(3,LOW);
  digitalWrite(4,LOW);
  delay(500);
}
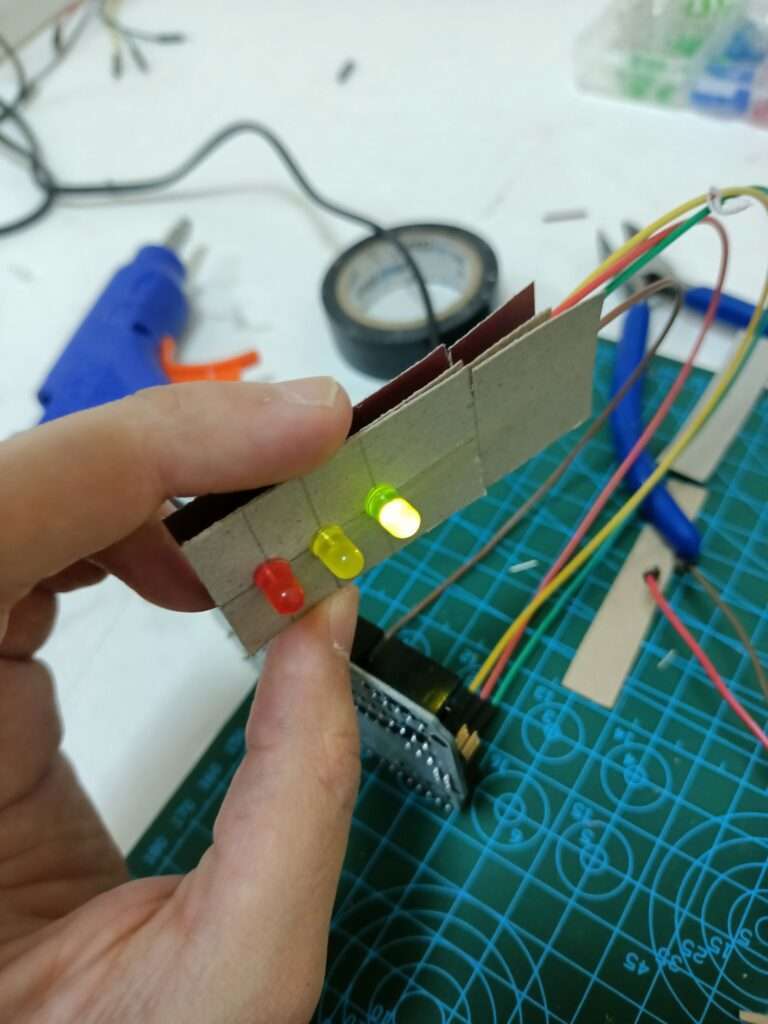
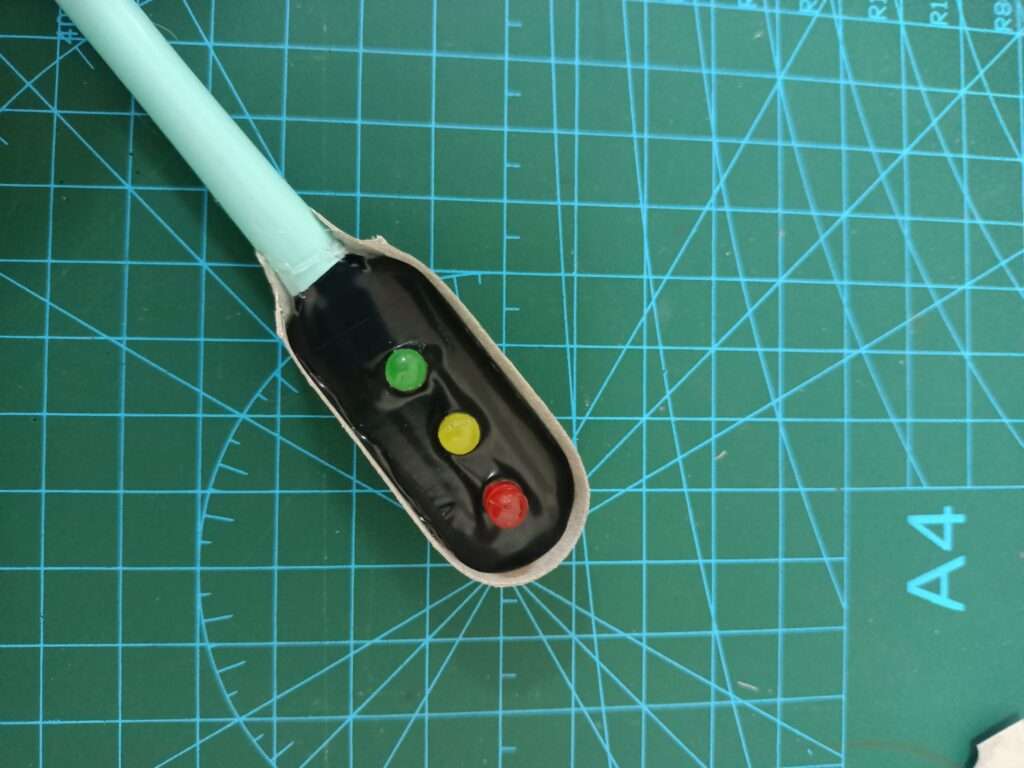
Our traffic light is ready