Lesson 1
Teacher’s Guide
– Divide students into groups;
– Explain the theoretical part;
– After the students can proceed to the practical part.
Safety in Steam Lessons
Before starting a lesson, the teacher is advised to familiarize himself with the safety precautions. If necessary (in the case of using the items specified in the TB), conduct a brief briefing for students. Follow this link Safety in Steam Lessons
Theoretical part
The lower part of the fraction, the denominator, indicates how many parts we divided, and how many slices we received. The upper part, the numerator, indicates how many such shares were taken, and how many of them the fraction contains. For example,
 . Here, 7 is the substitute and 3 is the numerator.
To add fractions with the same denominators, you just need to add their numerators.
For example,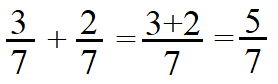 .
.
Subtracting fractions with the same denominators is just as easy as adding them. Subtract the numerator of the second fraction from the numerator of the first fraction.
For example,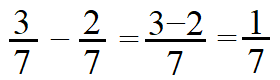 .
.
If you need to compare fractions with the same denominators, the fraction with the largest numerator will be larger. And less is the fraction whose numerator is less.
For example,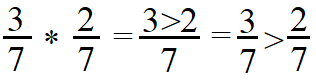 .
.
Practical part
Now we will start making a pizza board to visually see and understand the topic of the lesson. On such a board, it will be possible to compare, understand and learn the addition and subtraction of fractions at an elementary level.
Step 1. Cut out two pieces of cardboard about 14cm x 14cm each. One of them should have a hole in the middle with a diameter of about 8 cm. You can use printed paper with circles to draw a circle.
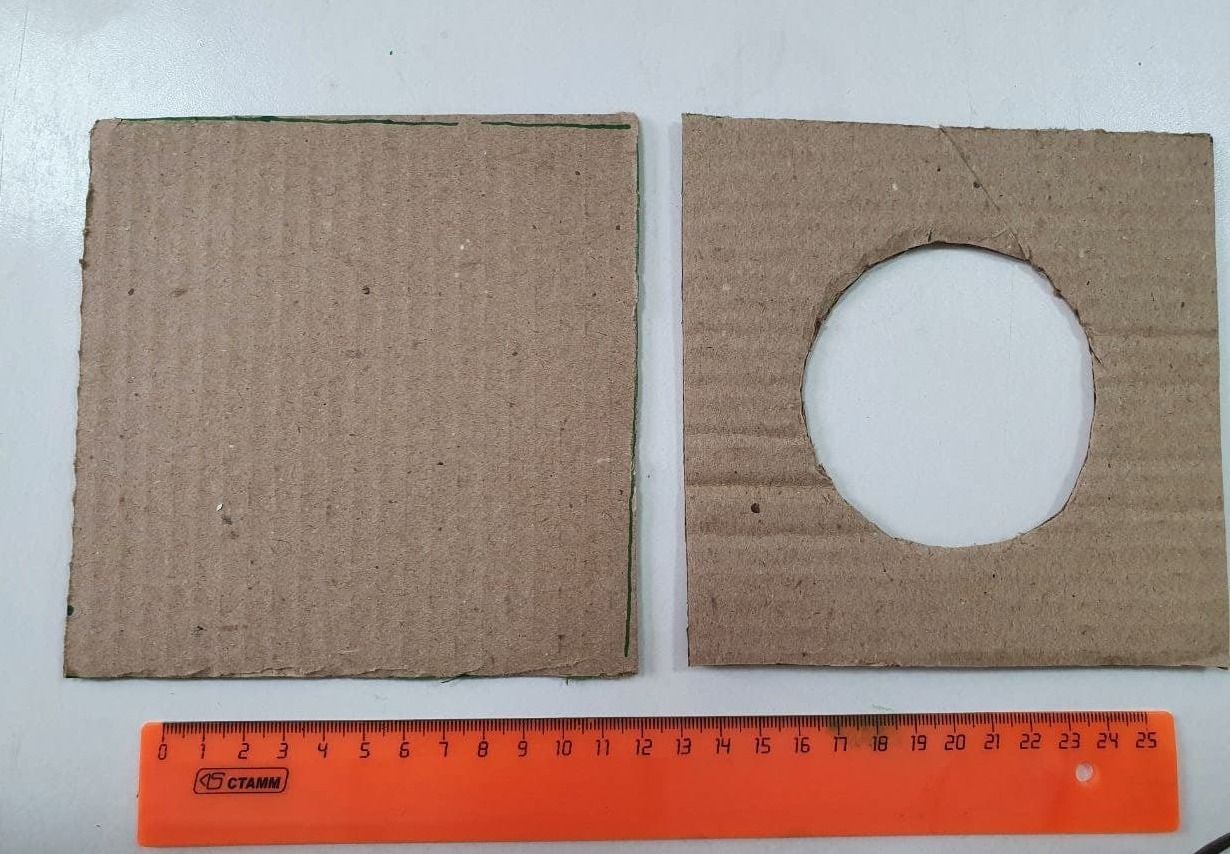
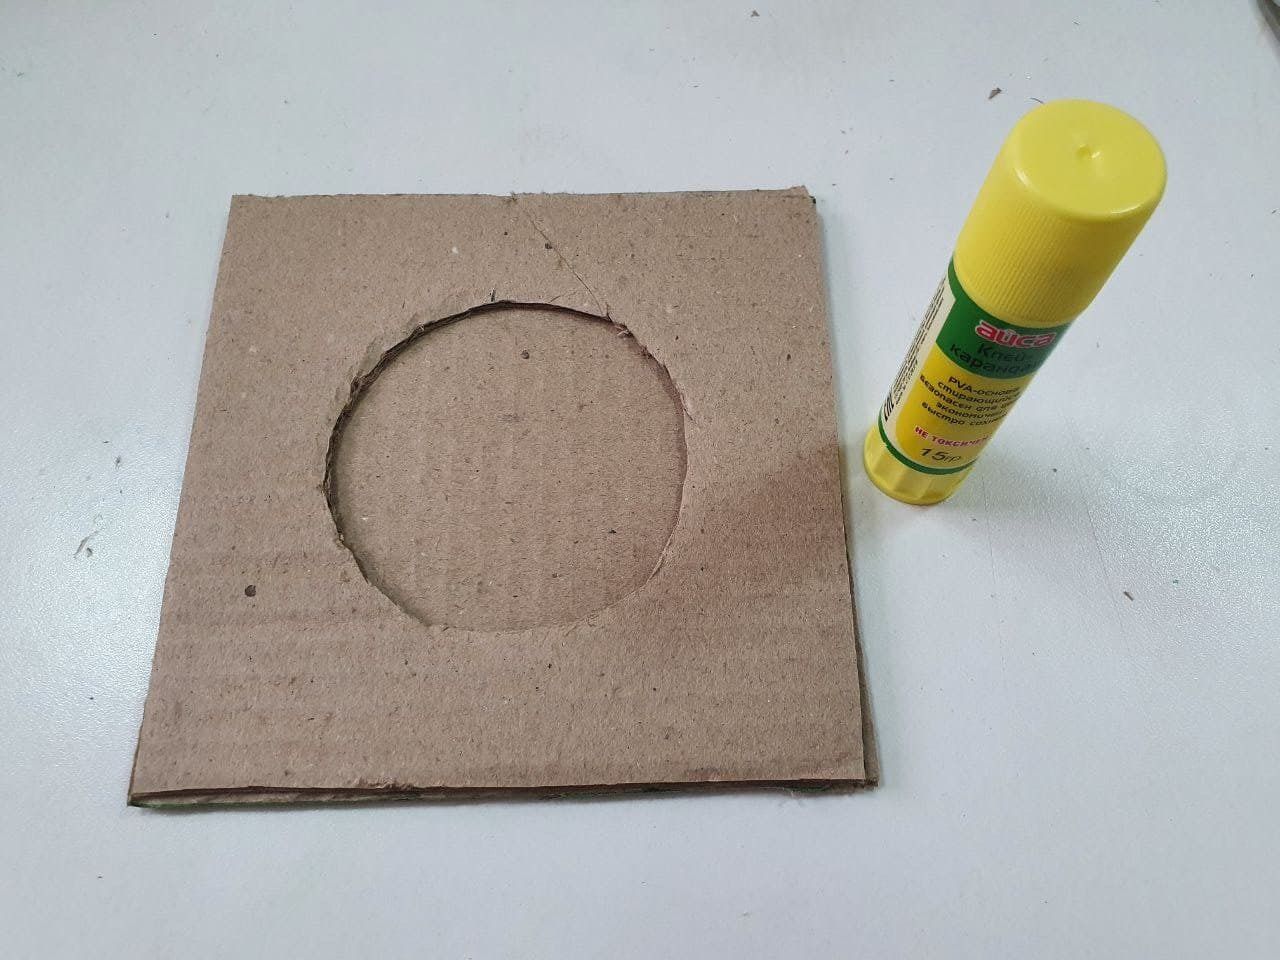
Step 2. Glue them to each other.
Step 3. Now take the printed diagram and cut out the circles. (Click to download)
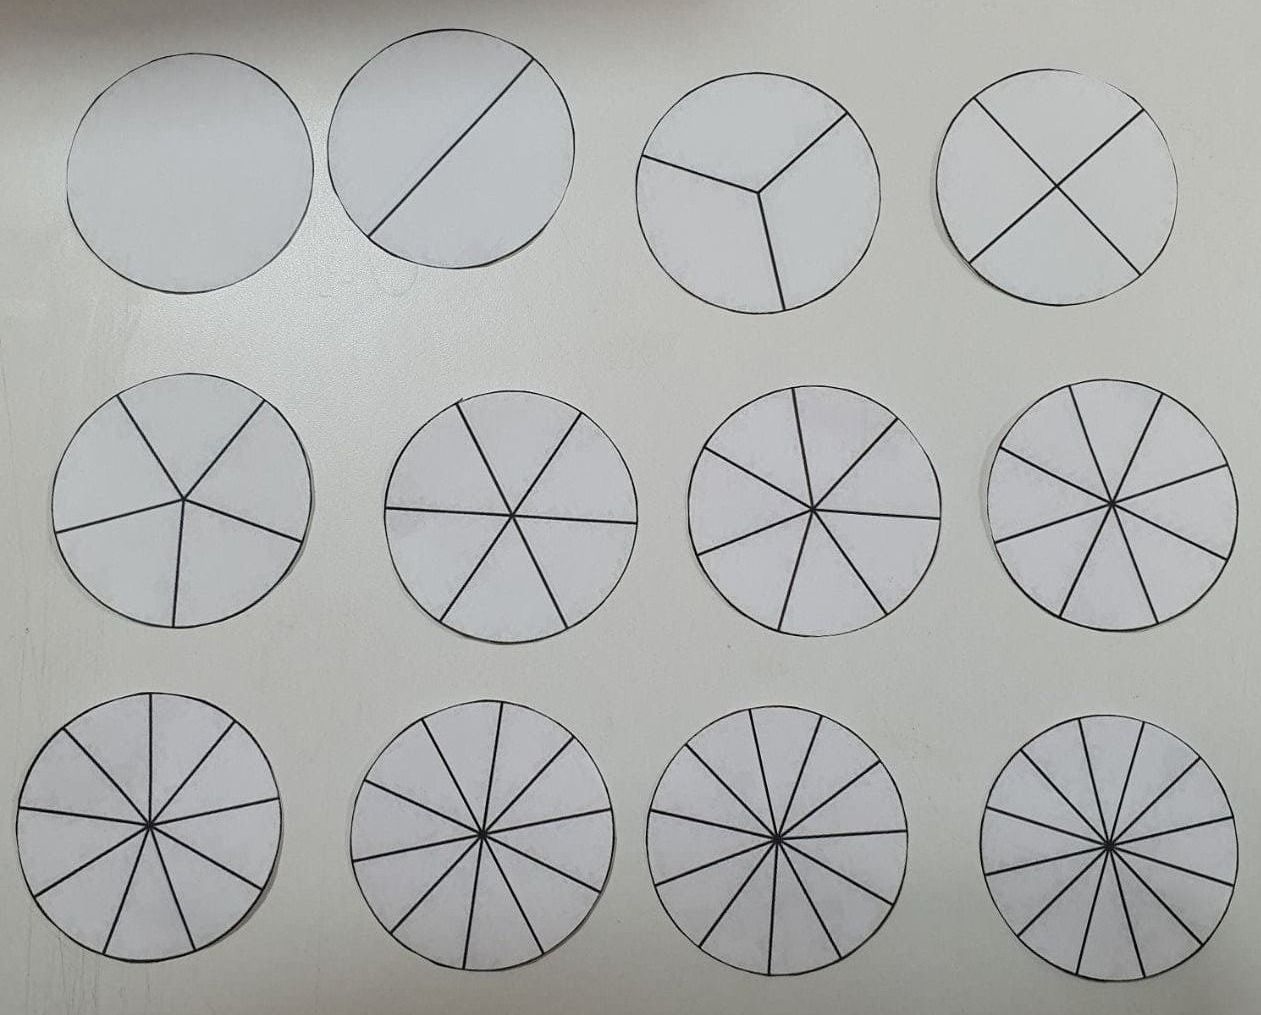
Step 4. Cut out 12 circles from colored cardboard. You can swap colors with other groups.
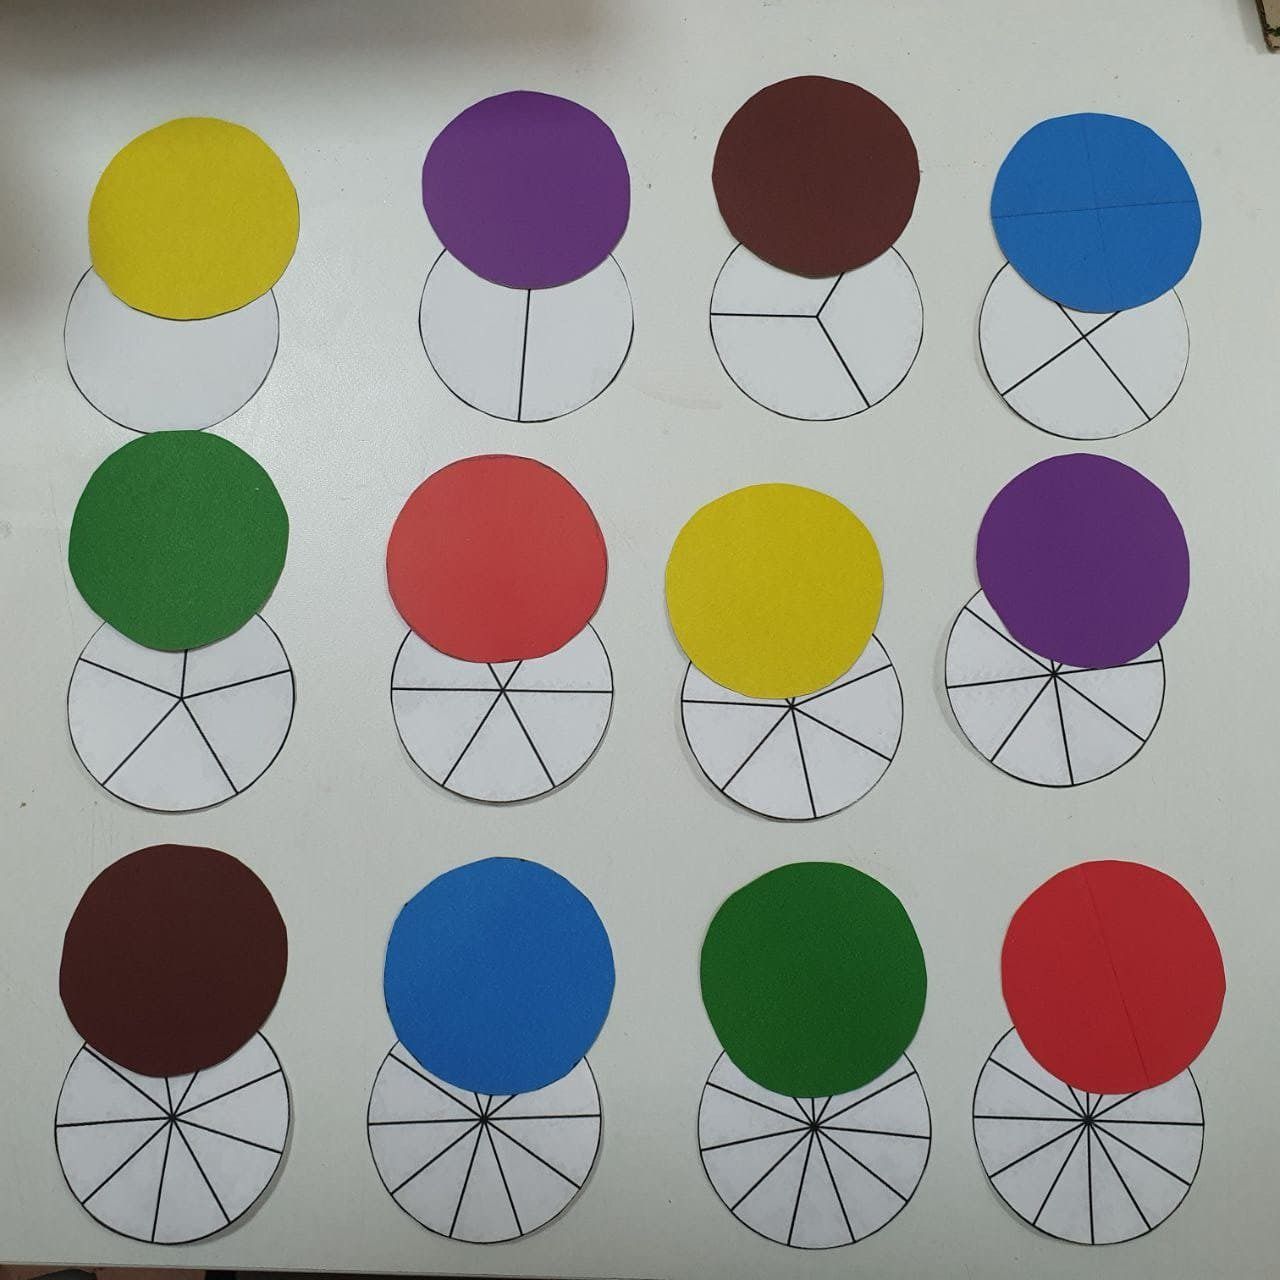
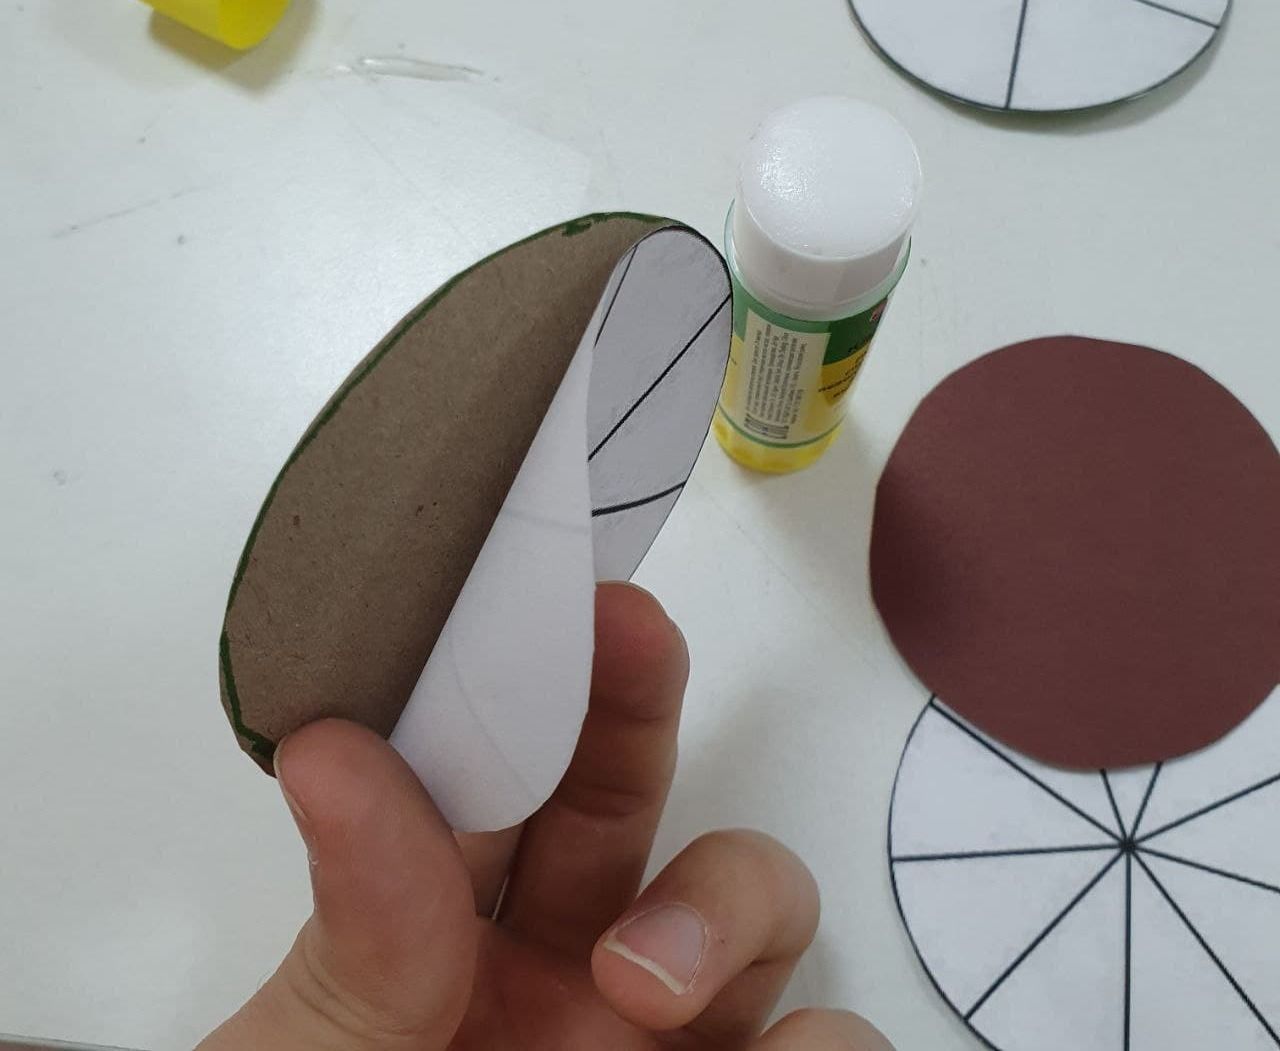
Step 5. Glue the crushed patterns to the cardboard.
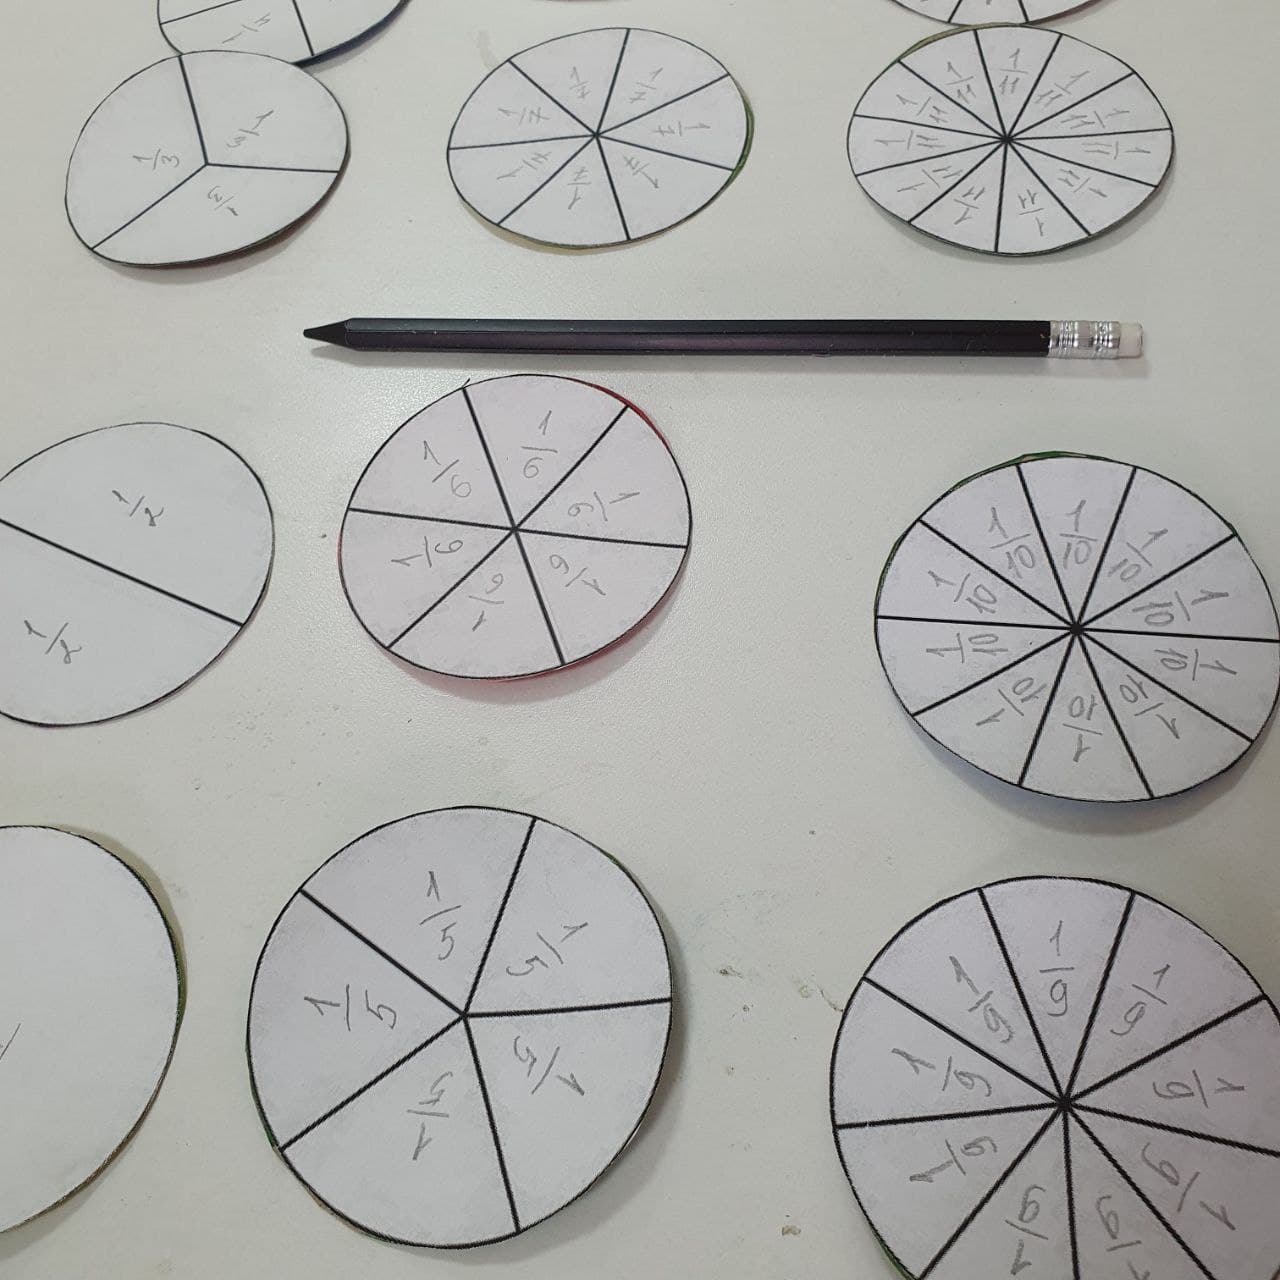
Step 6 Write down all the circles. If the circle is divisible by two then each part is of one whole, if the circle is divisible by 12 then each slice of pizza is
 of one pizza.
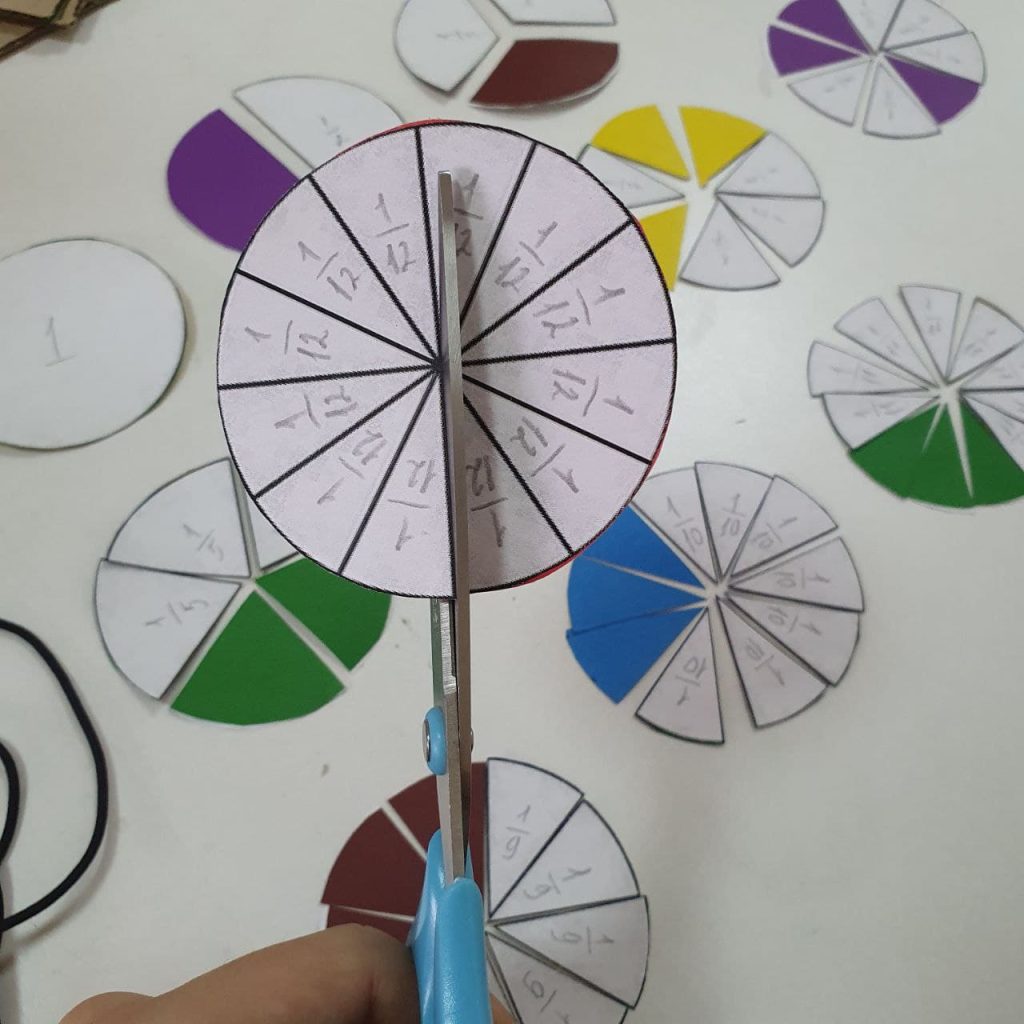
Step 7. With a scissor, you need to cut along the lines and divide all the fractions.
Ready. Now try to solve the problems. For example,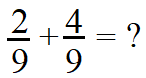 Take two of the nine pizza slices and place them on the board. Then add 4 more pieces to them. Count how many pieces you got. There are now 6 pieces out of 9 on the board, so
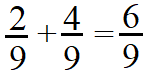 . So you can understand how the addition of fractions with the same denominators works. Try with other tasks as well.
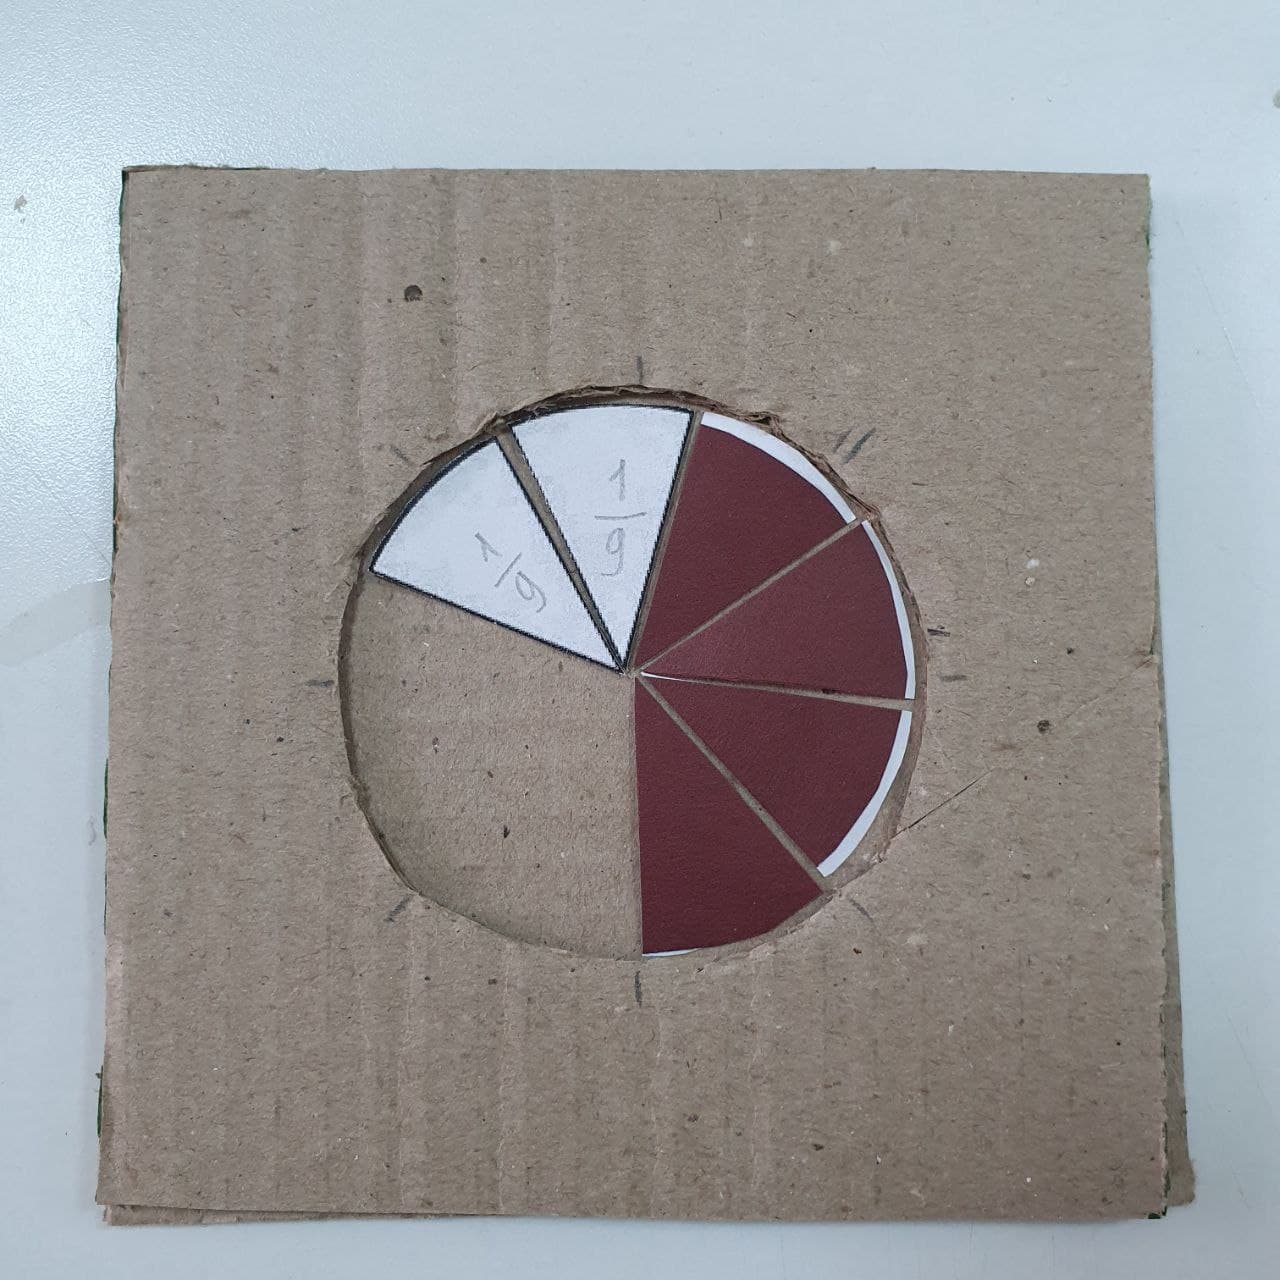
One more task.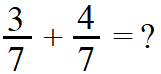 Also, take 3 pizza slices out of seven and add 4 more slices to it. The whole circle filled up and it turned out one whole pizza. Means
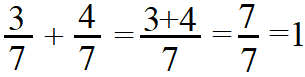 .
.
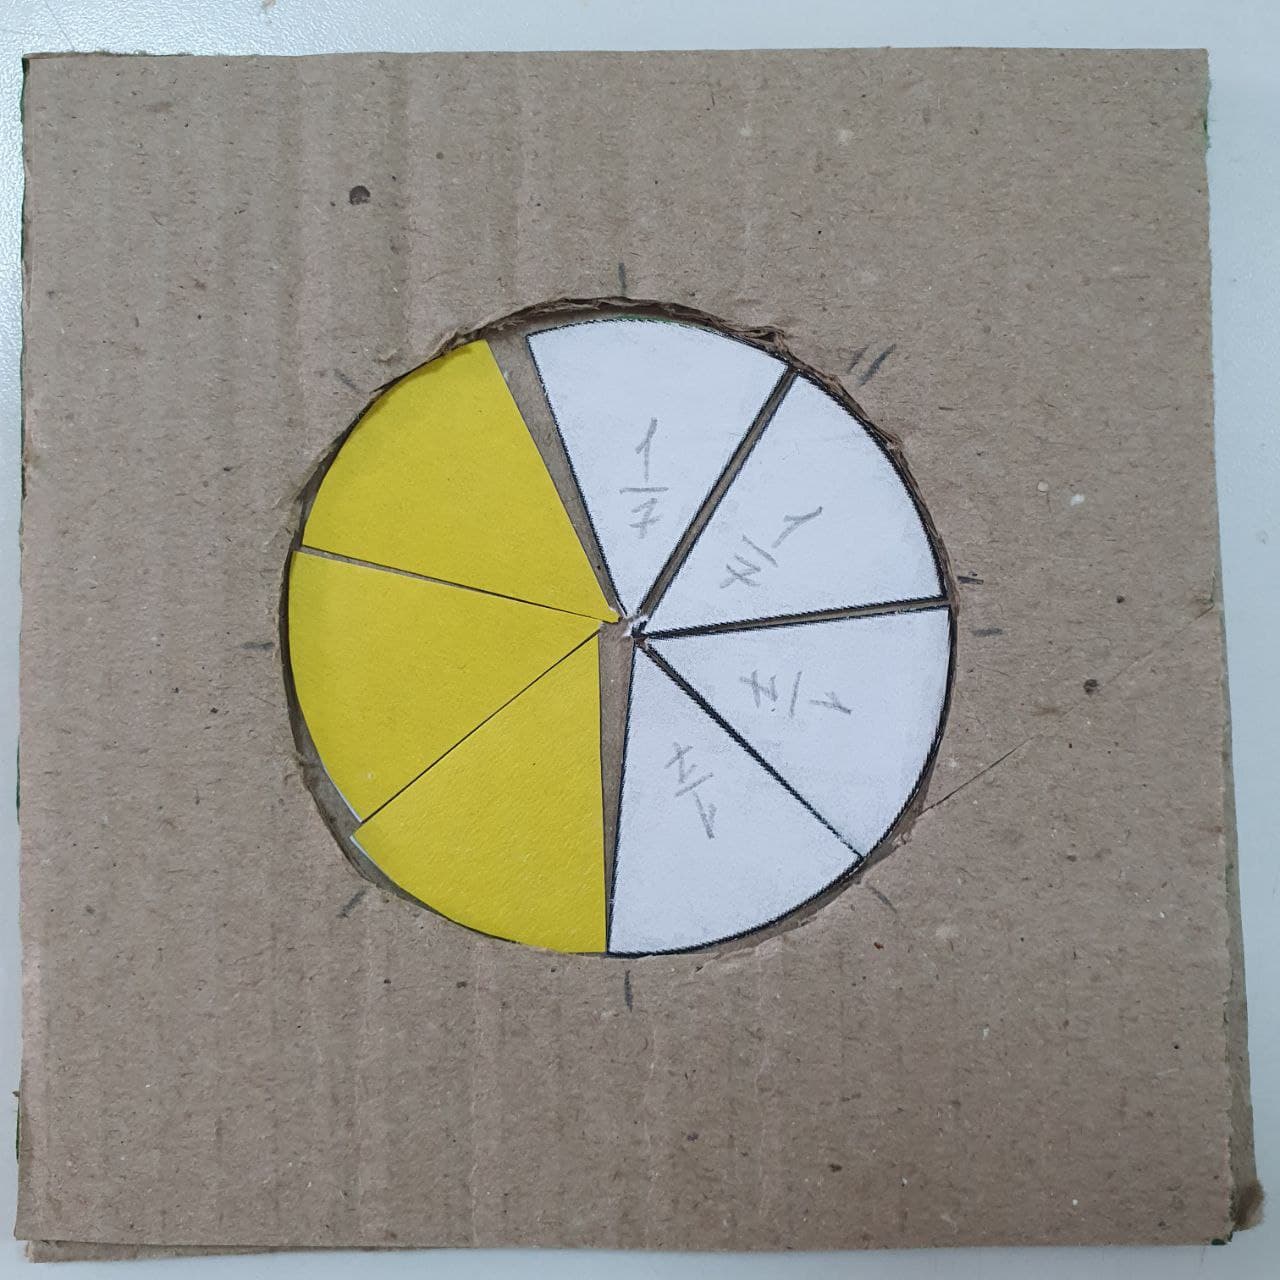
The same goes for subtracting fractions. For example,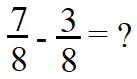 Put 7 pizza slices out of 8 on the board. Now remove 3 of them and count how many pieces are left.
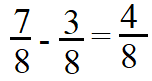 .
.
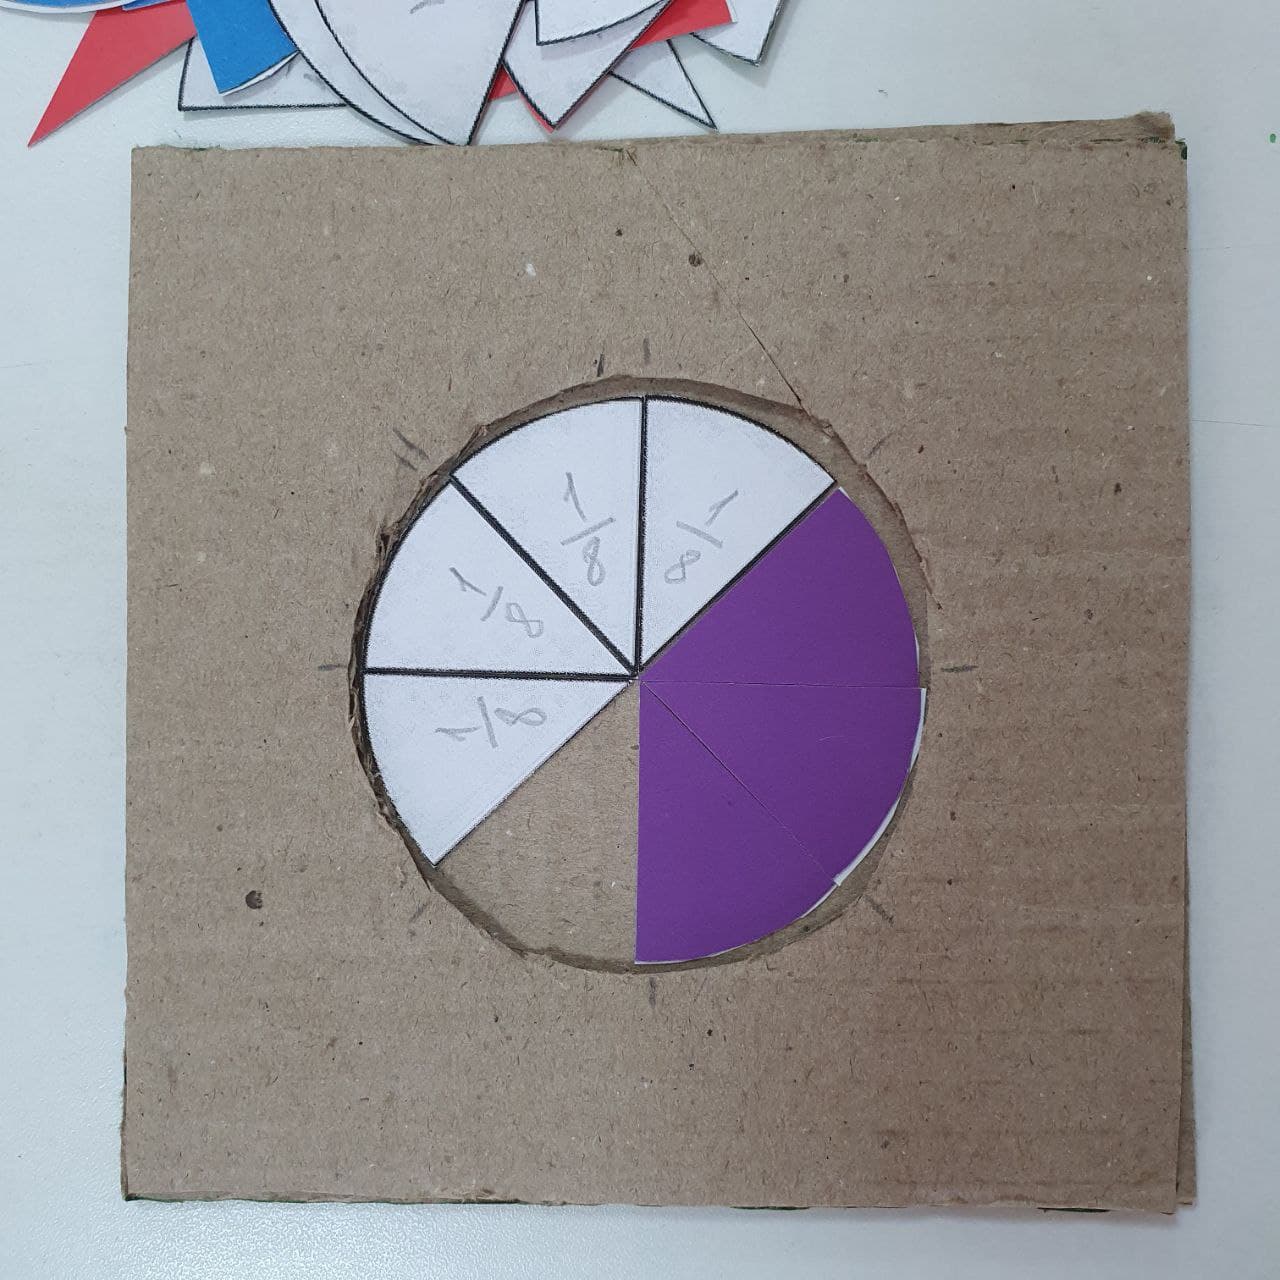
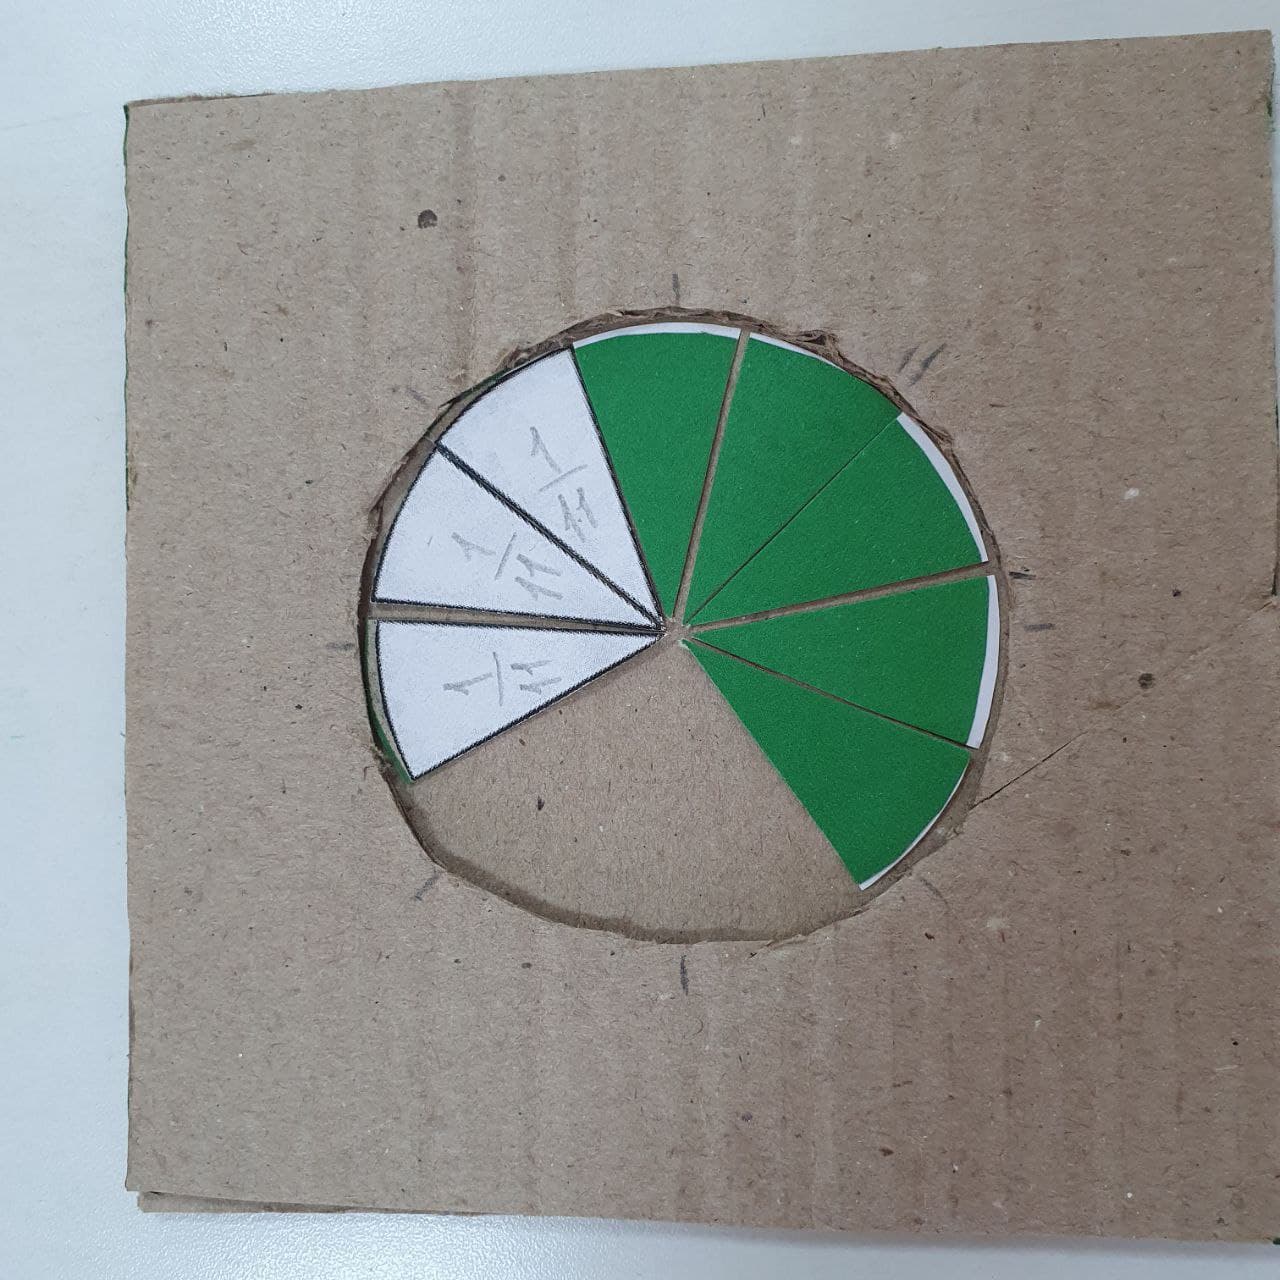
How to compare fractions?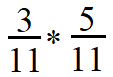 Place 3 slices of 11 pizza on one side and 5 slices of 11 on the other side. See which one is more. As we see
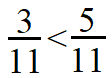 .
.
 Conclusion
In this project, the students saw how operations are performed on fractional numbers. We made a board in the form of a pizza and with its help of it, we checked the theoretical knowledge obtained from books.
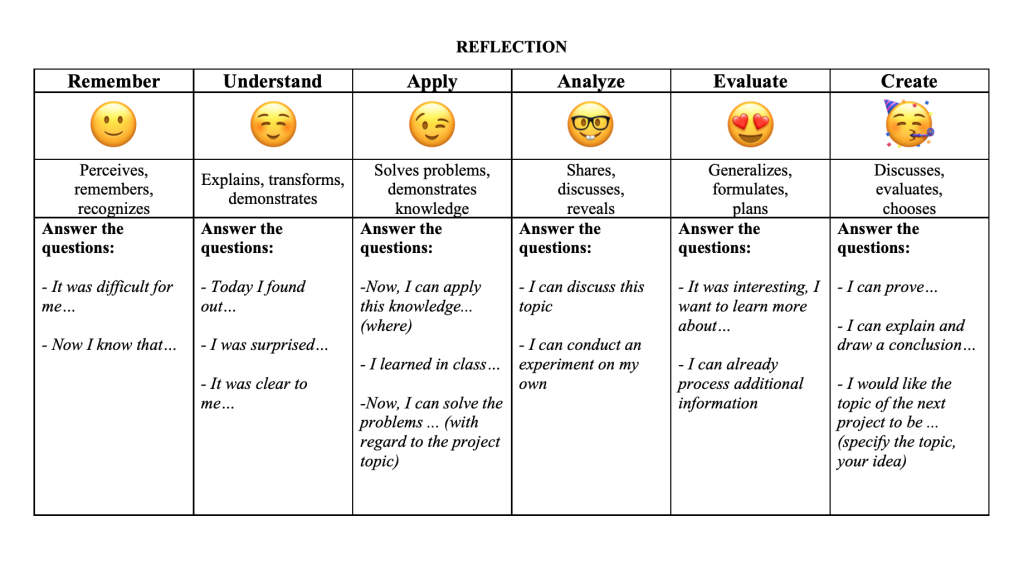
Evaluation
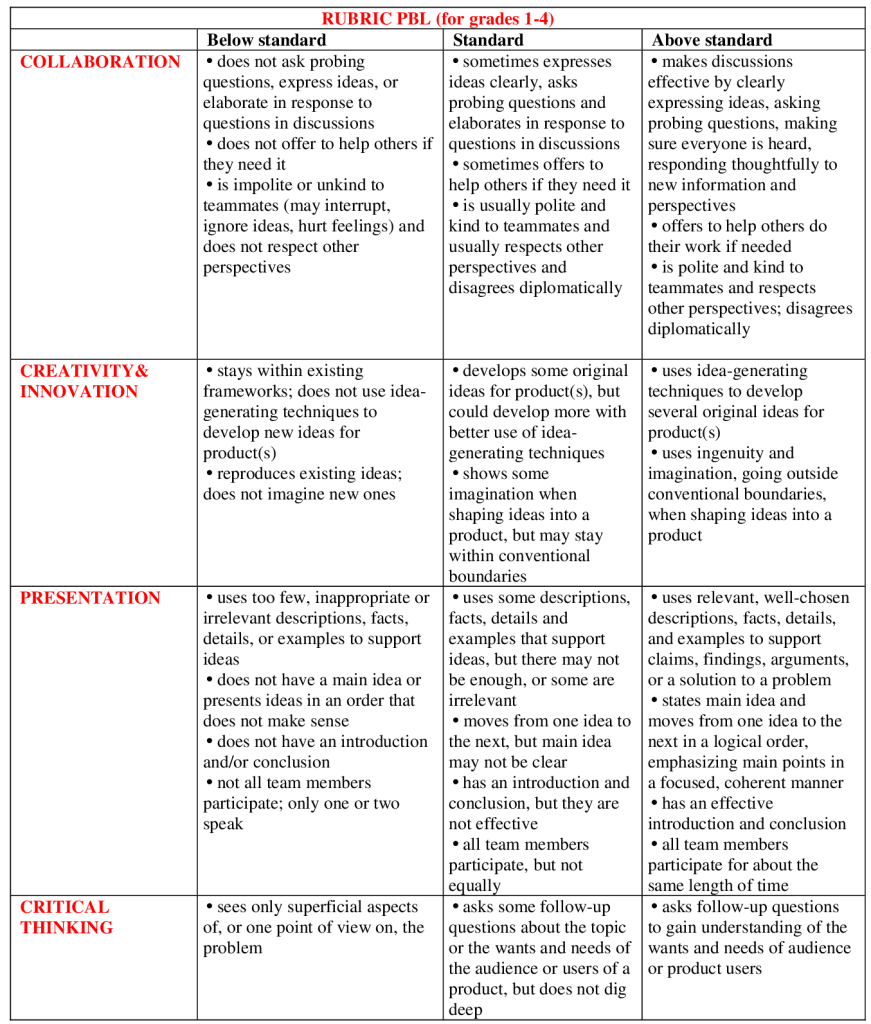
PBL grading criterion:
Project-based learning is a learning method in which students acquire knowledge and skills by working on a single project to explore and find an answer to a genuine, interesting, and complex question, problem, or challenge.