
Lesson 1
Purpose of the project
1. to investigate foil insulating material, felt (felt) as a heat insulating material.
2. To make a real thermal bag & Lunch-box for food.
Teacher’s guide
– In the experimental part of the project, students work in groups of 4-5.
– Pupils should be introduced to topics like heat/thermal conductivity/insulating materials.
– Before starting the experimental part, familiarise and provide the students with all the necessary materials.
– At the beginning of the lesson explain the PBL (project based learning) rubrics to the students. 4K skills (critical thinking, collaboration, creativity, prenthesis).
Safety in Steam lessons
Before the start of the lesson, teachers are advised to familiarise themselves with the safety procedures. If necessary (in the case of items specified in the PPE), brief the students. Visit Safety on Steam lessons Safety
Theoretical Part
Dear students, answer the questions:
1. What is heat?
2. How long can heat be retained?
3. what thermal insulation materials do you know?
3. Have you noticed in which container, the delivery person delivers the food?
4. What is a thermos, a thermocontainer?
One of the properties of thermal energy is that it passes from hotter to cooler bodies. If hot boiling water is left in a room at 25°C, it will gradually cool down to this temperature and the air temperature in the room will rise slightly.
Heat goes from a hot body to a cold body or from a hot part of the body to a cold part of the body.
Heat conduction is the spread of heat in solids.
If you put a metal spoon into a hot liquid, its handle will soon become warm. The liquid heats the part of the spoon that is immersed in the boiling water. The heat rises up the spoon.
The heat source heats the water at the bottom of the kettle through thermal conduction. The water heats up, the hot water rises and the cold water sinks to the bottom.
This is why you can feel the heat from the radiator without touching it. All objects radiate rays. The hotter the object, the more thermal energy it gives off.
In hot sunny weather, light-coloured clothing helps people protect themselves from overheating.
Dark objects also give off more heat energy than light objects of the same temperature. This is why car radiators and refrigerators are painted black: it helps them lose heat faster.
A cake taken from the fridge feels less cold to the touch than a bottle of milk of the same temperature. The reason is that heat goes from the palm of the hand to the bottle faster than to the cake. The bottle conducts heat better than the cake, so the palm cools faster. There are a lot of air bubbles in the cake. Air is a poor conductor of heat.
Thermal insulation (“thermal insulation”) – elements of a structure that reduce the heat transfer process and act as the main thermal resistance in the structure.
Thermal insulation materials
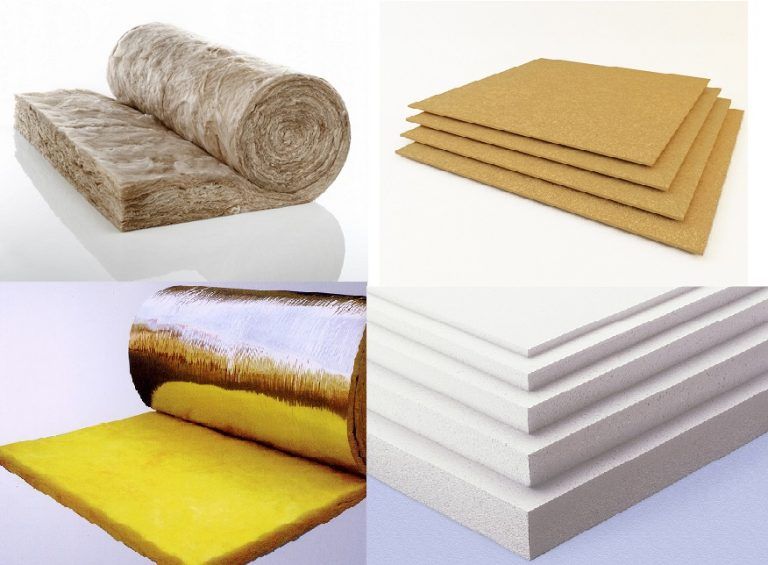
Name the above-mentioned thermal insulation materials:
| 1. | 3. |
| 2. | 4. |
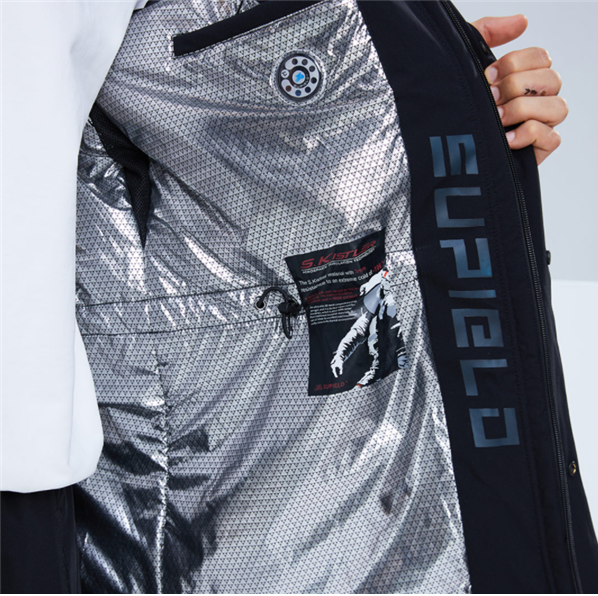
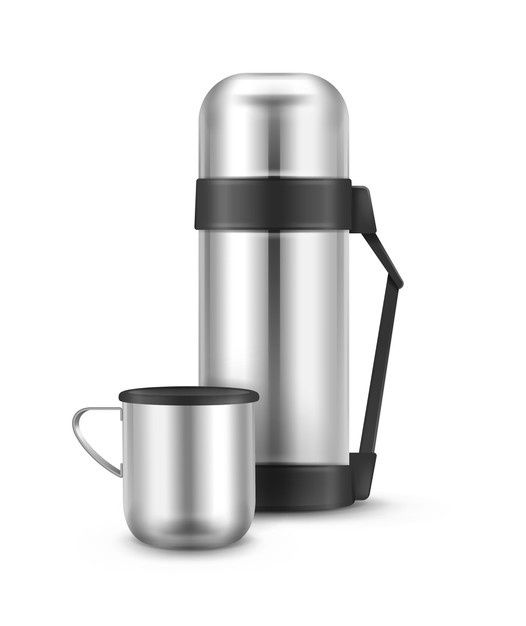
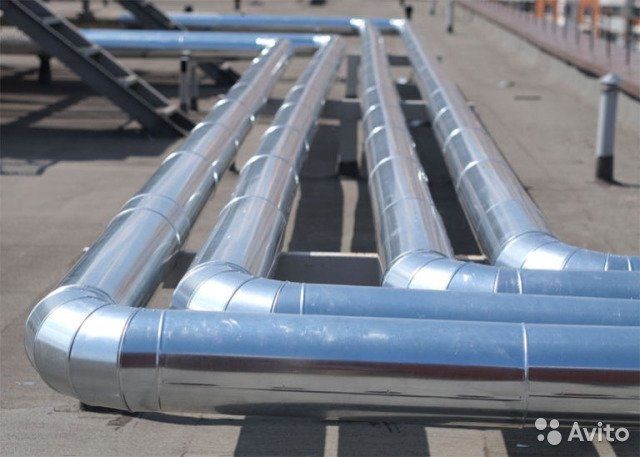
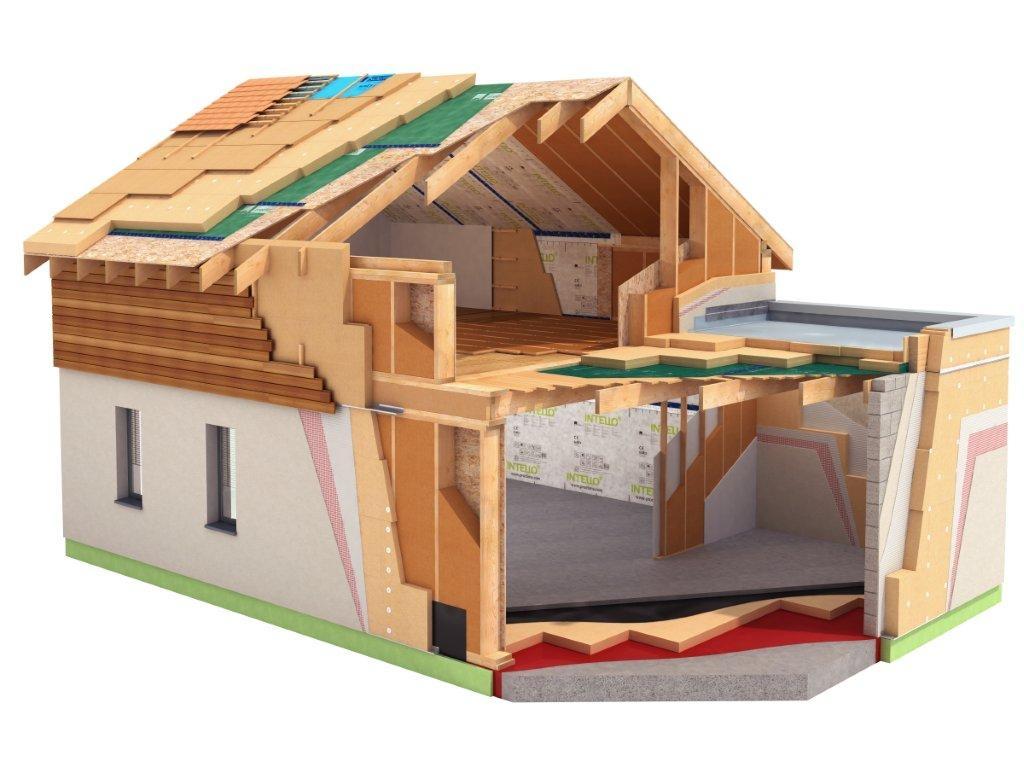
Where are insulation materials used?

.jpg)
Practical part
On this project students will make a thermo bag & Lunch box
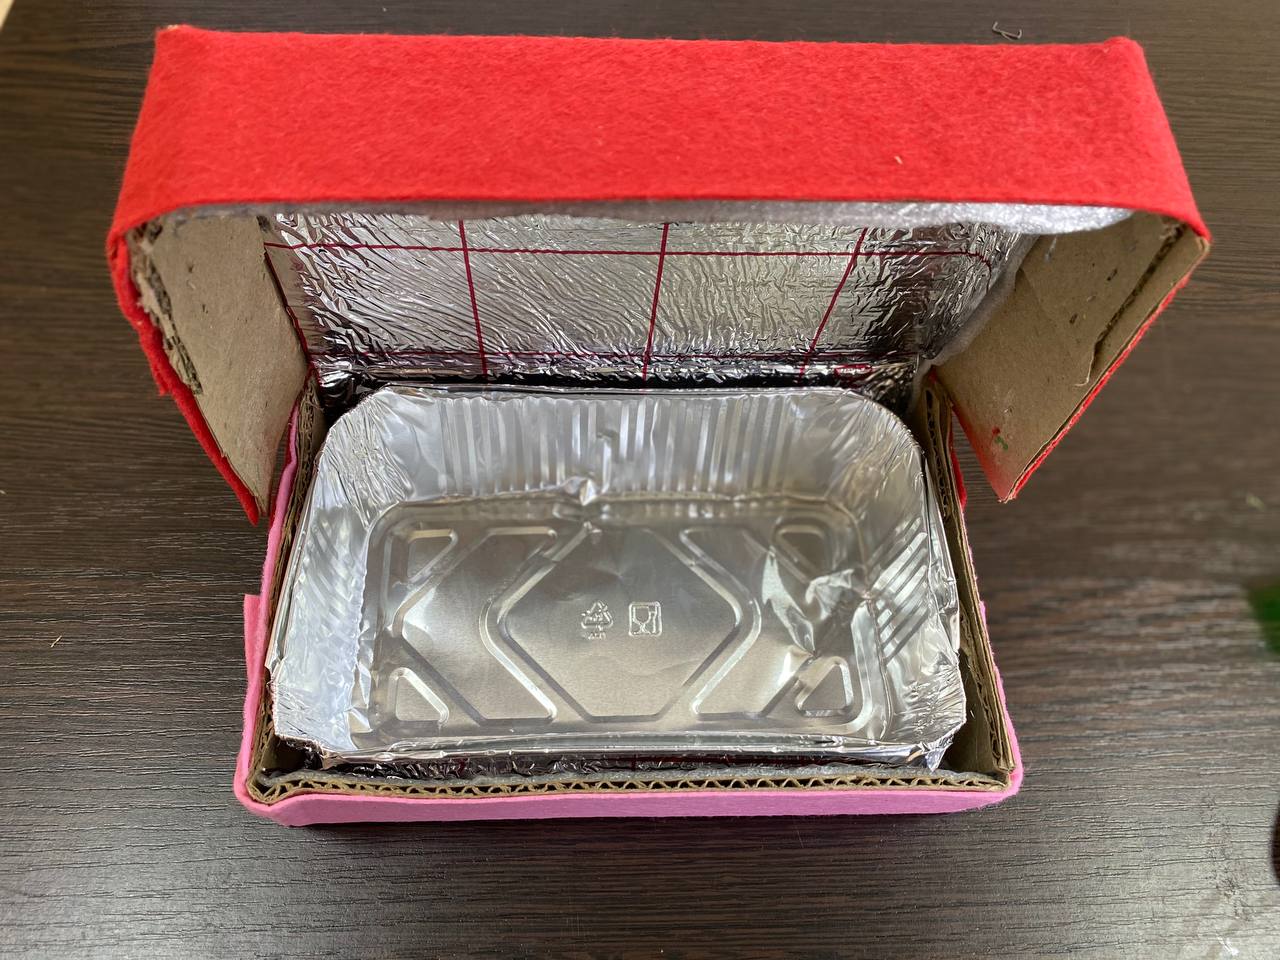
Step 1: Divide into groups (4-5 students). Familiarise yourselves with all the necessary materials.Cardboard 30*40cm, Tinfoil insulation material 20*40cm, A4 felt, Paper glue, Ruler, black pencil, Scissors, Rectangular aluminium mould 10*19cm, Stapler (if necessary)
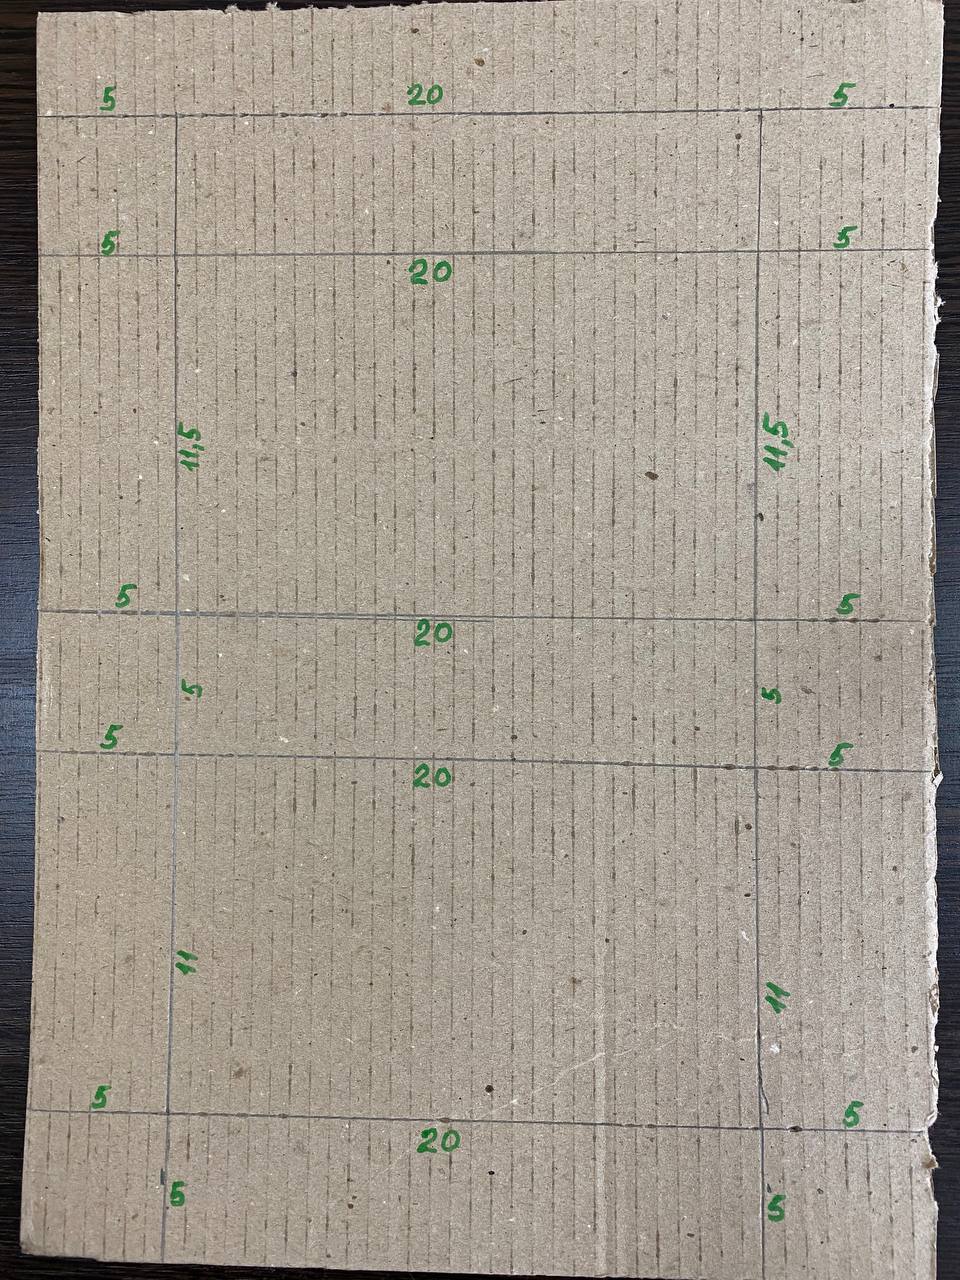
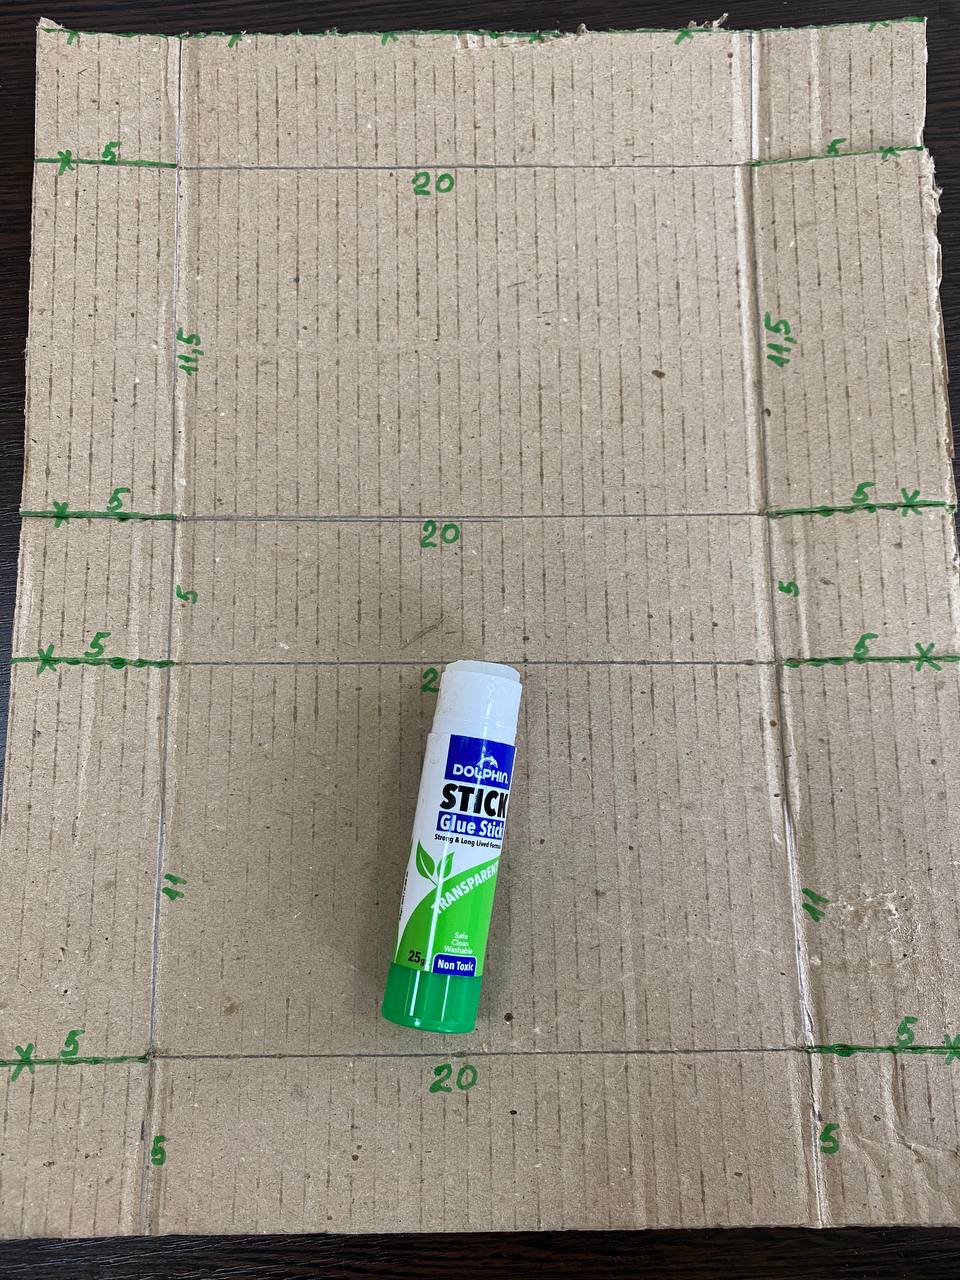
Step 2: Take a 40*30cm cardboard.
Then draw the dimensions as shown in the picture
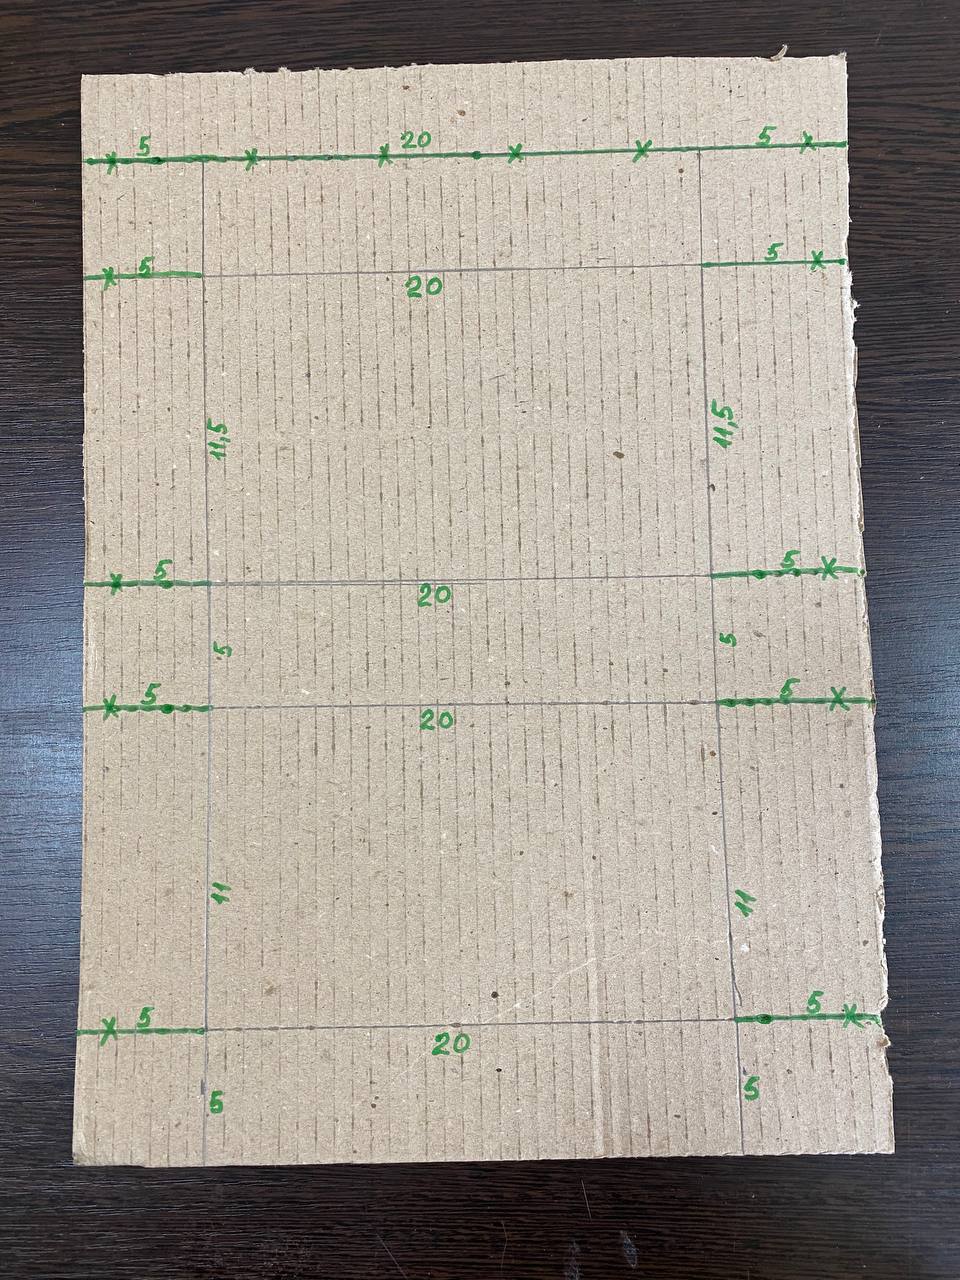
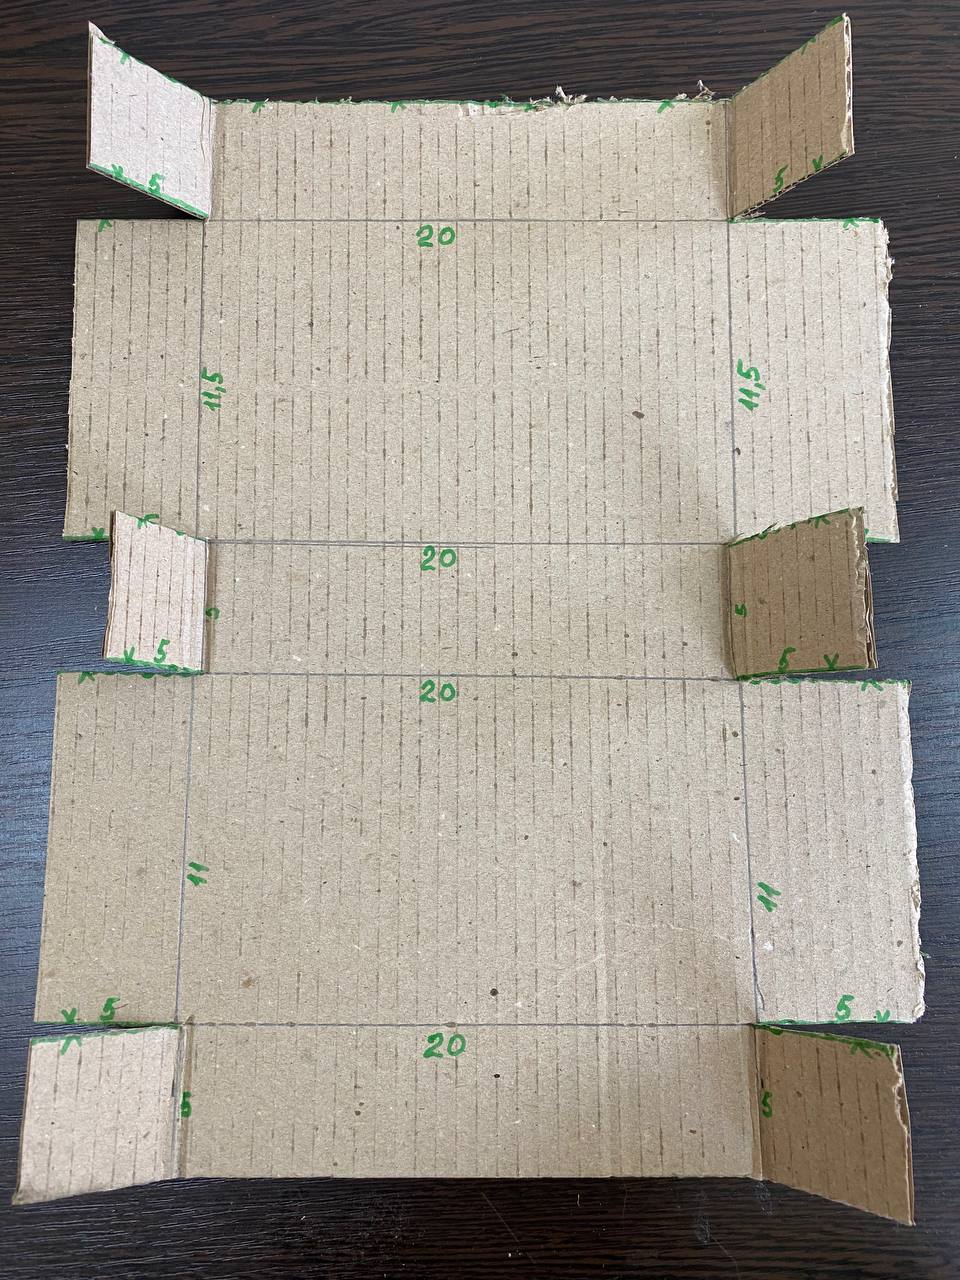
Step 3. Then use scissors to make cuts around the edges of the cardboard (5cm)
Step 4: Then take a whole felt (woolac material) 40*30cm in size.
Or join 2 pieces of A4 felt using paper glue.
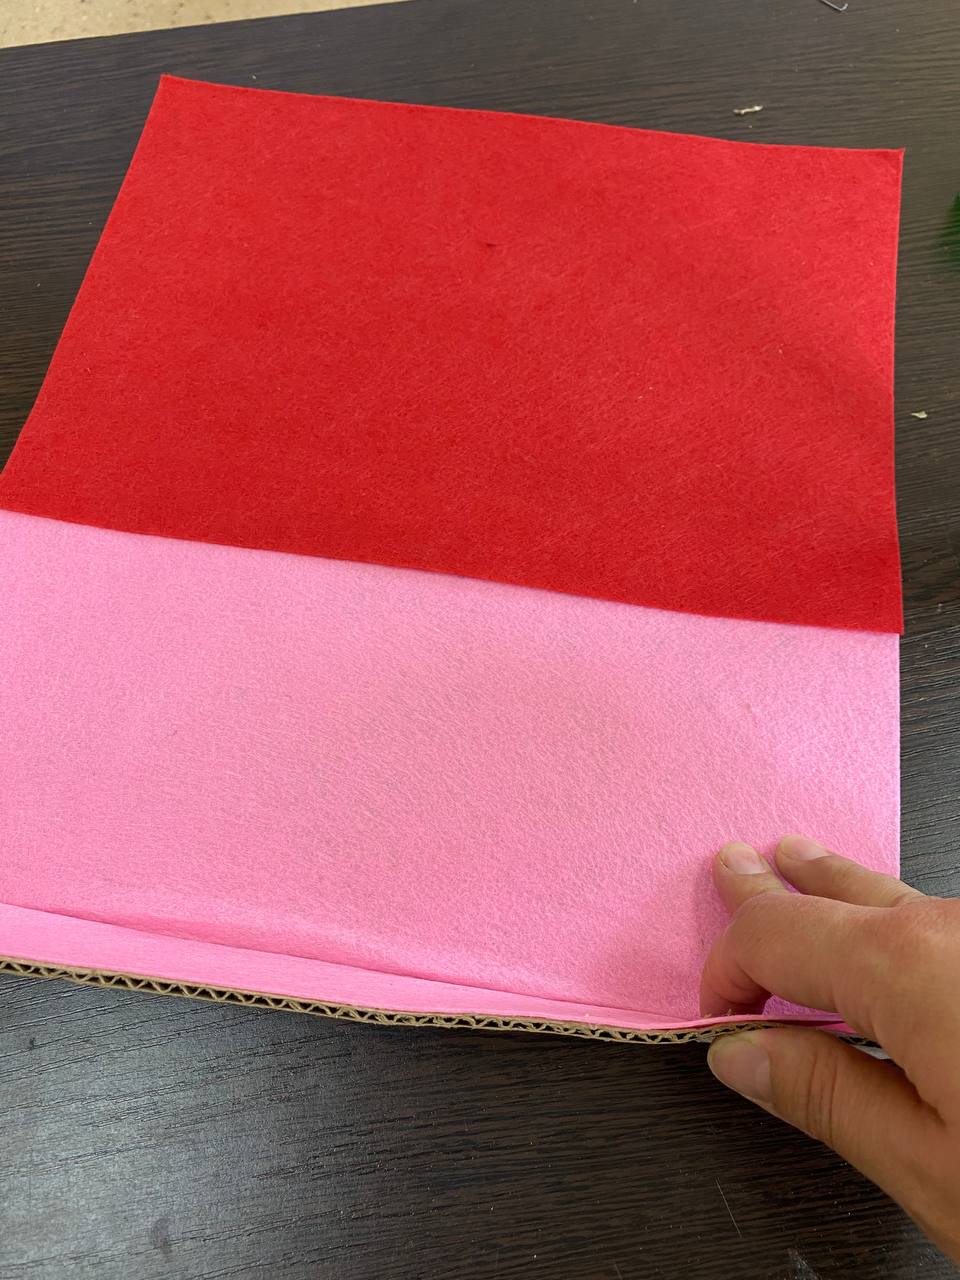
Step 5. Then join the cardboard to the felt.
They should be the same size.
Then make notches in the felt, like the cardboard paper
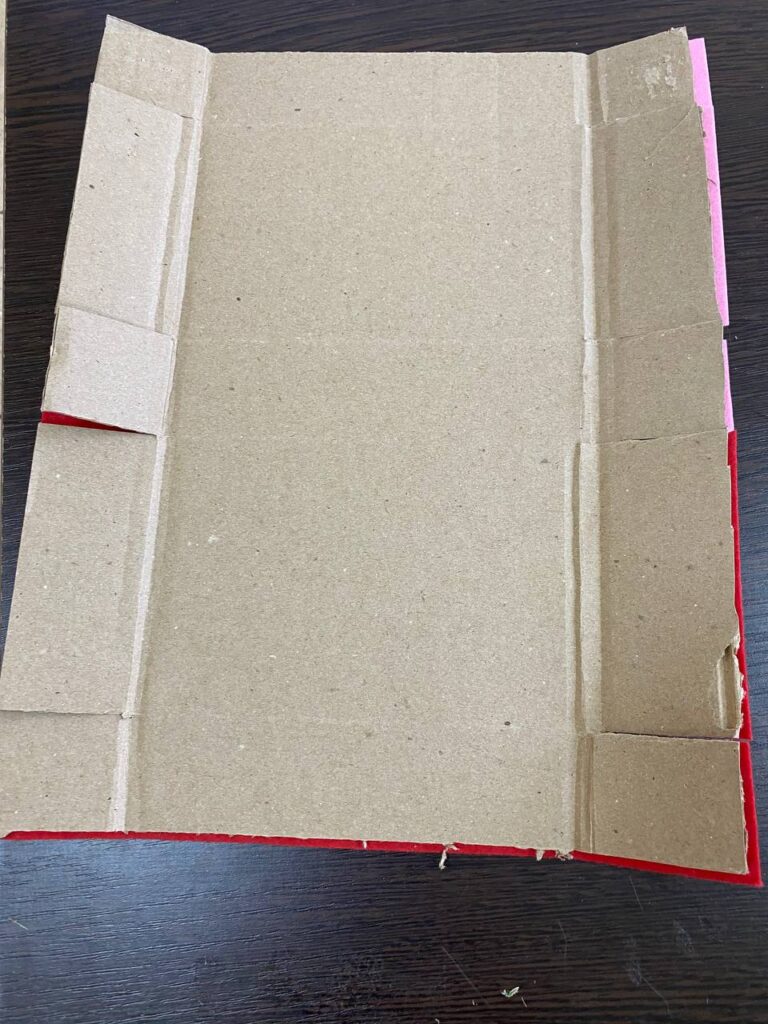
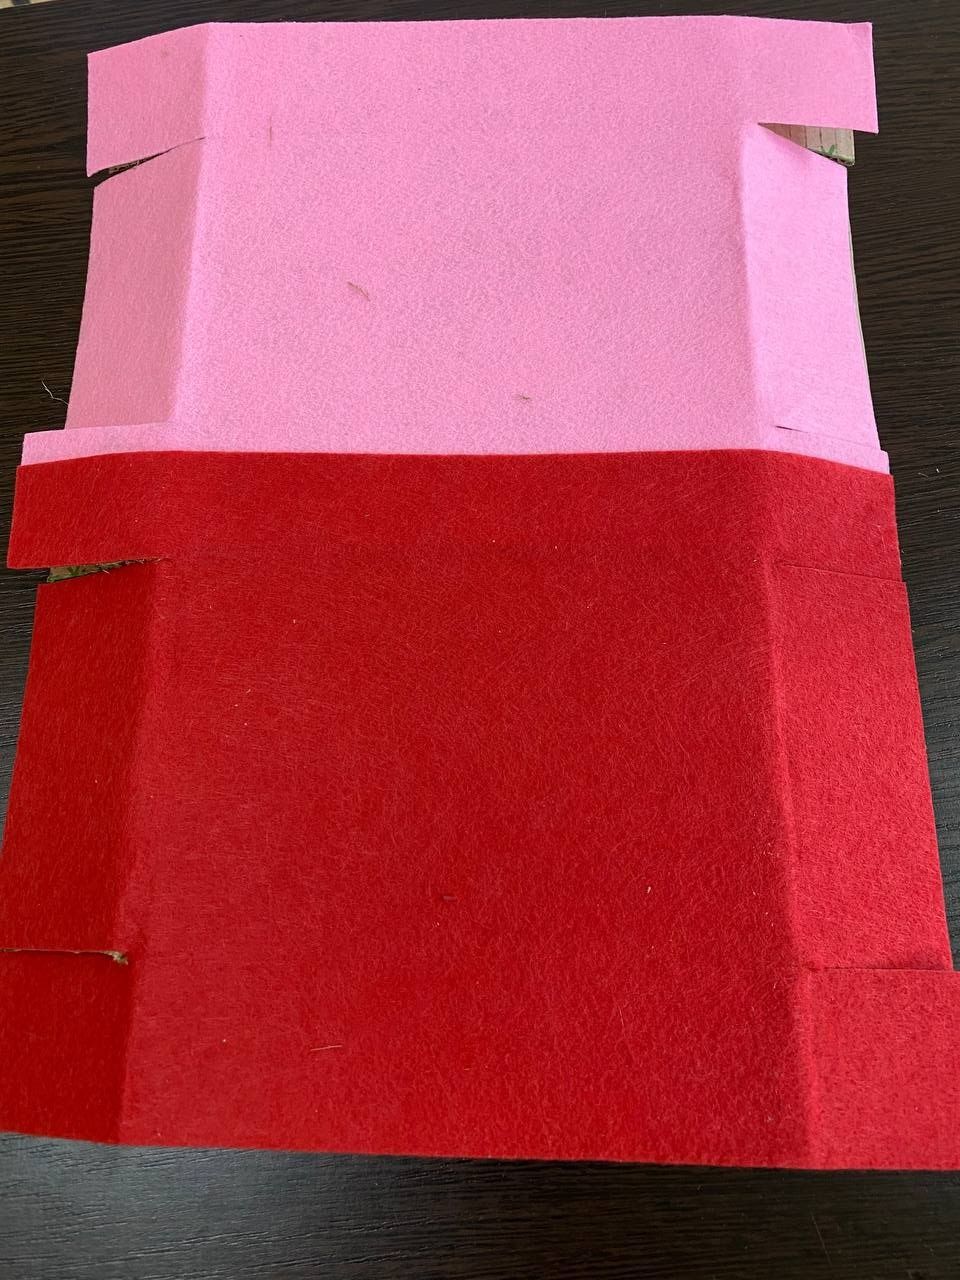
Step 6. Now assemble the box. Glue using paper glue.
Join each piece together and shake (secure) with your hands until they are glued to each other
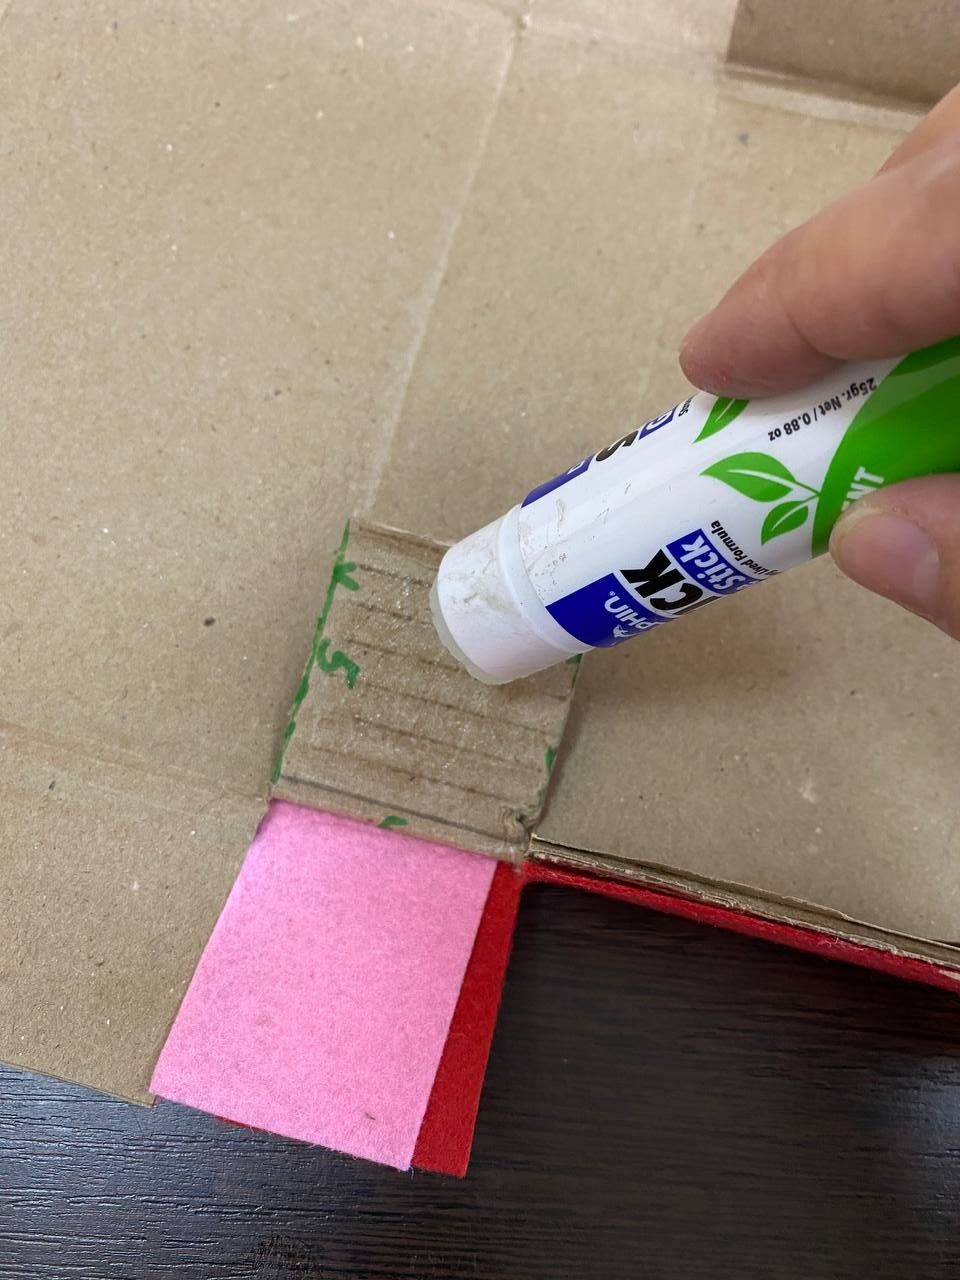
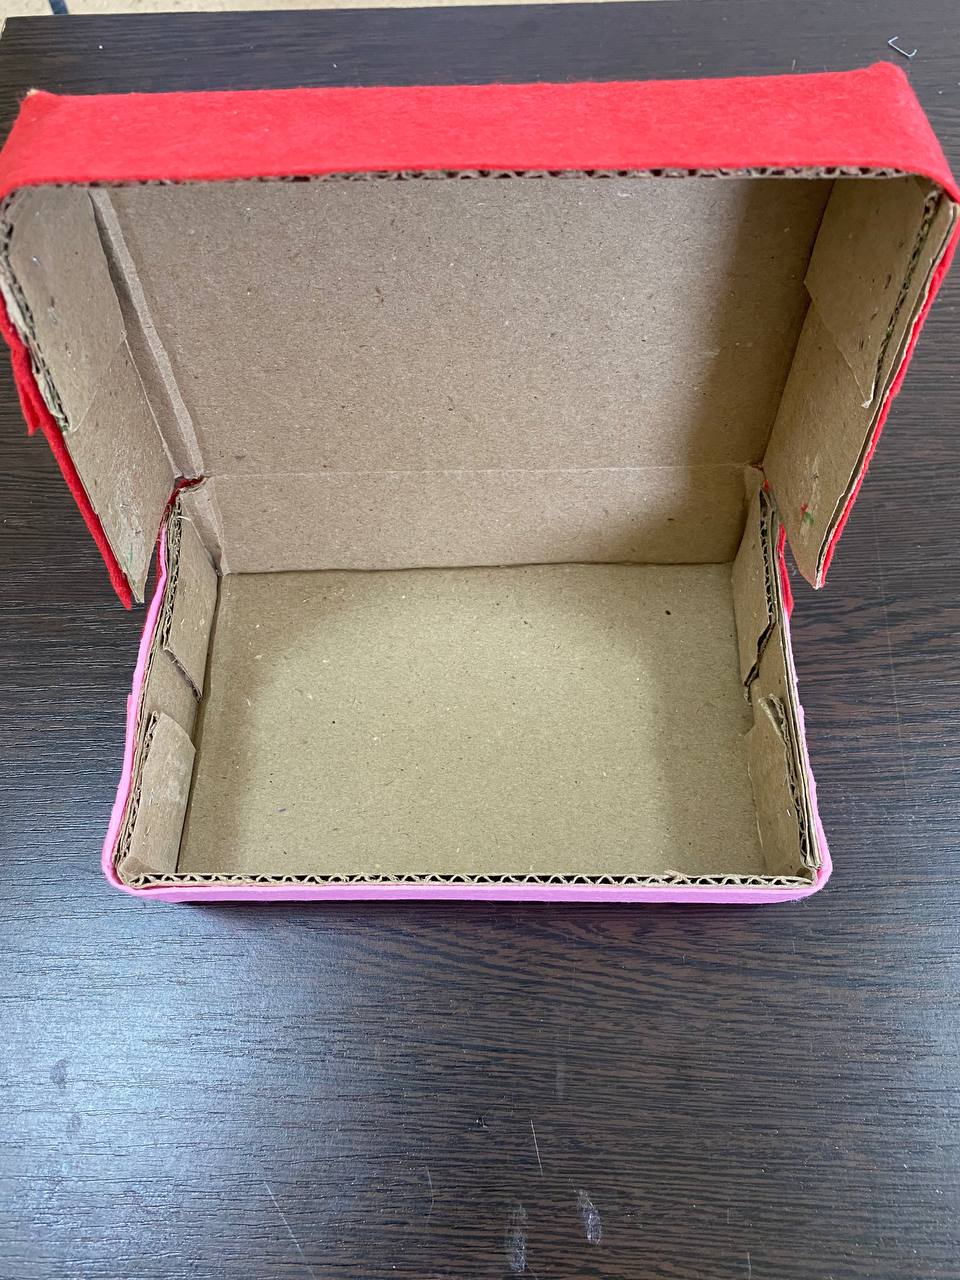
Step 7: Take the thermal insulation material and spread the adhesive on the back side around the perimeter and in the middle
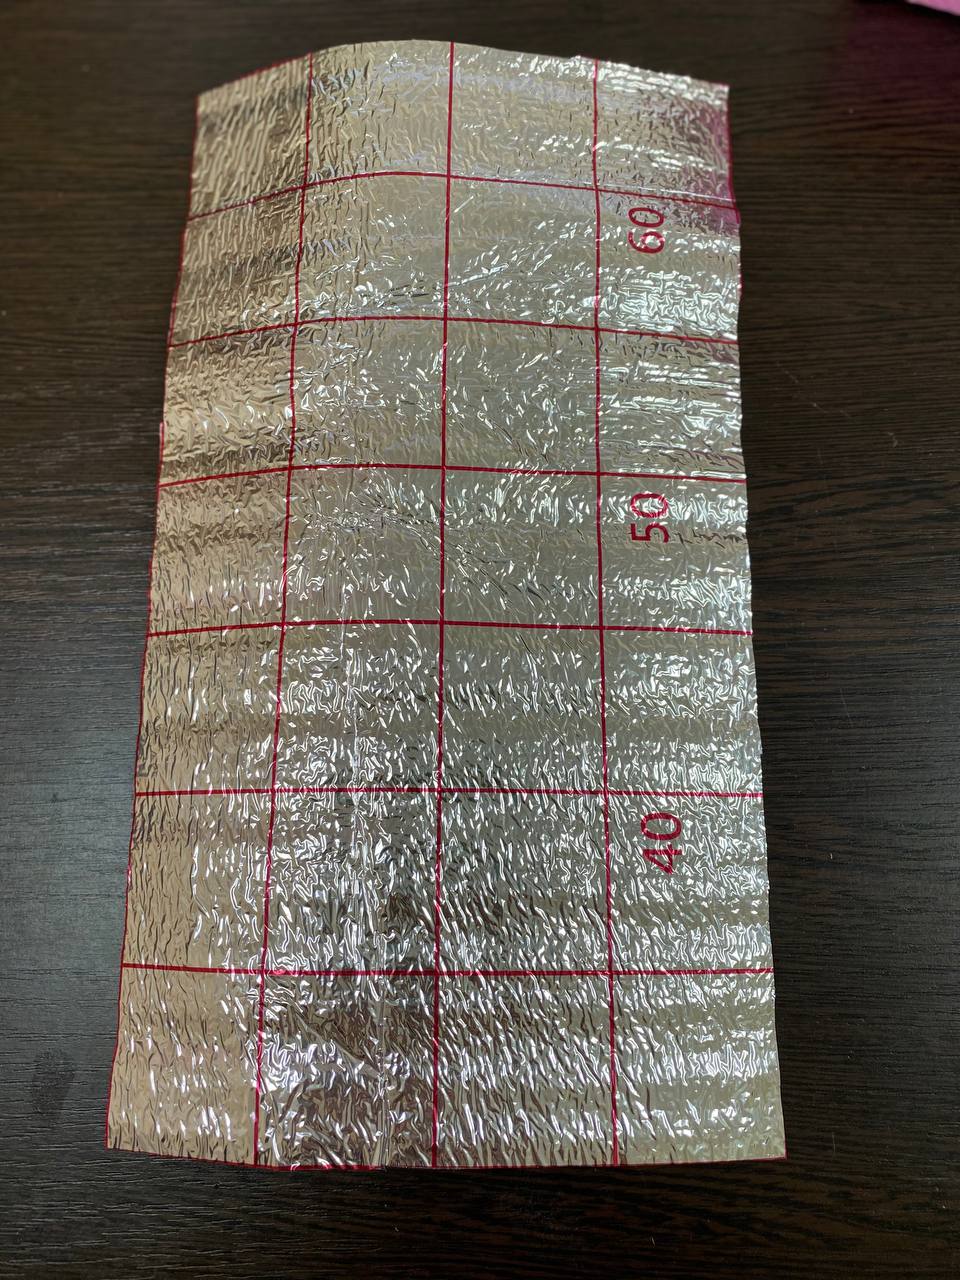
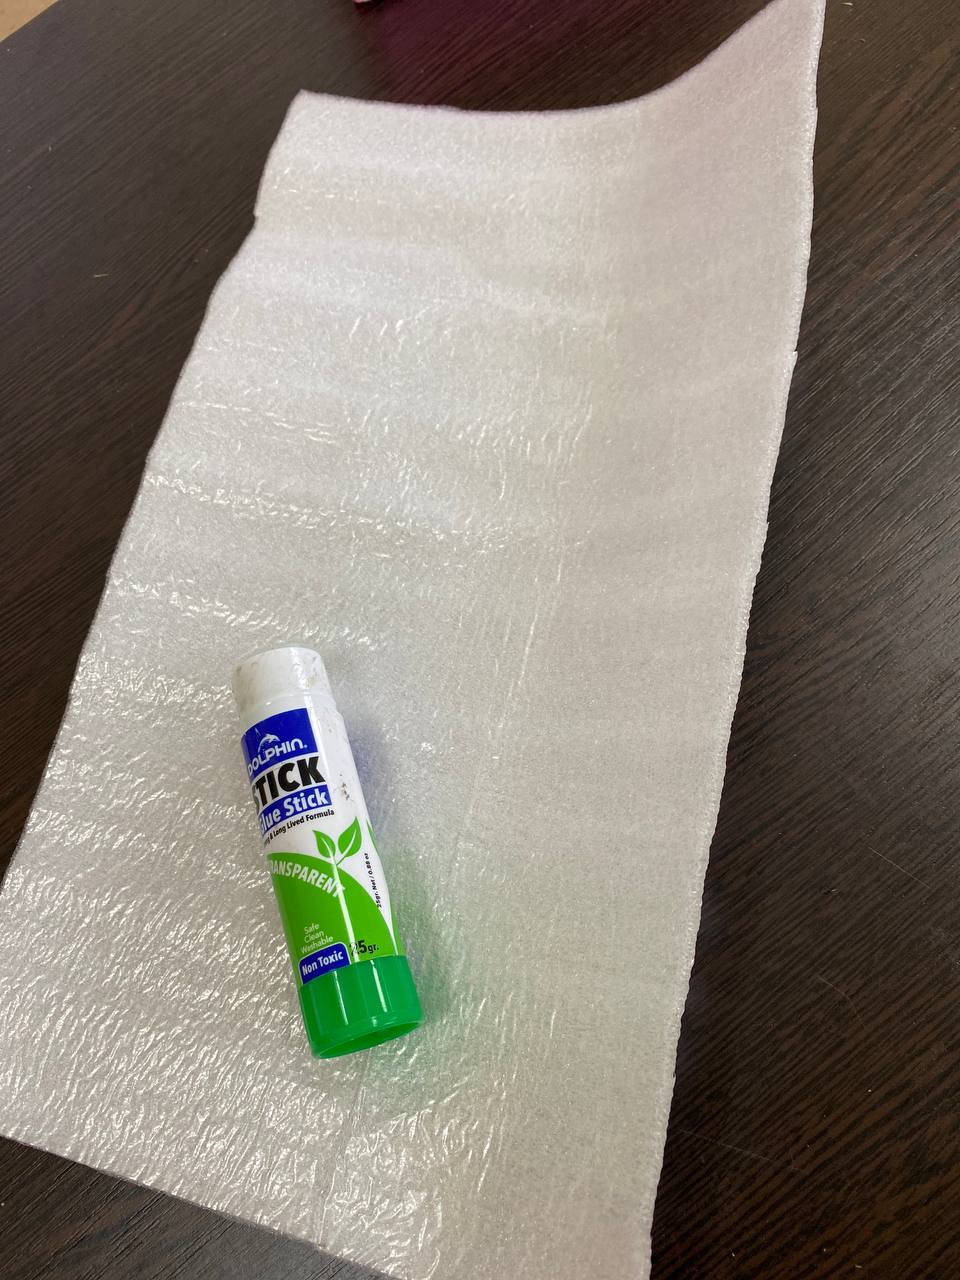
Step 8. And glue on the inside of the box. Cut out the excess
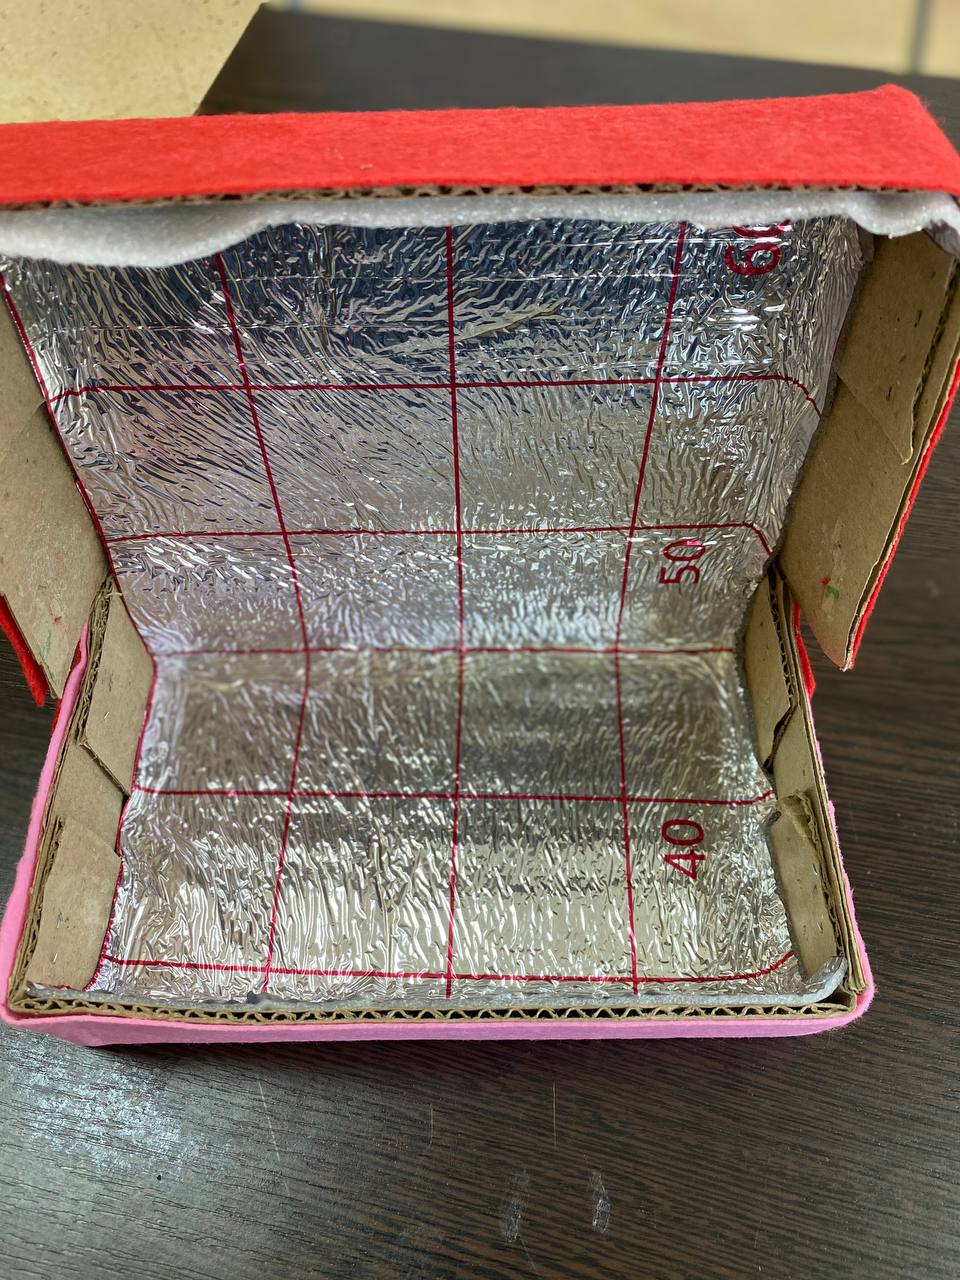
Step 9. Put down the aluminium mould.
Work at home
1. Think about how you could make a thermo-box (backpack) for food.
2. with what materials?
3. Before the next lesson, think of how you will decorate your thermo bag & Lunch-box (national patterns, fruits, vegetables)
4. Assignment for the whole class: Bring a 0.25l glass bottle and a 0.5l plastic bottle (one for each class) – We will make a thermos.