Lesson 2
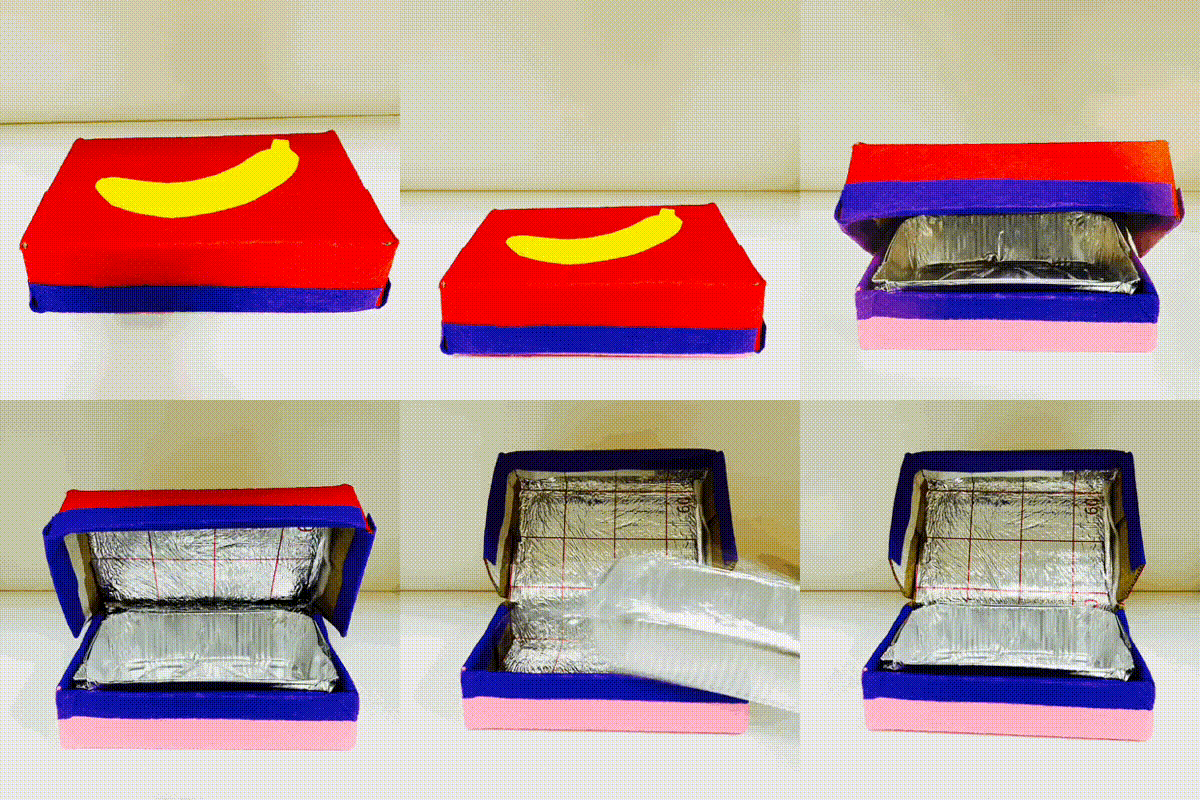
In the second week you will continue with the construction of the thermal bag – we will decorate it.
Practical part
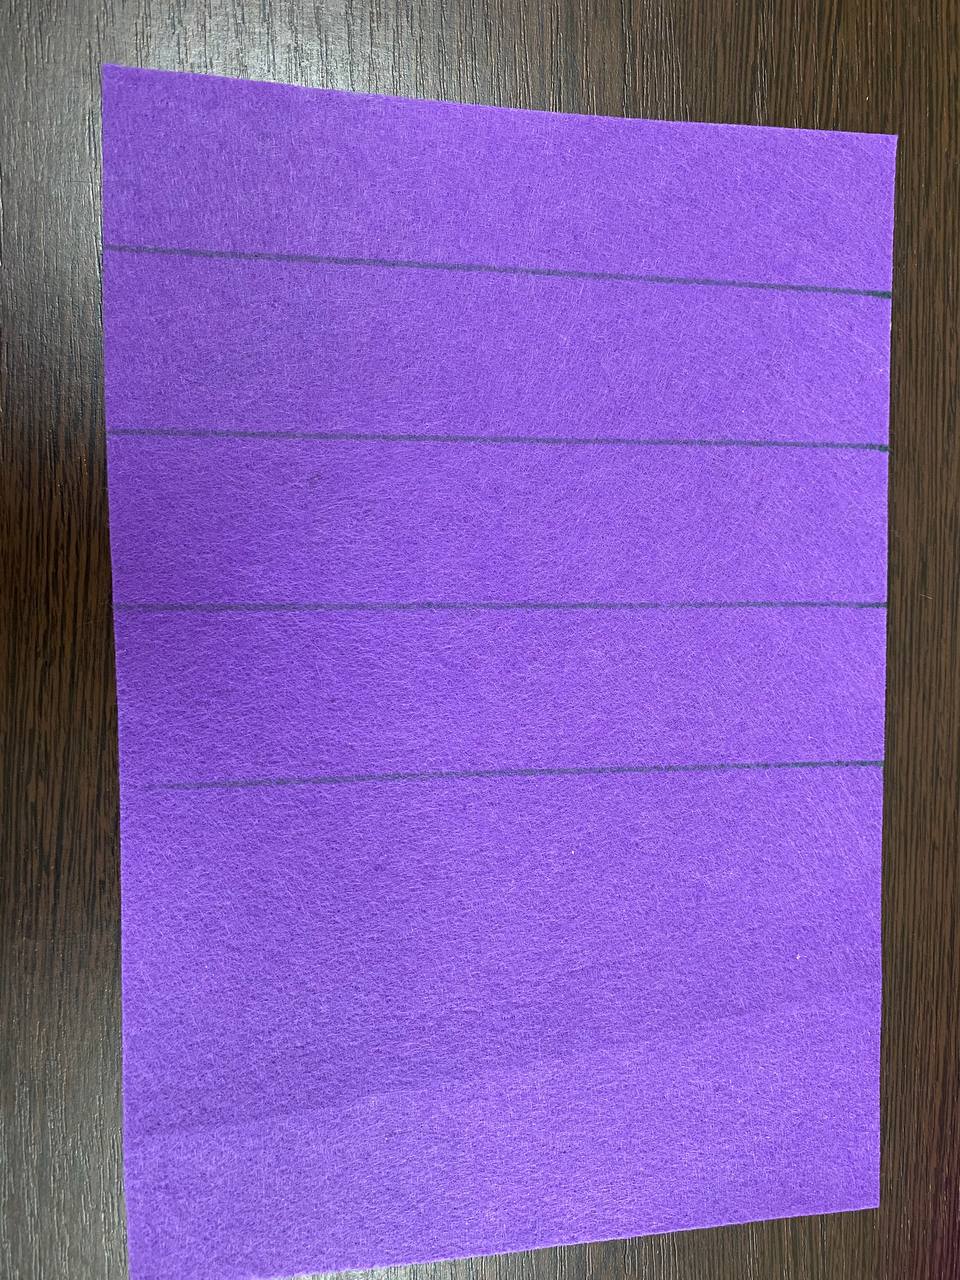
Step 1: Cut out four 5 cm wide lines.
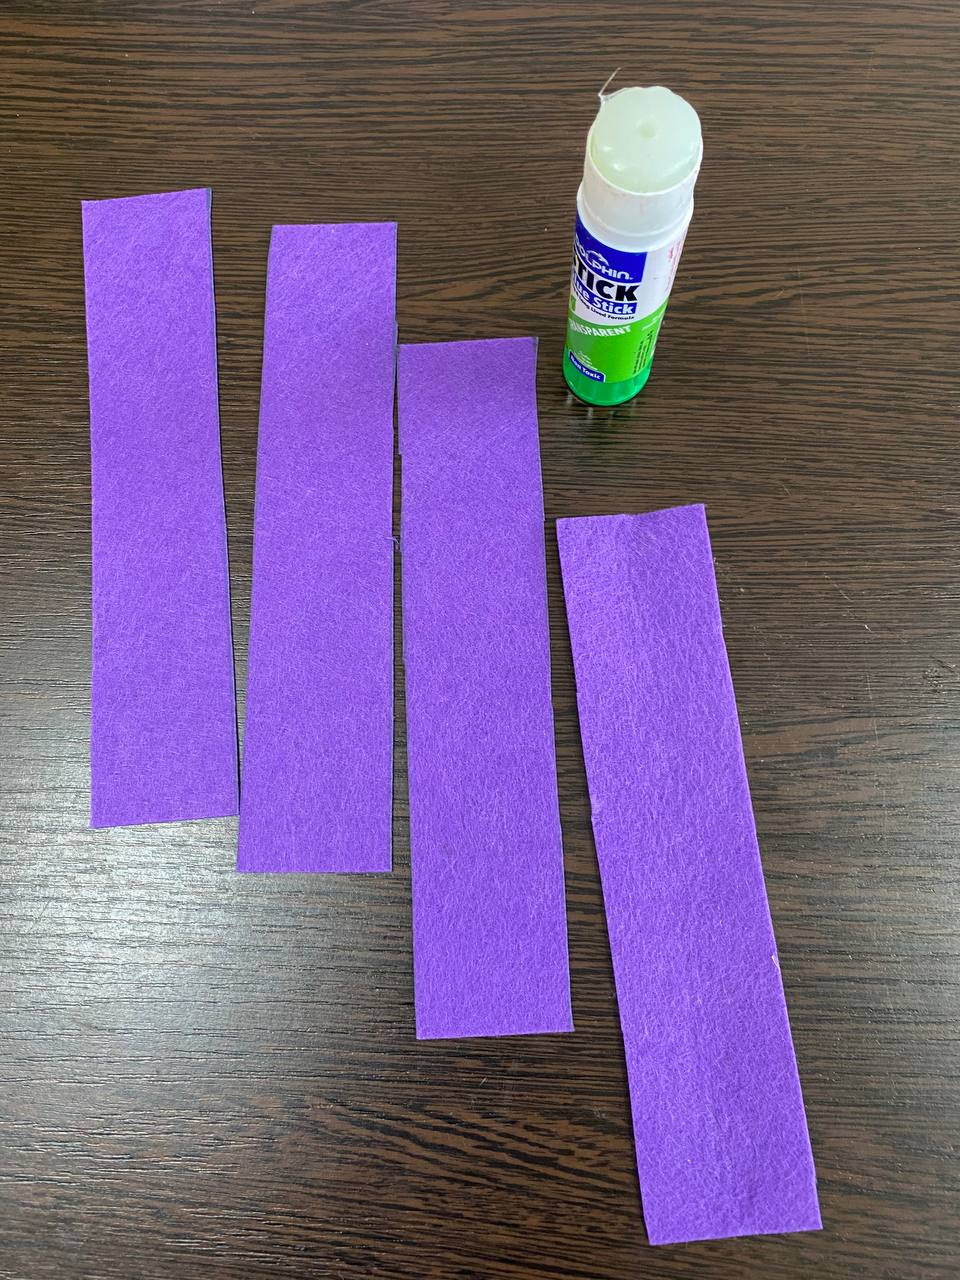
Step 2. Then glue on the edge of the box with paper glue
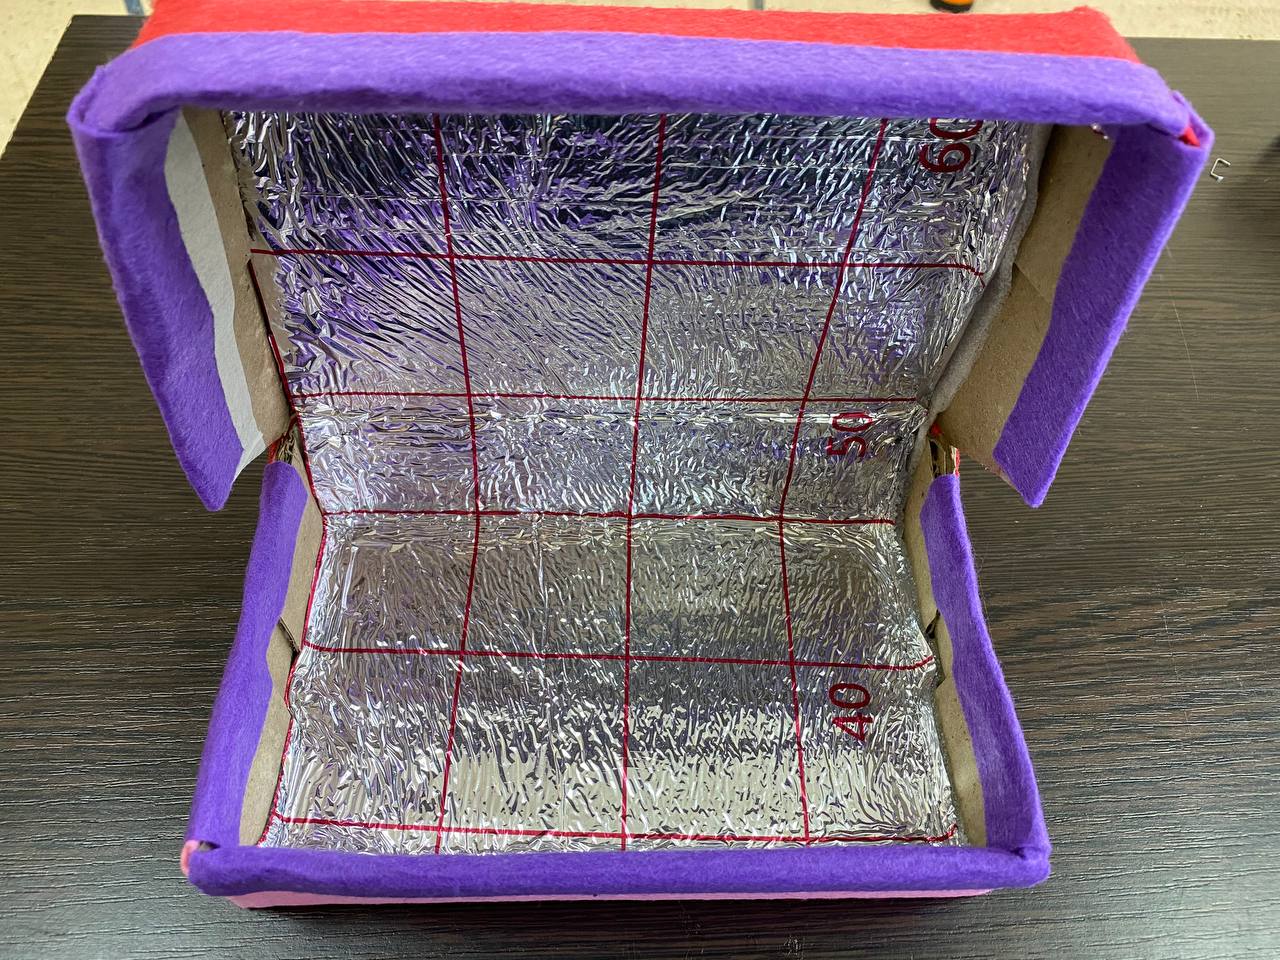
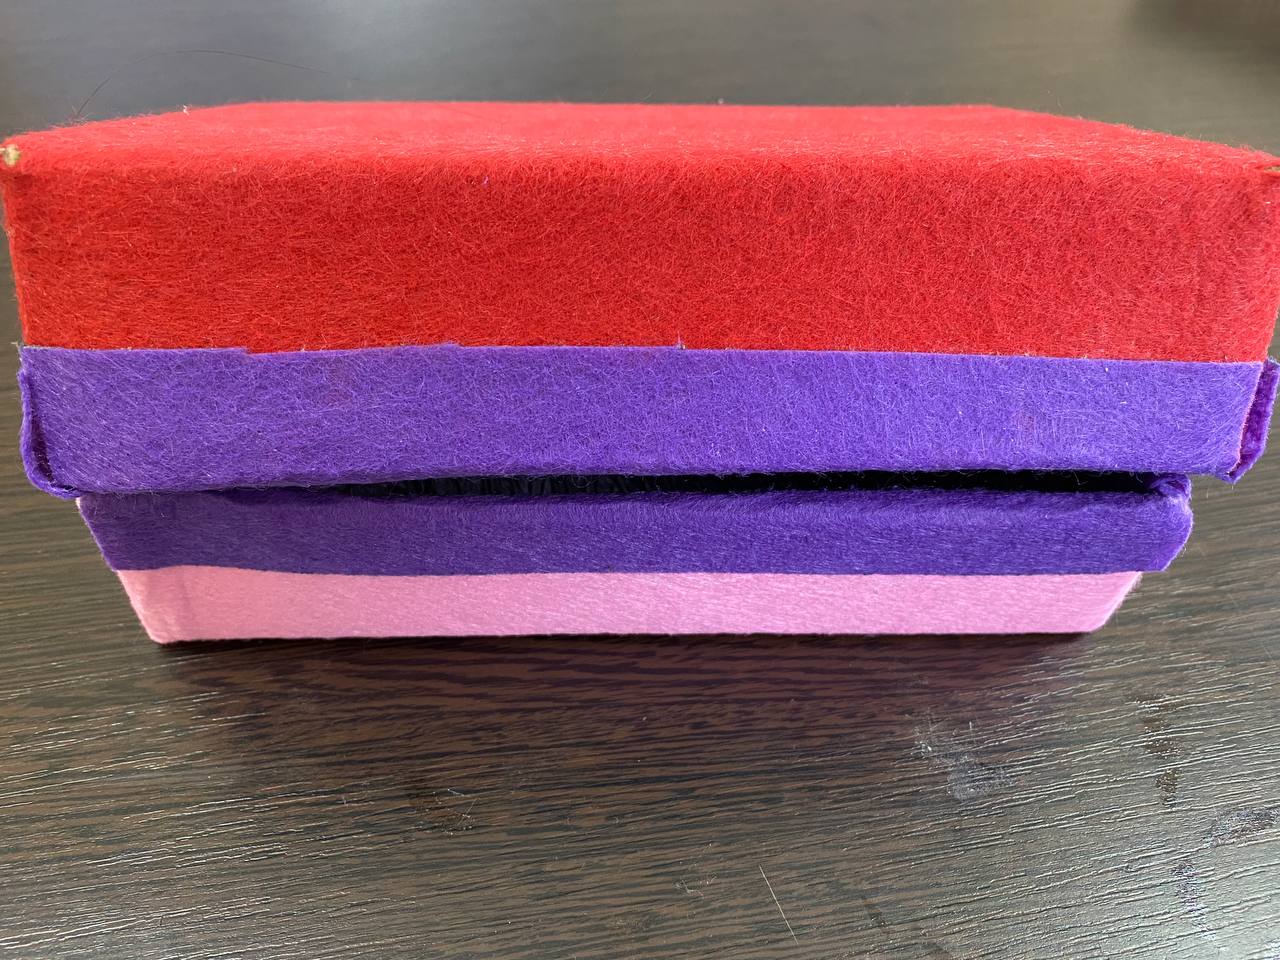
Step 3: Take felt in a different colour. And draw the pattern you have in mind:
– national patterns
– vegetables
– Fruits etc.
And glue it on the outside of the thermo bag
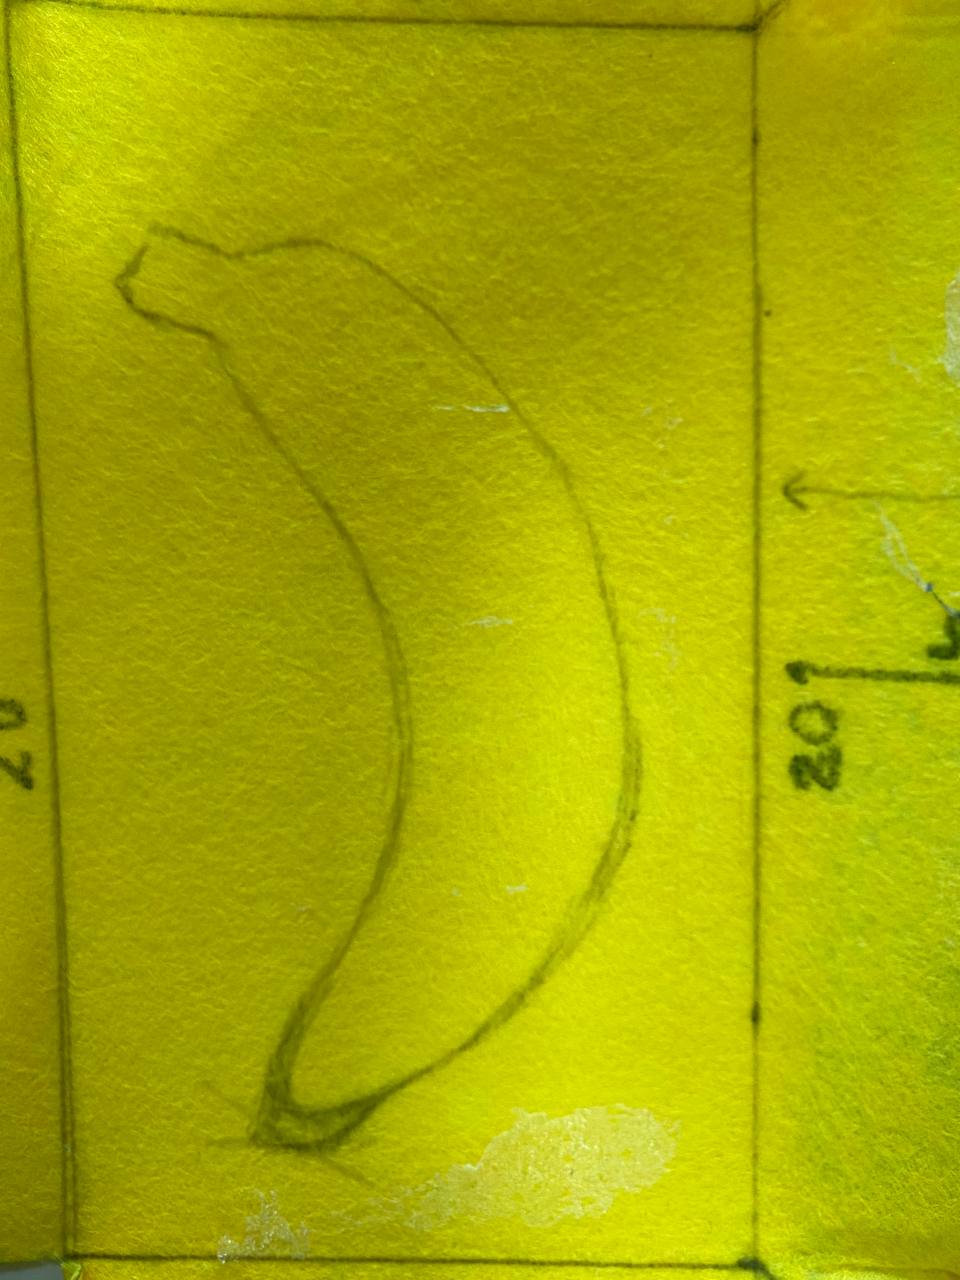
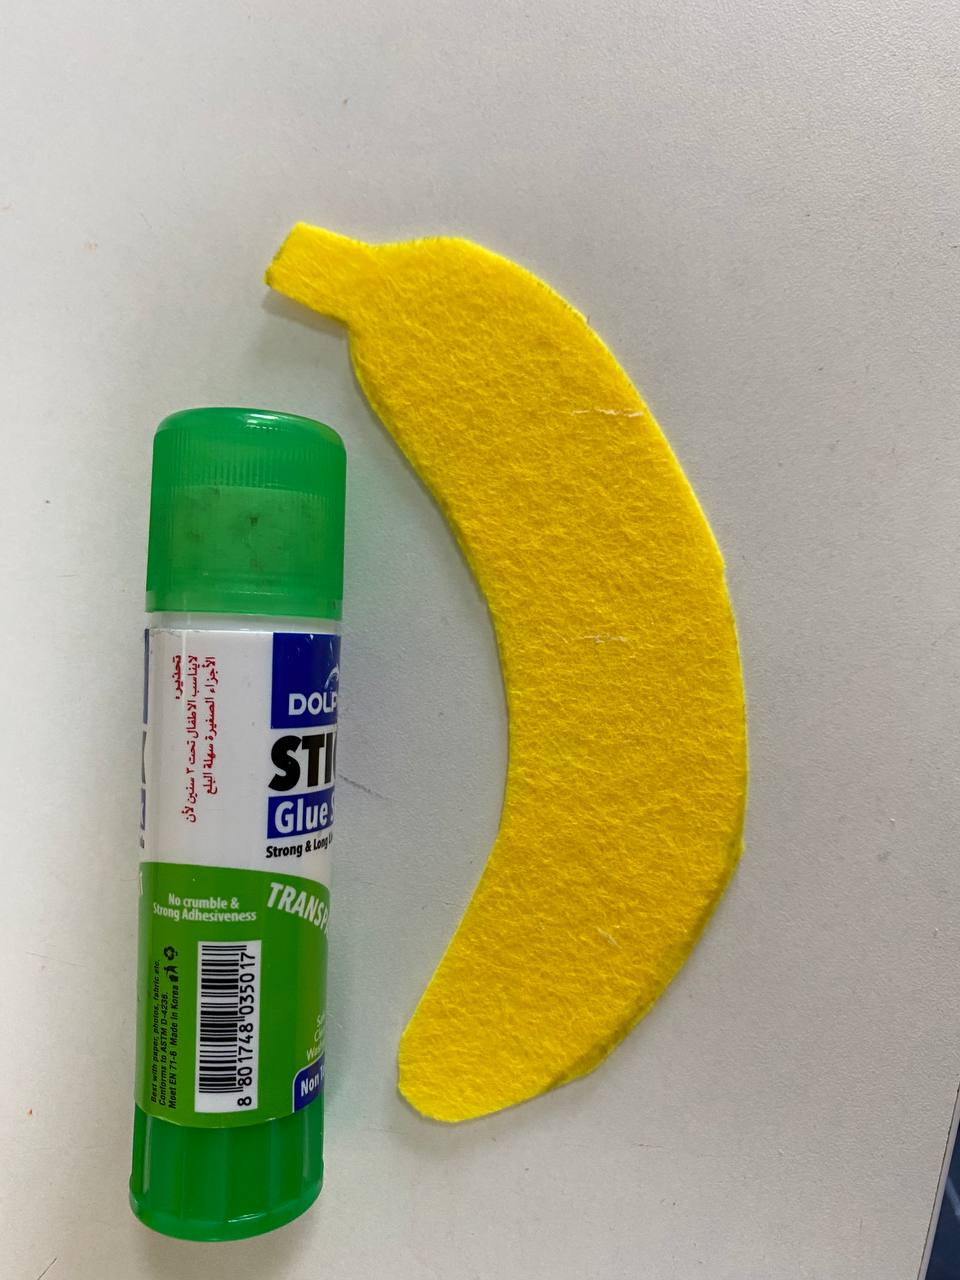
Step 4: Place the aluminium mould.
Congratulations, your thermo bag & Lunch-box is ready!
Research part
You have brought a 0.25l glass bottle and a 0.5l plastic bottle (one for each class).
Let’s make a thermos.
To make a thermos, see the instructions at the link: Thermos
1. Pour the hot tap water or kettle into 2 containers:
– into a prepared thermos
– into a mug or bottle.
Be careful or ask your teacher to pour hot water for you.
2 Measure the temperature with a thermometer.
3. Measure the time. And measure your temperature every 10 minutes for an hour.
4. Draw a table and record the data obtained.
| Thermos | A mug or regular bottle | ||
| Time | Теmperature | Time | Теmperature |
5. Draw a conclusion and discuss it with the teacher.
Conclusion
The students have thus made their own thermos bag & Lunch-box and investigated the thermal conductivity of the thermos product.
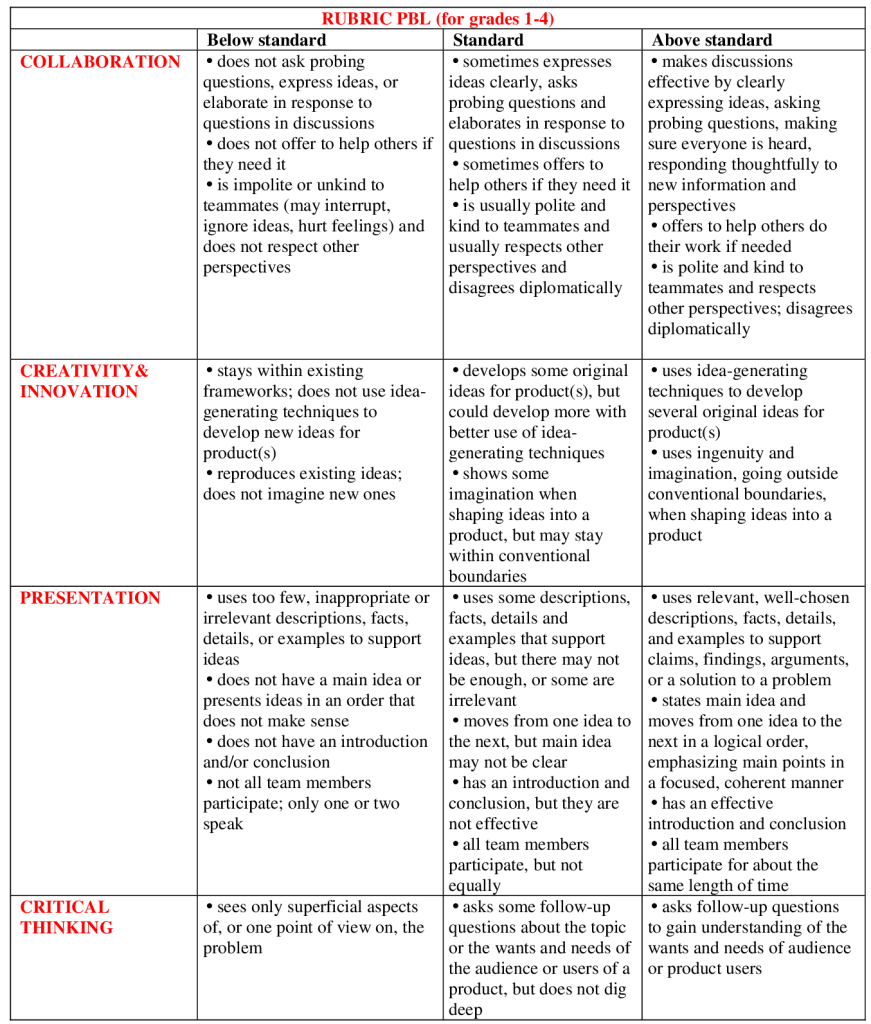
On this project, each pupil is awarded a STEAM title, in two categories:
– You independently, researched the thermo bag & Lunch-box and thermos, namely the thermal conductivity of the foil material and the felt , you are a true research scientist!
– You made the thermo bag & Lunch box yourself. This in turn is a technological process. Congratulations, you are a young engineer and process engineer!
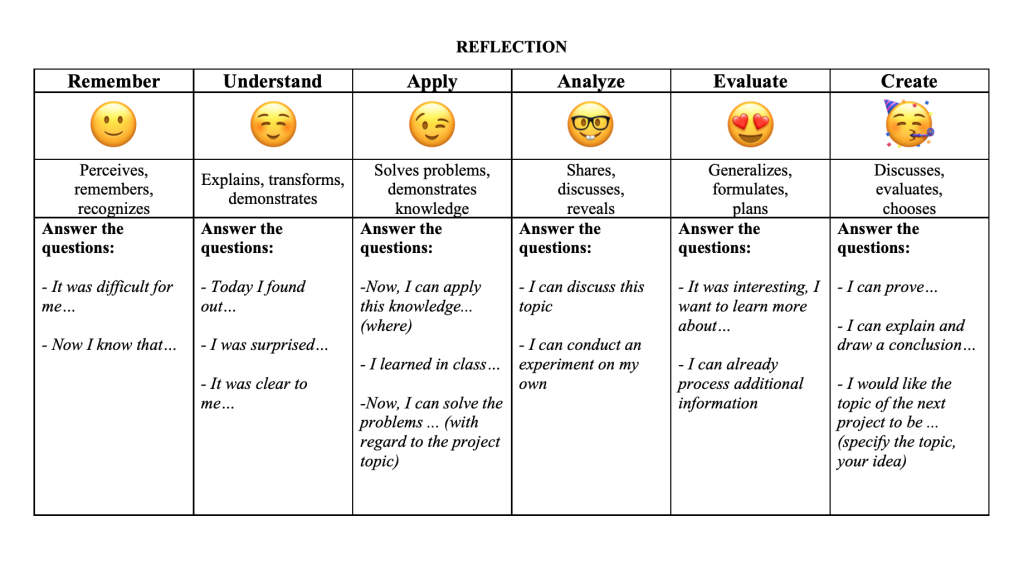
Evaluation