
Lesson 1
Project objective
To study the types of bath bombs. Study the properties and composition of the substances. Pure substances. Mixtures.
Make bath bombs using the materials provided. Dissolve them in water. Identify the reactions.
Teacher’s guide.
– In the experimental part of the project, pupils work in groups of 4-5.
– The students should be familiar with the topics like substances and their properties, pure substance and mixture, different processes.
– Before starting the experimental part, introduce and provide the students with all the necessary materials.
– Give brief instructions on how to work with the chemicals.
– At the beginning of the lesson explain the PBL (project based learning) rubrics to the students. Skills 4K (critical thinking, collaboration, creativity, anticipation)
Safety in Steam lessons
It is recommended that teachers are fully aware of the safety procedures before the beginning of the lesson. If necessary (if they are using items specified in the PPE guidelines), brief the students. Visit the Safety Teach Steam Lessons link – be sure to read it thoroughly – Safety
Theoretical part
A bubble bath is a mixture of dry ingredients, including oils, flavourings and colourings. The solids in the bubble bath dissolve completely in the water and change its composition, colour and smell. To make a bubbly bomb at home we need baking soda, citric acid, salt, flavouring and colouring.
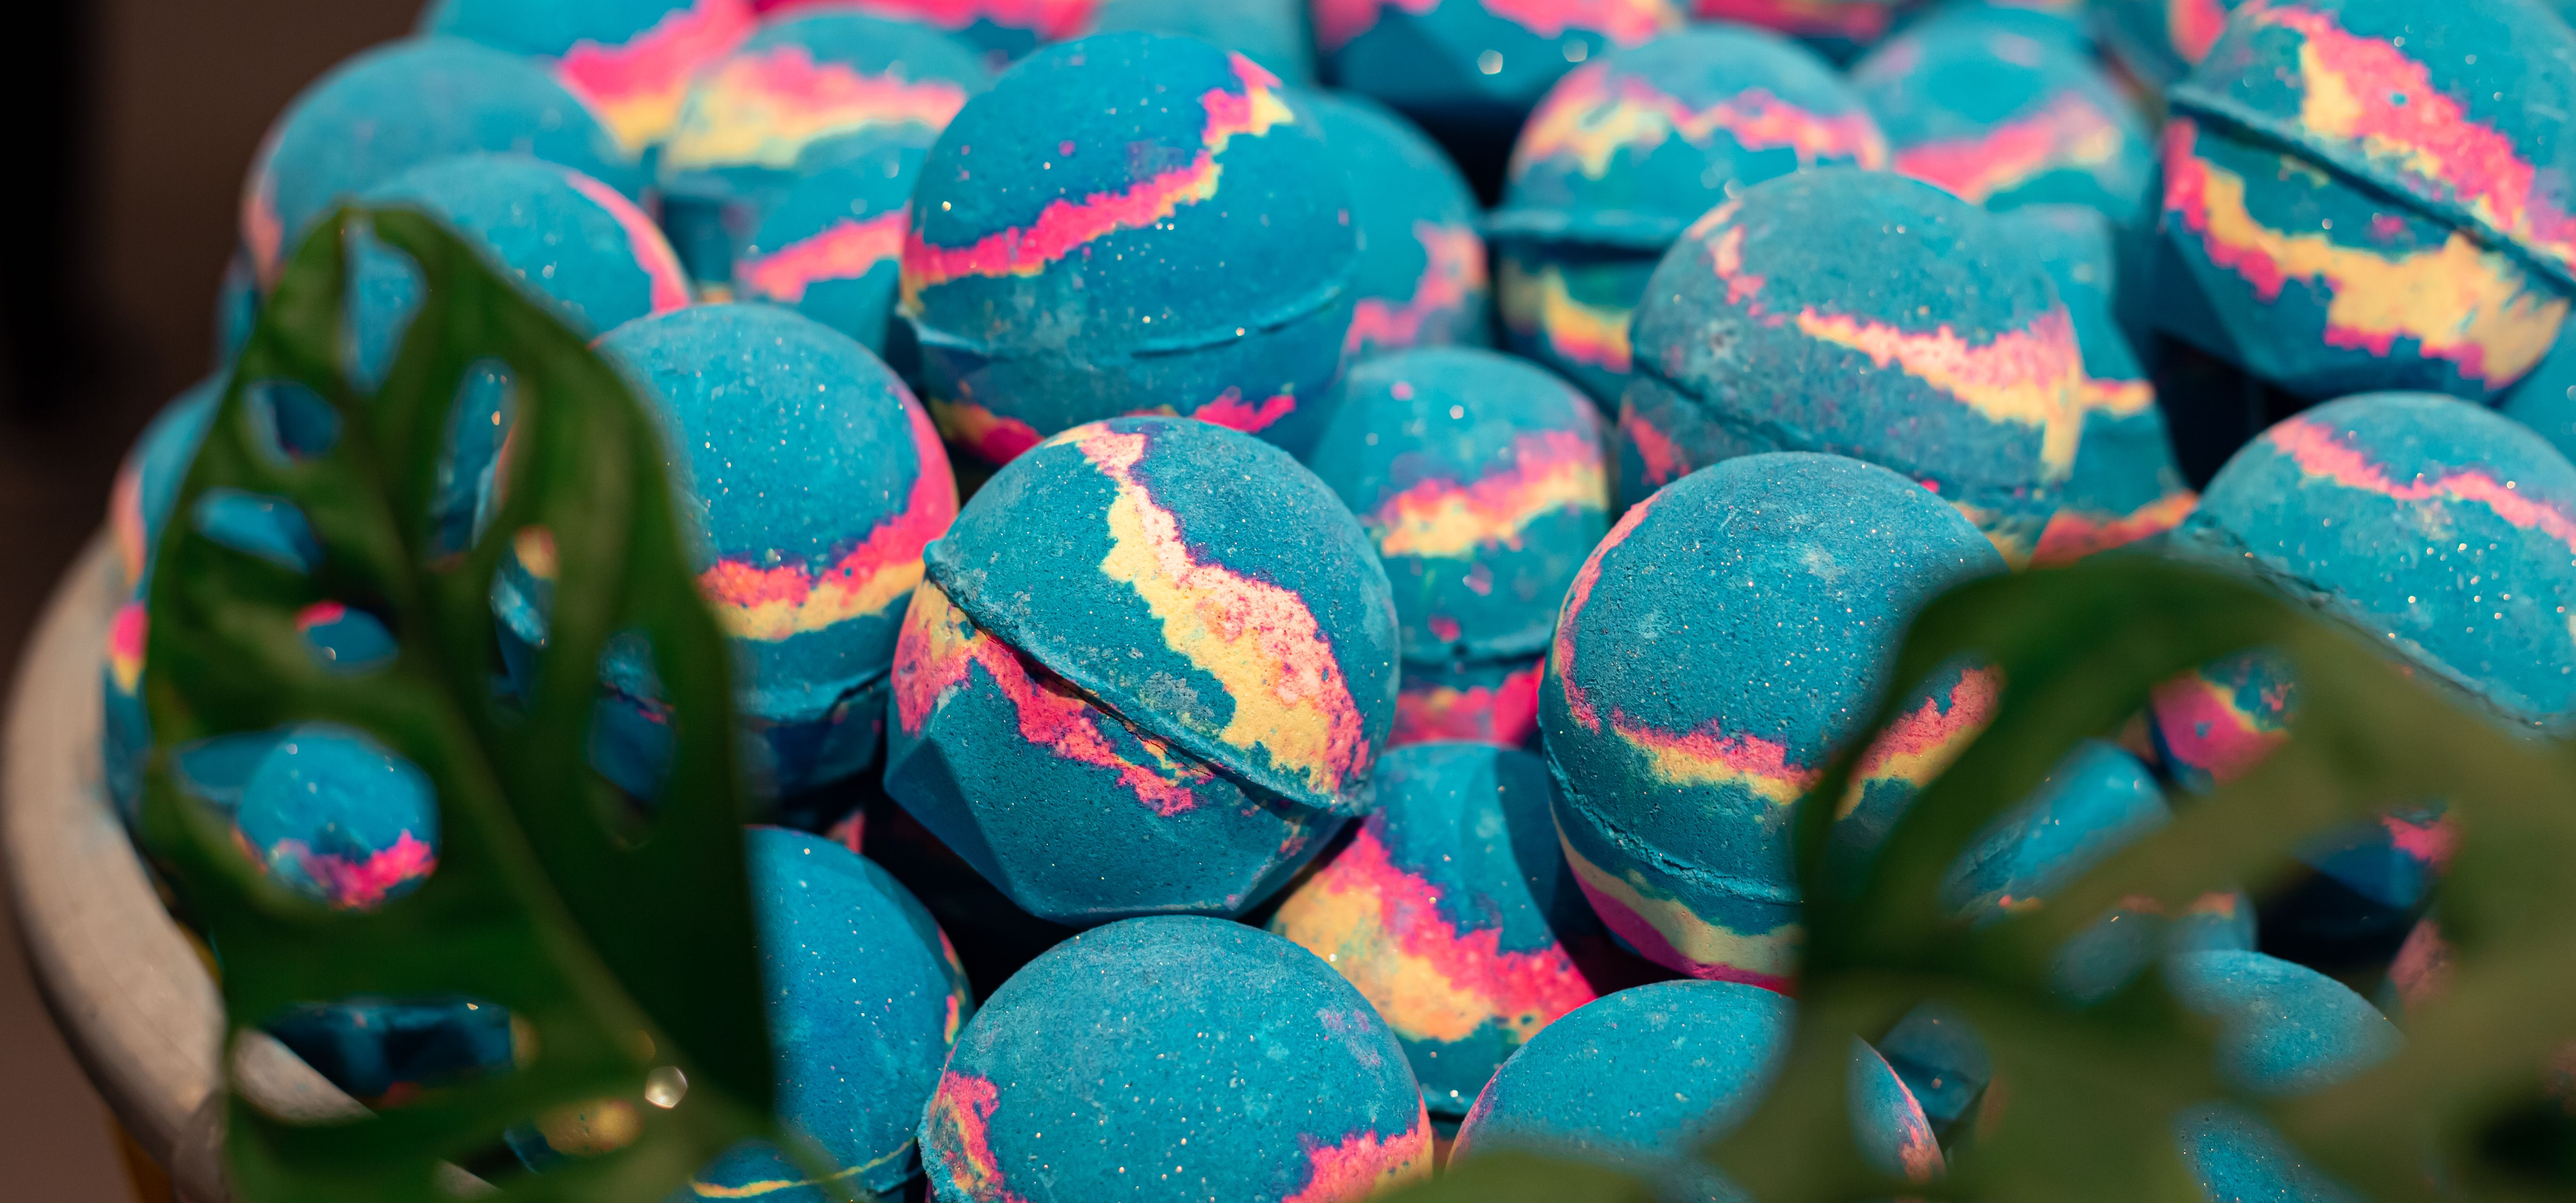
The main ingredient used to make bubbles is baking soda, which is good for the skin, hair and cleanses all kinds of irritations.
The bombs also contain citric acid, which makes them effervescent and frothy as soon as they hit the water. It has properties that stimulate new cell renewal, improves skin elasticity, evacuates toxins through the skin cells. Hair in such water will become manageable and shiny.
Essential oils – effective for prevention of colds. The oils also soften and nourish the skin, activate metabolic processes and influence your mood with their scents: soothing, relaxing or invigorating.
Sea salt is added to the basic formulation. Sea salt is useful with magnesium and minerals. They normalise cellular metabolism which makes the skin look smooth and supple.
Bubbles relax muscles, strengthen blood vessels and heart, treat insomnia, improve skin condition and activate breathing, help fight inflammation of joints, reduce the effects of injuries, have a positive effect on the cardiovascular and nervous systems, improve metabolism, have an anti-inflammatory effect, help relieve nervous breakdown and stress.
Sources:
1. Железнякова, К. В. Бомбочки для ванны — вред или польза для организма человека / К. В. Железнякова, М. В. Бабкина. — Текст : непосредственный // Юный ученый. — 2021. — № 3.1 (44.1). — С. 21-23. — URL: https://moluch.ru/young/archive/44/2452
2. <a href=’https://ru.freepik.com/photos/background’>Background фото создан(а) pvproductions – ru.freepik.com</a>
The practical part
Step 1. Familiarise yourself with all the necessary materials:- baking soda – 4 tablespoons – citric acid – 2 tablespoons – essential oils – 5-10 drops – vegetable oil – 1 teaspoon – food colouring – rubber gloves – mixing utensils – bombshells

Rubber gloves must be worn before starting work. Chemicals must not be tasted!!!
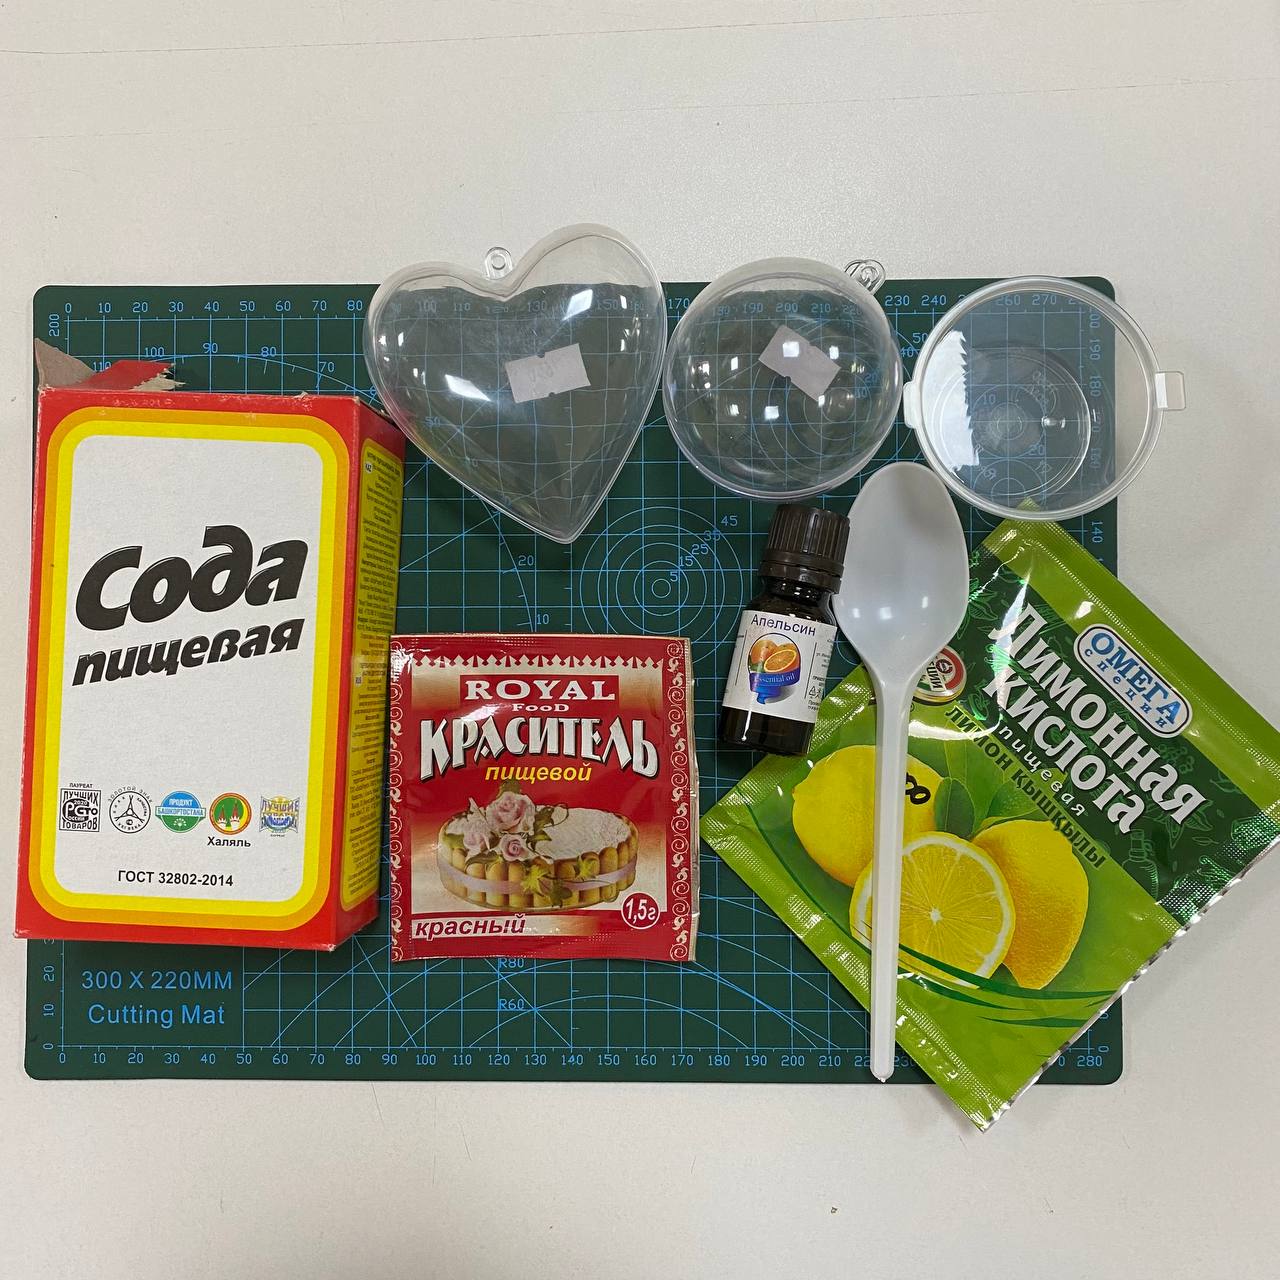
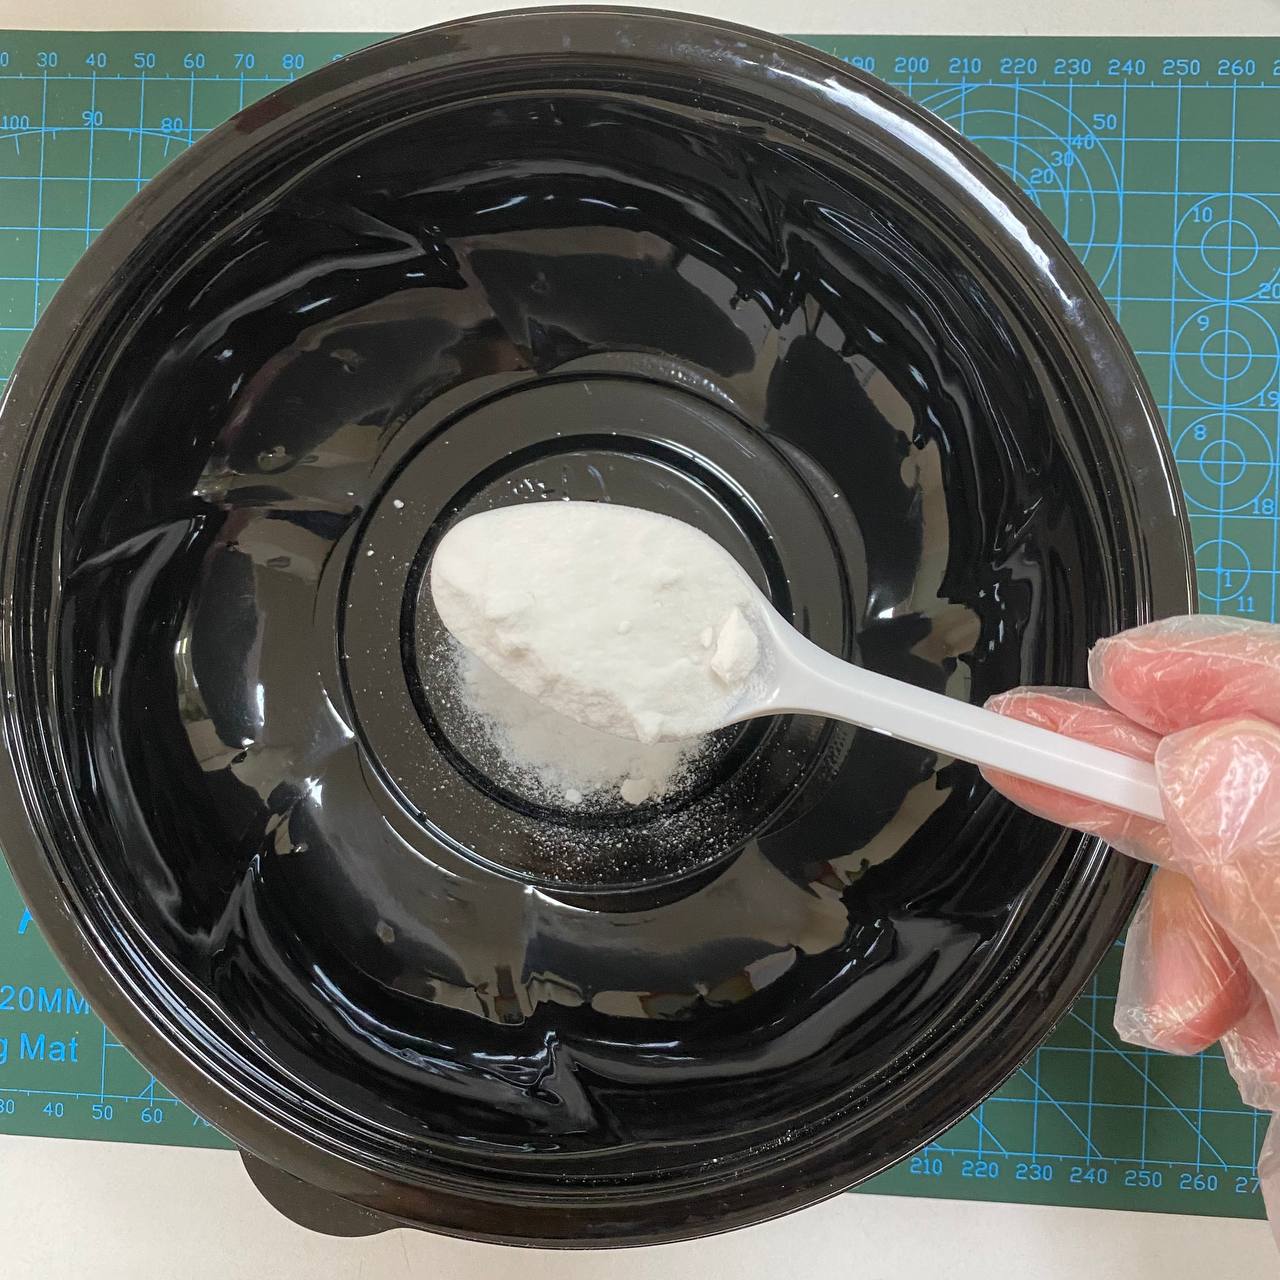
Step 2: Put 4 tbsp of baking soda in the mixing bowl.
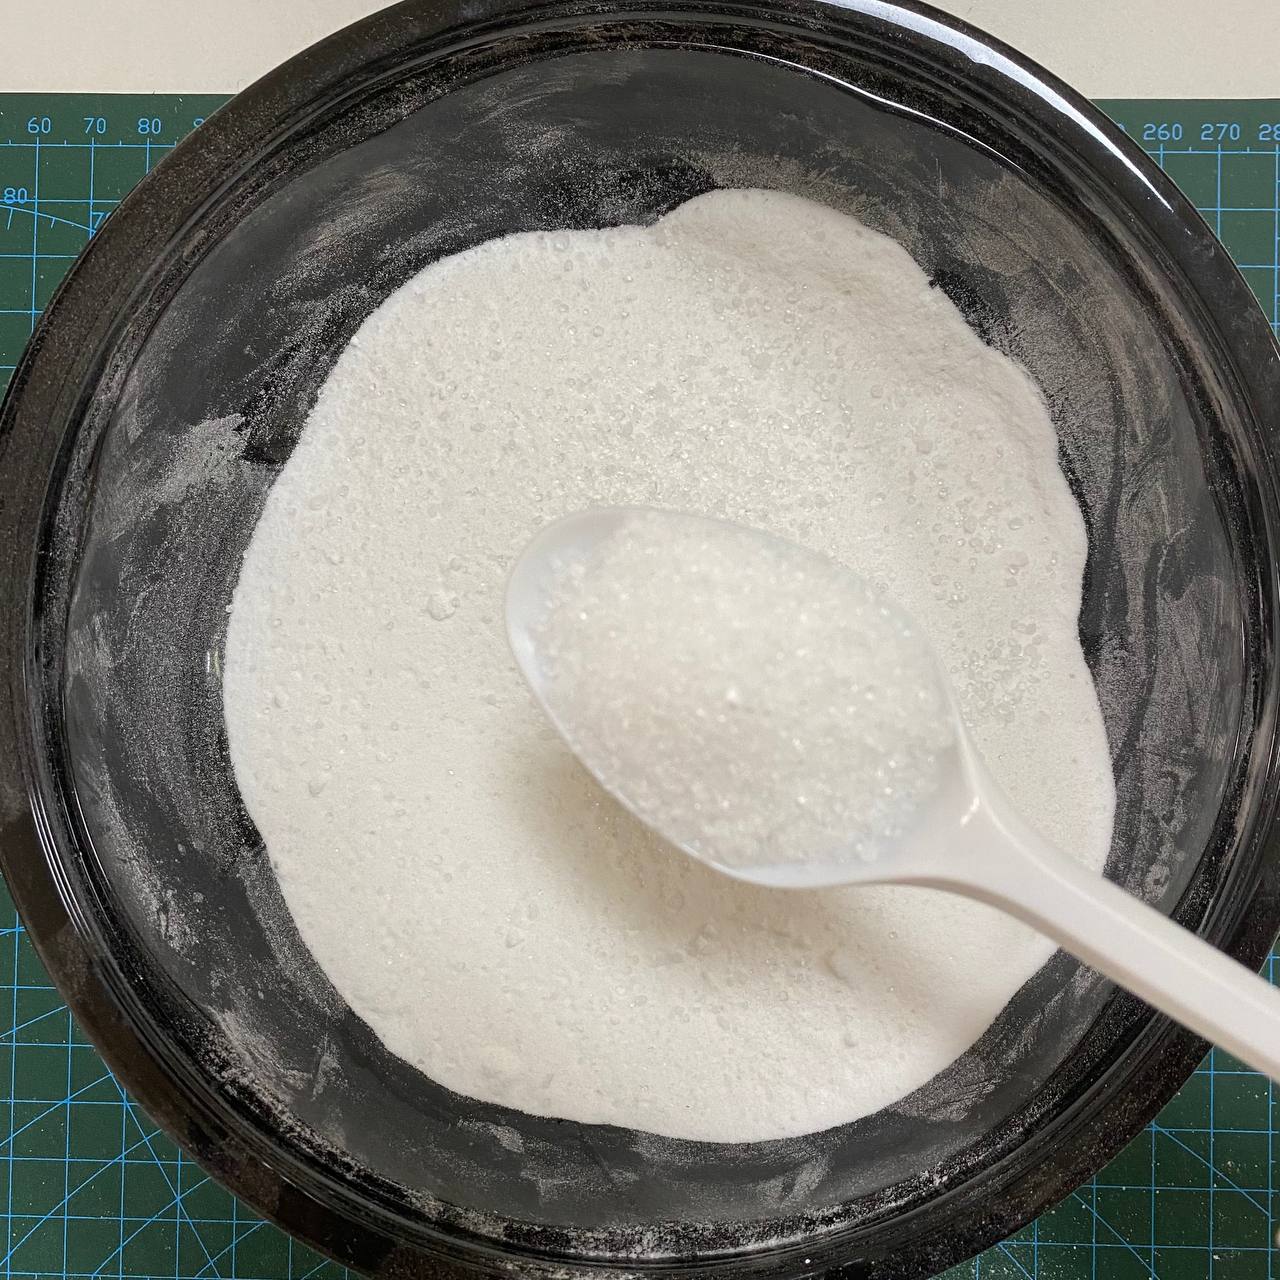
Step 3. Then add 2 tbsp of citric acid. And mix it all well.
Step 4. Then divide it all up into two different dishes.
In this project we used 2 dyes. You can choose not to do this and use just one dish and one dye.
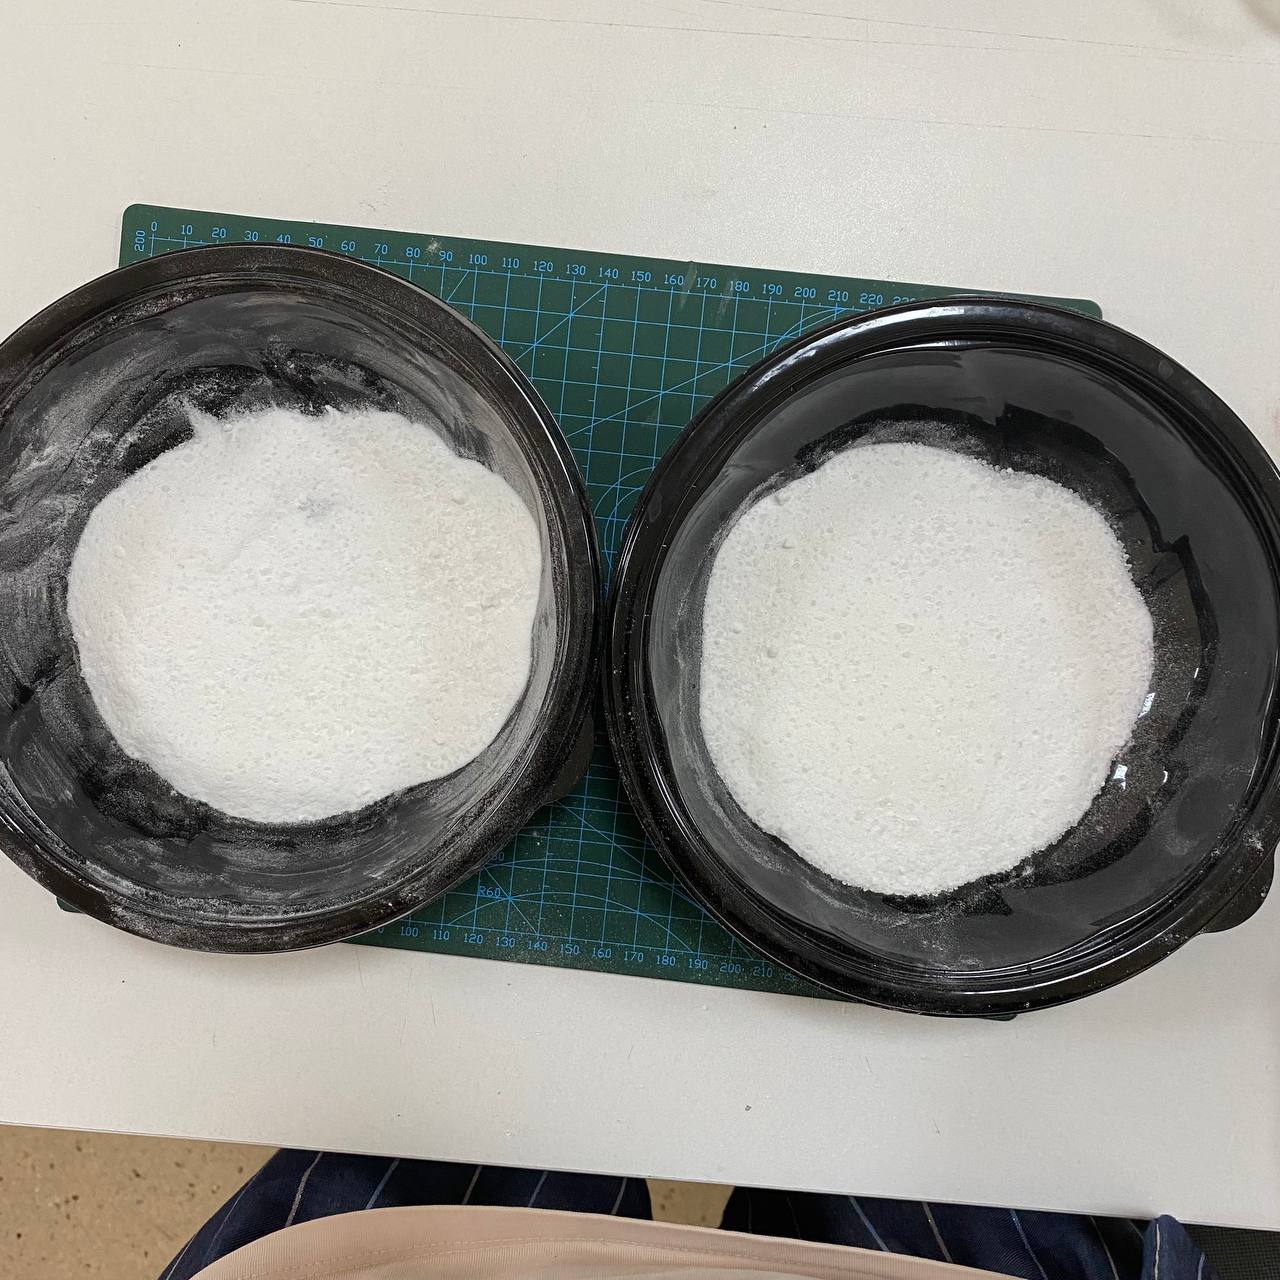
Step 5: Add the colours.
If you want to use bath bombs, do not add any colourings or just one drop, no more!
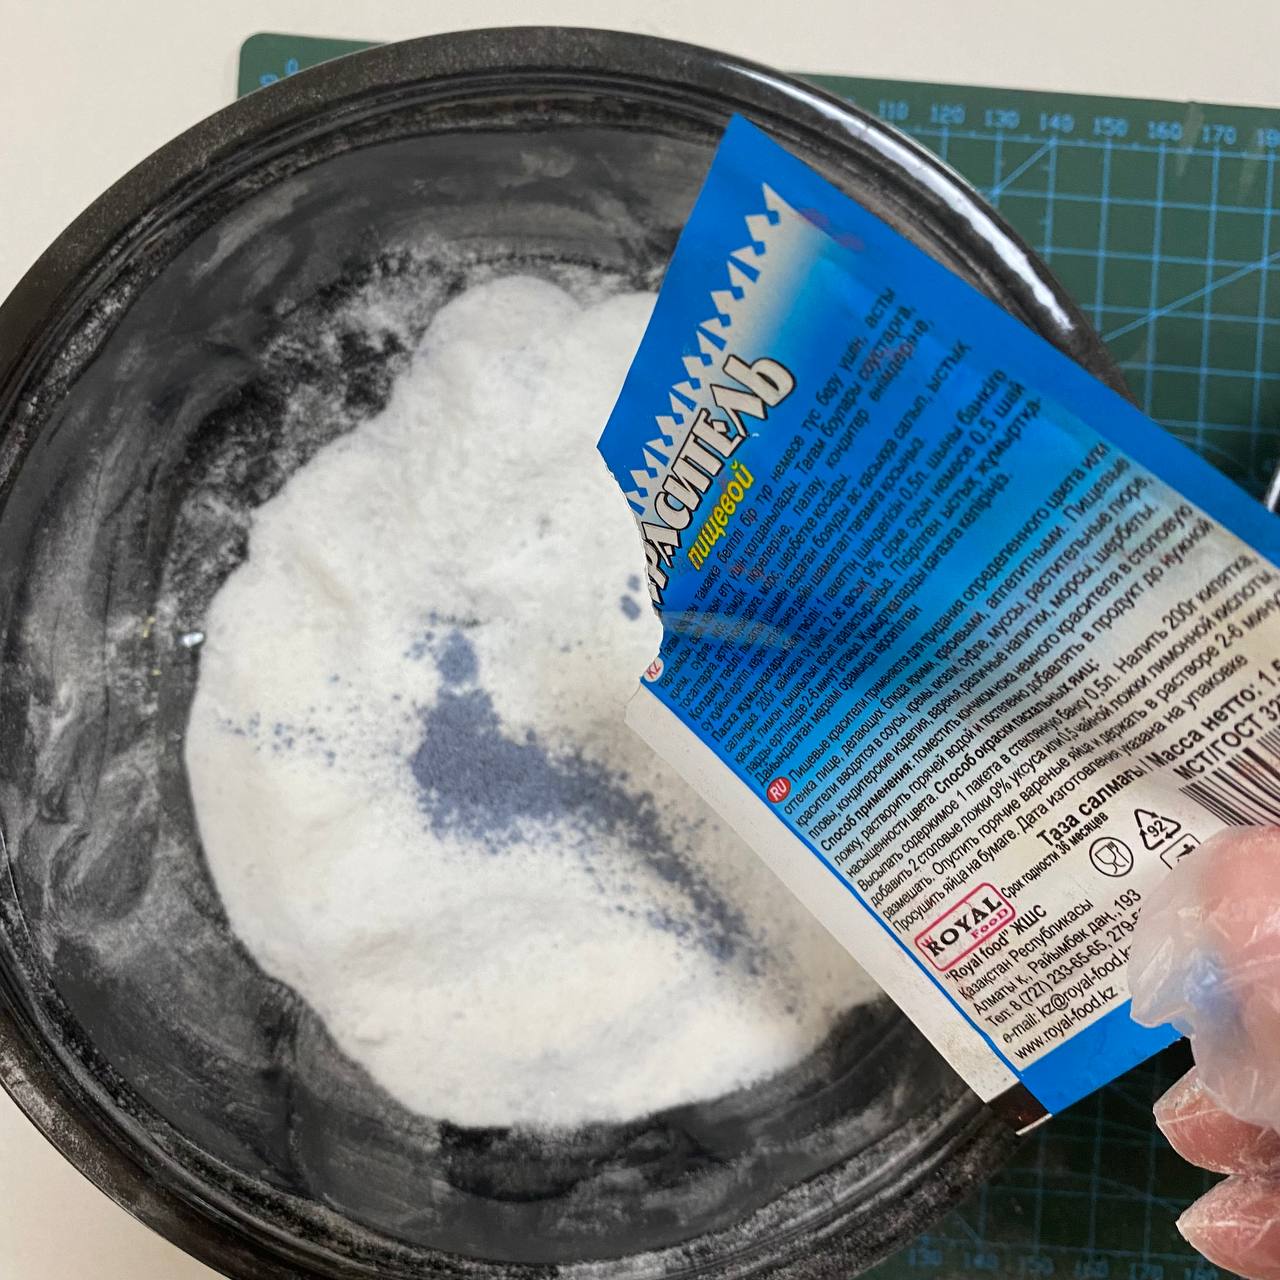
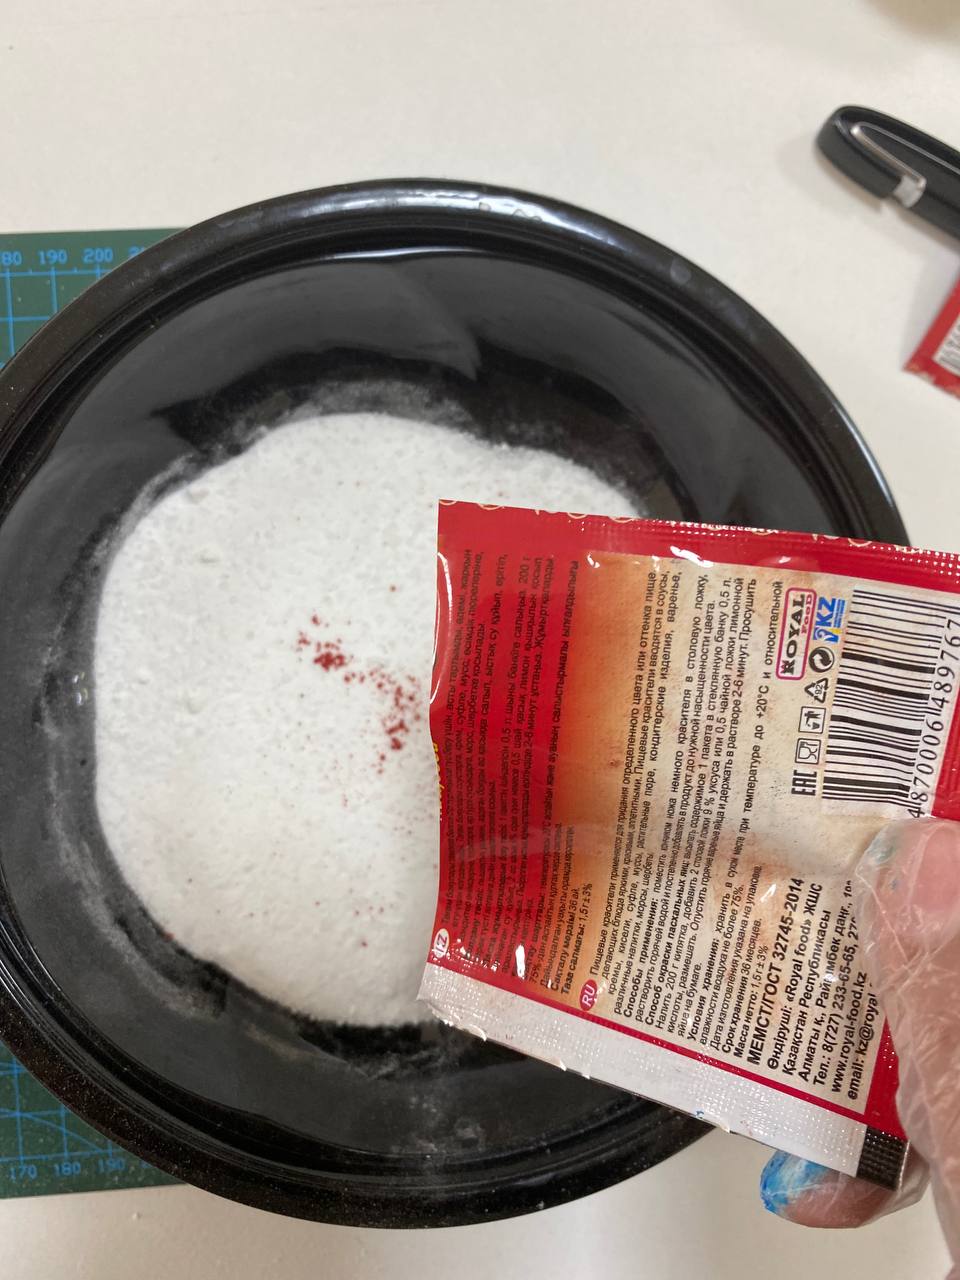
Step 6: Mix all the dry ingredients for the bombs together well.
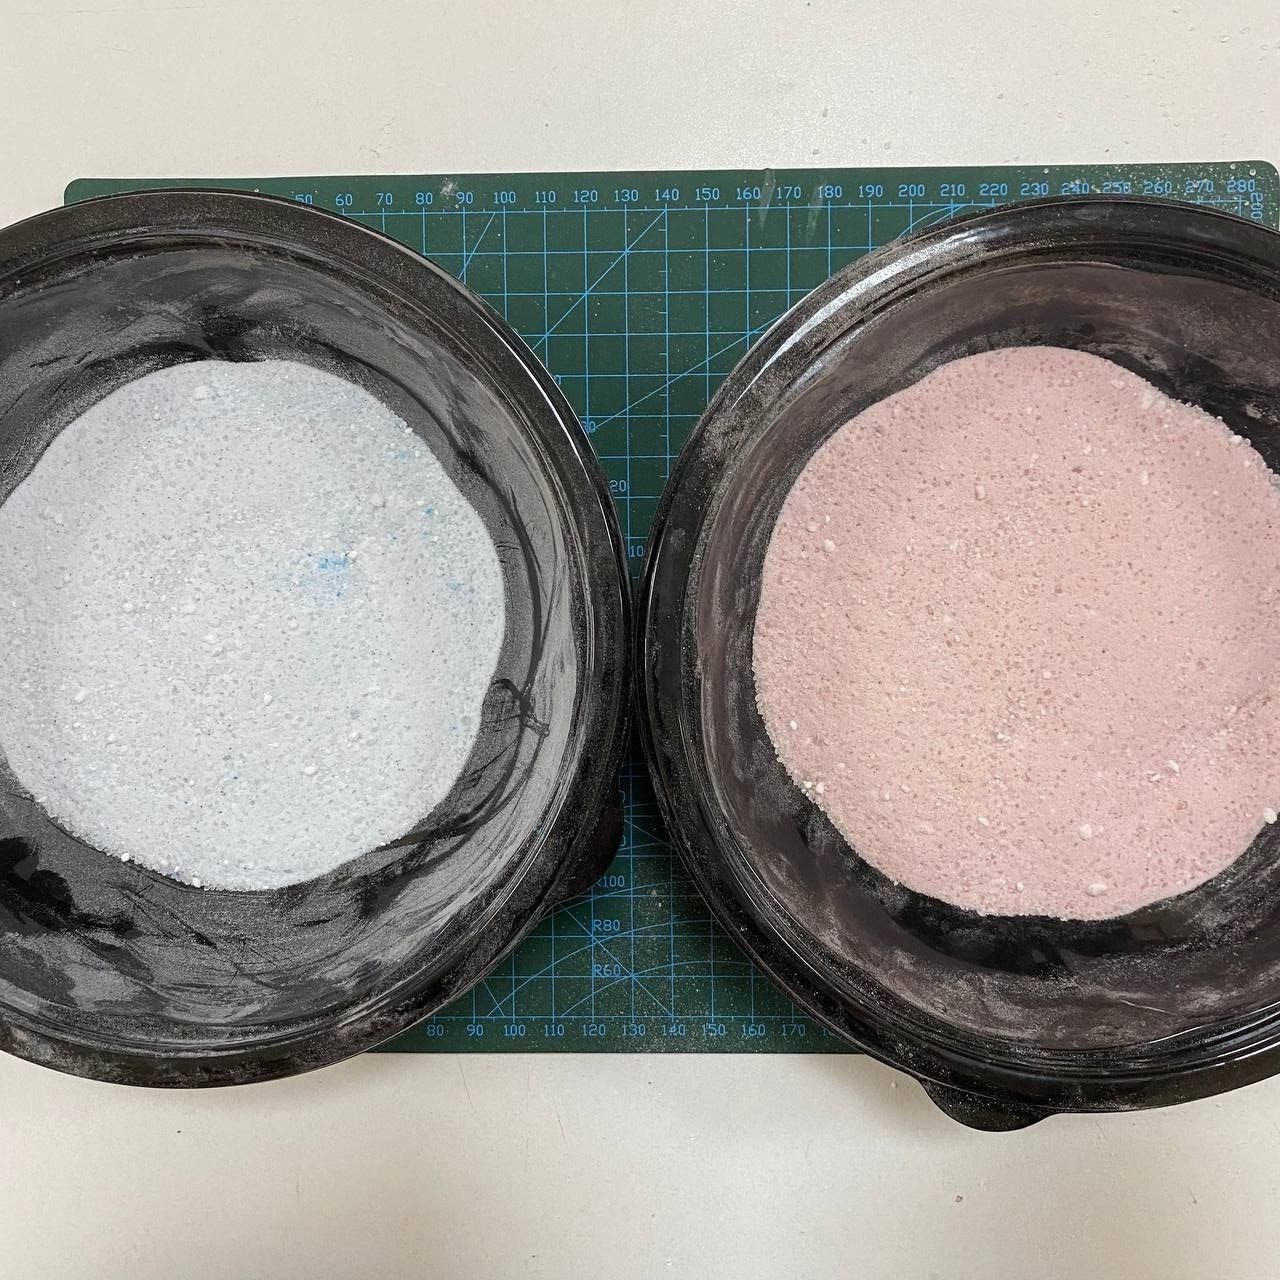
Step 7. Add essential oils with fragrances. Orange fragrance was used in this project.
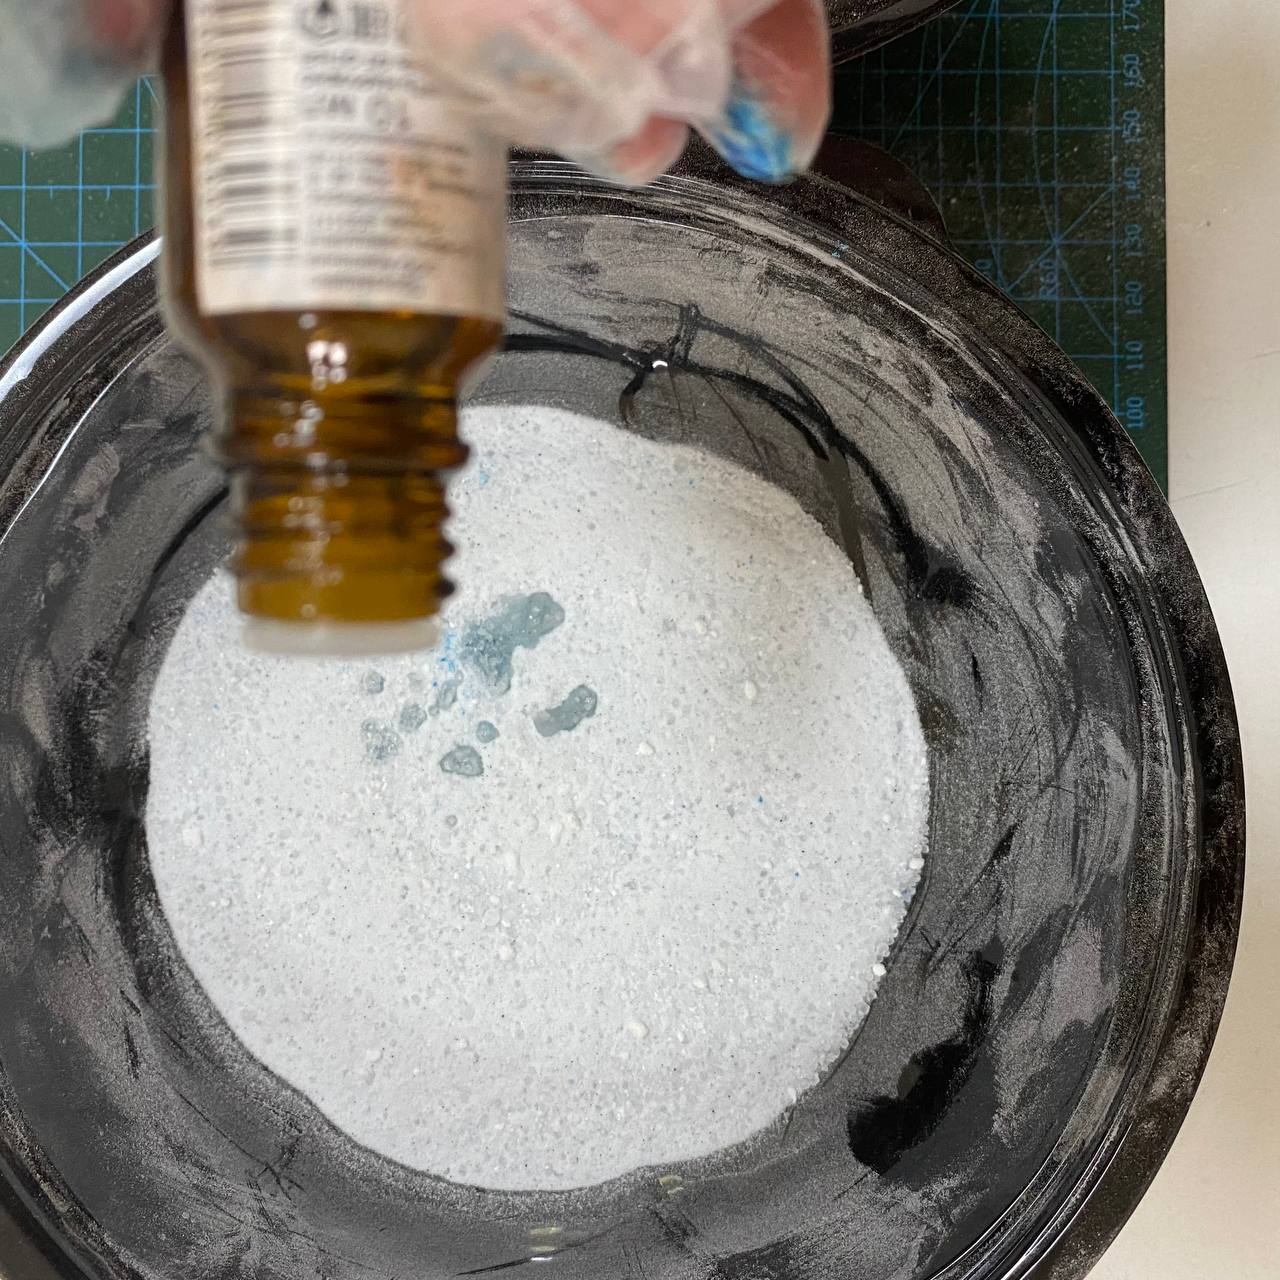
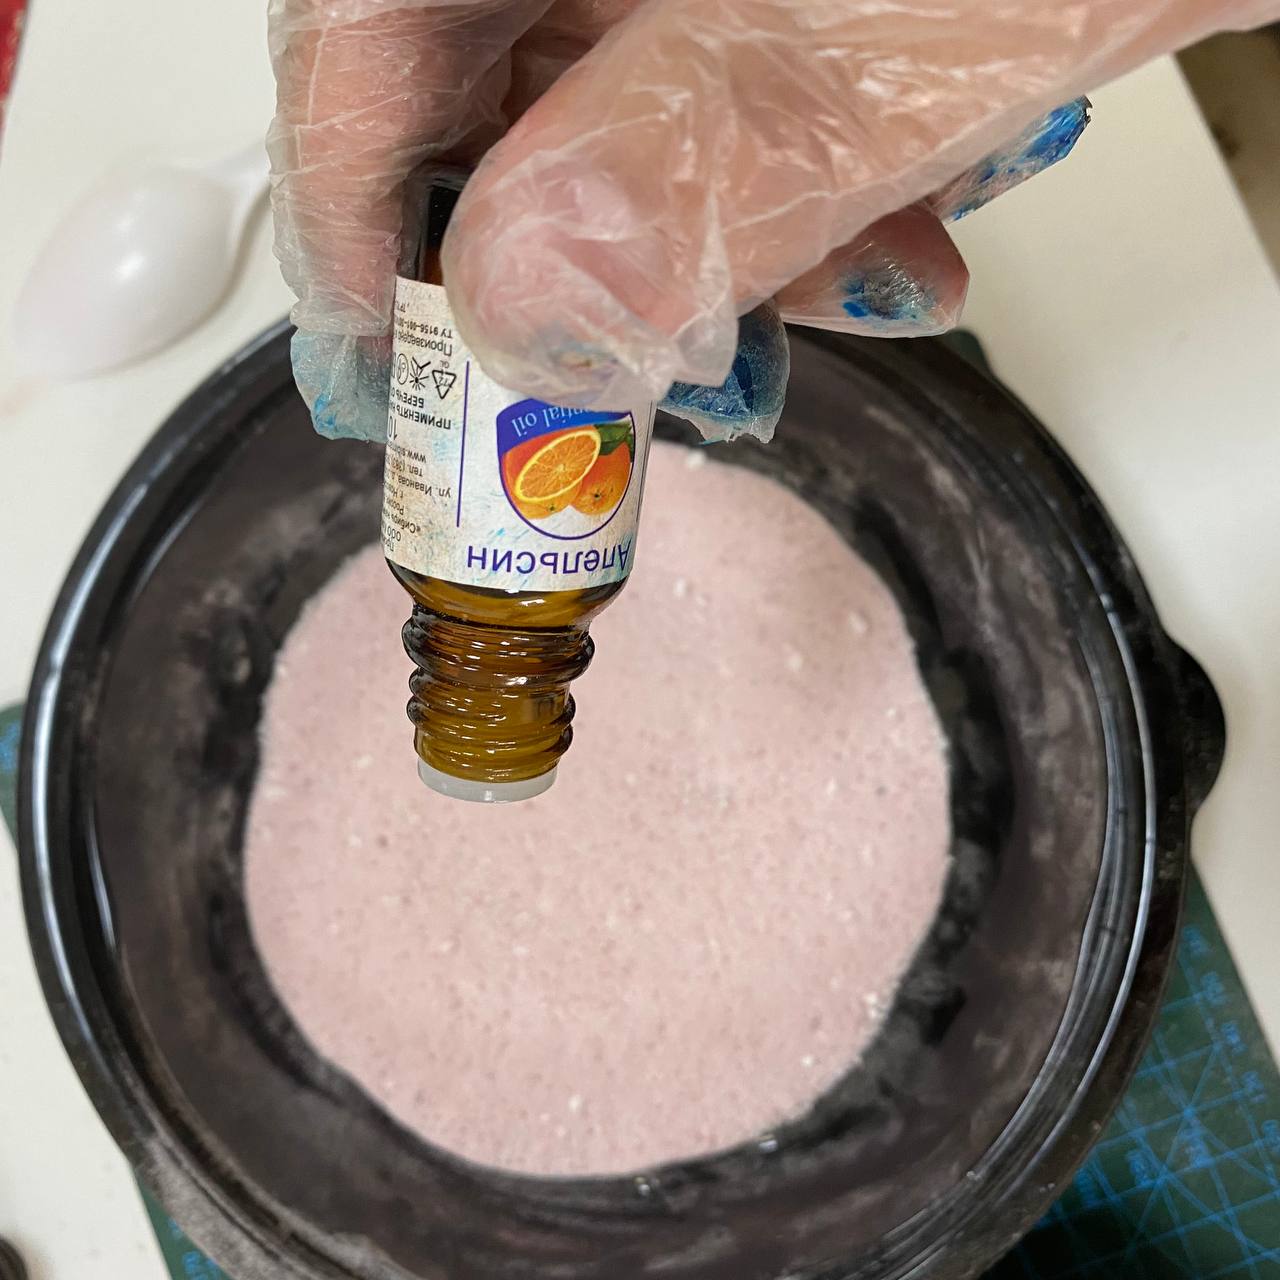
Step 8: Prepare the moulds.
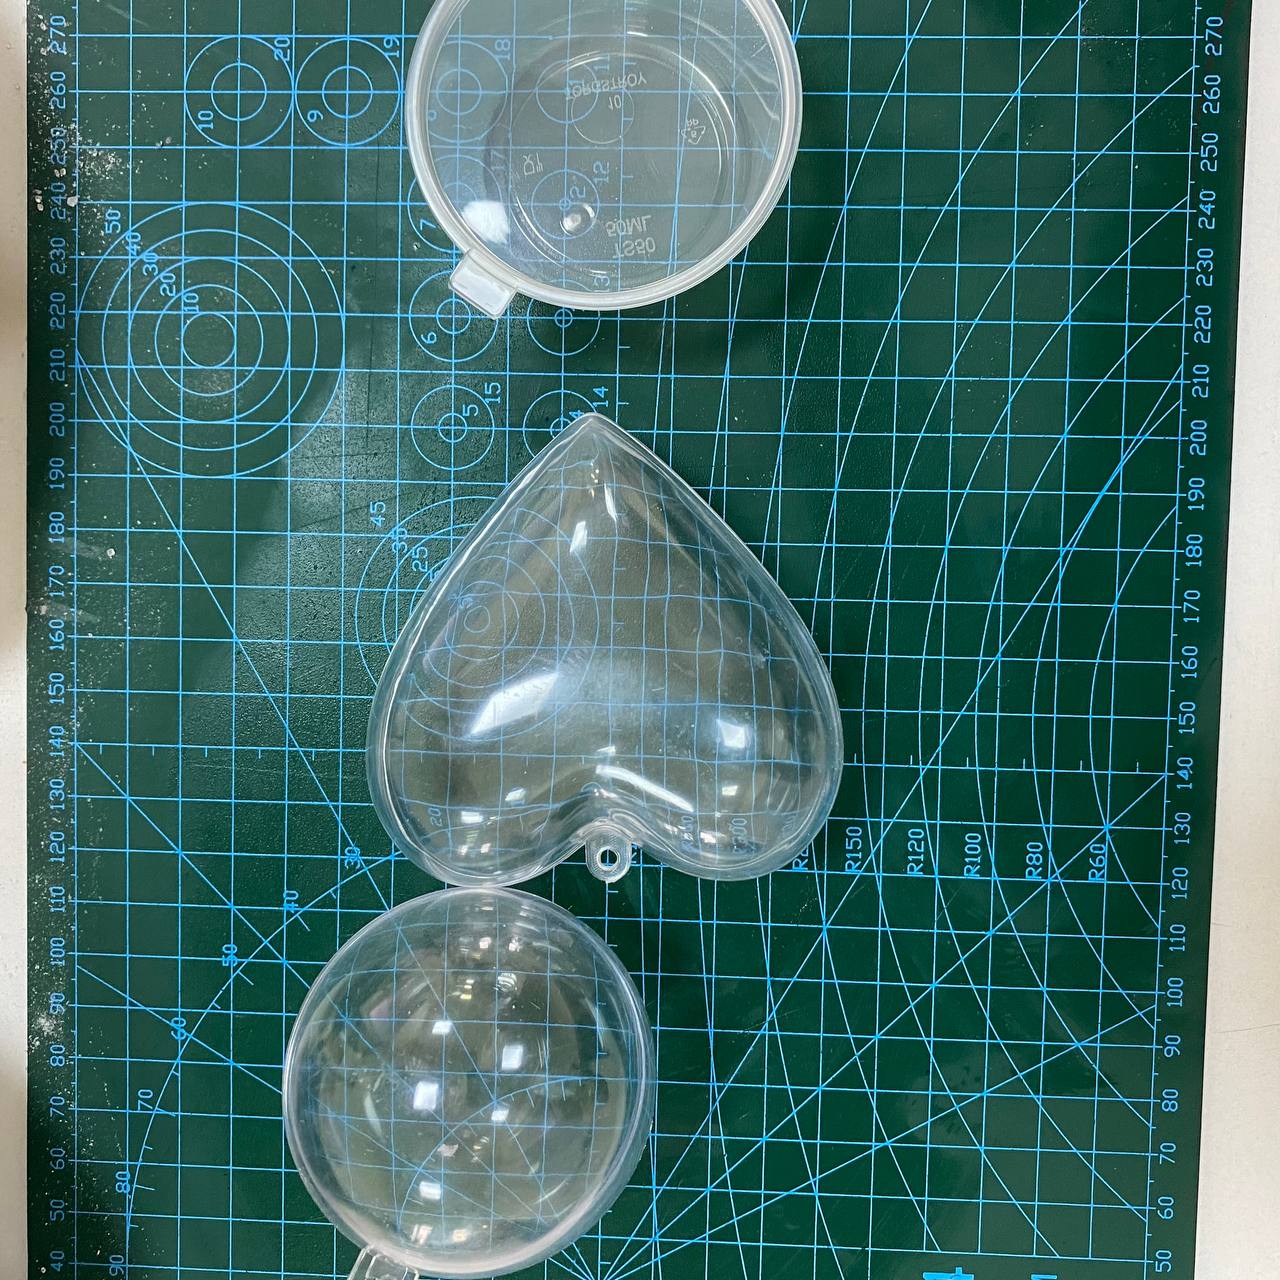
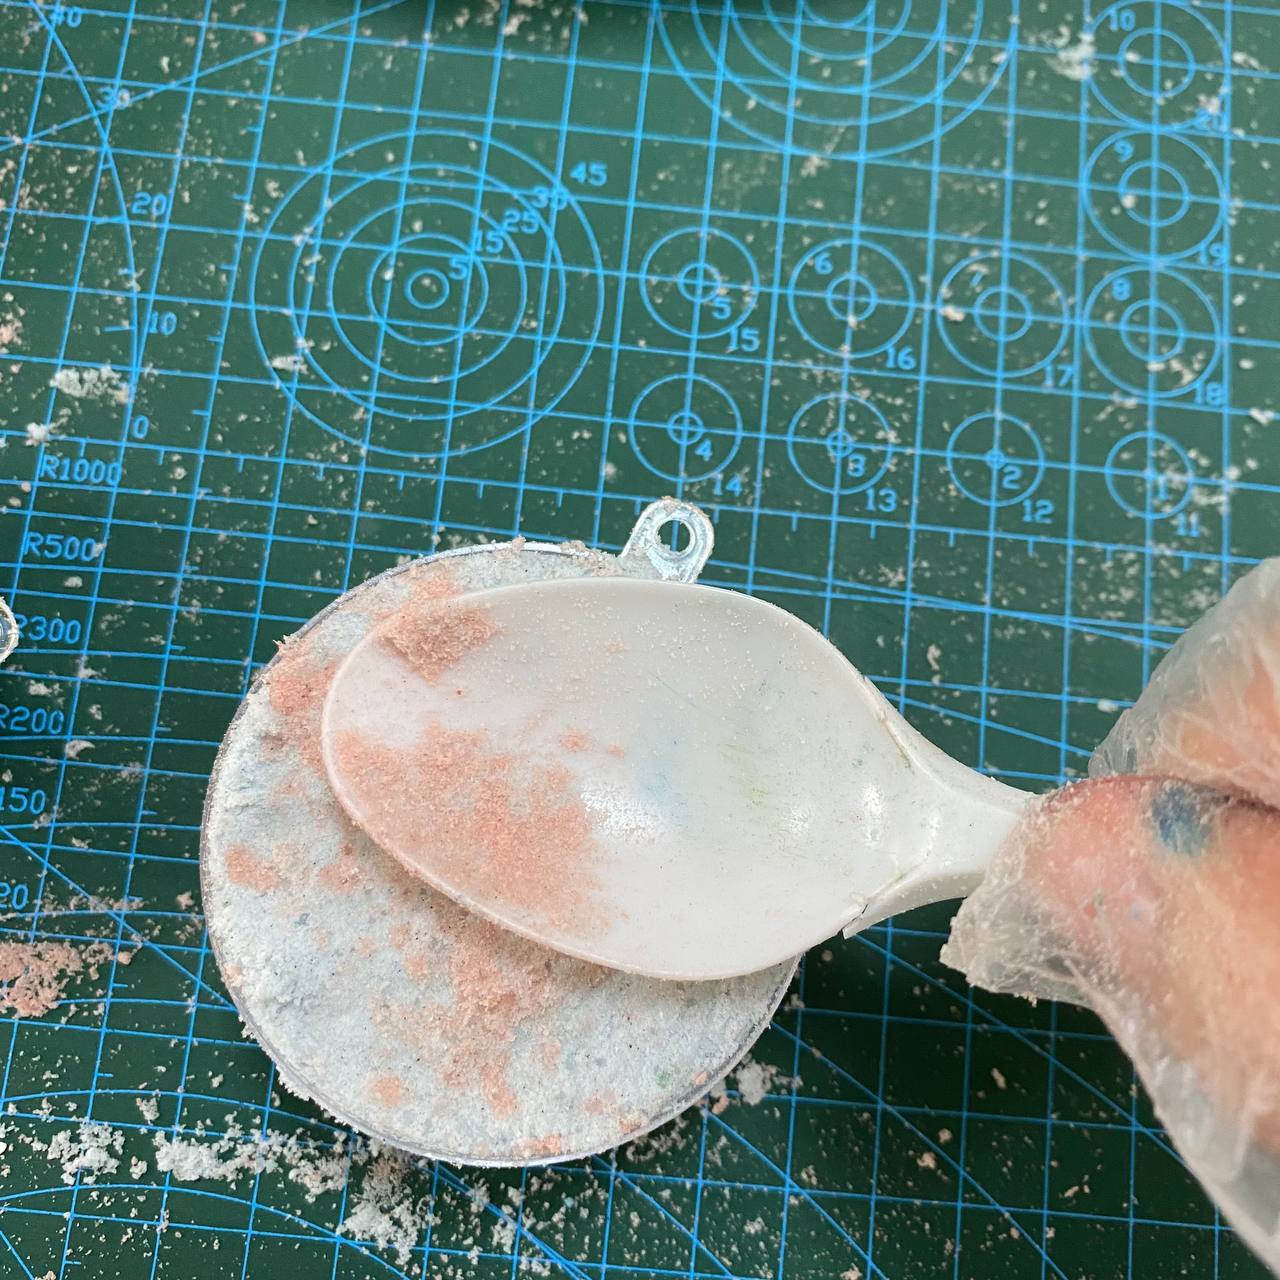
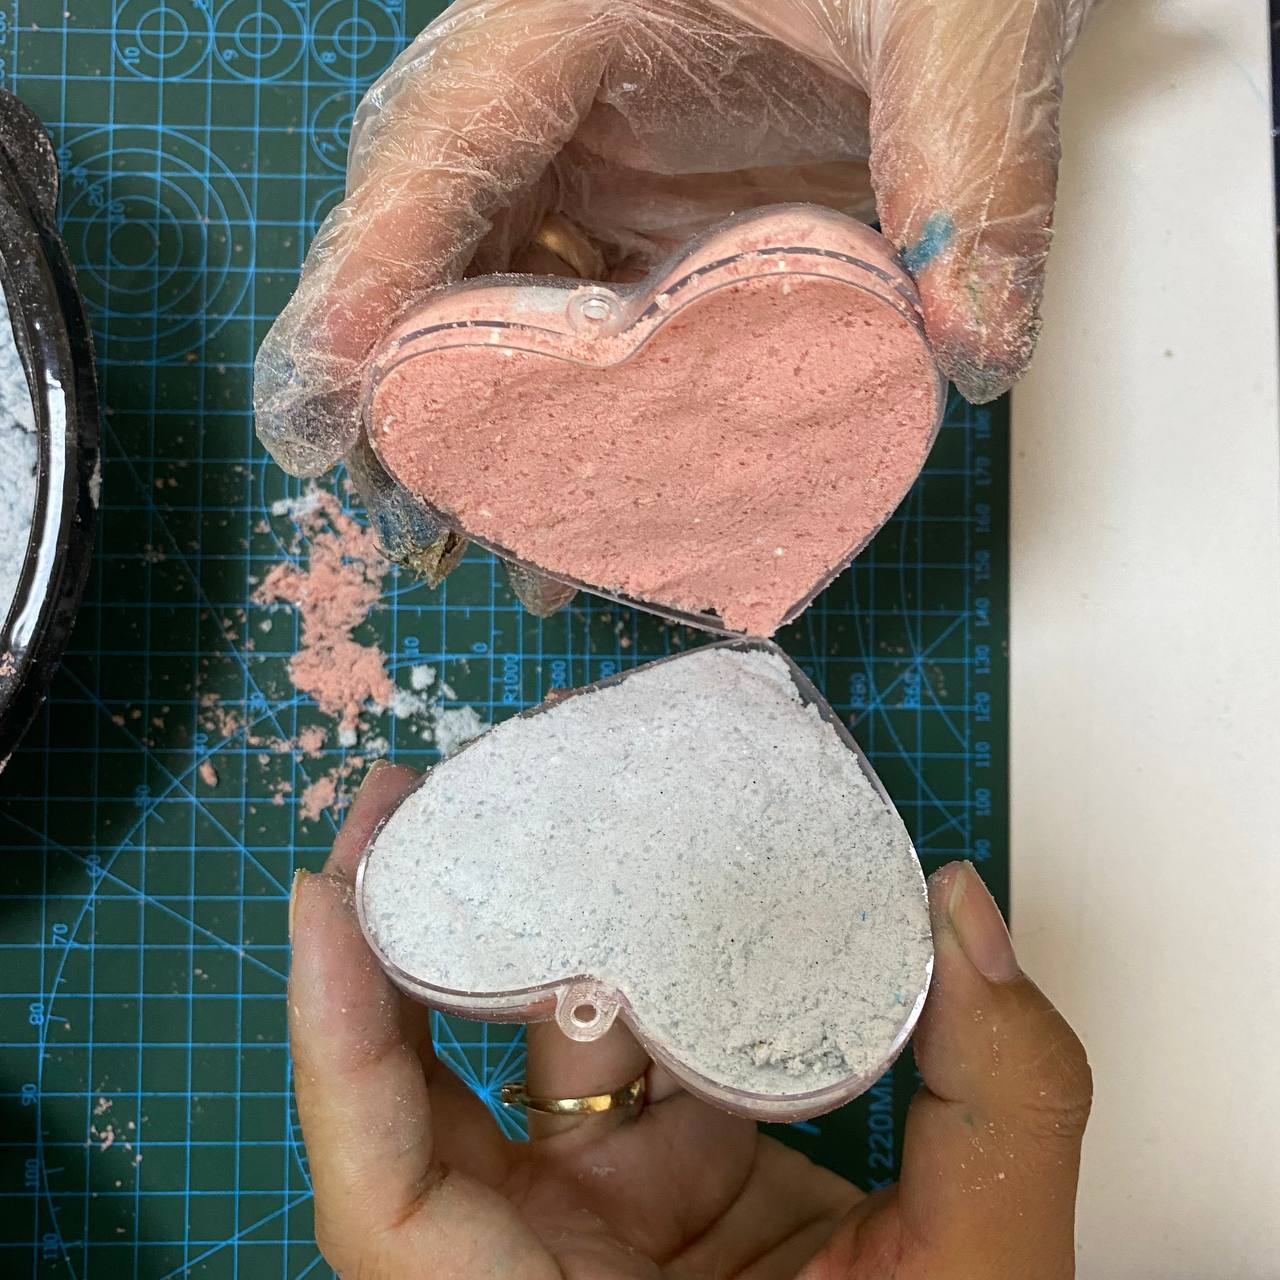
Step 9: Fill the moulds. You can mix two colours or use just one colour. It is up to you.
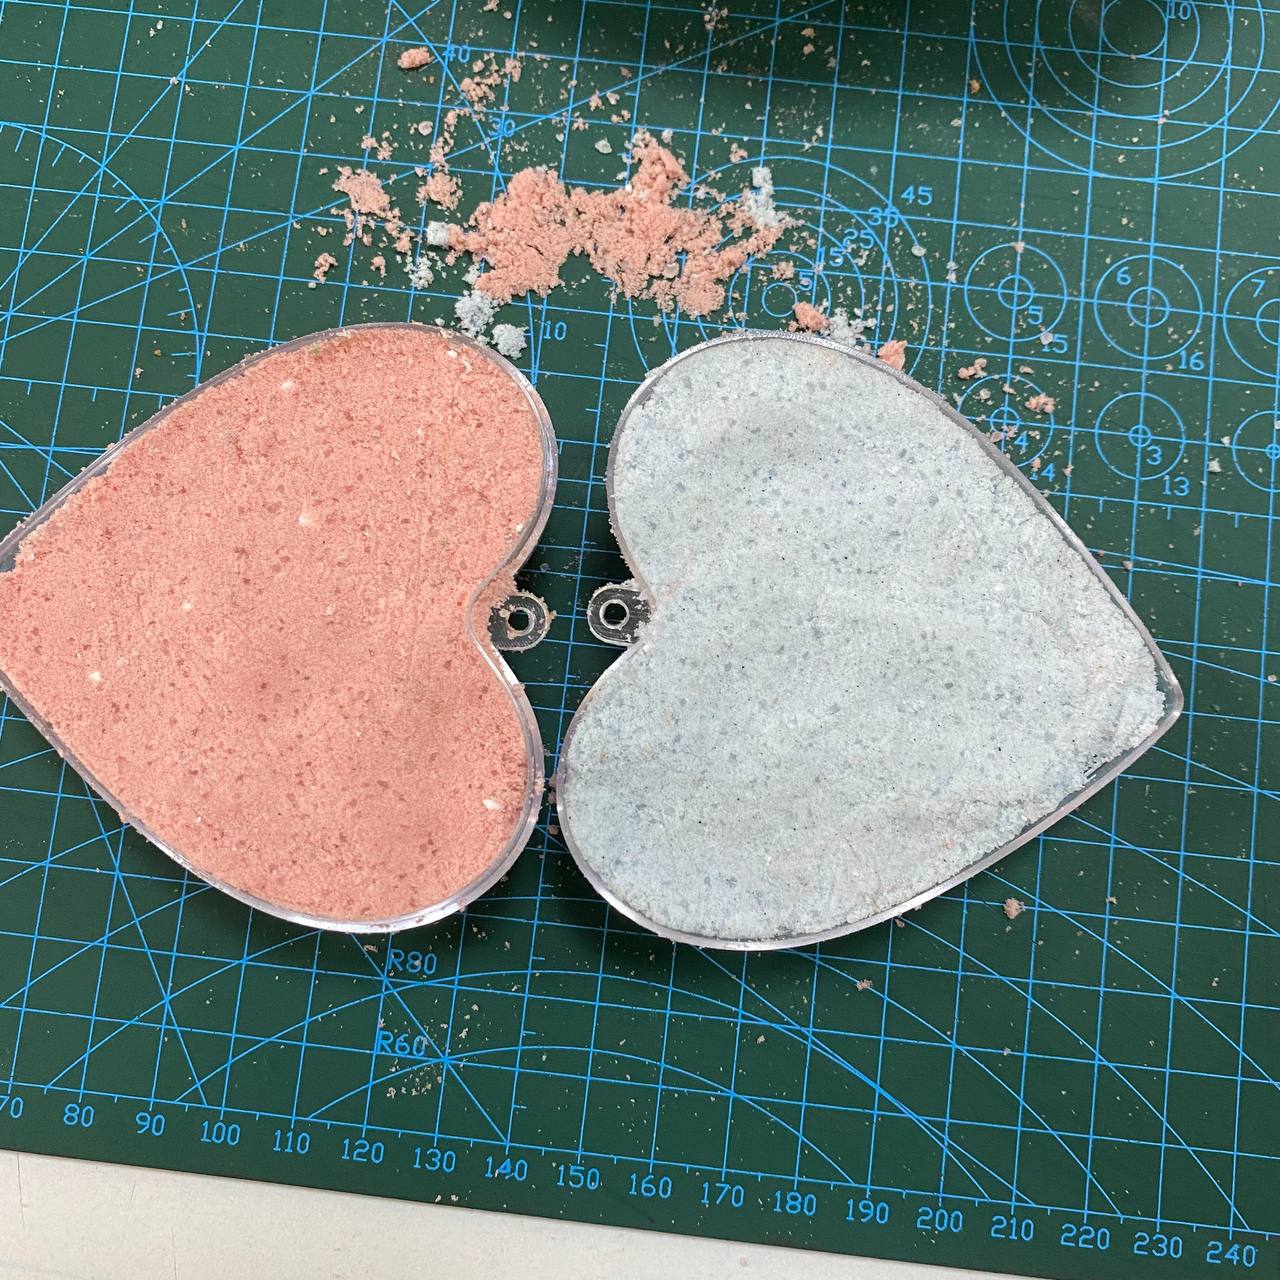
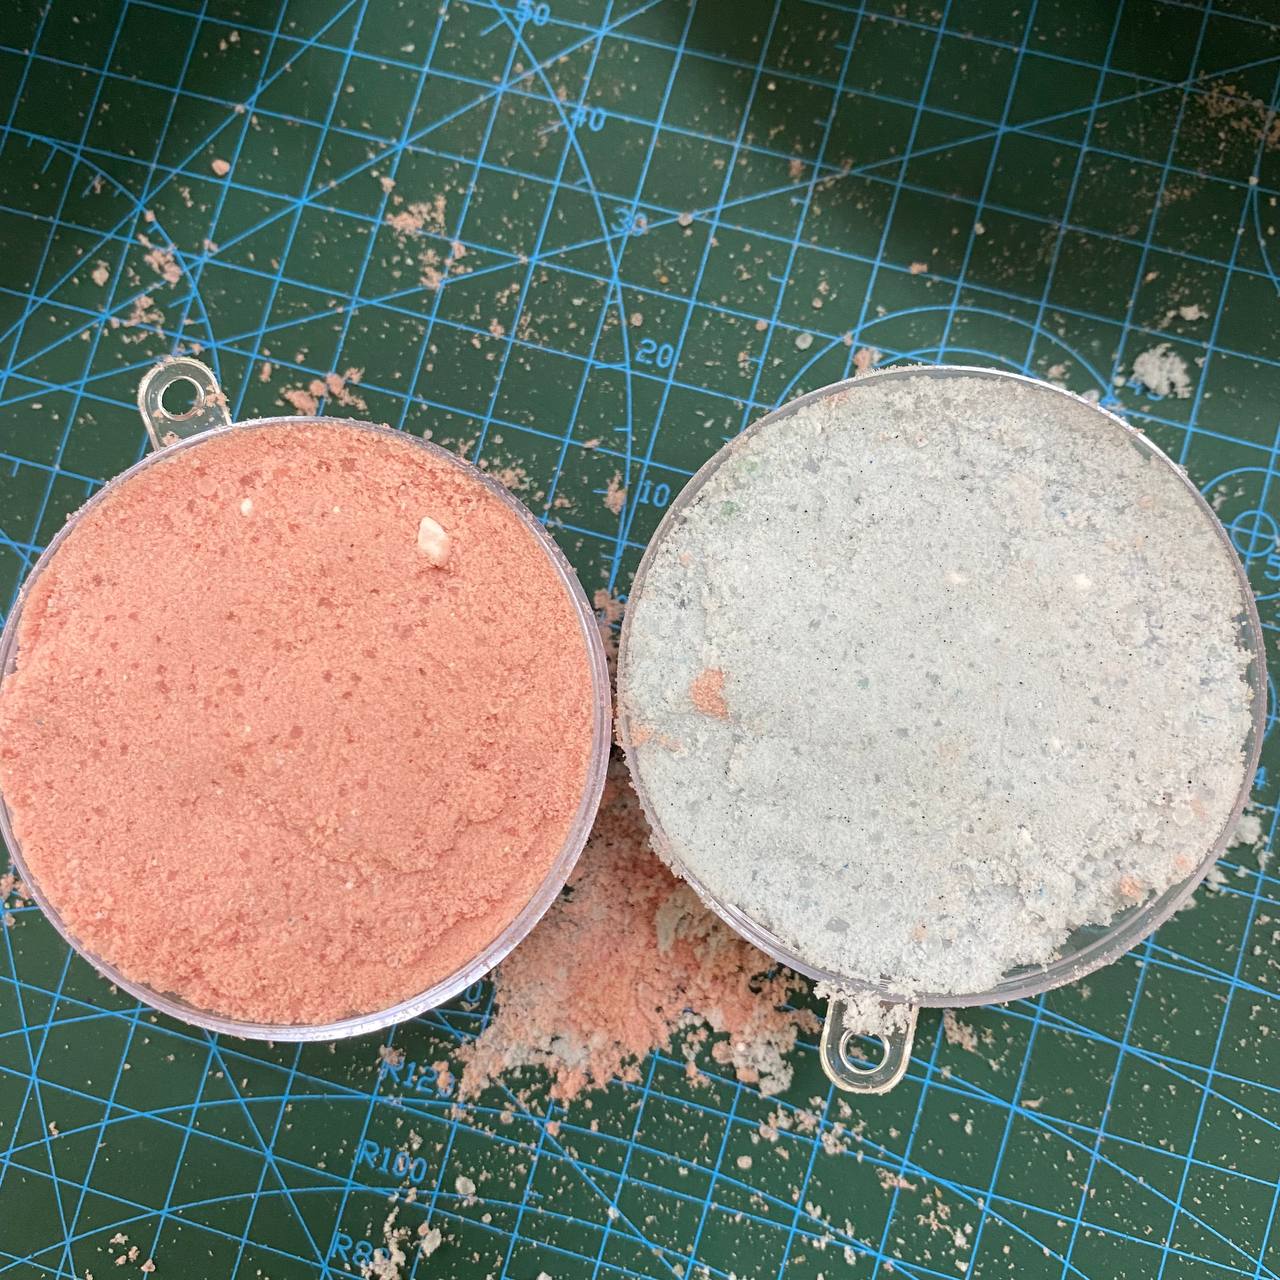
Step 10. The mixture must be tamped down.
Step 11. Then quickly join the two parts of the mouldings together and fasten so that the two parts are properly secured.
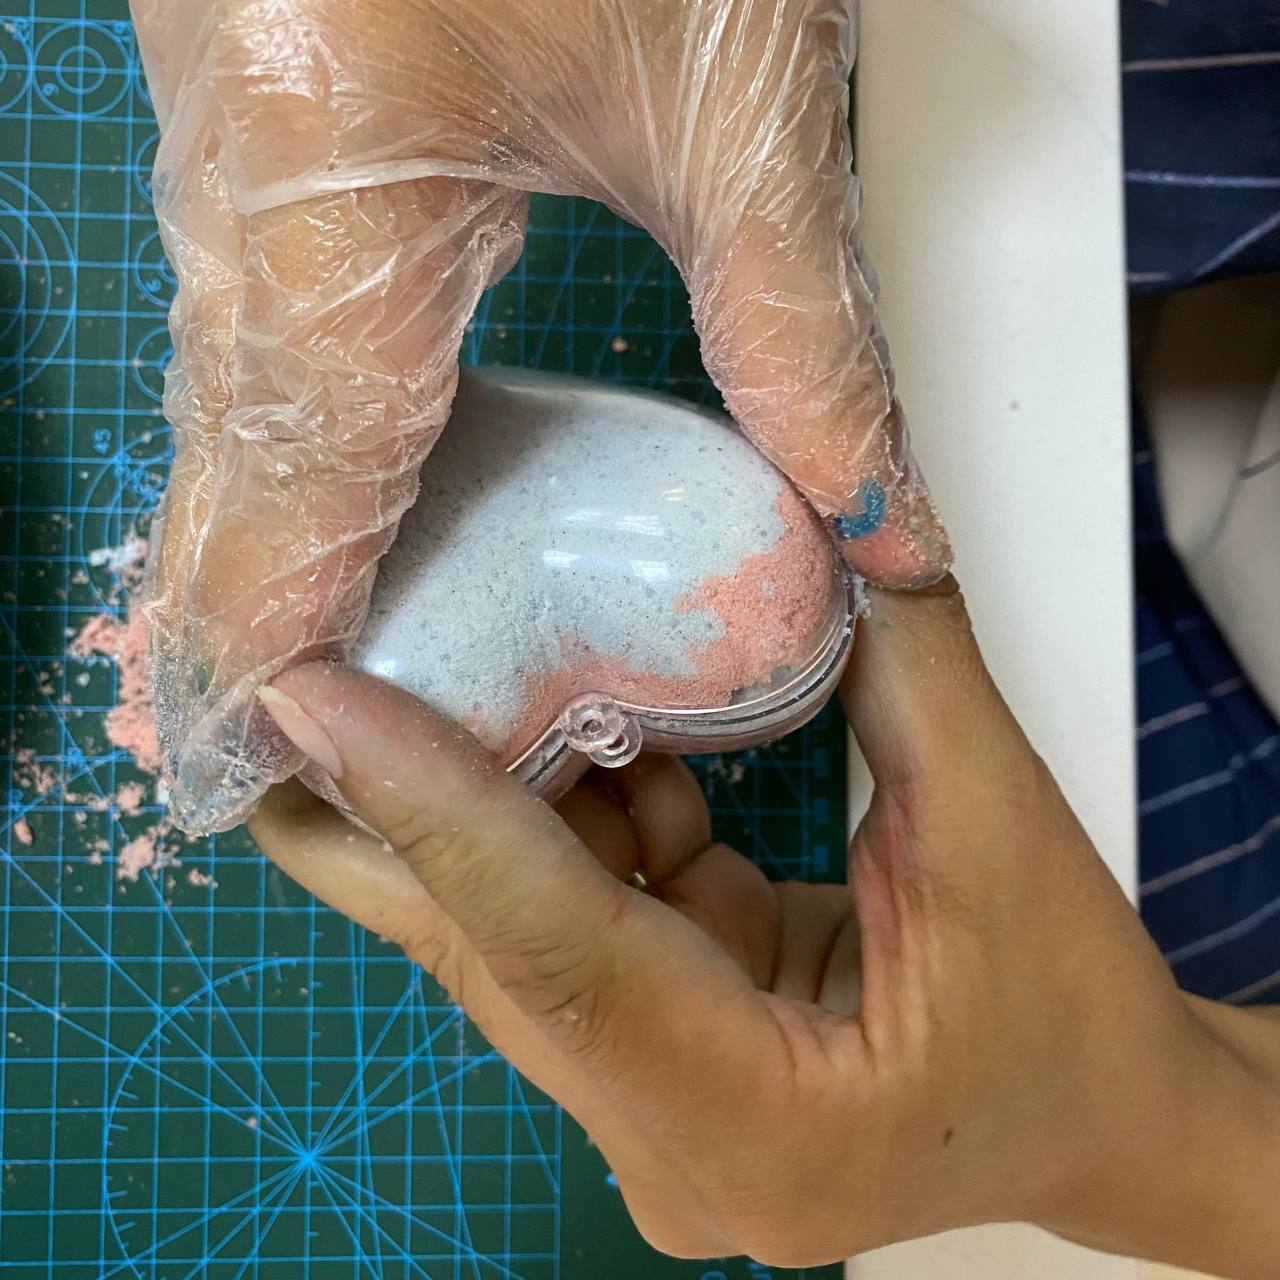
Step 12: Leave your moulds for 1-2 days.
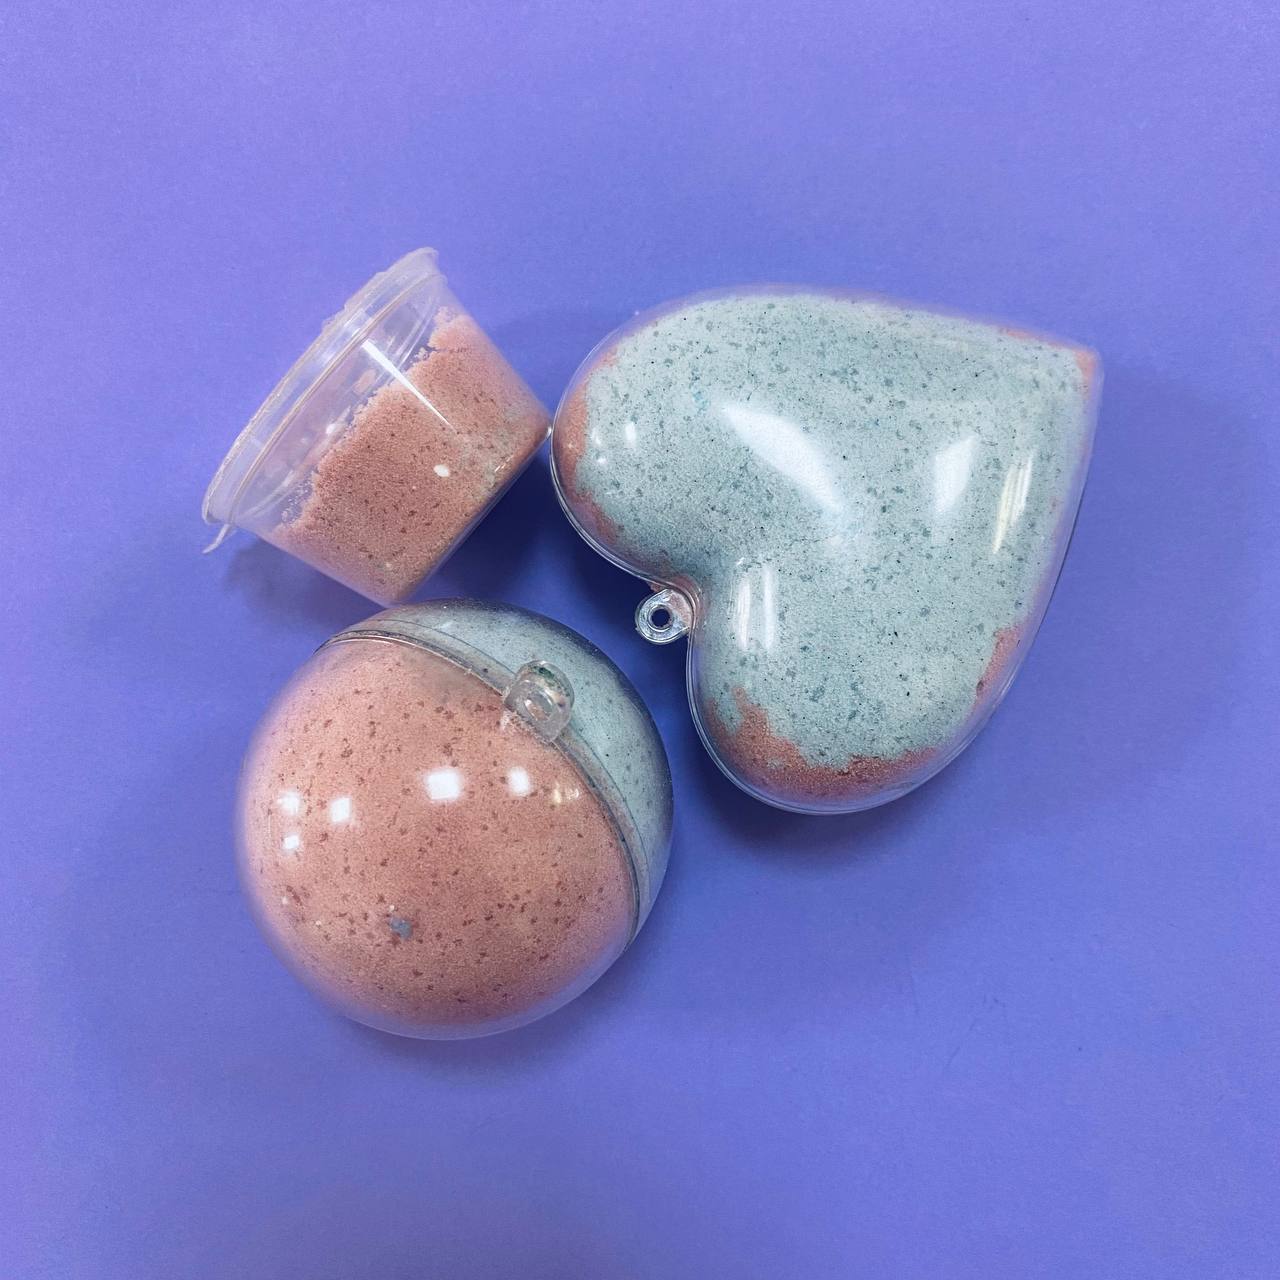
P.S.: Store made bombs in a place free from direct sunlight