Lesson 1
Topic of laboratory work: pH measurement
The purpose of the work:
Learn how to make indicators
Learn to determine the pH level
Learning outcomes:
Students are able to make a basic universal indicator
Students are able to identify acids and alkalis using the indicator
Teacher’s guide:
Tasks are performed in groups of 2-3 people
Worksheet
Safety technique
Description
Title: Understanding pH and Indicators
Hey there, 7th graders! Today, let’s dive into the exciting world of pH and indicators. pH is a measure of how acidic or basic a substance is. It’s an essential concept in chemistry, helping us understand the properties of various liquids and solutions.
What is pH?
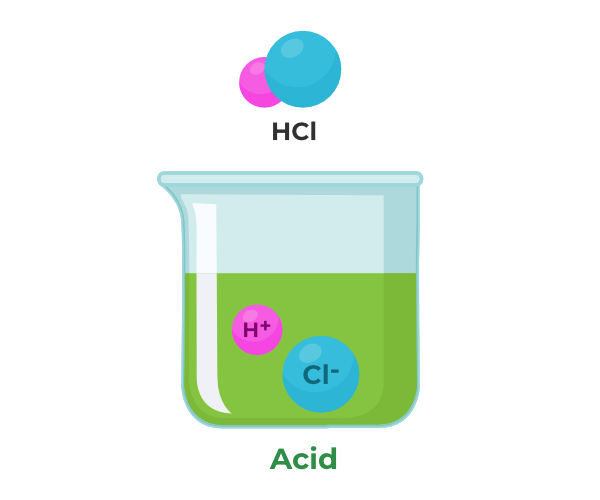
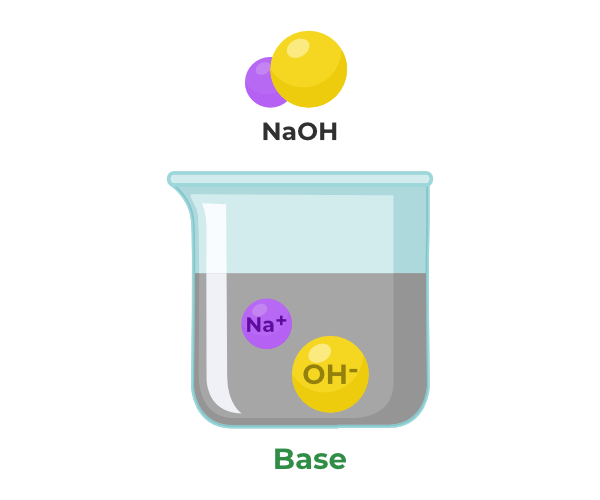
pH is measured on a scale from 0 to 14. A pH of 7 is neutral, like pure water. Anything below 7 is acidic, and anything above 7 is basic. Acids have more hydrogen ions (H+) in solution, while bases have more hydroxide ions (OH-).
Indicators – The pH Detectives
To determine the pH of a substance, we often use indicators. Indicators are substances that change color depending on whether they are in an acidic, neutral, or basic environment. One of the most famous indicators is litmus paper. It turns red in acidic solutions and blue in basic ones, staying purple in neutral solutions.
Natural Indicators – Like Anthocyanins
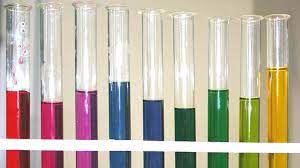
Apart from synthetic indicators like litmus paper, there are natural indicators found in plants and fruits. One fascinating example is anthocyanins. These pigments are present in plants like red cabbage, blueberries, and red apples. When mixed with different substances, they can change color. For instance, red cabbage juice turns pink in acidic solutions, purple in neutral solutions, and greenish-yellow in basic solutions. This is because anthocyanins are sensitive to pH changes, making them excellent natural pH indicators.
List of necessary equipment
- Red cabbage
- Knife
- Plate
- Glass
- Water
- Soda
- Acetic acid
- Electric stove
Practical part
1) Cut the red cabbage into small pieces
2) Boil the water
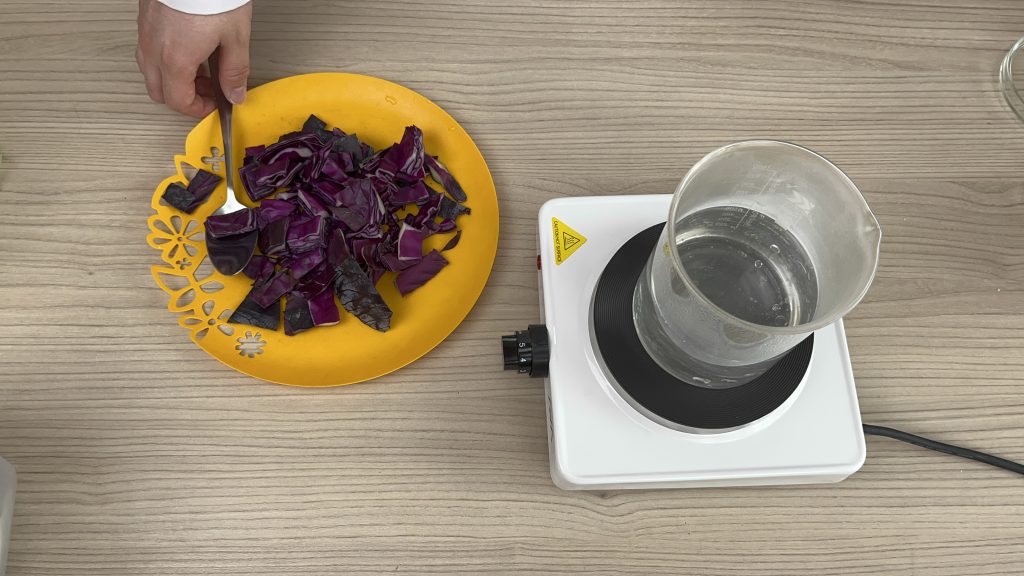
3) Throw the chopped cabbage into the water and remove the water from the stove. Wait 10 minutes
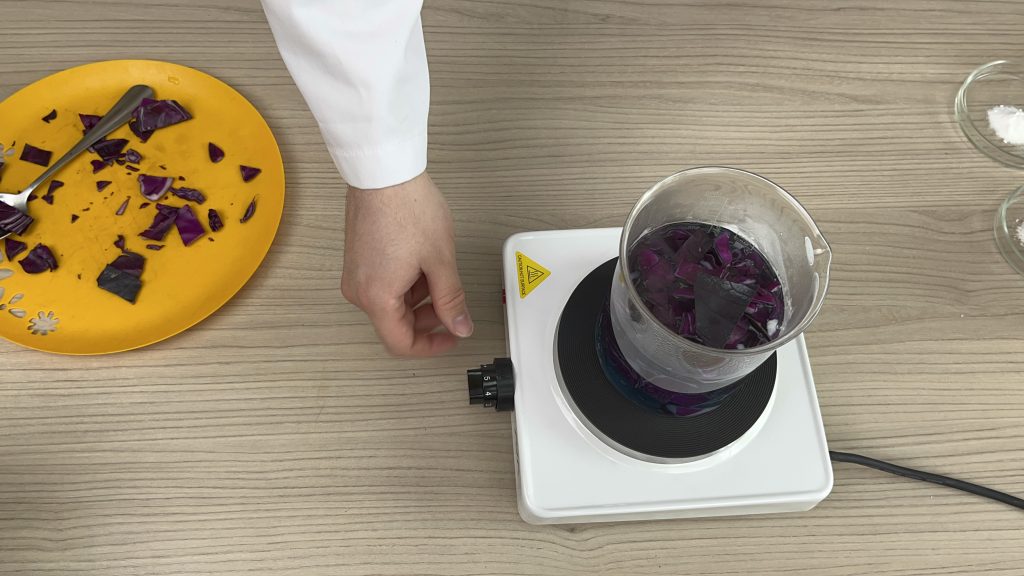
4) Pour 50 ml of the solution into the first glass and add 50 ml of water
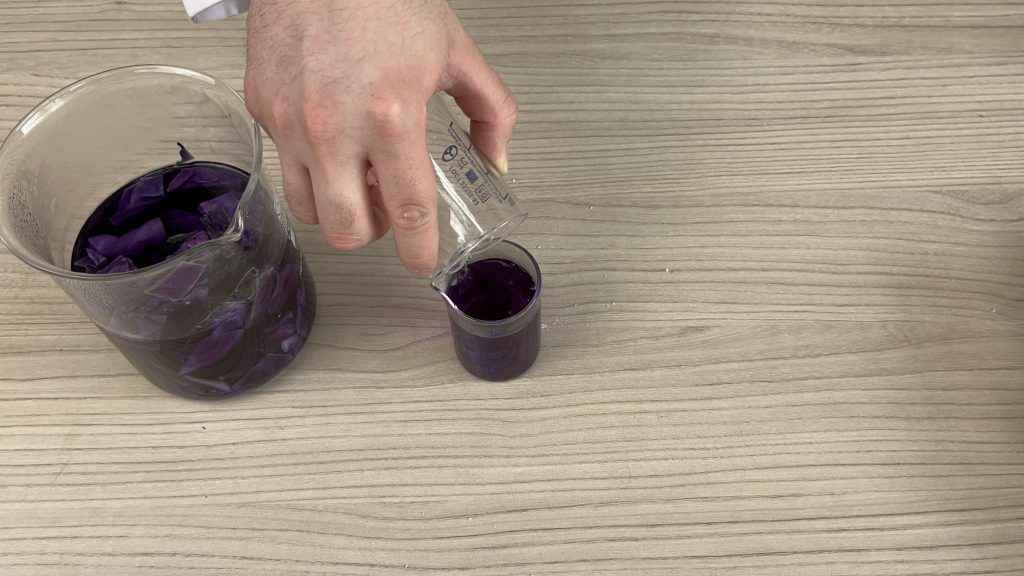
5) Pour 10 ml of acetic acid into the second glass
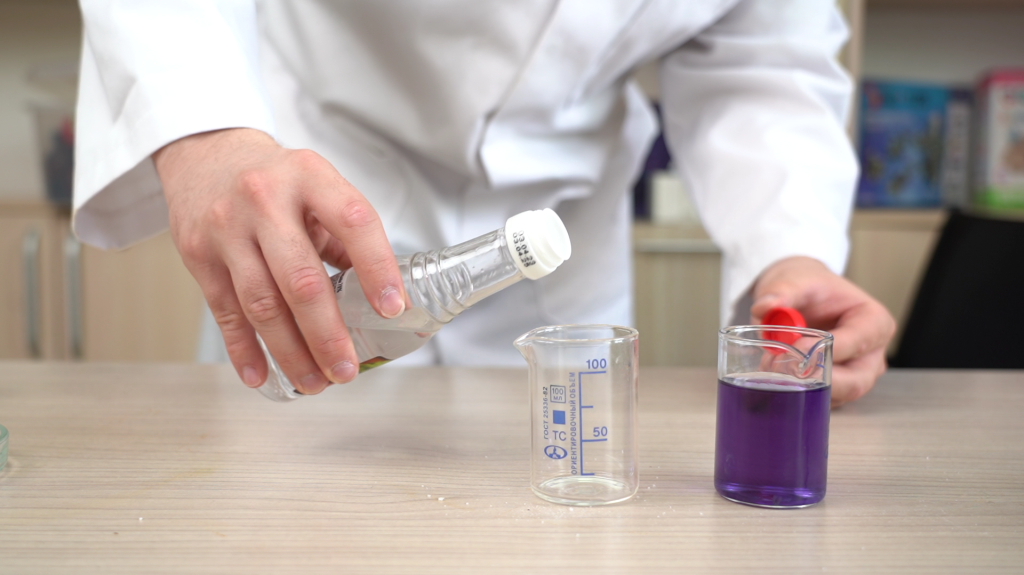
6) Add 40 ml of water to the acid
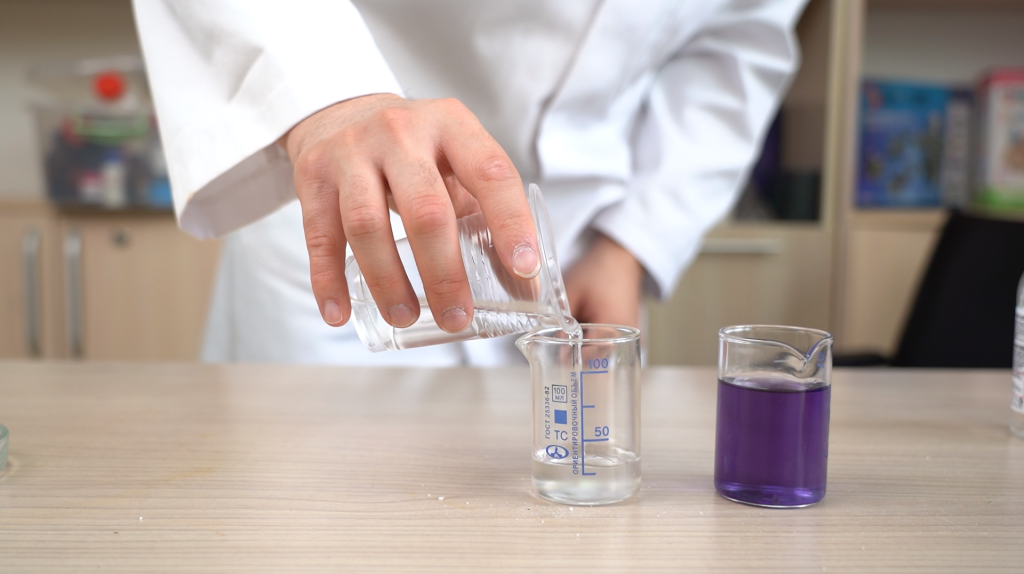
7) In the third glass, add 5 grams of soda and pour 50 ml of water. Stir
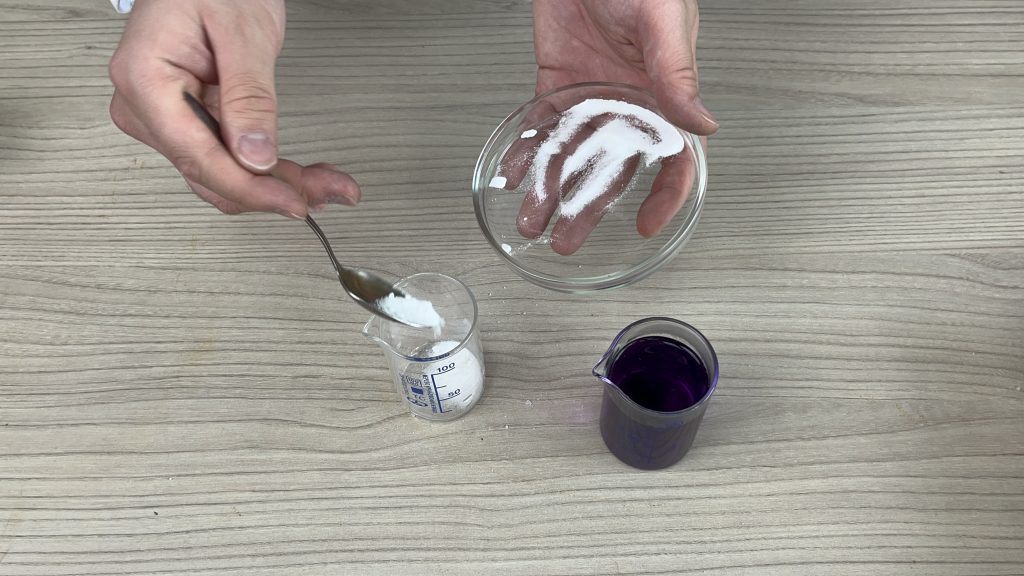
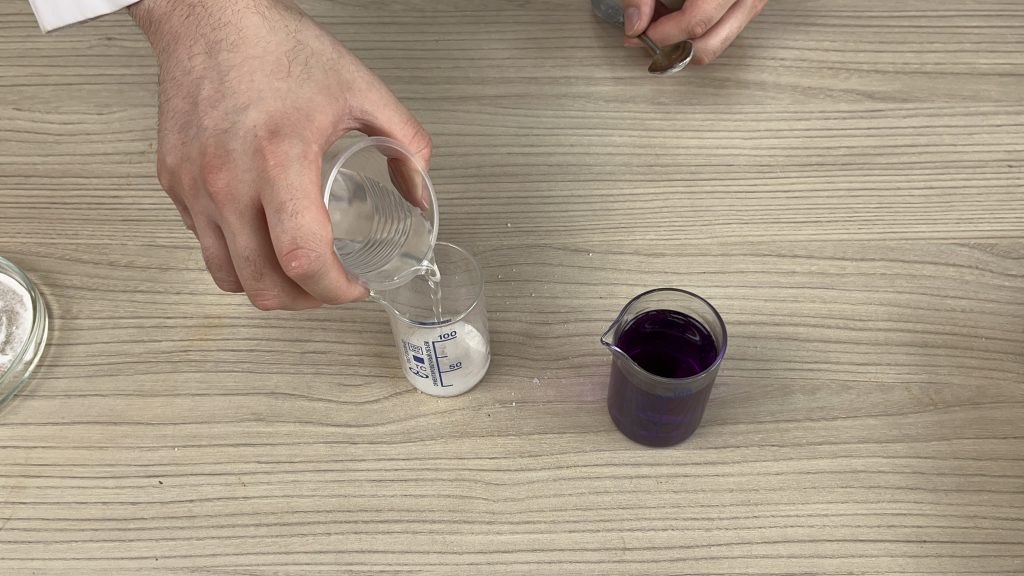
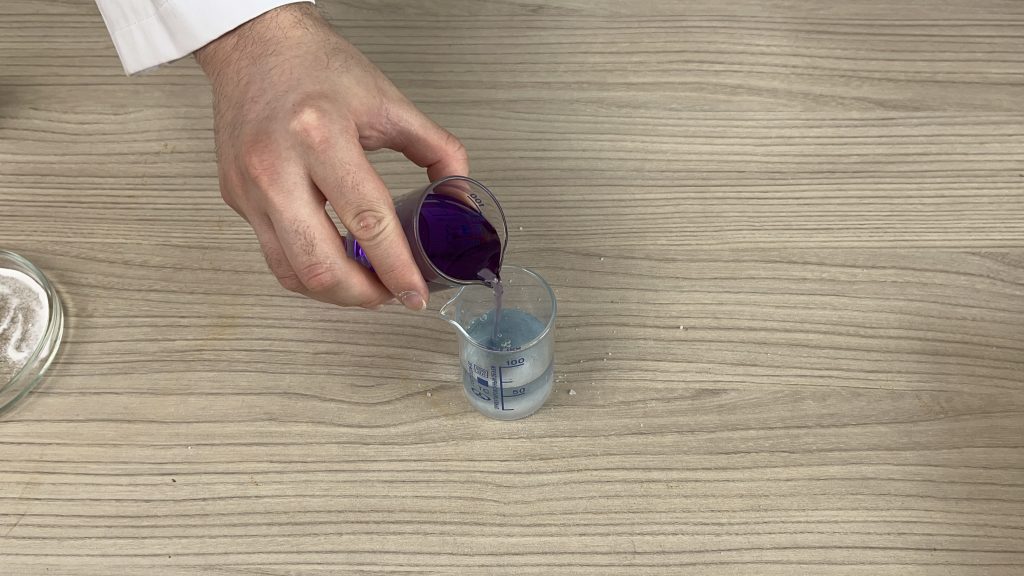
8) Add a little indicator from the first glass to the acid solution and observe the changes
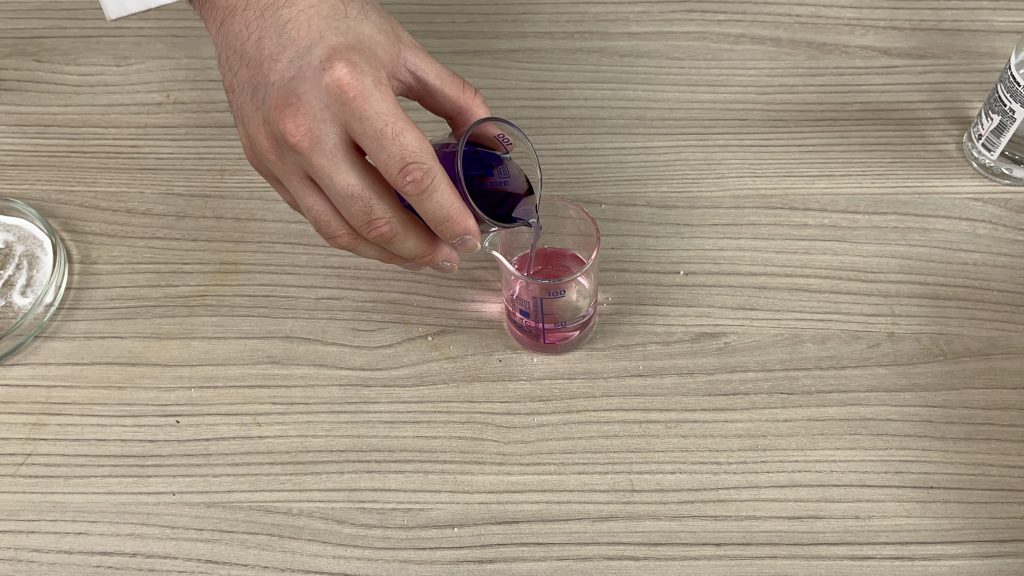
9) Add a little indicator from the first glass to the soda solution and observe the changes
Conclusion
Thus, you have learned how to make your own universal indicator using available materials. This knowledge is very useful for understanding the basics of chemistry.
Rules for designing the laboratory work
The laboratory work should contain items in the following order:
- Laboratory work number
- Topic name
- Purpose of the work
- Hypothesis
- Brief description of the theoretical part
- Equipment
- Steps in the correct sequence
- Add a photo from the experiment (if you can’t insert a photo, you can add a picture)
- Give a brief description
- Write a brief discussion and explanation of the topic covered
- Write the conclusion of the work
- The workplace must be cleaned and put in order
Feedback