
Lesson
Objective:
- To get acquainted with the structure of a microscope
- Learning how to work with a microscope
- Studying permanent micro preparations under the microscope
Teacher’s Guide:
- Before proceeding with the lab work, review the safety rules by following the link:
- To download the worksheet, go to: worksheet
Theoretical part
A microscope is an instrument that is used to magnify images of small objects that cannot be seen with the naked eye. It consists of several lenses that work together to create a magnified image of an object.
Microscopes can magnify objects from 40 to 2000 times. This allows us to see many objects that cannot be seen without a microscope. For example, we can see microbes, bacteria, viruses, molecules, and more.
A microscope works on the principle of optically magnifying the image of an object. In a conventional optical microscope, an image passes through an objective lens, which collects light and creates a magnified image on an intermediate screen. This image is then magnified again using the eyepiece.
In order to obtain a good quality image of an object under the microscope, it is necessary to properly prepare the sample. Usually, various methods of fixation, staining and slicing are used for this purpose.
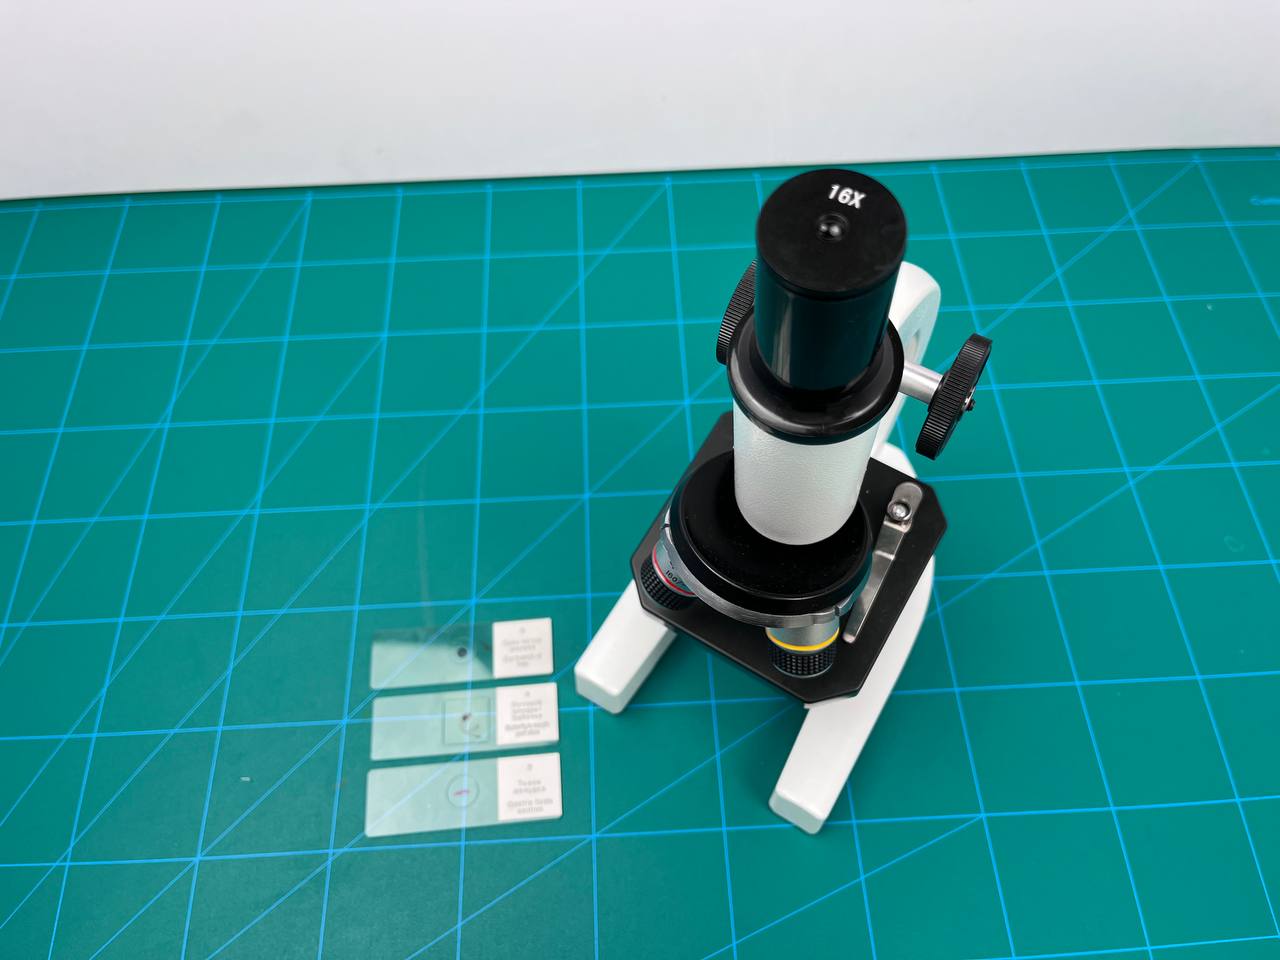
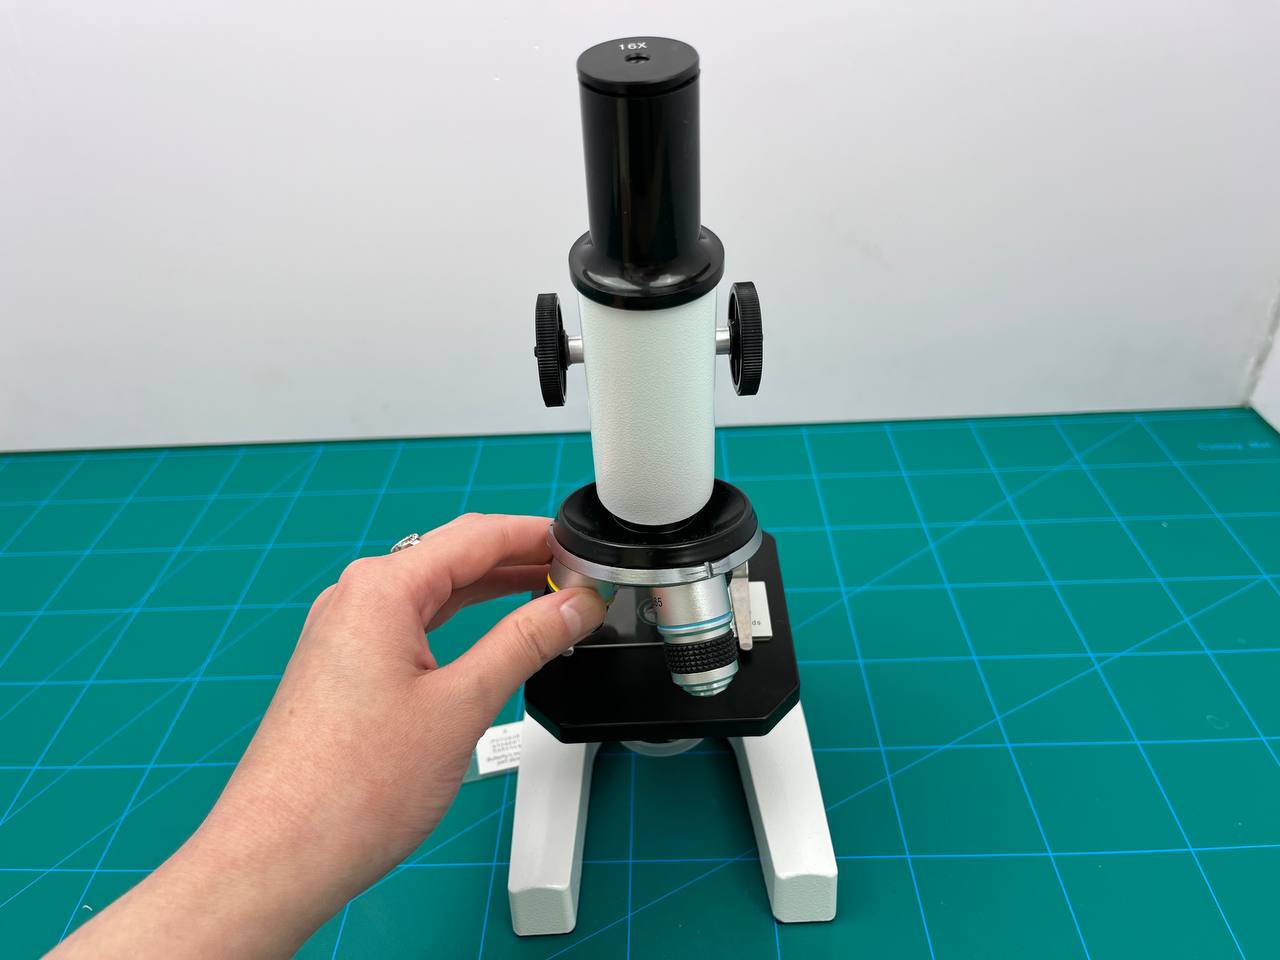
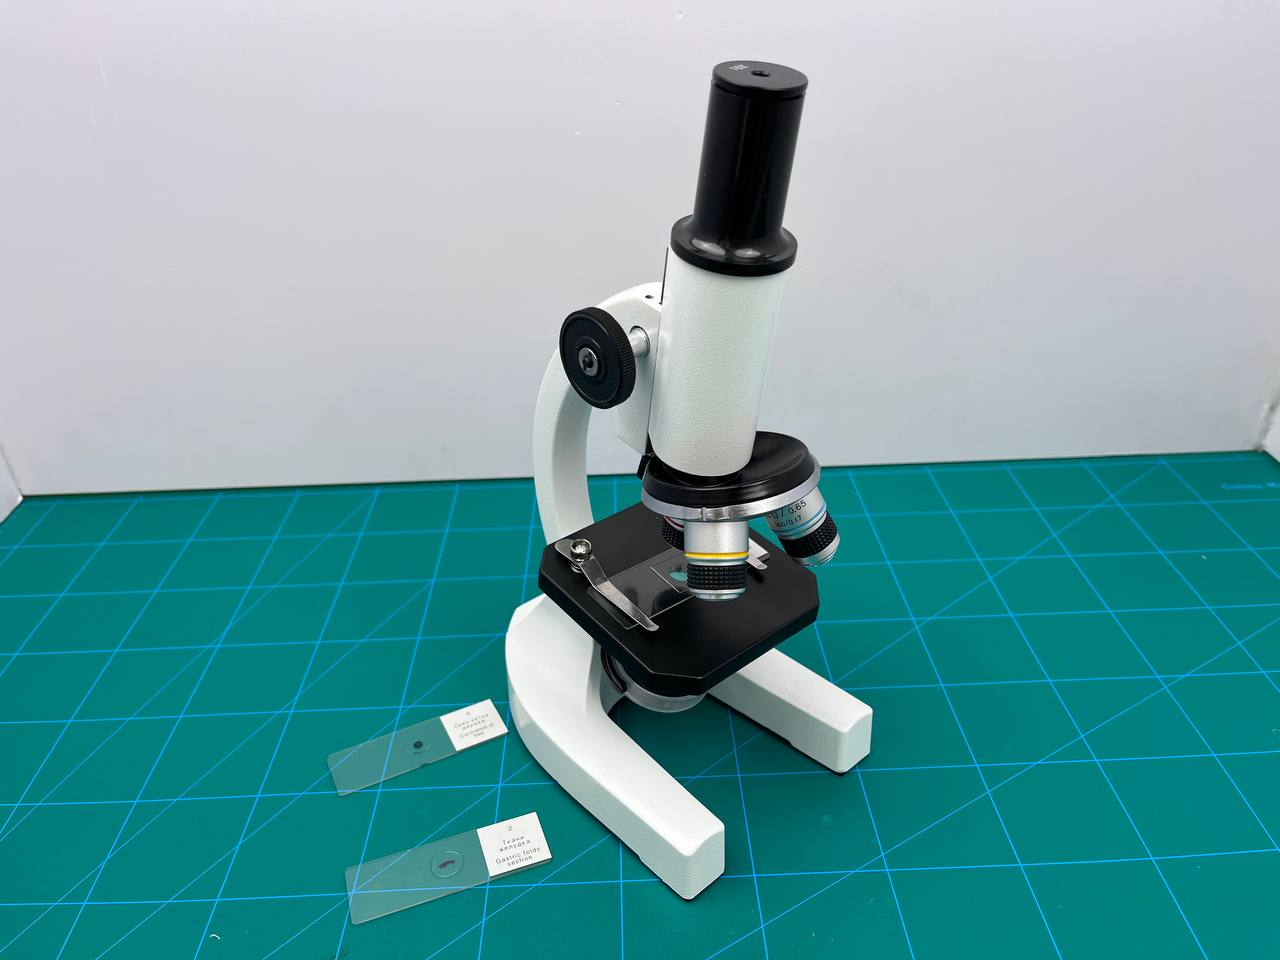
The structure of a beam microscope consists of several parts. These are: objective lens, eyepiece, tube, slide, screw, tripod, mirror.
A stable micro specimen in biology is a sample of biological material that is prepared and stored in such a way that the structure and characteristics remain unchanged over a long period of time. This allows scientists to study the microscopic structures and organs of living organisms, such as cells, tissues, and organs, and to conduct comparative studies.
Practical part
Step 1.
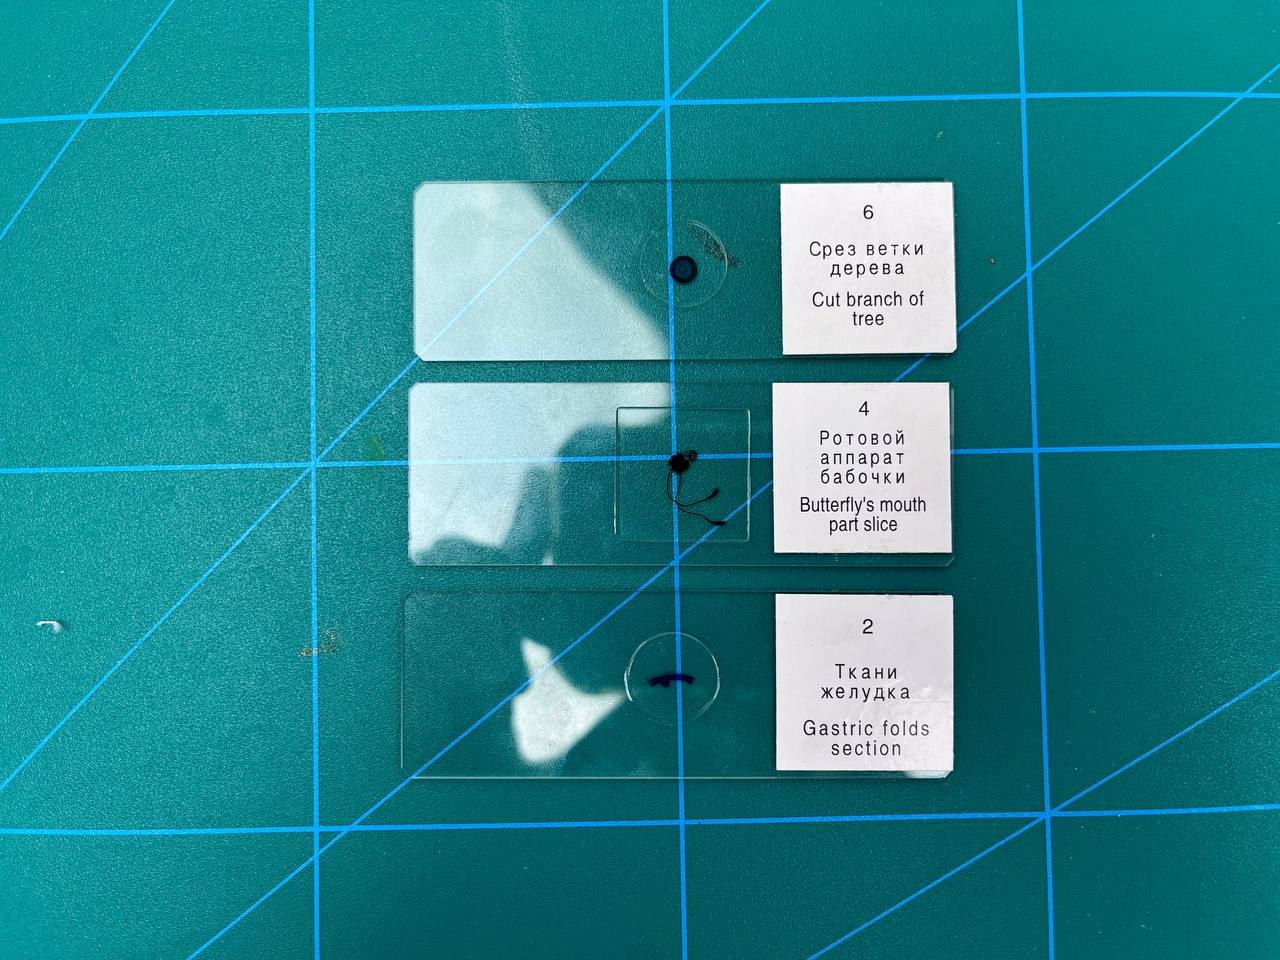
Become fully acquainted with the structure of the microscope and the permanent micro preparations.
Step 2.
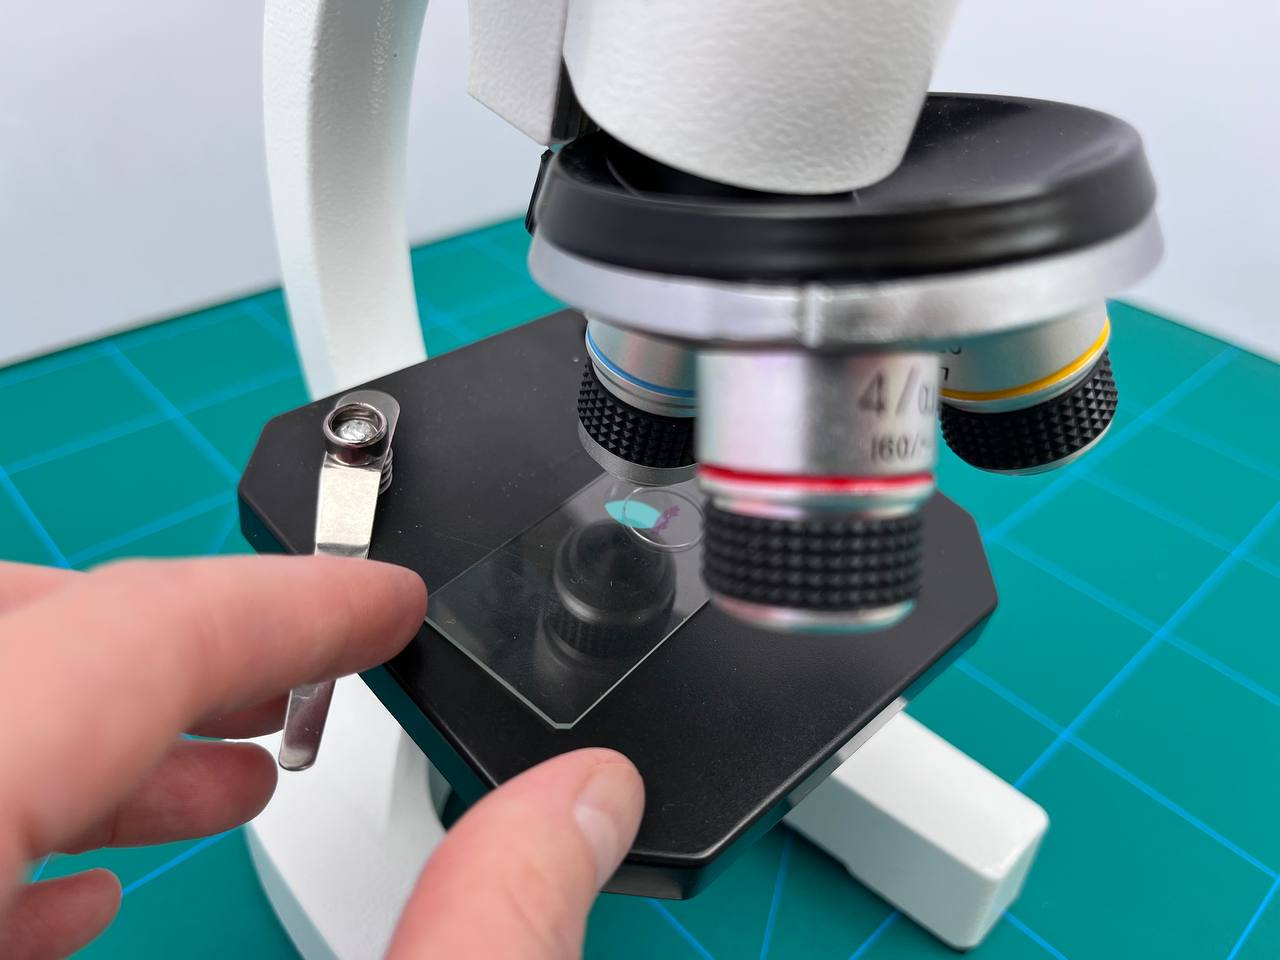
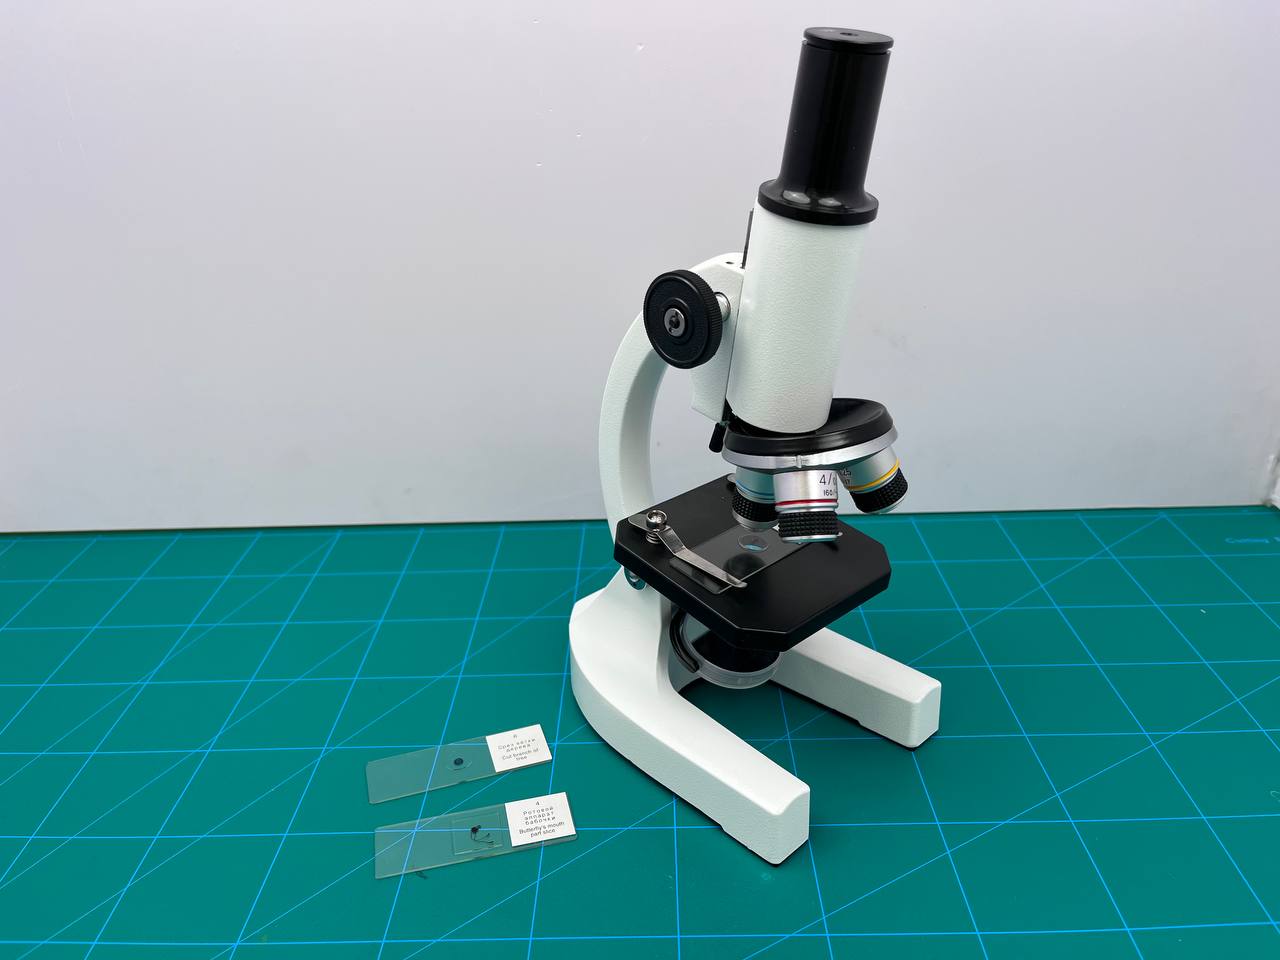
Place a permanent anatomy specimen on the slide. And direct the light through the mirror into the opening of the stage where you place the subject.
Step 3.
Looking through the eyepiece, slowly move the observation tube through the screw until the image of the object is clear. The microscope eyepiece is x16 and the objective is magnified to x4. Accordingly, the magnification is 64 times for x16 and x4.
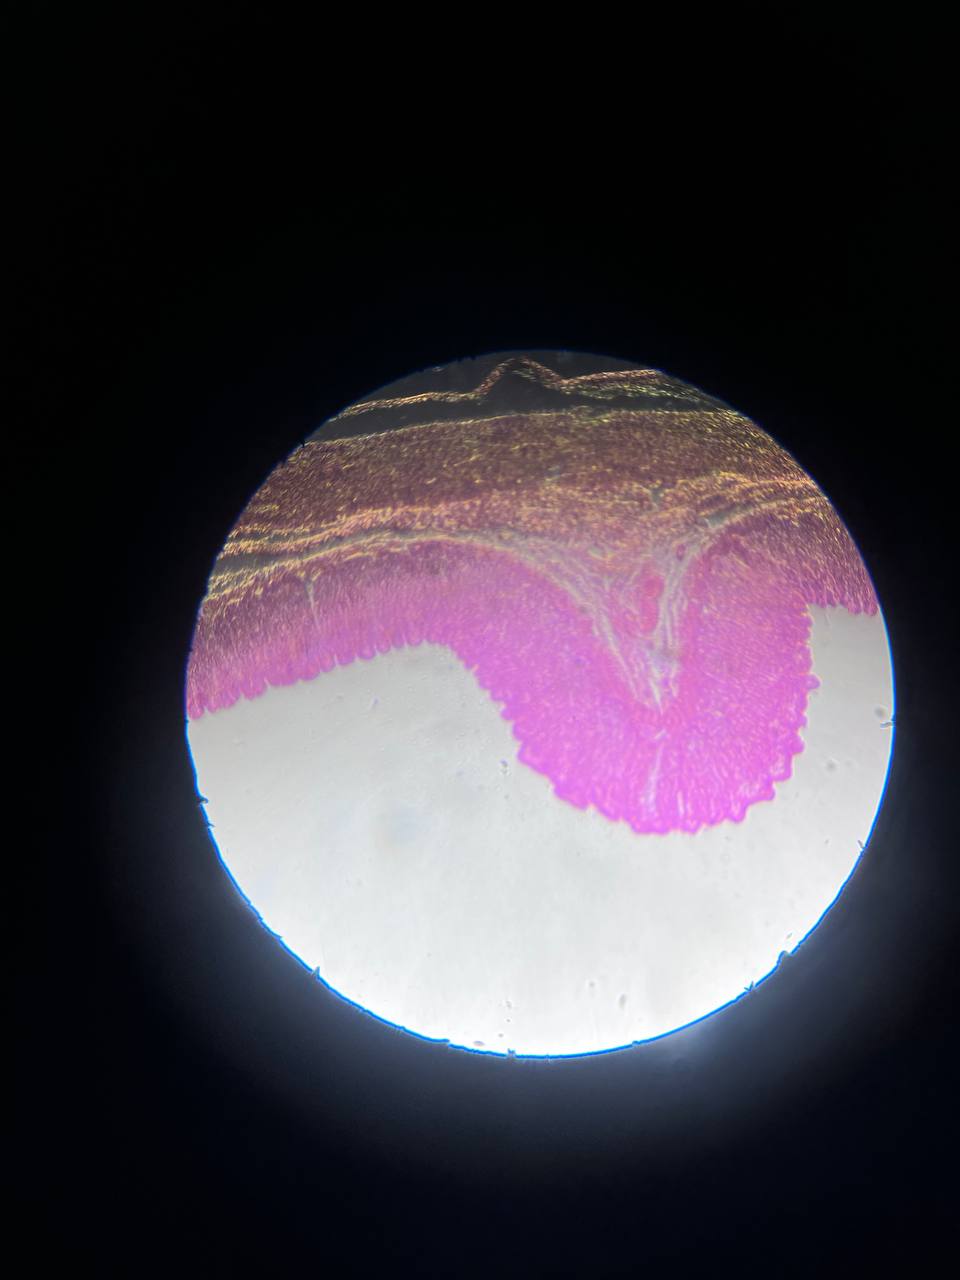
Step 4.
Look at the preparation with the magnification. Look at the magnification of the lens in the eyepiece and the magnification of the lens. You can see that the constant preparation is magnified differently by varying the magnification of the lens. The lens is magnified 160 times at x10 magnification.
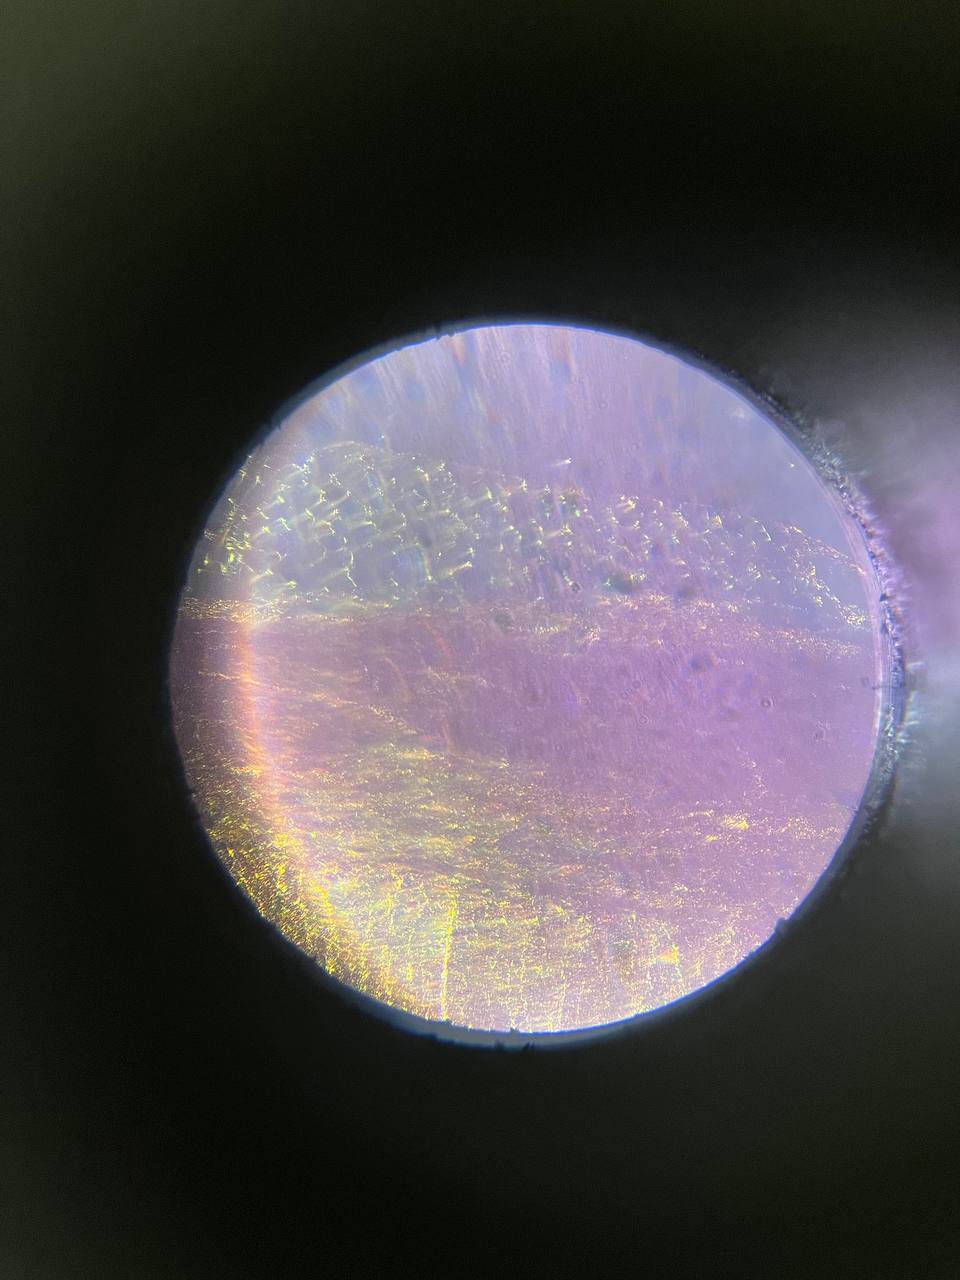
Step 5.
Look at the preparation with the magnification. Screw on the next lens magnification size. The magnification is increased to 640x for x16 and x40.
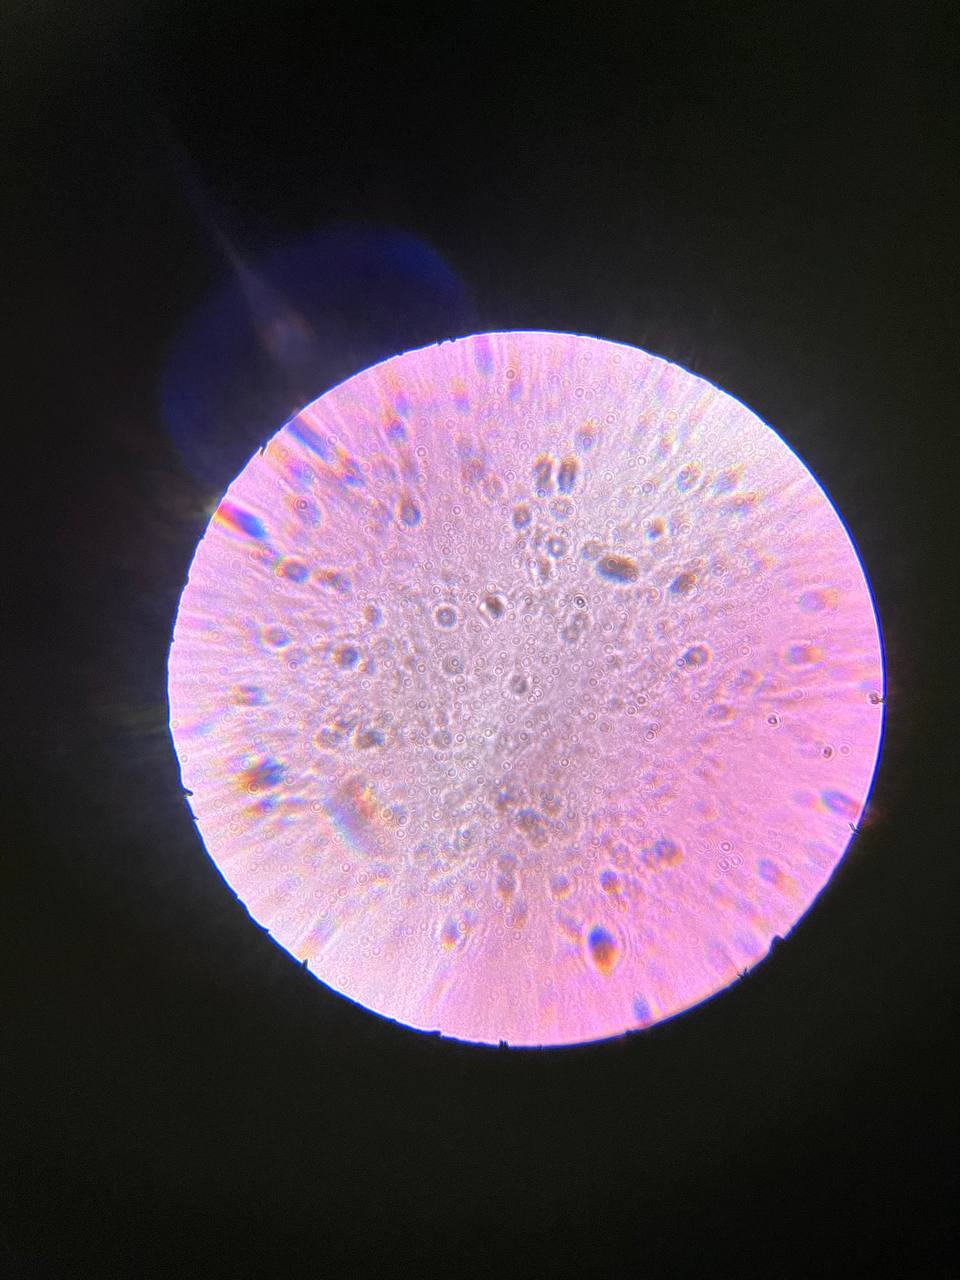
Step 6.
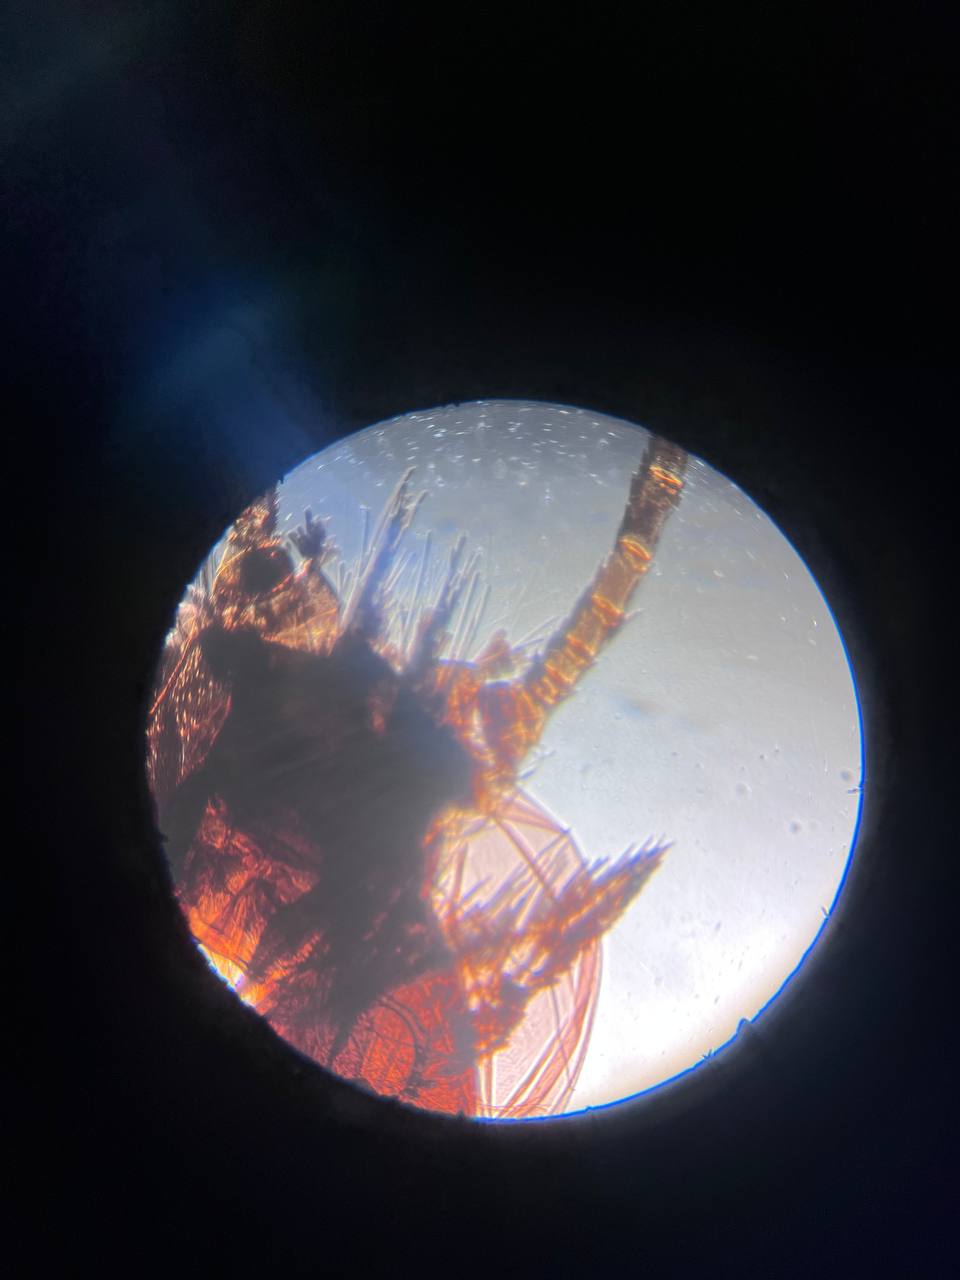
Place the permanent zoology preparation on the microscope stage.
Step 7.
Looking through the eyepiece, slowly move the barrel through the screws until the subject is clear. See magnification for x4 lens.
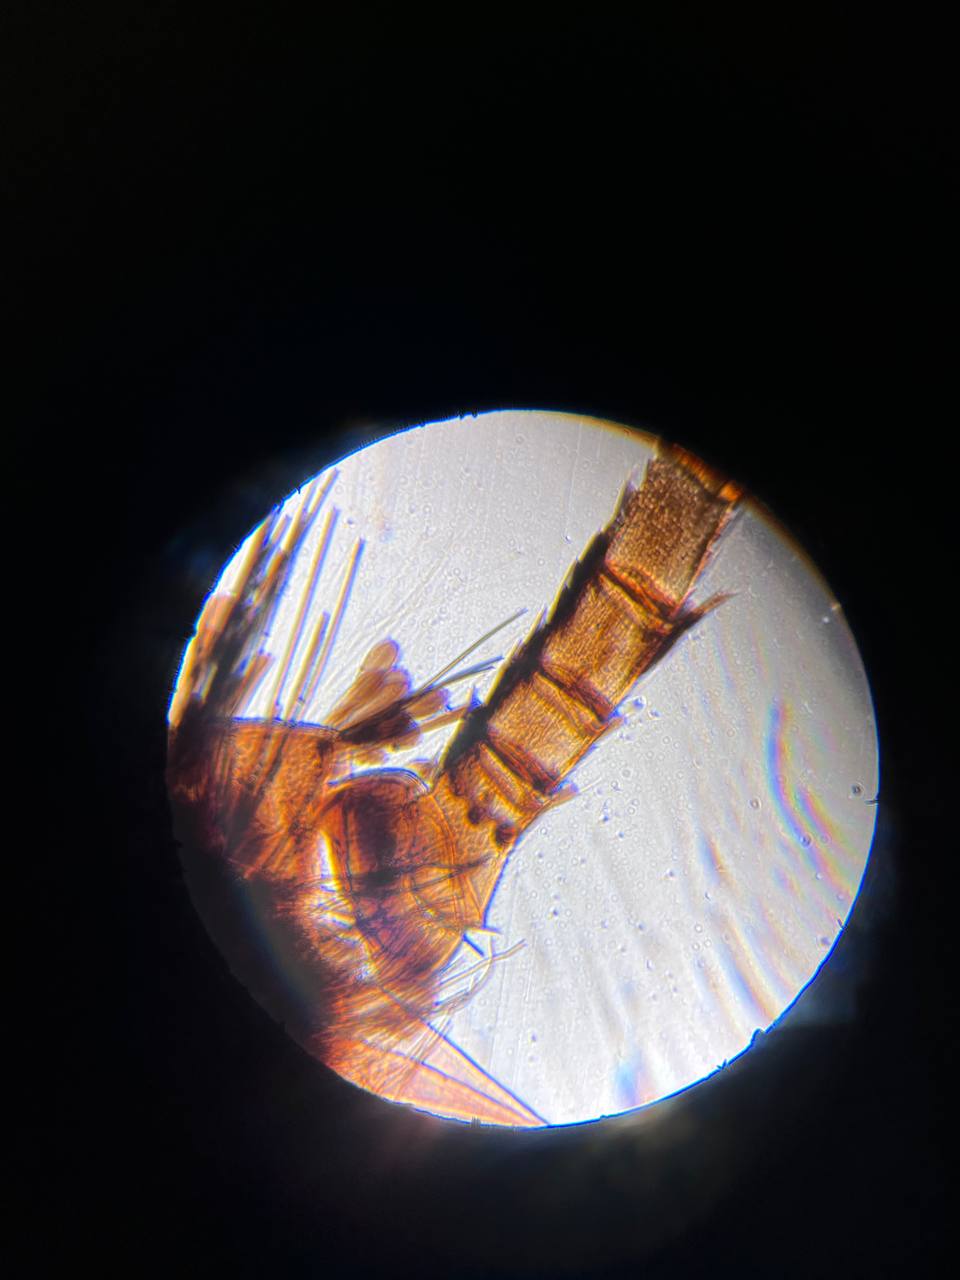
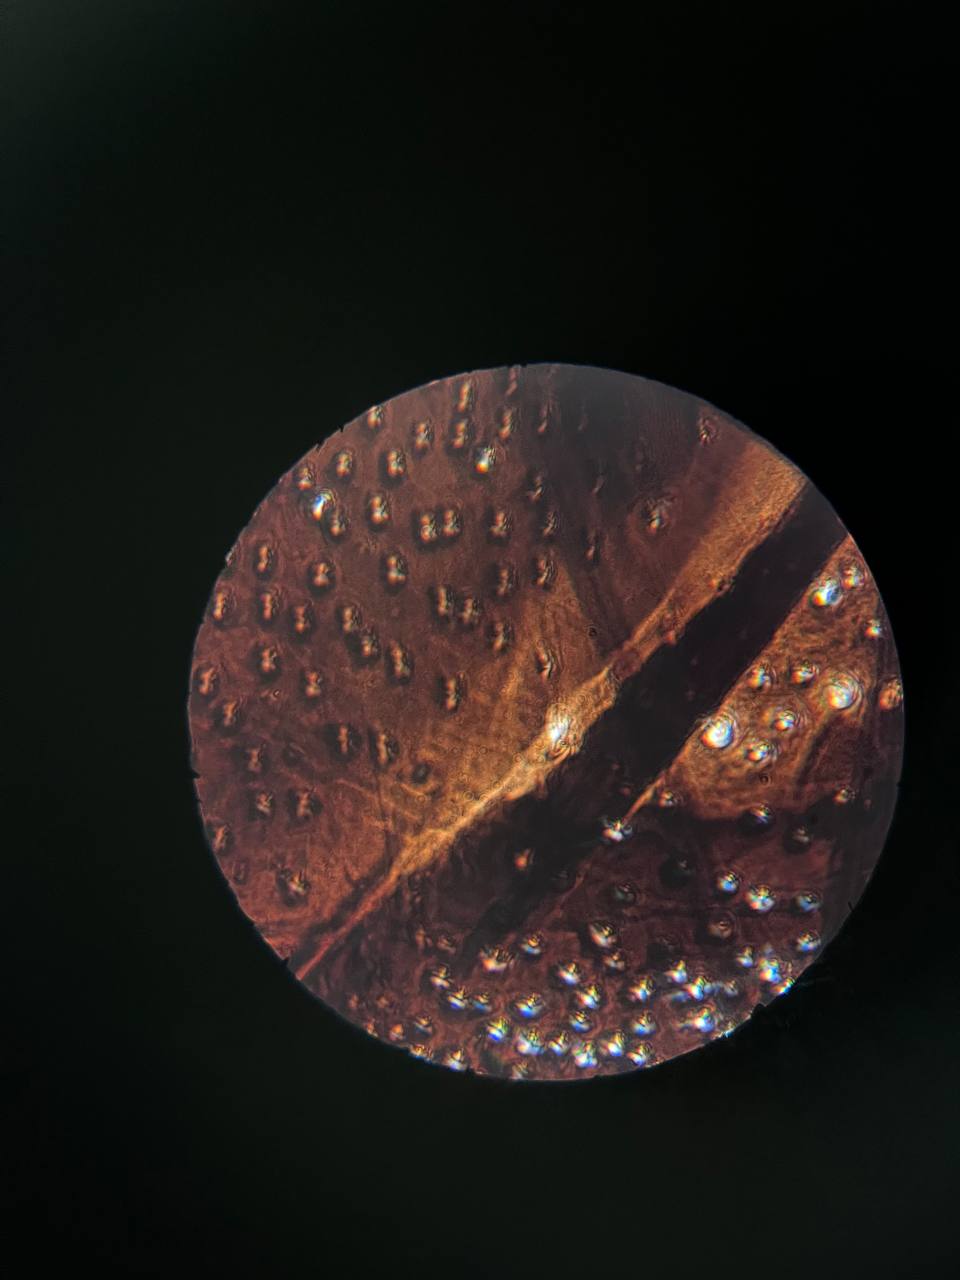
Step 8. Examine whether the constant preparation is magnified differently by varying the different lens magnifications. Lens magnifiers x10 and x40.
Step 9.
Place the permanent botany preparation on the microscope stage.
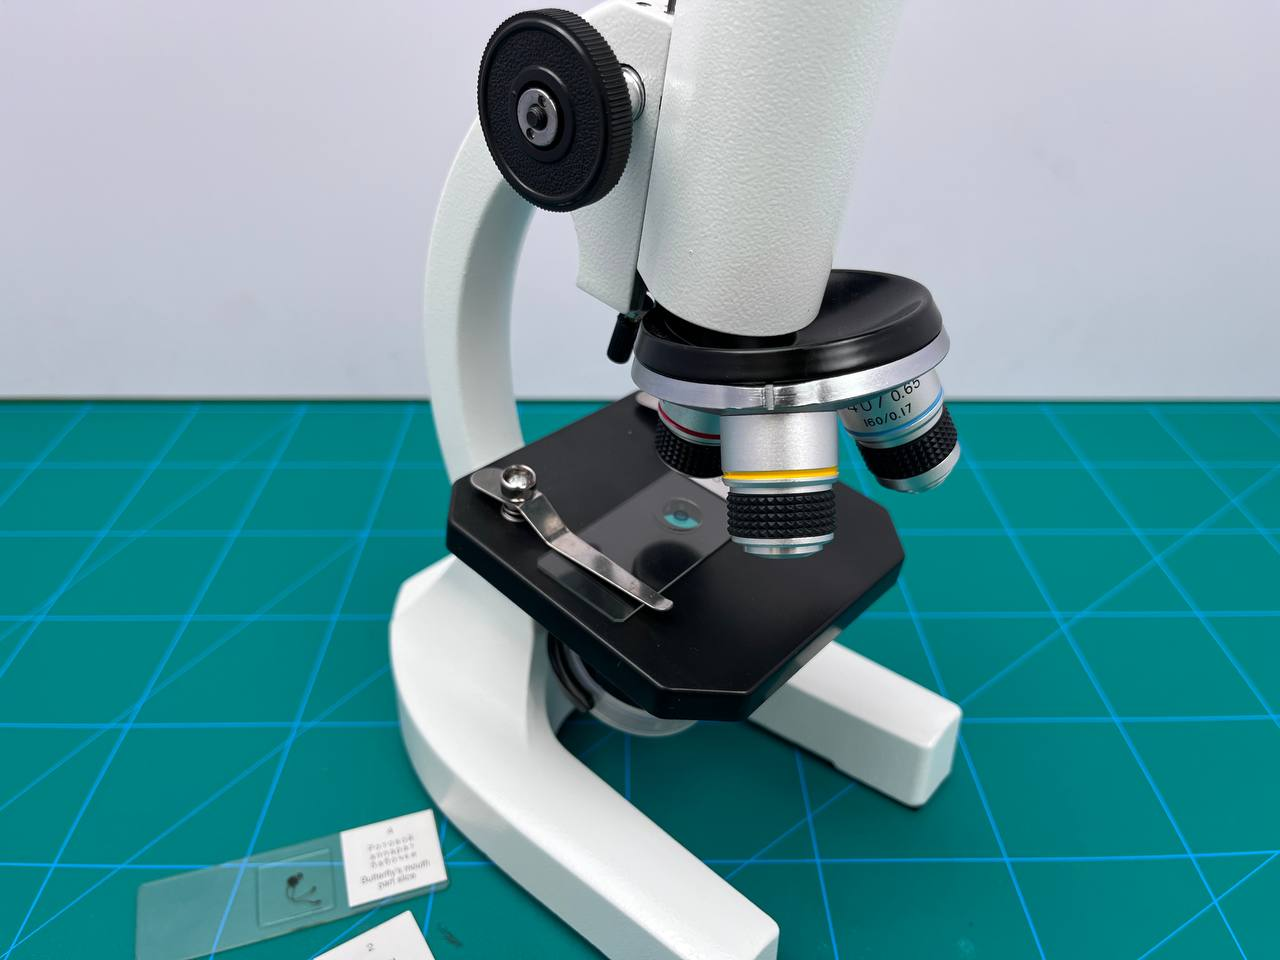
Step 10.
Looking through the eyepiece, slowly move the tube through the screws until the image of the subject is clear. Investigate whether the constant preparation is magnified differently by varying the different magnifications of the objective lens. Lens magnifiers are x4, x10, and x40. Magnification is increased 64, 160 and 640 times for x16 and x4, x10 and x40 respectively.
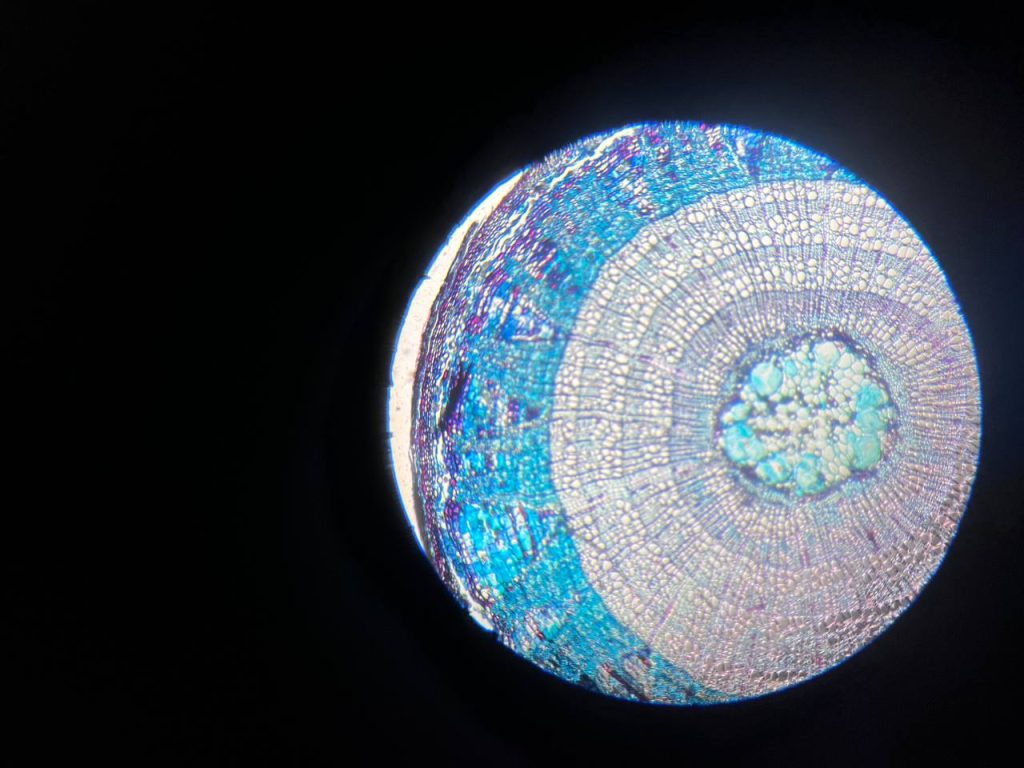
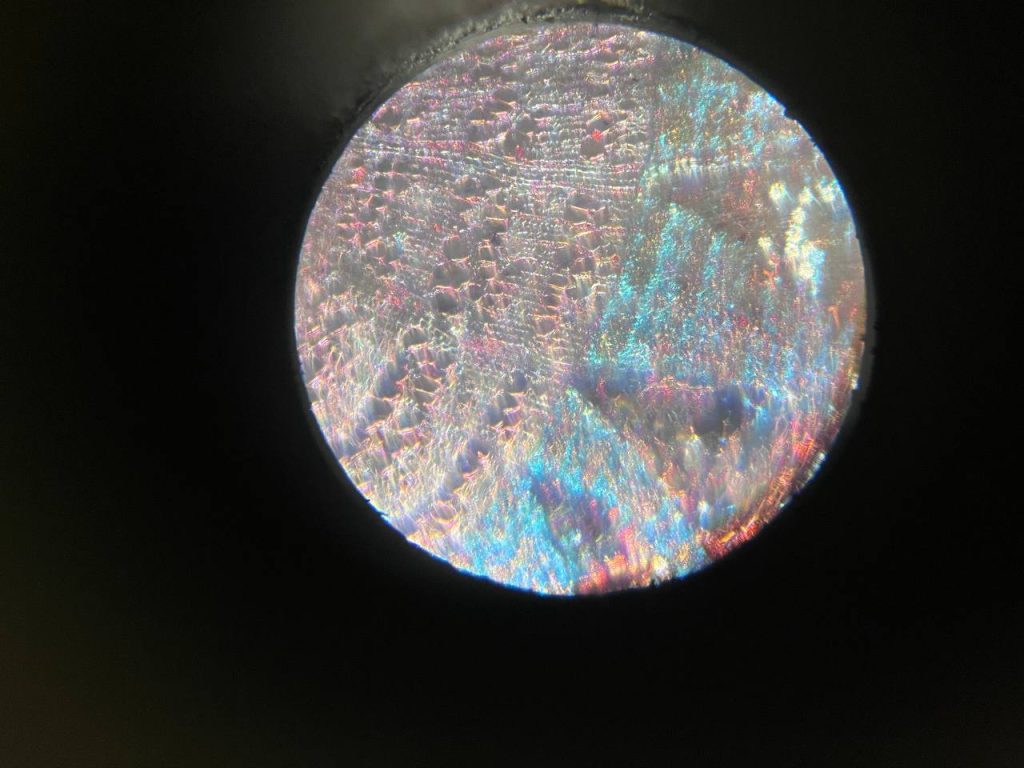
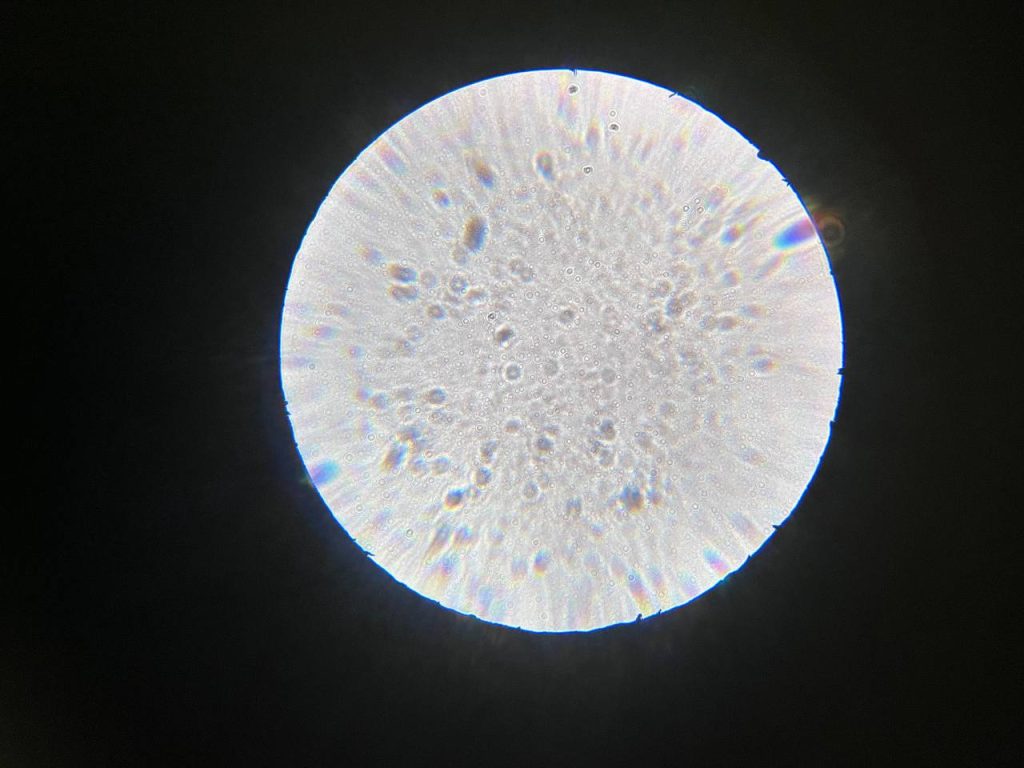
Step 11. Draw conclusions by answering the following questions:
- What structures or shapes were seen in the microscope when you examined the permanent preparations?
- What magnification of the microscope objective and eyepiece did you use when observing?
- What new facts or interesting features did you learn from studying permanent preparations in the microscope?
- How does microscopic study help us better understand the structure and function of organisms?
- What are the advantages and limitations of using permanent preparations in microscopic studies?
- What other objects or structures would you like to study using a microscope in the future?
Conclusion
Through the practical work of examining permanent micro preparations under the microscope, students explored different structures and objects of the microcosm. This work helped them better understand microorganisms, cells, and other microstructures that normally cannot be seen with the naked eye.
Traced the micrographs using different magnifications with a beam microscope. This gave students information that cells have different shapes and functions and that their structures are a complex system.