
Lesson
Objective:
- To understand the process of photosynthesis
- To learn how to investigate the conditions necessary for photosynthesis
Teacher’s Guide:
- Before proceeding with the lab work, review the safety rules by following the link:
- Divide students into several groups.
- Download the worksheet by clicking on the link: worksheet
Theoretical part
Leaf disc analysis measures the rate of oxygen release in leaf discs, which indicates the rate of photosynthesis. When the leaf disks are placed in the syringe, they all float above the solution. This is because there are air pockets in the leaf structure that facilitate gas exchange between different parts of the leaf. The vacuum created in the syringe sucks the air out of the leaves and then replaces it with the solution in the syringe. The baking soda provides the plant leaves with the carbon dioxide needed for photosynthesis. After placing the beakers with leaf disks under light, photosynthesis begins in the chloroplasts of the leaves. This produces oxygen gas, which accumulates inside the leaf disks or on their surface. Tiny oxygen bubbles on the top or underside of the leaf discs are evidence that photosynthesis occurs inside the leaf disc. Oxygen bubbles change the carrying capacity of the leaves. The more gas bubbles accumulate over time, the higher the buoyancy of the leaves.
Practical part
Step 1.
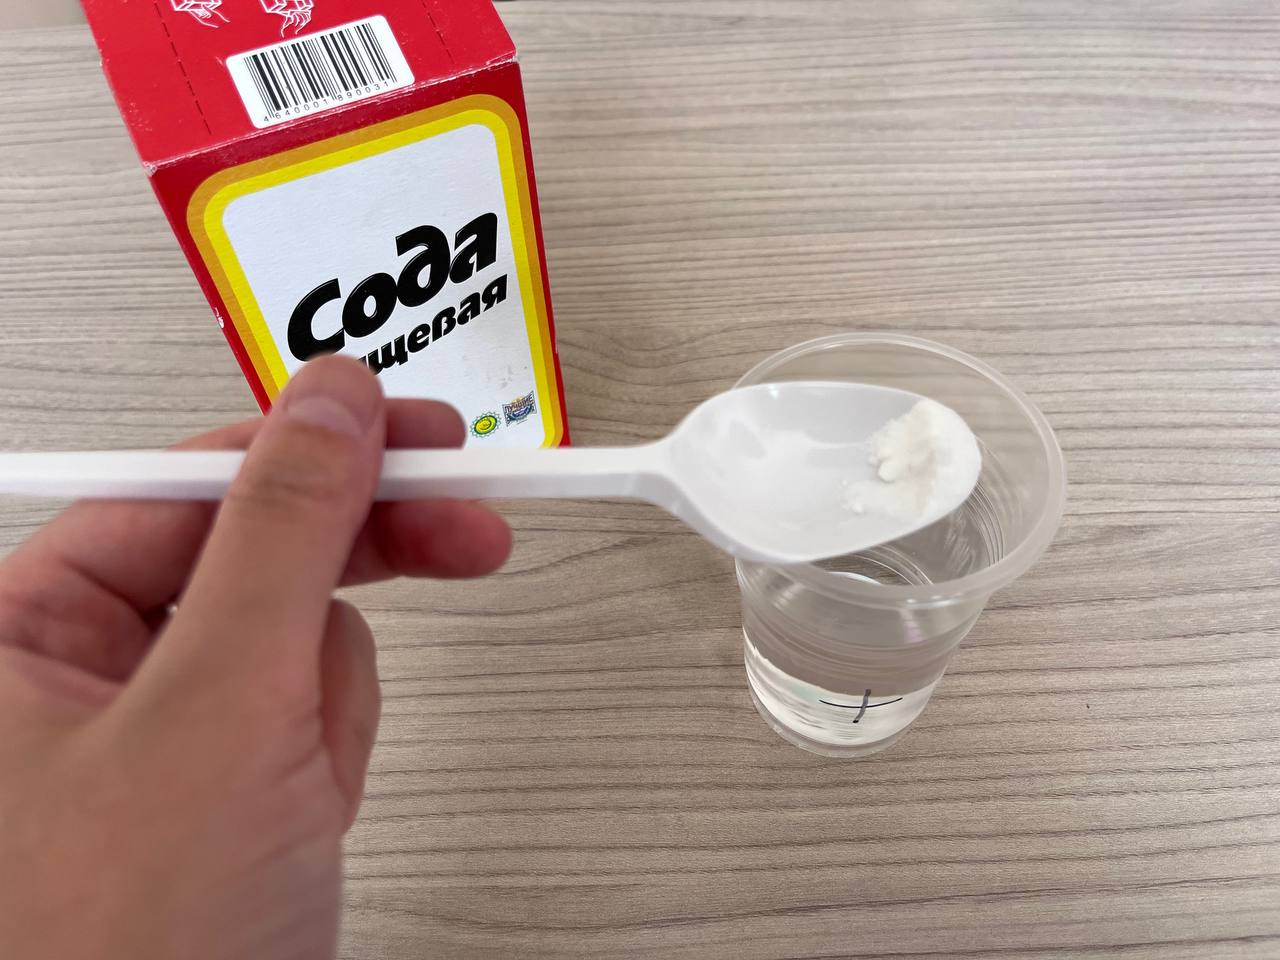
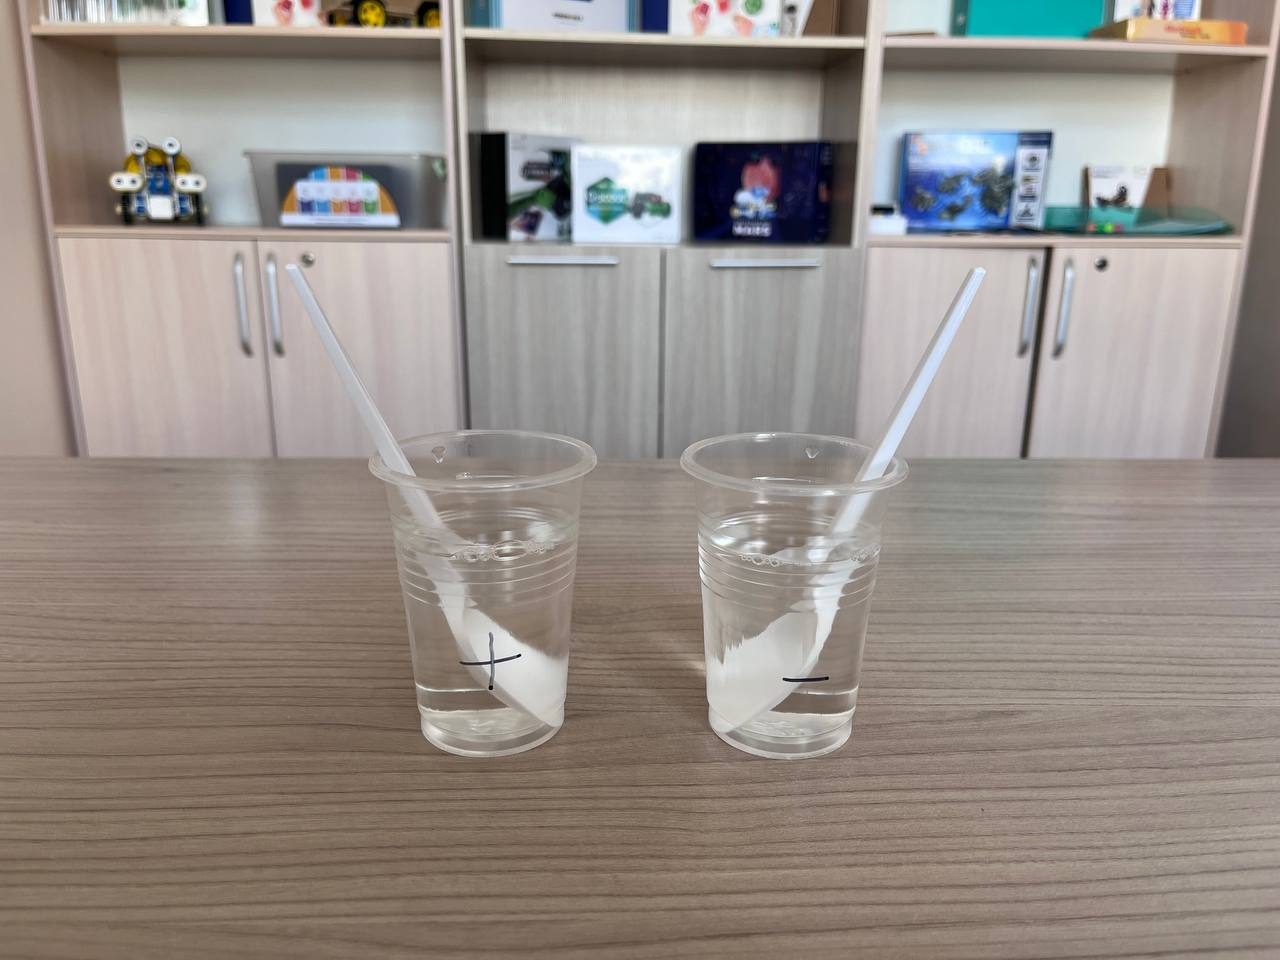
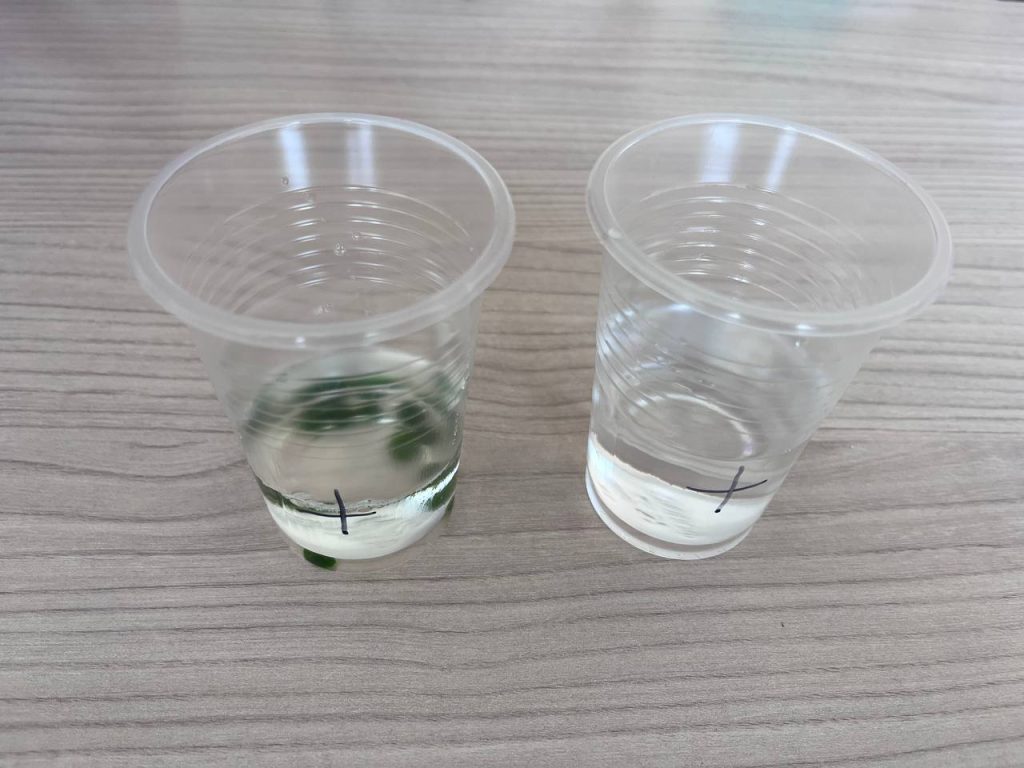
Write with a marker “+” baking soda on two glasses and “-” baking soda on two glasses.

Step 2.
Fill the beakers with “+” baking soda and “-” baking soda with 150 ml of room temperature water per piece.

Step 3.
Prepare the baking soda solution in the baking soda “+” beaker. Add about 1/8 teaspoon of baking soda to the water and stir until the baking soda is completely dissolved.
Step 4.
Add a drop of dishwashing liquid to the baking soda solution and stir gently until dissolved. No foam should form in the glass.

Step 5.
Add a drop of dishwashing liquid to the beaker with the baking soda “-” and gently stir until dissolved.
Step 6.
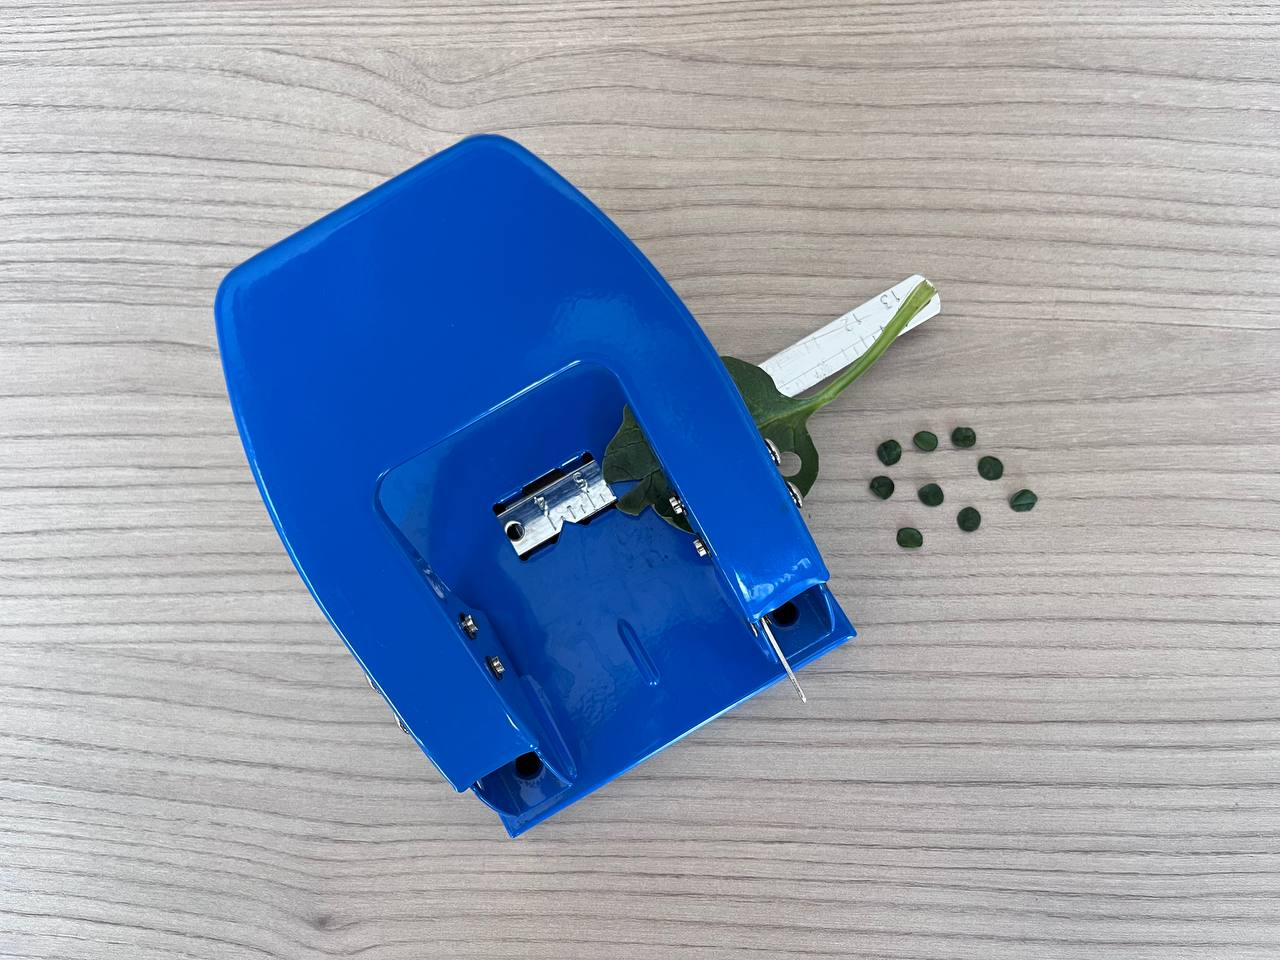
Use a hole punch to cut 20 disks from the leaves of the plant. Make sure they are all the same size and full circle. Try not to pierce the large roots of the leaves.
Step 7.
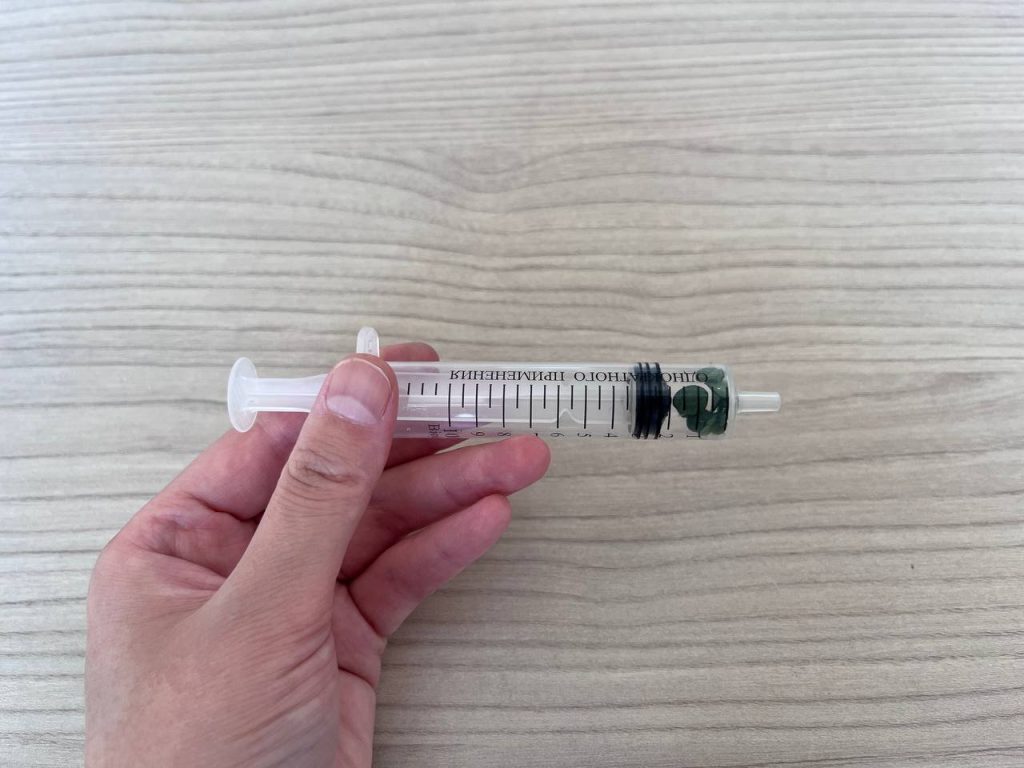
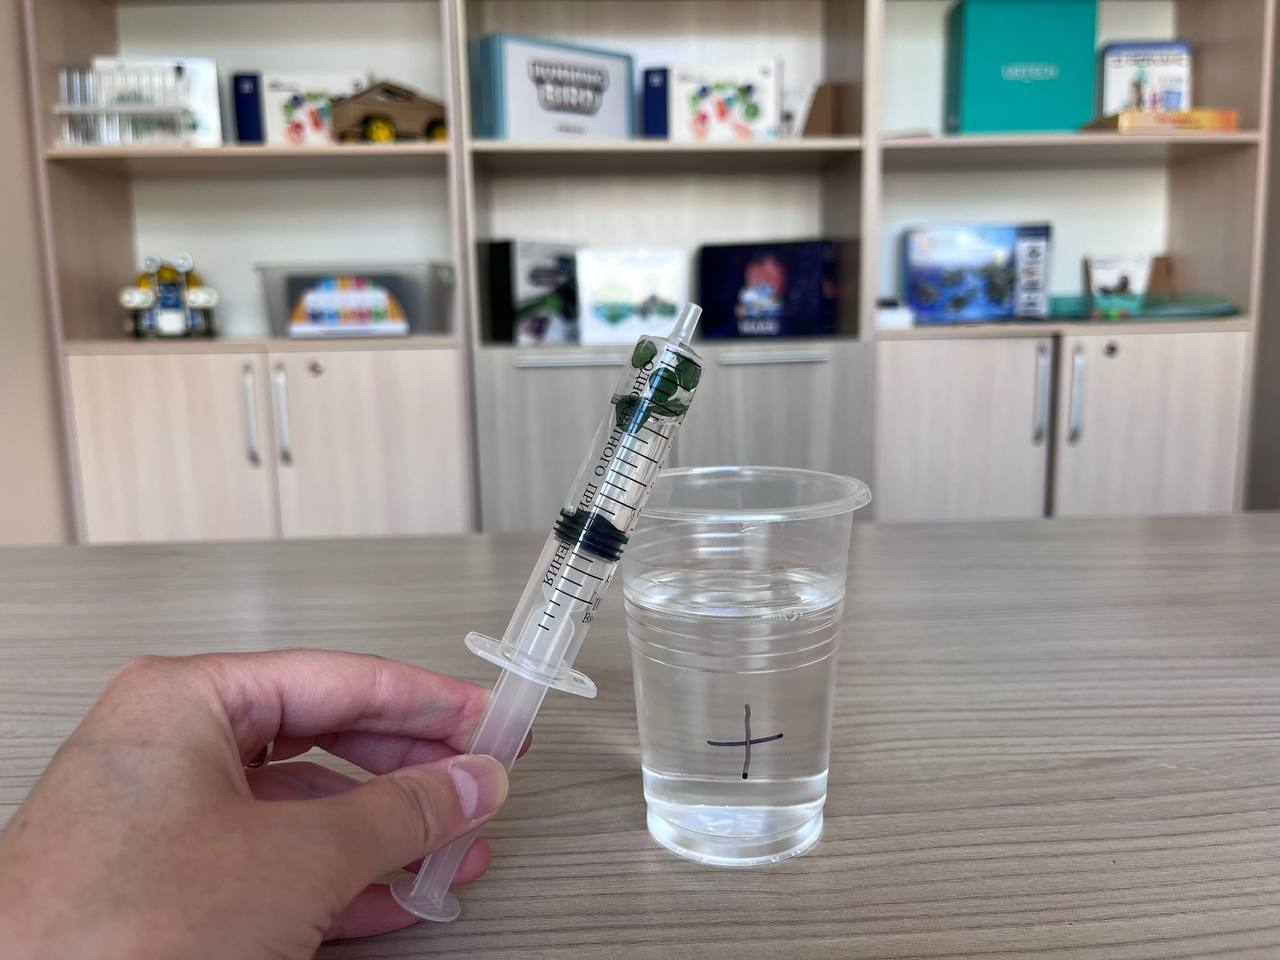
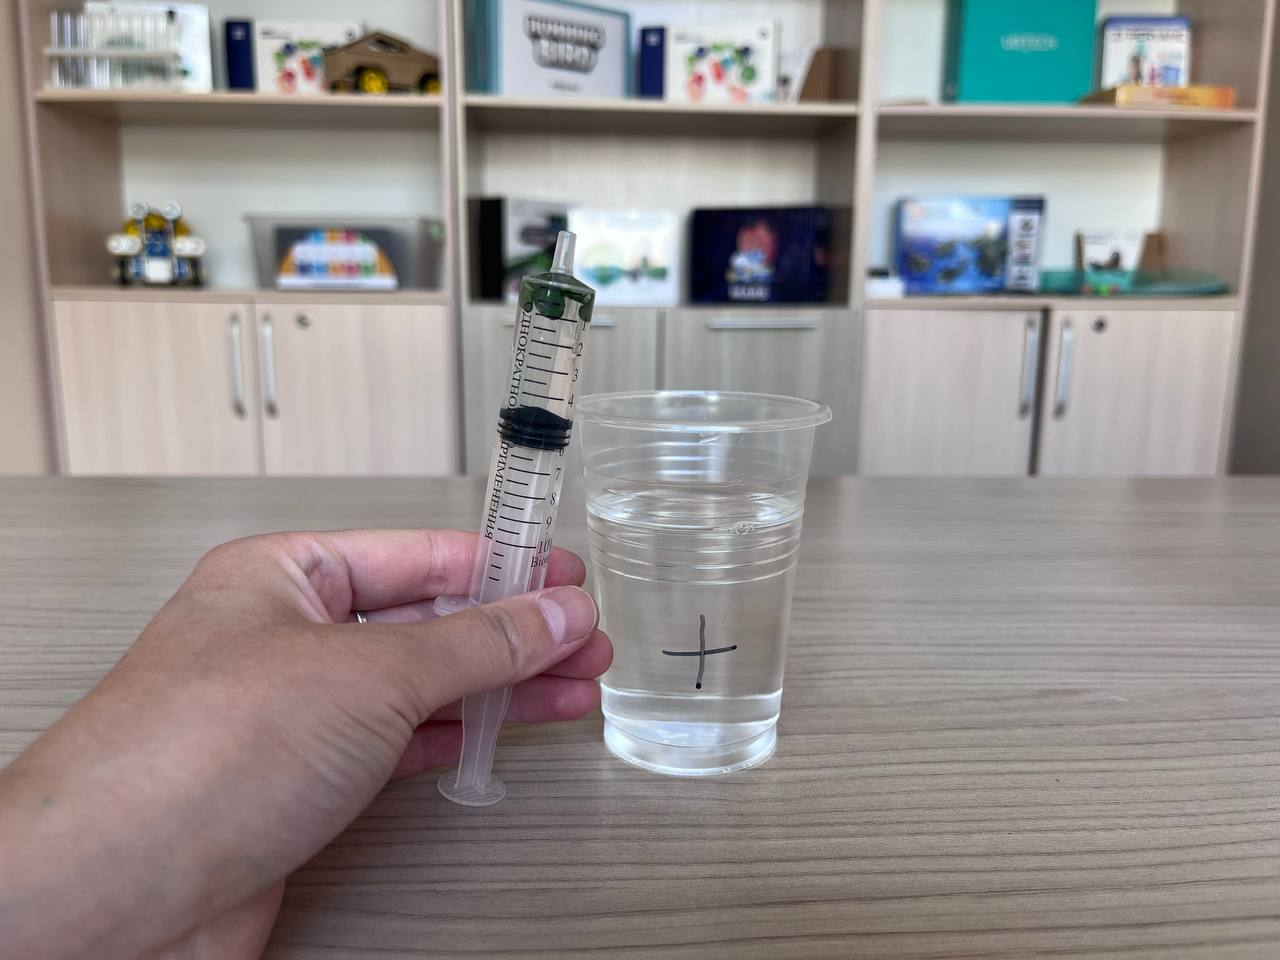
Remove the piston from the syringe and insert leaf disk 10 into the syringe. Place the piston back into the syringe and squeeze until there is little air left in the syringe. Be careful not to crush the leaf disks.
Step 8.
Pour a small amount of baking soda solution into the syringe with the leaf disks.
Step 9.
Carefully let all the air out of the syringe.
Step 10.
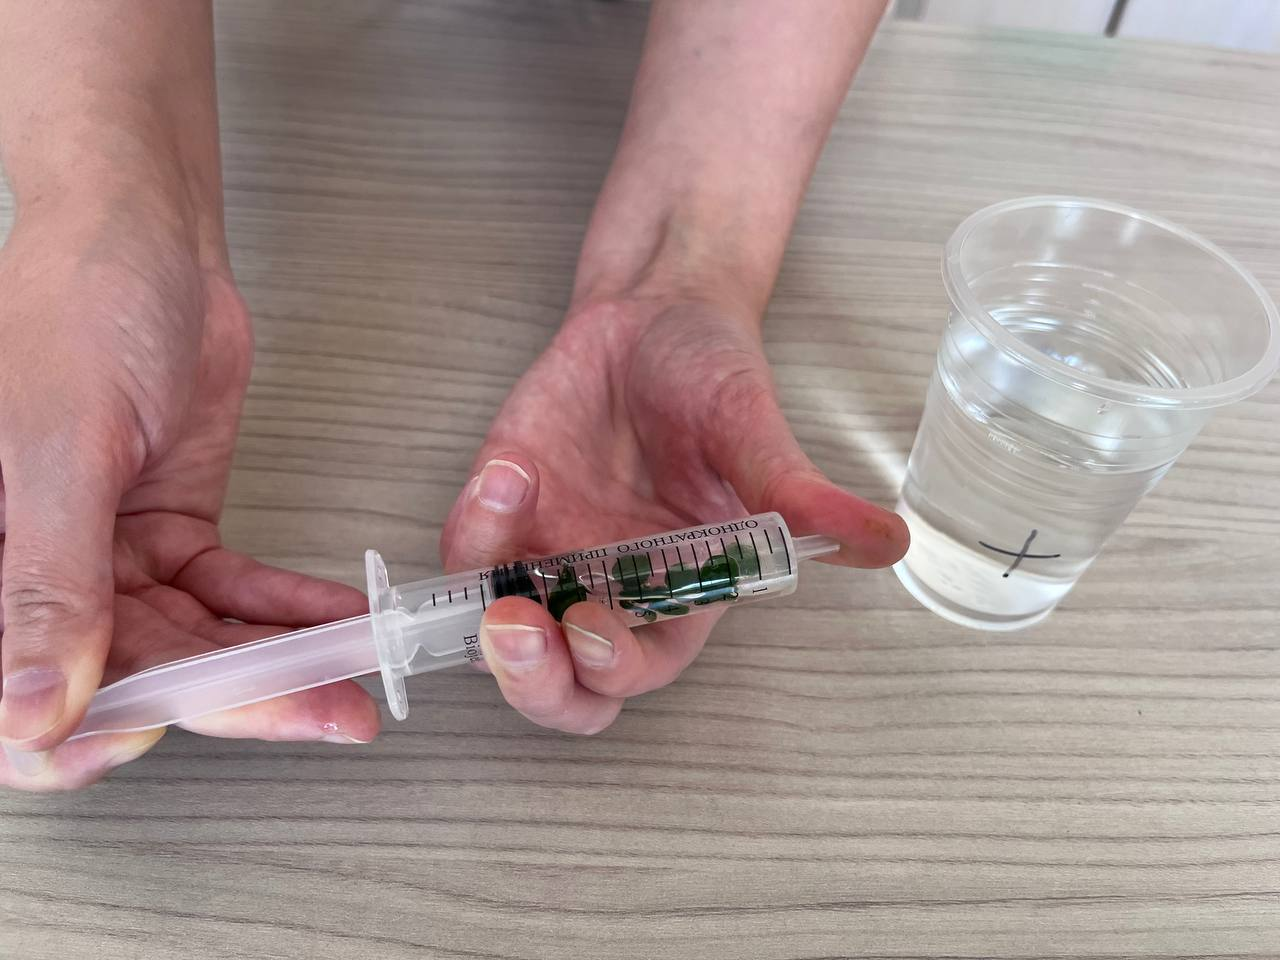
Cover the syringe opening with your finger and pull back the piston to create a vacuum. Hold the vacuum for 10-15 seconds and rotate the leaf disks to suspend them in the solution.
Step 11.
Release the piston and remove the finger from the syringe port to release the vacuum. Pay attention to the leaf disks.
Step 12.
Repeat steps 10 and 11 until all leaf disks have sunk to the bottom of the solution.
Step 13.
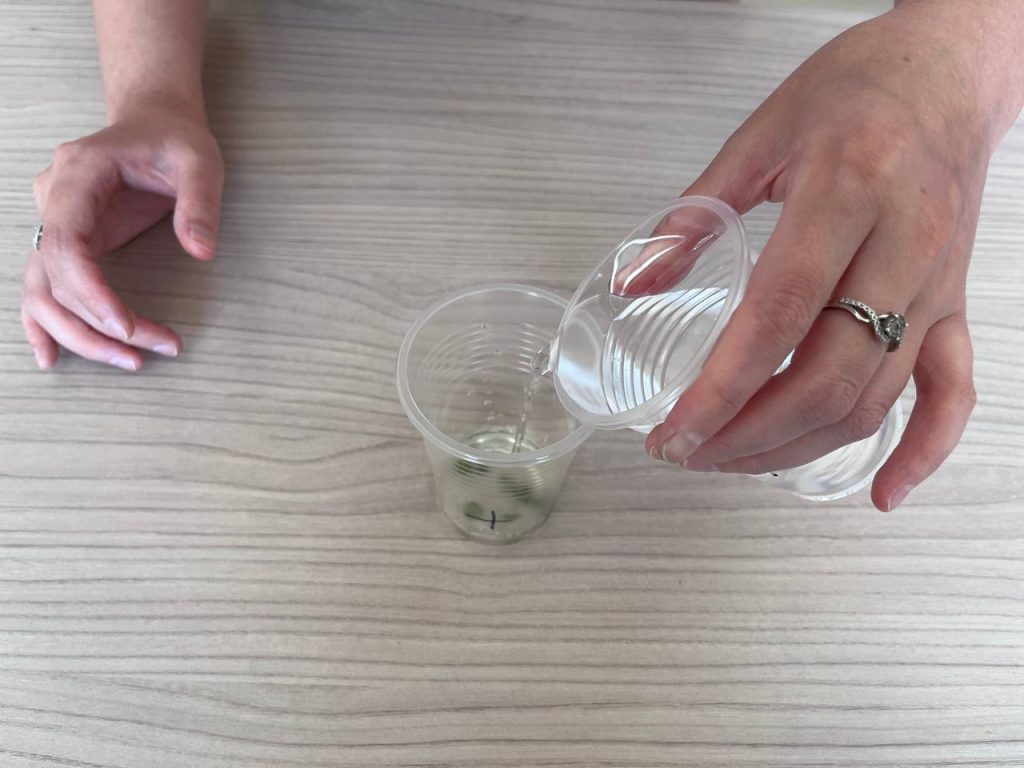
Remove the plunger from the syringe and pour all 10 leaf disks and the solution into the second + baking soda cup. Fill the cup with the baking soda solution to a depth of about 3 centimeters.

Step 14.
Repeat steps 7-13, but this time use the “-” baking soda cup for all steps. Place the leaf disks in the second cup of “-” baking soda.
Step 15.
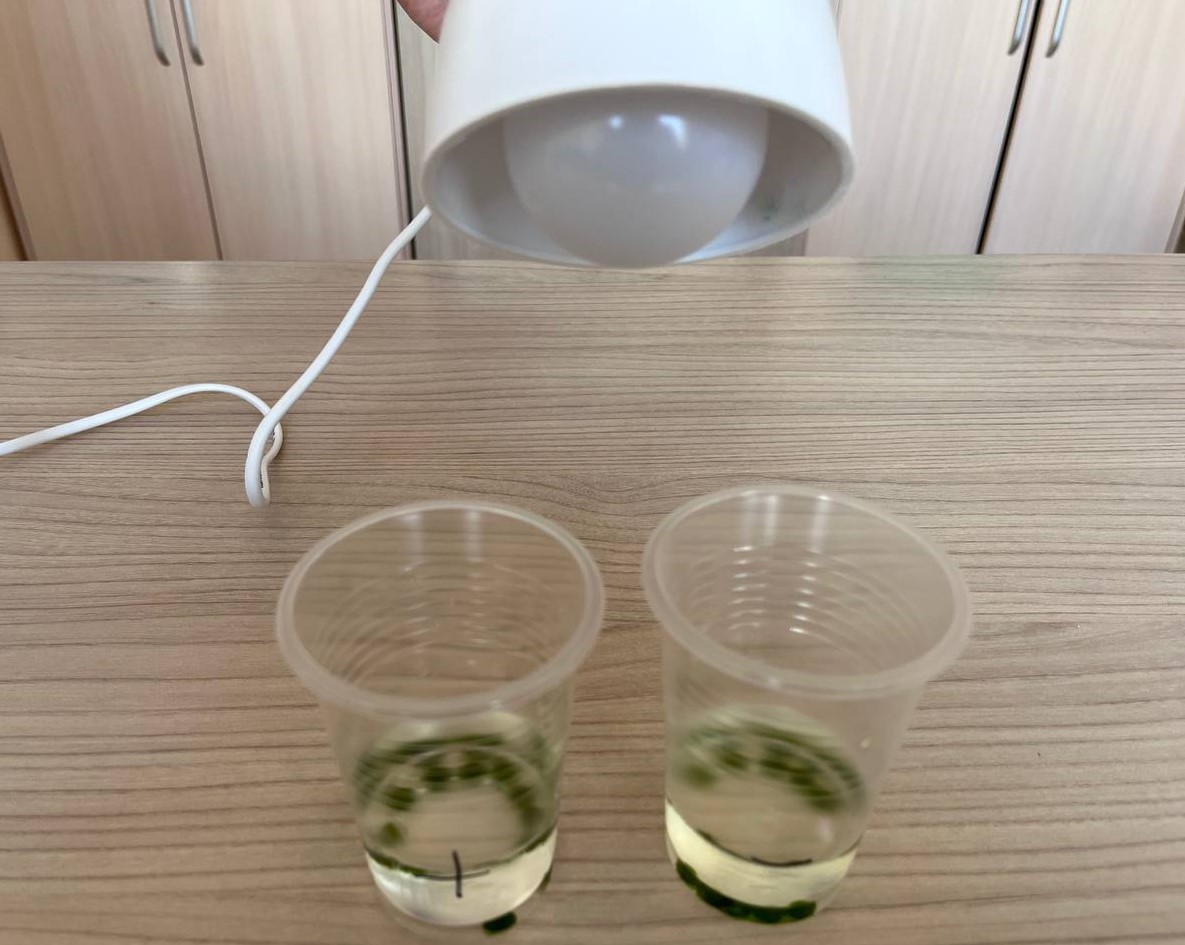
Position the light bulb so that it shines directly on the work area.
Step 16.
Place both beakers under the light source. Make sure the light falls directly on the beaker from above.
Step 17.
Prepare a three-column data table in your practice notebook. In column 1, record the time, minutes (min). In columns 2 and 3, record the results of the leaf disk analysis, with and without baking soda.
| time | leaf disk test results “+” baking soda | leaf disk test results “-” baking soda |
| 1 min | ||
| 2 min | ||
| … | ||
| … |
Step 18.
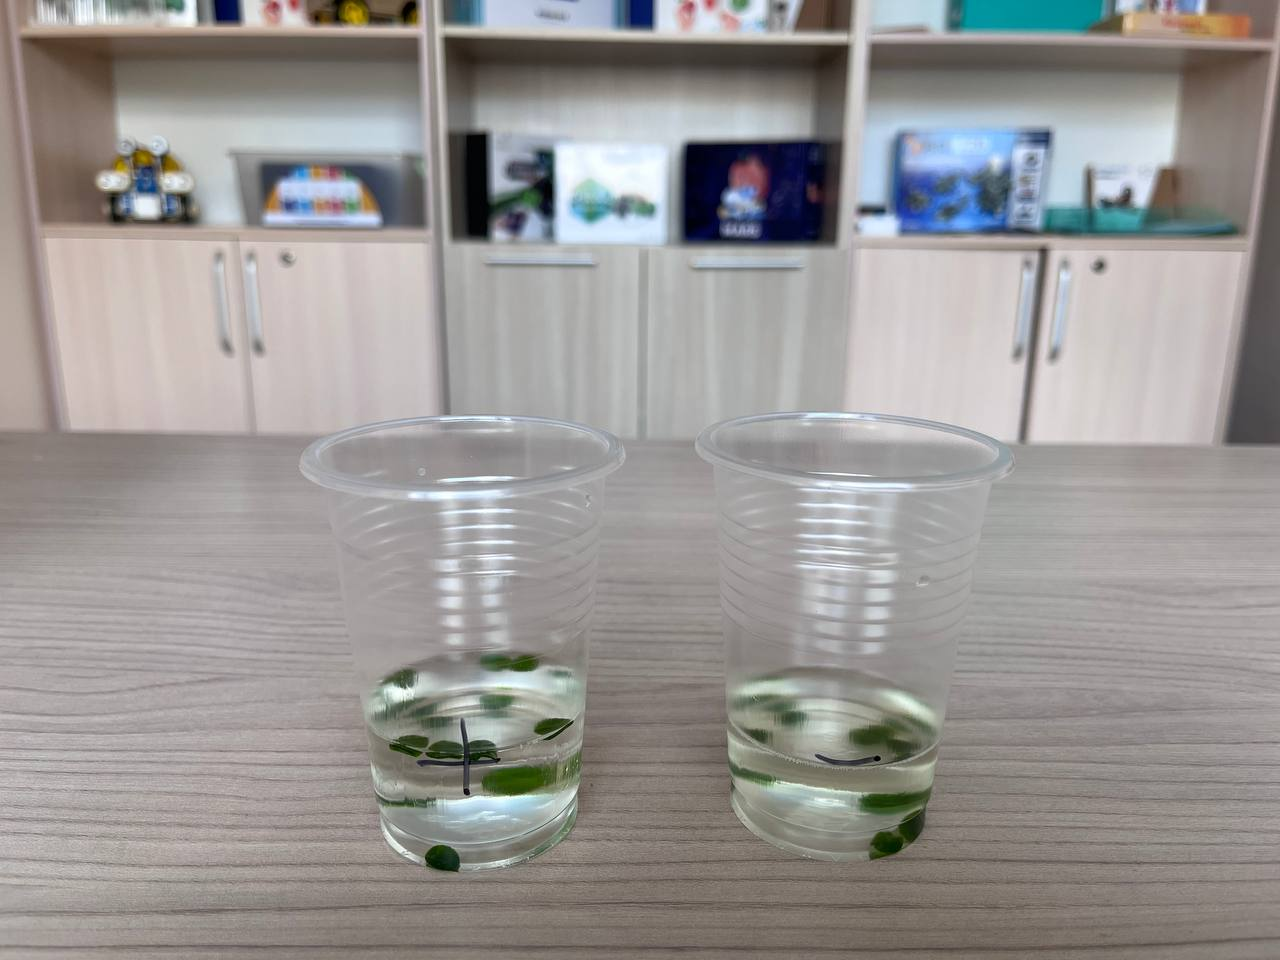
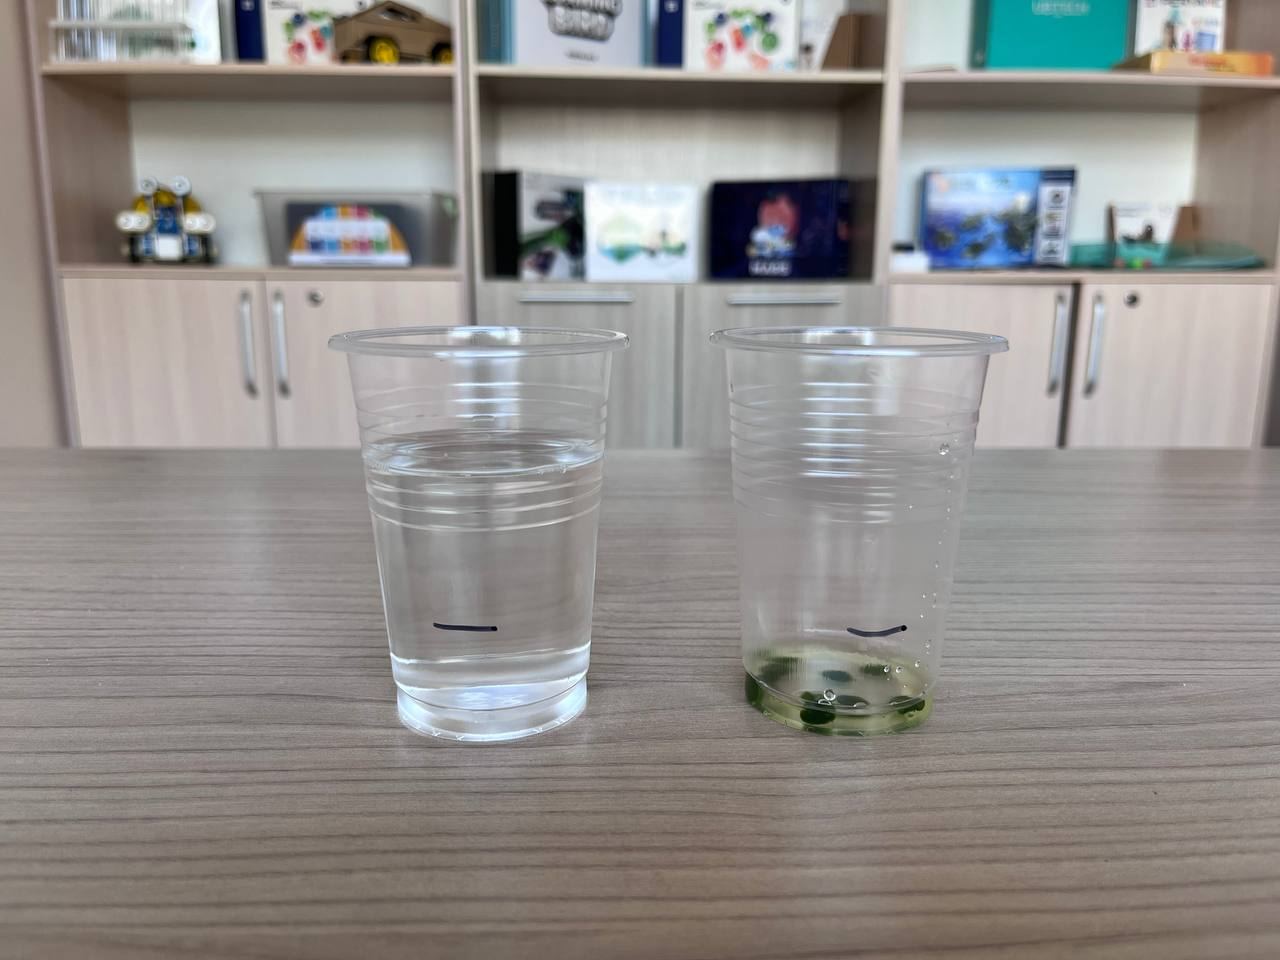
Start the timer. At the end of each minute, record the number of floating leaf disks in the two beakers. You can move the disks slightly to keep them from sticking to the bottom or walls of the beaker.
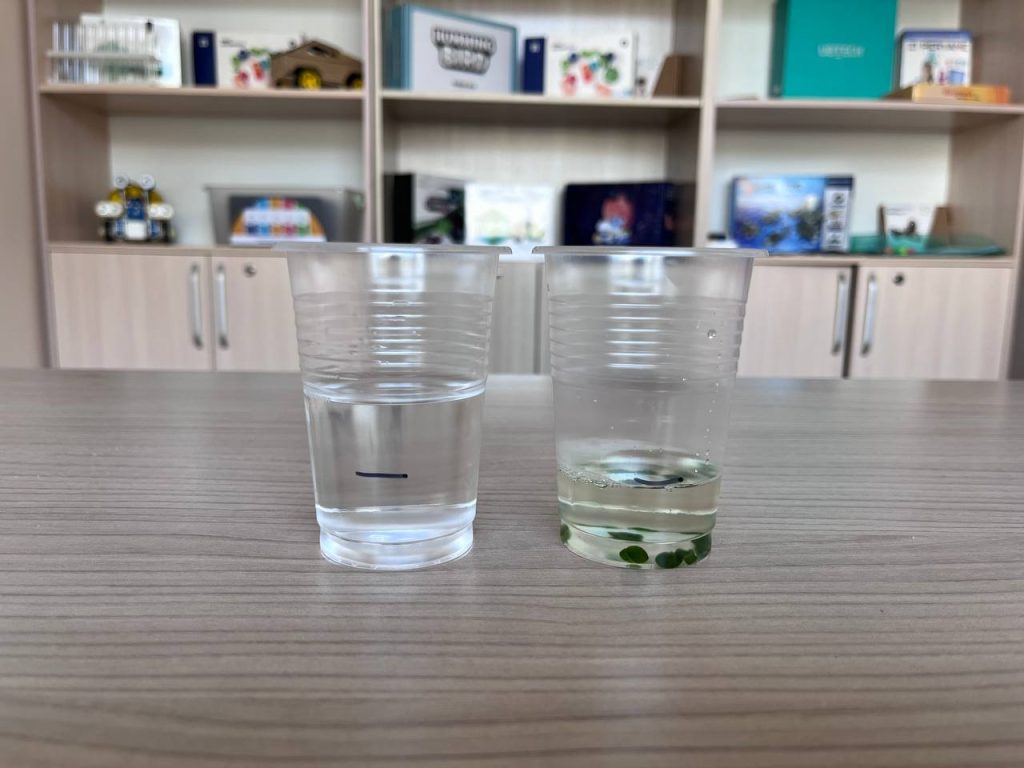
Continue the experiment until all the leaf disks float in one of the beakers.

Step 19.
Draw conclusions by answering the following questions:
- Why do you need baking soda for the solution in this experiment?
- What do you notice about the leaf disks in the syringe?
- Why do you think the sheet disks begin to float?
- How are the results different in the beakers with and without baking soda?
Conclusion
To summarize the hands-on activity, the experiment with leaves floating in water gave us a better understanding of the process of photosynthesis and its importance in nature. It has been shown that the process of photosynthesis depends on various factors such as the intensity of light and the presence of carbon dioxide. This process is vital to all organisms on Earth as it provides the main source of nutrients and oxygen that living organisms need for respiration.