
Lesson
Purpose of the work:
- study and understand the mechanism of the reflex arc
- observe the human body reflexes
Expected results:
After completing the work, students can:
- develop teamwork skills
- be able to analyze and summarize the information received
- draw logical conclusions
Teacher’s Guide:
- The task is performed in groups of 2 people
- Before starting laboratory work, please read the safety rules by following the link:
- To download the worksheet, follow the link:
Theoretical part
Reflexes are the body’s automatic reactions to stimuli from the external or internal environment. These reactions do not require conscious participation and are a defense mechanism of the body. Examples include sneezing, blinking, enlarging or shrinking the pupil of the eyes, etc. that is, reactions to pain, light, heat and other stimuli.
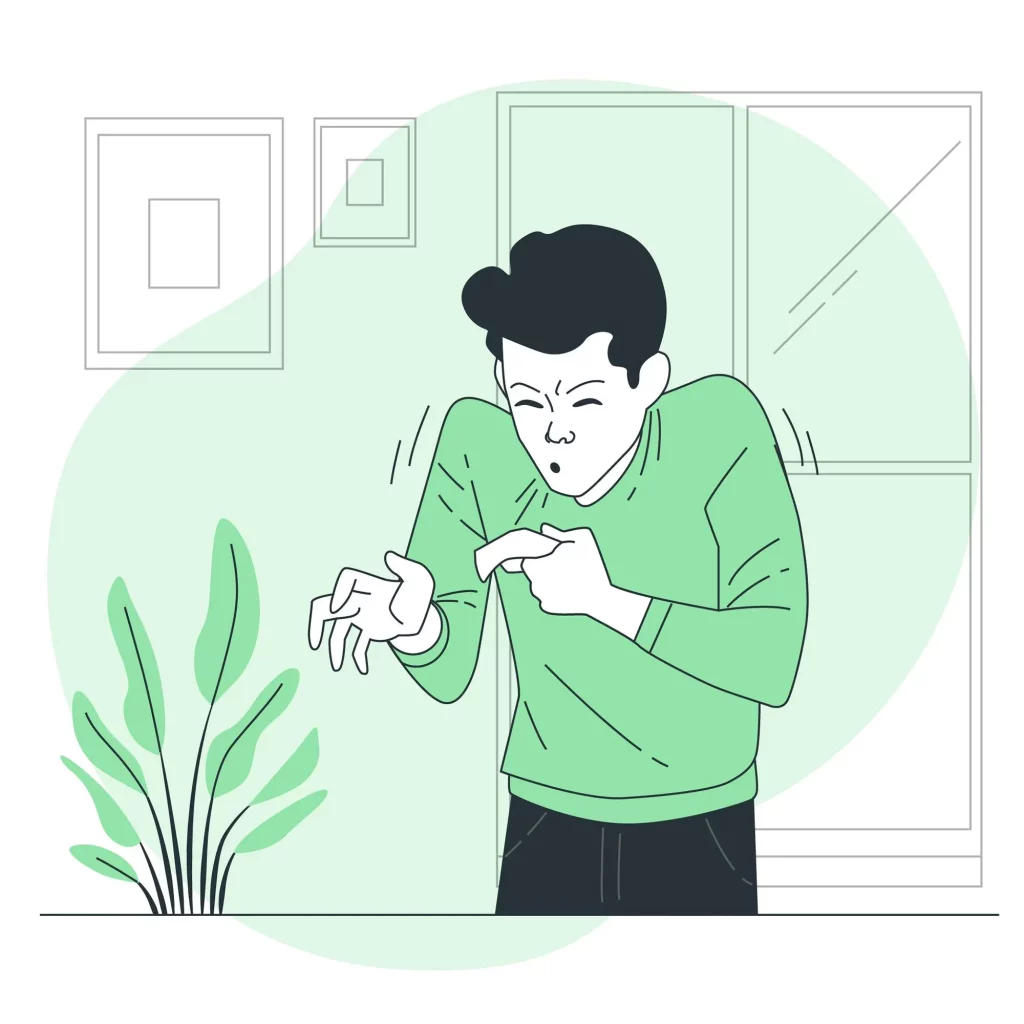
A reflex arc is the path along which information is transmitted from receptors (sensory organs) to the central nervous system (spinal cord or brain) and then to effectors (muscles or glands) to cause a response. This allows the body to quickly and automatically respond to stimuli. In the reflex arc, afferent neurons (transmit information to the central nervous system) and efferent neurons (transmit information from the central nervous system to effectors) play an important role.
Practical part

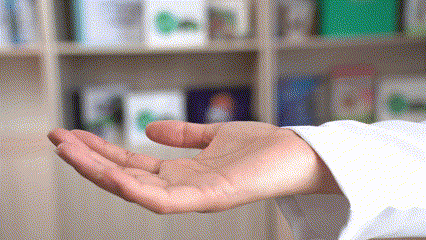
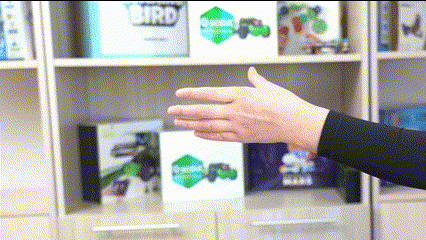
Palmar reflex
Step 1: Relax your arms. Place an object on your palm. When you grasp an object in your hand, the biceps contracts and this action bends your fingers to hold the object.
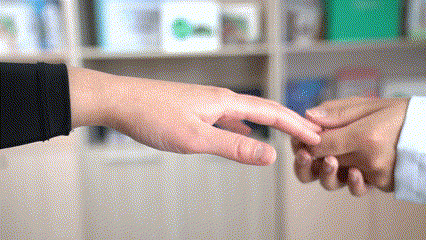
Hoffmann reflex
Step 2. Press a little or make a jerky click on the nail phalanx of your partner’s middle finger. In response to this, you can notice a flexion of the thumb and index finger of the hand.
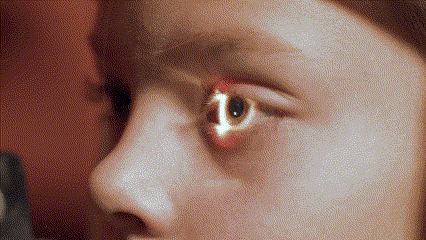
Pupillary light reflex
Step 3. In a dark room, hold the flashlight to the side of your partner’s eye from a distance of about 15-20 cm from the eye. Quickly turn on the flashlight and observe the reaction of the pupil. A healthy pupil should constrict strongly when exposed to light.
Quick response reflex
Step 4: Use a ruler to check a reaction speed of the body. Ask your partner to put his hand up to grab the ruler. Record the level (in centimeters) at which they caught the ruler. Repeat the experiment several times and calculate the average. Convert distance to reaction using the table* below.
*Here is a table to convert the distance on the ruler to a reaction time. For example, if your partner caught the ruler at the 15 centimeter mark, then the reaction time would be 0.17 seconds (170 ms). Remember that there are 1000 milliseconds (ms) in 1 second.
| Distance | Time |
| ~5 cm | 0.10 sec (100 ms) |
| ~10 cm | 0.14 sec (140 ms) |
| ~15 cm | 0.17 sec (170 ms) |
| ~20 cm | 0.20 sec (200 ms) |
| ~25.5 cm | 0.23 sec (230 ms) |
| ~30.5 cm | 0.25 sec (250 ms) |
| ~43 cm | 0.30 sec (300 ms) |
Step 5. Enter the data obtained into the table on the Worksheet and draw conclusions.
Conclusion
This work helped students better understand the anatomy and physiology of nerve reflexes and their importance for the normal functioning of the body. In addition, students identified the role of nerve reflexes in ensuring the body’s rapid and automatic response to external stimuli.