
Lesson
Purpose of the work:
- designing and building a functional DIY arm model that mimics key aspects of the anatomy and movement of the human arm.
- investigating the biomechanics of arm movement, including an analysis of different types of movements such as flexion and extension
Expected results:
After completing the work, students can:
- develop teamwork skills
- be able to analyze and summarize the information received
- draw logical conclusions
Teacher’s Guide:
- The task is performed in groups of 3 people
- Before starting laboratory work, please read the safety rules by following the link:
- To download the worksheet, follow the link:
Theoretical part
The biceps and triceps are antagonistic muscles that act in opposition to each other. When the biceps contract, the triceps relax, and vice versa. This muscle pair is responsible for flexing and extending the elbow joint, allowing you to bring a fork to your mouth or throw a ball during a game.
Practical part
Step 1: Check your materials.
Step 2: Print the provided template by following the link and then cut out the individual pieces.
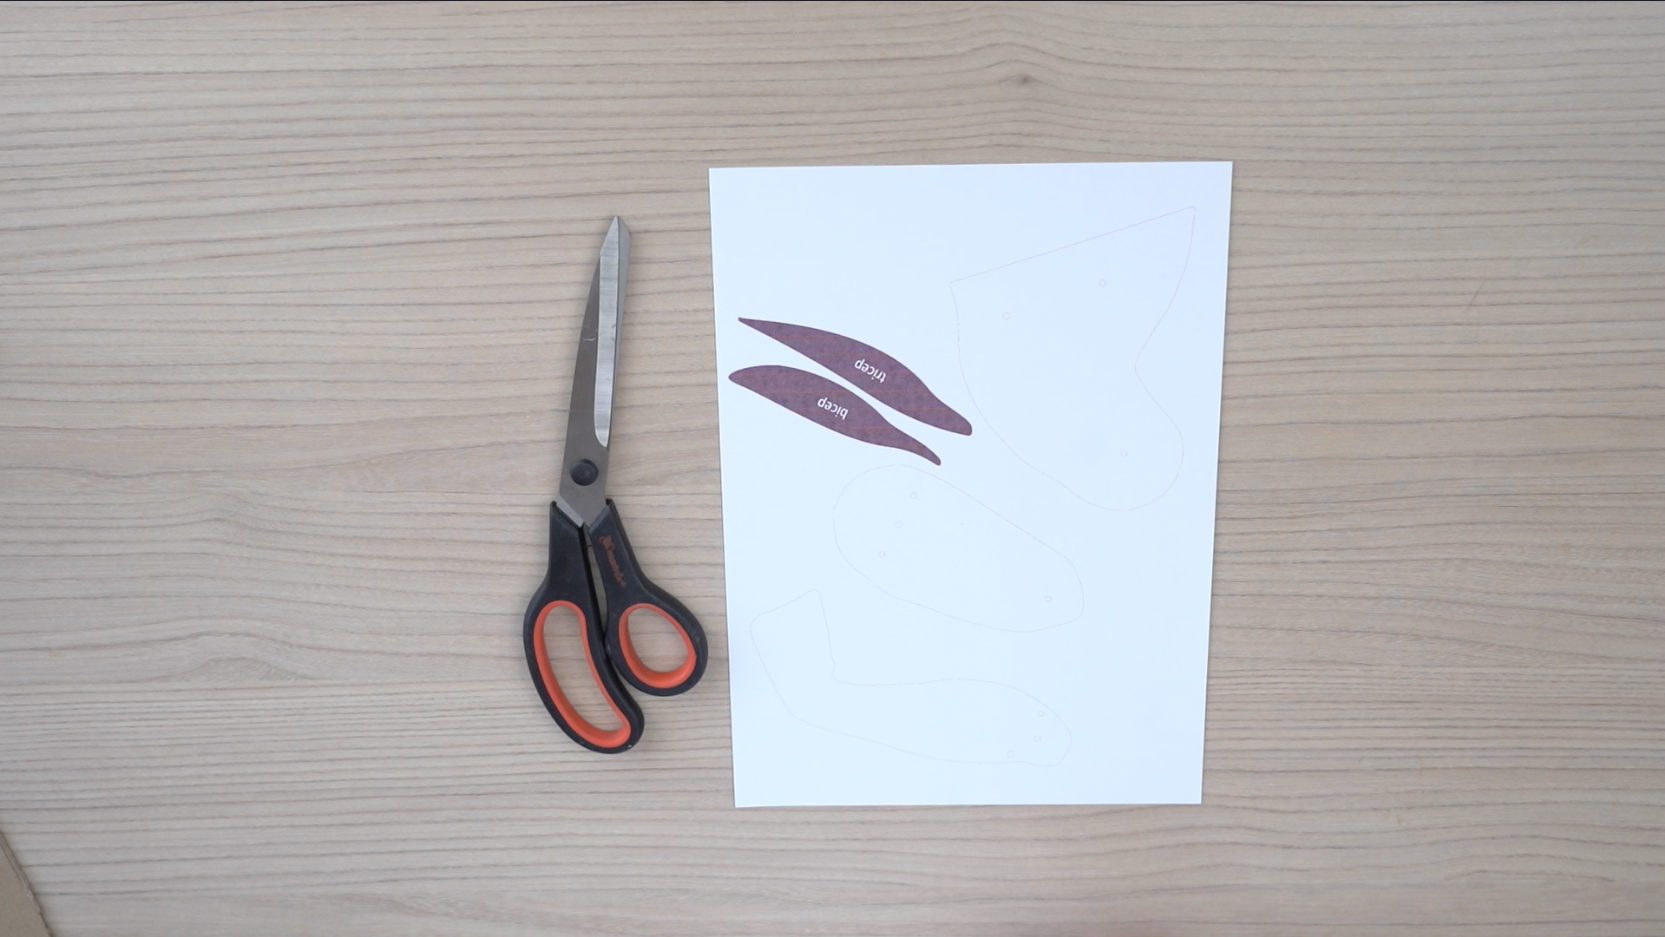
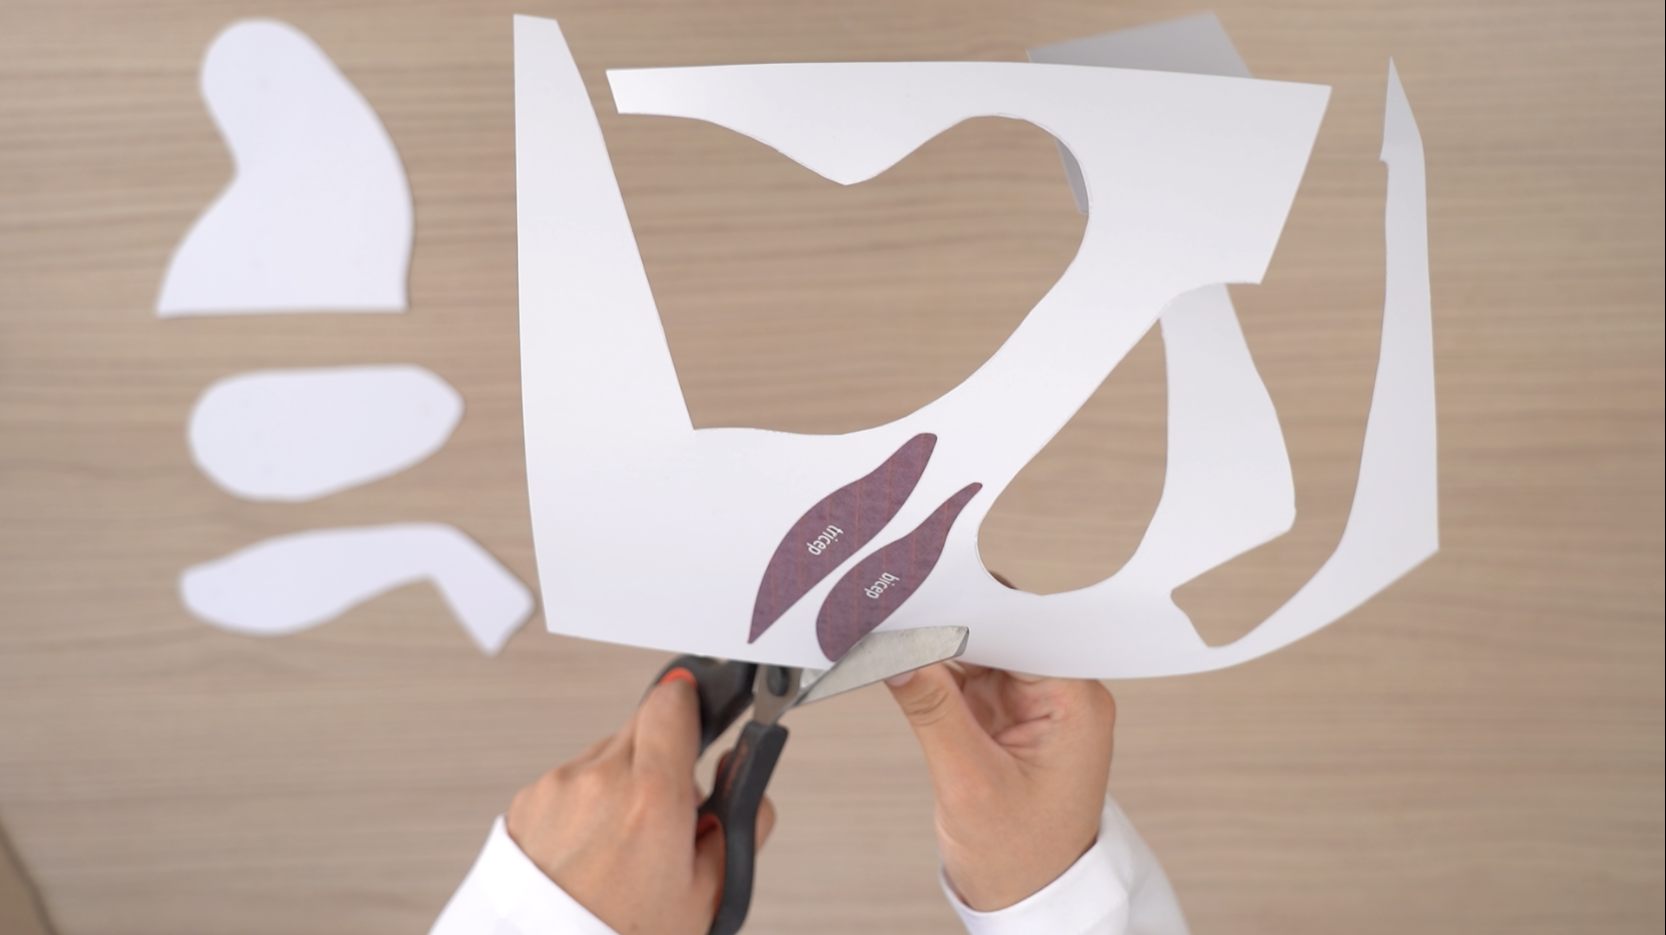
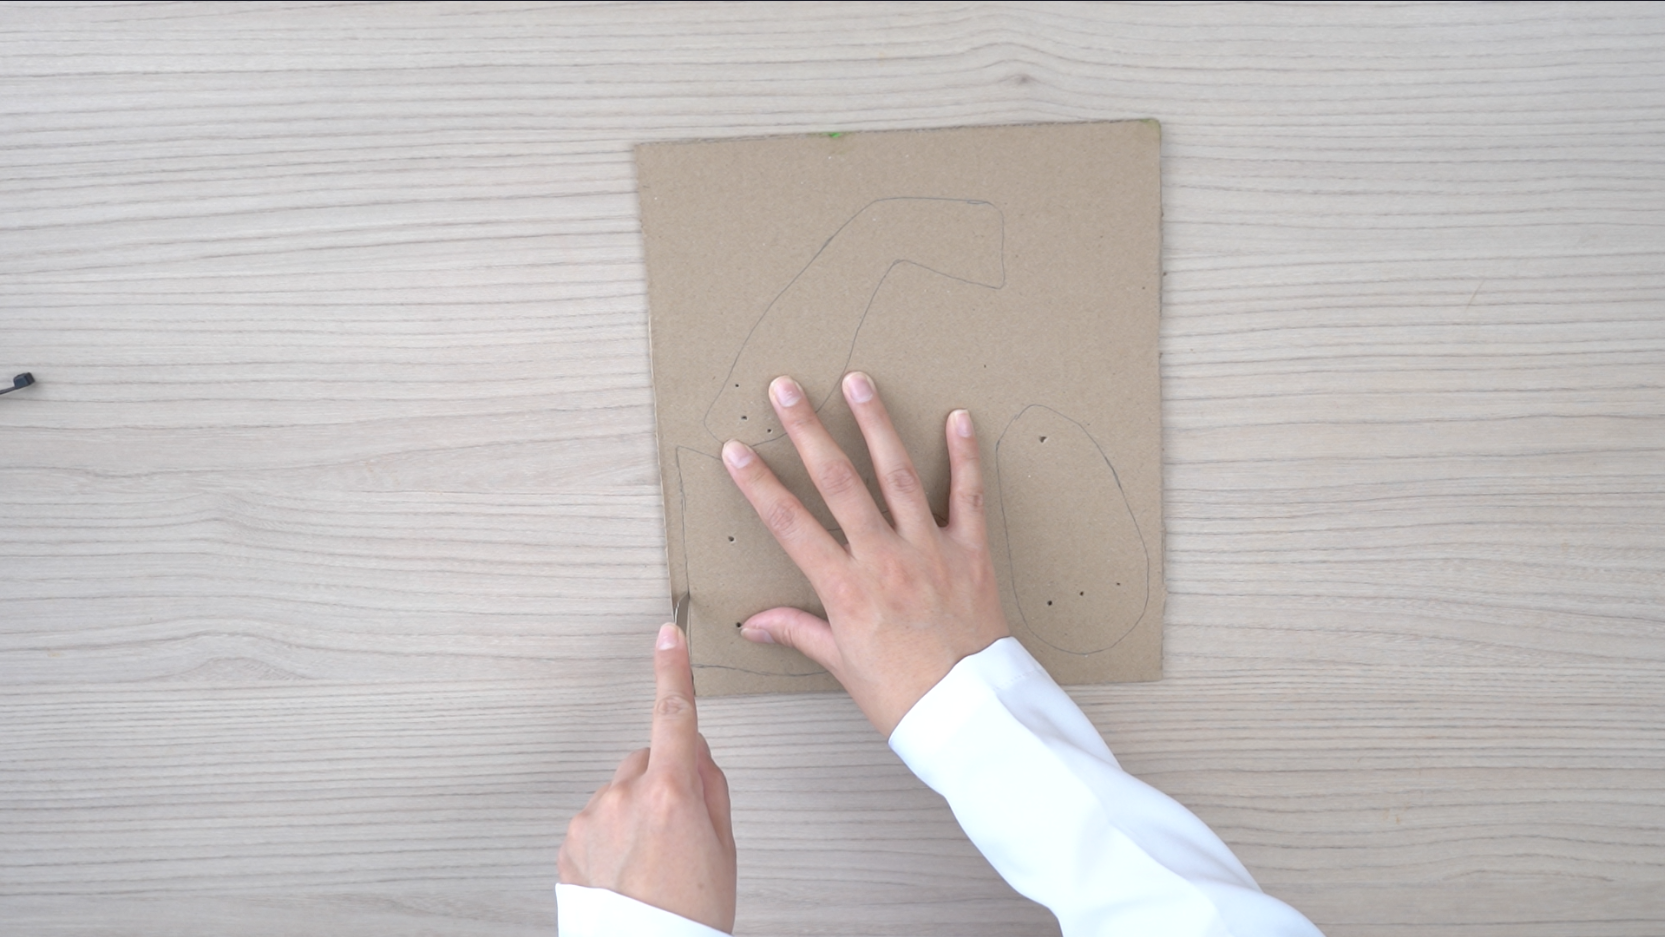
Step 3: Keep the bicep and tricep pieces separate. Trace the remaining shapes onto a piece of cardboard, and use a pushpin to mark the hole locations.
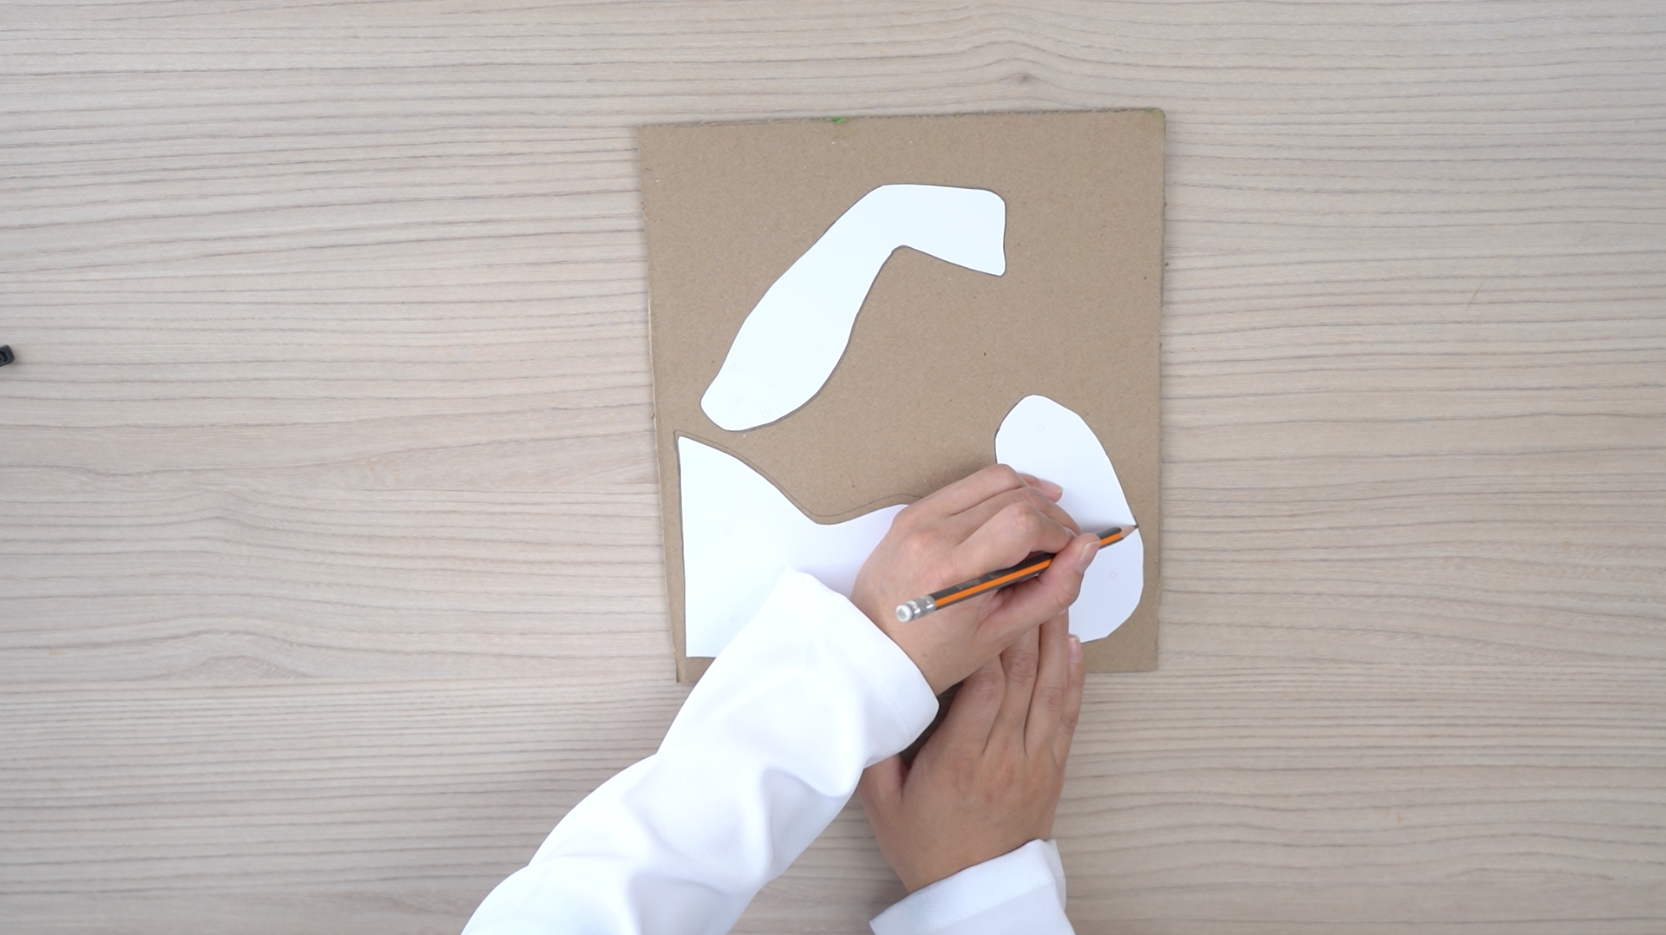
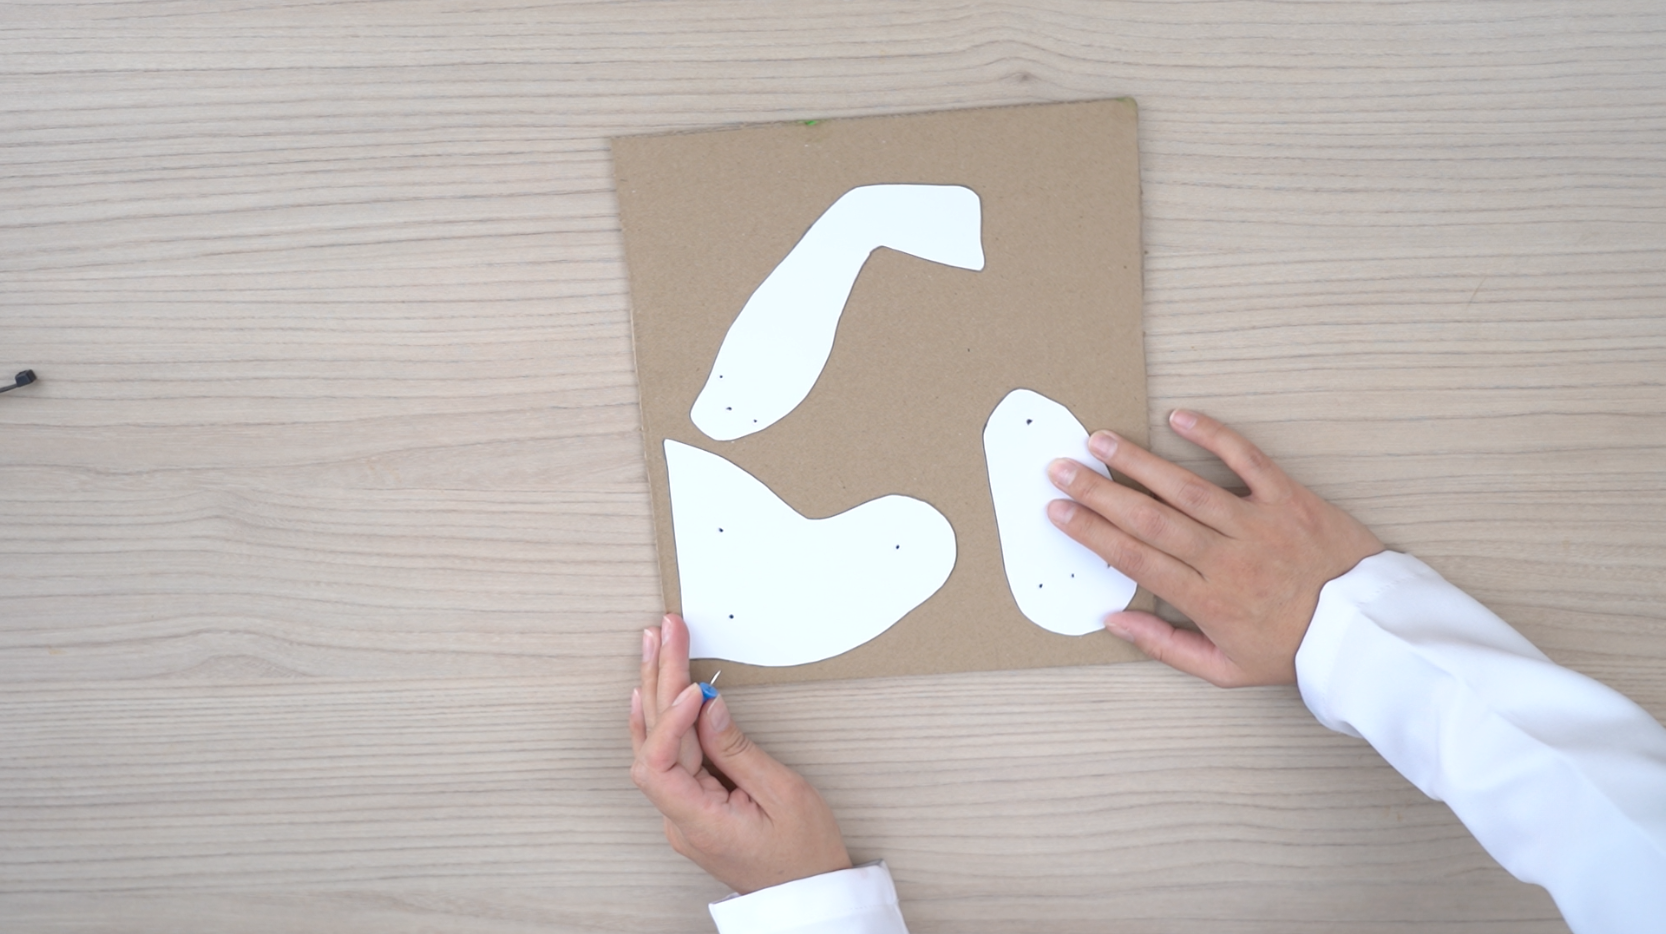
Step 4: Carefully cut out the cardboard shapes.
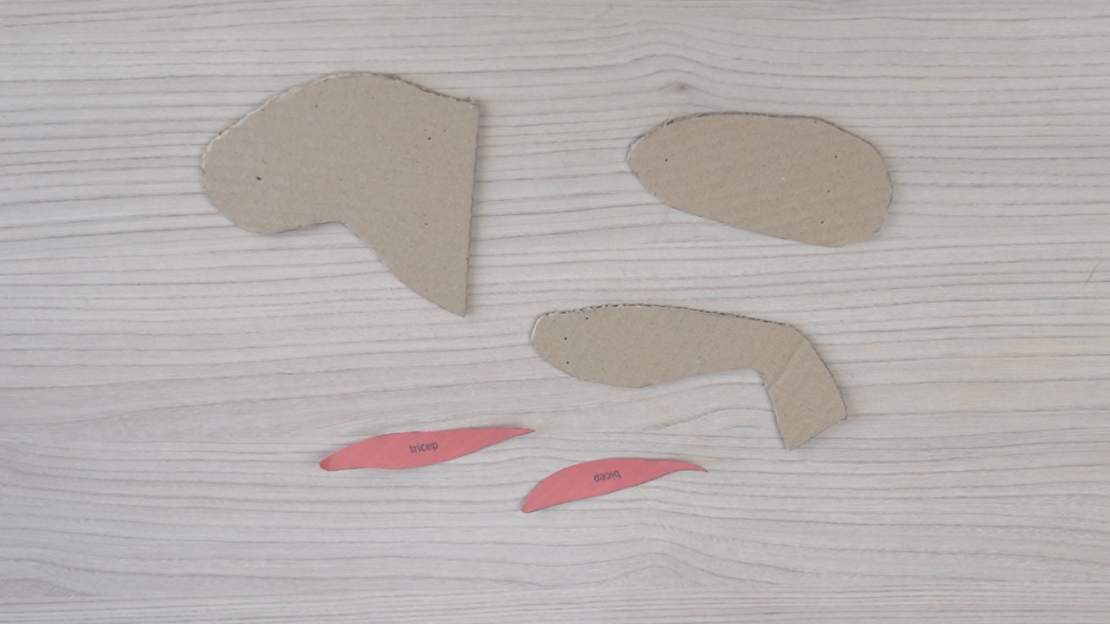
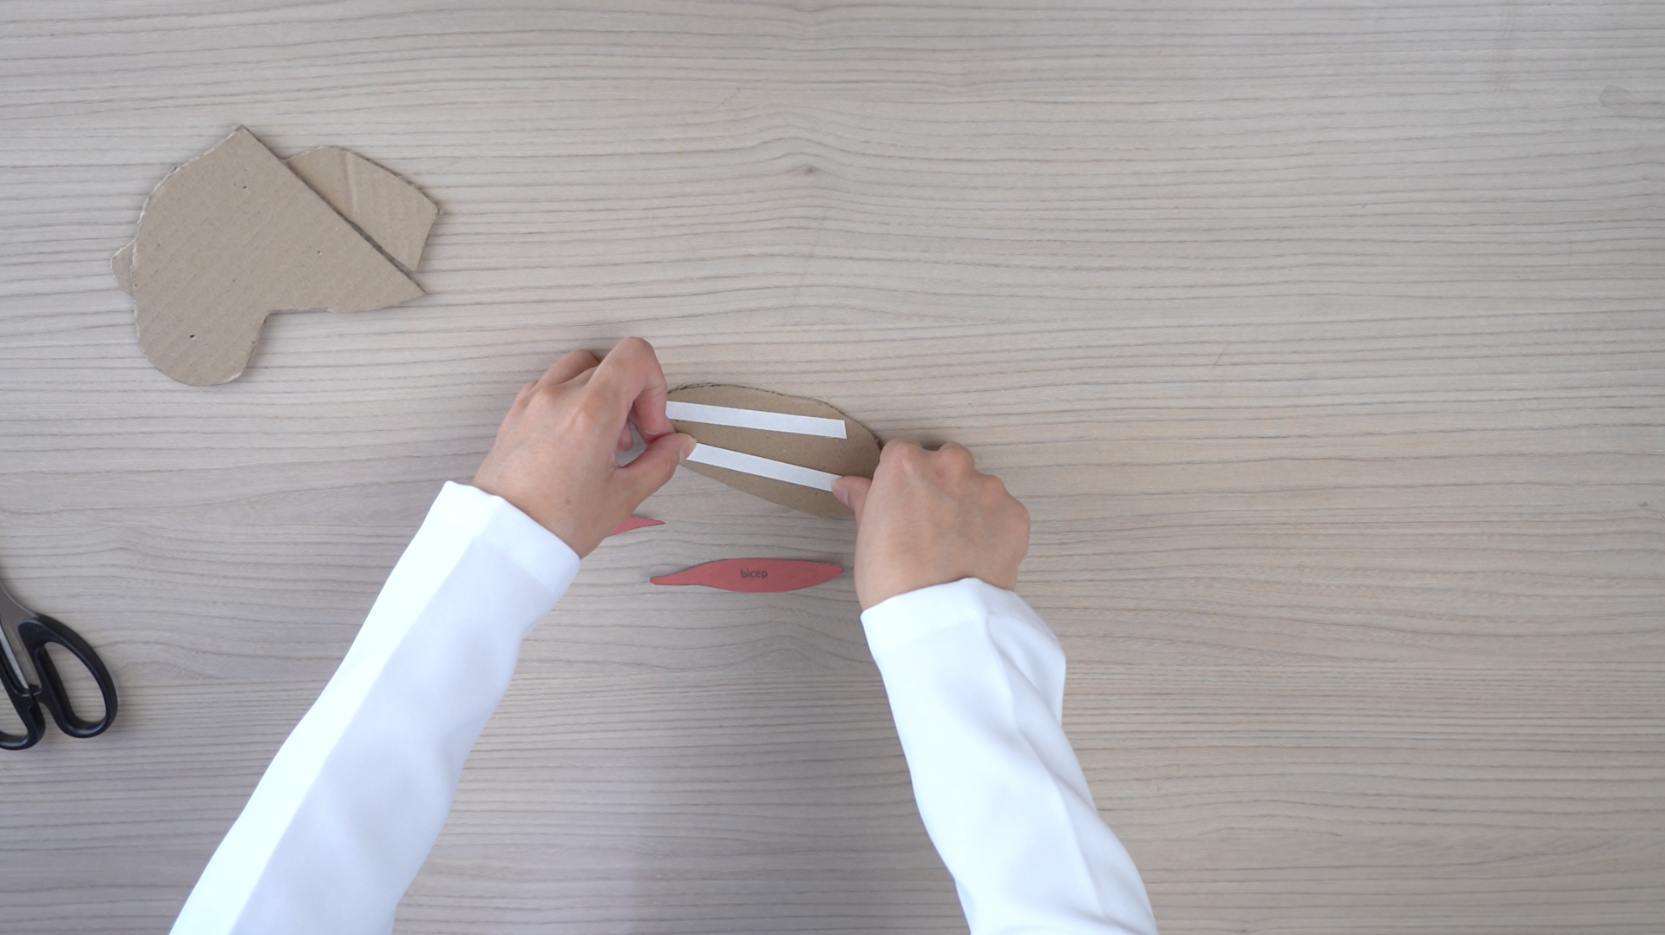
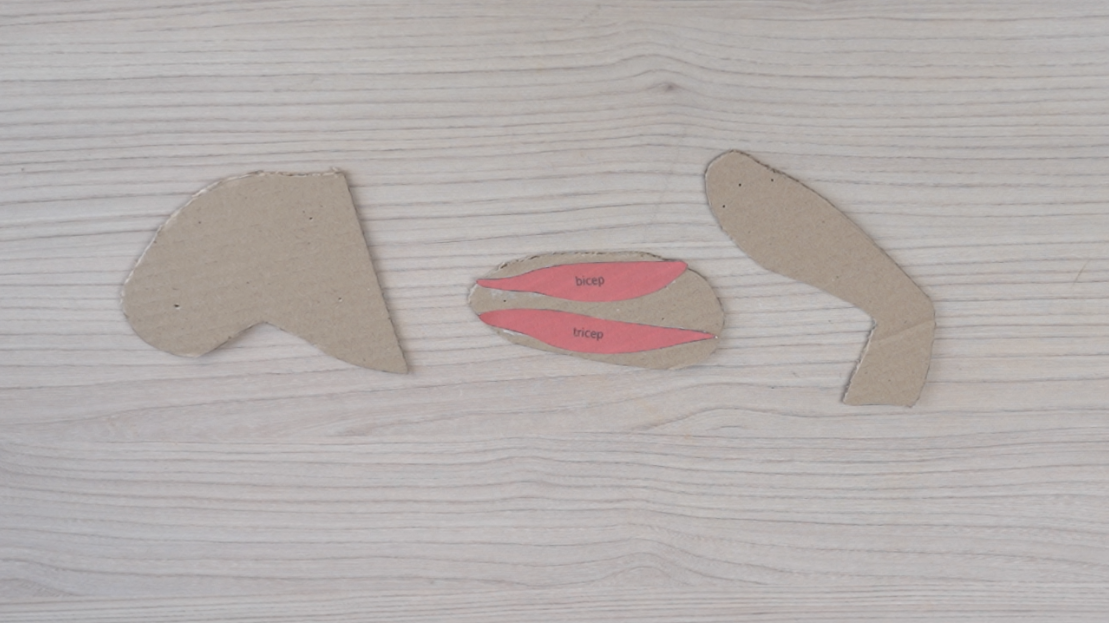
Step 5: Use double-sided tape to attach the bicep and tricep pieces to the oval-shaped cardboard cutout.
Step 6. Enlarge the marked holes with brads, ensuring they fit securely.
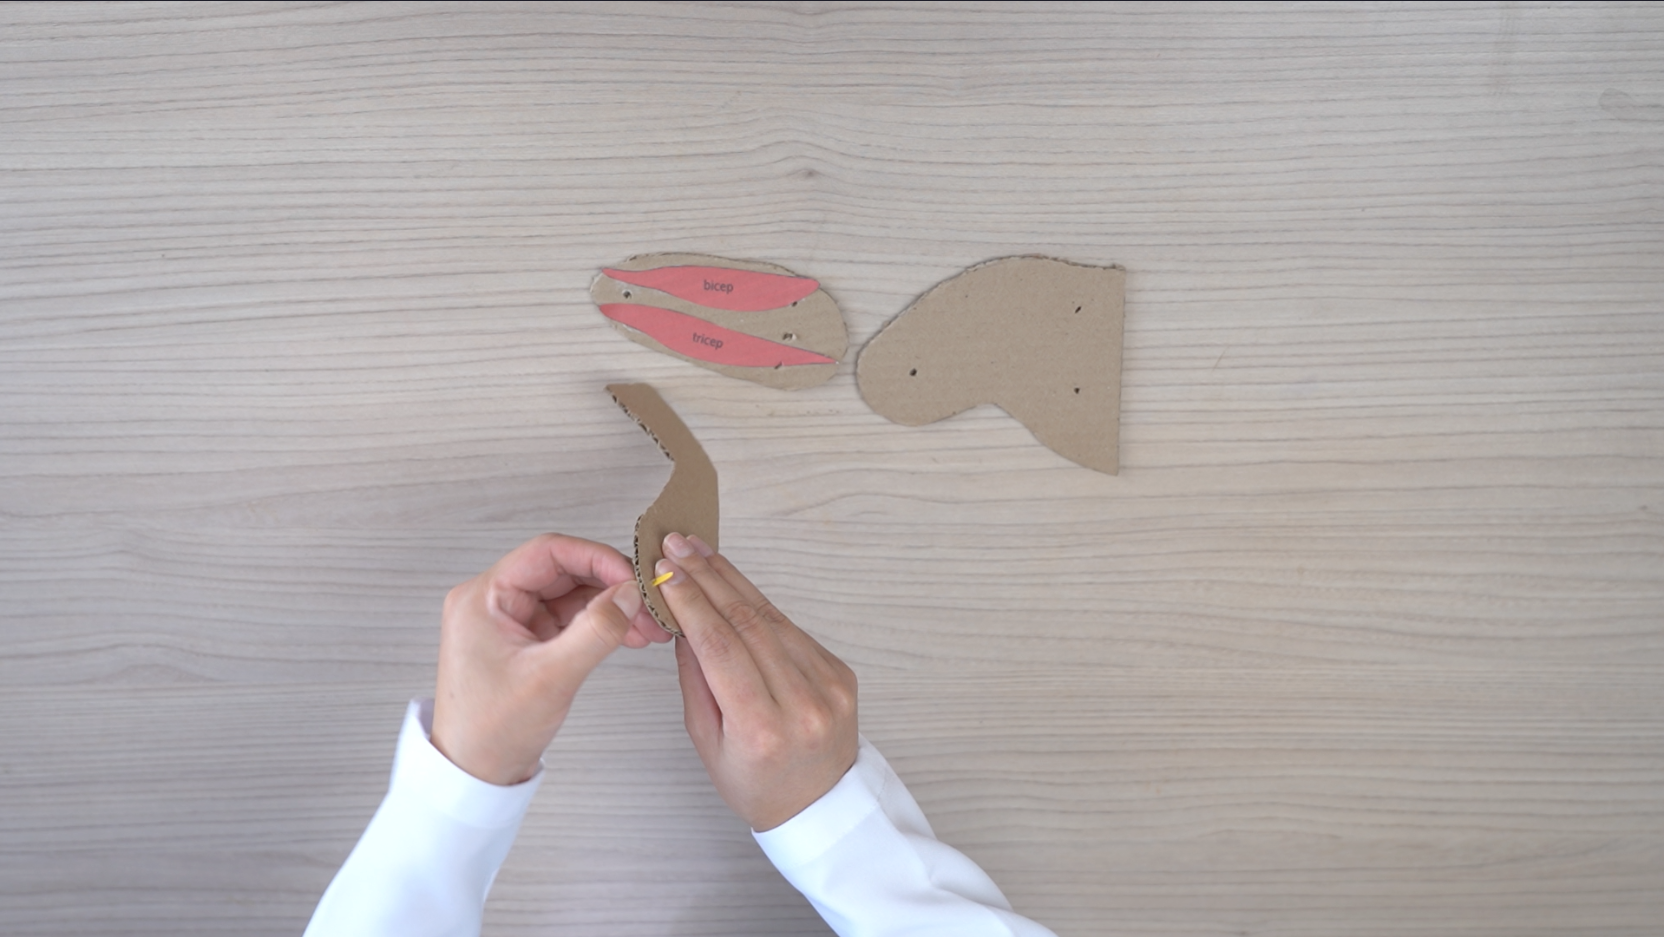
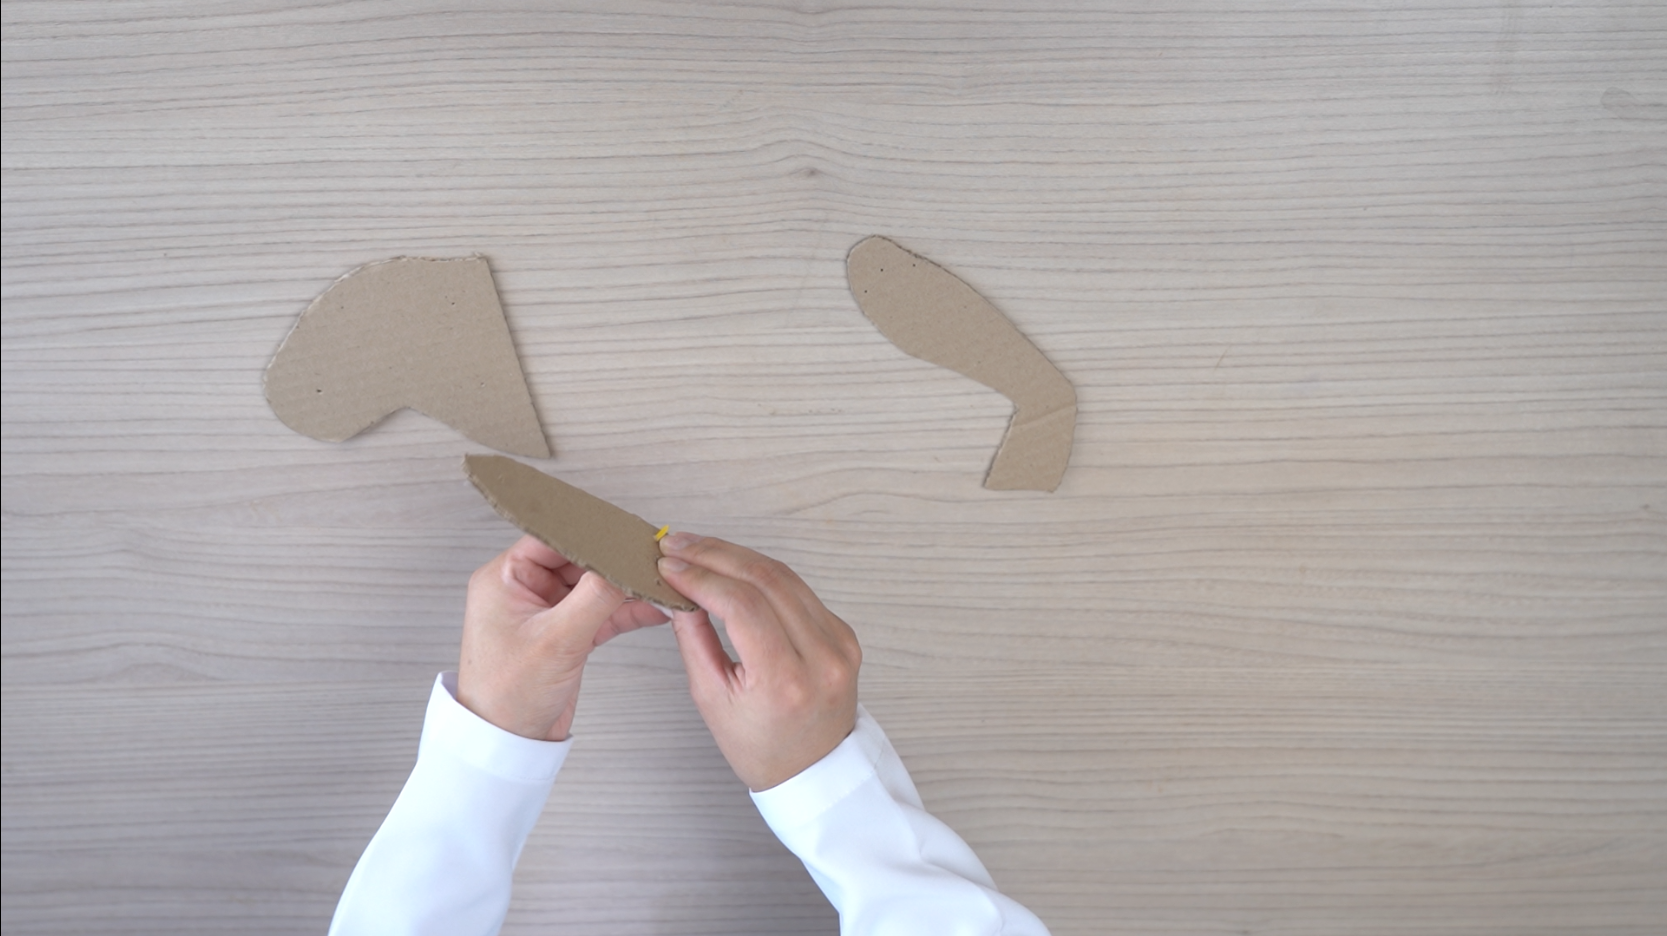
Step 7: Attach the bobbins to the cardboard shapes using brads, following the provided illustrations.
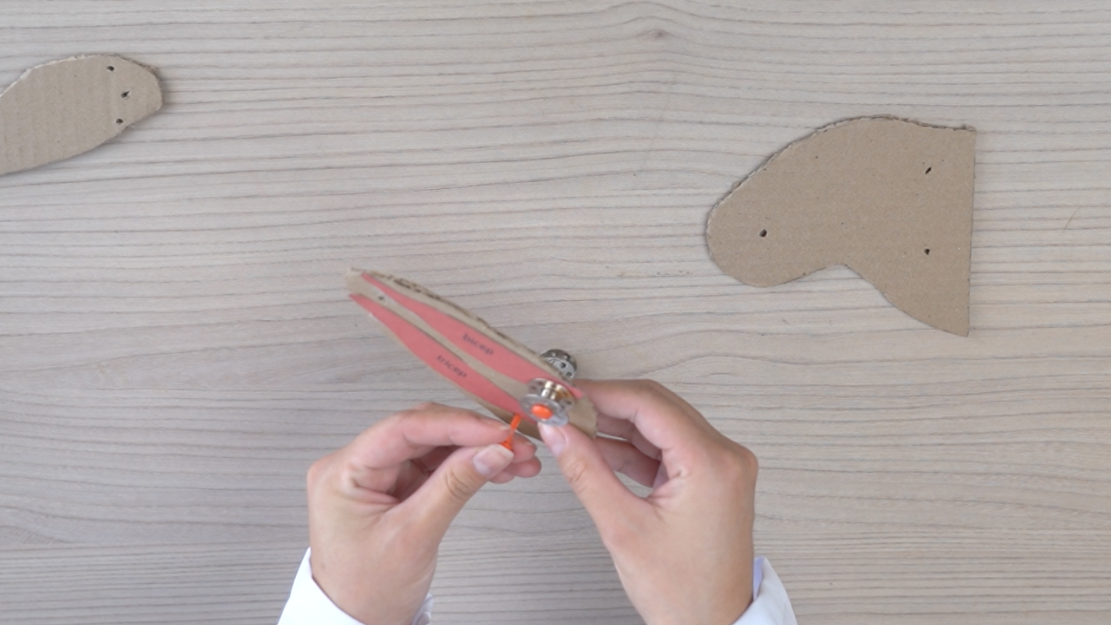
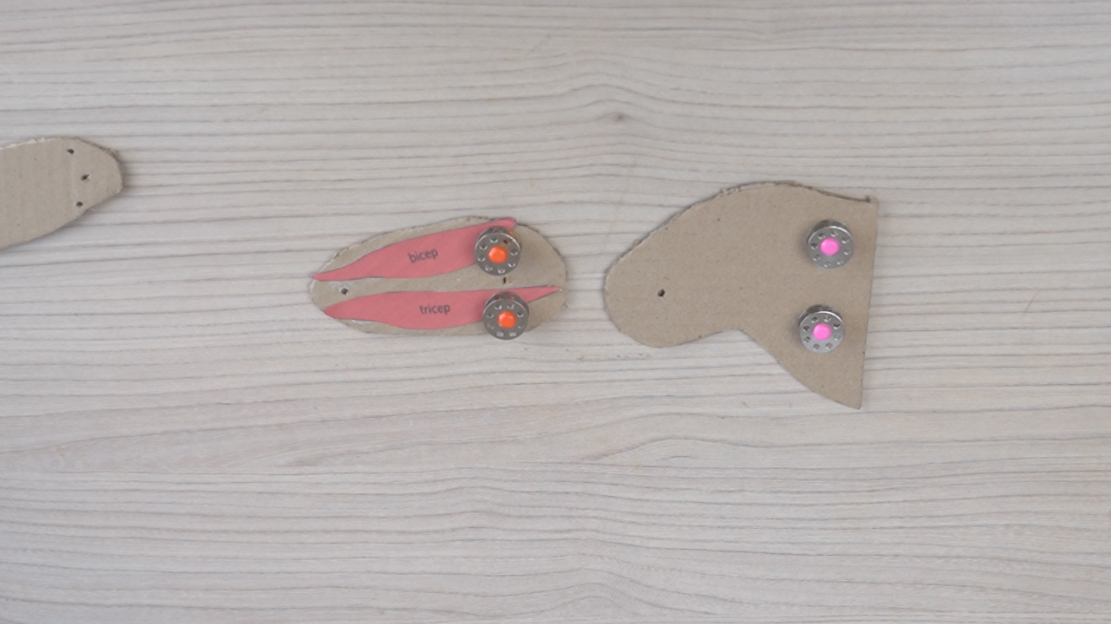
Step 8: Join the cardboard pieces (bicep and shoulder) together using another brad, as shown in the picture.
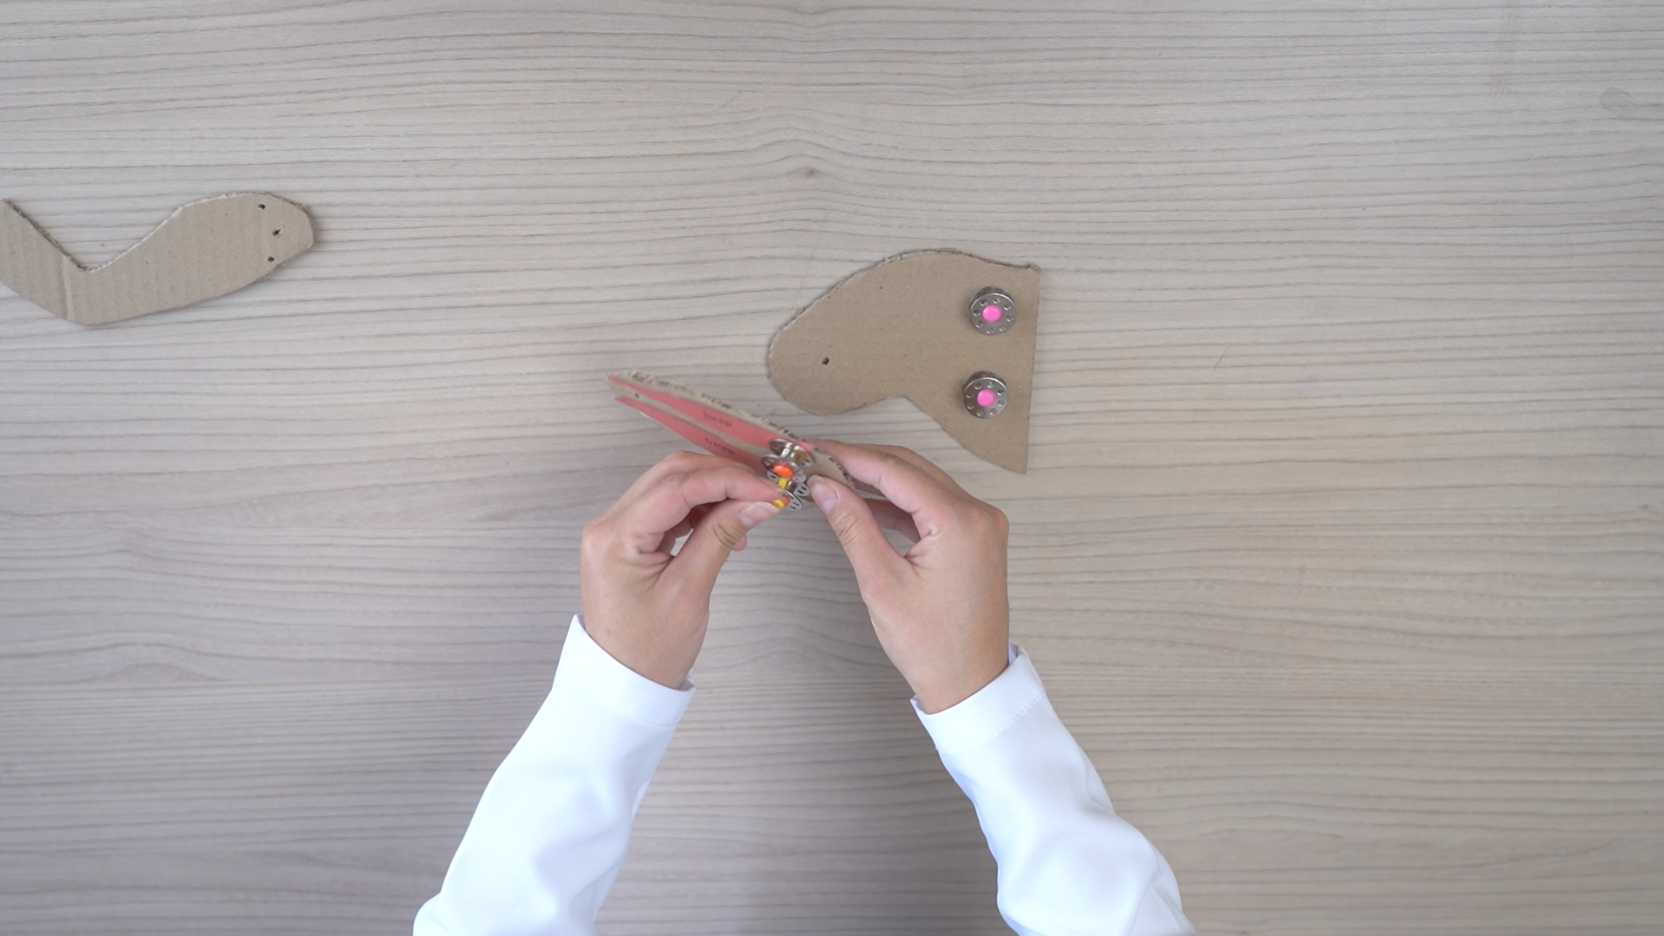
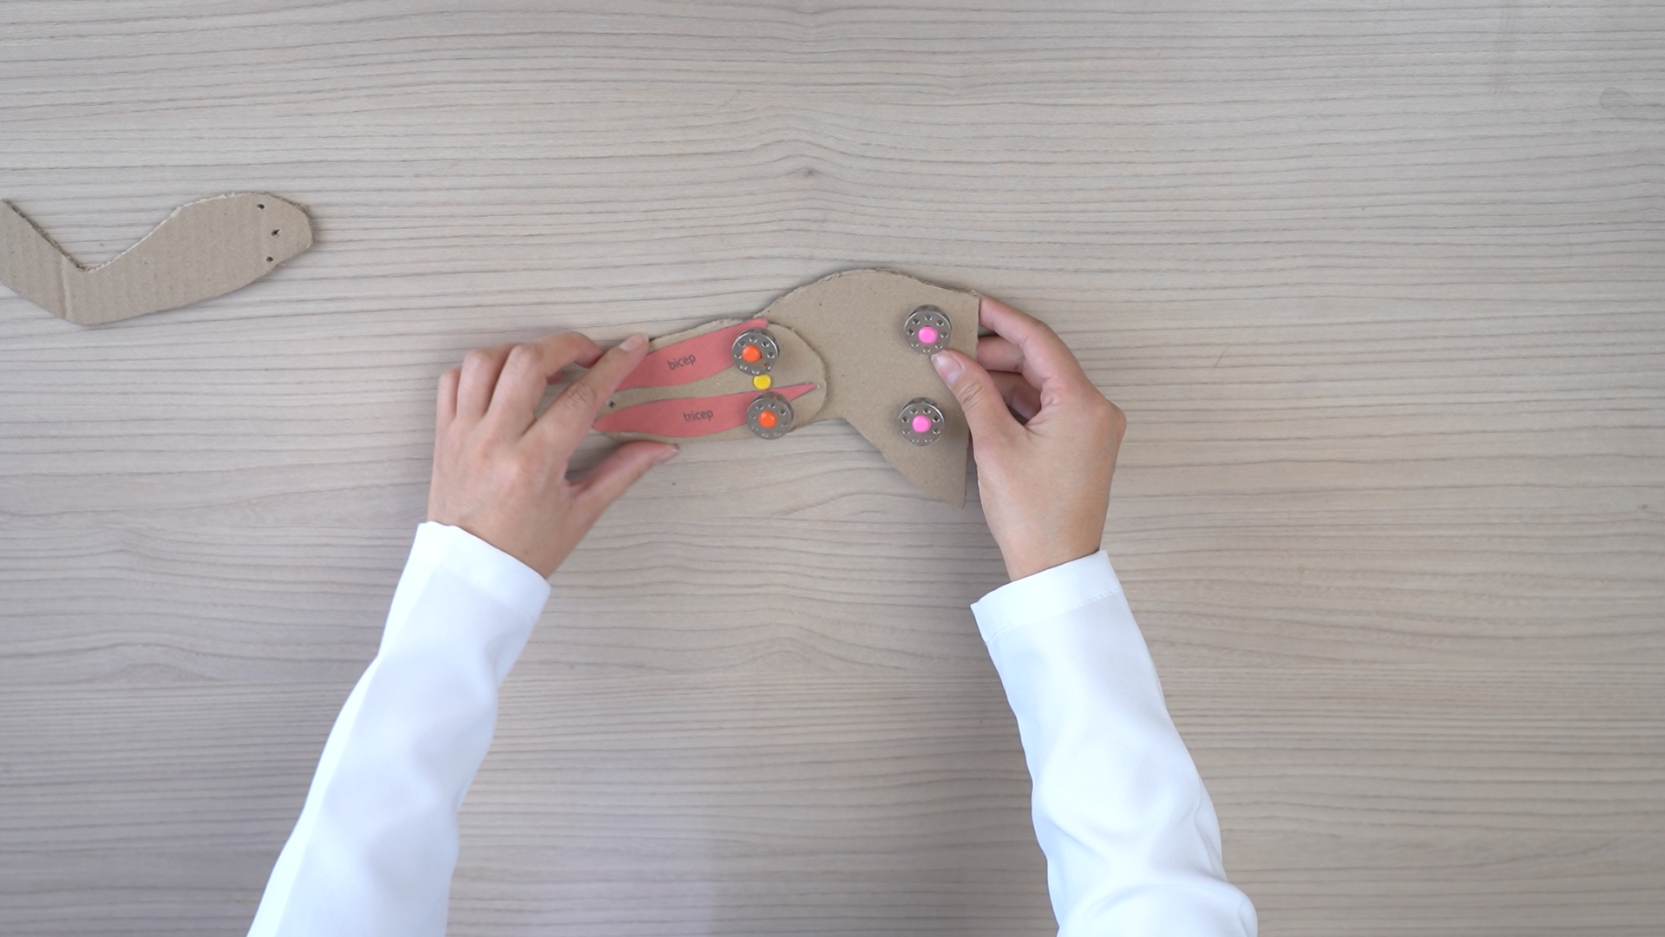
Step 9: Cut two pieces of string, each about 45 cm long. Create loop knots at one end of each string. Then, wrap the loops around the two brads on the forearm.
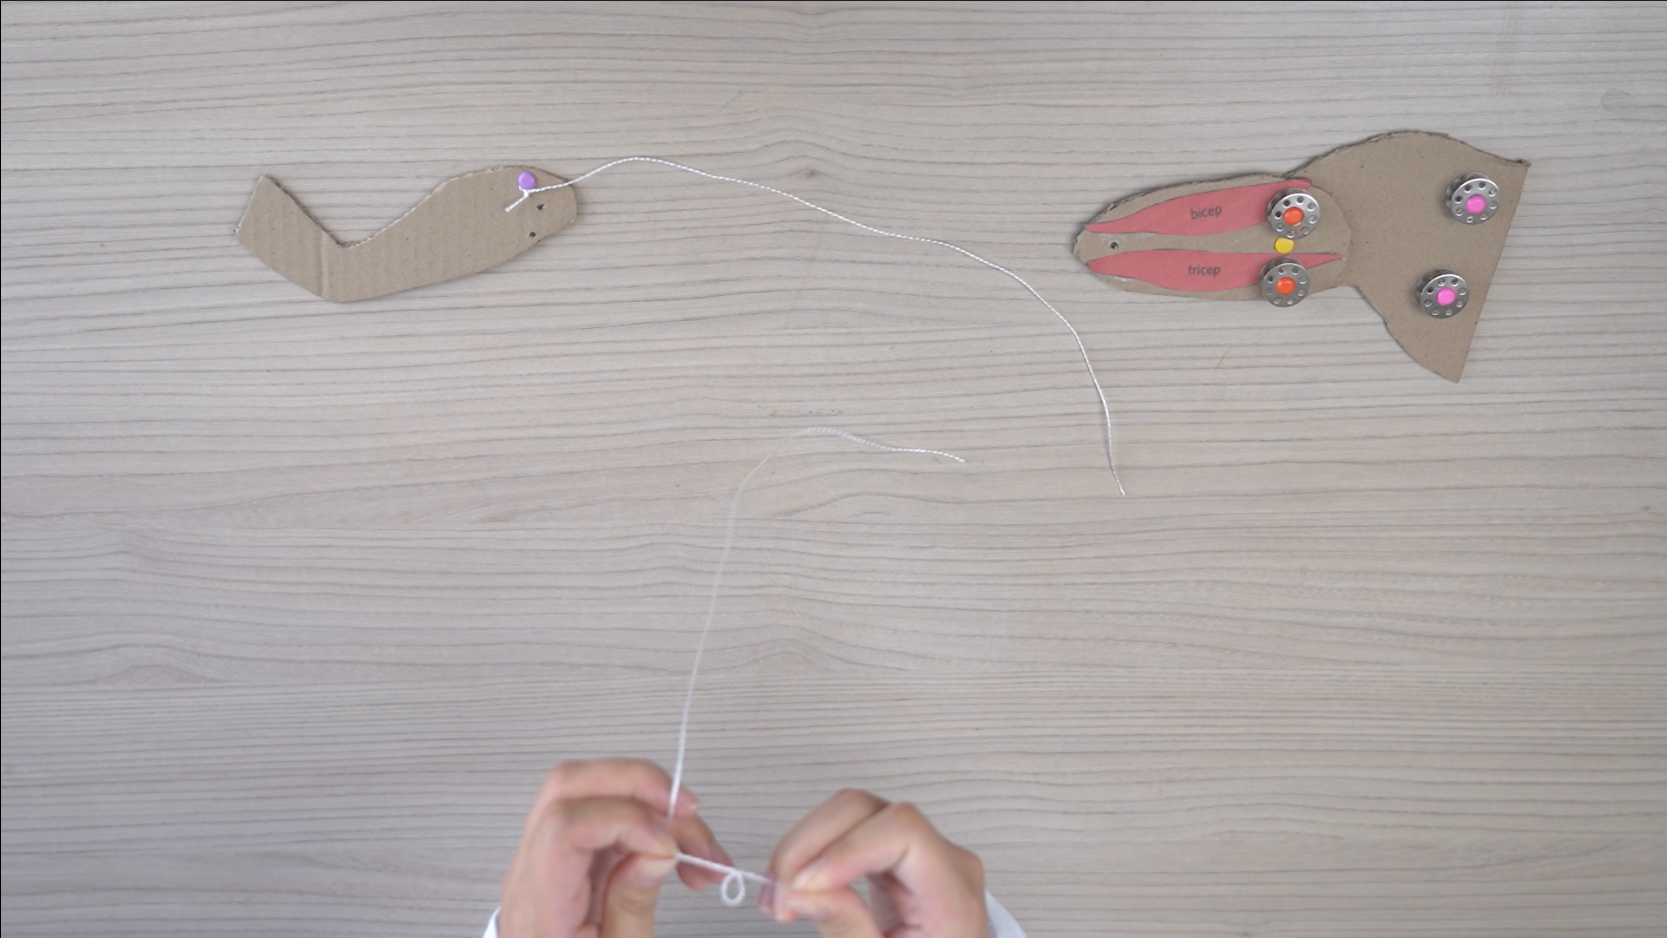
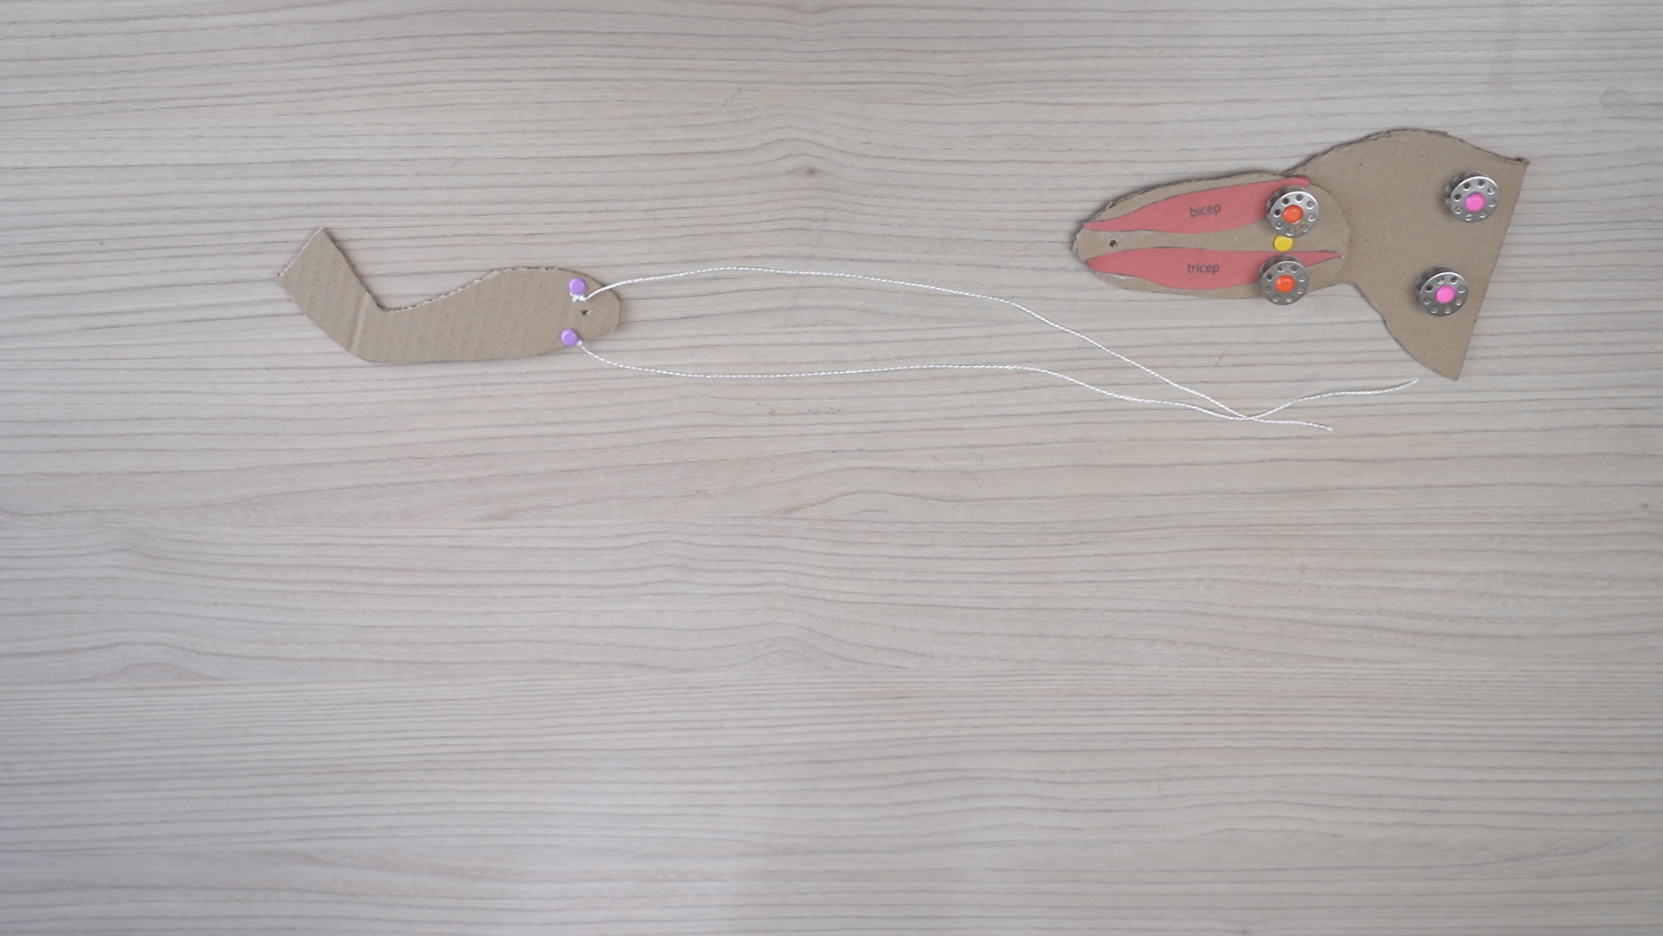
Step 10: Connect the cardboard pieces (forearm and bicep) together as indicated in the illustration.
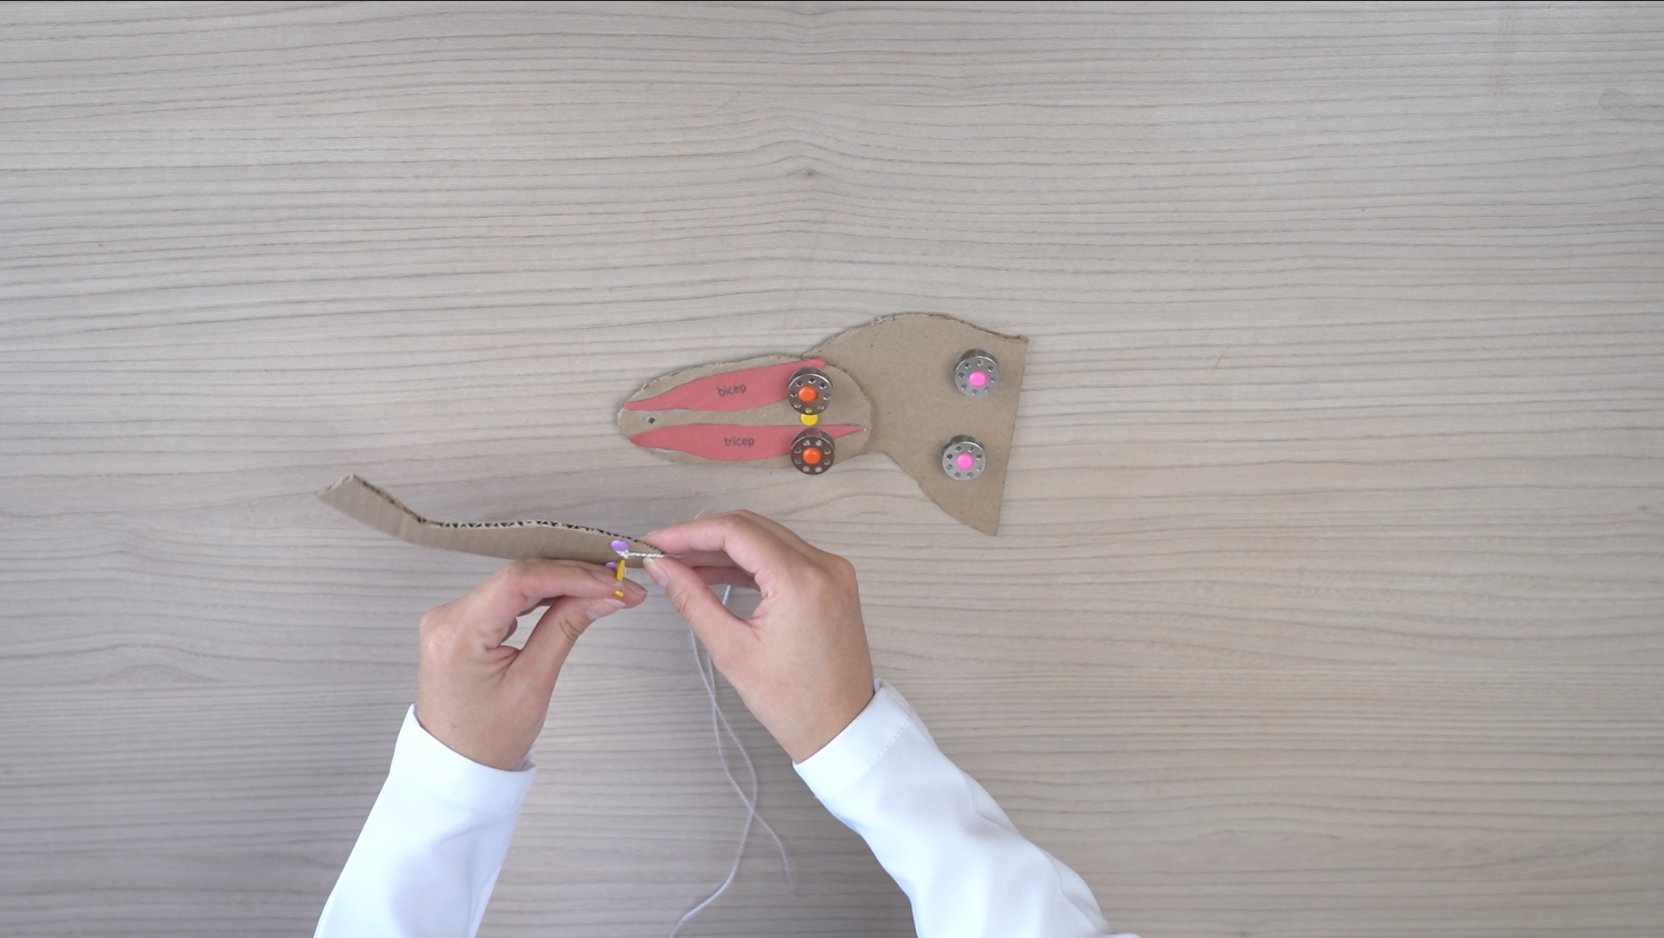
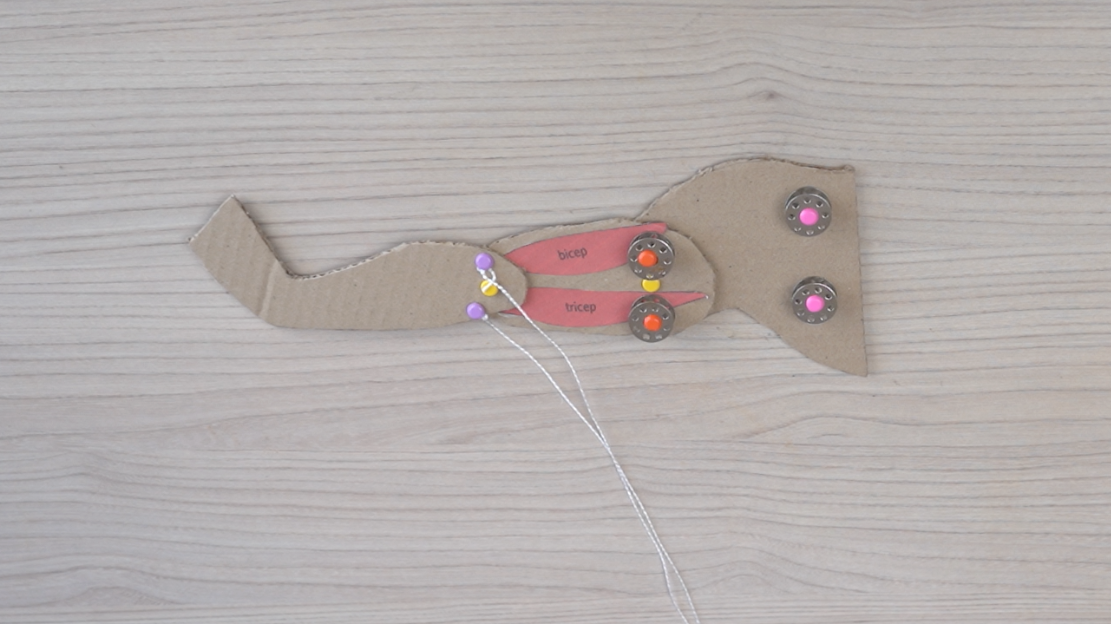
Step 11: Use a pushpin to create a pair of holes just above and below the bobbins. Thread zip ties through these holes.
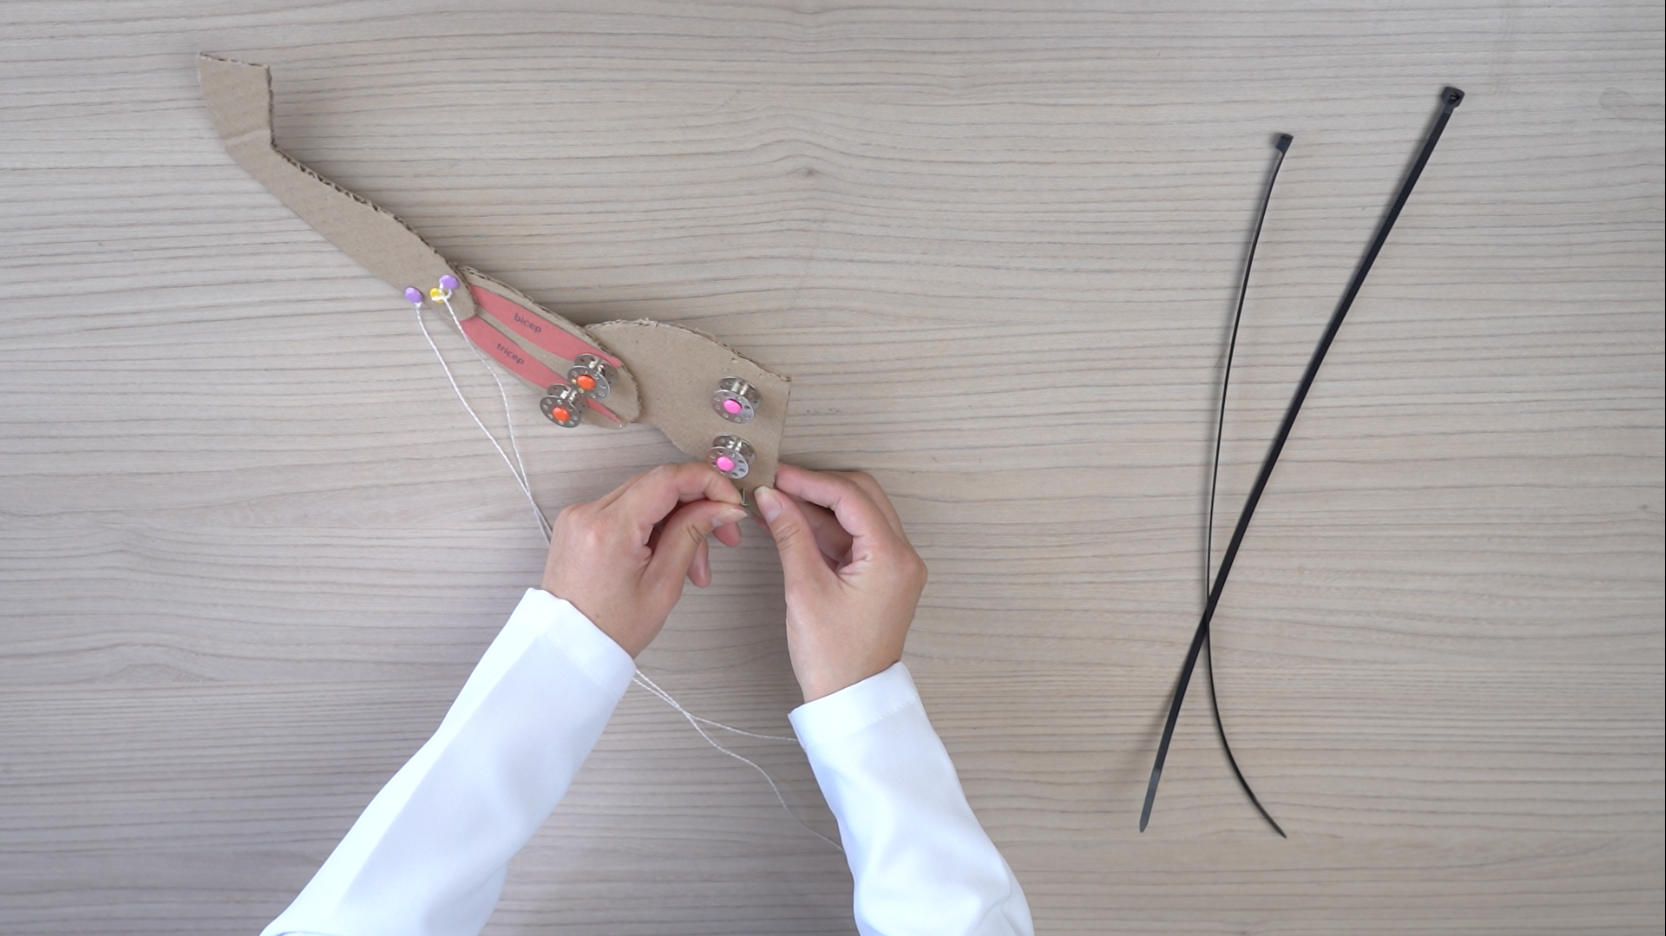
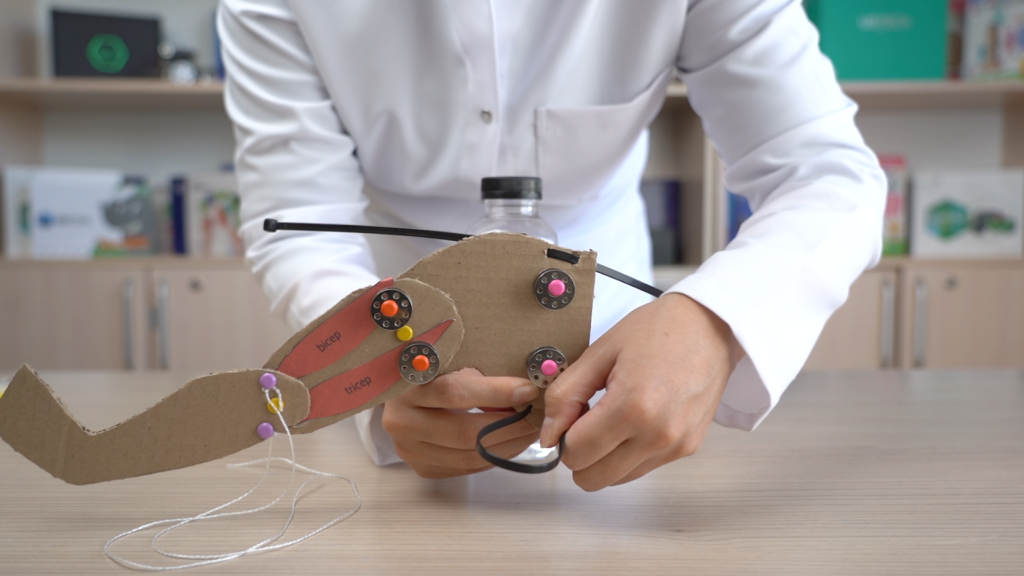
Step 12: Secure the cardboard arm to the bottle using the zip ties. You can fill the bottle with water if necessary.
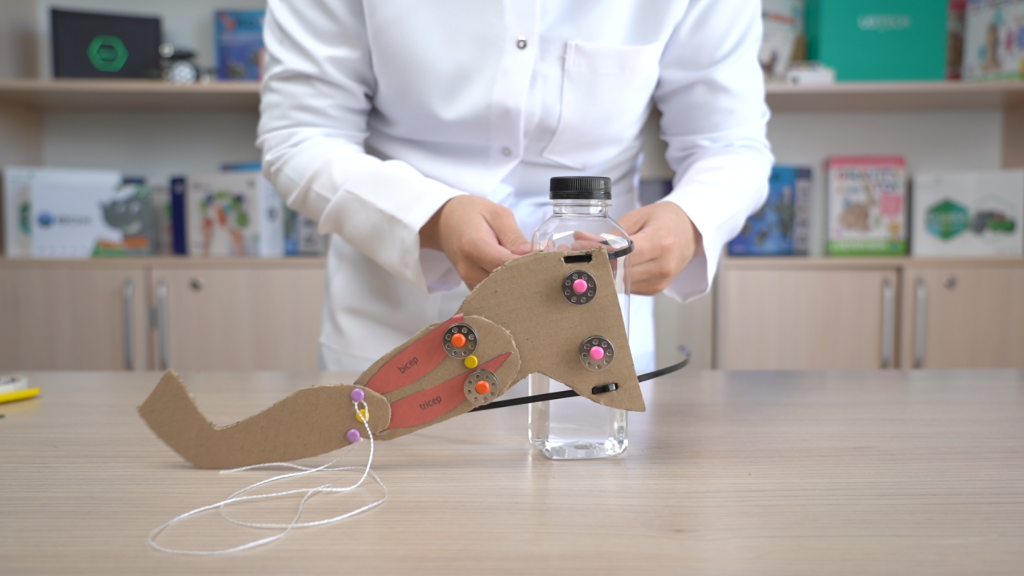
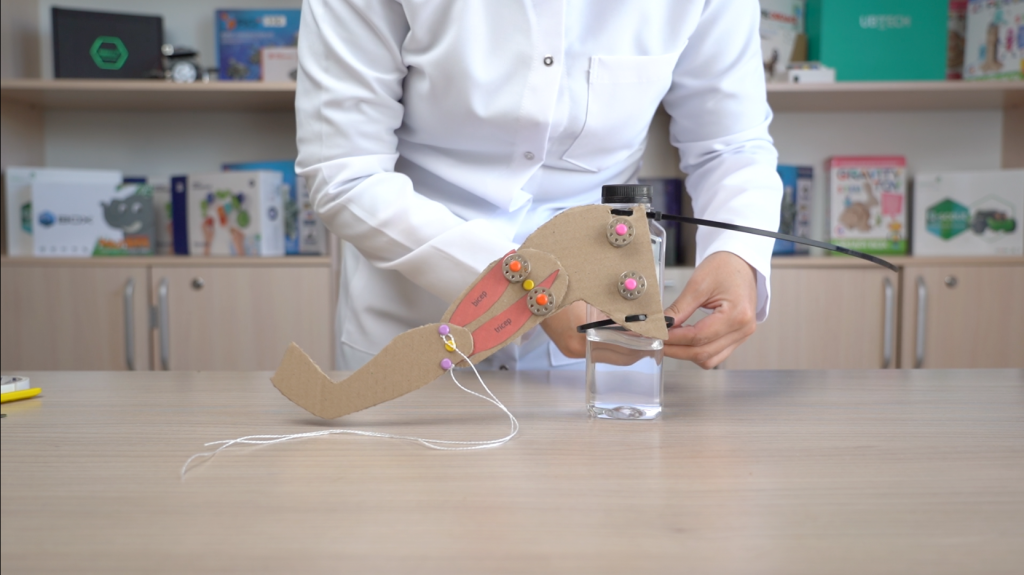
Step 13: Thread the strings onto the bobbins, turning clockwise for the upper string (connected to the bicep) and counterclockwise for the lower string (linked to the tricep). Our model is ready!
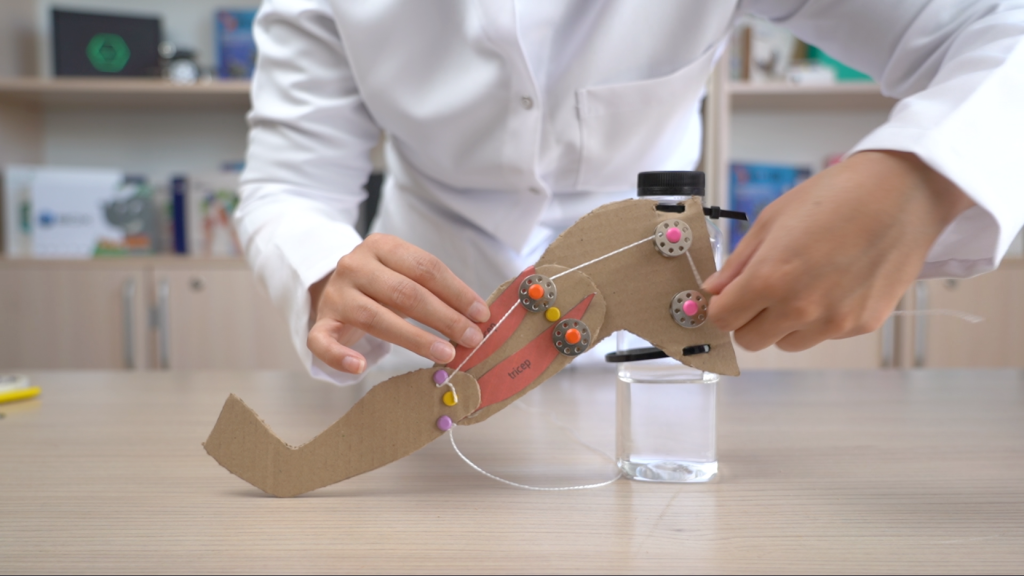
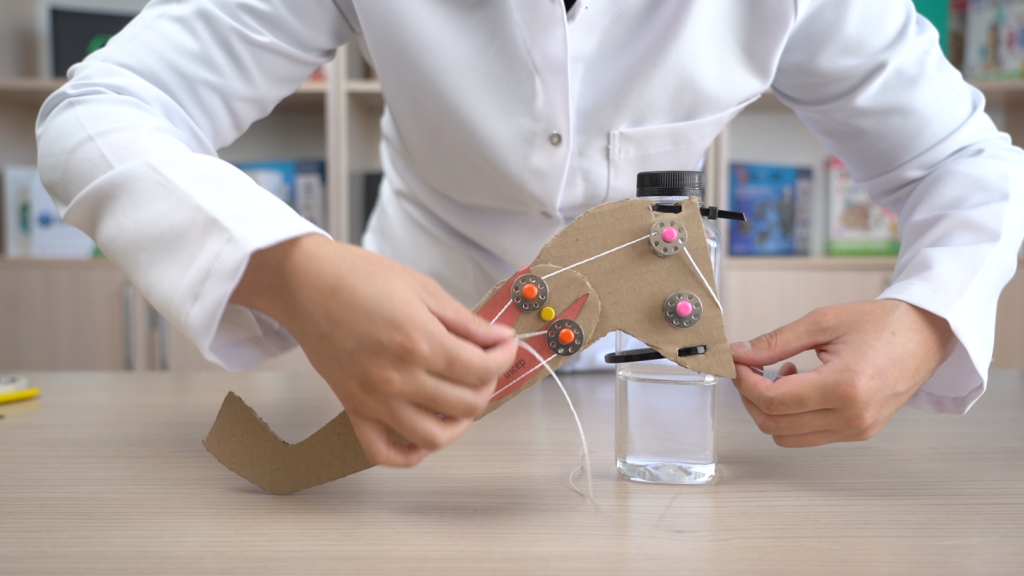
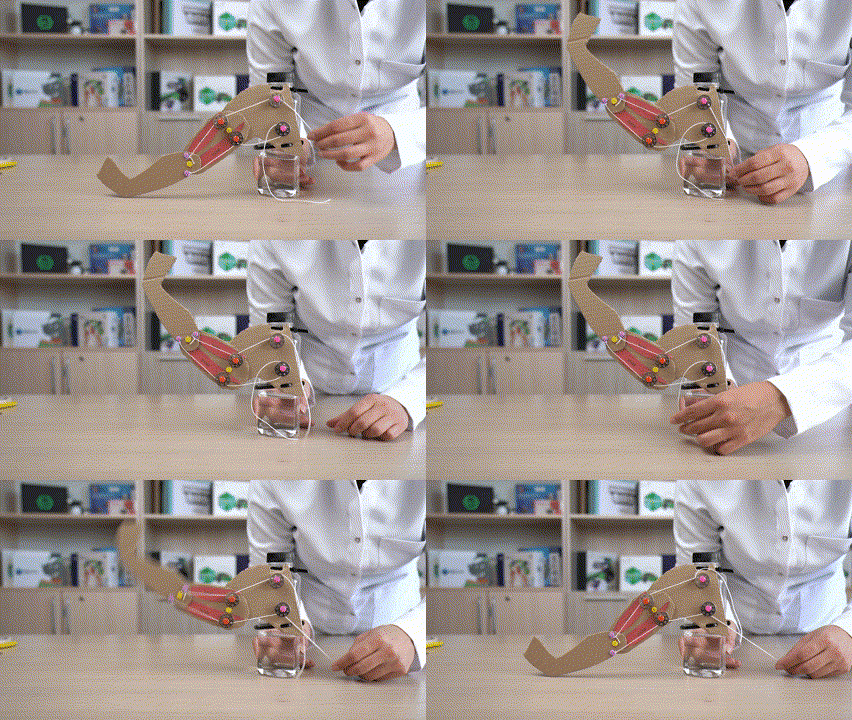
Step 14: Now, you can start experimenting! To raise the arm and contract the bicep muscle, pull on the top string. To lower the arm and contract the tricep muscle, pull on the bottom string.
To summarize the work, write answers to the following questions:
- What muscles are responsible for arm movement?
- What conclusions did you draw while working on the mechanism of hand movement?
Conclusion
In conclusion, the DIY arm model project has provided students with a practical and engaging way to explore the mechanisms of the biceps and triceps in arm movement. Through hands-on experimentation, they have gained a better understanding of how these muscles work together as antagonistic pairs to enable flexion and extension of the arm.