
Lesson
Objective:
- To learn how to use characteristic features to identify plant species
- be able to make a morphological characterization of a plant
Expected Outcomes:
After studying the project, students will have:
- bridging the gap between theoretical knowledge and its application in the real world
- form teamwork skills
- analyze and summarize the information obtained
- independently draw logical conclusions and draw inferences
Teacher’s guide:
Divide students into groups.
Download the worksheet:
Before beginning practical work, familiarize yourself with the safety rules by following this link:
Theoretical part
Systematics is the science of describing and classifying organisms, both living and extinct.
Taxon is a group of organisms related to each other by a certain degree of affinity and sufficiently separated from other taxonomic groups.
Species is a set of individuals, similar in structure, life processes, capable of interbreeding and giving fertile offspring. To determine the species created special identification tables, schemes, catalogs. They contain images of plants, animals, tables – keys and brief characterization of images.
In order to find out what species the object of interest belongs to, it is necessary to learn how to use special aids-definers. Thesis – description of some feature. Antithesis – description of a feature of the opposite character.
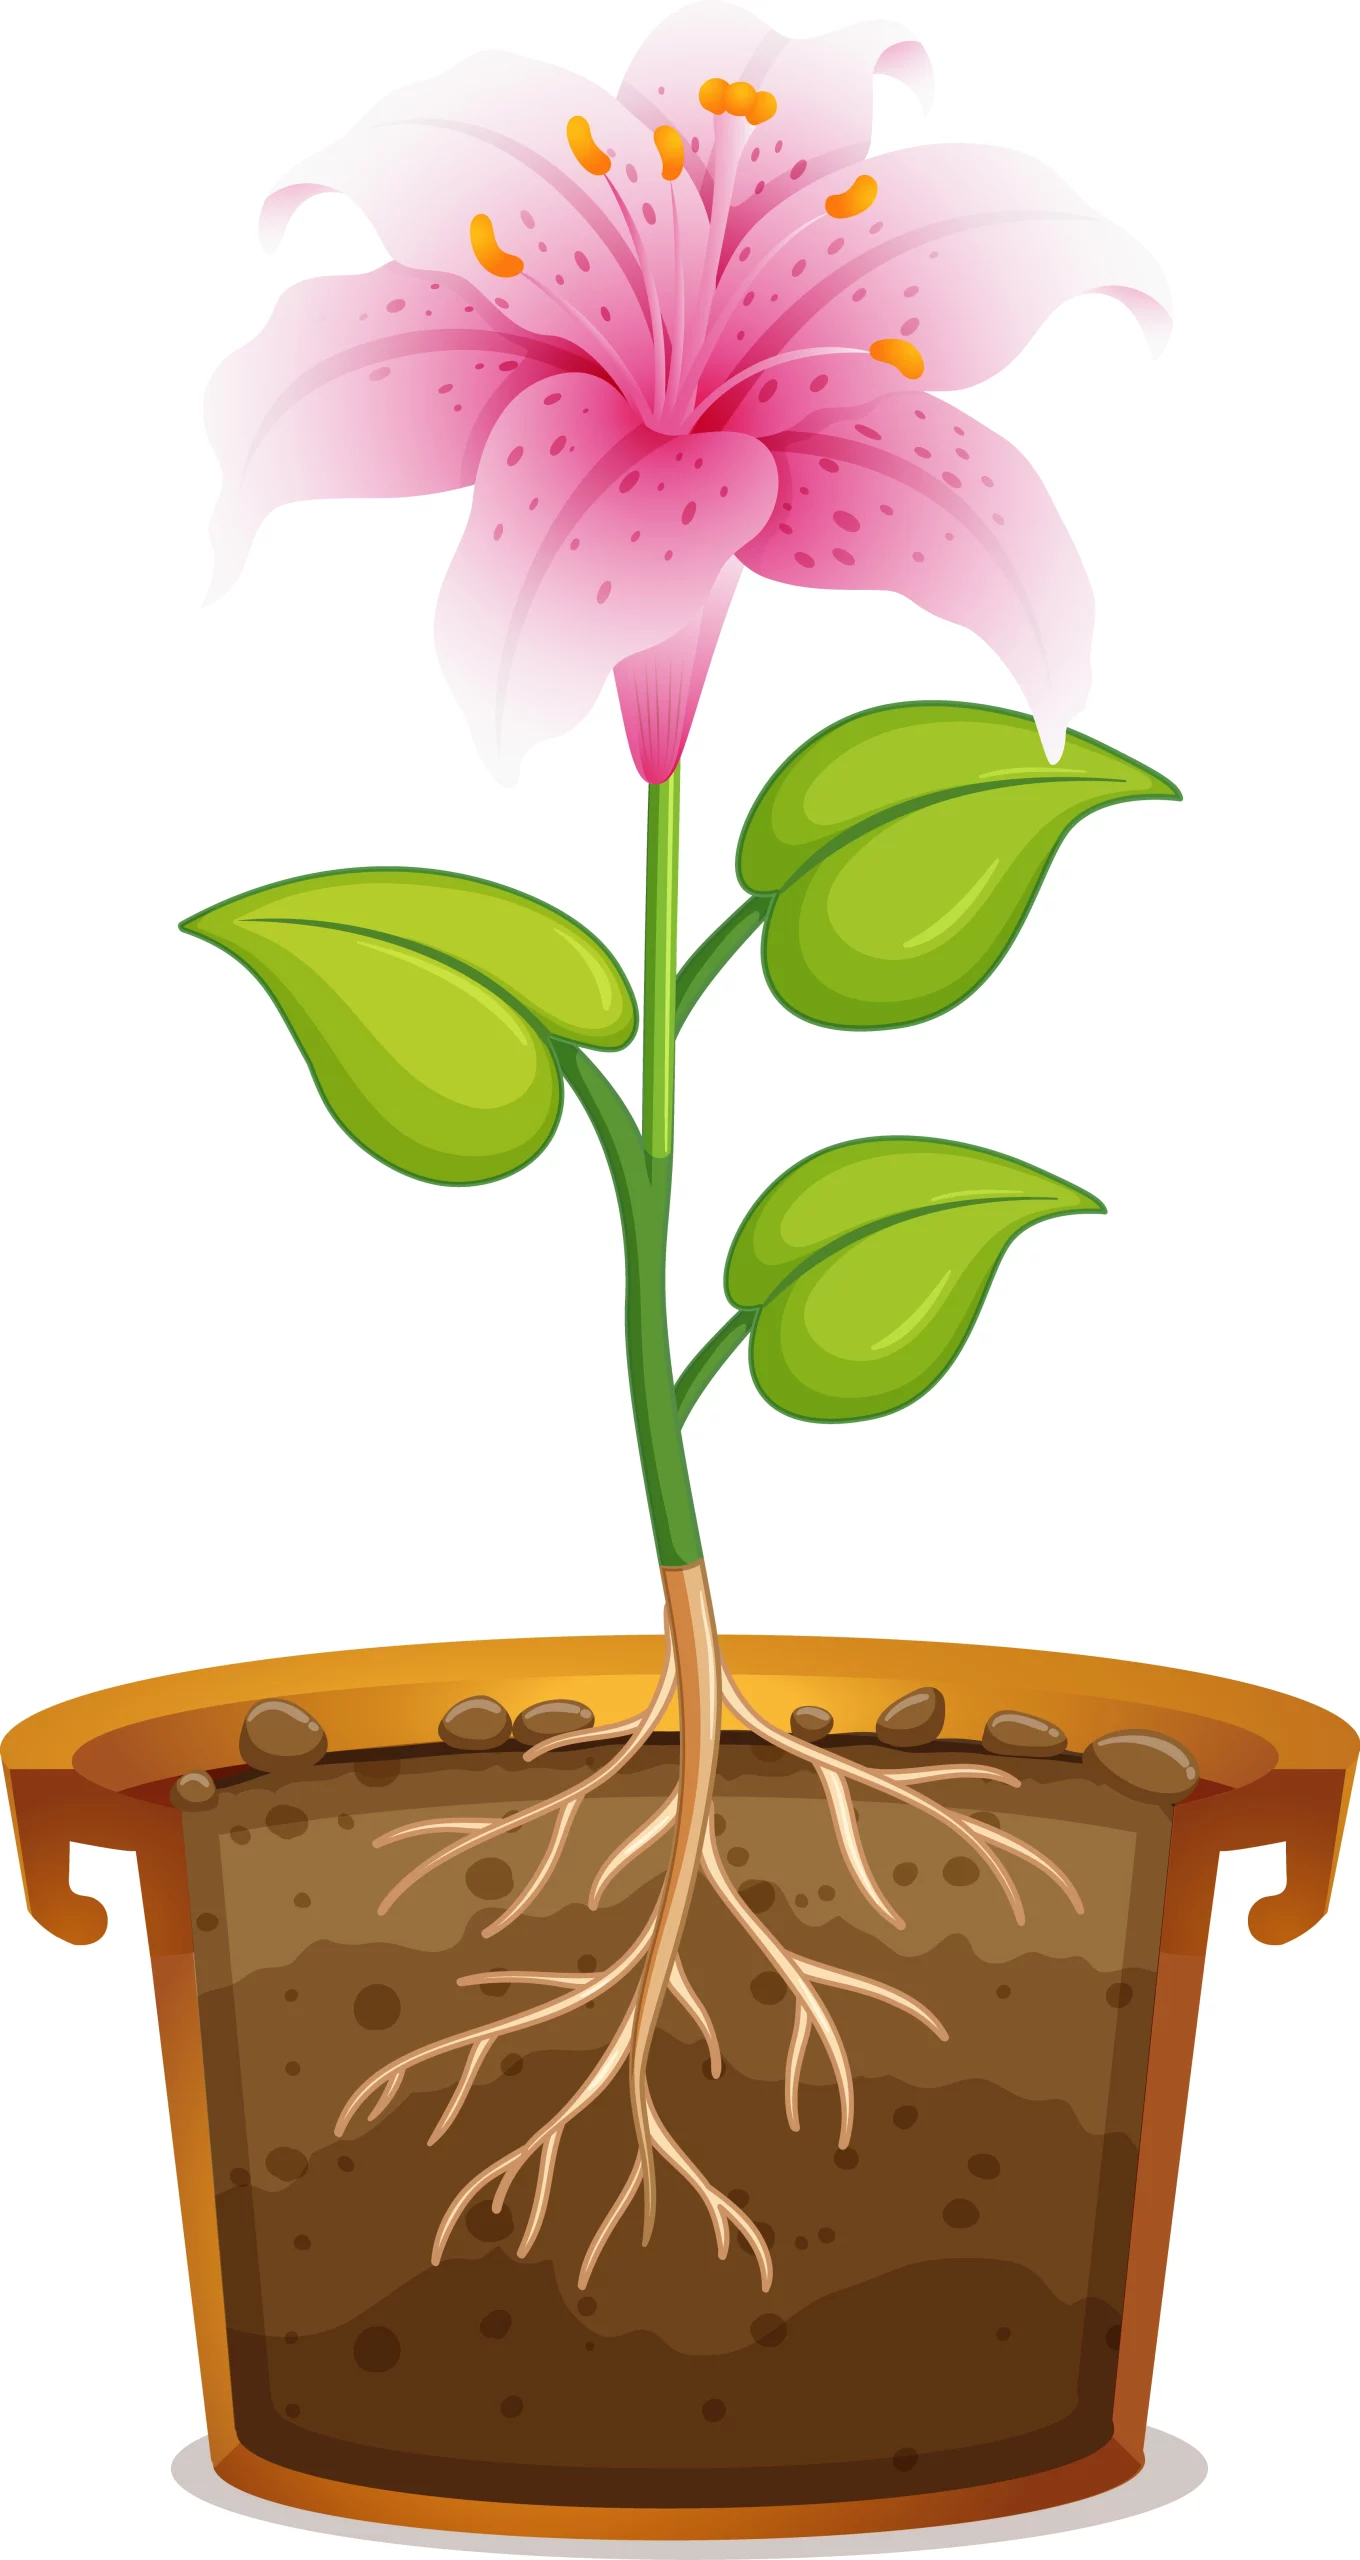
Plan of morphological description of a plant
- Name of the plant.
- Life form (tree, bush, shrub, herb).
- Annual or perennial plant.
- Characteristics of above-ground and underground parts.
- Type of shoot.
- Leaf arrangement.
- Leaf simple or compound.
- Flower structure.
- Type of fruit.
- The habitat of the plant.
Sources:
Natural Science 6th grade, part 2, Almaty Kitan Publishing House, 2019.
Practical part
Task 1. Determine the systematic position of one plant and one animal.
Plant
- Kingdom –
- Division –
- Class –
- Order –
- Family –
- Genus –
- Species –
Animal
- Kingdom –
- Division –
- Class –
- Order –
- Family –
- Genus –
- Species –
Task 2. Make a morphological description of the hibiscus flower.
- Name of the plant.
- Life form (tree, shrub, bush, shrub, herb).
- Annual or perennial plant.
- Characteristics of above-ground and underground parts.
- Type of shoot.
- Leaf arrangement.
- Leaf simple or compound.
- Flower structure.
- Type of fruit.
- Habitat of the plant.
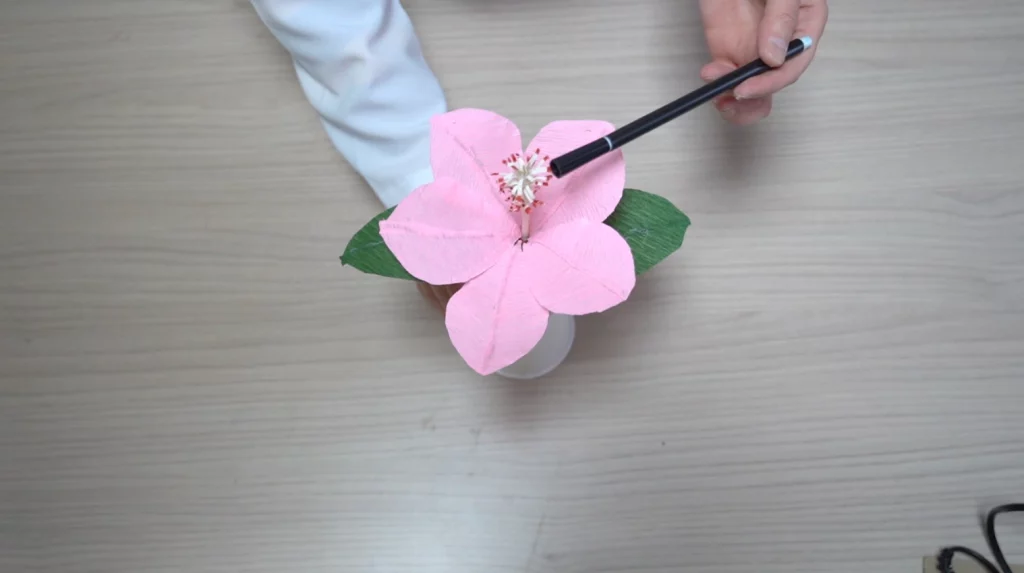
Task 3. Making a hibiscus flower
Step 1. Take 5 pieces of pink paper measuring 8*5 cm. Cut them out with a triangle in the middle.
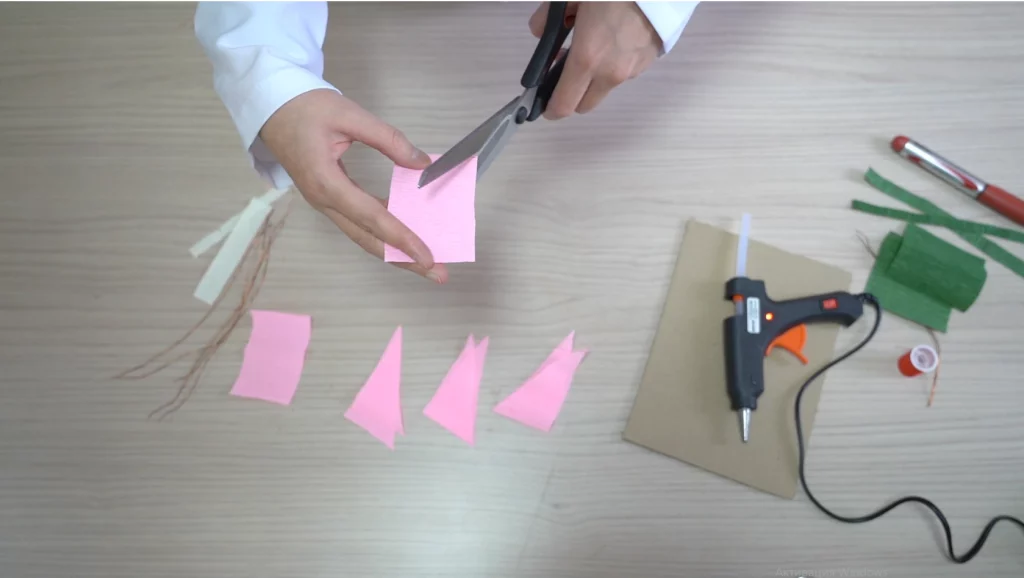
Step 2. Take 5 pieces of 20 cm wire. Glue the long side of the triangular pink paper to one wire with hot glue. Glue the second triangle to the same wire. This is your sketch of the flower petal. So on 5 wires glue the pink triangular papers in the same way.
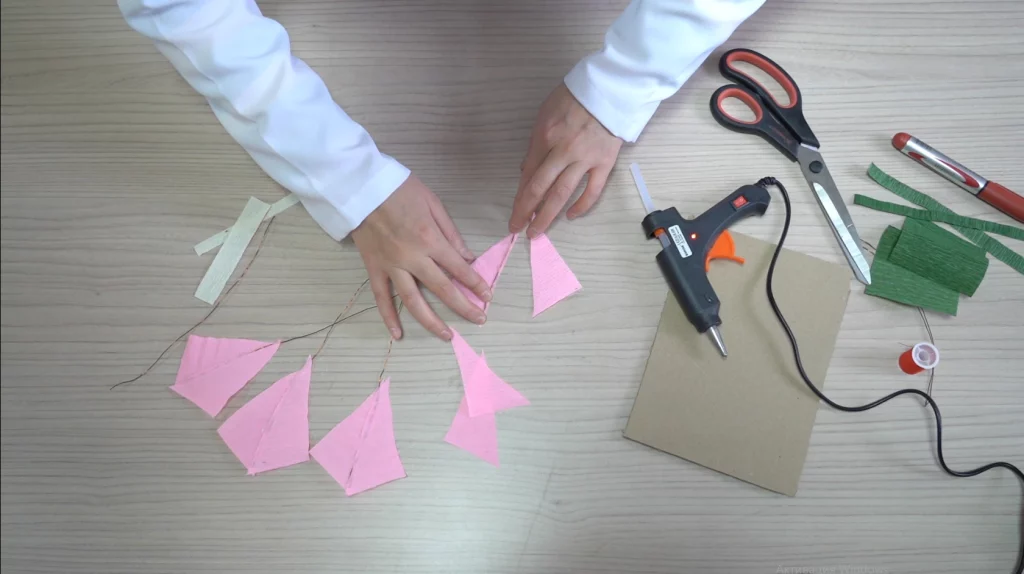
Step 3. Trim the paper glued to the wire to give the flower petal the right shape.
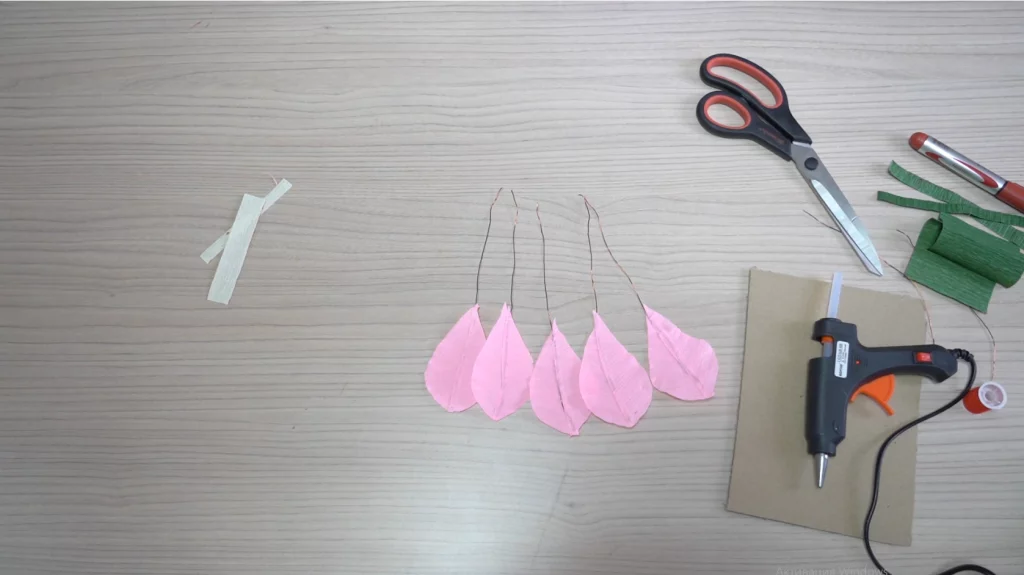
Step 4. Curl the edges of the flower petals.
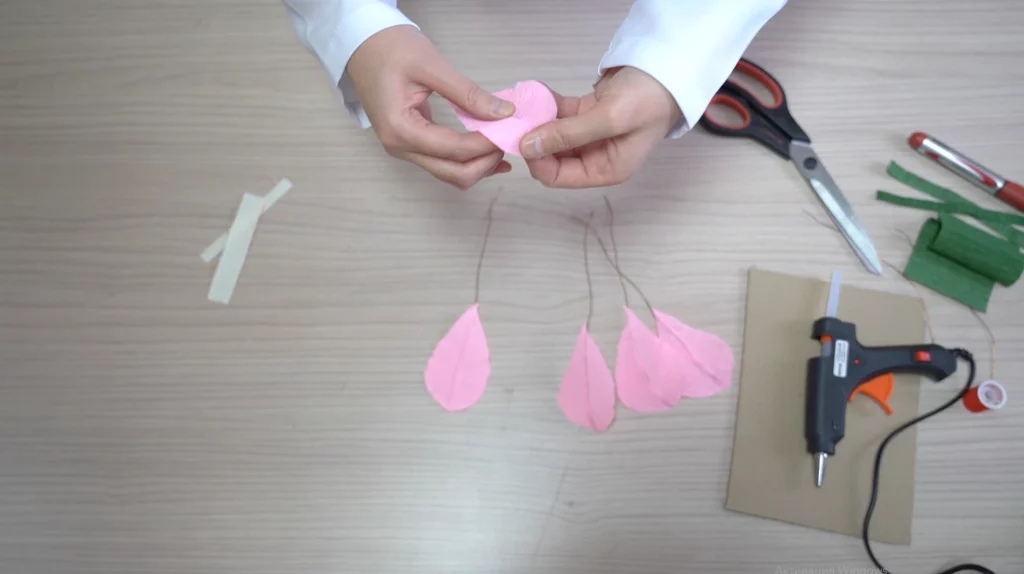
Step 5. Cut the yellow paper in 1*8 cm and 2*8 cm sizes. Wrap the 1*8 yellow paper around the skewer and glue the end.
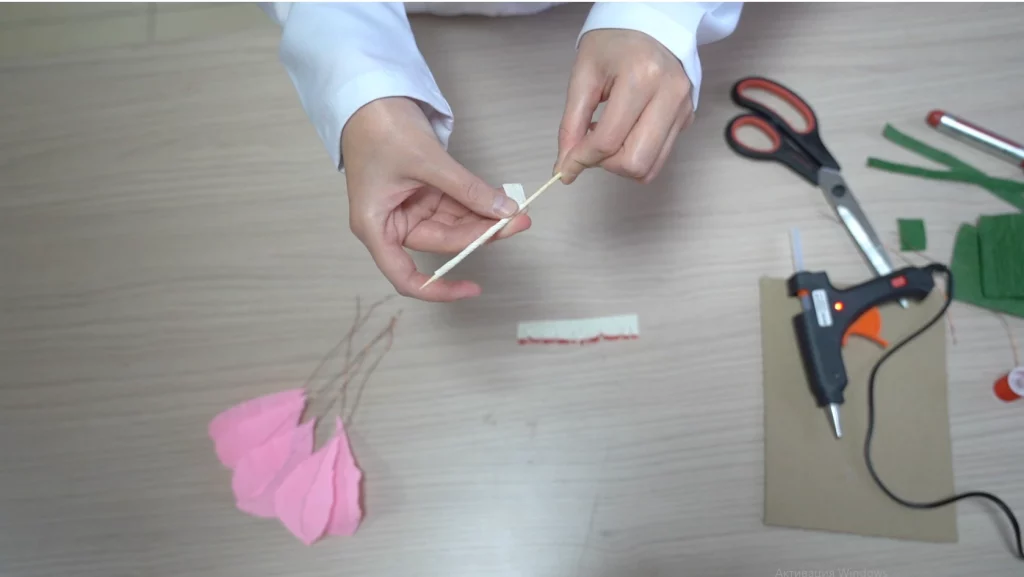
Step 6. Paint the edge of the 2*8 yellow paper with red felt-tip pen. And cut small pieces from the same painted side, missing the other edge of the paper by about 5mm. Bend the cut edges with a pencil.
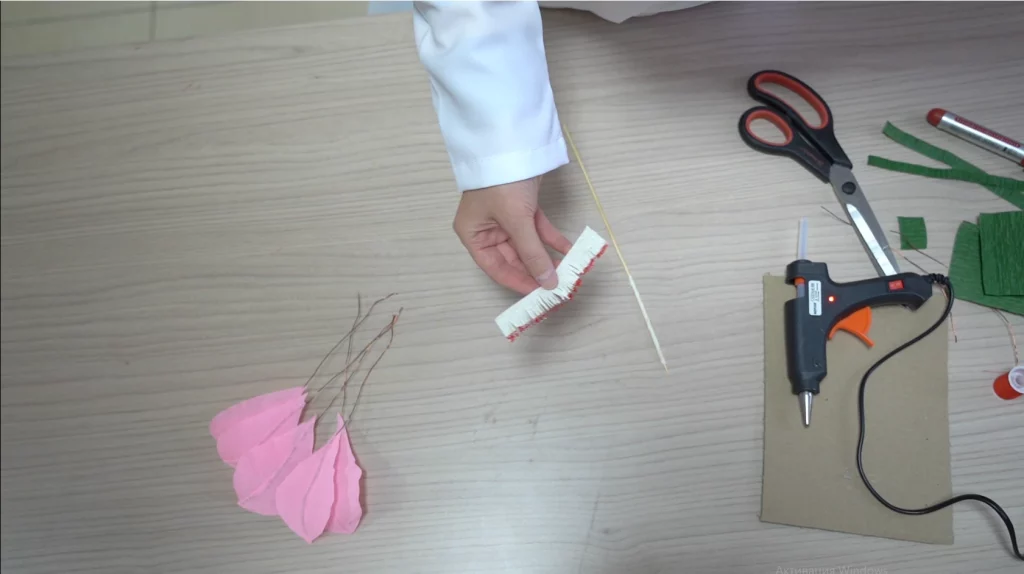
Step 7. Glue the paper with the trimmed edges to the skewer you prepared by first wrapping it with yellow paper.
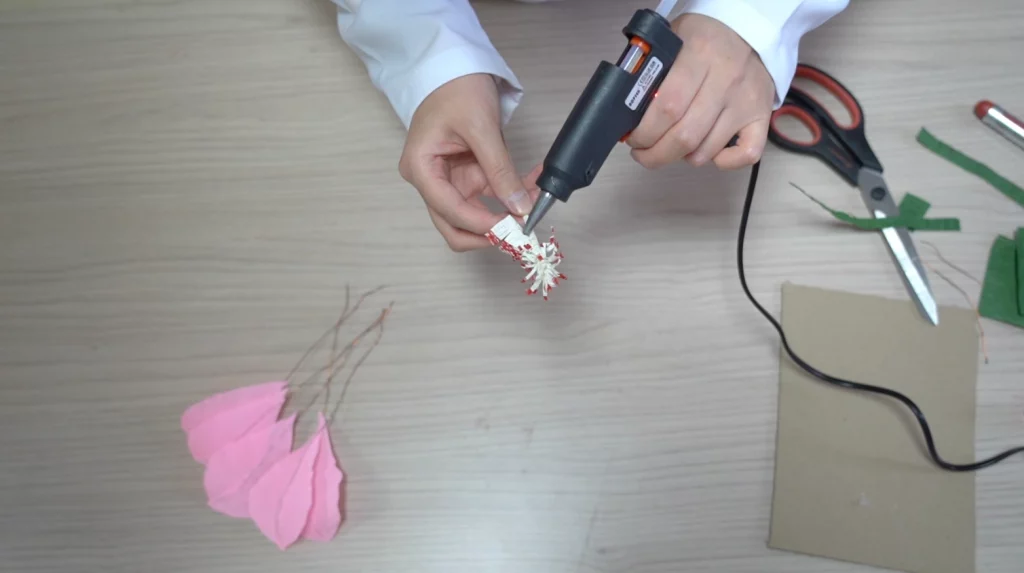
Step 8. Attach the flower petals to this skewer by wrapping them with string.
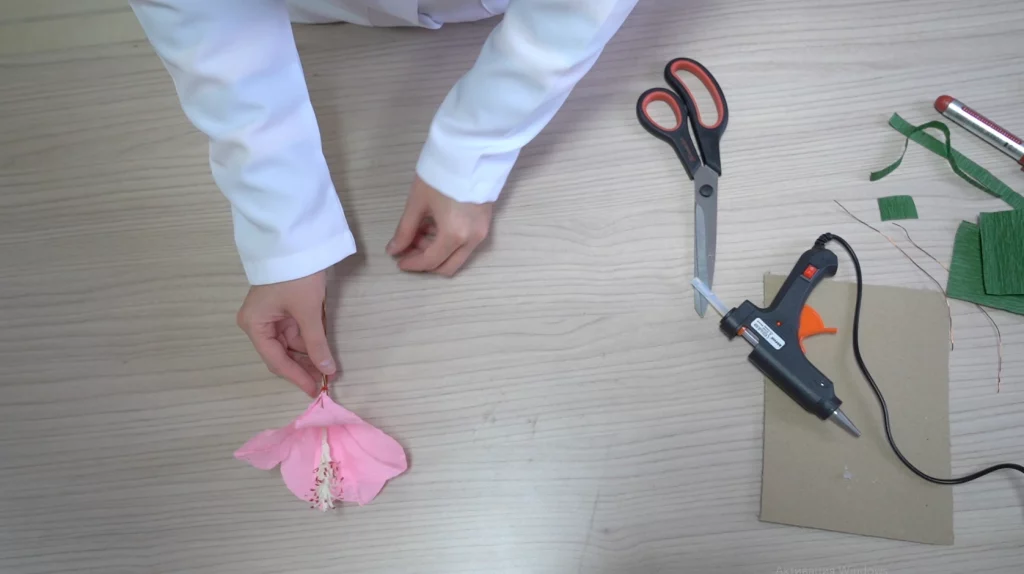
Step 9. Take a 2*3 cm green paper and cut it with scissors into small pieces on the 3 cm side. Leave it by cutting one piece in between.
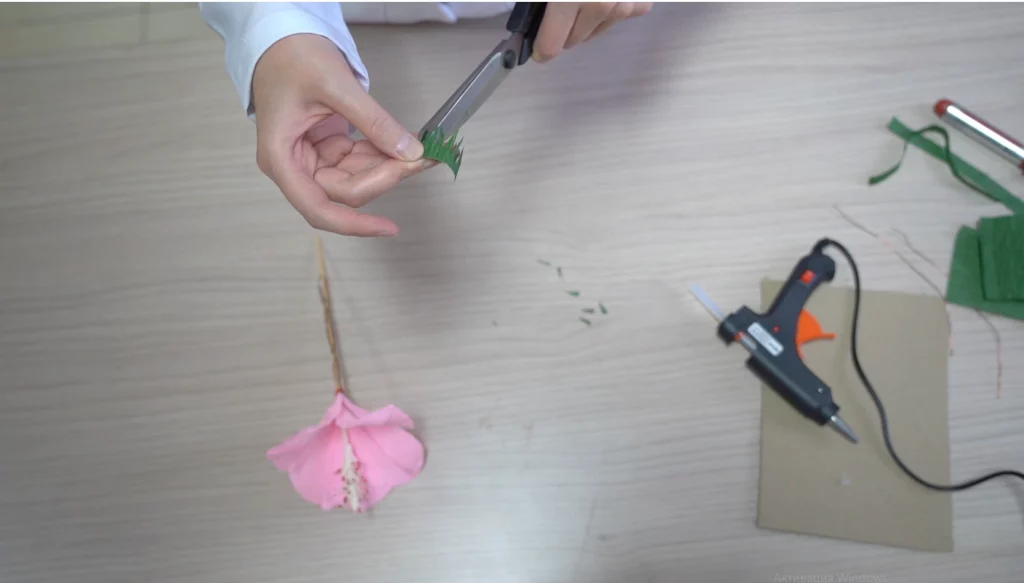
Step 10. Glue this cut out green paper to the bottom of the flower with hot glue.
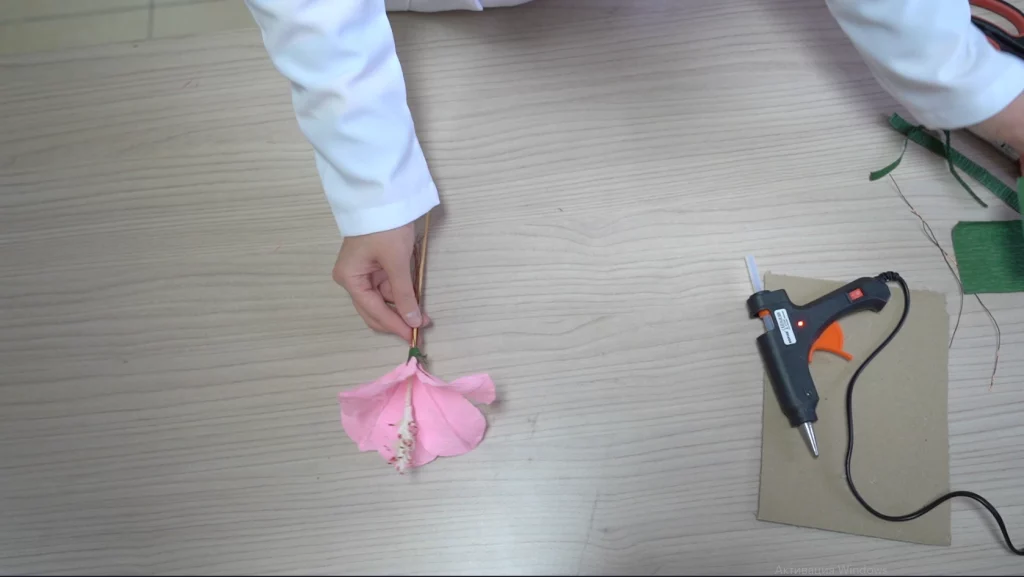
Step 11. Take 2 pieces of 7*7 cm green paper and cut out a triangle.
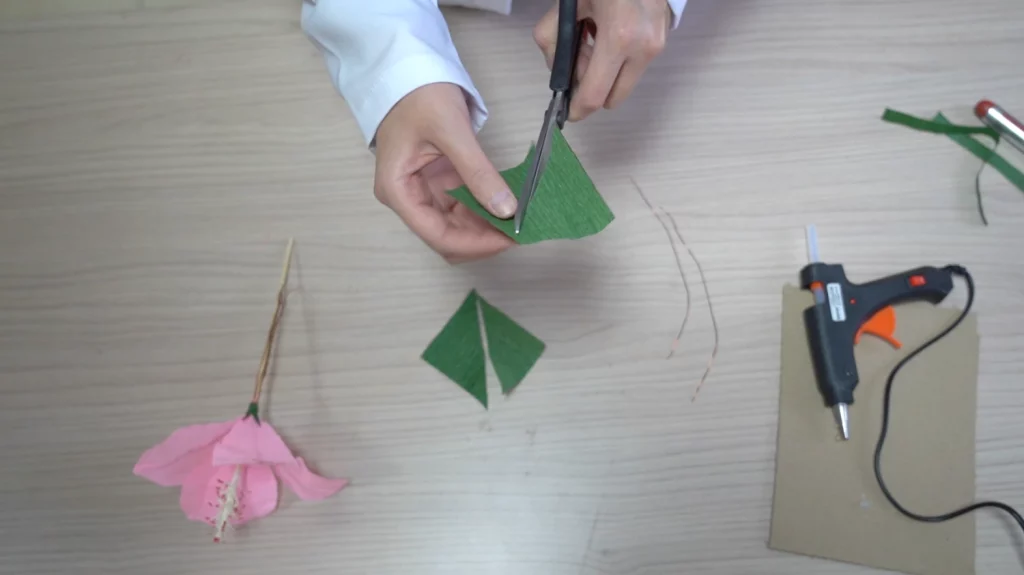
Step 12. Take two wires of 15 cm each. Glue the long side of the triangular green paper to one wire. Also glue the second side of the rectangle. Repeat this process for the second wire as well. These are the sketches of the flower petals.
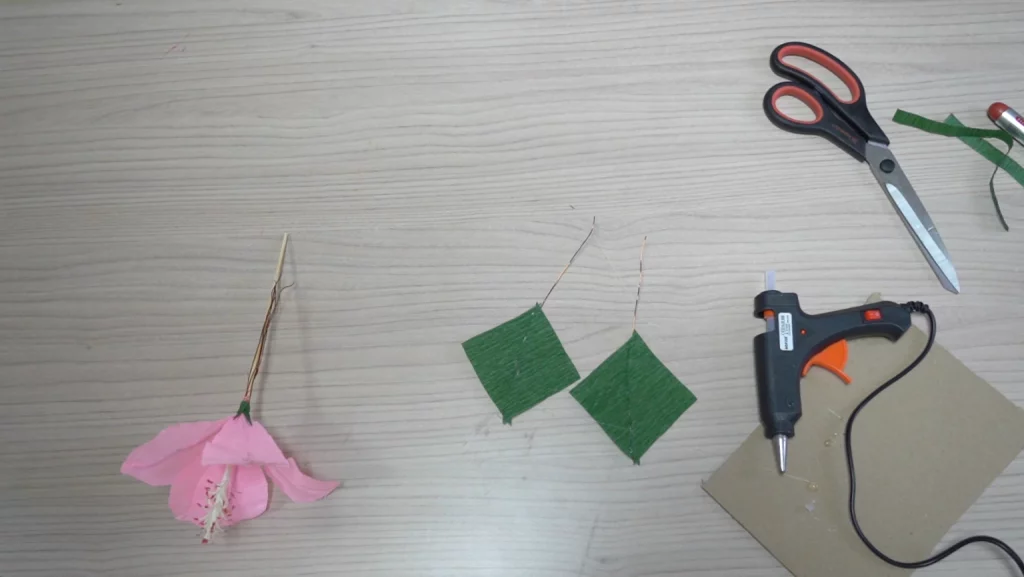
Step 13. With scissors, cut out the sketches of leaves of the desired shape.
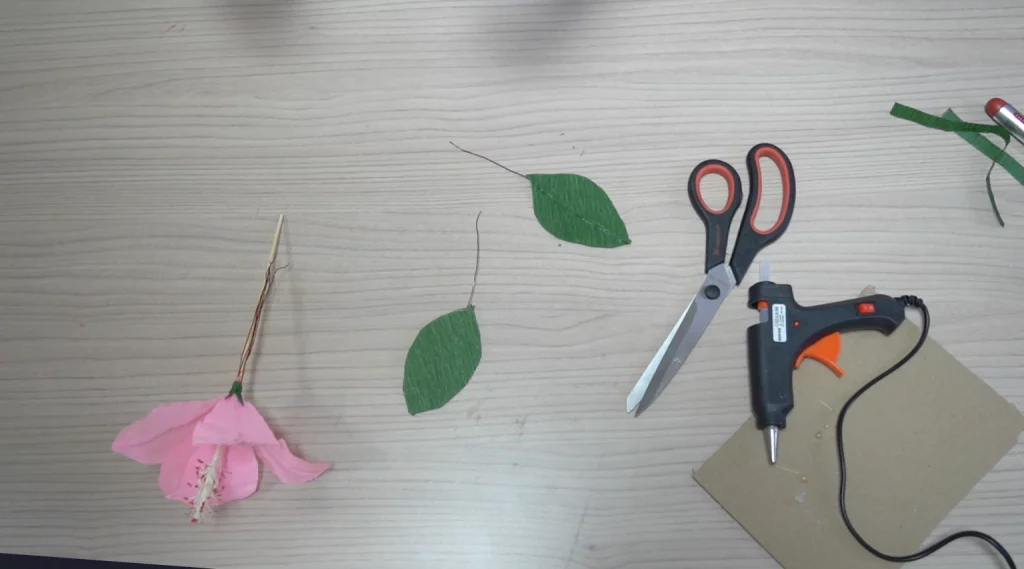
Step 14. Take 2 pieces of green paper 1*10 cm and wrap, gluing the bare parts of the wires on which the leaf is glued.
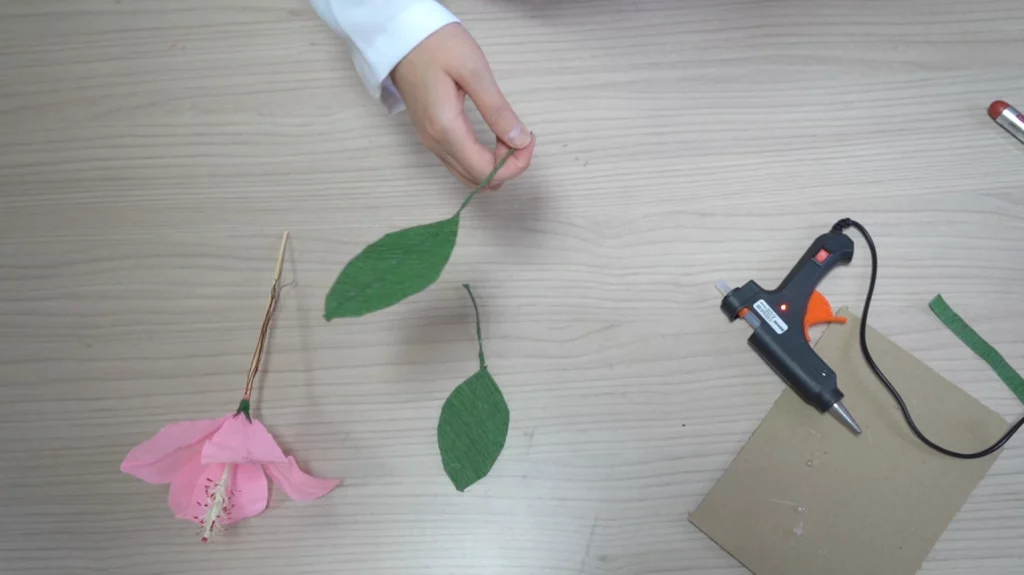
Step 15. Take a green paper of 1*25 cm size. Wrap it by gluing it to the skewer. Add two sheets in the middle parts.
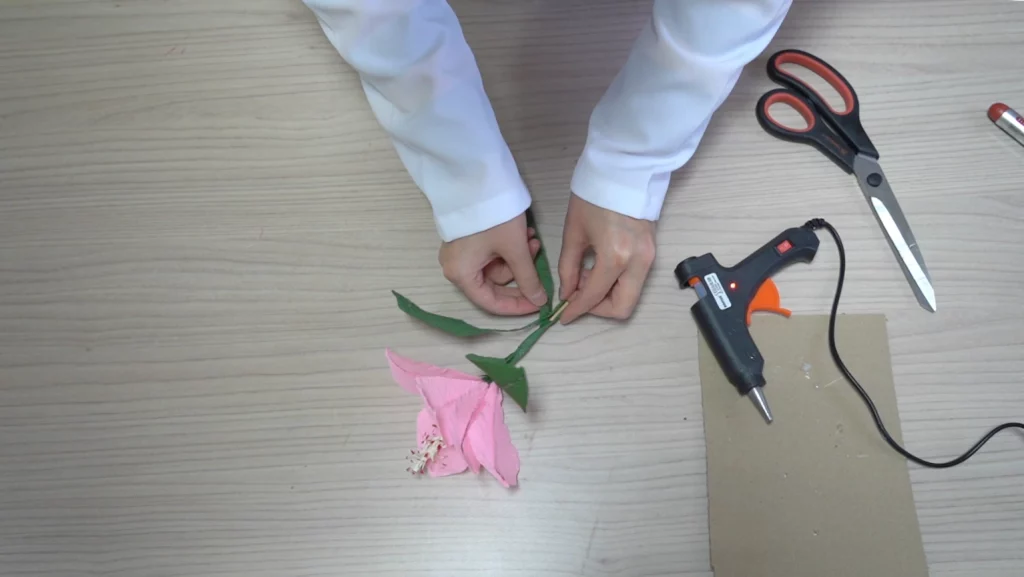
Step 16. Take a 5*5cm yellow paper and cut one edge of the side into small pieces. Leave it by cutting one piece in between. These are your plant roots.
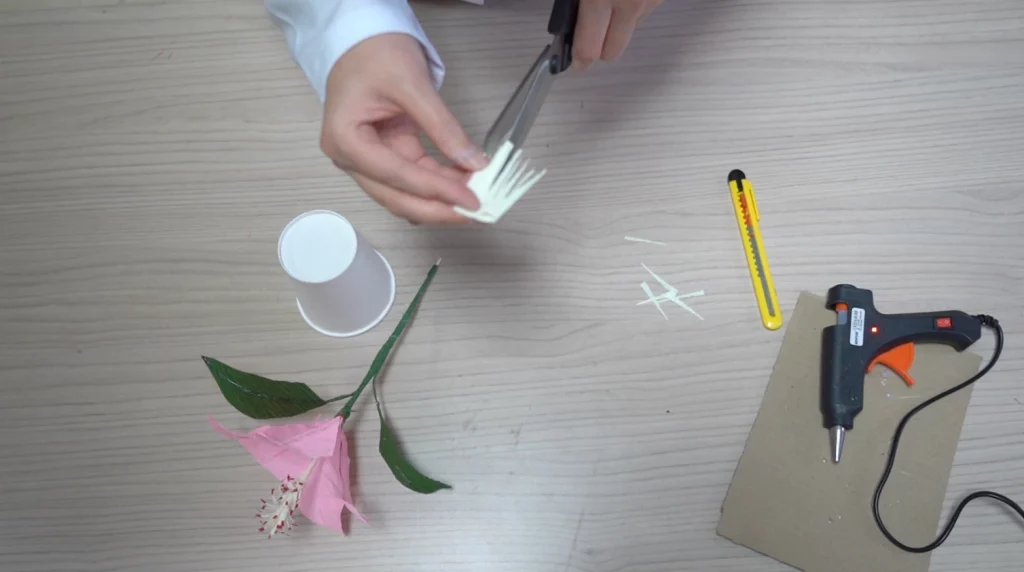
Step 17. Pierce the bottom of the paper cup with a sharp object. Thread the flower stem through this hole.
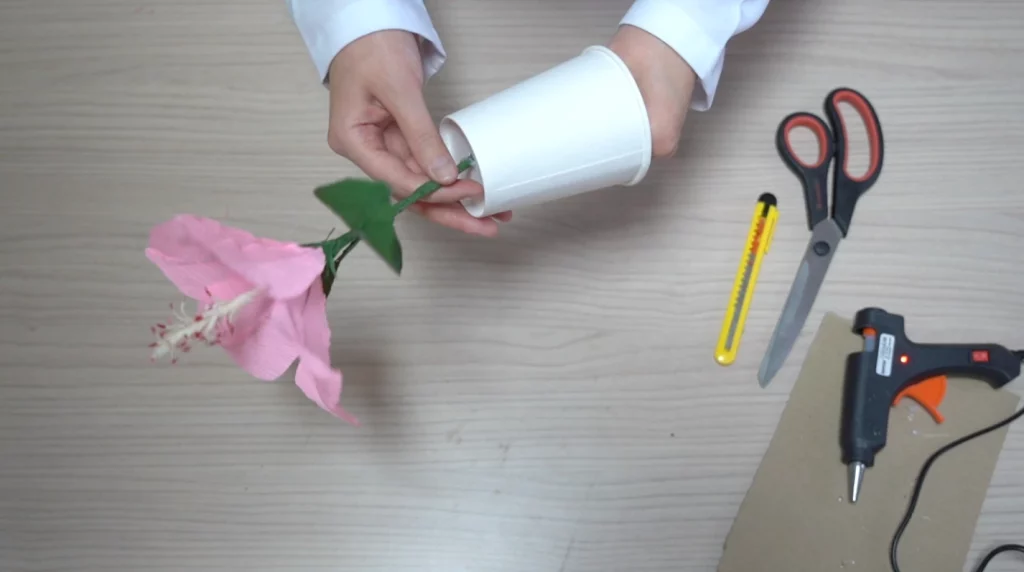
Step 18. Glue the root onto the part of the stem protruding from underneath the cup, wrapping the stem.
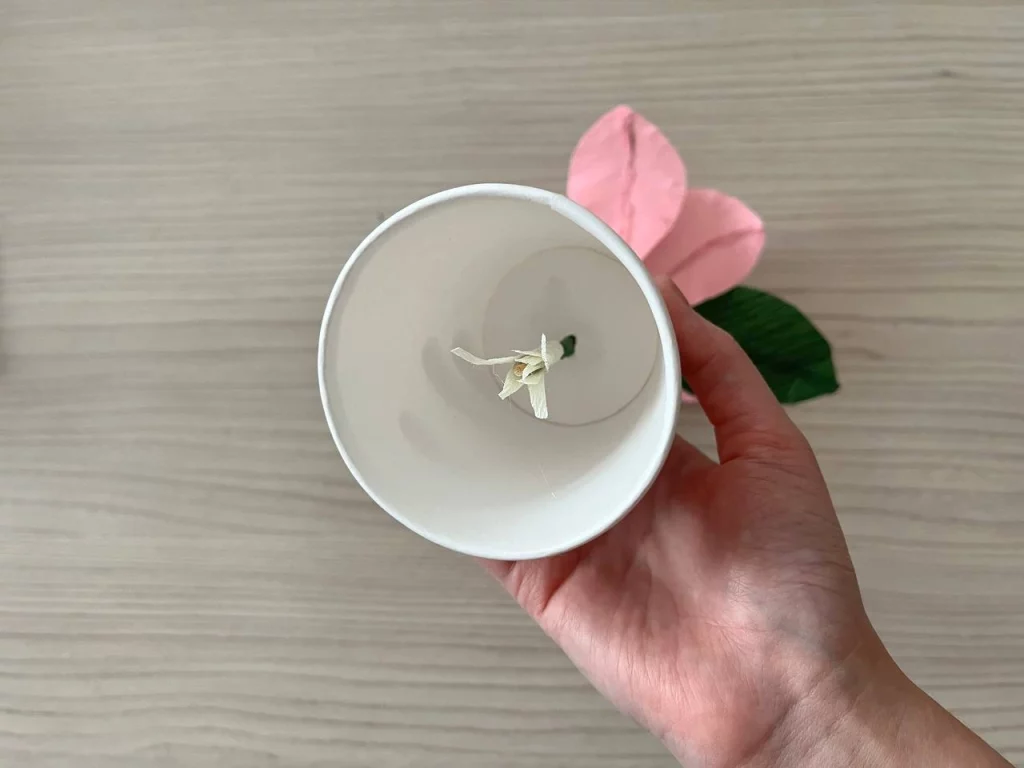
Step 19. Attach the flower to the glass with plasticine, making sure it stays firmly in the glass. With that, the hibiscus flower is ready.
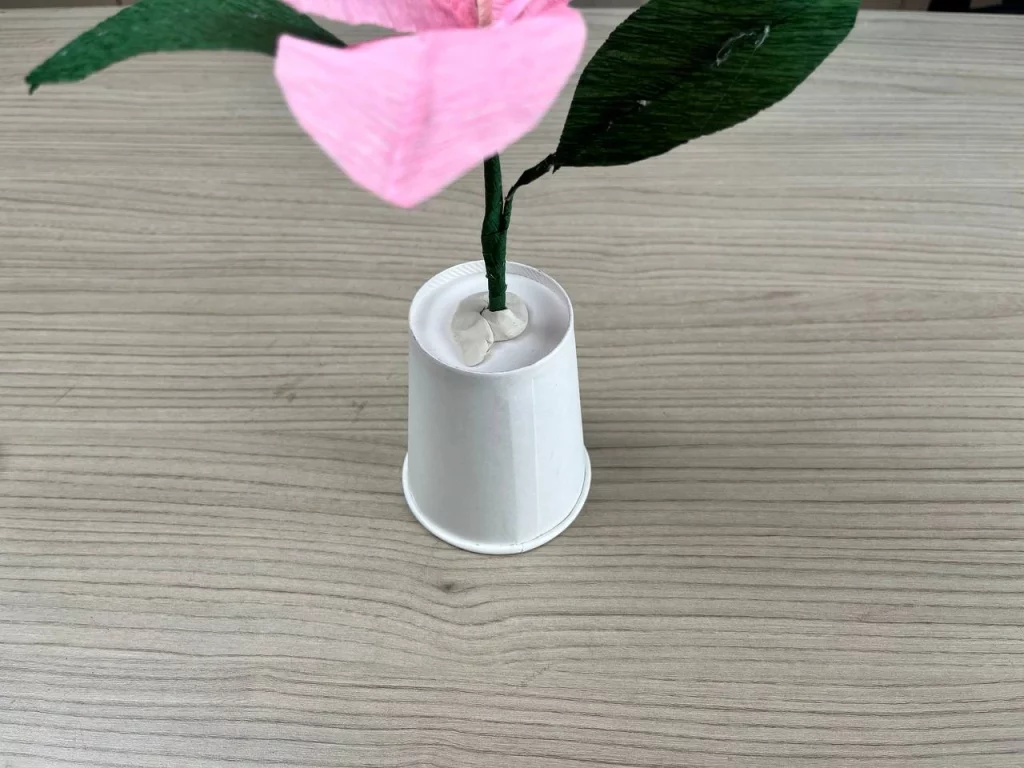
Step 20. Examine each part of the flower and label it with names.
Draw conclusions by answering the following questions:
- What is systematics?
- What is a taxon?
- What is a species?
- What are thesis and antithesis?
- What are the major organs in plants considered in morphology?
- What changes in the morphology of plants can be observed during their development from seed to mature plant?
- How do morphological adaptations in plants allow them to survive in different environments?
Conclusion
In the course of this practical work, the study of plant morphology was carried out, which allowed us to deepen our knowledge of the structure and features of various plant organs. Through observation and study of the morphology of roots, stems, leaves, flowers and fruits, we gained practical skills in identifying key characteristics and differences between plant species.