
Lesson
Project Goal
- To learn the basics of animation and the principles of creating moving images
Teacher’s Guide
- In the experimental part, students work in groups of 4-5.
- Before starting, provide all necessary materials to the students.
- Give a brief safety instruction for working with scissors and hot glue.
- At the beginning of the lesson, explain the PBL (project based learning) categories to your students. 4K skills (critical thinking, collaboration, creativity, presentation)
Theoretical Part
Motion is something we see around us every day. When a ball rolls across the floor or we ride a bicycle, we observe things moving. But how can we show motion when it happens too fast?
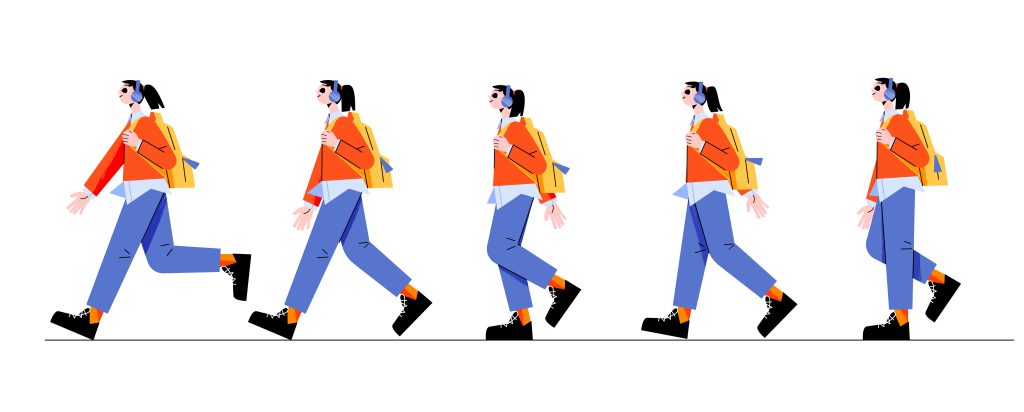
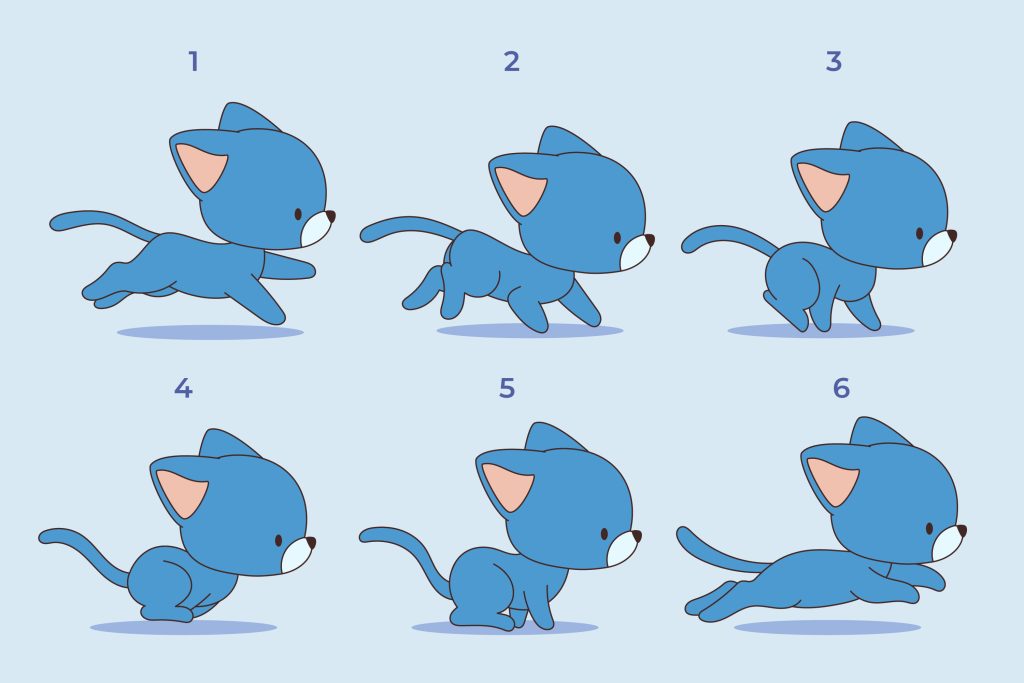
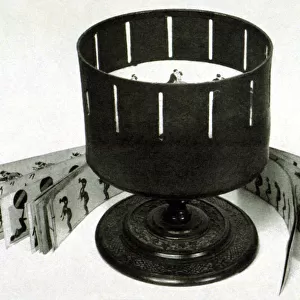
Zoetrope — a simple tool that helps us see how pictures can move. It works by quickly showing different pictures one after the other, so our eyes see it as motion. It’s similar to the cartoons we love to watch!
The zoetrope was invented in 1834 by the English scientist William George Horner. He devised a way to combine images with rotation, making them appear as if they were moving. This was one of the first steps toward the creation of the animation we know today.
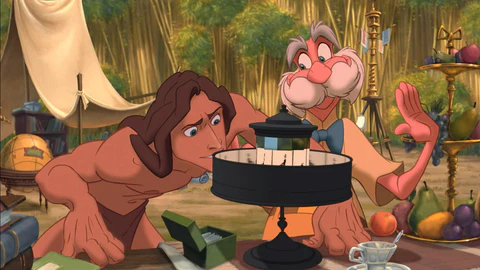
Today, we’ll use different images and a zoetrope to bring them to life. This is a great way to understand how motion works and see how art and science come together.
Practical Part

Step 1. Prepare the necessary materials. Print the templates by clicking on the link.
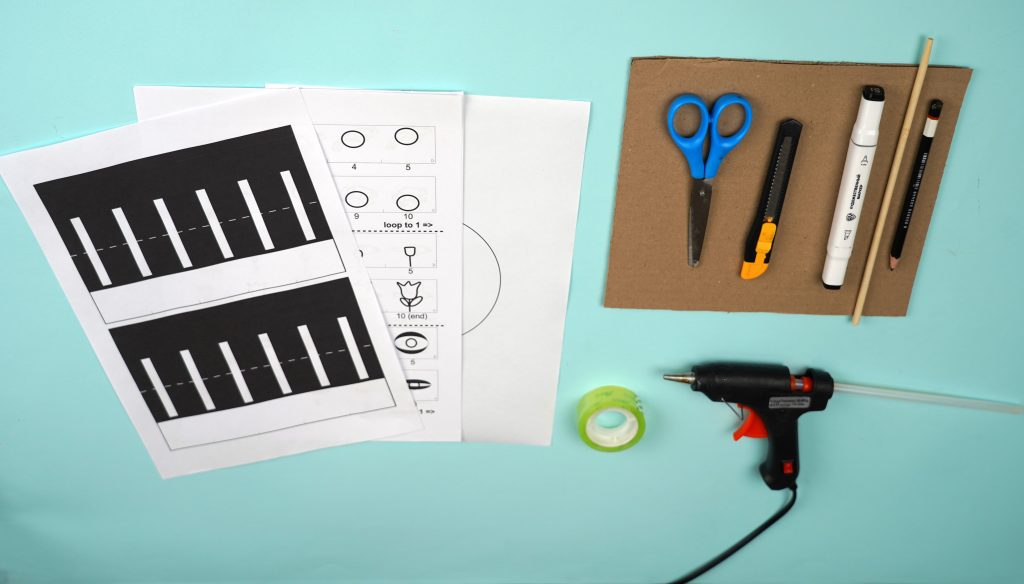
Step 2. Cut the black paper strip and fold it along the dotted line.
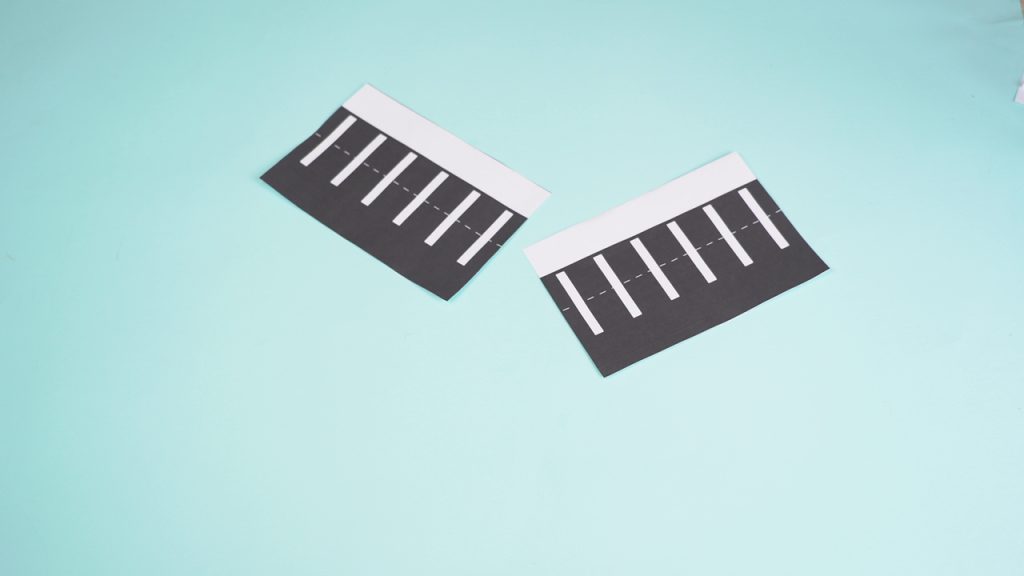
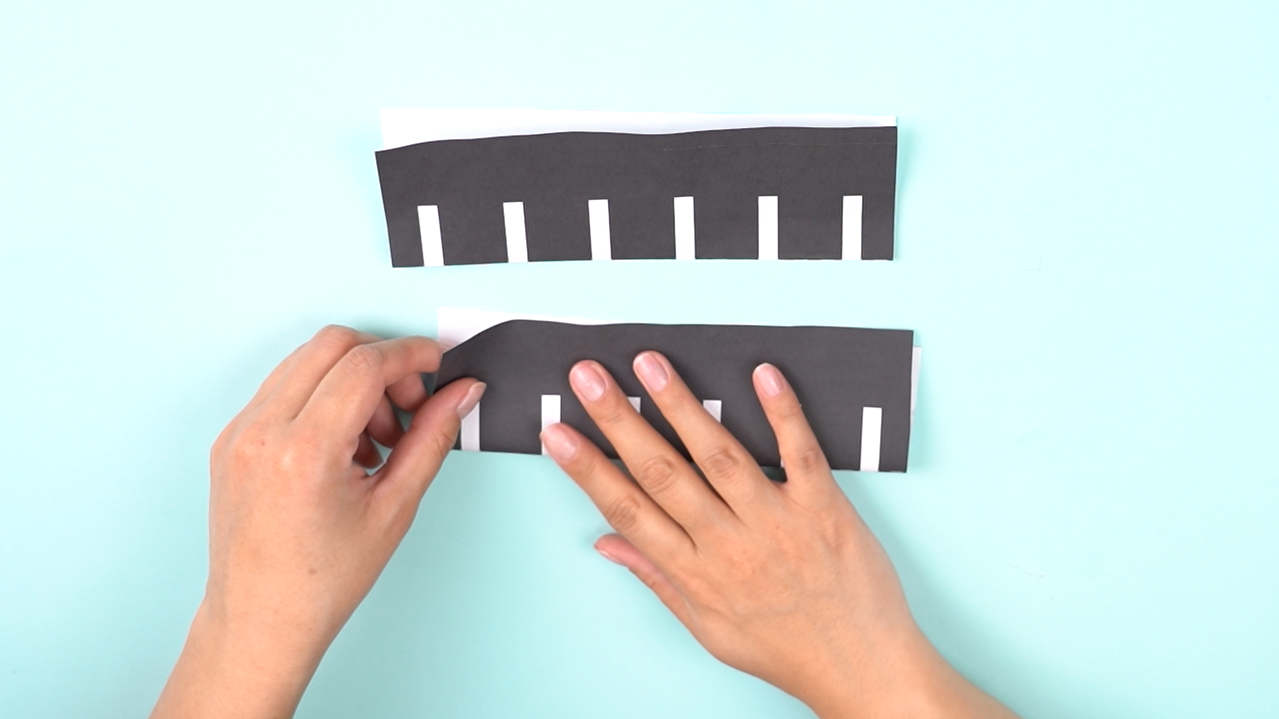
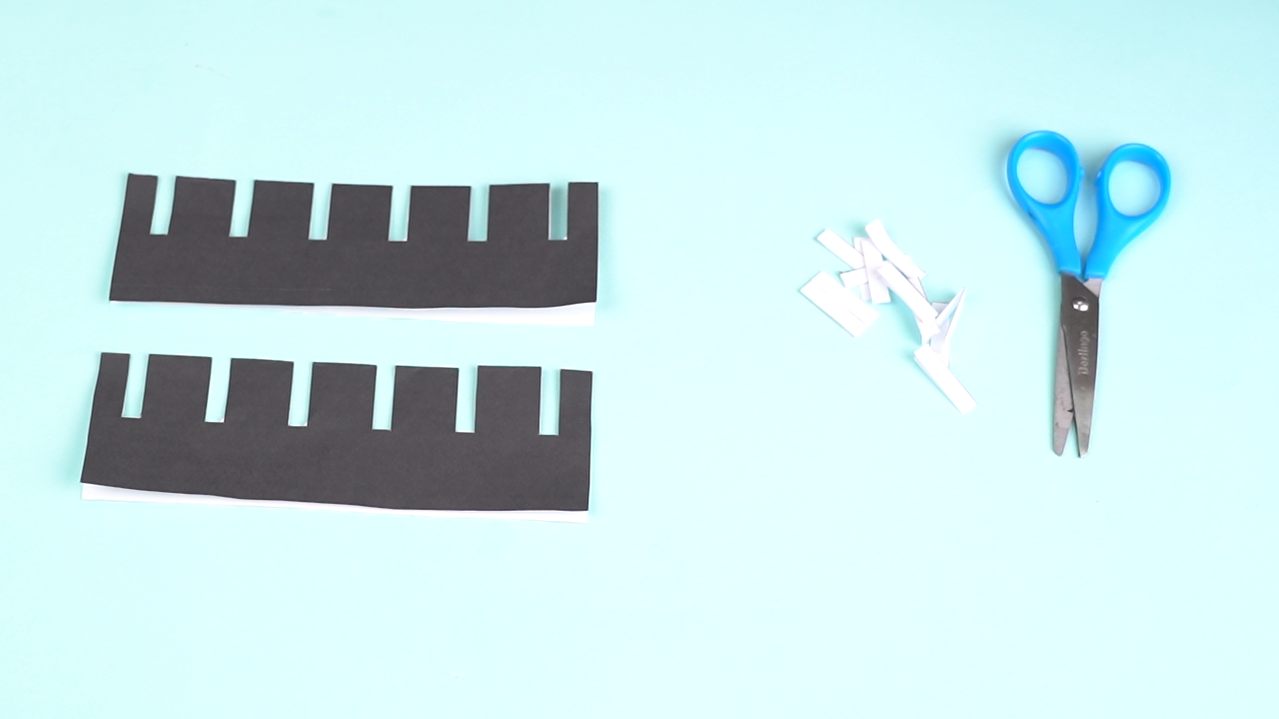
Step 3. Cut the white strips as shown. You should get two black ribbons with slits.
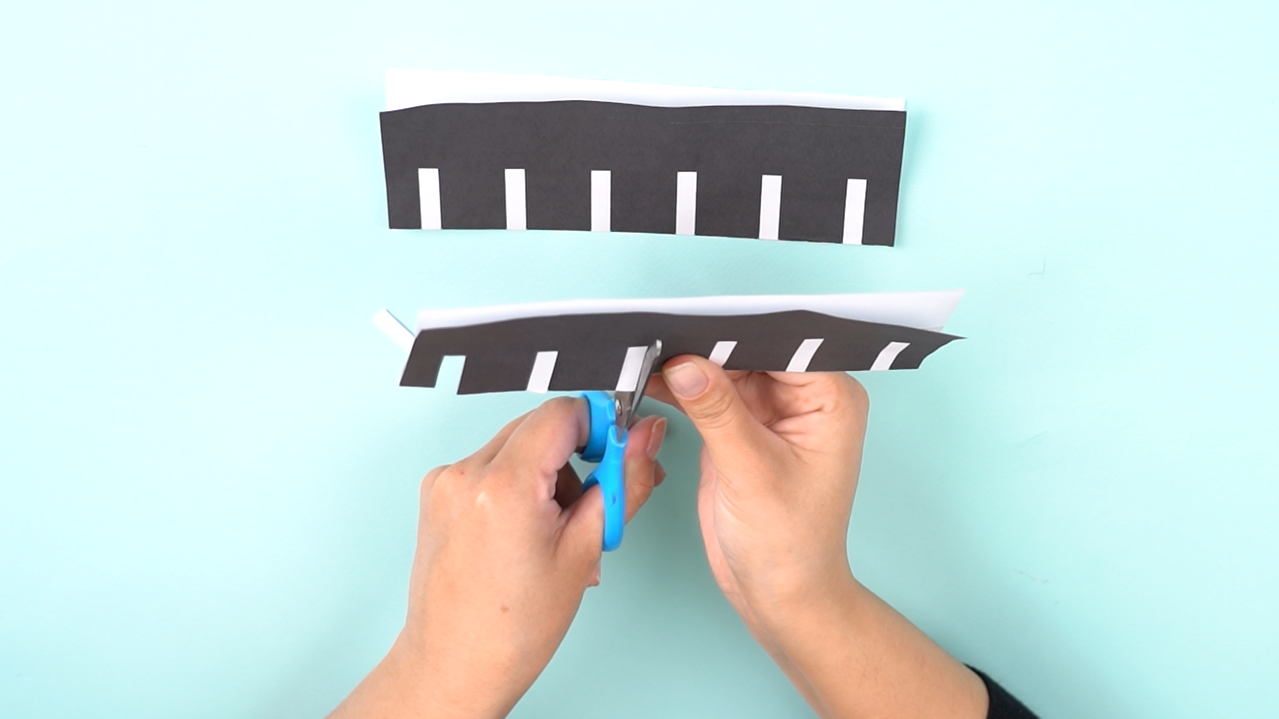
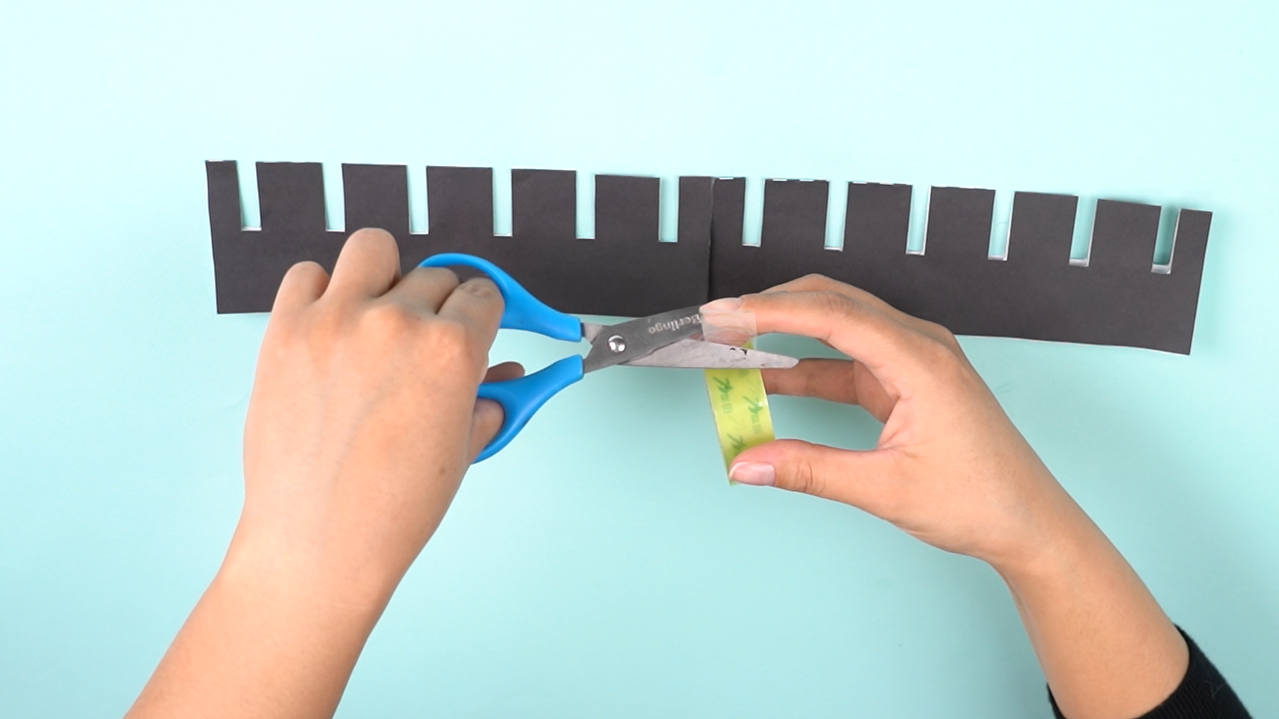
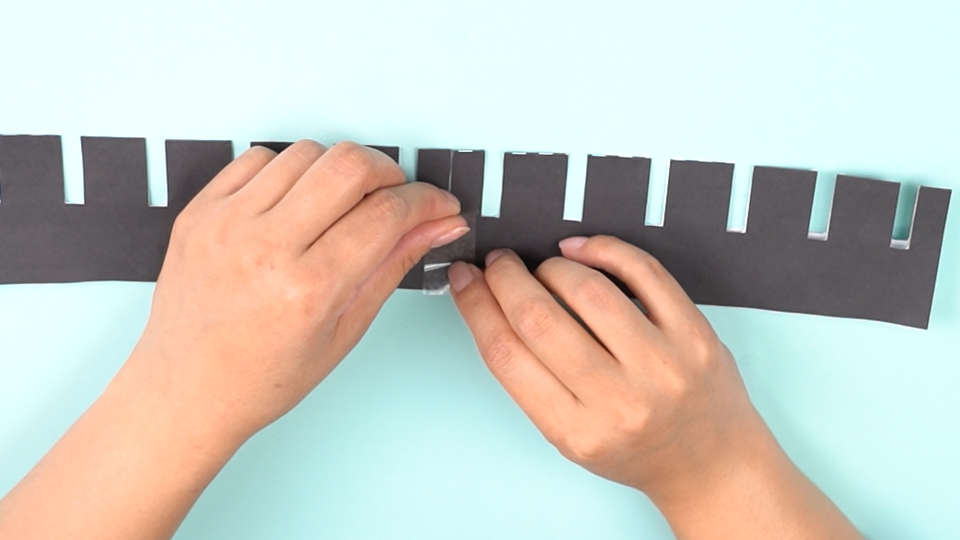
Step 4. Connect the strips with tape or glue to create one long filmstrip.
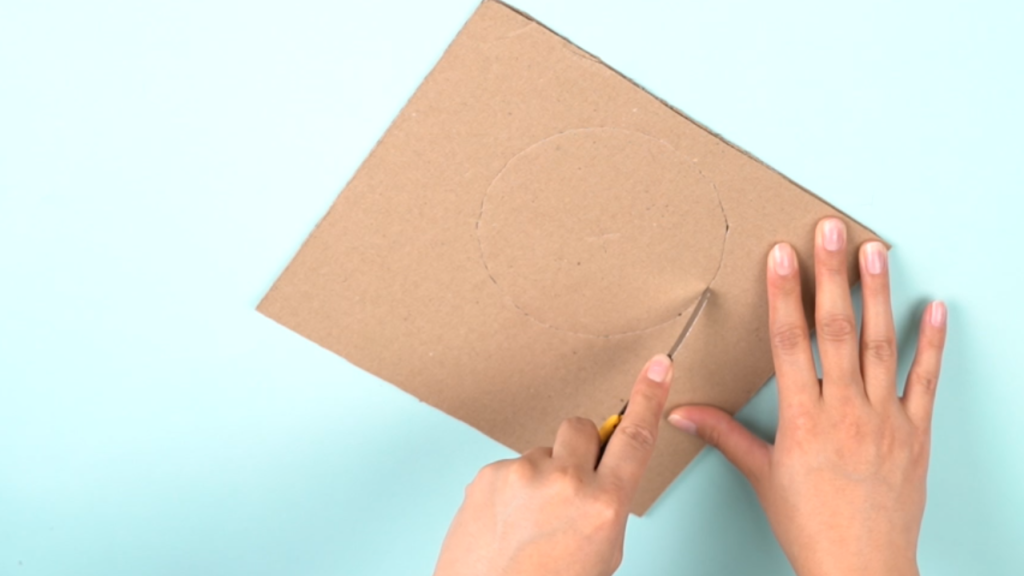
Step 5. Cut a circle (11 cm diameter) from cardboard. Make a small hole in the center.
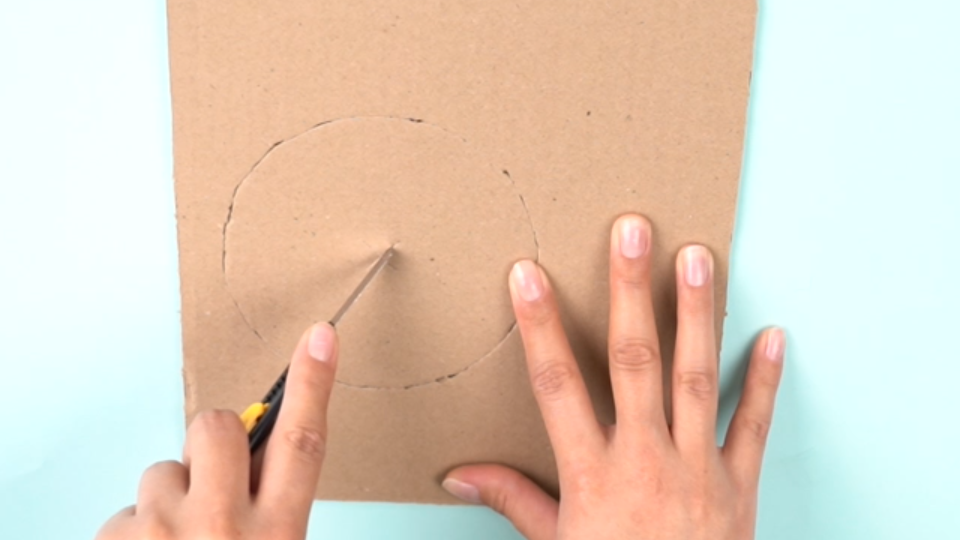
Step 6. Attach the black strip around the cardboard edge.
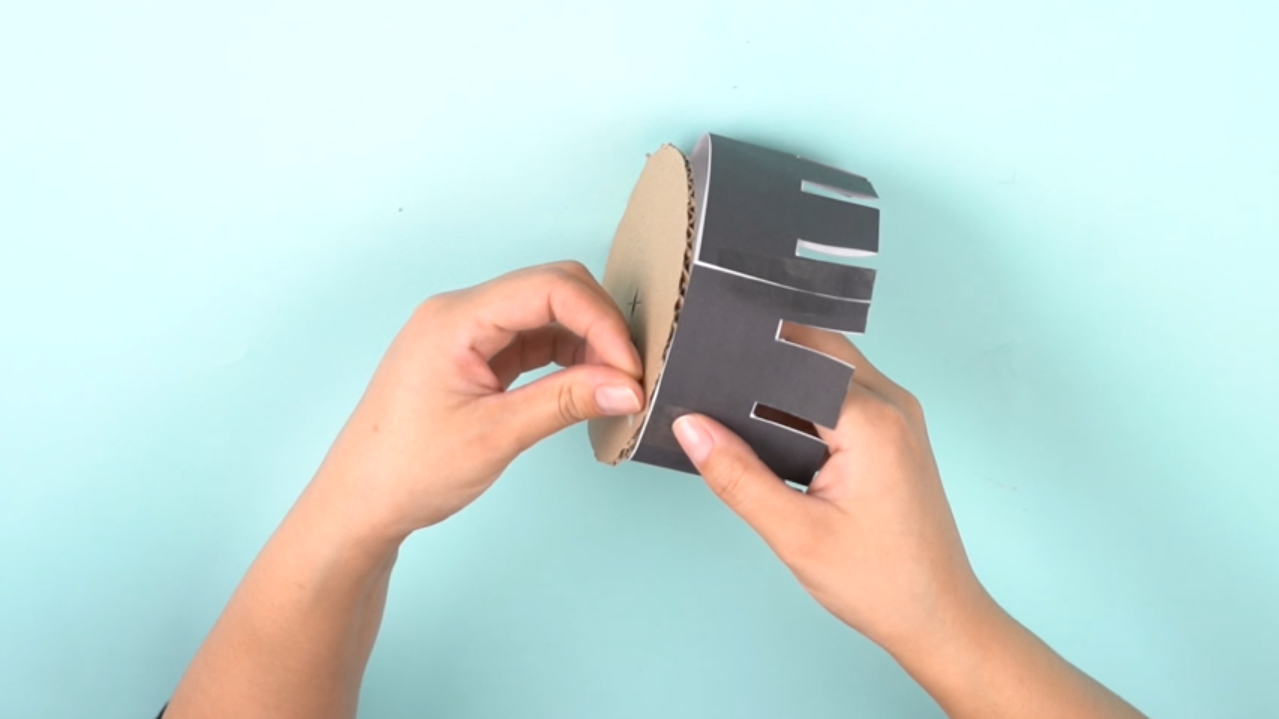
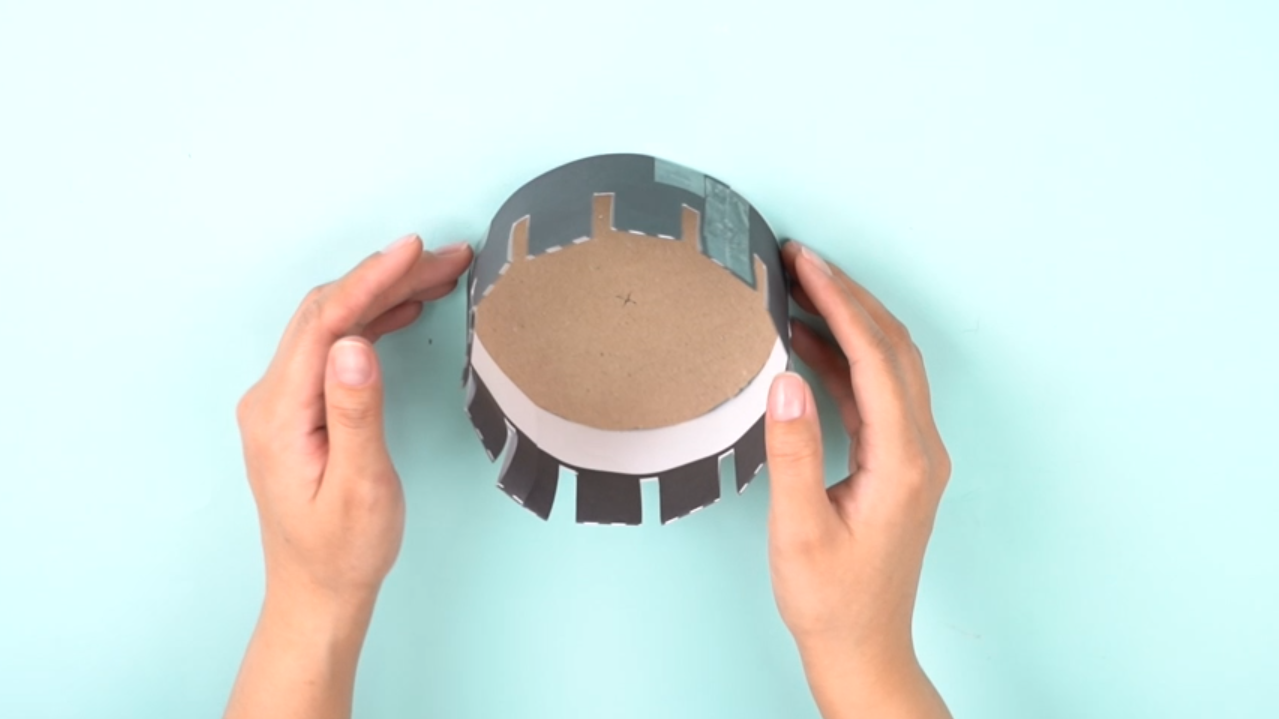
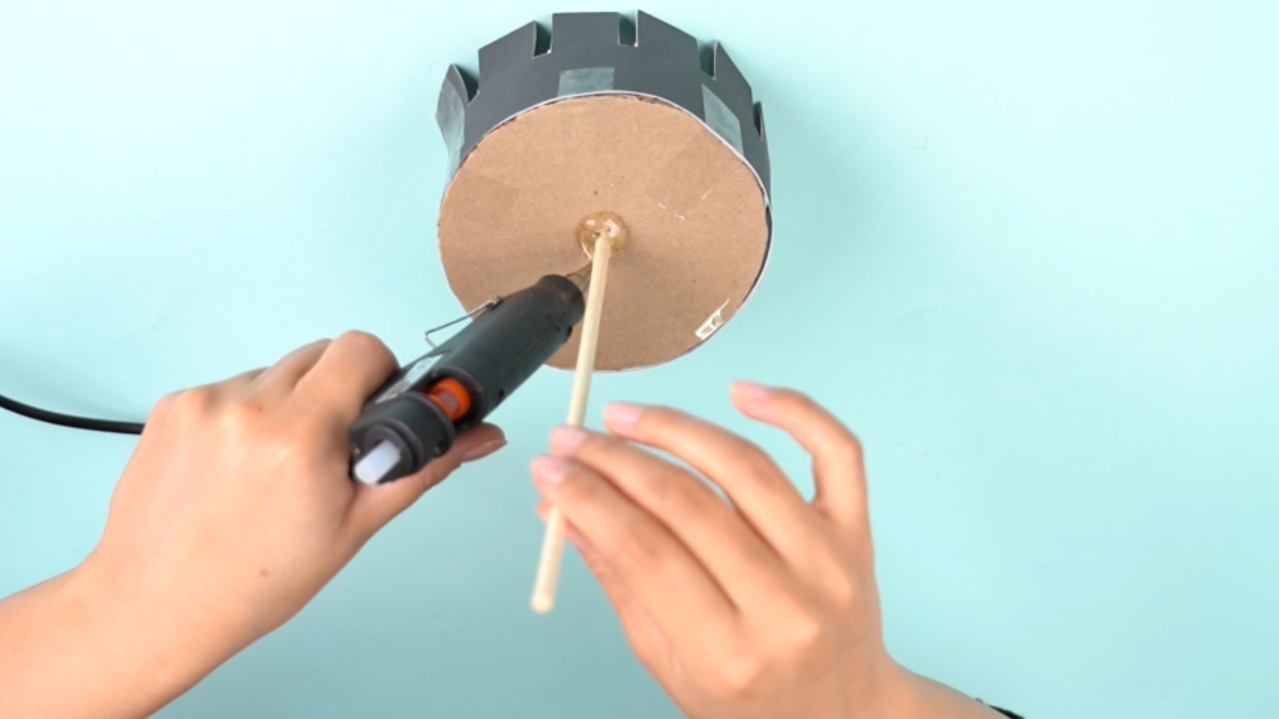
Step 7. Insert the skewer/stick into the cardboard hole and secure it with hot glue.
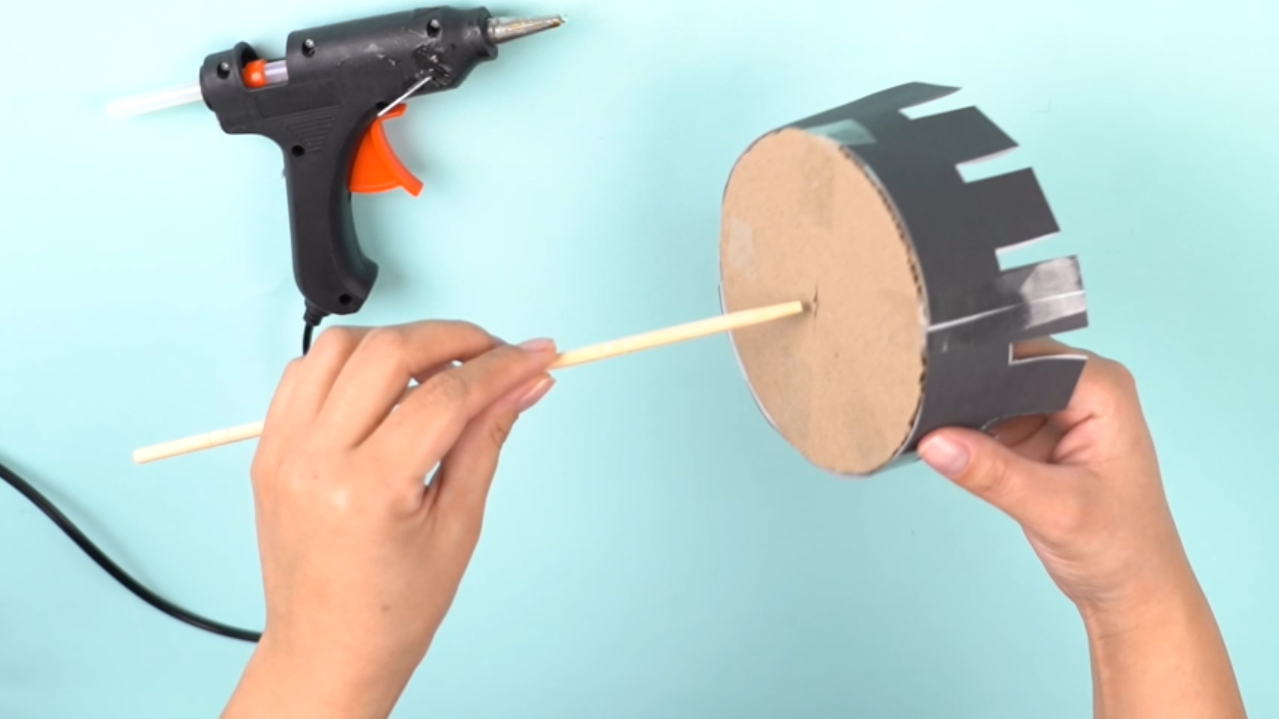
Step 8. Print the prepared images (available via the link) or draw them yourself. Remember that the spacing between the images should match the distance between the slits on the black strip. Color the images as you wish.
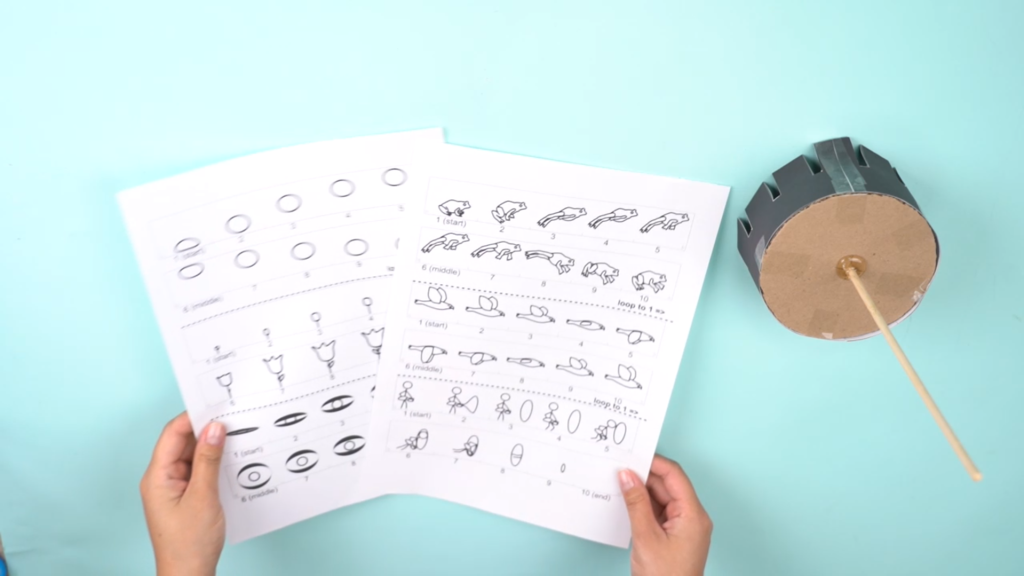
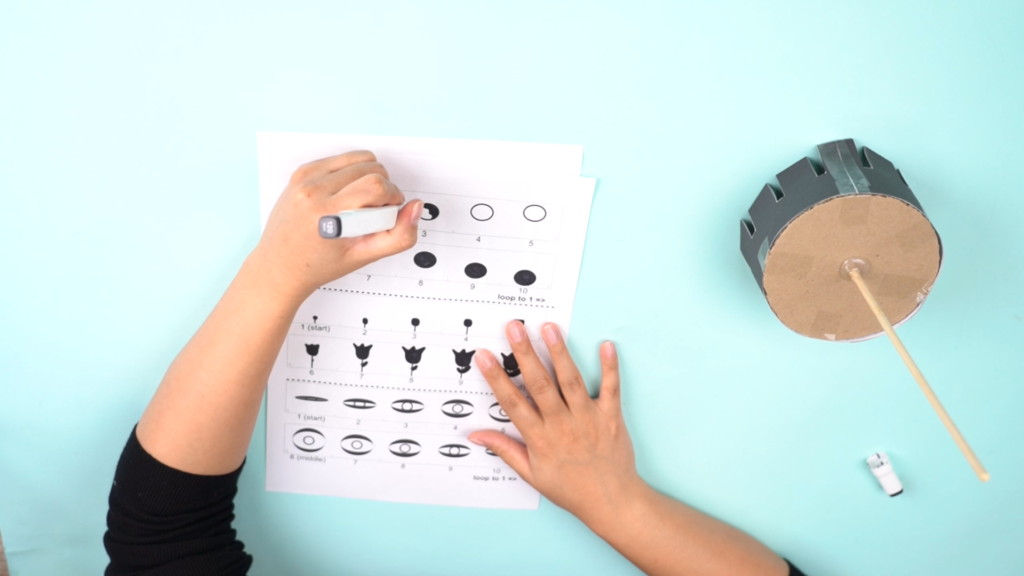
Step 9. Cut out the images and join them into a single strip using tape.
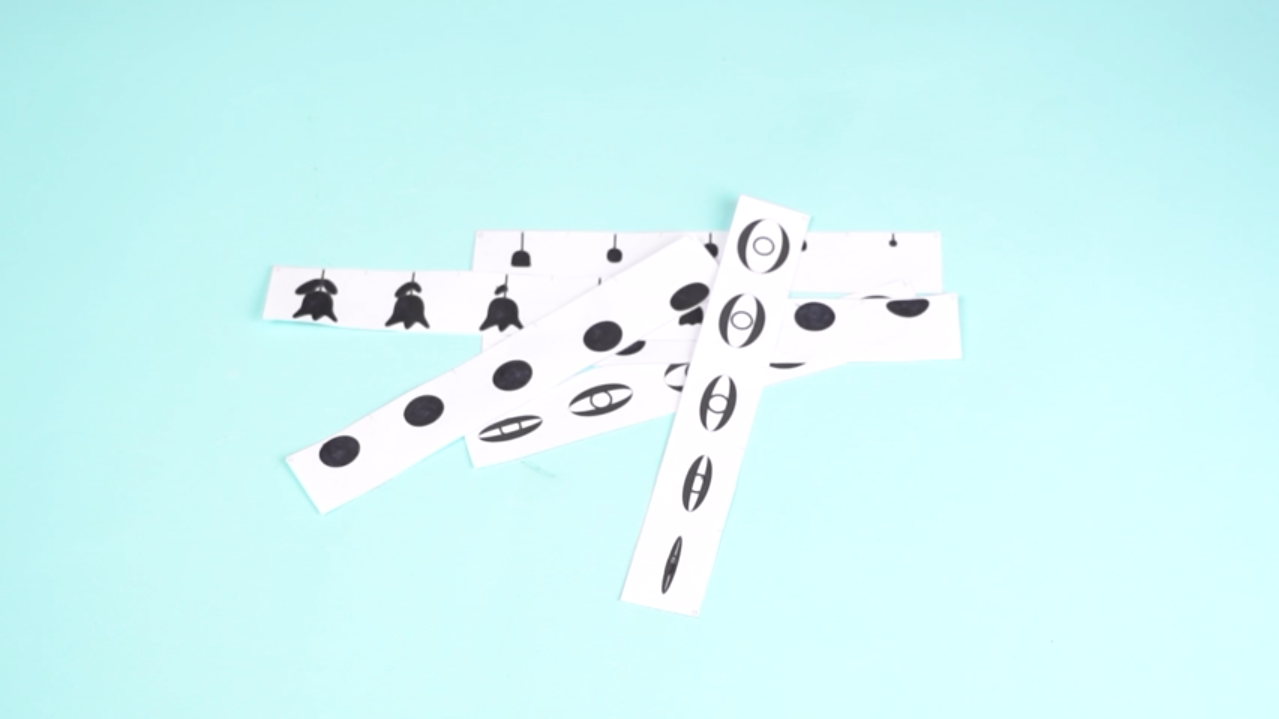
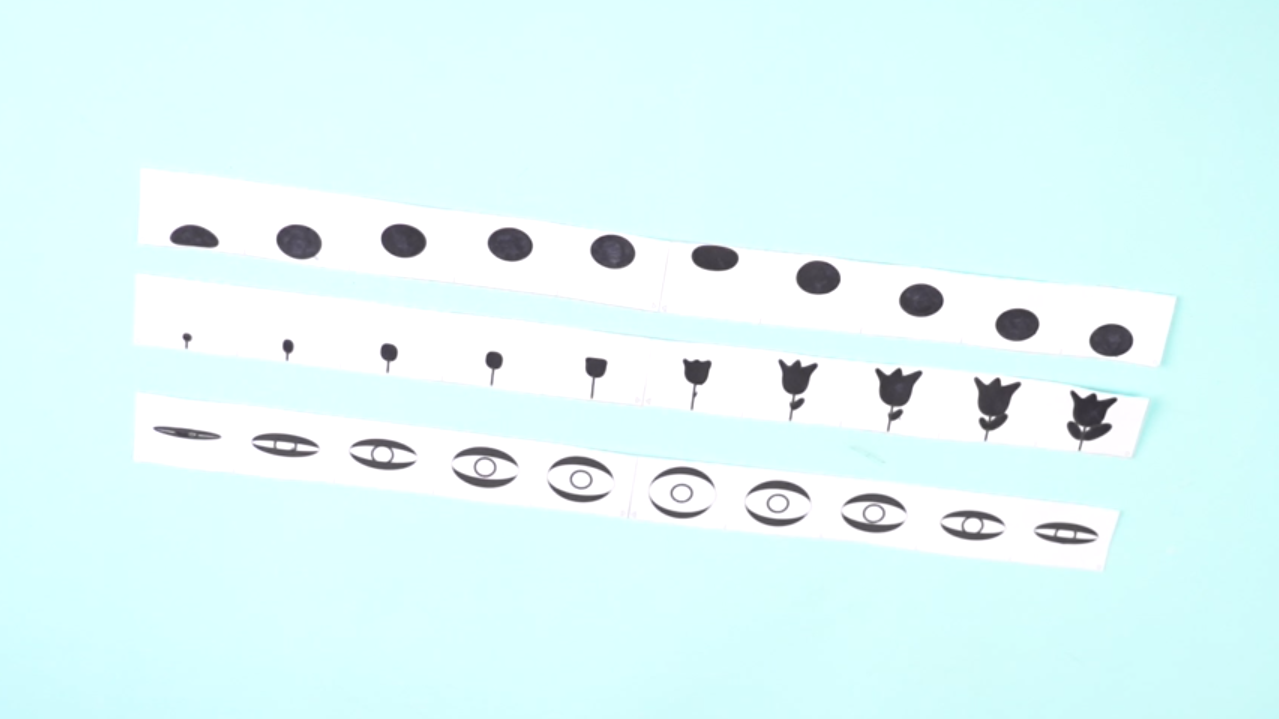
Step 10. Place the strip with the images inside the black strip so that the images are positioned between the slits.
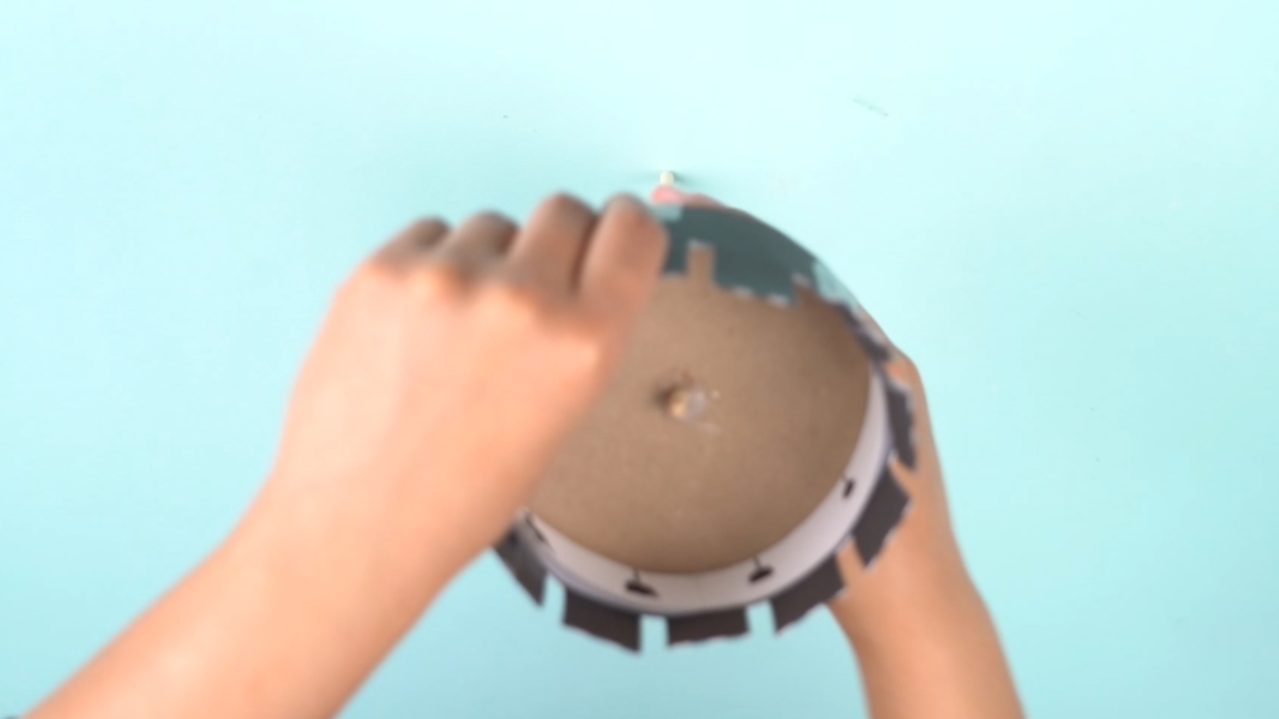
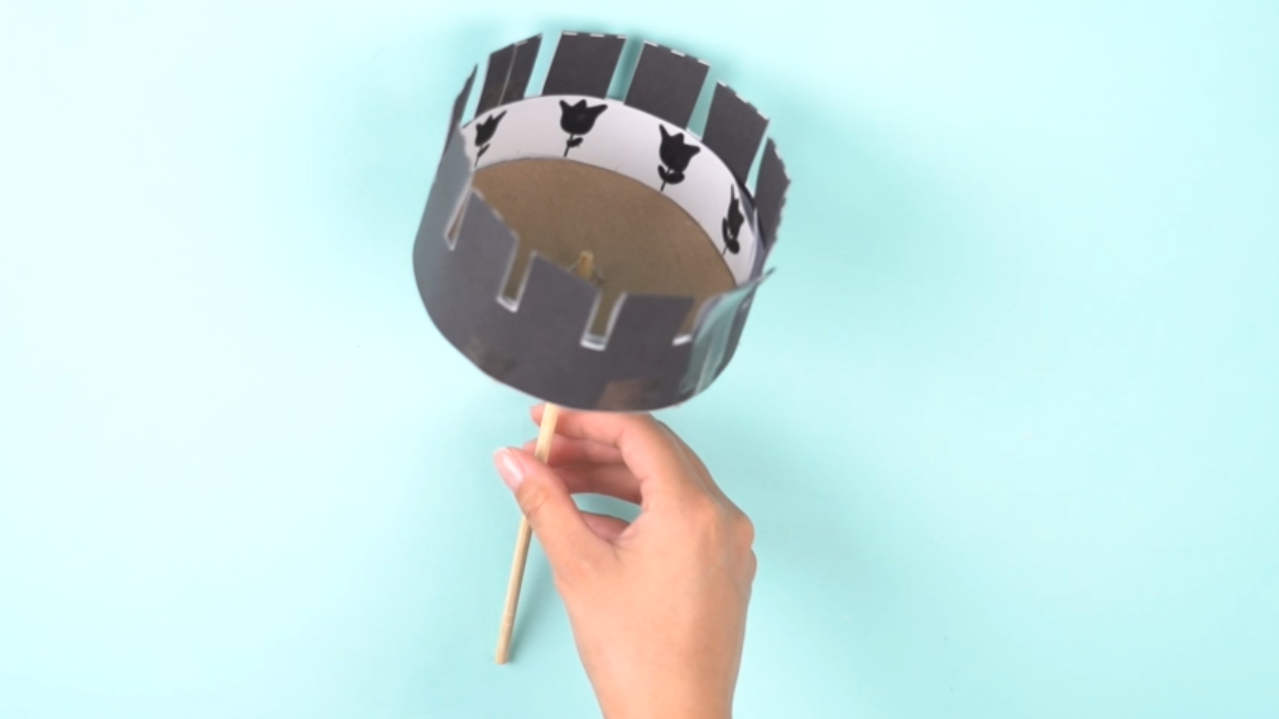
All set! Now let’s see the result. To bring the images to life, rotate the zoetrope by hand and look through the slits at the drawings inside.
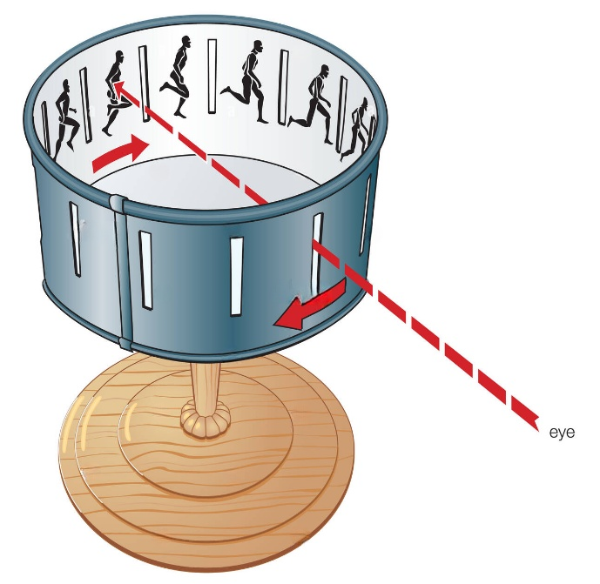

Zoetrope 2
Conclusion
This project demonstrates that animation is made from separate static images that quickly replace one another. This is the foundation on which animation and films are built.
In this project, each student is awarded a STEAM title in several categories:
- By building the zoetrope, you learned how to bring images to life. Now you are an Animation Artist!
- By cutting the slits and carefully placing the images, you demonstrated your attention to detail. Excellent work! You are a Master of Detail!