
Lesson
Project Objective:
- To learn to compare numbers up to 10.
Teacher’s Guide
- Divide students into groups of 4-5 for the project.
- Before beginning the experiments, make sure the students are familiar with numbers up to 10.
- Introduce the students to the project and provide them with all the necessary materials before they begin the practical part.
- Give a brief instruction on the safety rules for working with scissors and hot glue.
- At the beginning of the lesson, explain the PBL (Project Based Learning) rubric to the students. 4K Skills (Critical Thinking, Collaboration, Creativity, Presentation)
Theoretical part
What is a comparison of numbers?
Imagine two apples: one is big and one is small. To find out which apple is bigger and which is smaller, we compare them. We do the same with numbers.
Comparing numbers is when we find out which number is bigger, which is smaller, or whether they are equal.

Writing comparisons:
To write the result of a comparison, we use special characters:
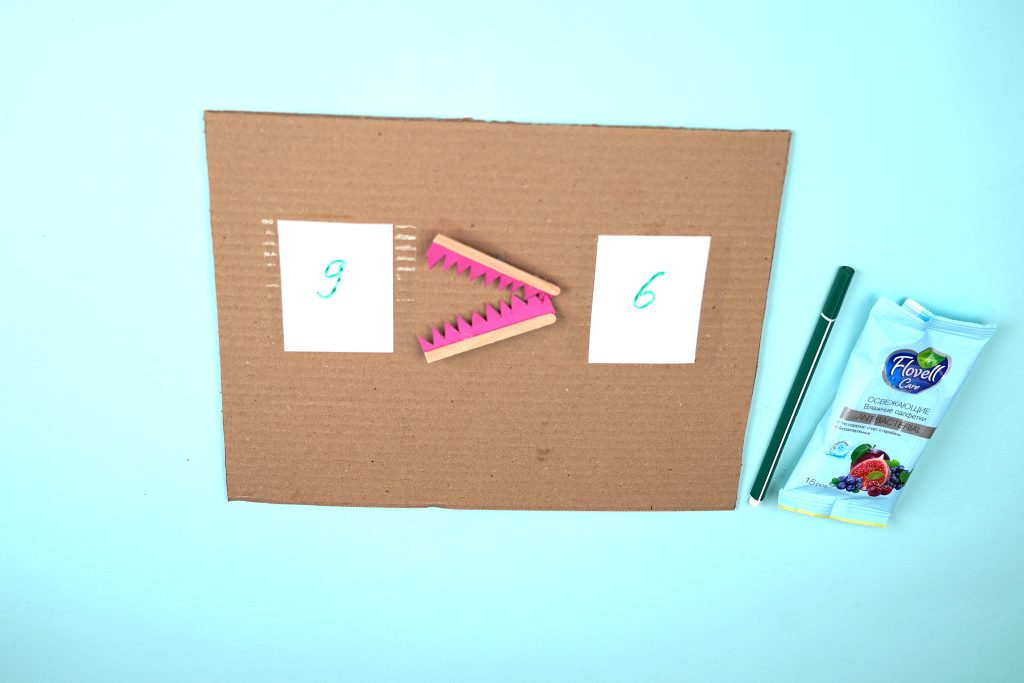
- Greater: > (This is like the open mouth of a crocodile, always looking at the larger number).
- Less: < (This sign is like the previous sign, but the crocodile’s mouth is turned the other way, looking at the smaller number).
- Equal: = (This sign indicates that the numbers are equal.)
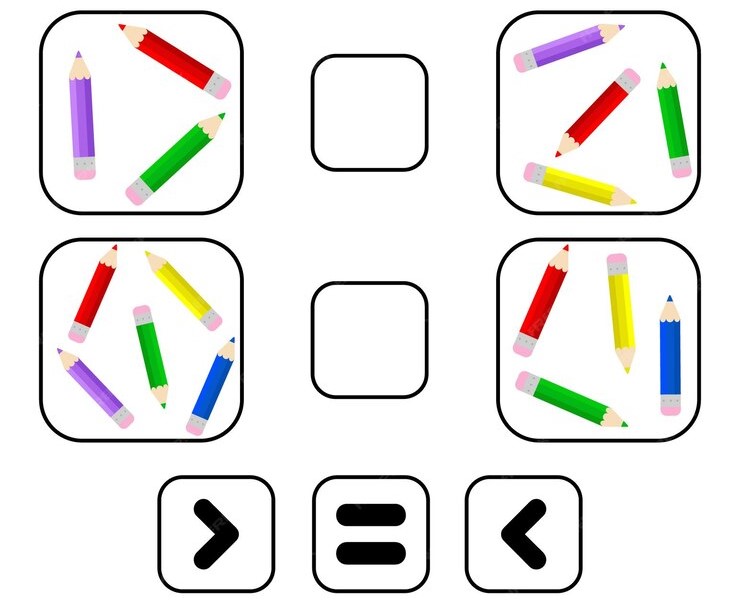
How to compare numbers:
- Use objects: Take as many objects as each number represents. Compare which set of objects is larger.
- Remember the order of numbers when counting: The number we call earlier in the count is smaller, and the number we call later in the count is larger.
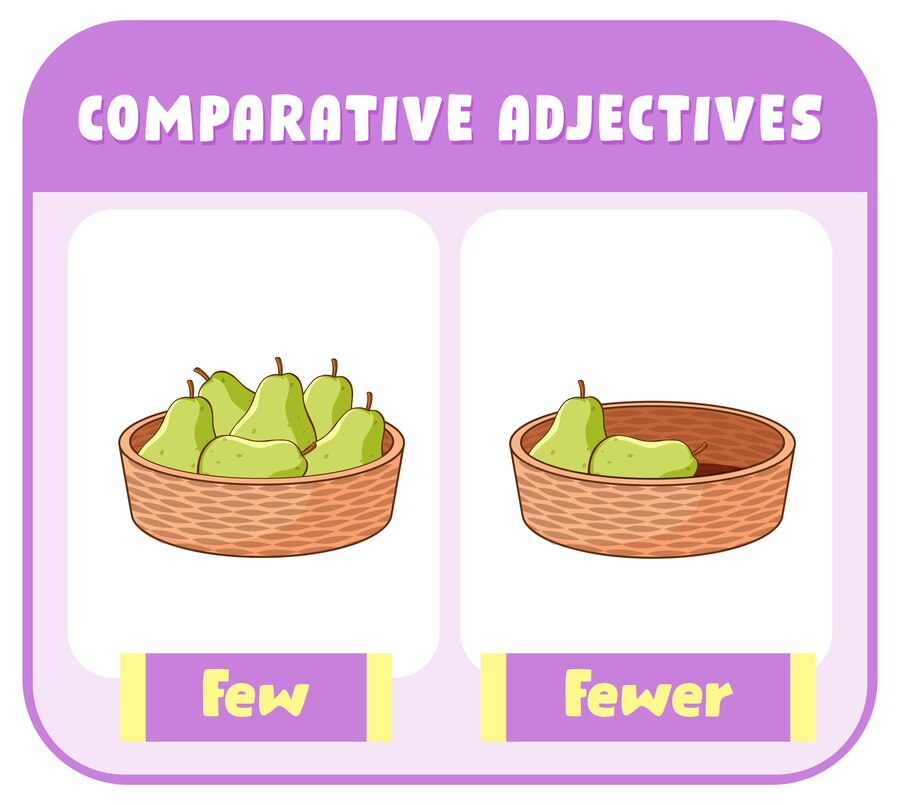
Examples:
- 5 > 3 (five is larger than three)
- 2 < 4 (two is less than four)
- 7 = 7 (Seven is equal to seven)
Practical part

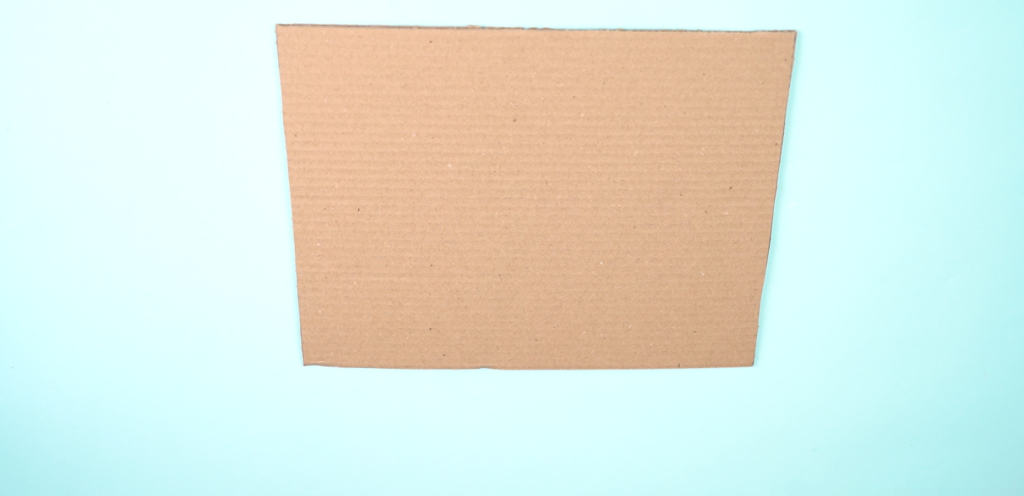
1. Take a 30*25 cm corrugated cardboard.
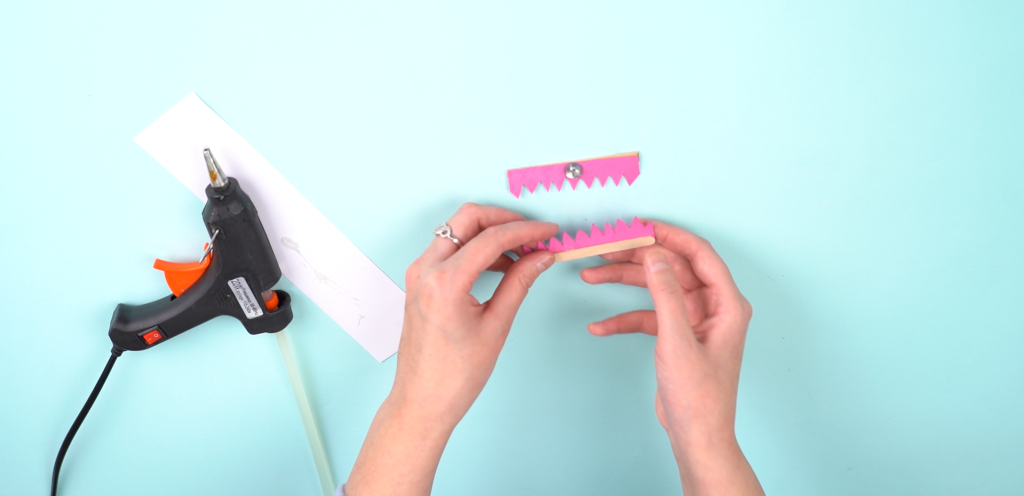
2. Cut a 7.5 cm long wooden stick in half. Measure the length of each piece.

3. Cut a 7.5*3 cm rectangle from the cardboard. Draw a zigzag line along the cardboard and cut it out.
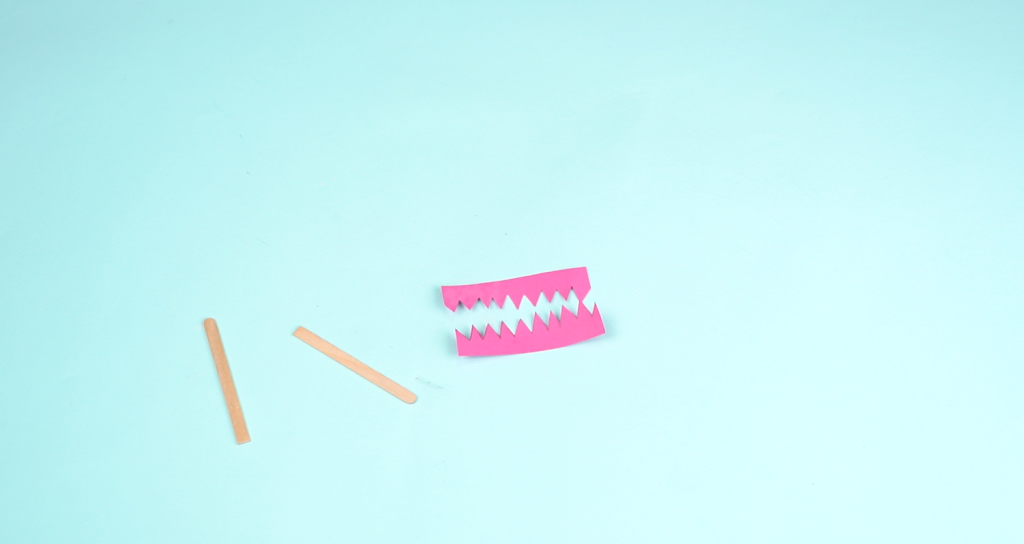
4. Glue the stick to the cardstock with hot glue. Glue the stationery buttons to the next sheet of paper.
5. Cut two 8 x 6 cm rectangles from A4 paper.

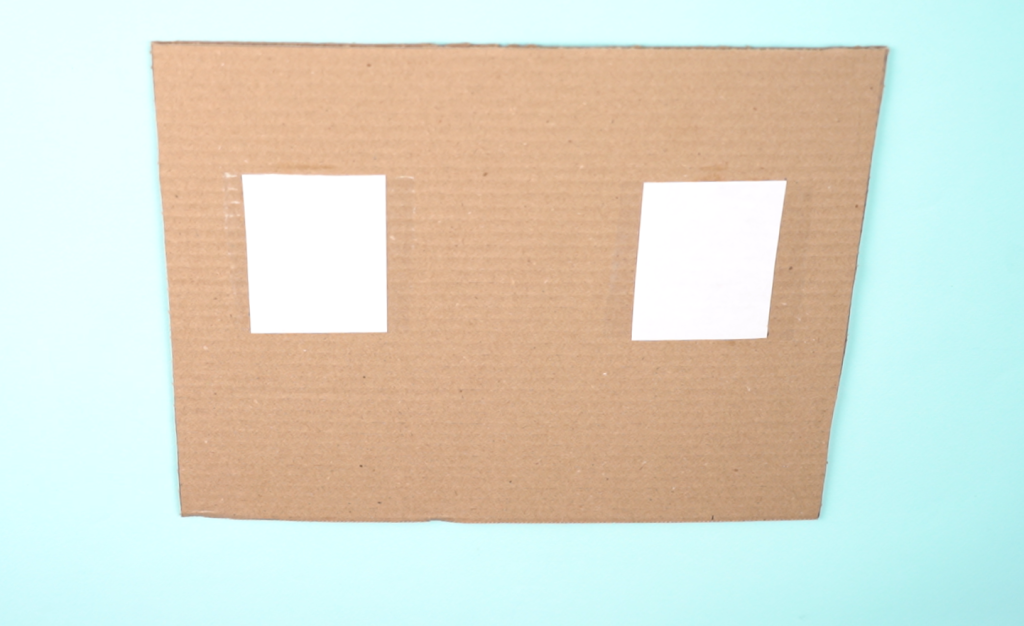
6. Glue the paper so that it is 3.5 cm from the edge of the corrugated cardboard and 6 cm from the top. Secure the top with tape. Stick the second piece of paper to the other half of the cardboard in the same way.
7. In the middle of the two pieces of paper, place comparison marks – wooden sticks. Attach them by inserting the office buttons into the cardboard.
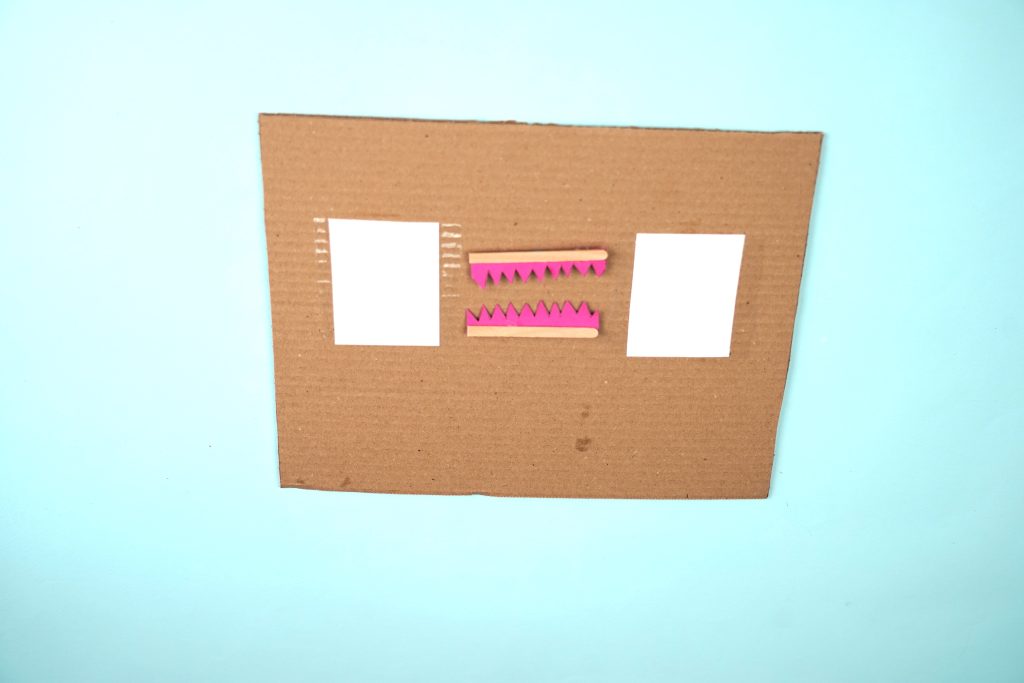
Done!!!
Now you are ready to compare numbers. Try comparing by writing different numbers on the surface of the tape with a marker. The crocodile’s mouth turns to the side and looks at the larger number. Clean the board by wiping the numbers with a damp towel.
Congratulations! You have created your very own comparison board!

Conclusion
This project will allow you to create your own comparison board and compare numbers. The board will help you remember which numbers are larger and which numbers are smaller. Also, you can use this board and make comparisons even when you pass numbers that are larger than the numbers in front of you.

This project awards each student a STEAM title in several categories:
– By composing this model, you have become a true master of science! You have learned how to compare numbers. This is real scientific thinking!
– Look at this wonderful comparison board! You used your construction and problem-solving skills to create a working model. Congratulations, you are an expert engineer!