
Lesson
Project Goal:
Create a calendar consisting of days of the week, months, and dates to help students visually explore the structure of a year and understand the concept of a calendar.
Teacher’s Guide:
- The project can be done individually or in pairs.
- Explain the purpose of a calendar and the days, weeks, and months it contains.
- Before starting, familiarize the students with the materials and explain how to safely use stationery knife and hole-punching tools. Ensure safety when students use scissors.
- Introduce PBL (project-based learning) and 4C skills (critical thinking, collaboration, creativity, and presentation).
Theoretical Part
Imagine that time has magical helpers! They help us keep track of the date, month, and day of the week. These helpers are the Calendar and its friends: Days, Months, and Weeks.
- Days are like little building blocks that make up time. There are usually 30 or 31 days in a month, except for February, which has only 28 or 29!
- Months are 12 large boxes that store all the days of the year. For example, January is the first box, and December is the last.
- Weeks are teams of seven days. Each day of the week has its name: Monday, Tuesday, Wednesday, and so on.
A calendar is like a magical circle. It helps us know the date, the month, and even the day of the week. Through this project, you can become a time wizard and create your unique calendar!
Practical Part

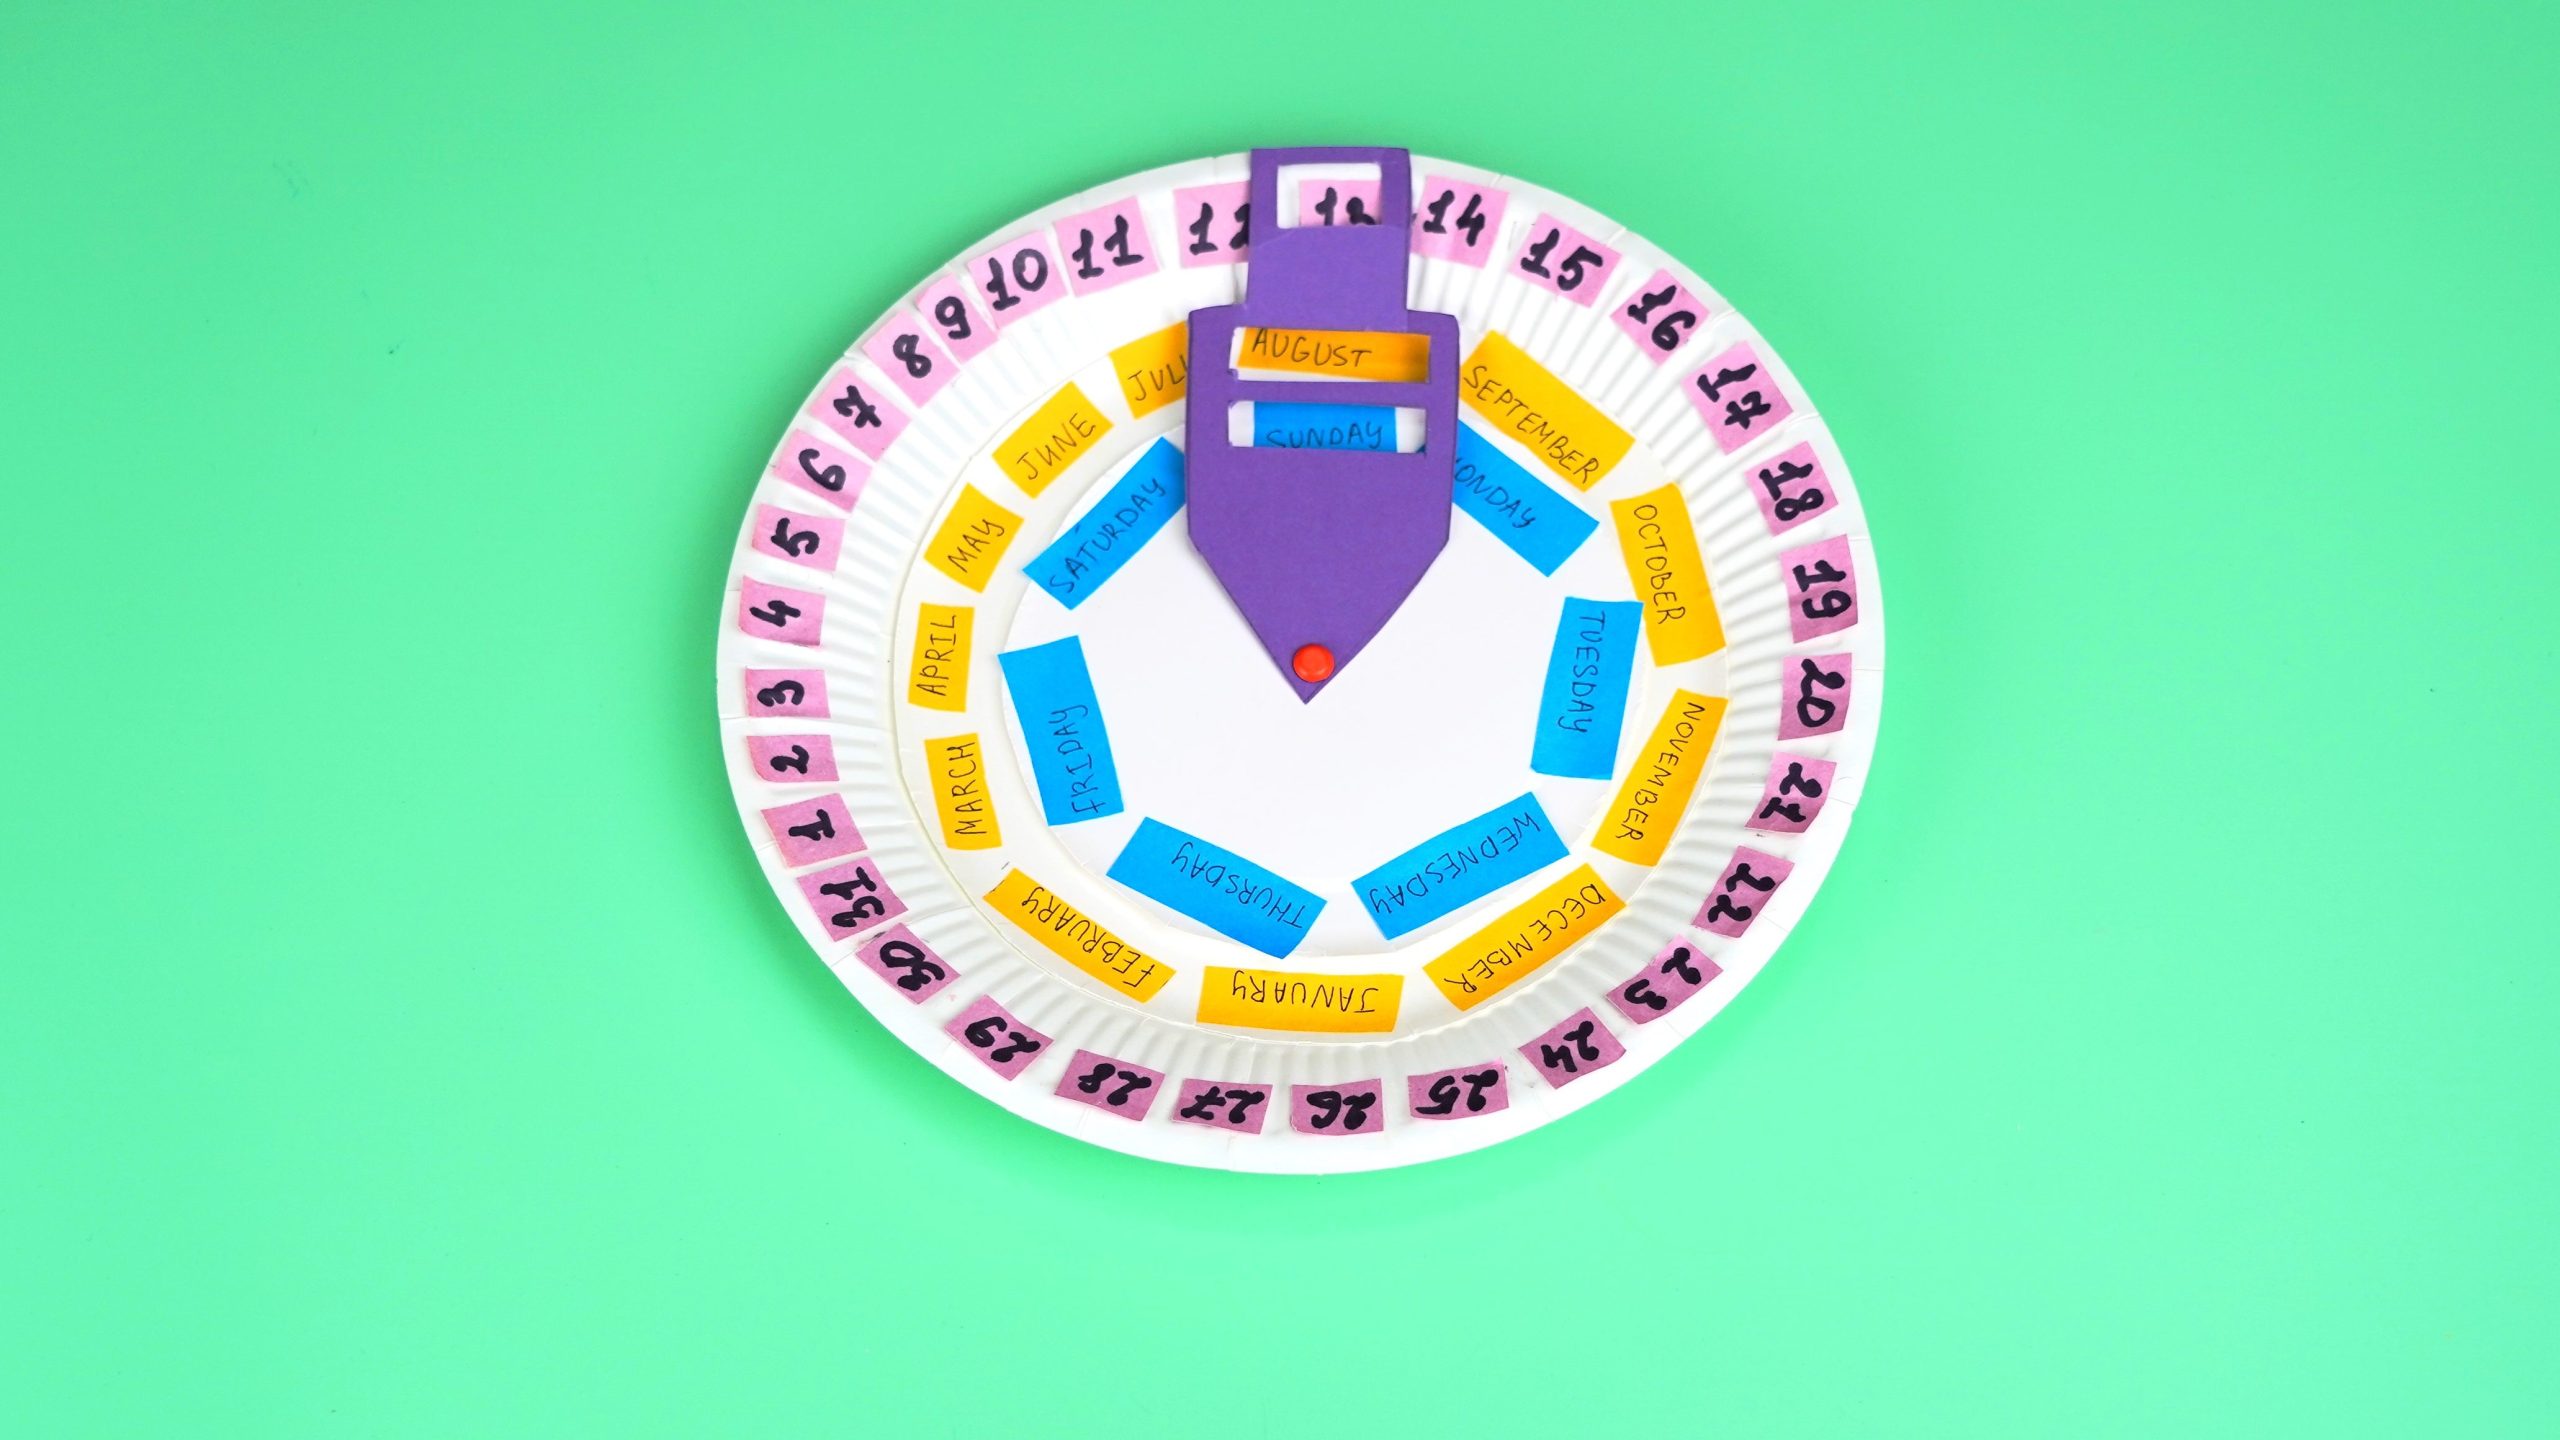
Step 1. Take two large paper plates: leave one intact for the days of the month. Trim the edge of the second one to reduce its diameter.

Step 2. Trim the small paper plate to make it even smaller. You will get three plates with different diameters.

Step 3. Make holes in the center of the plates.

Step 4. Write the numbers 1-31, month names, and days of the week on colored paper.
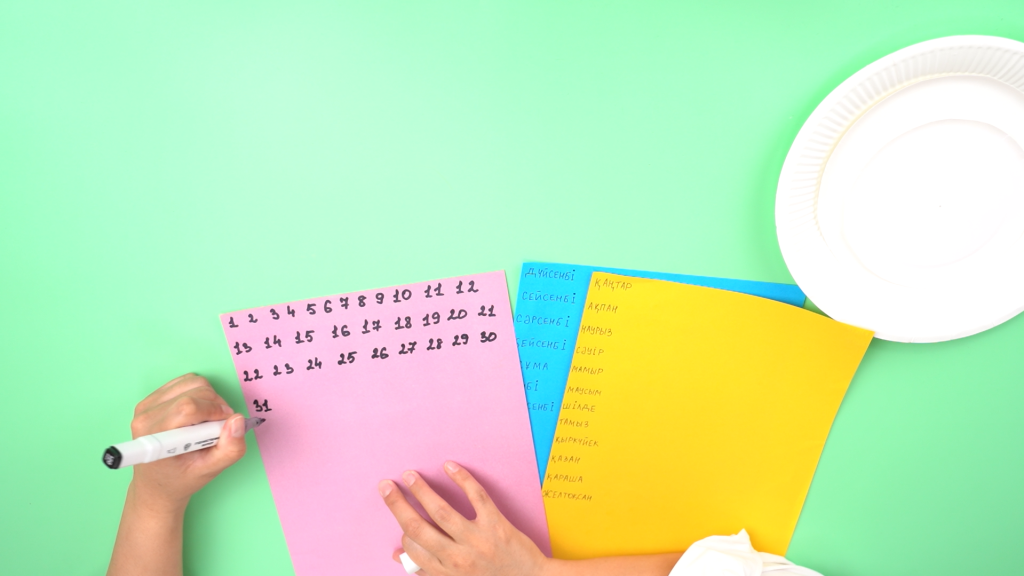
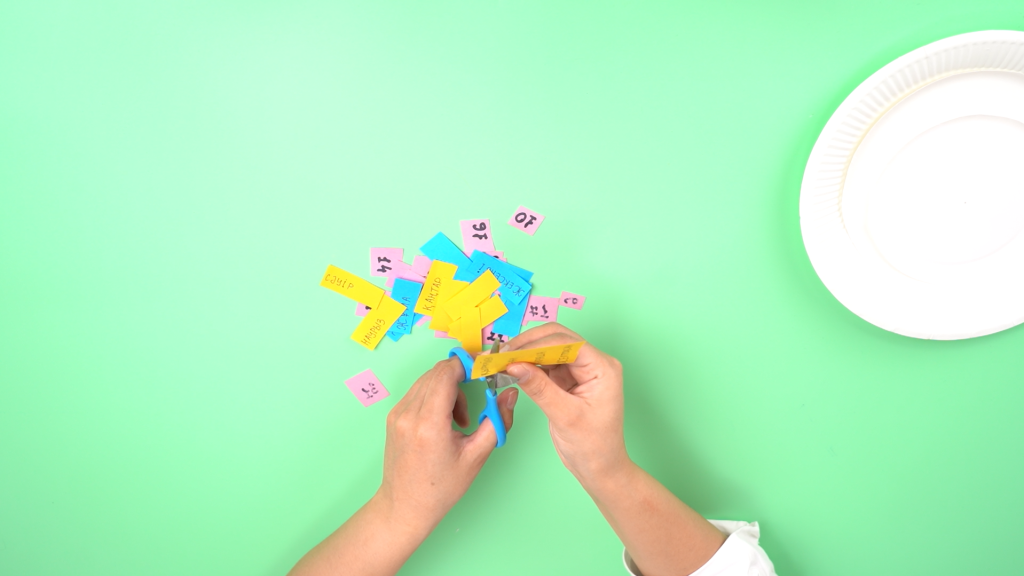
Step 5. Assemble the plates:
- On the largest plate, arrange the numbers 1-31 in a circle.
- On the medium plate, distribute the month names evenly.
- On the smallest plate, write the days of the week.
Stack the plates in order: days (largest), months (medium), and days of the week (smallest).


Step 6. Make an indicator (arrow) from sturdy cardboard.
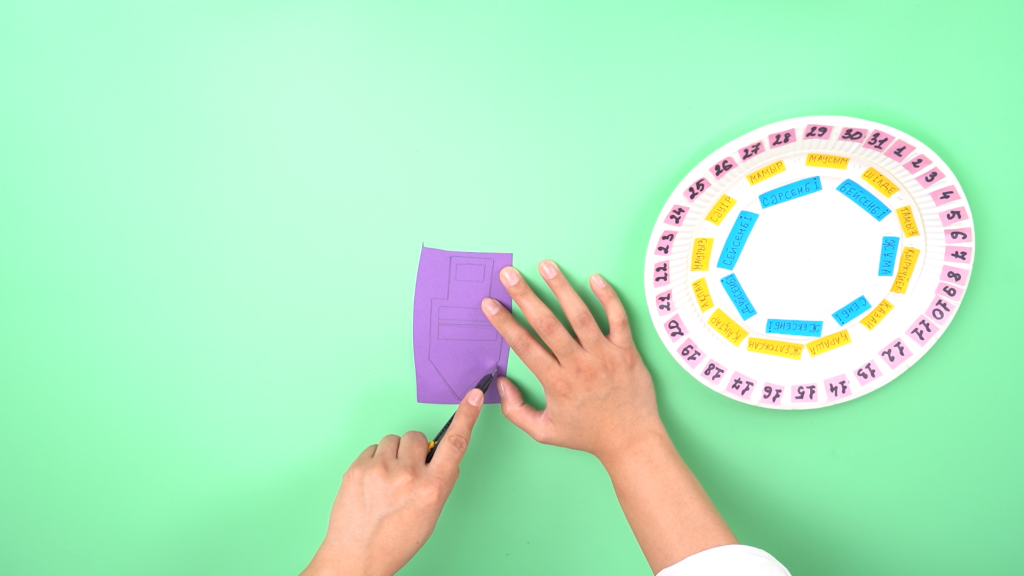
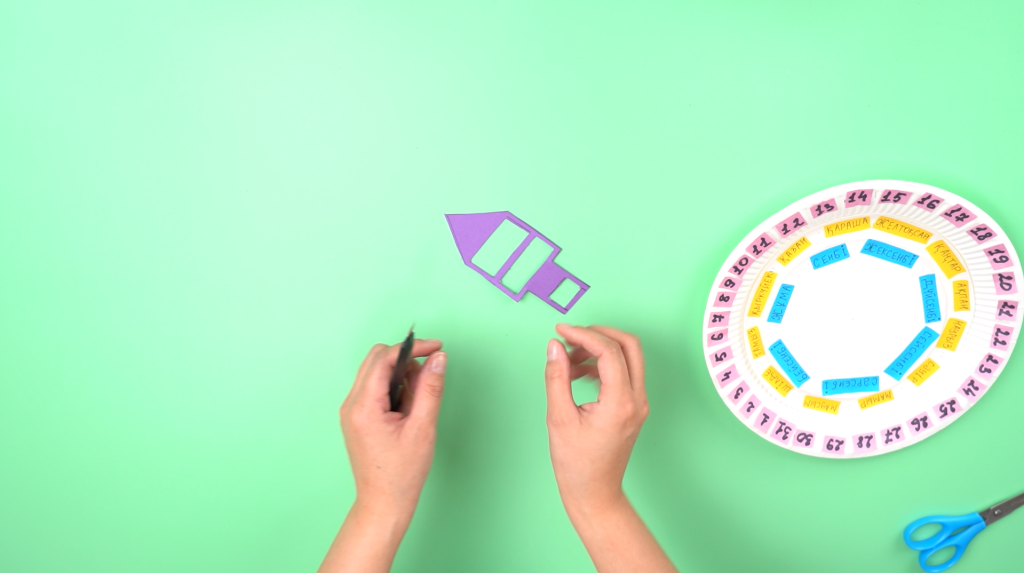
Step 7. Attach a pointer in the center using a brad, allowing it to spin freely.


Step 8. Decorate your calendar as desired.

Conclusion
This project introduces children to the basics of calendar construction and develops their manual skills. It encourages the study of time, the sequence of days and months, and fosters creativity.

In this project, each student is awarded a STEAM title in several categories:
- Young Engineer: You learned and applied calendar construction techniques.
- Math Researcher: You explored the sequence of numbers, days, and months, developing analytical thinking skills.