
Lesson

Project Objective:
To solve puzzles and riddles related to identical numbers and shapes.
Teacher’s Guide:
Divide students into groups of 4–5.
At the beginning of the lesson, discuss the concepts of “types of shapes” and “movement.”
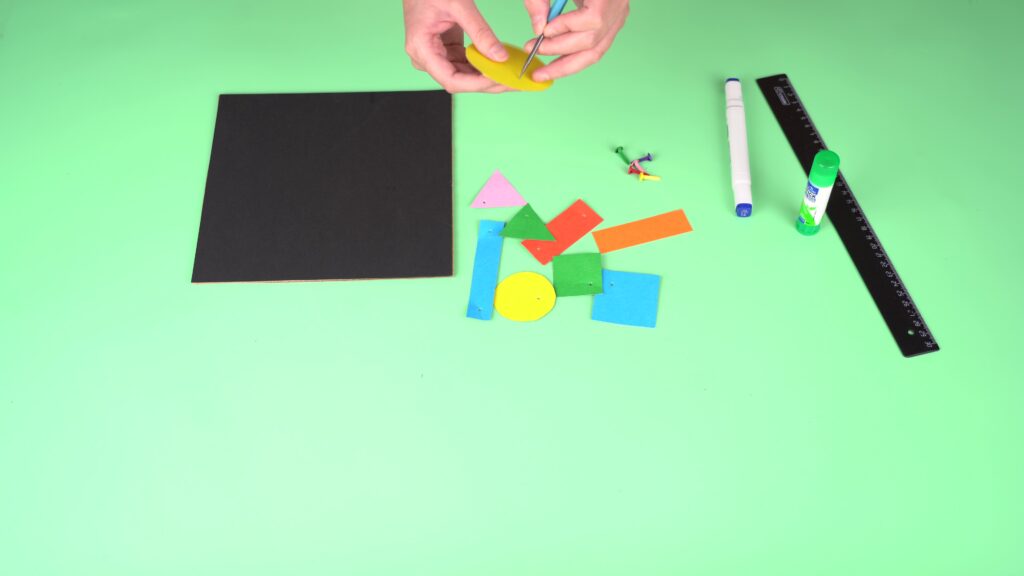
Before starting the practical part, introduce the students to all the necessary materials and make sure they are provided.
Give a brief safety instruction for working with scissors and skewers (or an awl).
At the beginning of the lesson, explain the PBL (Project Based Learning) rubric to the students. 4K Skills (Critical Thinking, Collaboration, Creativity, Presentation).
Theoretical Part
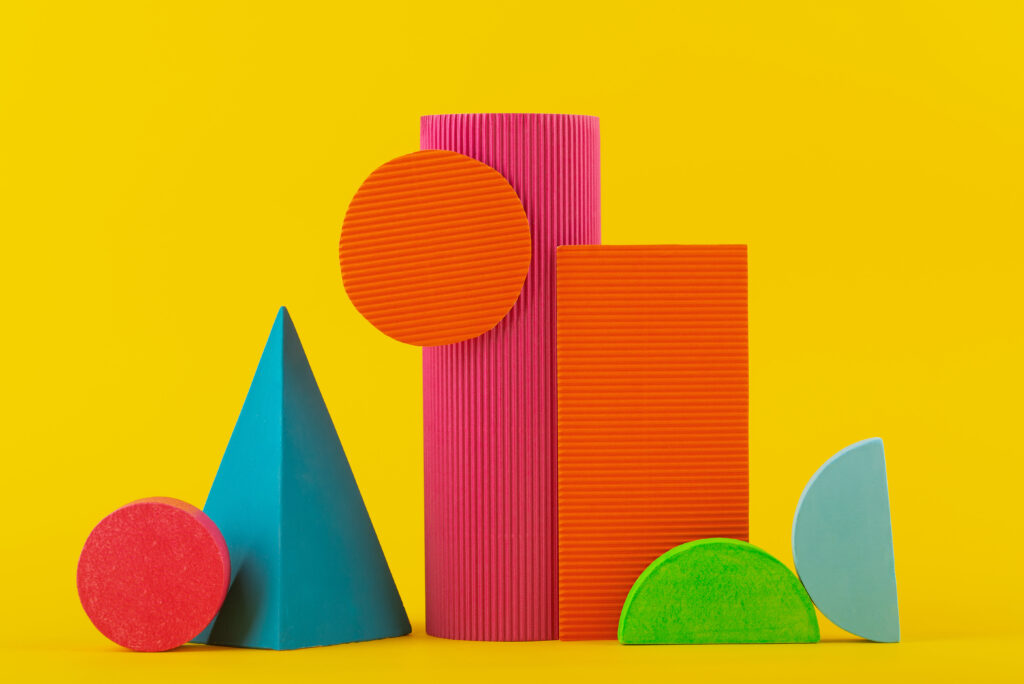
If we look around, we can see different shapes. For example, a window is a square, a clock is a circle, and a roof is a triangle. These are geometric shapes. They include circles, triangles, squares, rectangles, and others. Each shape has its own angles, sides, and form.
Today, we are going to create a moving picture out of these shapes! This means the shapes won’t just be glued to paper – they will rotate, swing, and move! These types of moving images are called “kinetic shapes”.
Composition is the beautiful and correct arrangement of shapes. If all the shapes are placed on one side, it won’t look balanced. That’s why it’s important to place them symmetrically and evenly. Some shapes will move, and some will stay in place.
Today we will create our own artistic kinetic composition and observe how it works!
Practical Part
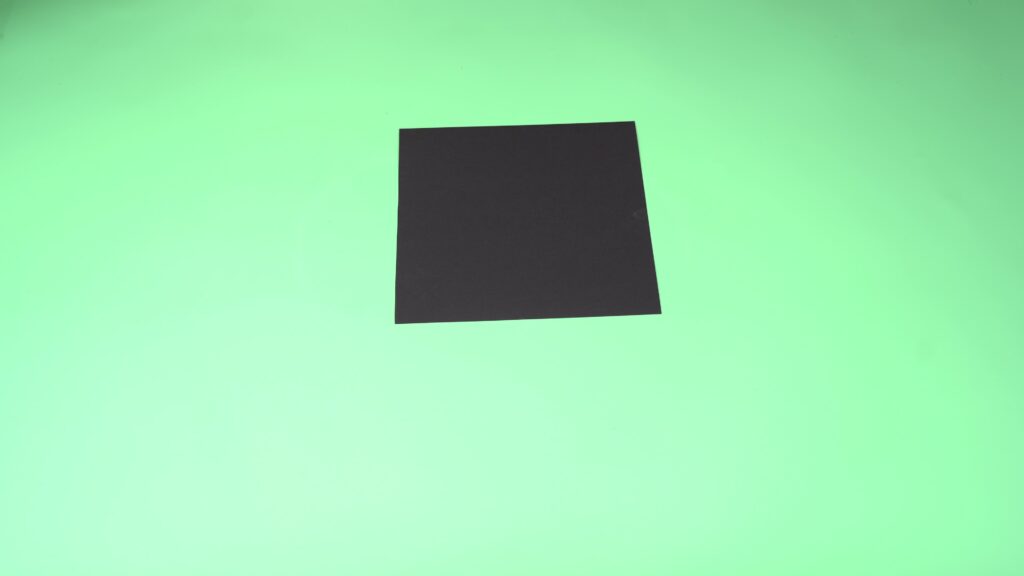
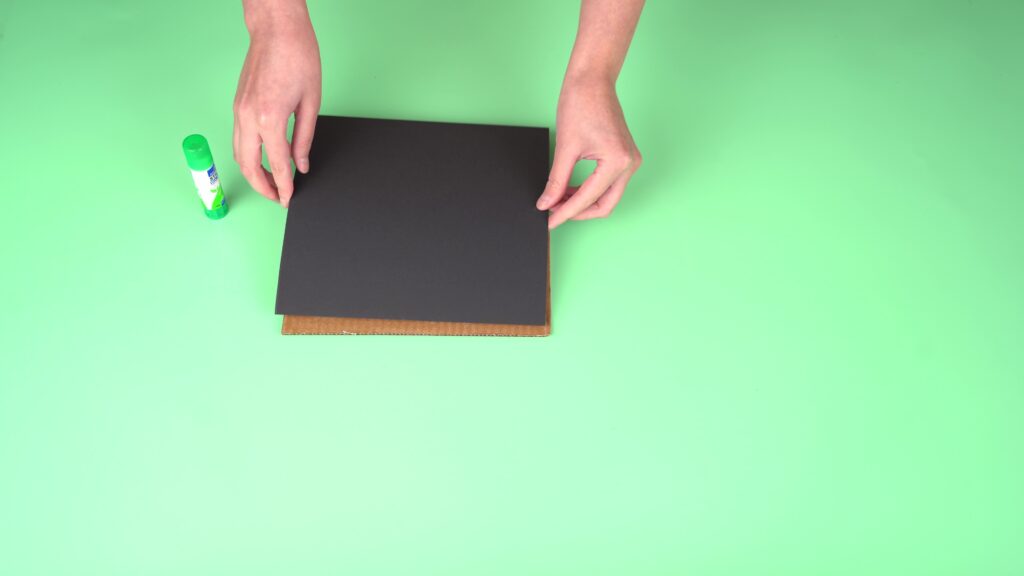
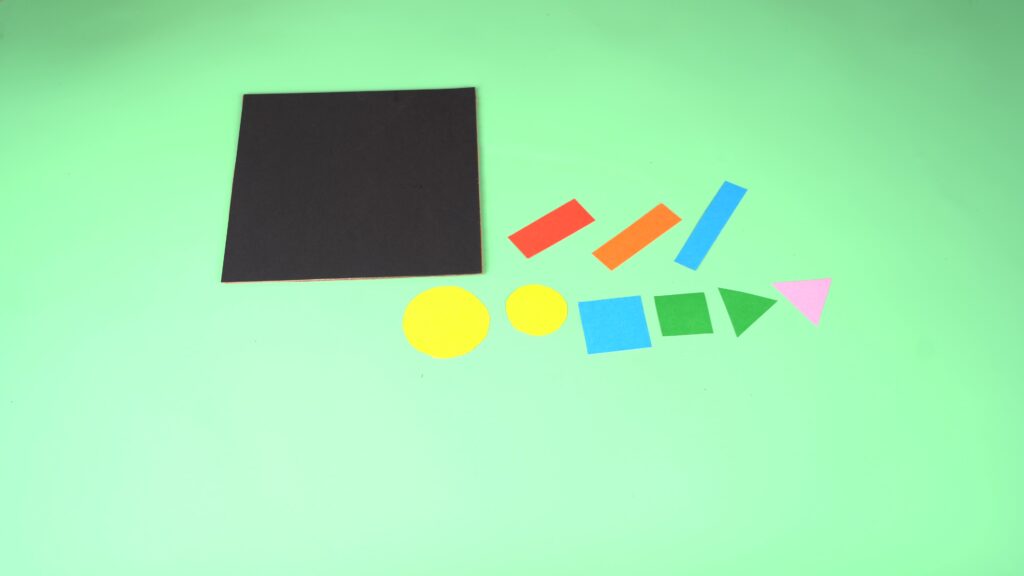
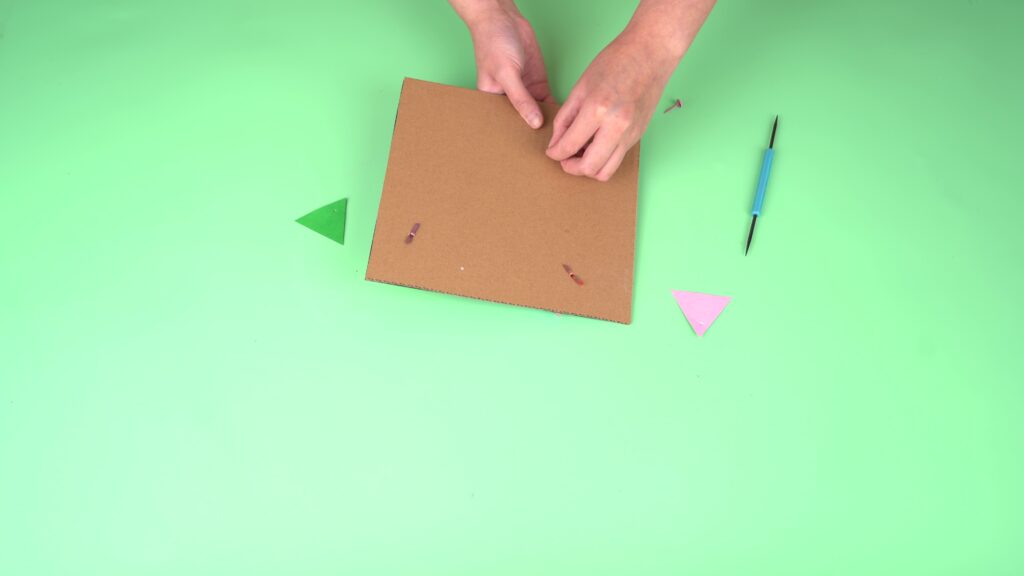
Step 1. Cut out a 20*20 cm square from black cardstock. Glue it onto the corrugated cardboard. This will be your background.
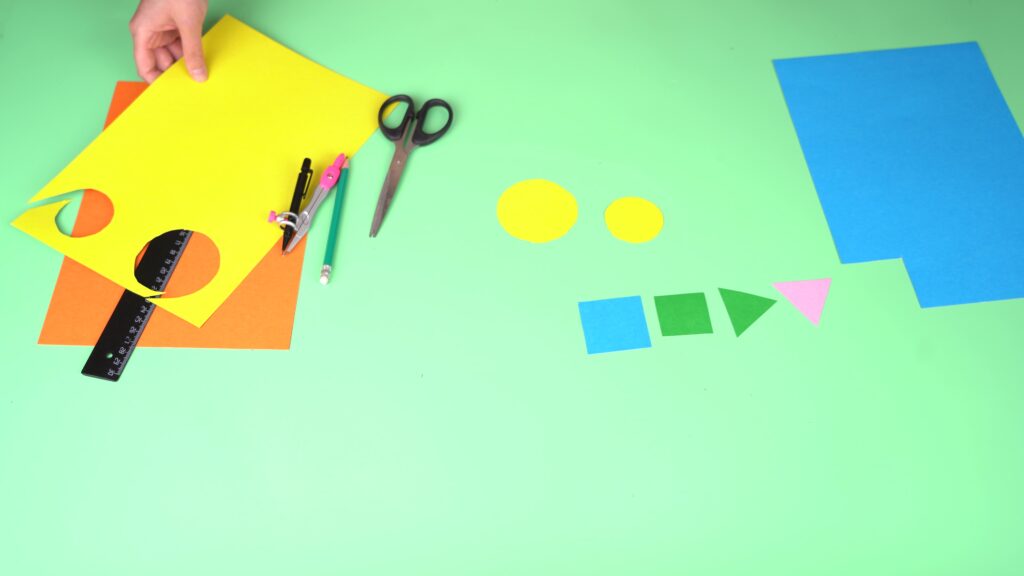
Step 2. Cut geometric shapes from colored cardstock. It’s best to use shapes of different sizes (large and small).
Recommended sizes of geometric shapes:
Triangles:
1. Sides: 5 cm * 5 cm * 5 cm – 2 pieces
Squares:
2. Side: 4 cm * 4 cm – 1 piece
3. Side: 5 cm * 5 cm – 1 piece
Circles:
4. Diameter: 5 cm – 1 piece
5. Diameter: 7 cm – 1 piece
Rectangles:
6. Length: 6 cm, width: 3 cm – 1 piece
7. Length: 8 cm, width: 2.5 cm – 1 piece
8. Length: 10 cm, width: 2 cm – 1 piece
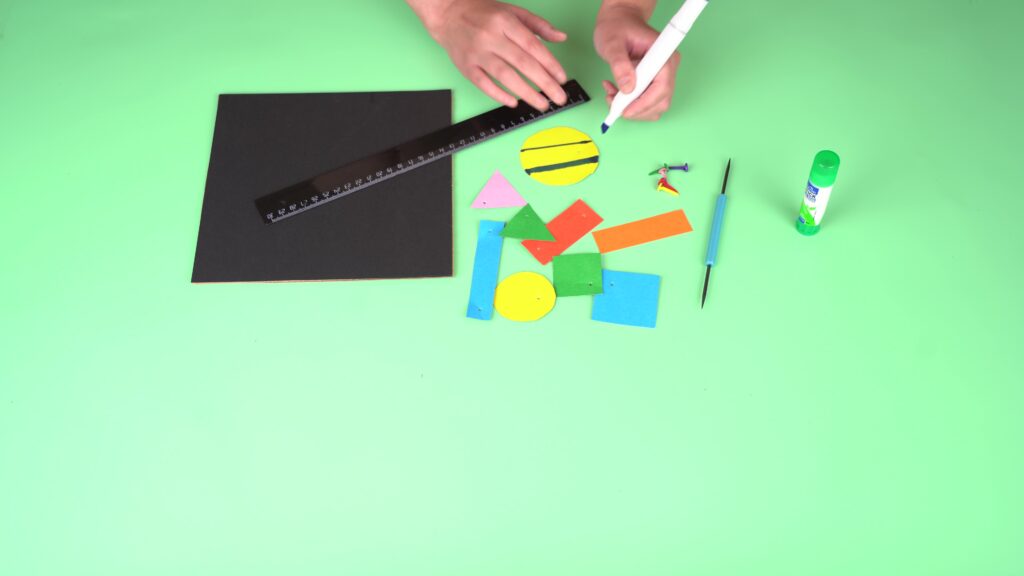
Step 3. Use a skewer (or awl) to make a small hole on one side of each shape. On the large circle, draw two parallel lines with a marker.
Step 4. Attach the shapes to each other or to the background using metal fasteners (brads). Combine some shapes together to make rotating or moving elements.
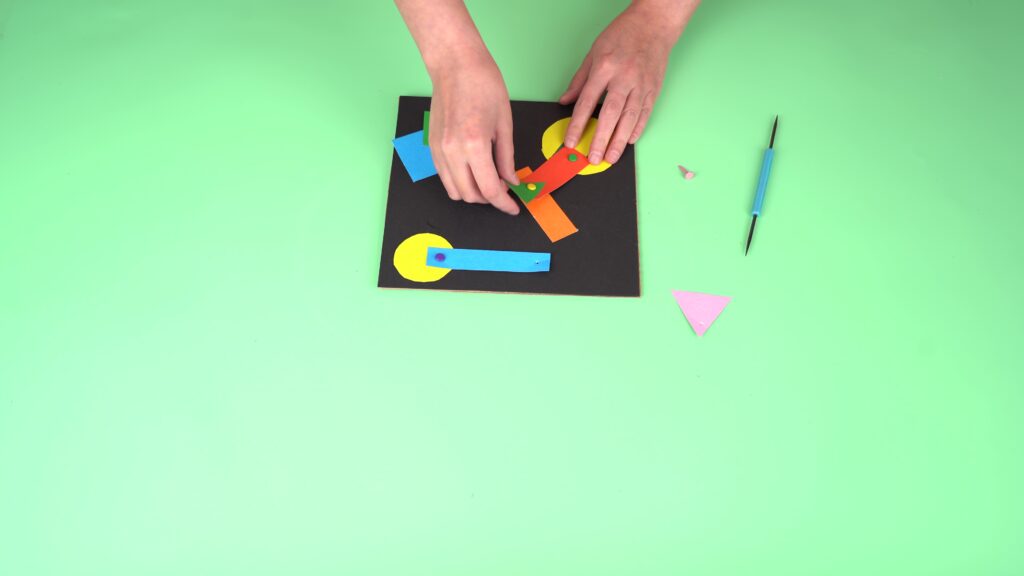
Step 5. Assemble your composition: glue some shapes and fasten others with brads. While building the composition, pay attention to elements like movement and symmetry.
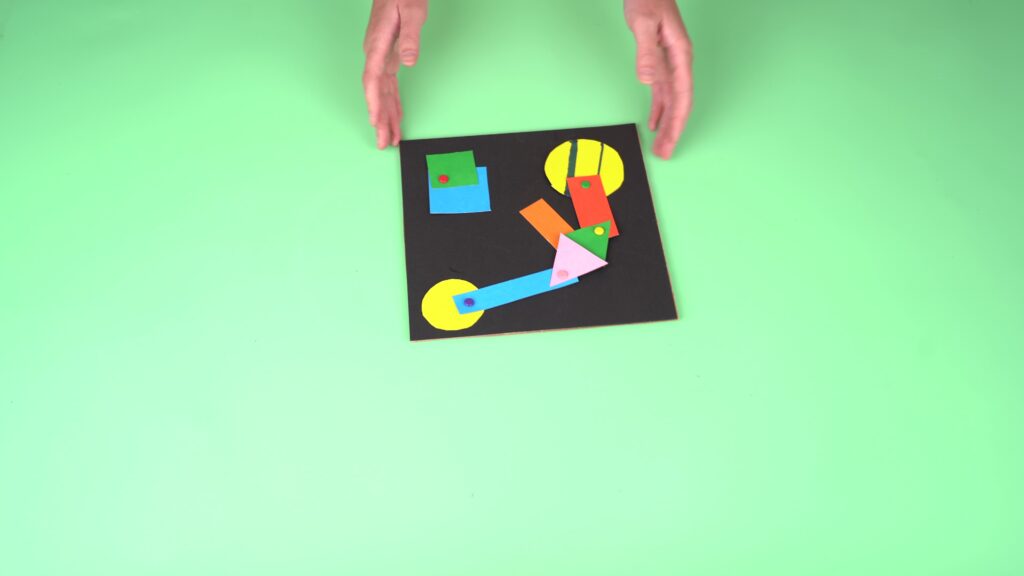
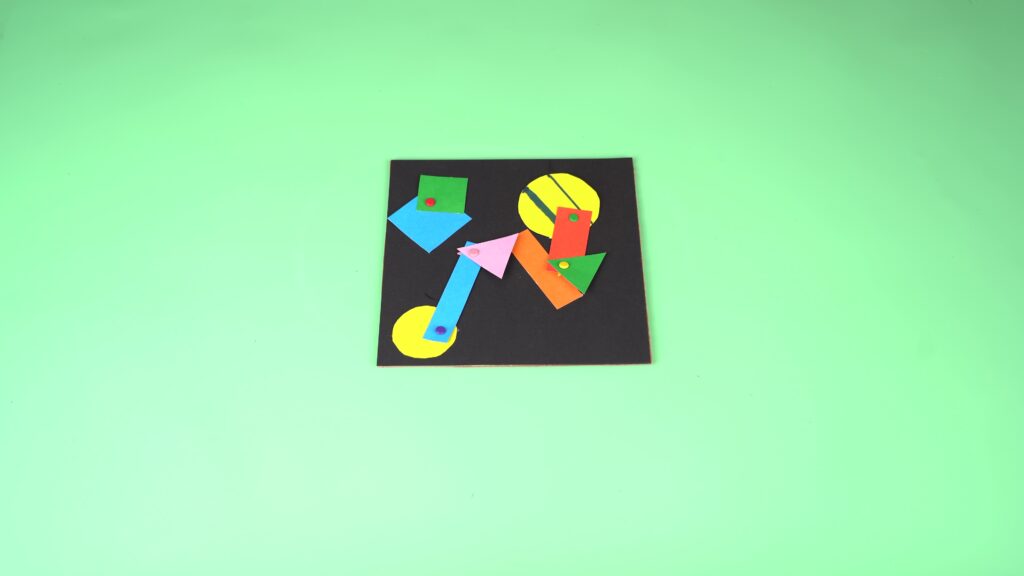
Done!
Move the shapes around, create different forms, and observe how they move. Conduct an investigation and answer the following questions:How do the shapes move?
Which shapes rotate, and which ones just swing in one direction?
Will the movement change if you change the connection point of the shapes?
How will the composition change if you replace some of the shapes?
Conclusion
As a result of the project, each student created their own unique creative work. The students not only did hands-on crafting, but also explored the connection between movement and form. This project made a significant contribution to developing students’ creative, logical, motor, and aesthetic skills.

In this project, each student is assigned a STEAM title in several categories:
– By assembling this model, you have become a true master of science! You have learned how clocks work. This is real scientific thinking!
– Look at this beautiful clock! You have used your design and problem-solving skills to create a working model. Congratulations, you are an expert engineer!