
Lesson

Project Objective:
1.4.2.2 Describe the tools and flying devices used to explore space.
Teacher Instructions:
Divide students into groups of 4–5.
Prepare and print simple images of constellations or display them on the board. Constellations
Briefly explain what a telescope is and its role in astronomy.
Provide a brief safety instruction before beginning the practical activities.
At the beginning of the lesson, explain the PBL (Project Based Learning) rubric to the students. 4K Skills (Critical Thinking, Collaboration, Creativity, Presentation).
Theoretical Part
A telescope is a device that helps us see distant stars, the Moon, the Sun, and other space objects. The first telescope was created by the scientist Galileo about 400 years ago, and he used it to observe the sky.
A telescope collects light and shows objects in a magnified view. Modern telescopes allow us to observe other planets and even nebulas in space. Some telescopes are set up on Earth, while others are sent into space.
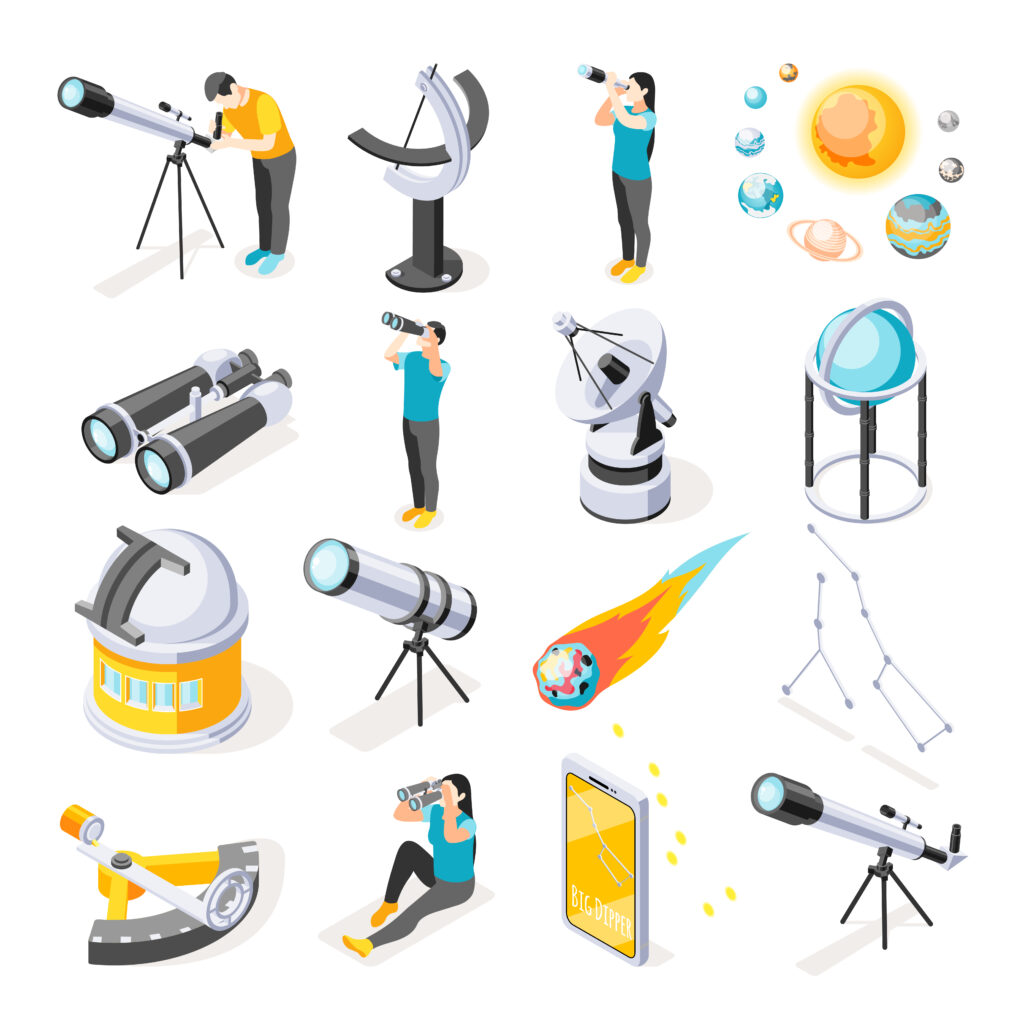
Scientists use different tools to study space:
- Telescope – observes stars
- Rocket – carries equipment and people into space
- Satellite – observes weather, Earth, and changes in space
- Robots – travel to other planets, take photos, and send information
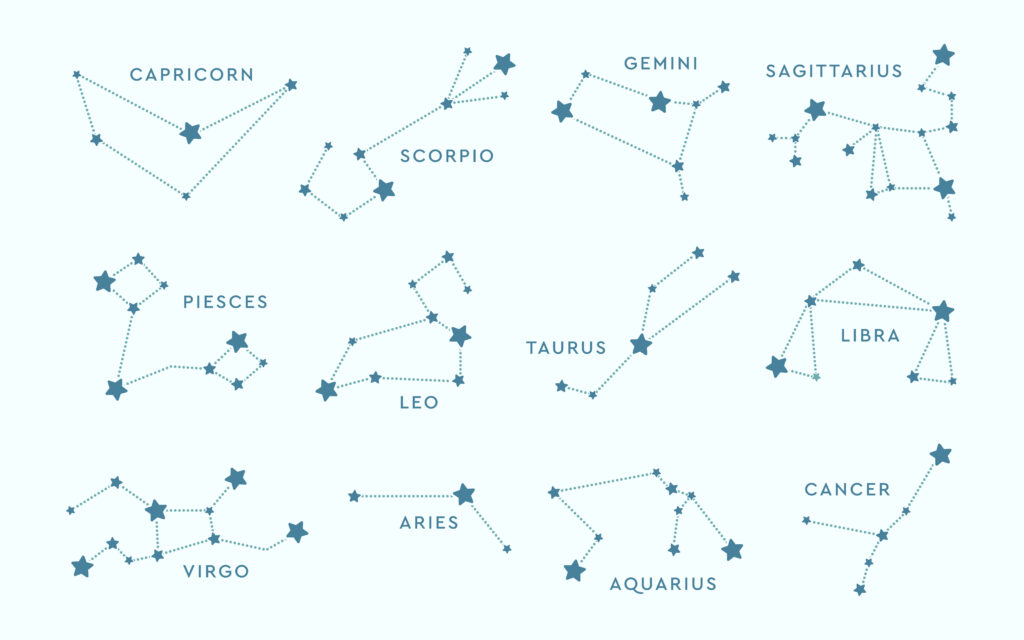
A constellation is a picture formed by stars in the sky. Ancient people named these star groups after animals, people, or objects they resembled. For example:
- Orion – a constellation in the shape of a hunter
- Ursa Major (The Great Bear) – includes the Big Dipper
- Andromeda – a constellation in the shape of a princess
Constellations are visible in the sky at different times of the year. Today, there are 88 officially recognized constellations in the world.
Practical Part
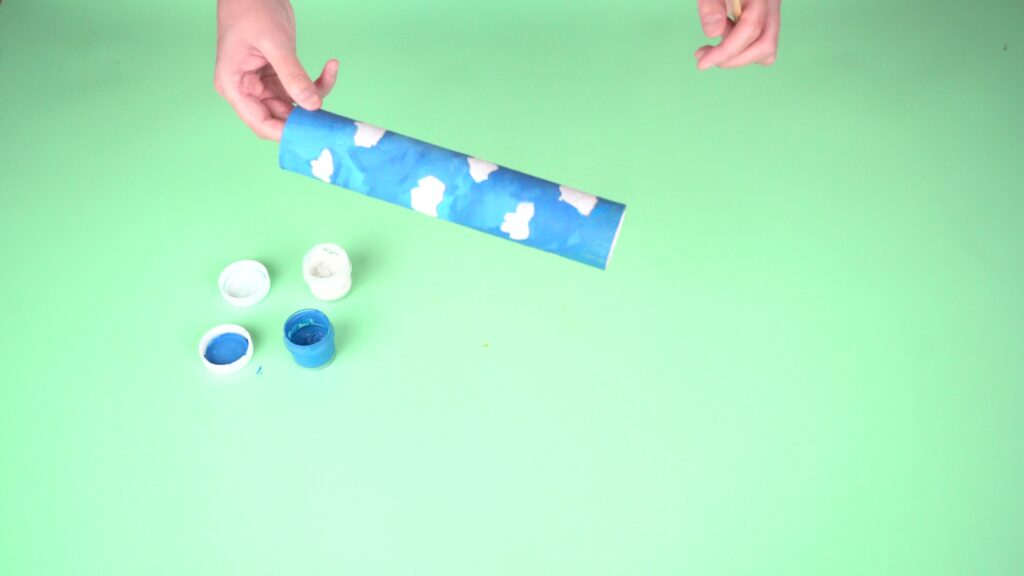
Step 1. Decorate and color the cardboard tube as you like (for example: sky and clouds, flowers, stars, etc.).
Step 2. On white cardboard, draw a circle with a radius of 10 cm and cut it out.
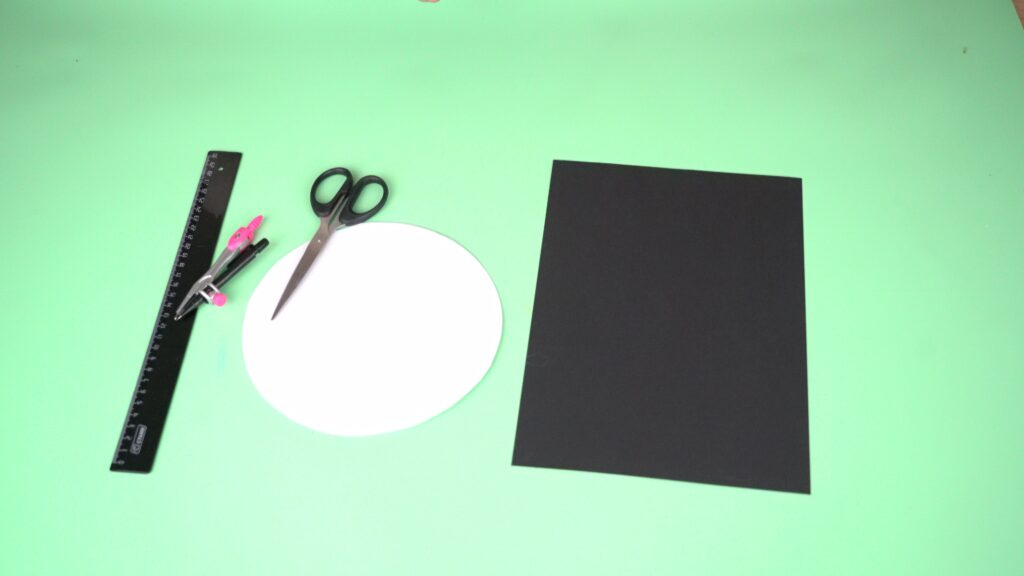
Step 3. On black cardboard, draw a circle with a radius of 8 cm and cut it out.
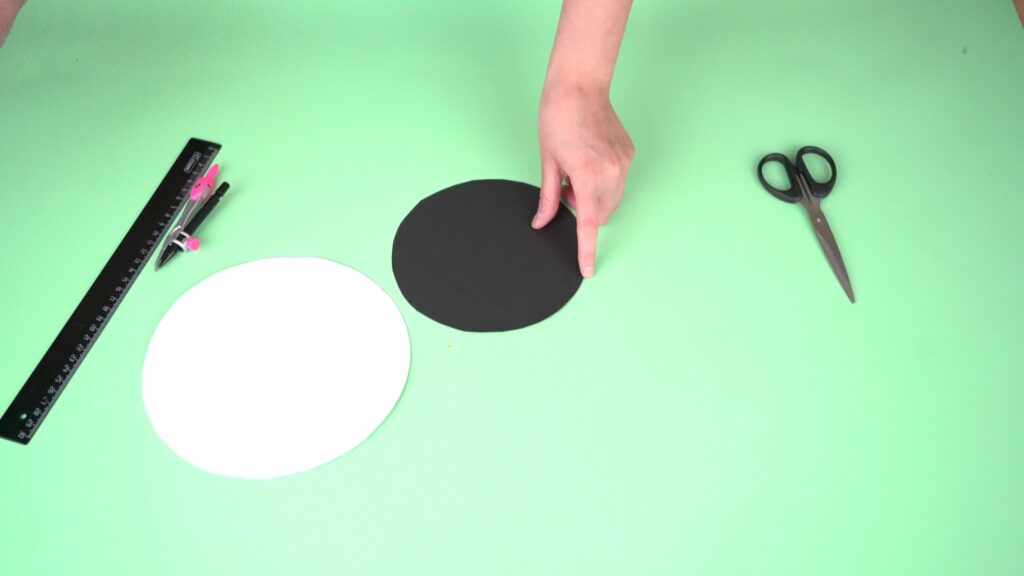
Step 4. Draw 6–7 small circles around the edge of the black circle.
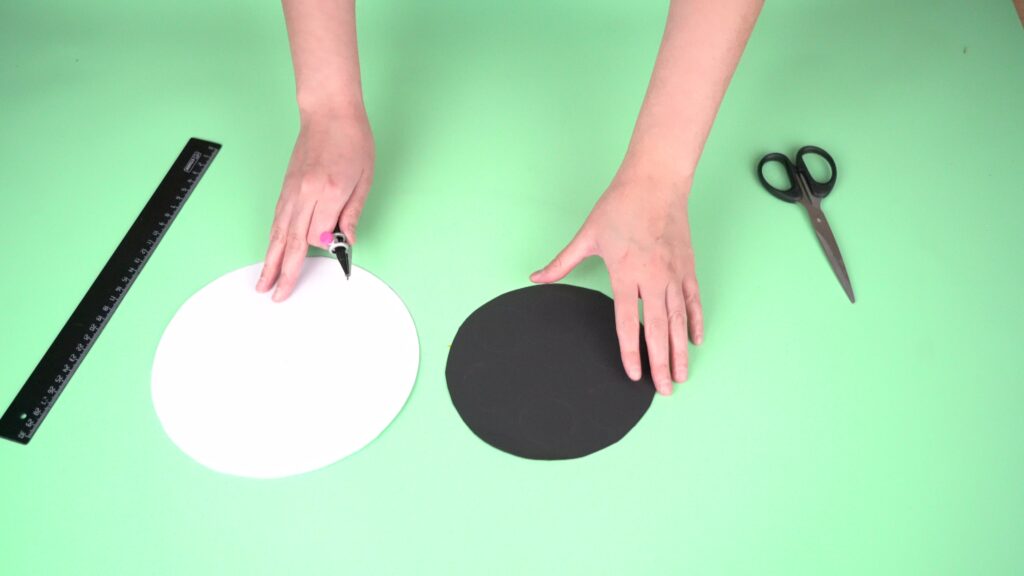
Step 5. Choose 6–7 constellation images and carefully draw them inside the small circles. Use a sharp object (awl, skewer, or compass) to poke holes where the stars are.
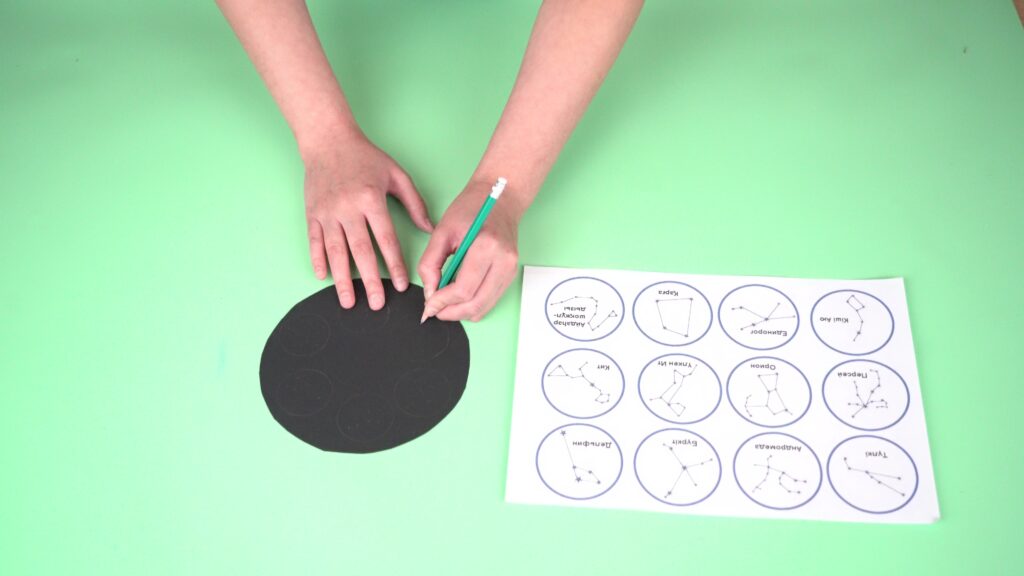
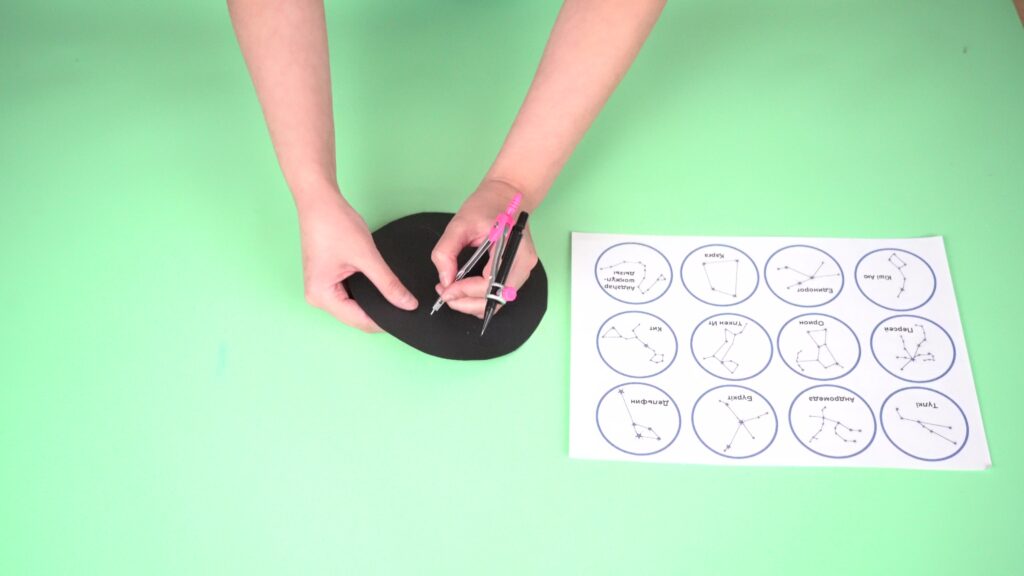
Step 6. Glue the black circle onto the white cardboard. Write the names of the stars around the edge of the white circle.
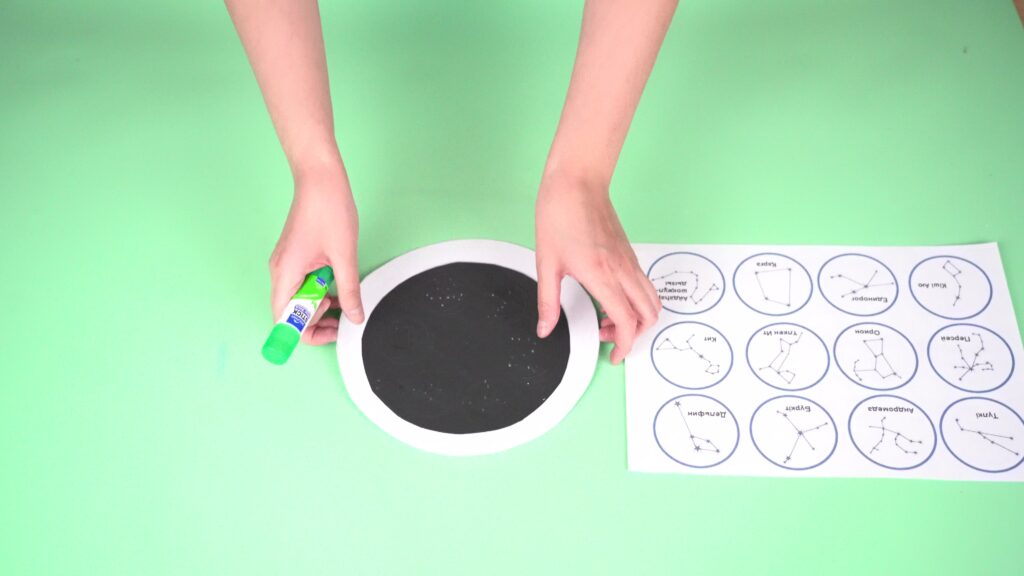
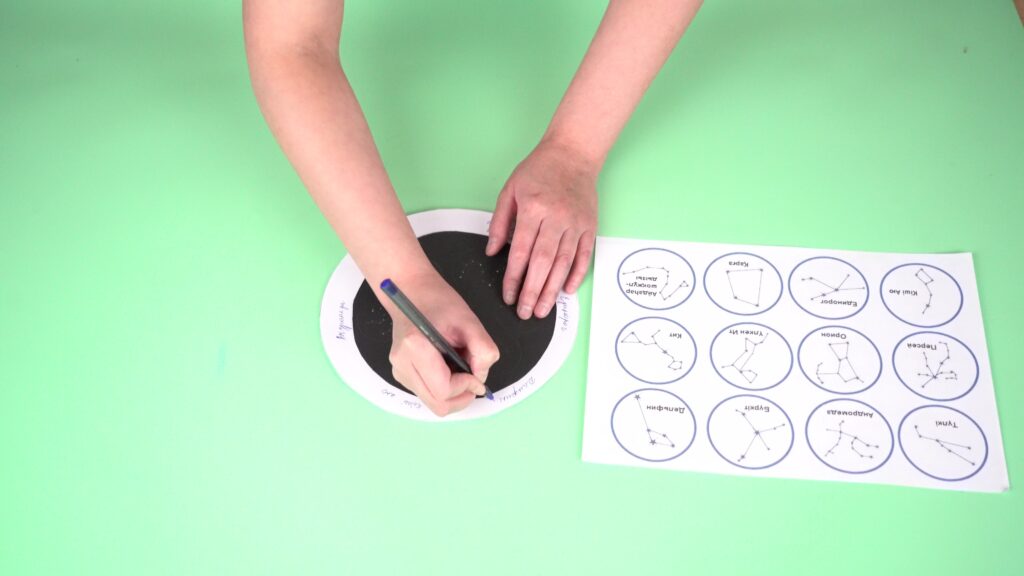
Step 7. Place the tube on yellow cardboard and trace a circle around it. Around this circle, draw a triangle shape about 9 cm long, as shown in the example.
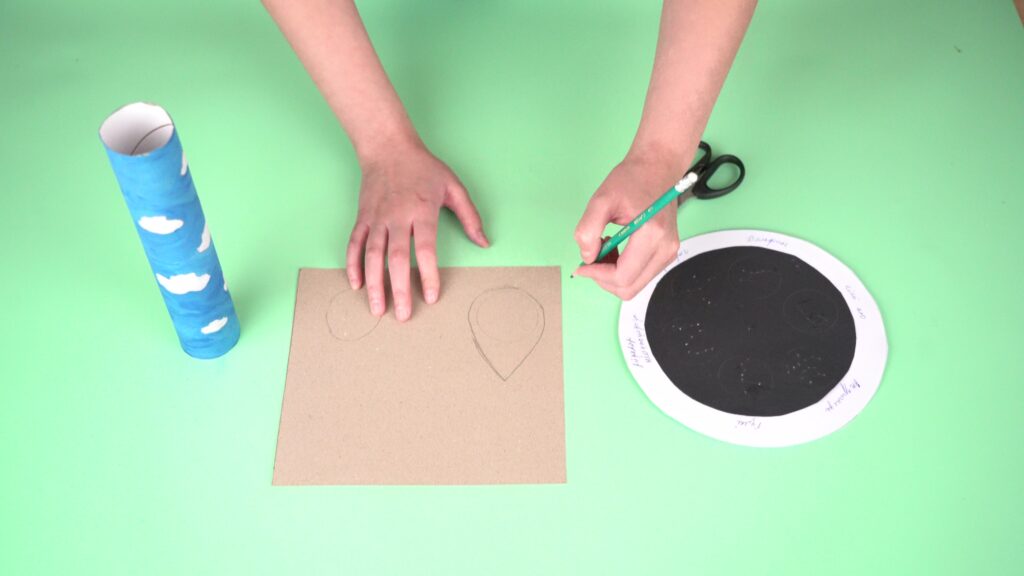
Step 8. Cut out the triangle, then cut out the inner circle.
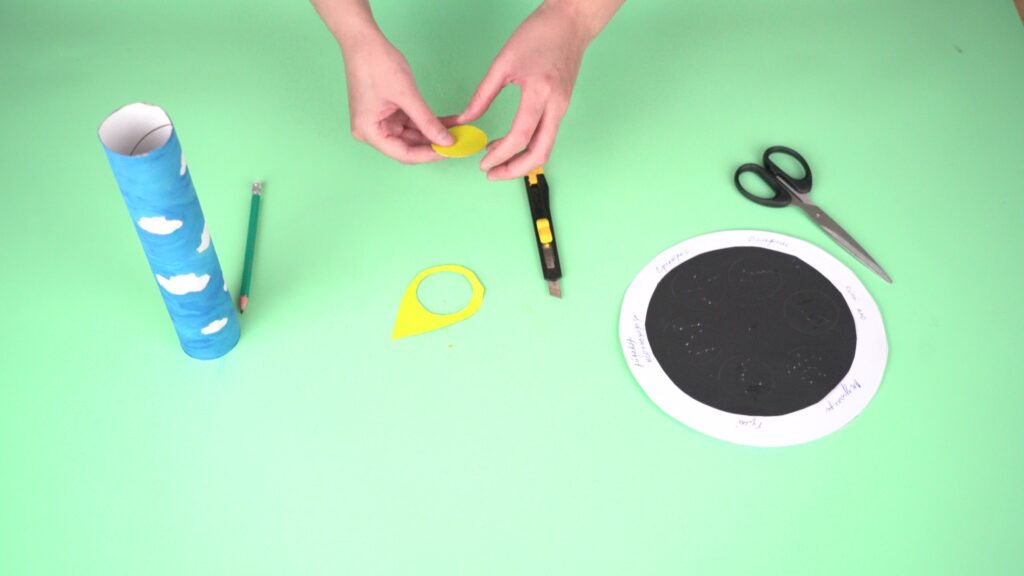
Step 9. Glue this part to the tube.
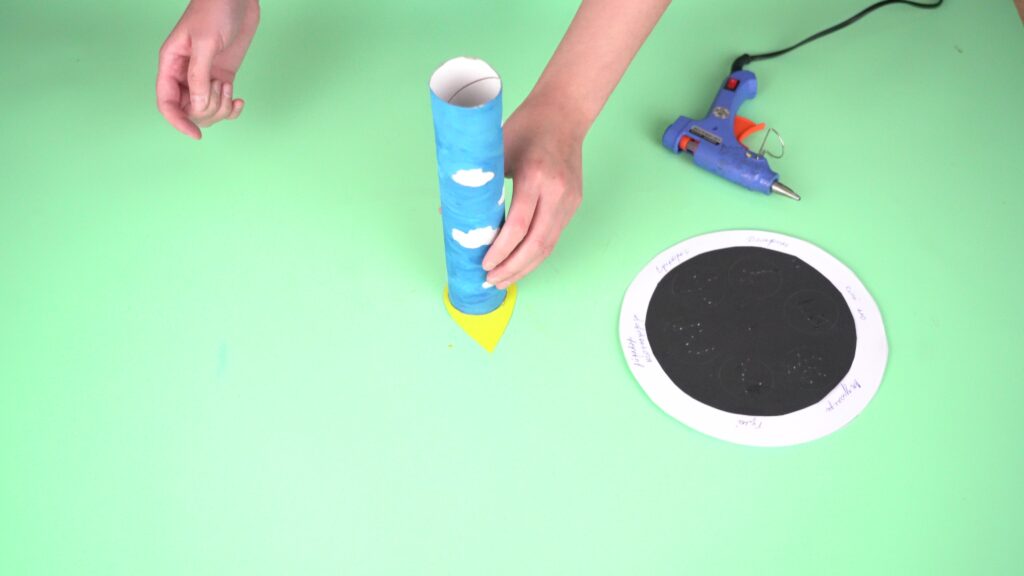
Step 10. Use a push pin to attach the tube with the triangle to the star map.
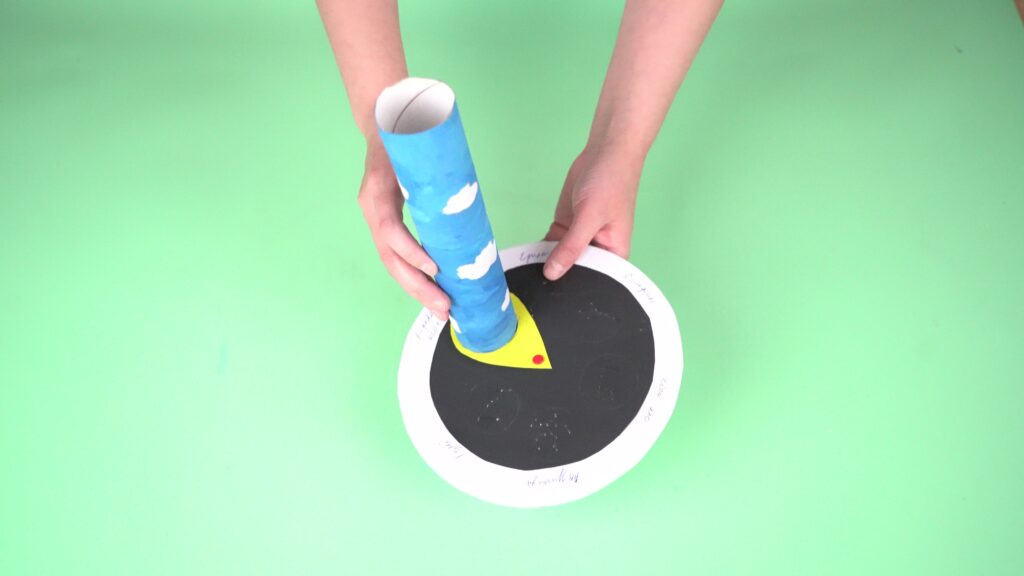
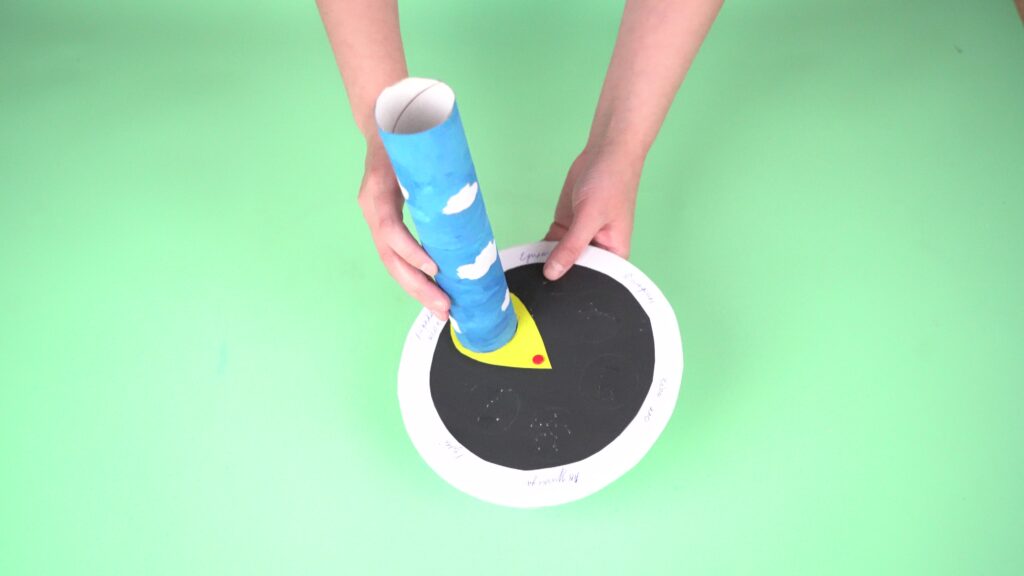
Done!
Bring your eye close to the tube and rotate it to view the constellations.
Conclusion
As a result of this project, students made a telescope with their own hands and had the opportunity to observe constellations. The project helps develop interest in astronomy, scientific thinking, imagination, and fine motor skills. It also helps children become familiar with space-related tools and learn to use scientific vocabulary.

In this project, each student is assigned a STEAM title in several categories:
– By assembling this model, you have become a true master of science! You have learned how clocks work. This is real scientific thinking!
– Look at this beautiful clock! You have used your design and problem-solving skills to create a working model. Congratulations, you are an expert engineer!