
Lesson

Project Objective:
To draw segments, straight lines, and geometric shapes on dot paper according to instructions on position, direction, and movement.
Teacher Instructions:
Divide students into groups of 4–5.
Before beginning the activity, discuss the following concepts with students: point, segment, straight line, circle, radius, angle, symmetry, coordinates.
During the activity, briefly remind them about safety rules.
At the beginning of the lesson, explain the PBL (Project Based Learning) rubric to the students. 4K Skills (Critical Thinking, Collaboration, Creativity, Presentation).
Theoretical Part
Many objects around us are made up of geometric shapes. For example, a chair can be made of cubes and rectangles, while a table can have a circular or rectangular shape.
Isometric drawing is a way of representing three-dimensional objects on a flat surface. In an isometric drawing, straight lines are drawn at specific angles: 0°, 60°, and 120°. This helps us show the height, width, and depth of an object.
Dot paper or isometric grid is an excellent tool for accurately and visually drawing geometric figures. With its help, students can design 3D shapes and develop spatial thinking.
Practical Part
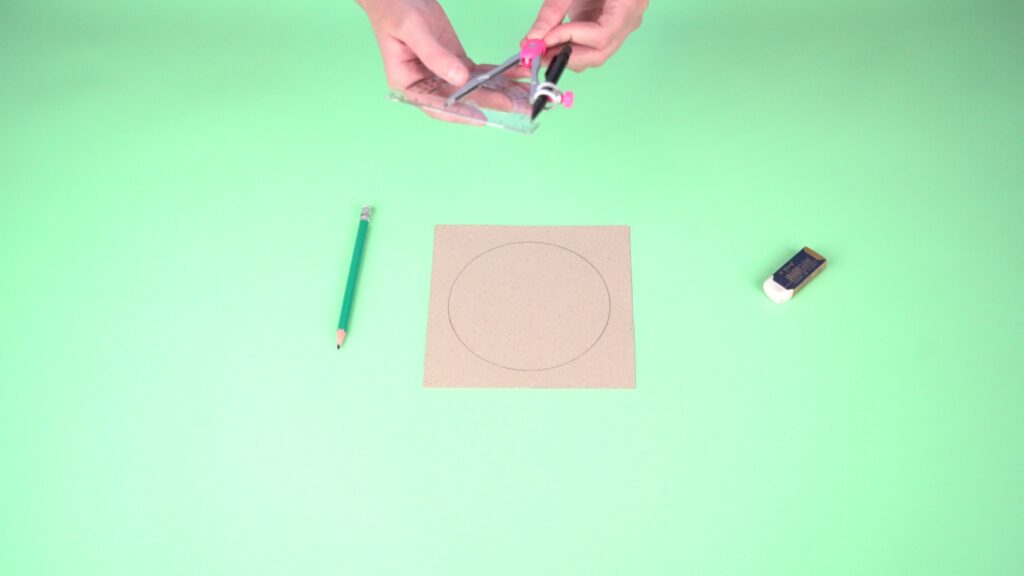
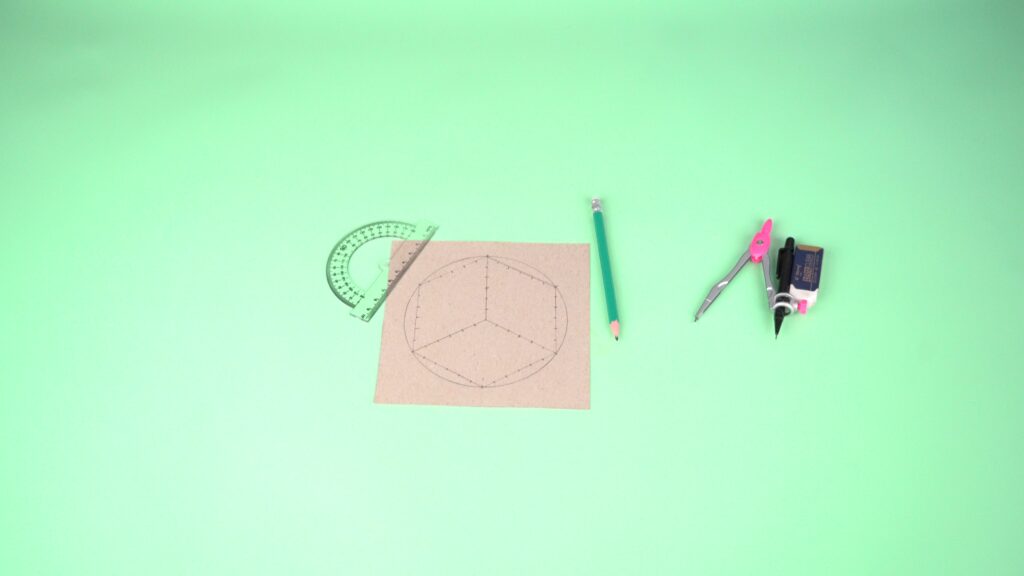
Step 1. Draw a circle with a radius of 6 cm on cardboard.
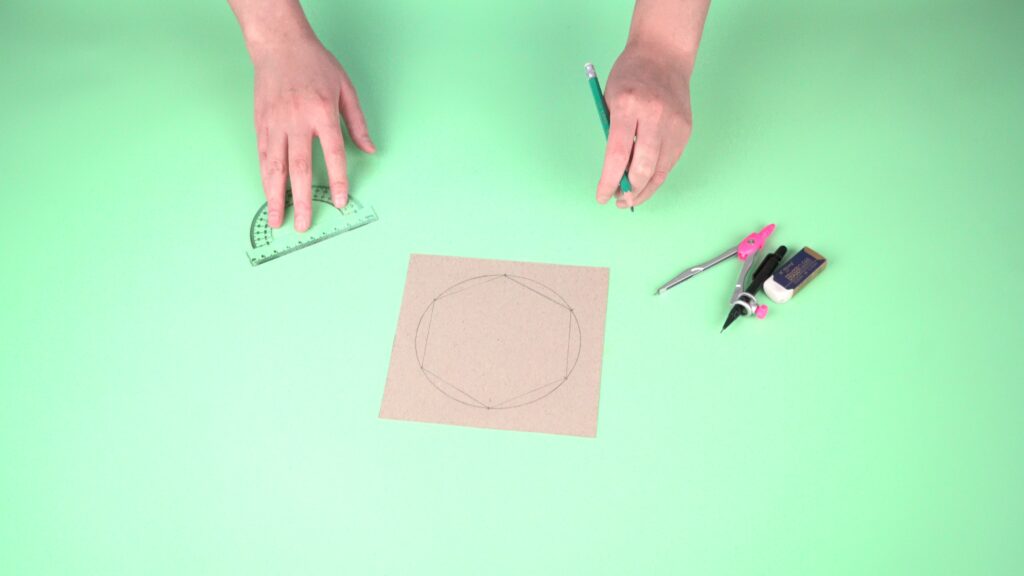
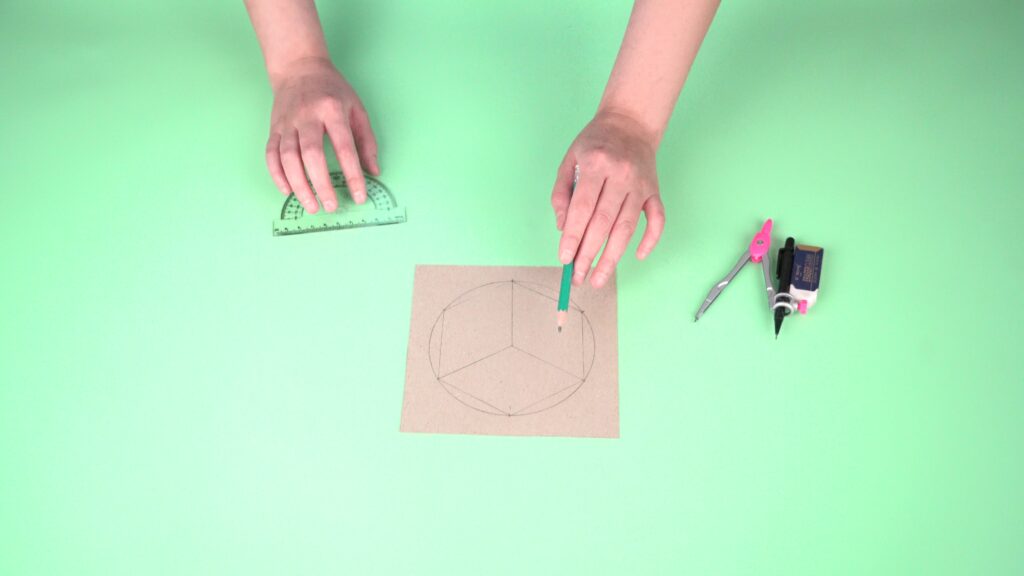
Step 2. Using a protractor, divide the circle into 6 parts of 60 degrees each. Connect the points as shown in the example and draw straight lines from the center through every second point.
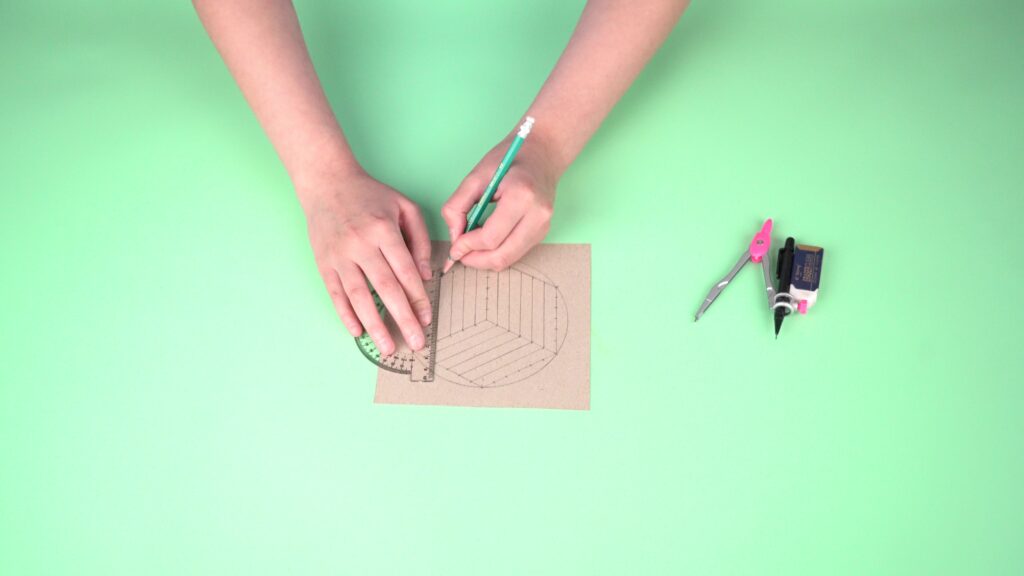
Step 3. Mark points along the lines at 1 cm intervals.
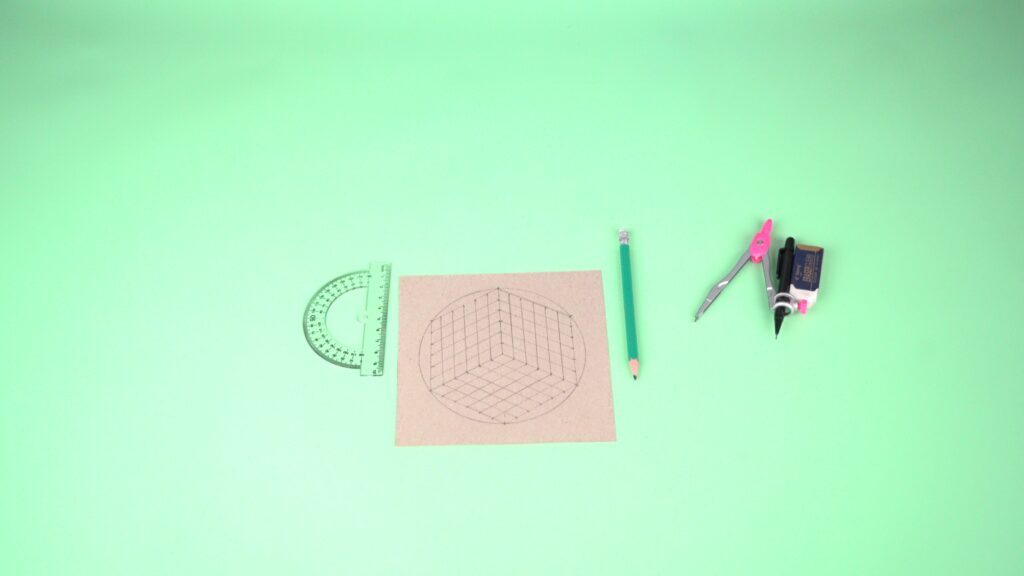
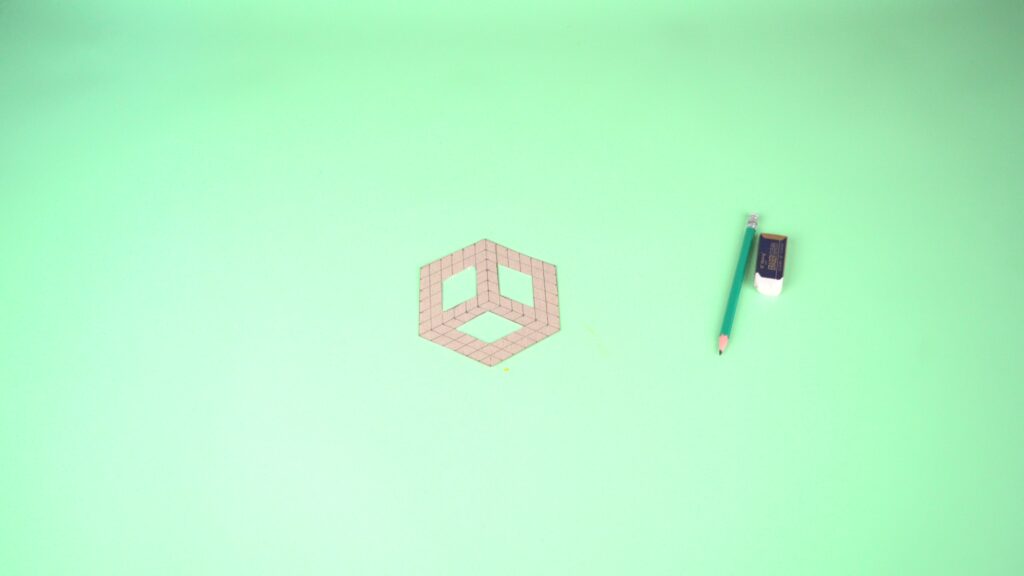
Step 4. Connect the dots as shown in the illustration. You will get 36 isometric squares.
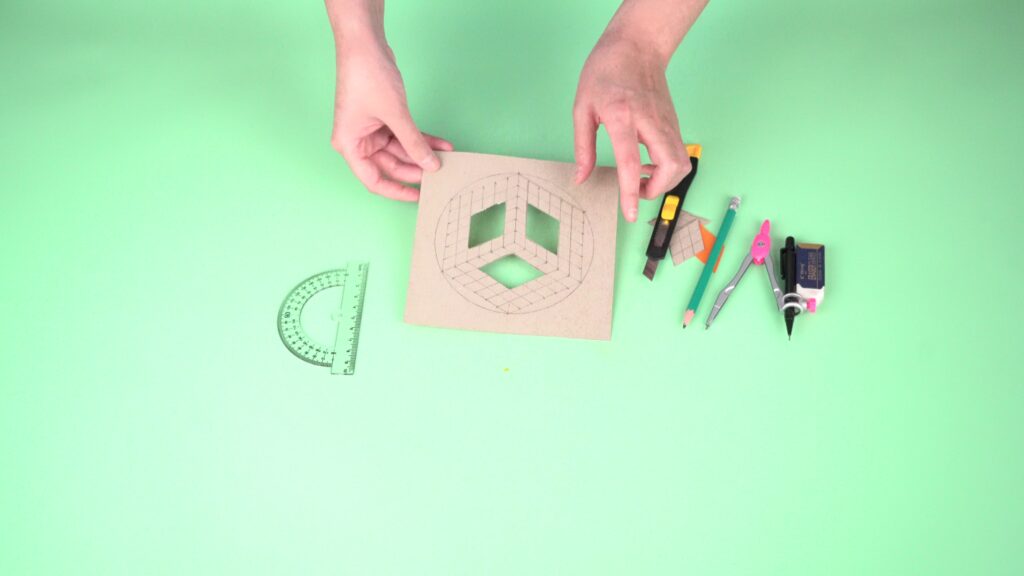
Step 5. Step back 1 cm from the center and cut out a 3×3 square in the middle, as shown. Also, trim off any excess cardboard around the outer edges.
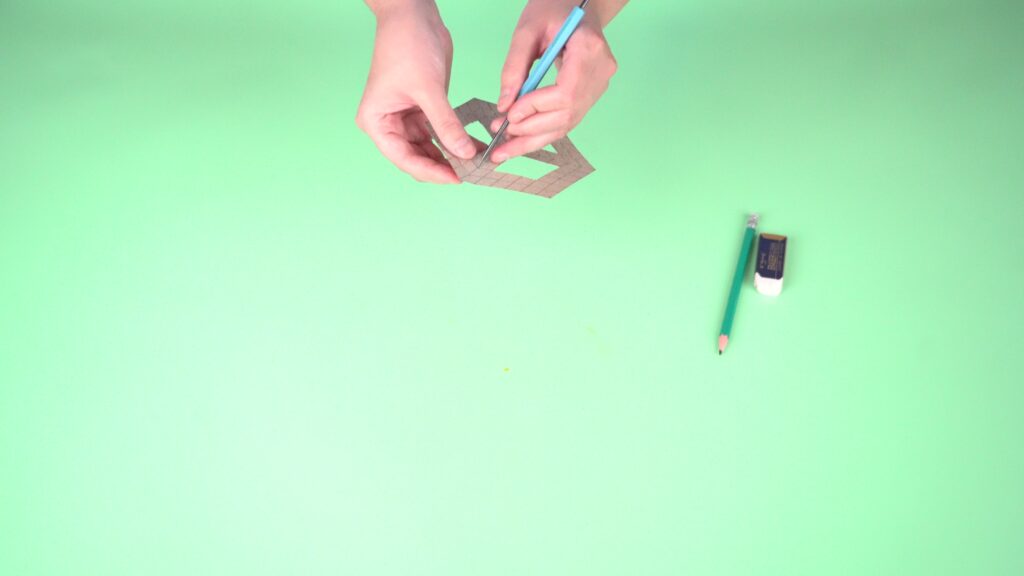
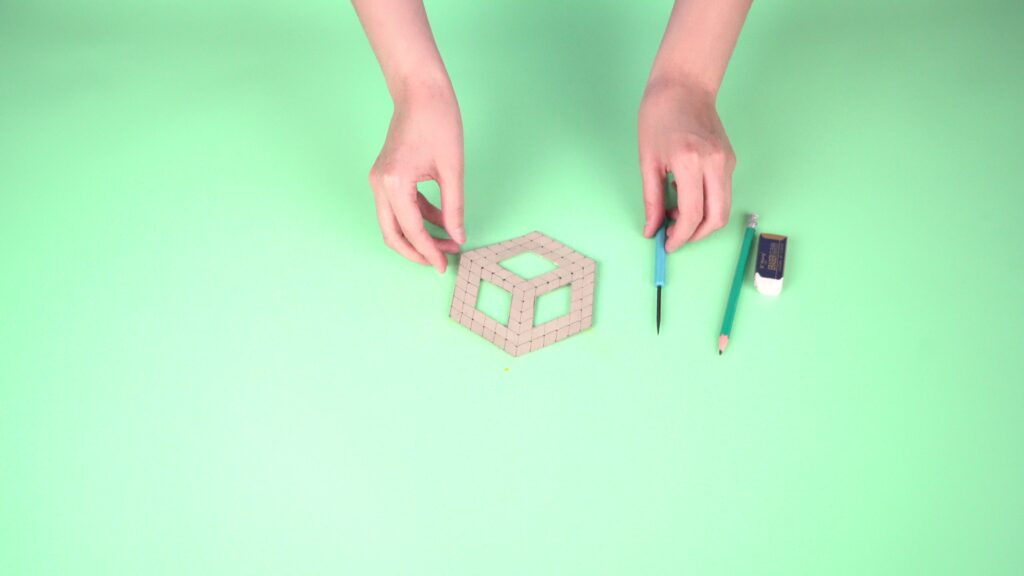
Step 6. Use an awl to make holes in the center of each square. Your isometric grid is ready. You can now use it to draw three-dimensional images.
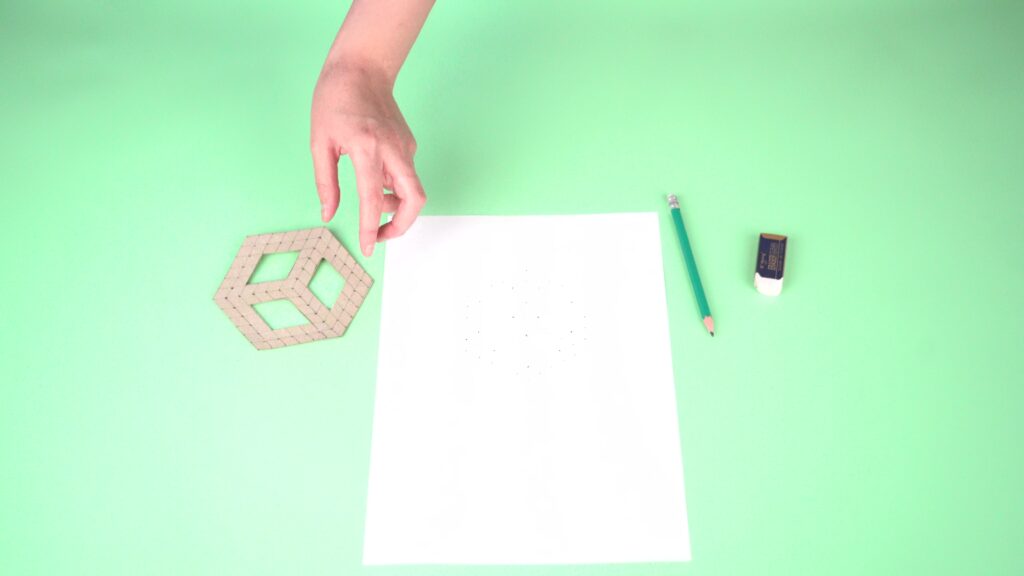
Step 7. Using the grid, place dots on a white sheet of paper by marking through the holes.
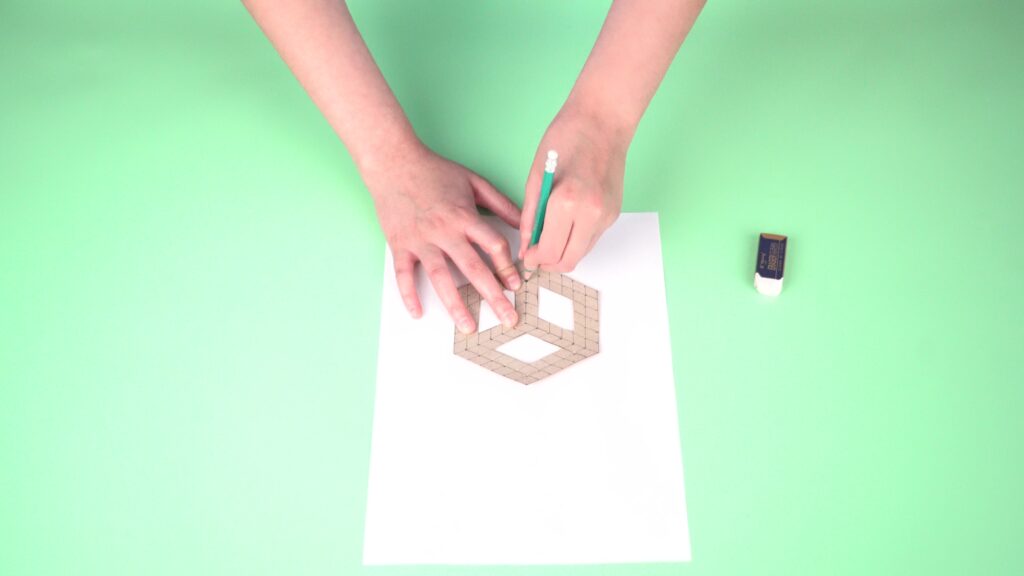
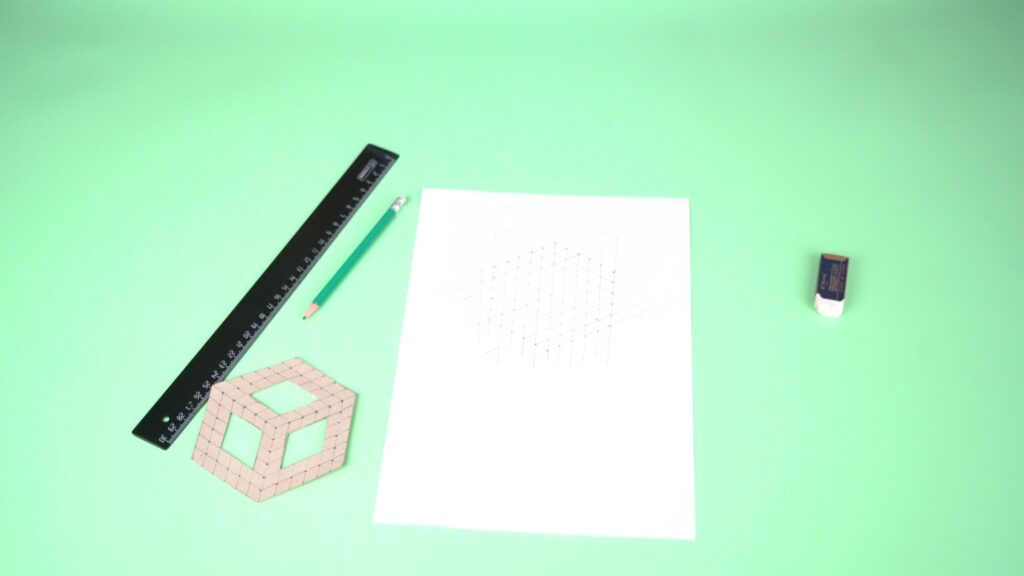
Step 8. Connect the dots, following the example.
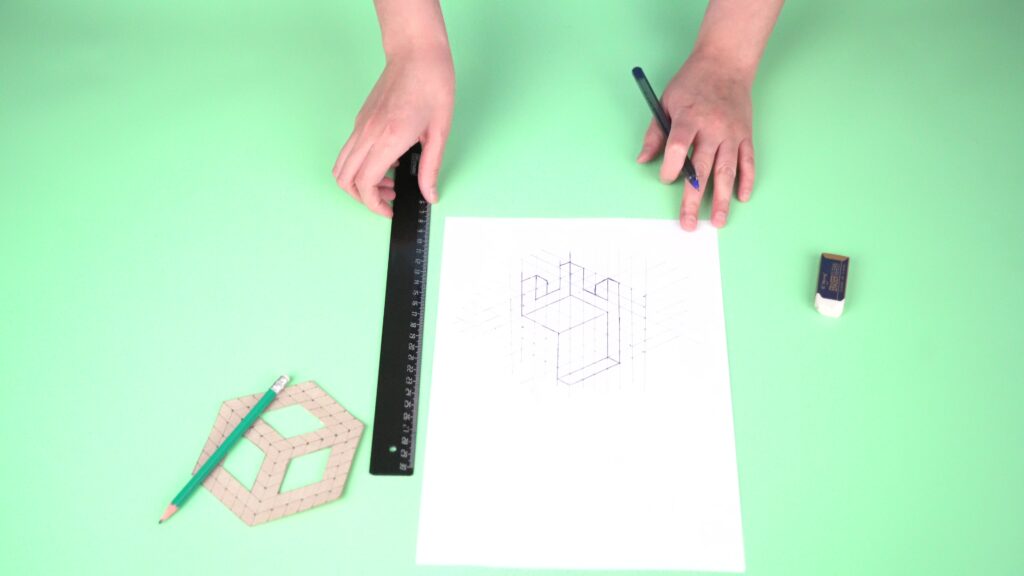
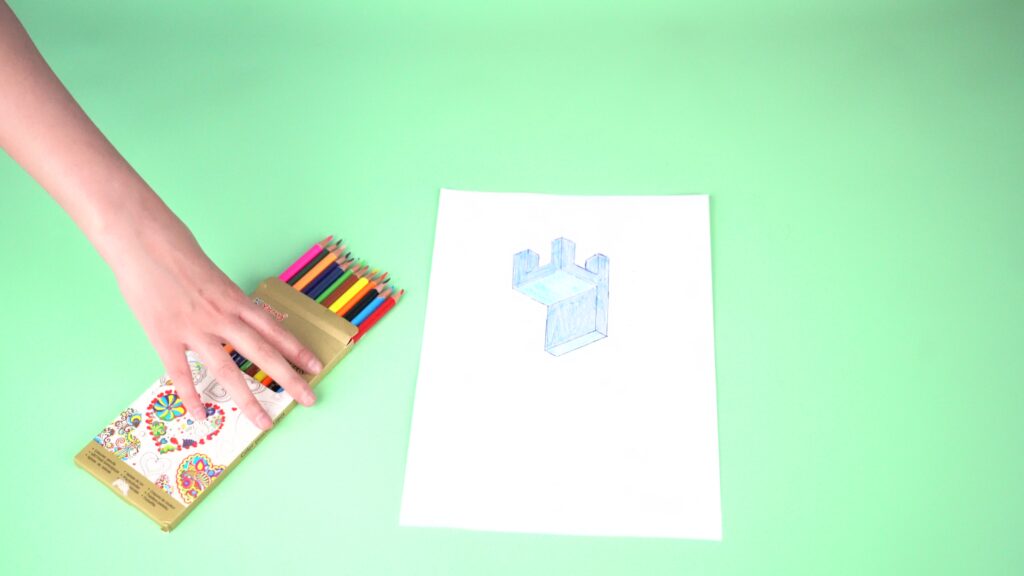
Step 9. Draw any 3D image on the completed grid. As an example, you can draw a chair.
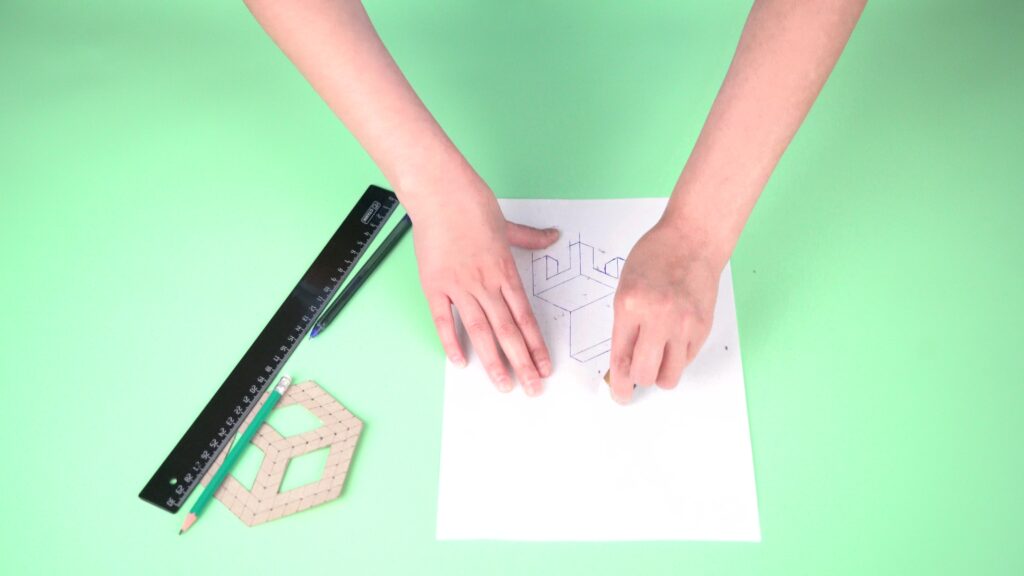
Step 10. Trace over the drawing with a pen. Erase the extra grid lines around the image.
Step 11. If desired, color the drawing.
Conclusion
This project gave students the opportunity to combine their knowledge of geometry with hands-on practice. They created an isometric grid with their own hands and completed the entire process from plotting points to drawing a 3D image. Such practical projects spark interest in mathematics and help children become more comfortable with the world of exact sciences.

In this project, each student is assigned a STEAM title in several categories:
– By assembling this model, you have become a true master of science! You have learned how clocks work. This is real scientific thinking!
– Look at this beautiful clock! You have used your design and problem-solving skills to create a working model. Congratulations, you are an expert engineer!