
Lesson

Project Goal:
Explain how shadows are formed and provide examples
Teacher’s Instructions:
Divide the class into groups of 4–5 students.
At the beginning of the lesson, discuss the concepts of light, shadow, and lens with the students.
Before starting the practical activity, introduce all the necessary materials and ensure that each group is equipped.
At the end of the project, ask students discussion questions such as: “How does the projector work?”, “What did you discover?”
During the activity, briefly remind them about safety rules.
At the beginning of the lesson, explain the PBL (Project Based Learning) rubric to the students. 4K Skills (Critical Thinking, Collaboration, Creativity, Presentation).
Theoretical Part
Light is a form of energy that travels in a straight line. When it encounters different surfaces, it can be reflected, absorbed, or transmitted through them. If there is an obstacle in the path of light, a shadow is formed behind it. This phenomenon can be observed in everyday life – for example, the shadow of a tree standing in the sun.
A magnifying glass is a convex lens. Light rays passing through it converge at a focal point and enlarge the image. If the screen (image source) is too close to the lens, the image will be blurry; at the optimal distance, it will appear sharp and magnified.

In this project, the smartphone screen acts as the light source. The image from the screen passes through the magnifying glass, is enlarged, and becomes visible on the opposite wall of the box. Since the lens inverts and mirrors the image, it needs to be flipped upside down beforehand.
Practical Part
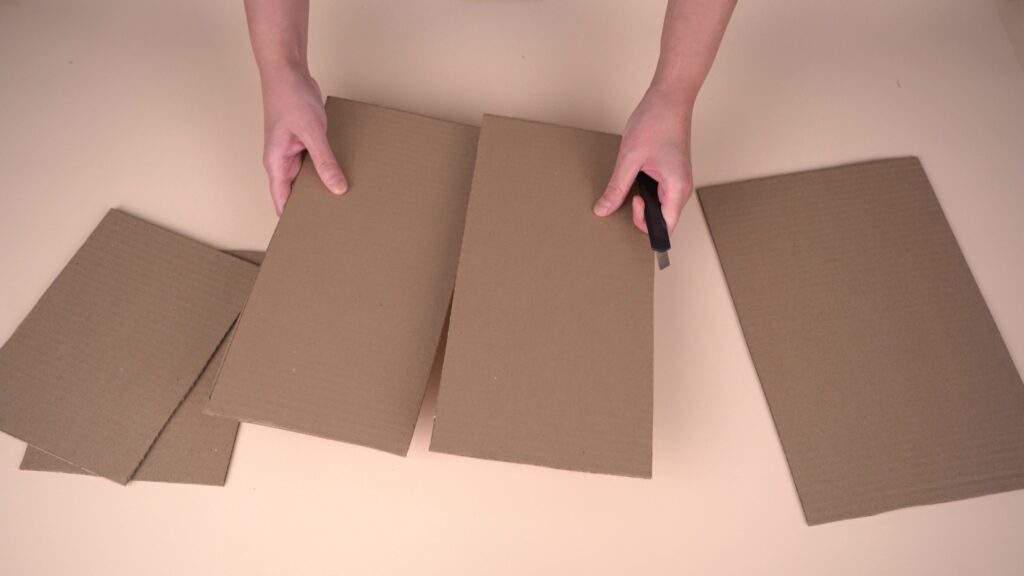
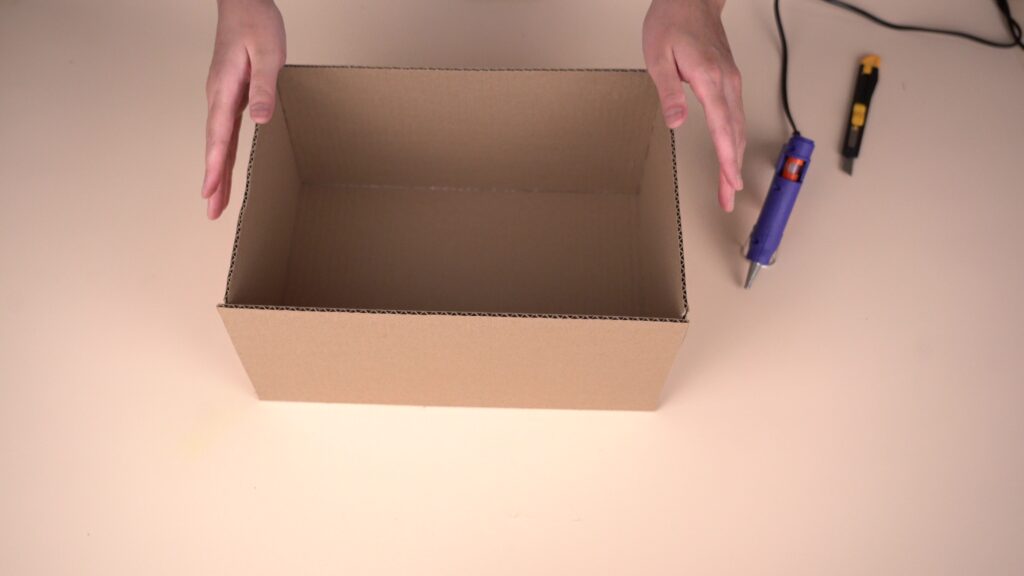
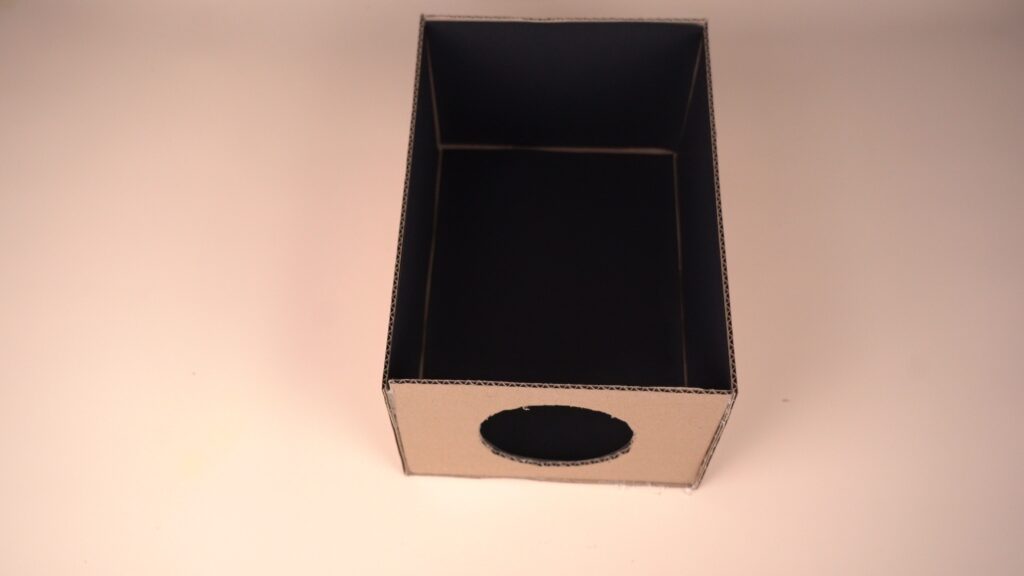
Step 1. Make a box using three sheets of cardboard. Use one sheet as the base and cut the other two in half to create four side walls. Glue the walls together with hot glue, as shown in the illustration.
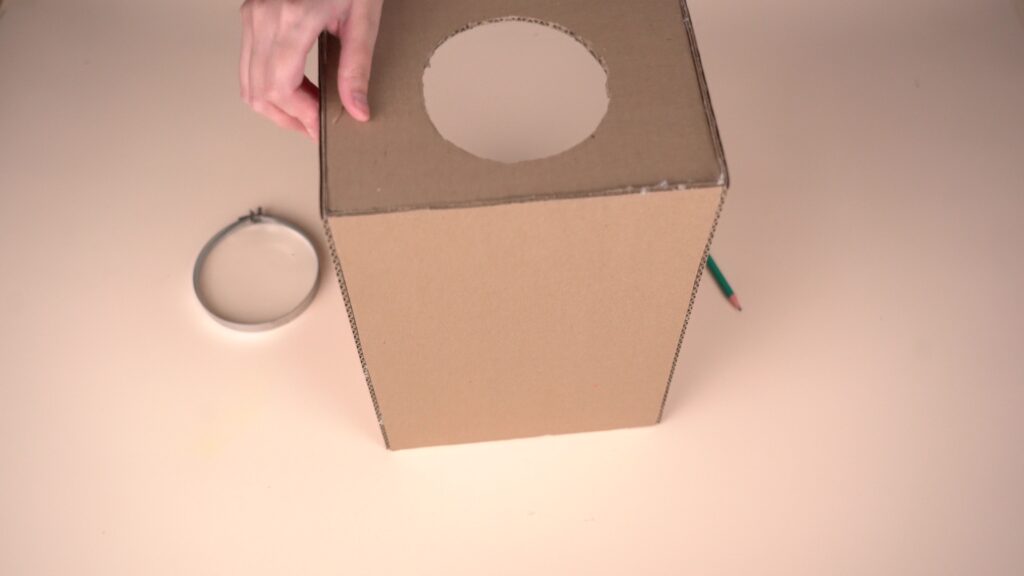
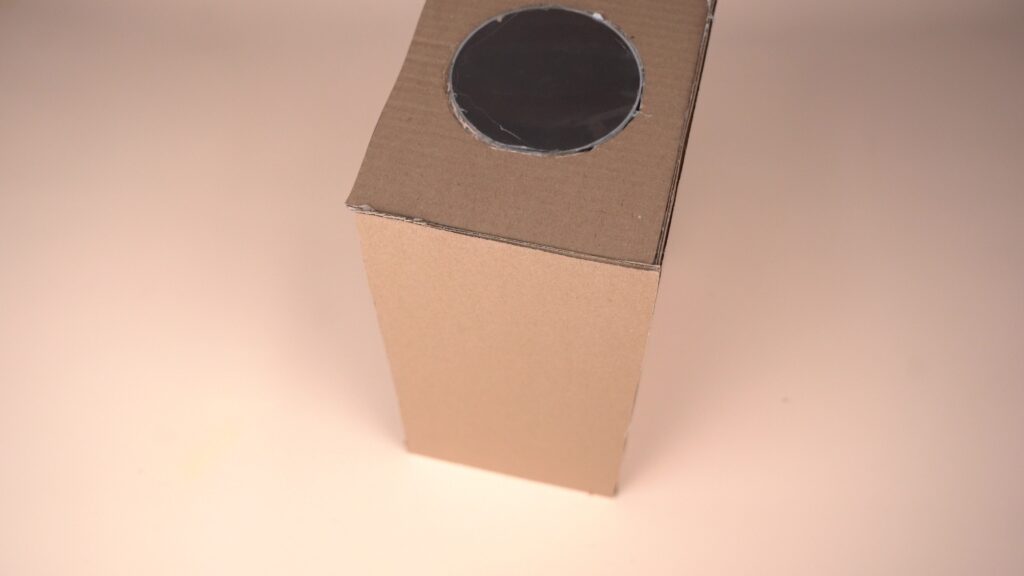
Step 2. Place the magnifying glass against one of the side walls of the box and trace a circle around it. Make sure the lens is centered on the wall.
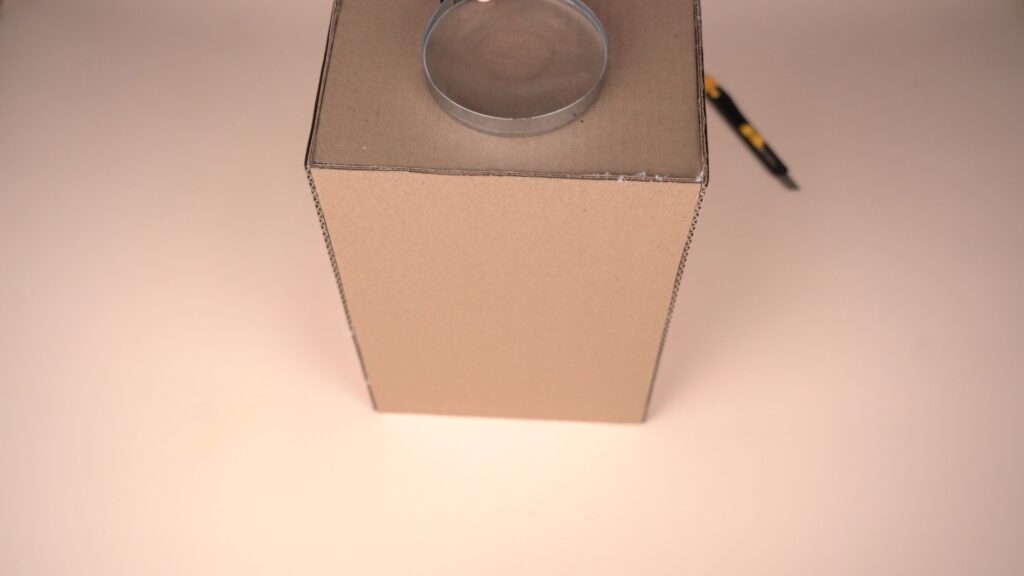
Step 3. Cut out the circle along the outline.
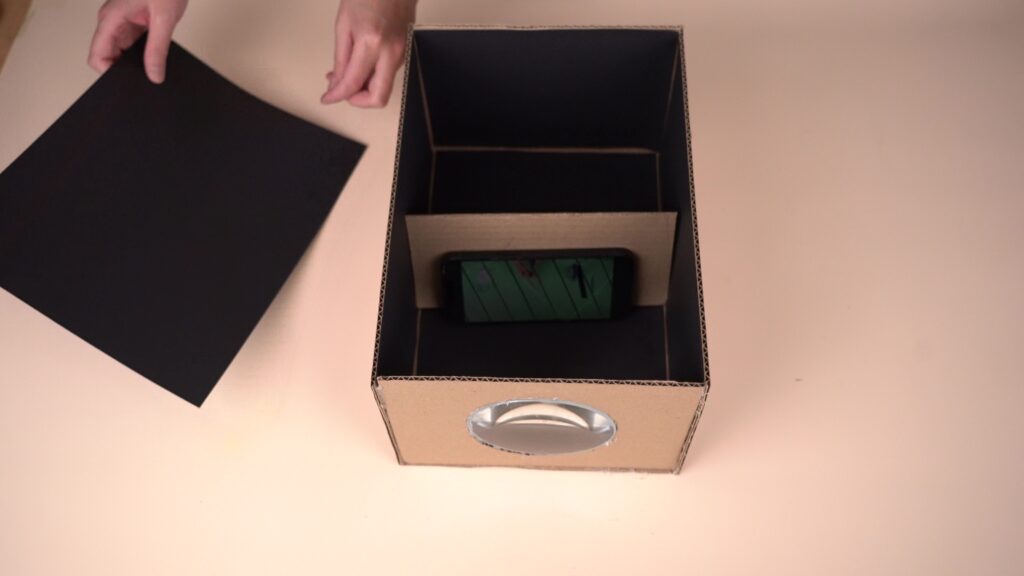
Step 4. Cover the inside of the box with black paper. The black color absorbs external light and reduces scattering, which makes the image sharper.
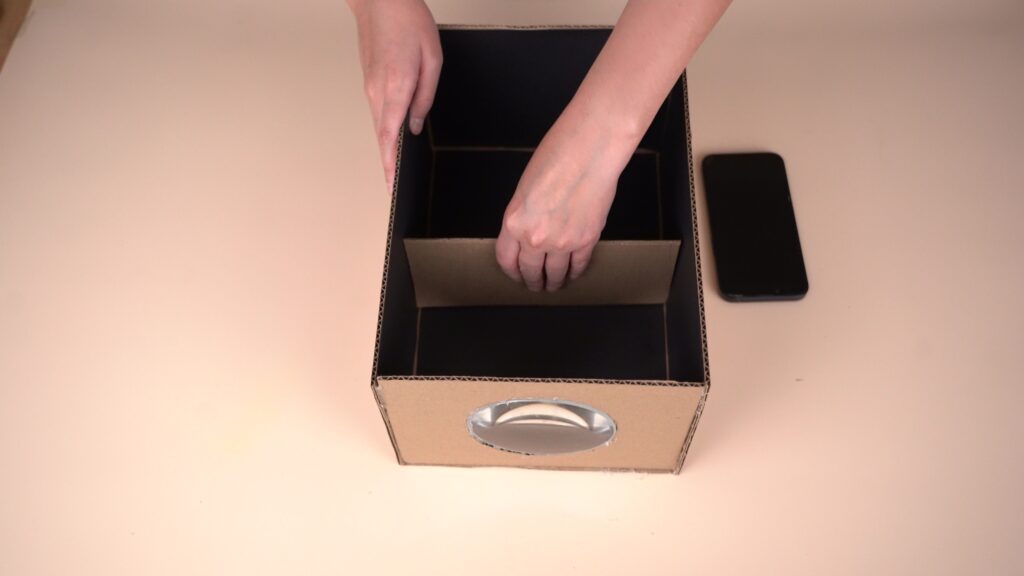
Step 5. Insert and glue the magnifying glass into the cut-out hole.
Step 6. Place a 20*10 cm piece of cardboard inside the box to serve as a stand. Position the stand inside the box at a distance from the magnifying glass.
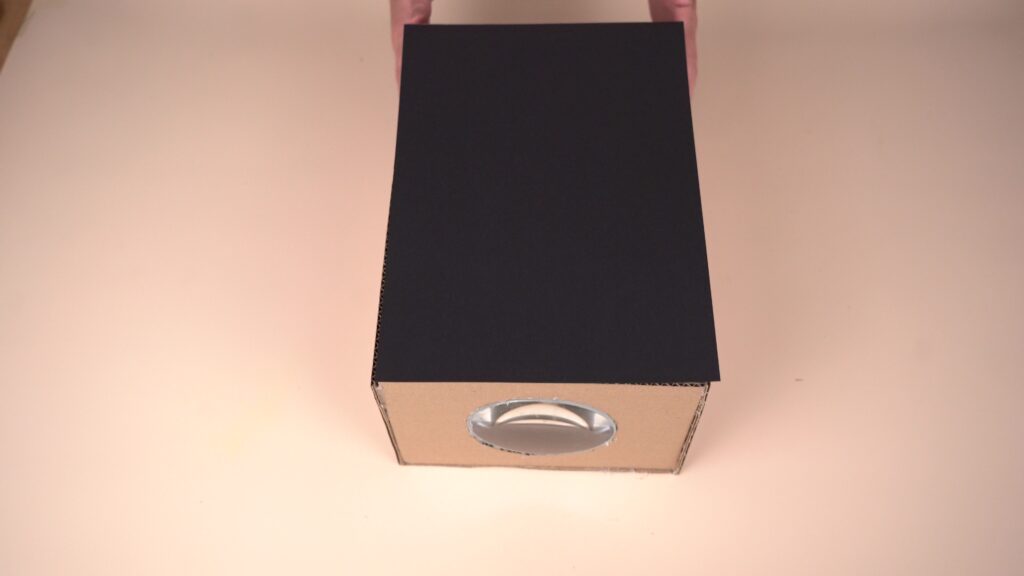
Step 7. Cover the top of the box with thick black paper.
Done!
Place the smartphone inside the box with the screen facing the lens, flipped upside down. The screen brightness should be at maximum. Adjust the distance between the lens and the phone to focus the image. It is recommended to rotate the video or image upside down beforehand, as the lens inverts the picture.
Conclusion
During this project, students applied physical concepts in practice, such as the direction of light, shadow formation, and the effect of a lens on an image. By building a projector with their own hands, they connected theoretical knowledge with real life and developed experimental skills. The project encouraged the development of research abilities, creative thinking, logical reasoning, and scientific curiosity in students.

In this project, each student is assigned a STEAM title in several categories:
– By assembling this model, you have become a true master of science! You have learned how clocks work. This is real scientific thinking!
– Look at this beautiful clock! You have used your design and problem-solving skills to create a working model. Congratulations, you are an expert engineer!