
Lesson

Project Goal:
To investigate the magnetization of different metals using a magnet.
Teacher Instructions:
Prepare all the necessary materials before the lesson.
Perform the experiment as a demonstration; students should take on the role of observers.
Start the lesson with engaging questions related to the experiment and guide students toward a conclusion.
Discuss the results with students and provide scientific explanations.
Give a brief safety instruction before conducting the experiment.
At the beginning of the lesson, explain the PBL (Project Based Learning) rubric to the students. 4K Skills (Critical Thinking, Collaboration, Creativity, Presentation).
Theoretical Part
A magnet is an object with a special ability to attract certain metal objects. There is an invisible magnetic field around the magnet, which affects objects at a certain distance.

Materials that are attracted to magnets include metals like iron, steel, nickel, and cobalt. In these metals, internal particles (electrons) are aligned in a specific direction, making them responsive to magnetic attraction.
Materials that are not attracted to magnets include wood, plastic, glass, rubber, aluminum, copper, and paper. These materials lack particles that can interact with the magnetic field, so they are unaffected by it.
Practical Part
Step 1. Tie 3 paper clips to a string and hang the string from a stick.
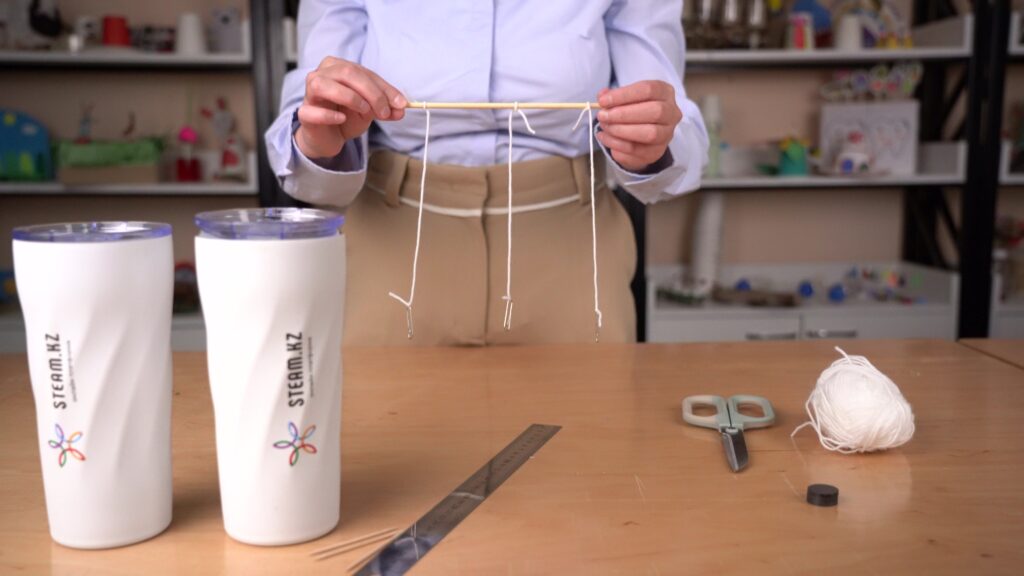
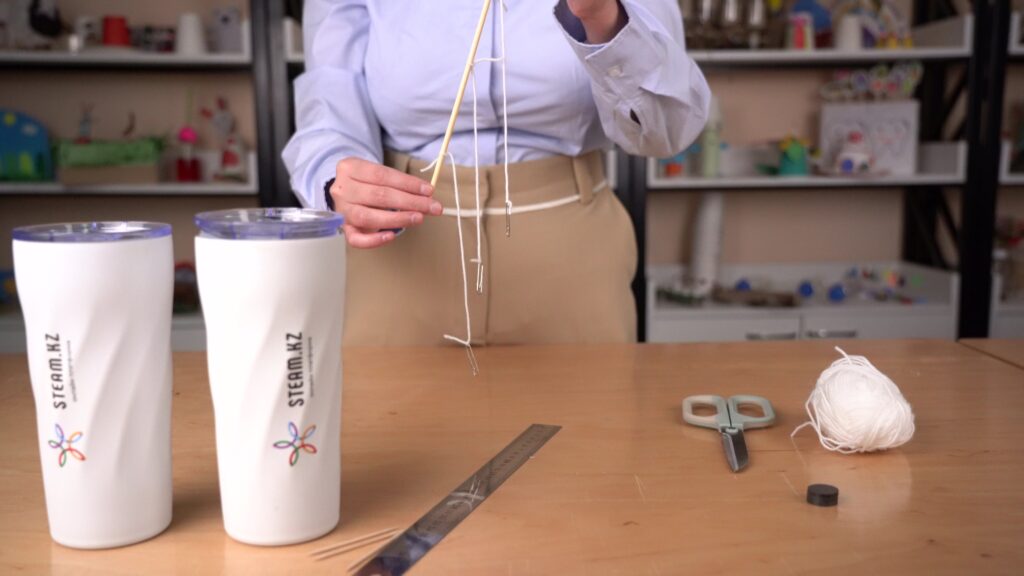
Step 2. Lift the stick – the paper clips will hang. What direction are they facing? What happens if you tilt the stick?
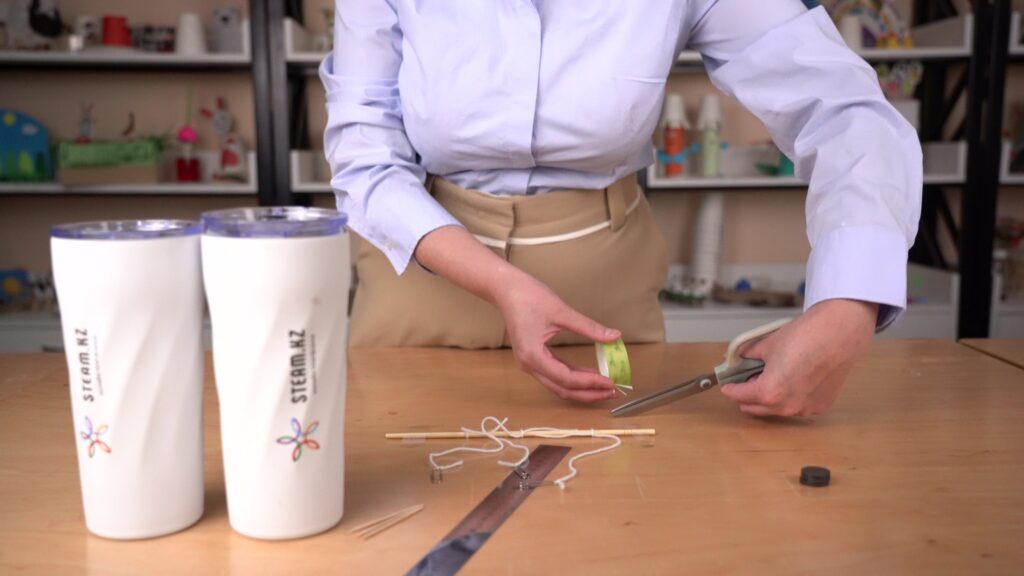
Step 3. Fix the stick with the hanging clips to the table using adhesive tape.
Step 4. Place 3 magnets on a metal ruler (or tape them to a wooden ruler).
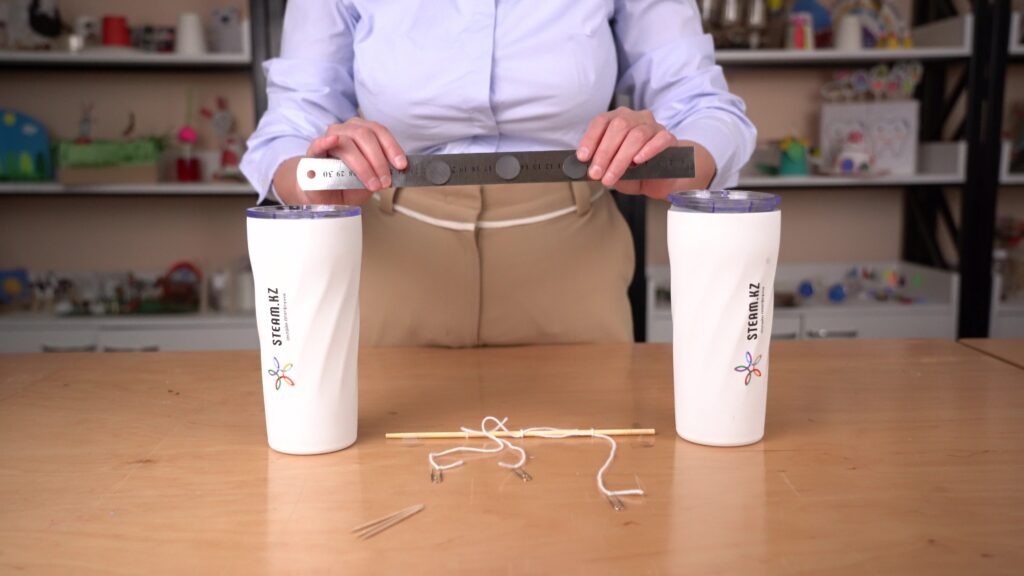
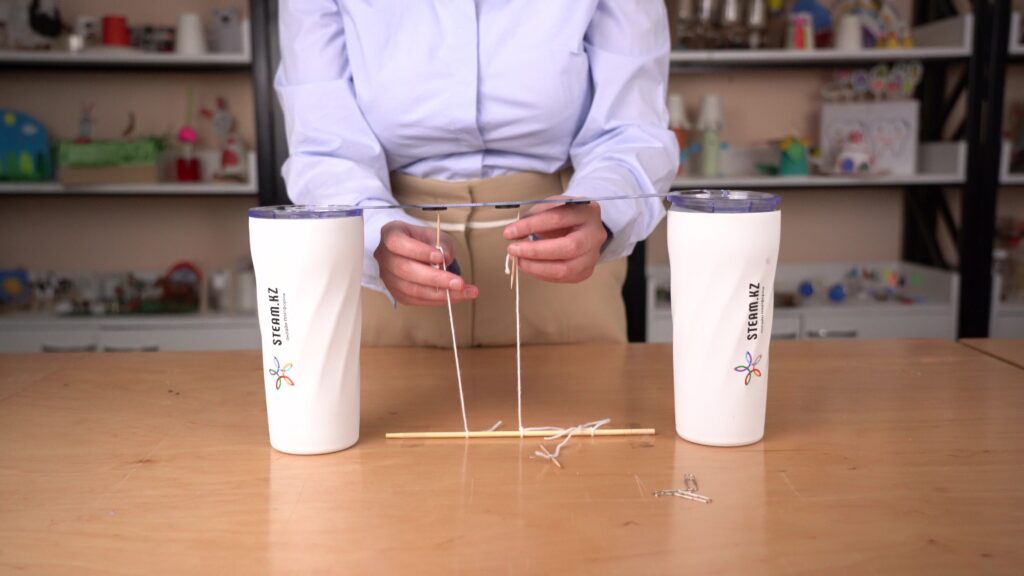
Step 5. Balance the ruler between two bottles or books so that the magnets face downward.
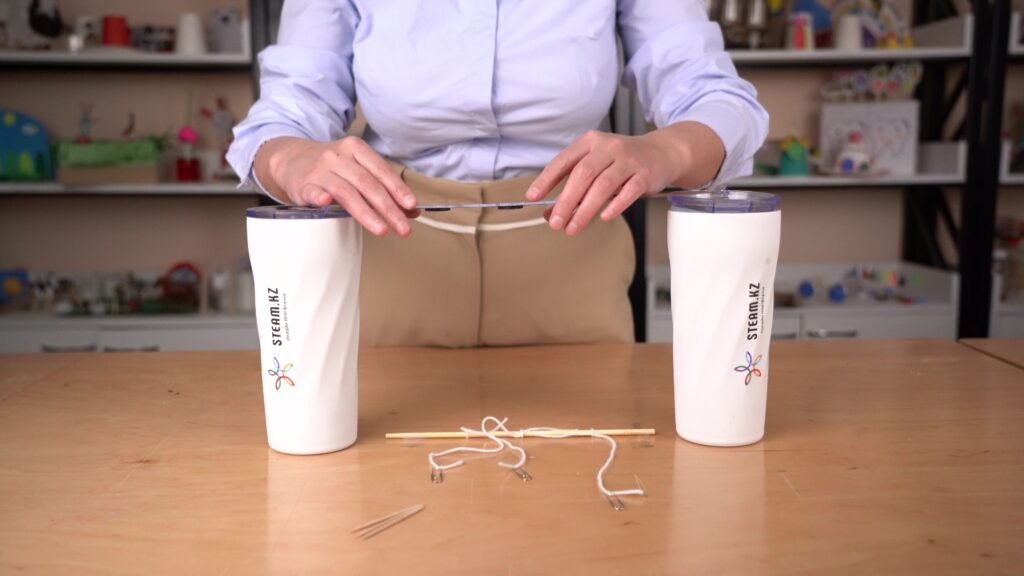
Step 6. Move the clips closer to the magnets. They will be attracted. Discuss with students why this happens.
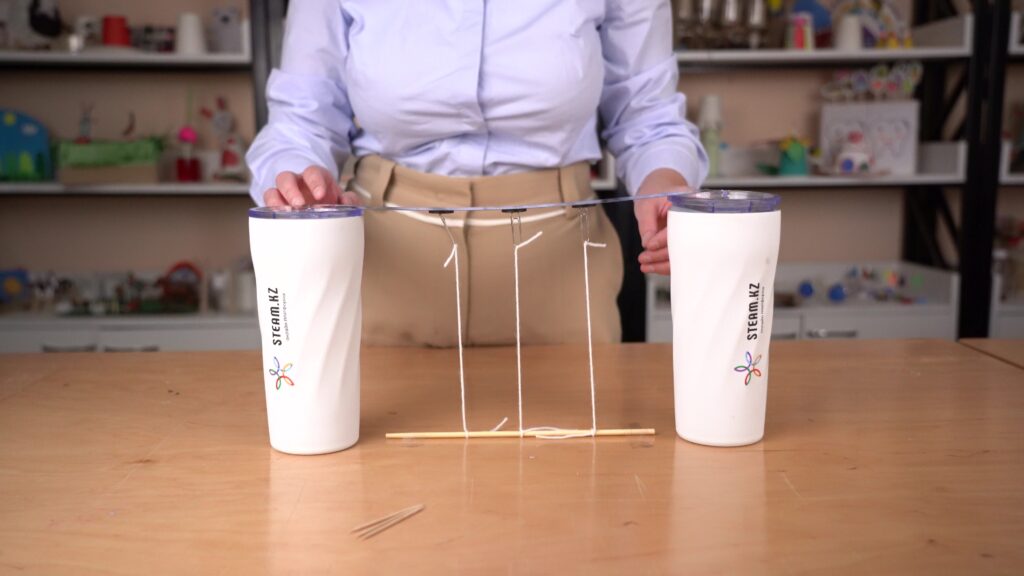
Step 7. Lift the ruler – the paper clips will fall down.
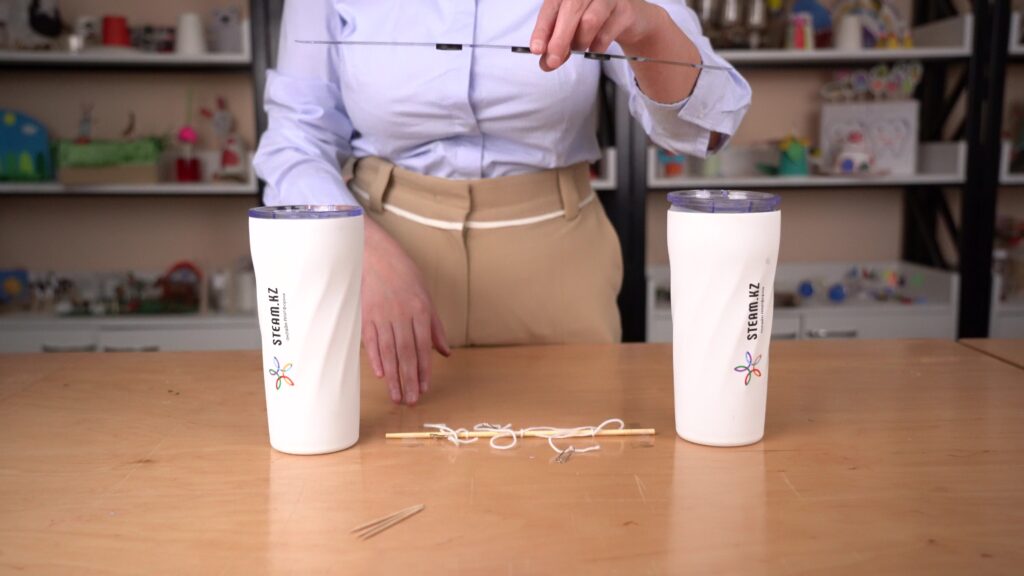
Step 8. Place the ruler back and bring the clips close again – they will be attracted and hang in the air.
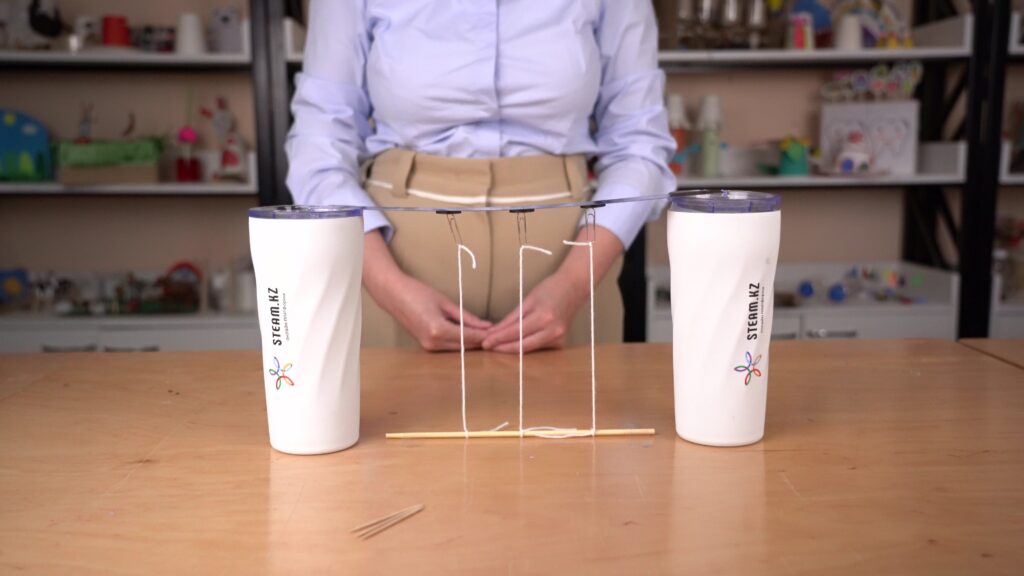
Step 9. Remove the paper clips and tie toothpicks instead.
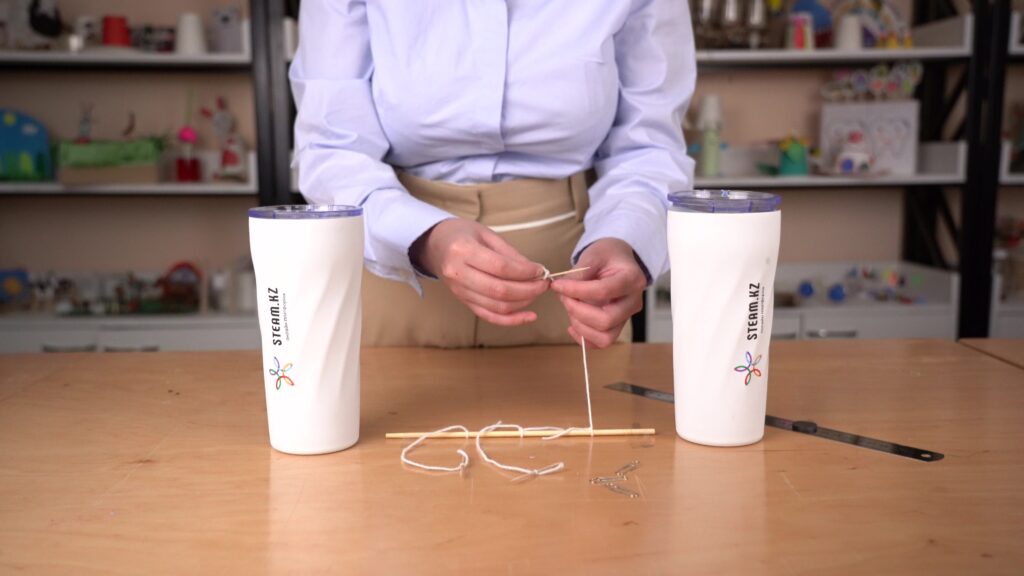
Step 10. Bring the toothpicks close to the magnets. Do they stick? Discuss with students why or why not.
Conclusion
Through this project, students learned to identify which materials are attracted to magnets and which are not. They understood that only certain metals are magnetic. During the experiment, children practiced classifying materials, observing magnetic behavior, and developed scientific reasoning, cause-effect analysis, and drawing conclusions.

In this project, each student is assigned a STEAM title in several categories:
– By assembling this model, you have become a true master of science! You have learned how clocks work. This is real scientific thinking!
– Look at this beautiful clock! You have used your design and problem-solving skills to create a working model. Congratulations, you are an expert engineer!