
Lesson

Project Objective:
To demonstrate how an electrical circuit works in practice.
To show that when current flows, the buzzer makes a sound and the LED lights up.
Interdisciplinary Connections:
- Physics (operation of an electrical circuit, concepts of conductor and insulator).
- Technology (assembling electrical circuit diagrams).
- Mathematics (using measurements in diagrams).
Teacher’s Guide:
Divide students into groups of 4-5.
At the beginning of the lesson, ask several guiding questions to spark interest in the project:
- How does electric current flow?
- Why does a lamp light up or a buzzer sound when the circuit is closed?
- What is the difference between a conducting and a non-conducting material?
Provide a short safety briefing before starting the activity.
Theoretical Part
Electric Current and Circuit
Electric current is the orderly movement of charged particles. The main components of any electrical circuit are:

- Power source (battery) – the source of energy.
- Conductors (wires) – the path for current flow.
- Load (buzzer, LED) – the device that uses the energy.
- Switch – an element that opens and closes the circuit.
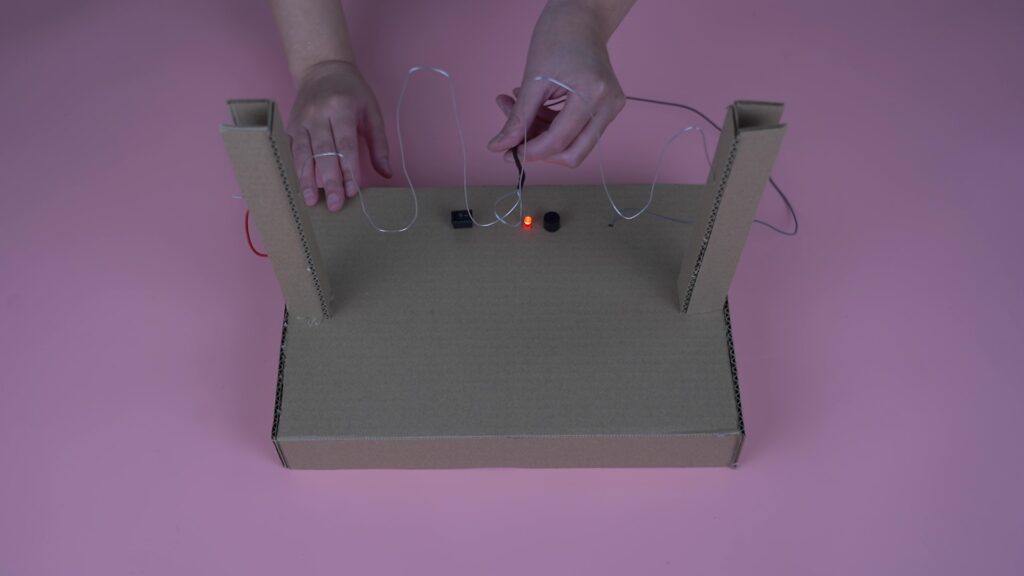
Electric current flows only in a closed circuit. If the ring does not touch the wire, the circuit is open, no current flows, no sound or light. If the ring touches the wire, the circuit closes, current flows → the buzzer makes a sound and the LED lights up.
Ohm’s Law
The relationship between current (I), voltage (V), and resistance (R) in an electrical circuit:
I=V/R
If resistance is low, current increases → components may overheat.
If resistance is chosen correctly, current stays within limits, and the LED and buzzer operate properly.
Operation of the Buzzer and LED
The buzzer converts electrical energy into sound energy.
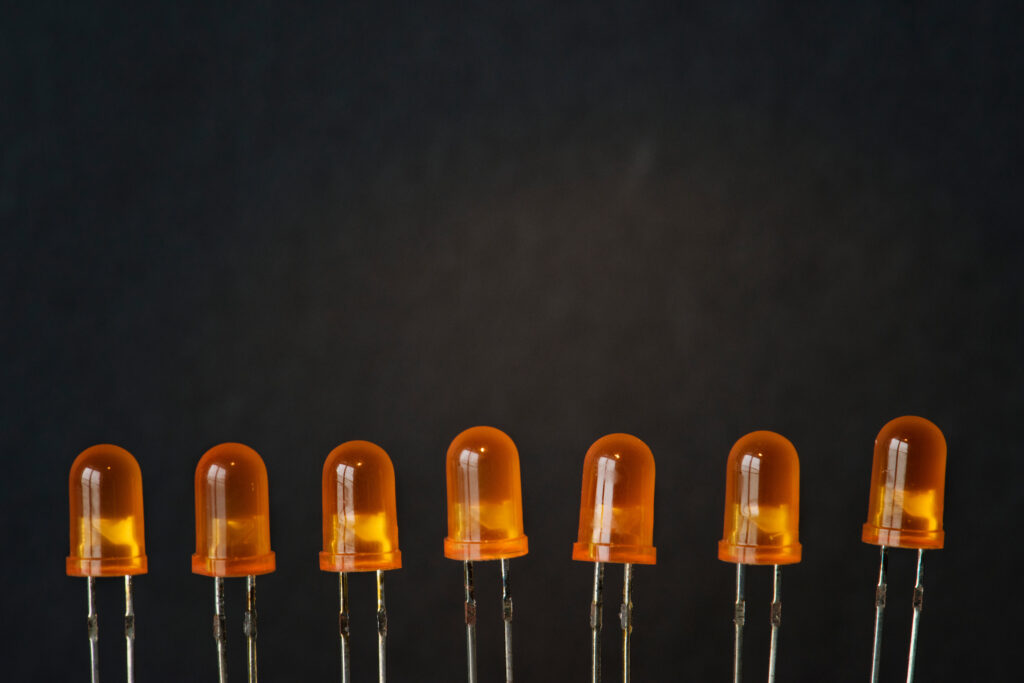
The LED converts electrical energy into light energy.
Practical Part
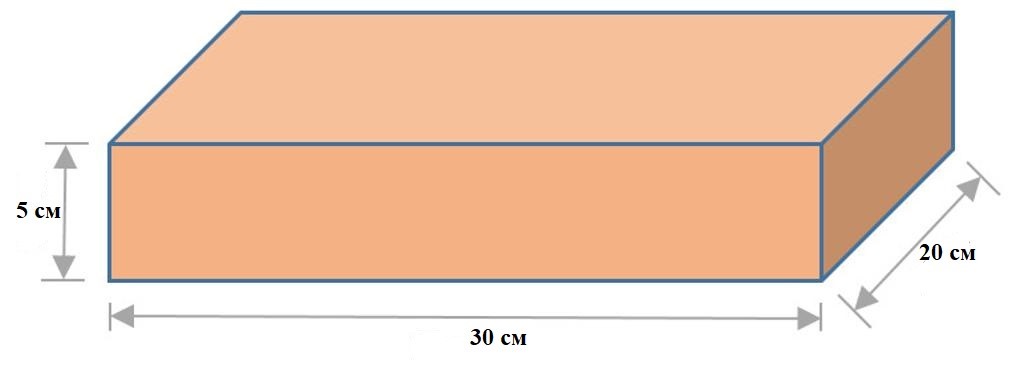
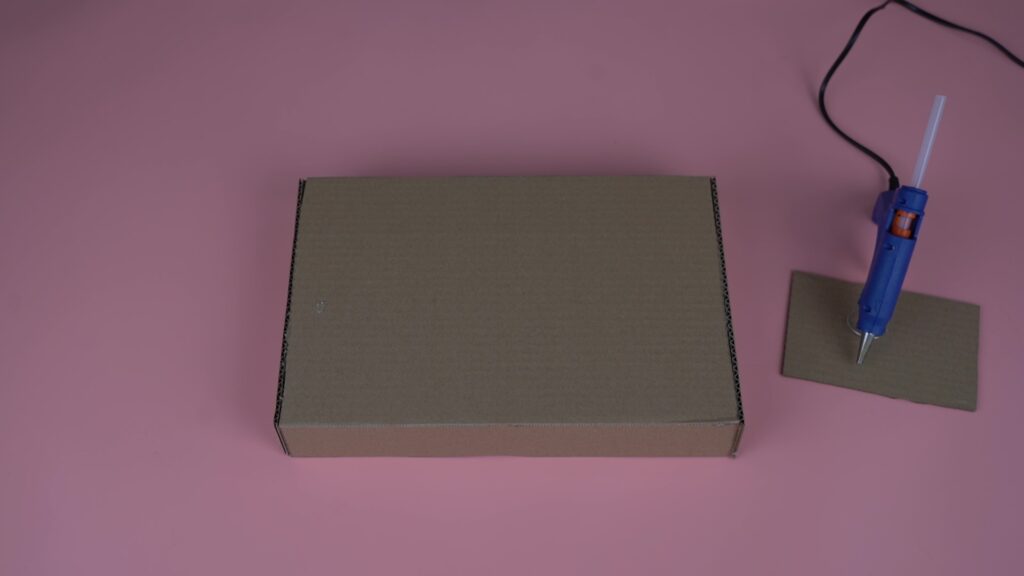
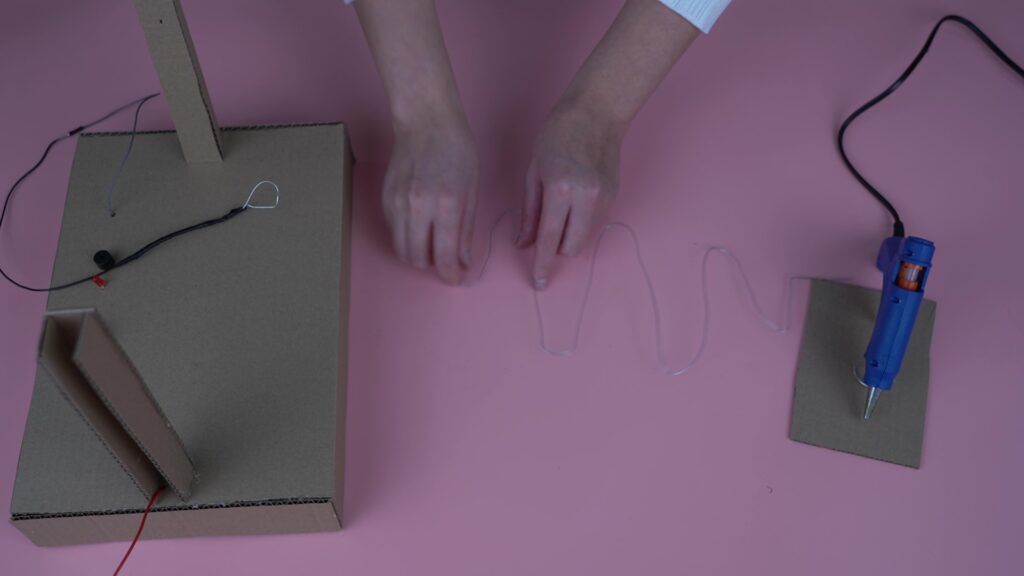
Step 1. Prepare a box from corrugated cardboard. In our case, the dimensions are: length 30 cm, width 20 cm, height 5 cm. This will be the game board.
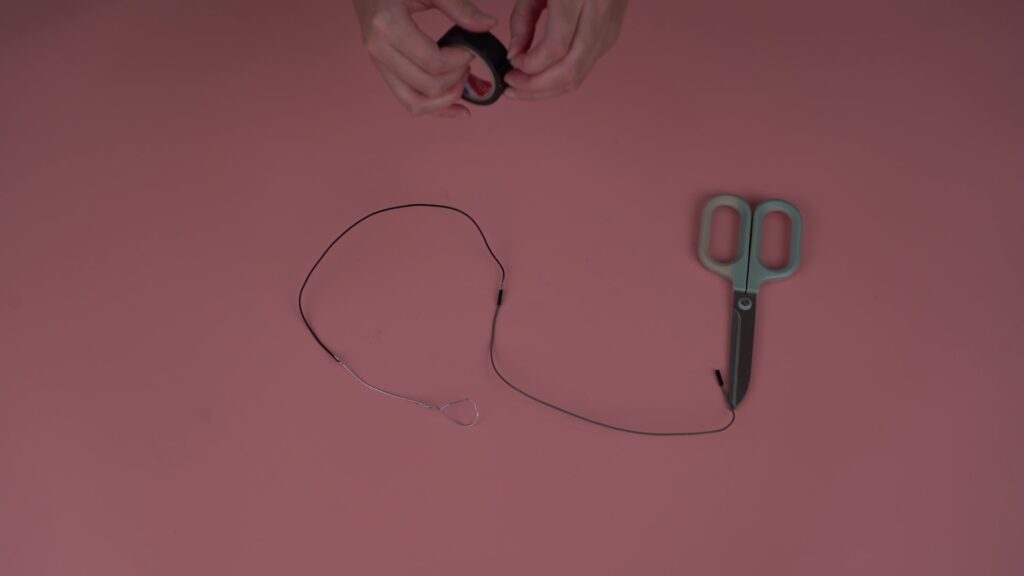
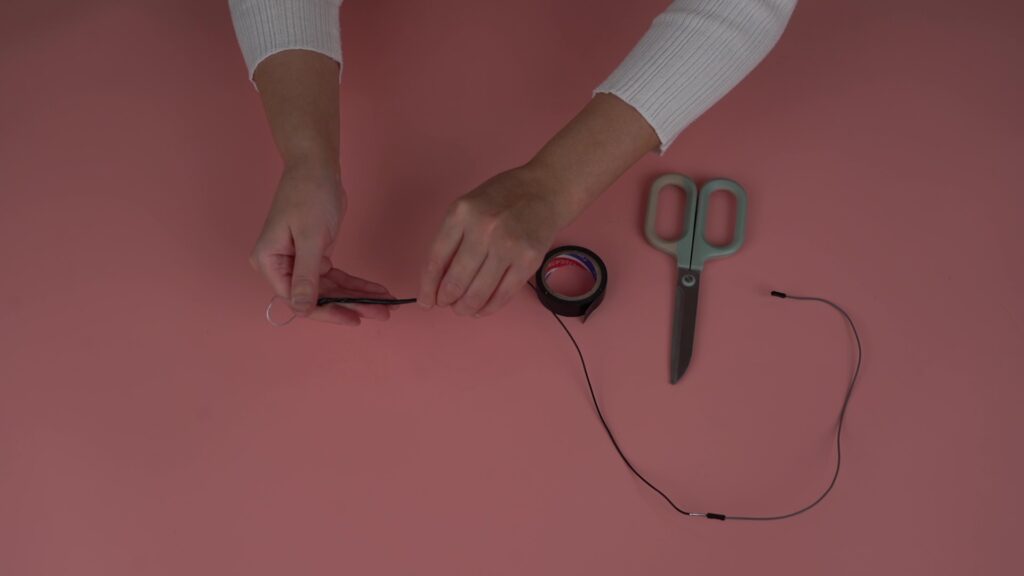
Step 2. Bend a wire into a ring. From the remaining part, make a handle and connect an electrical wire. Wrap the handle with tape. This will be your “game stick.”
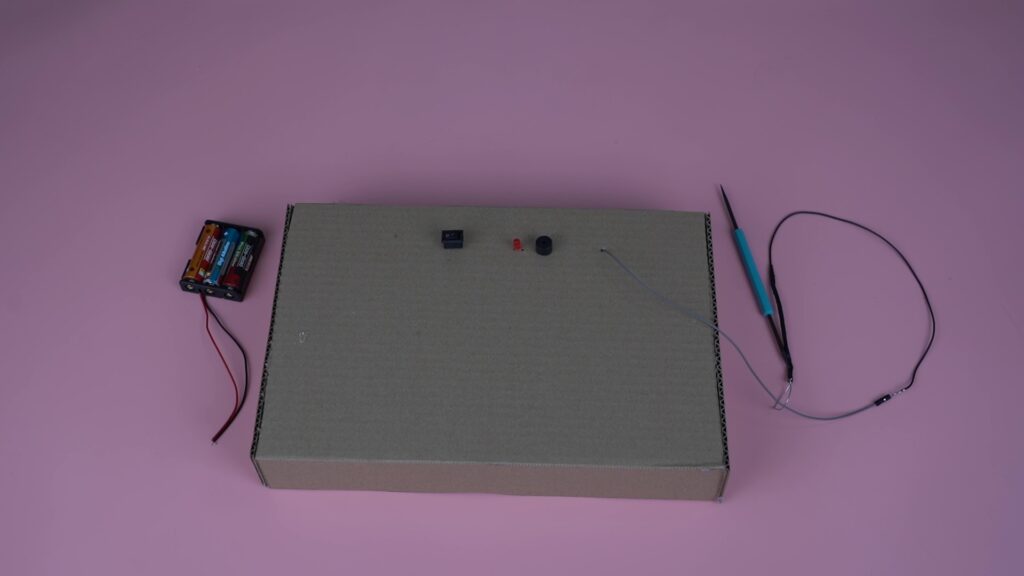
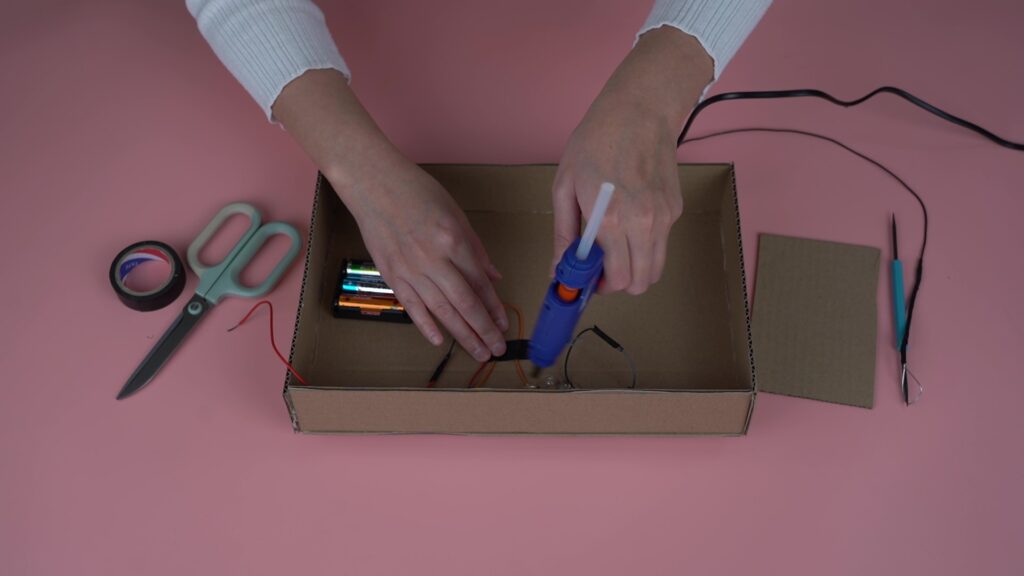
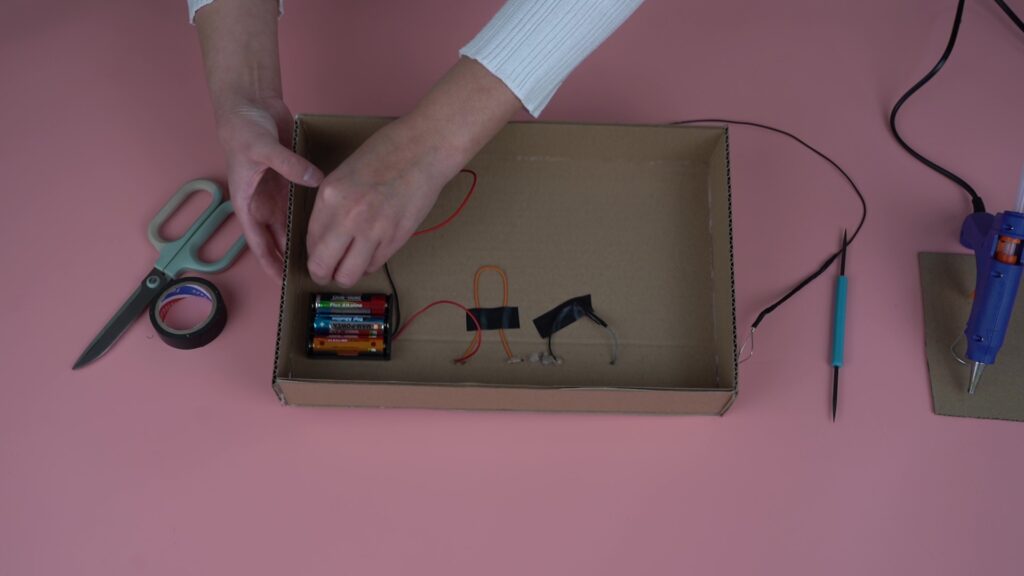
Step 3. Install the buzzer, LED, and switch on top of the box. Lead their pins and the wire from the stick to the other side of the box (placing them close together is convenient).
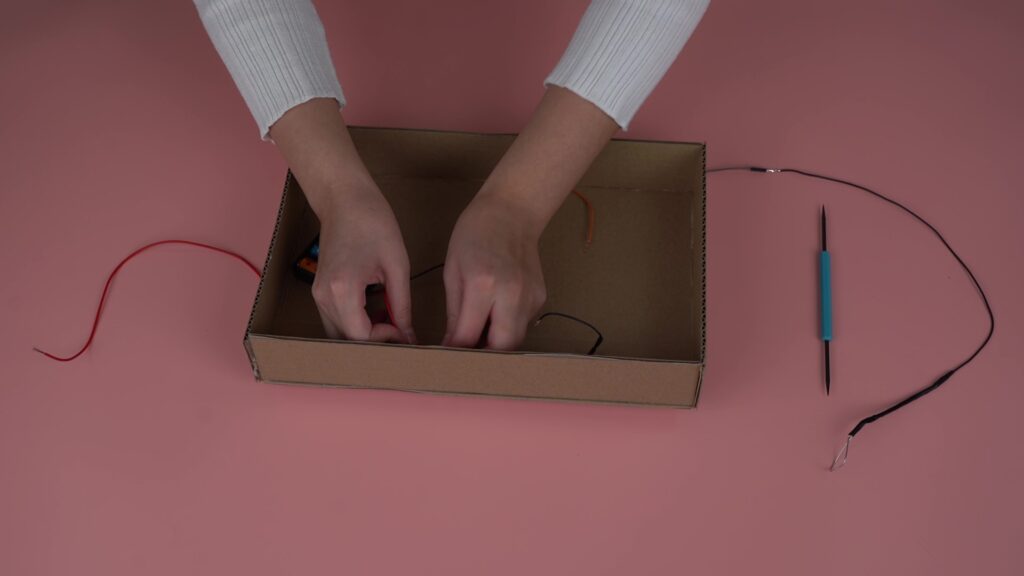
Step 4. Connect the wires:
Battery plus (+) → switch → LED plus → resistor → buzzer plus → thin wire (game stick).
Battery minus (–) → thin wire. Bring it out to the surface of the box.
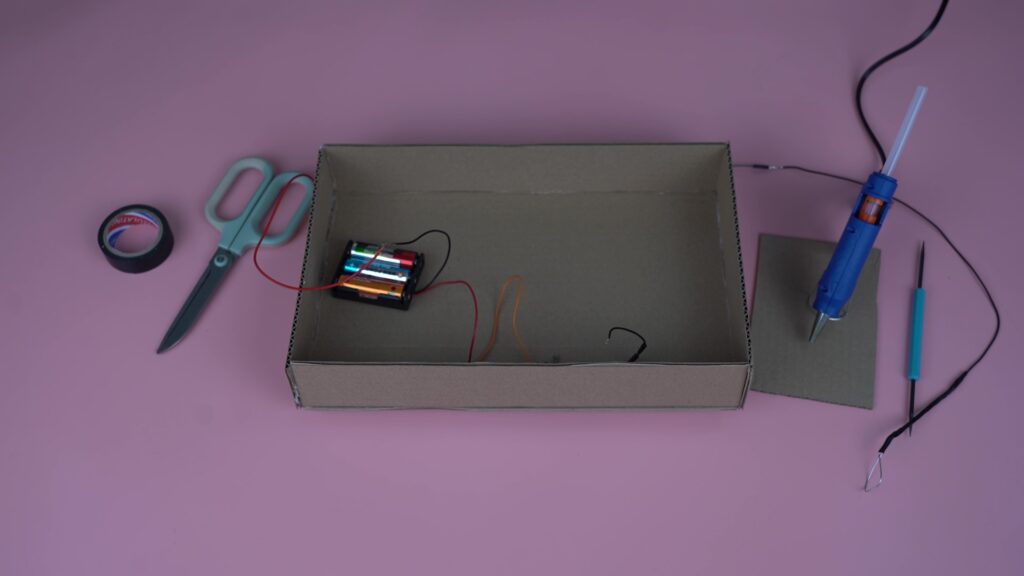
Step 5. Insert the battery into the holder. Glue the holder and wires to the box.
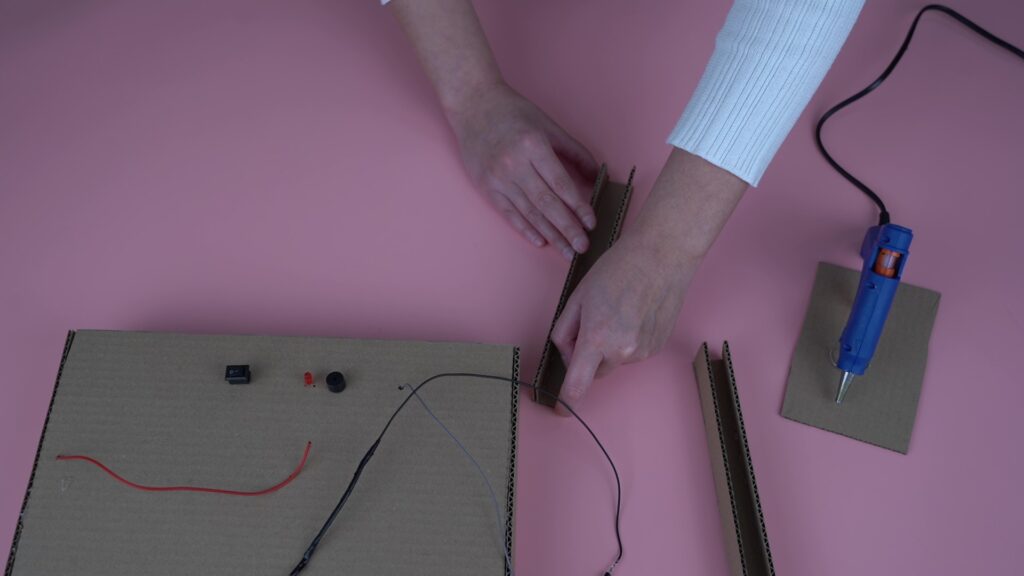
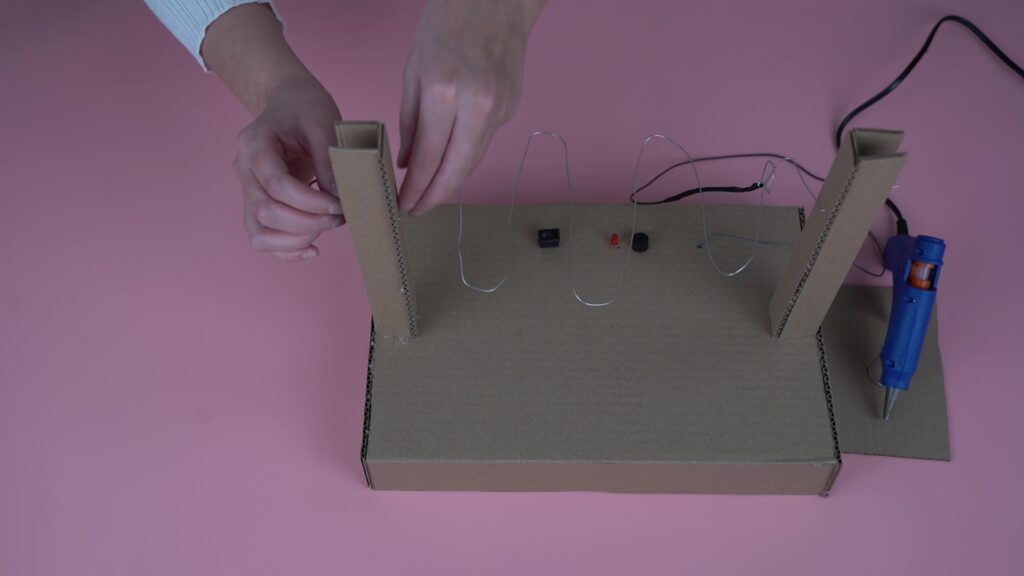
Step 6. Cut 6 strips of corrugated cardboard, each 20*2.5 cm. Make 2 stands from them (3 strips per stand).
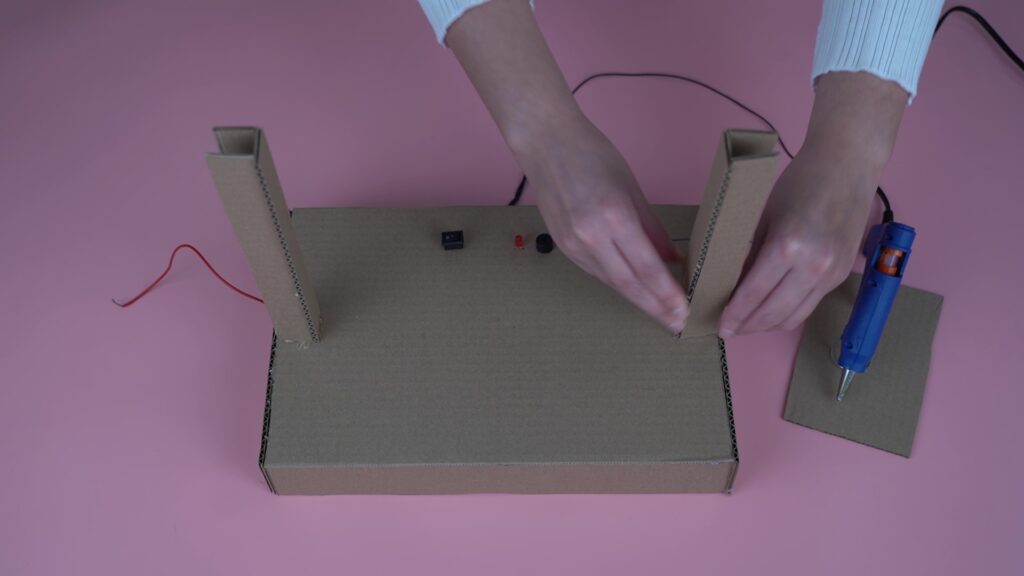
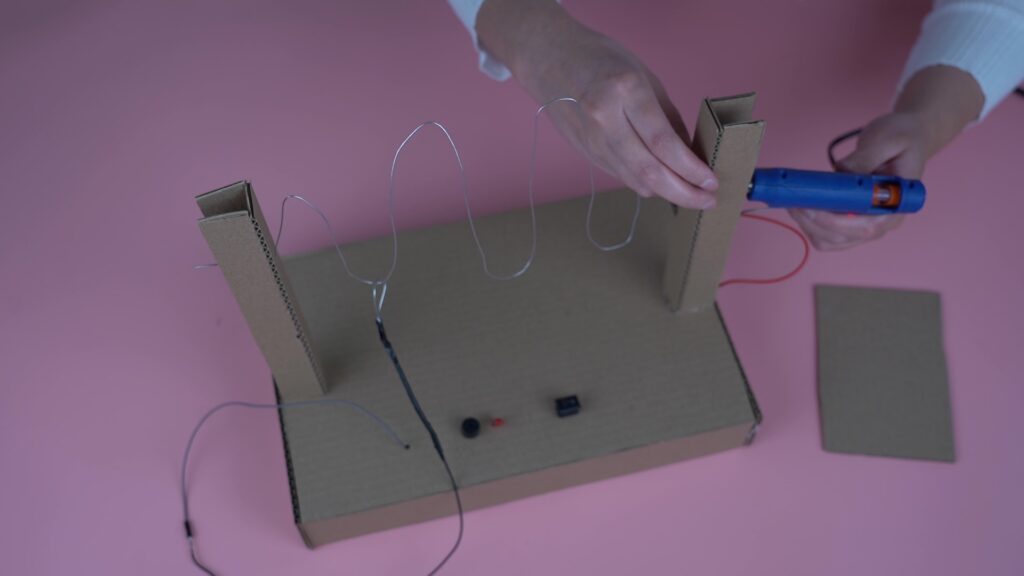
Step 7. Bend the thick wire into the desired shape. Pass the ring of the stick through it. Attach the wire to the two stands.
Step 8. Wrap the thin wire coming out of the box around the wire protruding from the stand. If necessary, secure both ends of the thick wire with hot glue.
Game Rules
The goal is to guide the ring on the stick along the thick wire from start to finish.
If the ring touches the wire → the circuit closes, the buzzer sounds, and the LED lights up. This indicates a mistake.
The aim is to reach the end without errors.
Conclusion
Through this project, students learn in practice how an electrical circuit works and how light and sound are activated when current flows. Conducted in the form of a game, the experiment sparks interest in the lesson and provides both fun and valuable learning.
Assessment
PBL Assessment Criteria:
Problem-Based Learning is an instructional method where students acquire knowledge and skills by working on a project and addressing real, engaging, and complex questions or challenges.
To assess the project, provide students with this resource (PBL rubrics – link):
- students understand the evaluation criteria in advance,
- students can fairly assess the work of their peers.