Lesson 2
The practical part
Step 1: Continue connecting the thermos parts.
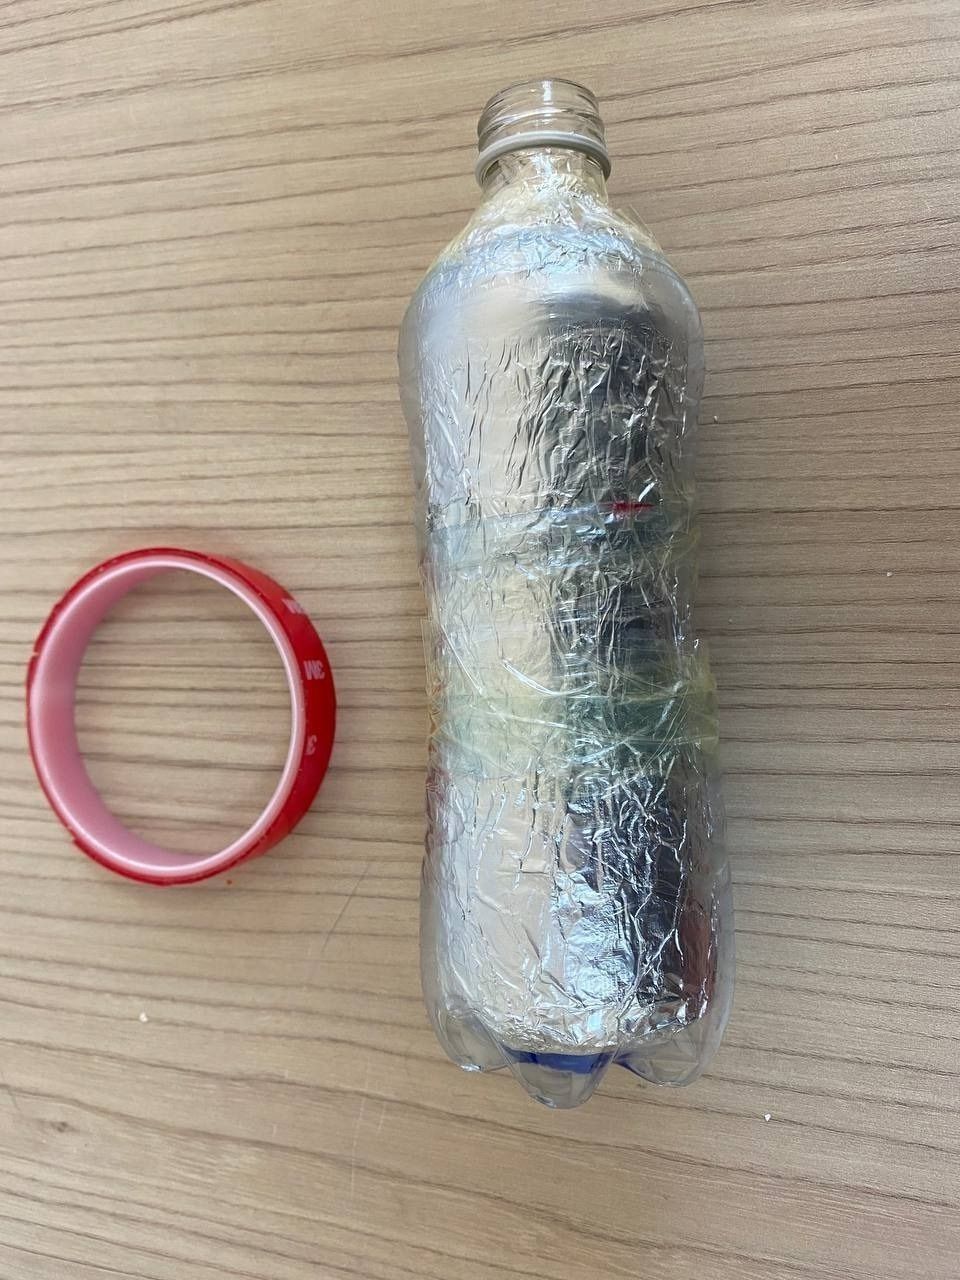
Join the glass bottle to the plastic bottle. To do this, place the glass bottle inside the plastic bottle-bottle, and from the neck, place the rest of the plastic parts.
Push the connecting knots of the plastic tightly together so that the neck fits snugly. And wrap all the knots with tape.
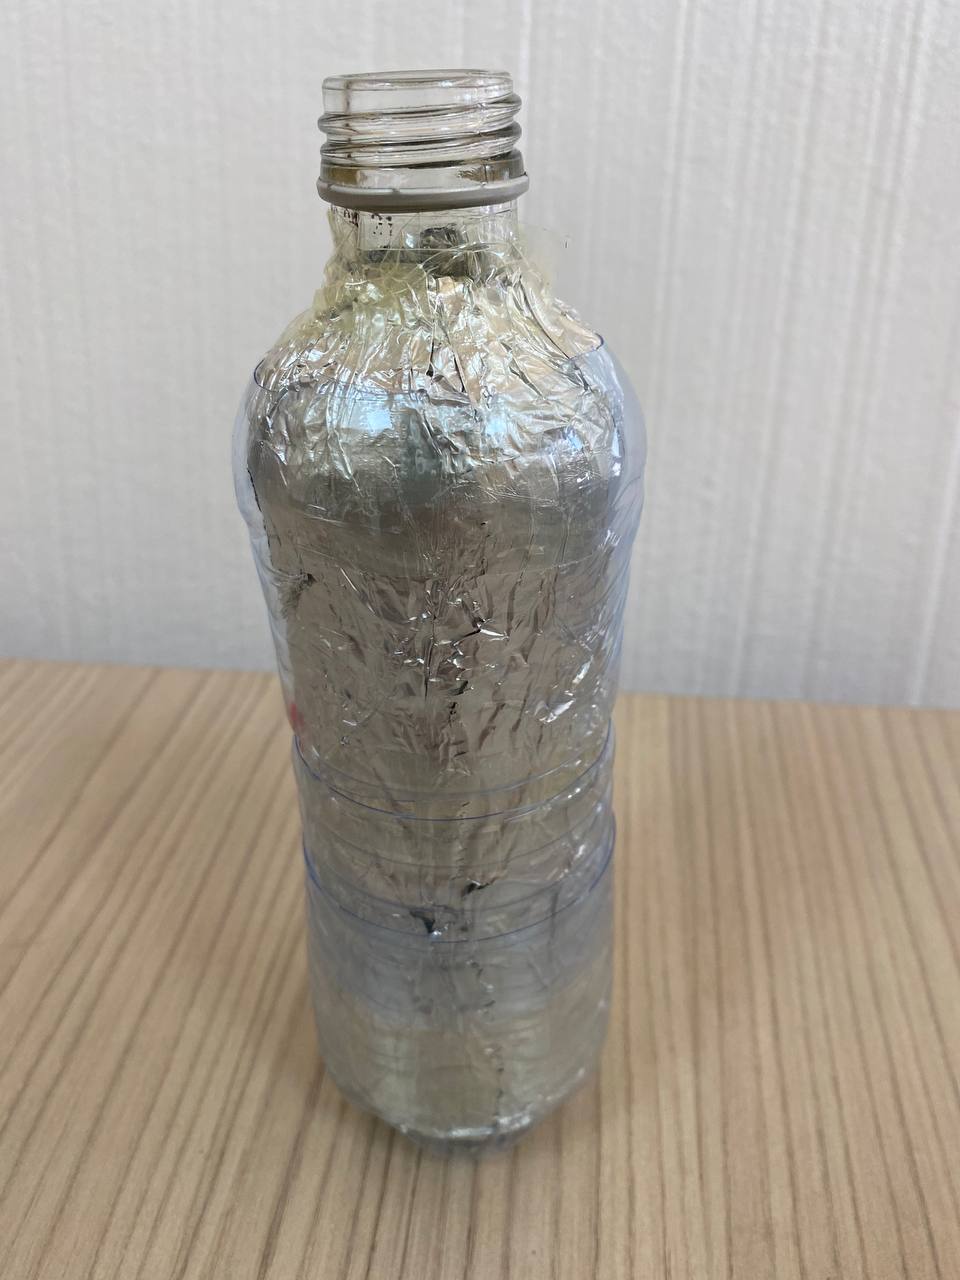
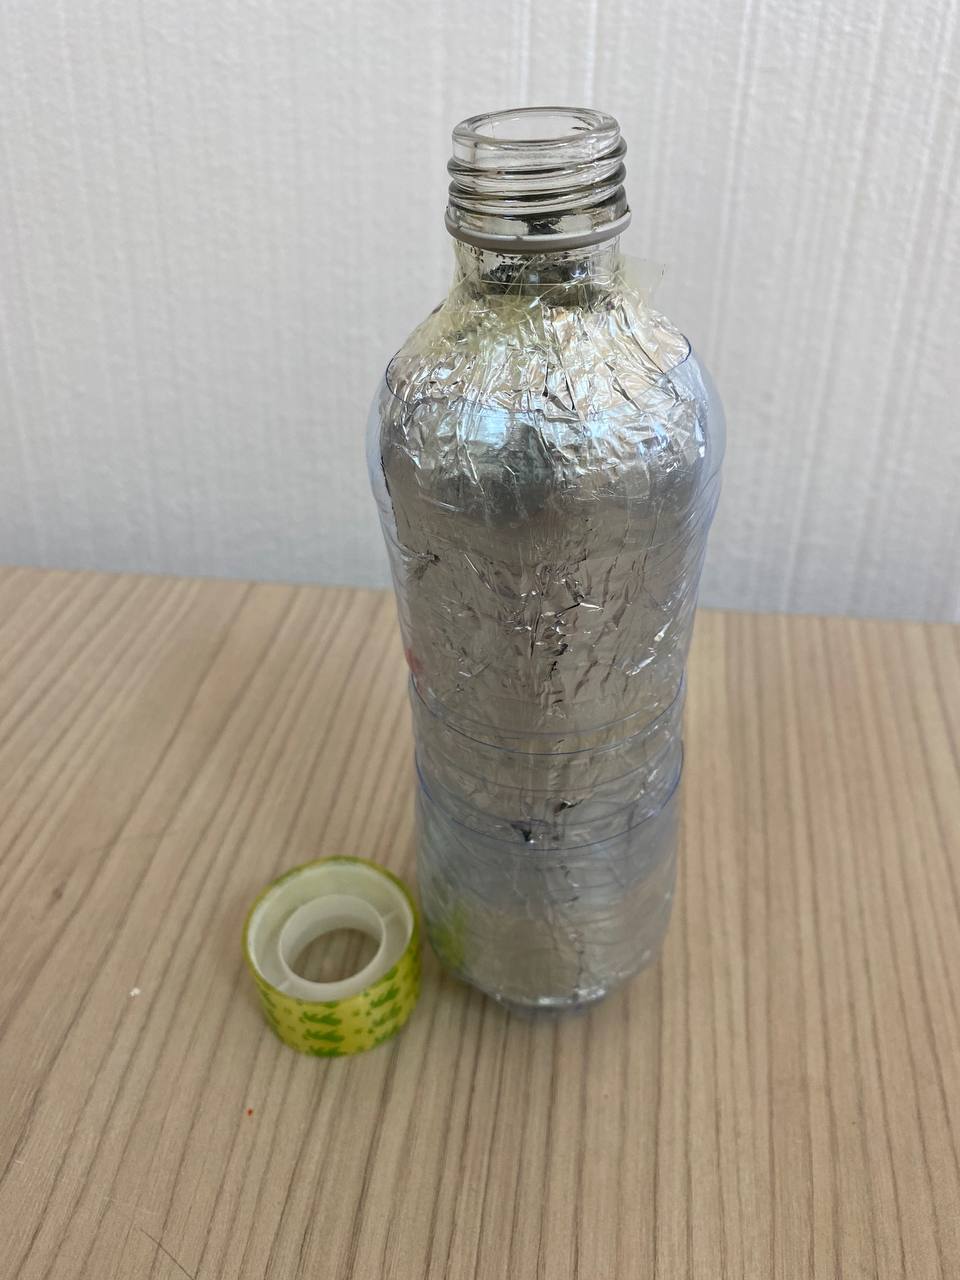
Step 2. Next, using double-sided adhesive tape, glue on the areas where you want to decorate with glitter.
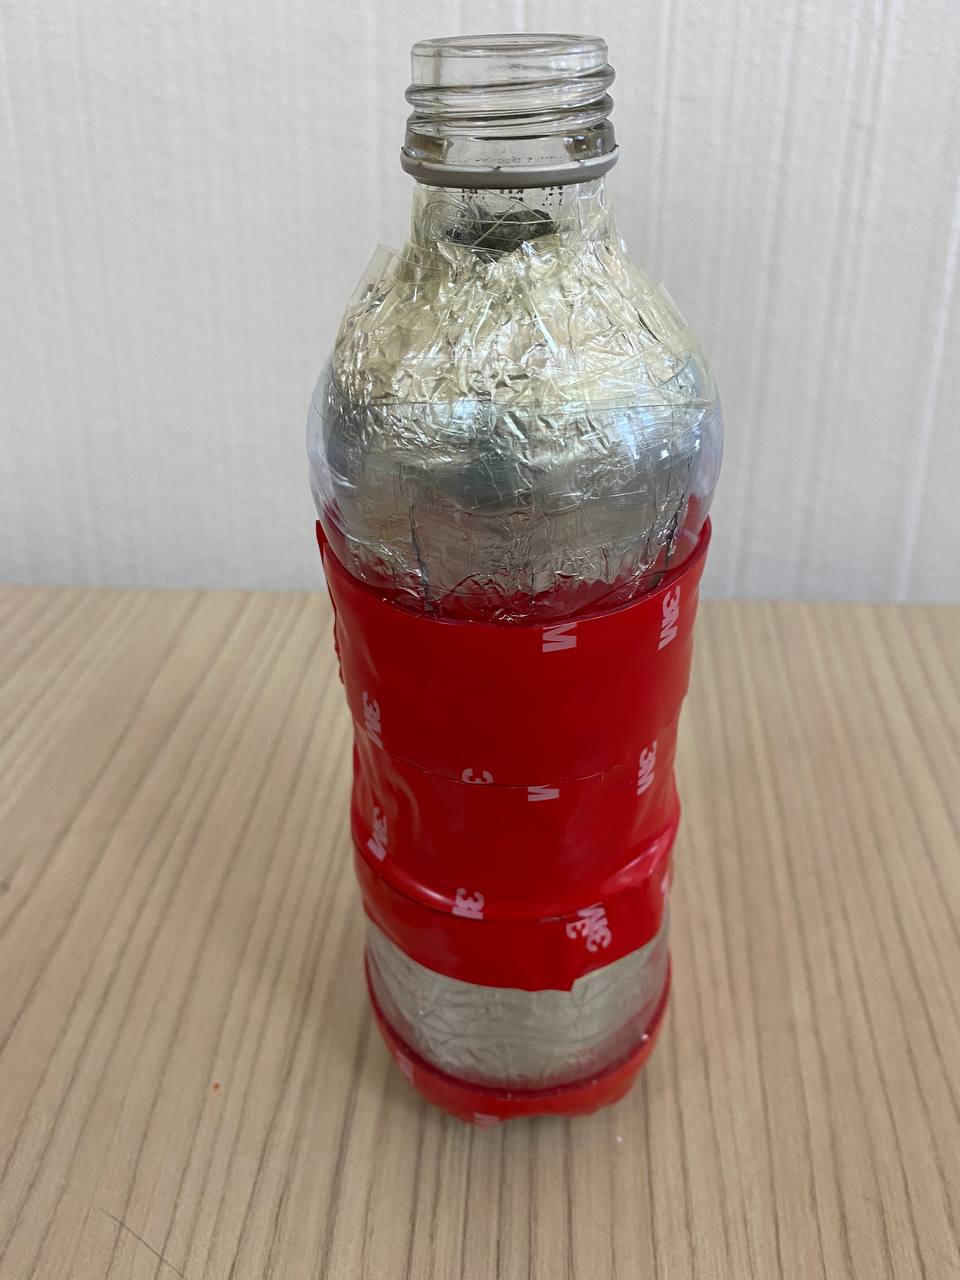
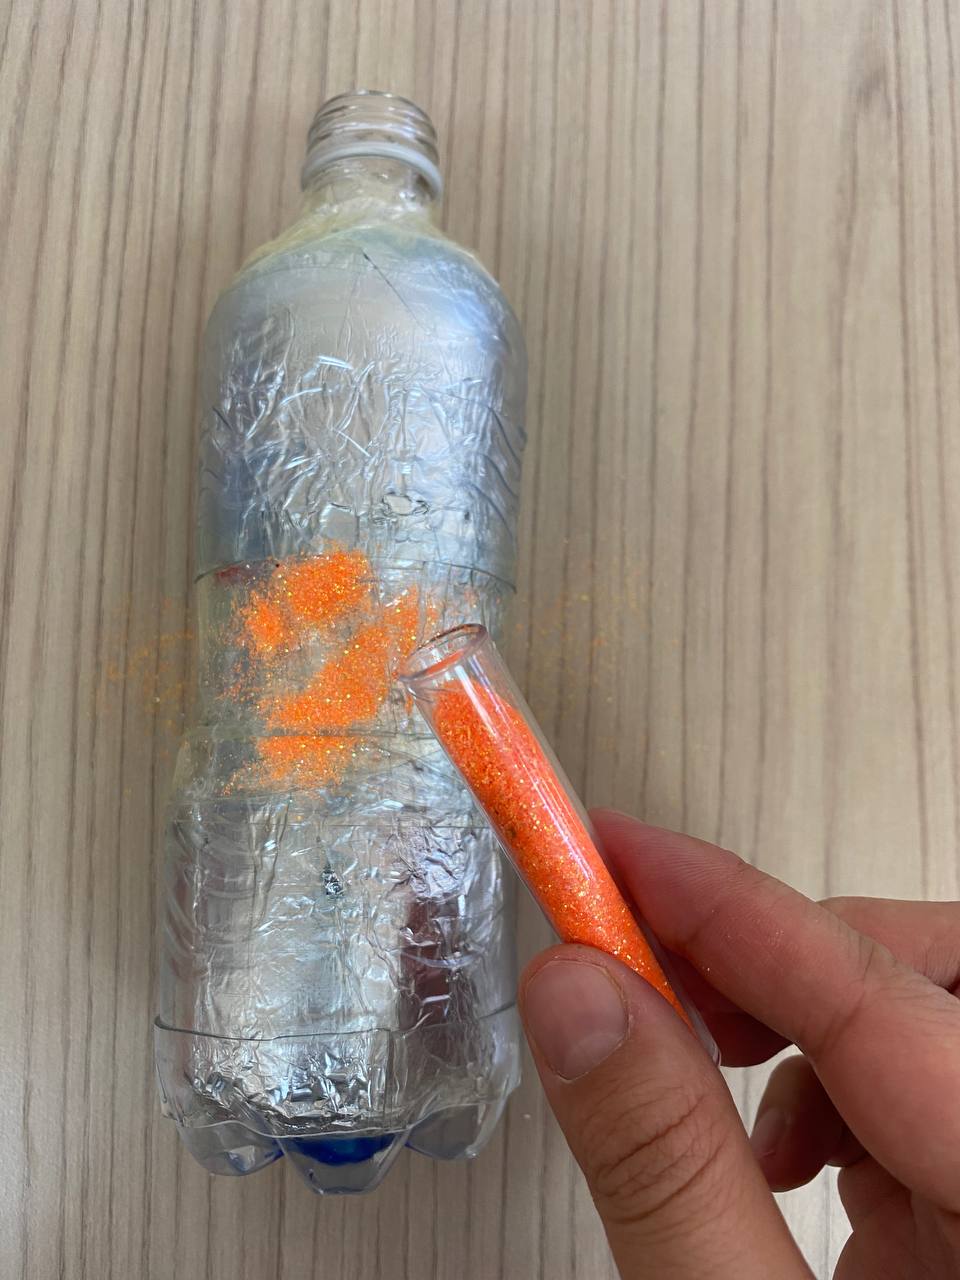
Step 3. Then remove the tape and sprinkle the glitter over the adhesive area.
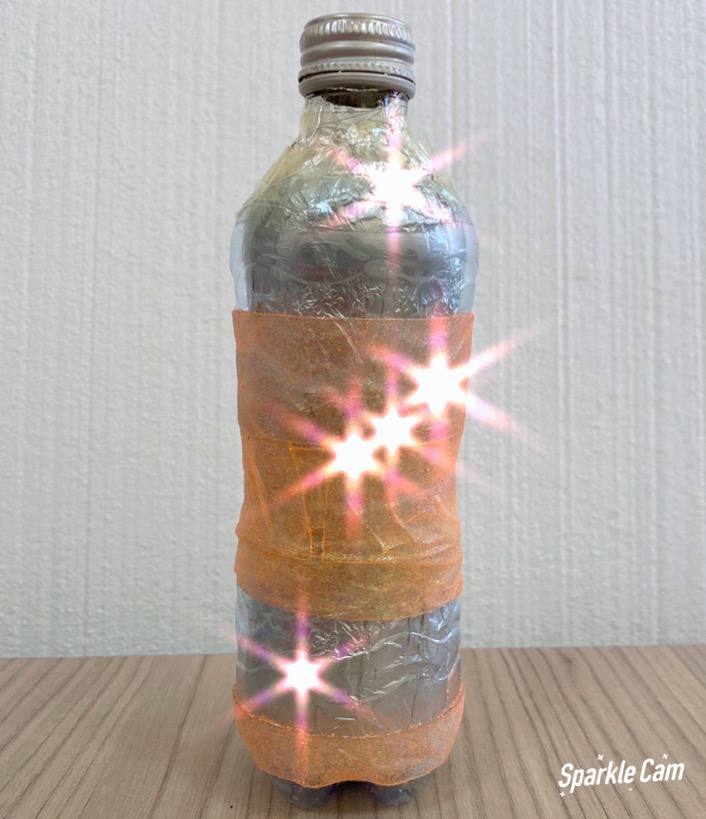
Step 4: Close the lid of the glass bottle.
Congratulations, your thermos is ready!
Research part
1. Pour hot tap or kettle water into 2 containers:
– into a prepared thermos
– into a mug or a bottle.
Be careful or ask your teacher to pour hot water for you.
2 Measure the temperature with a thermometer.
3. Measure the time. And measure your temperature every 10 minutes for an hour.
4. Draw a table and record the data obtained.
| Thermos | A mug or regular bottle | ||
| Time | Temperature | Time | Temperature |
5. Draw a conclusion and discuss it with the teacher.
Conclusion
The students thus made their own thermos and investigated the thermal conductivity of this thermos.

On this project, each student is awarded a STEAM title, in two categories:
– You independently, investigated the thermos, specifically the thermal conductivity of the foil, you are a true research scientist!
– You, on your own, made the thermos. This in turn is a technological process. Congratulations, you are a young process engineer!
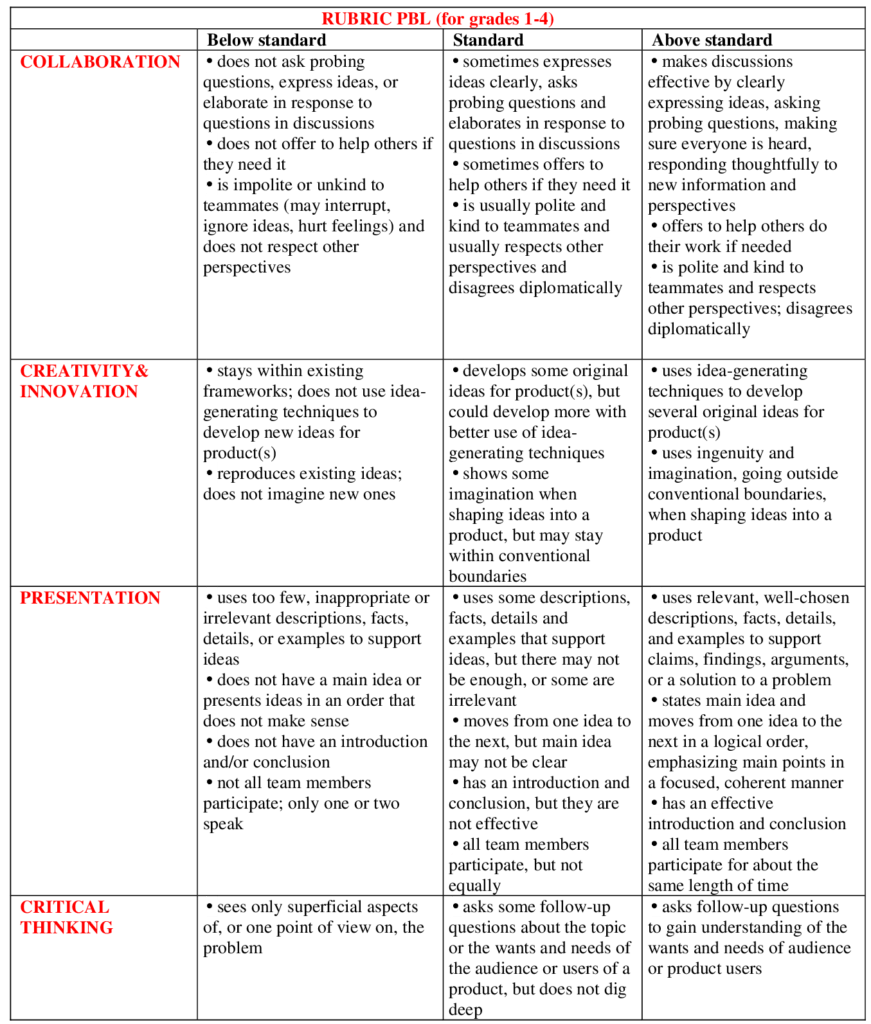
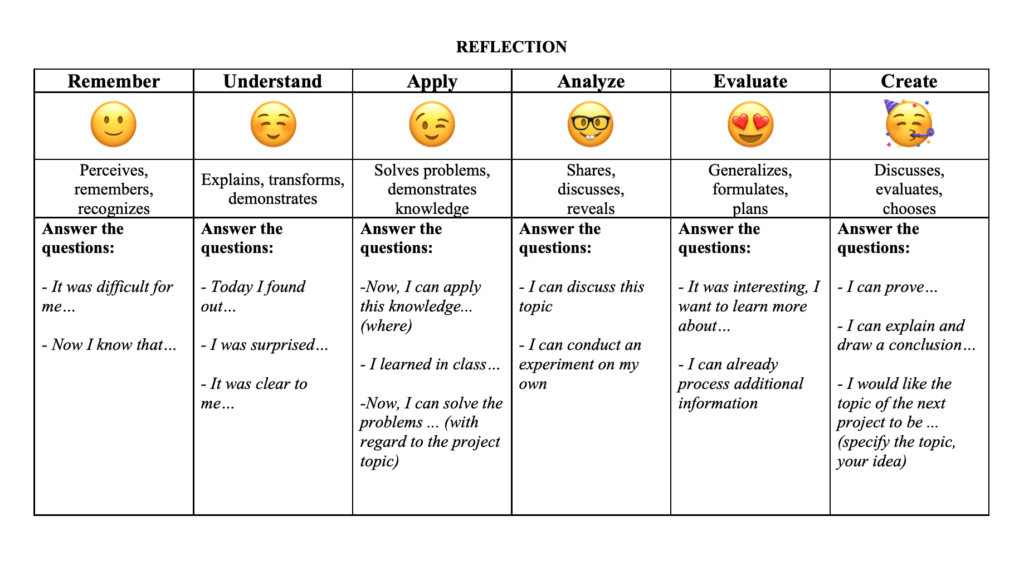
Evaluation