
Lesson 1
Project objective
1. to investigate the use of rebate as an insulating material.
2. Make a real thermos for liquids
Investigate the temperature of liquids
Teacher’s guide
– In the experimental part of the project, students work in groups of 4-5.
– Pupils should be familiar with topics like heat/thermal conductivity/insulating materials.
– Before starting the experimental part, familiarise and provide the students with all the necessary materials.
– Give a brief instruction on how to use the hot melt glue (only the teacher uses it).
– A stationery knife is used only by the teacher.
– PBL (project based learning) is not a problem in the classroom. 4K Digital Learning (Digital Literacy, Collaboration, Creative Writing, Presentation)
Safety in Steam lessons
It is recommended that teachers are fully aware of the safety procedures before the beginning of the lesson. If necessary (if they are using items specified in the PPE guidelines), brief the students. Visit Safety in Steam lessons: Safety rules
Theoretical part
Dear students, answer the questions:
1. What is heat?
2. How long can heat be retained?
3. what thermal insulation materials do you know?
3. Have you noticed in which container, the delivery person delivers the food?
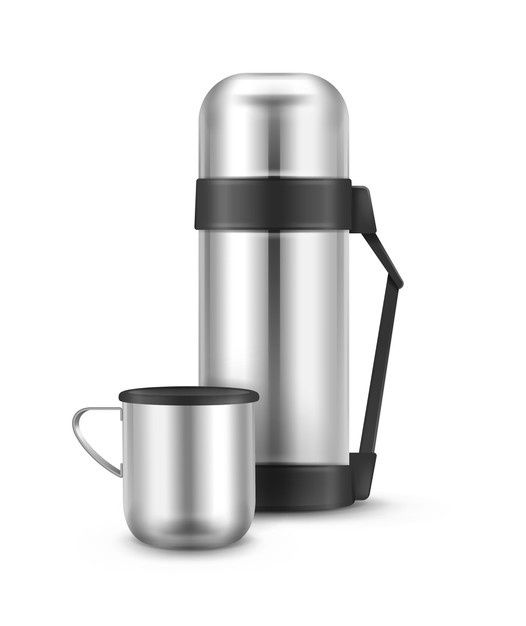
4. What is a thermos, a thermocontainer?
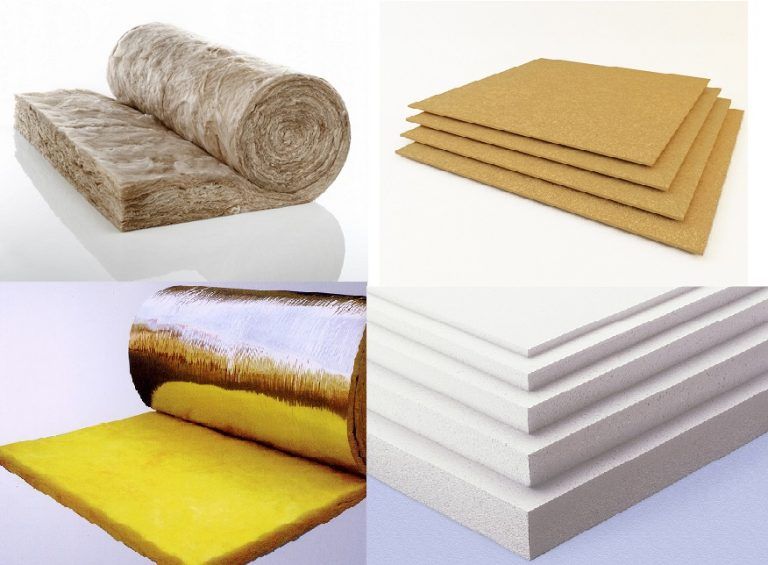
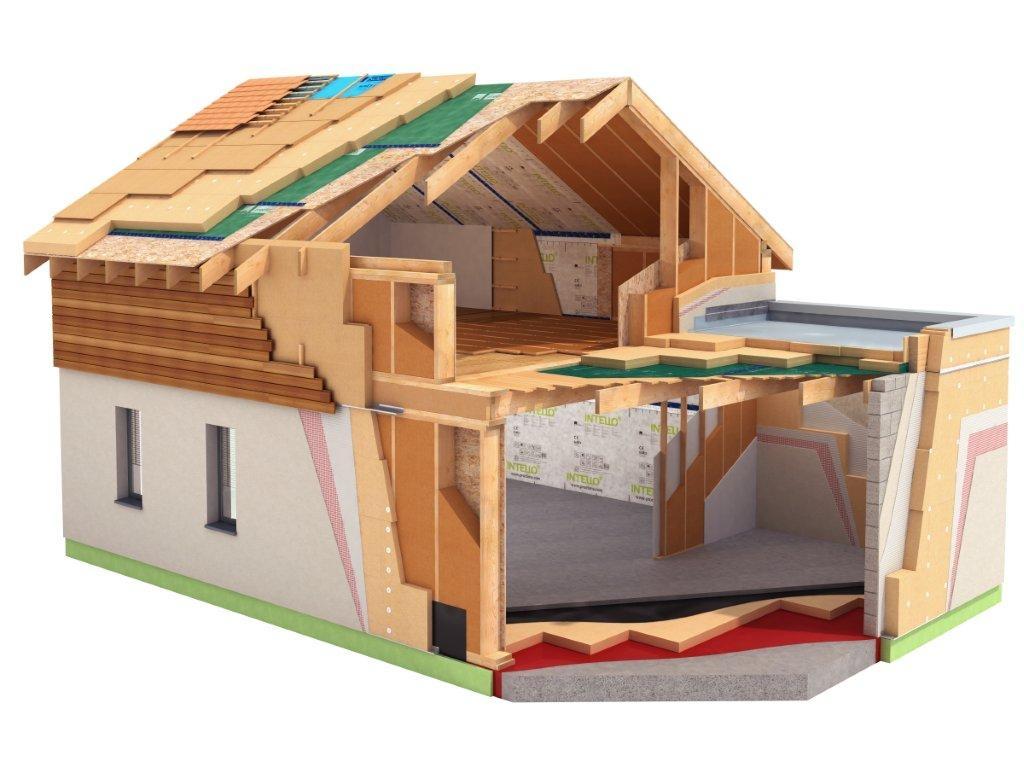
Thermal insulation materials
Heat passes from a hot body to a cold body or from a hot part of the body to a cold part of the body.
Heat conduction is the spread of heat in solid bodies.
Thermal insulation (‘thermal insulation’) – elements of a structure that reduce the heat transfer process and act as the main thermal resistance in the structure.
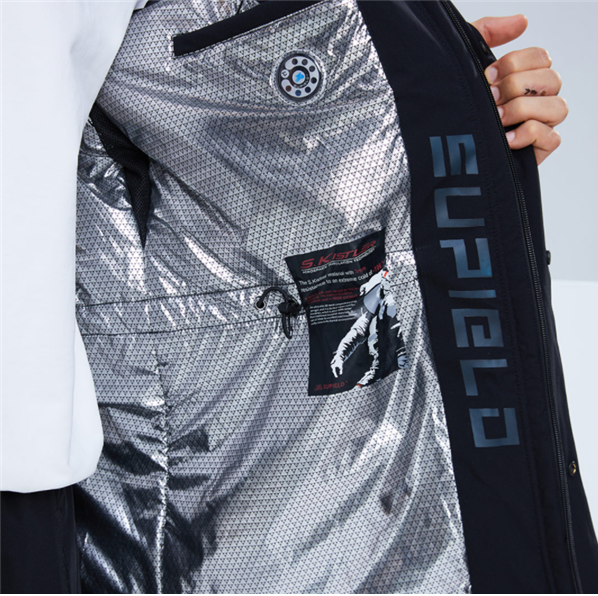
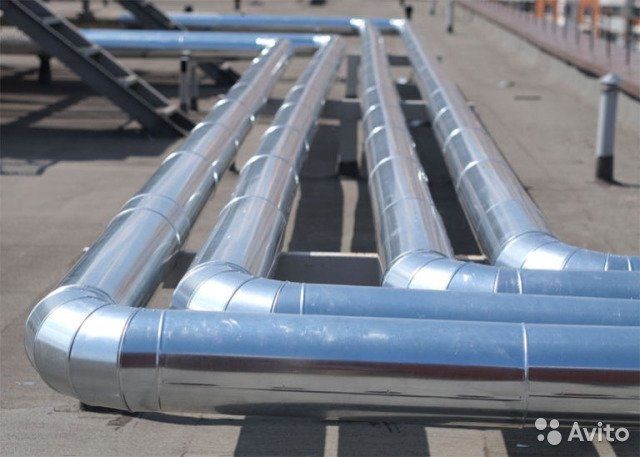
What are insulation materials used for?

.jpg)
Practical part
On this project the pupils will make a THERMOS.
Step 1: Divide into groups (4-5 students). Familiarise yourselves with all the necessary materials.
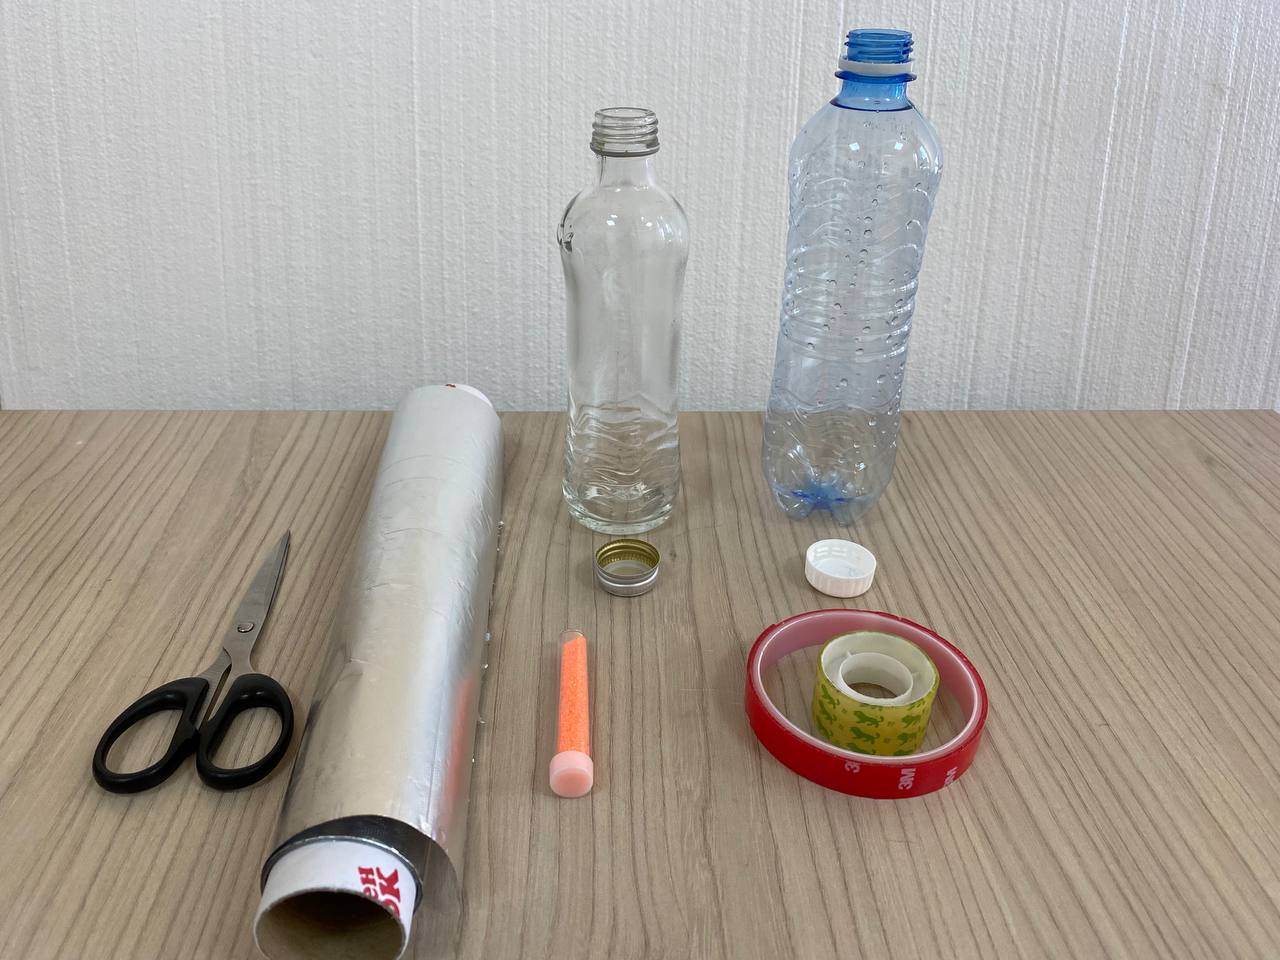
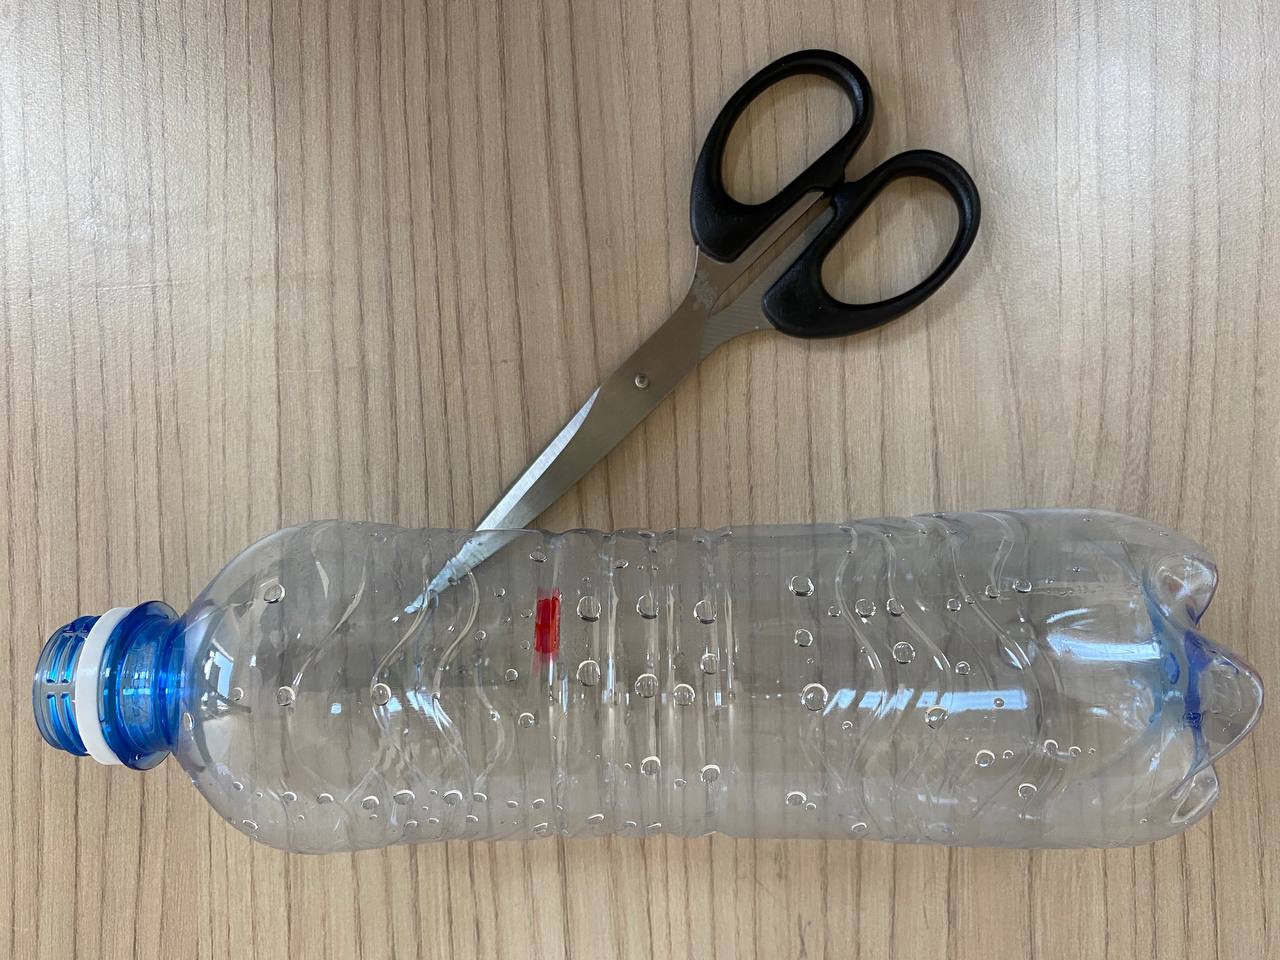
Step 2: Mark out and cut a plastic bottle into 3 pieces.
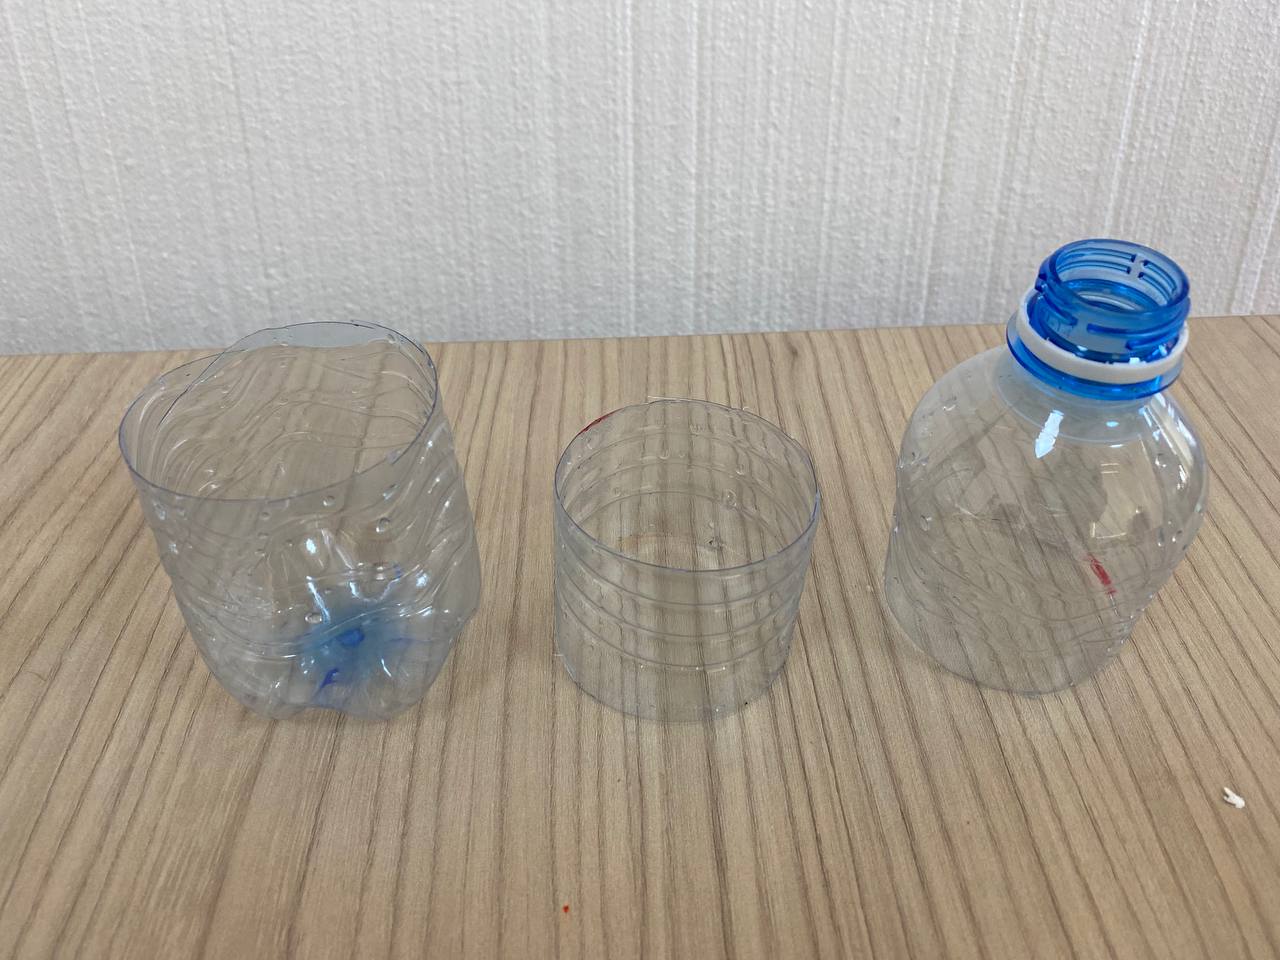
Step 3. Then cut out the neck.
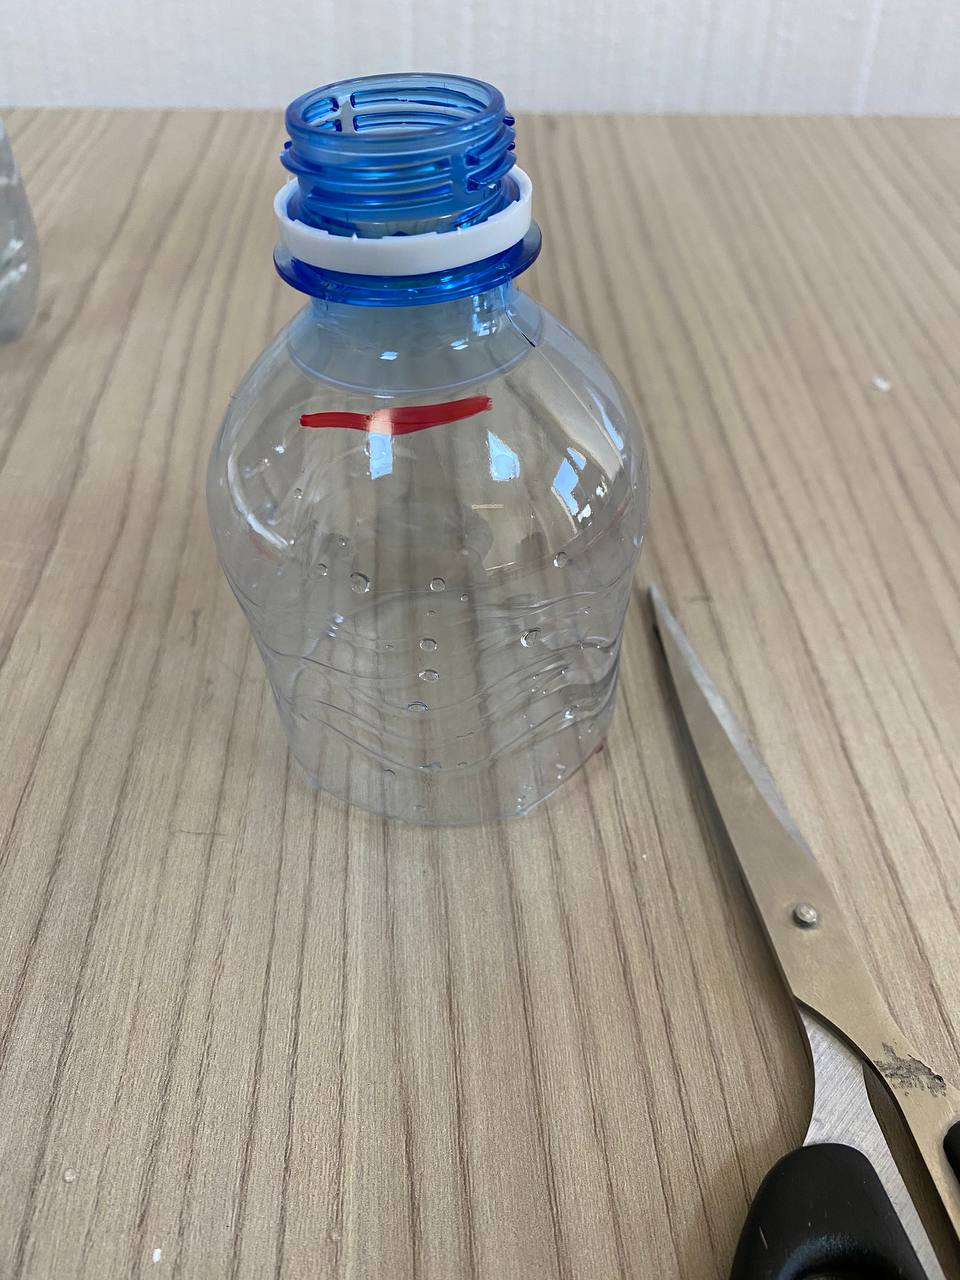
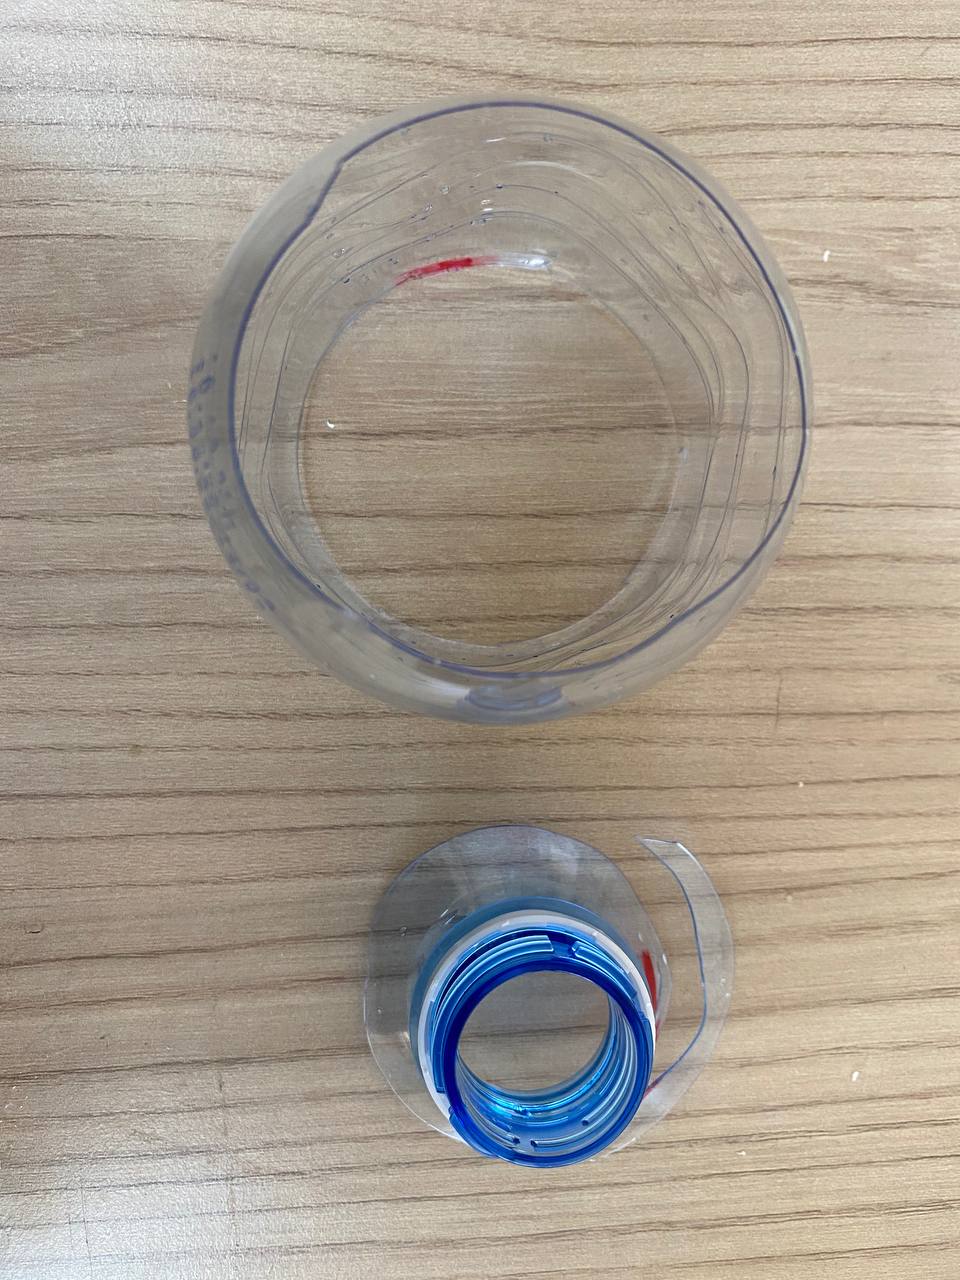
Step 4. Then connect the glass bottle to the plastic bottle. To do this, place the glass bottle inside the day of the plastic bottle and from the neck place the rest of the plastic.
!!! There must be a free space between the plastic and glass layers.
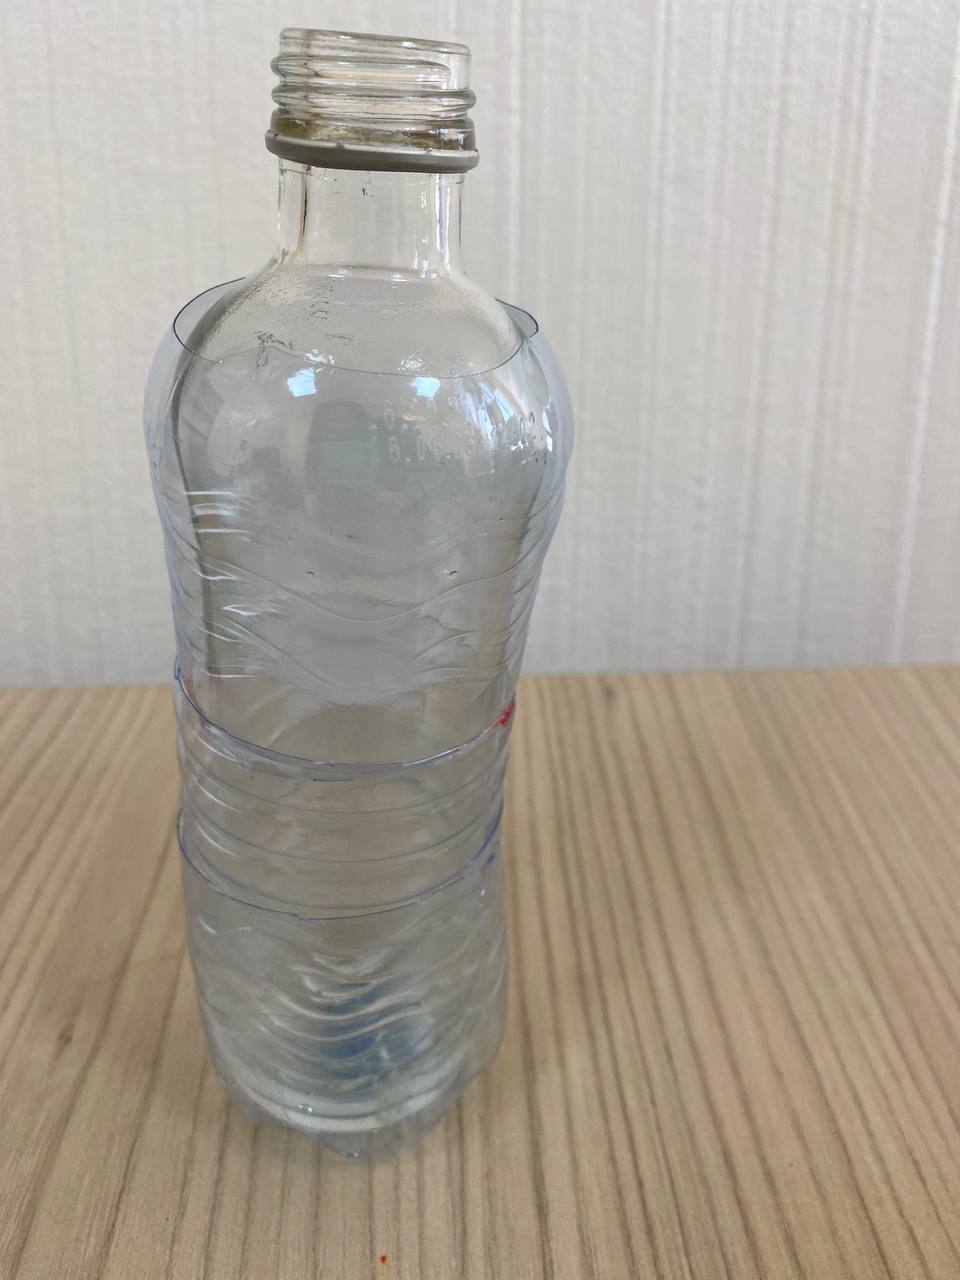
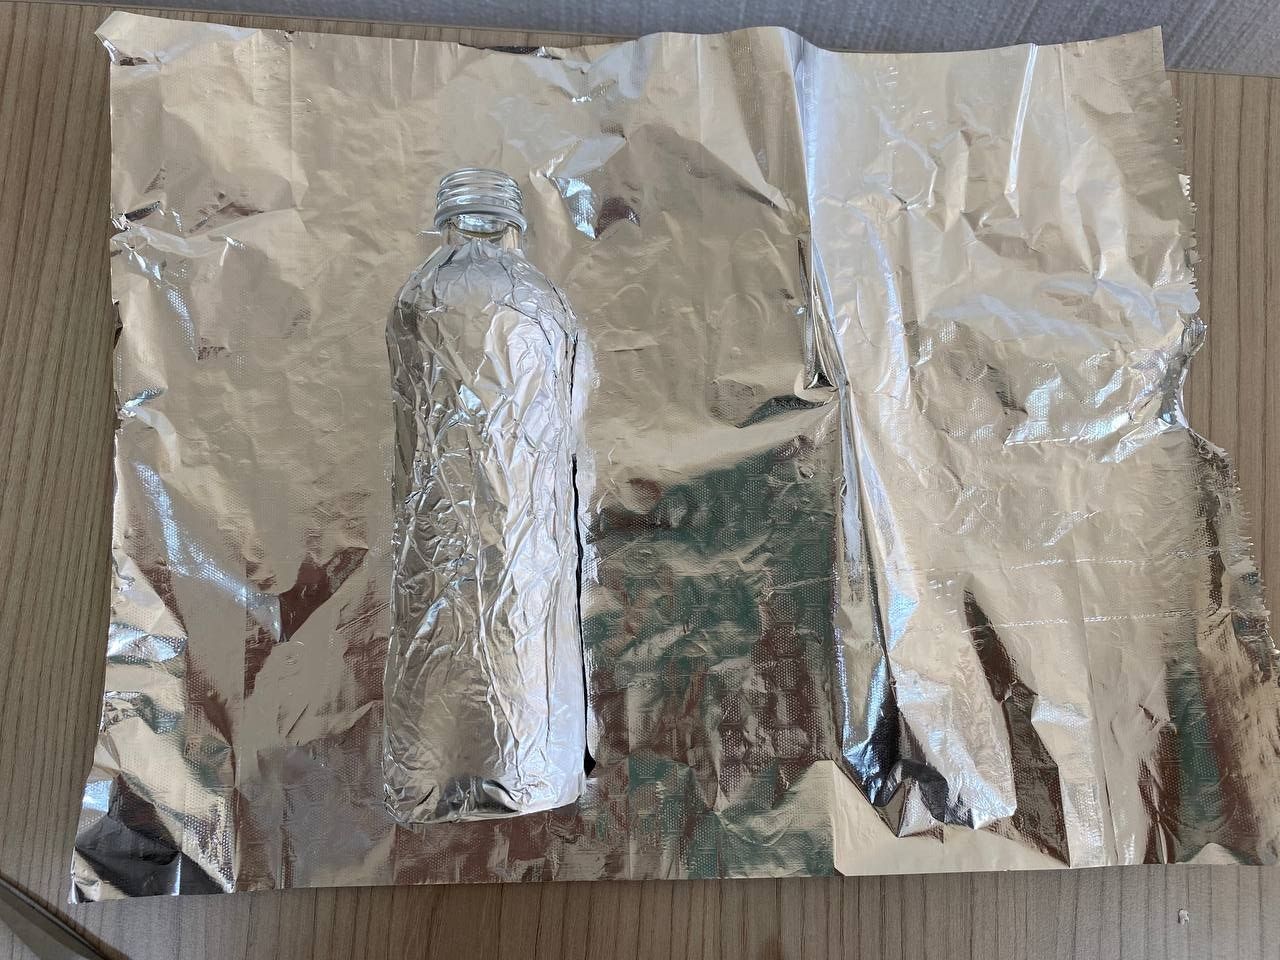
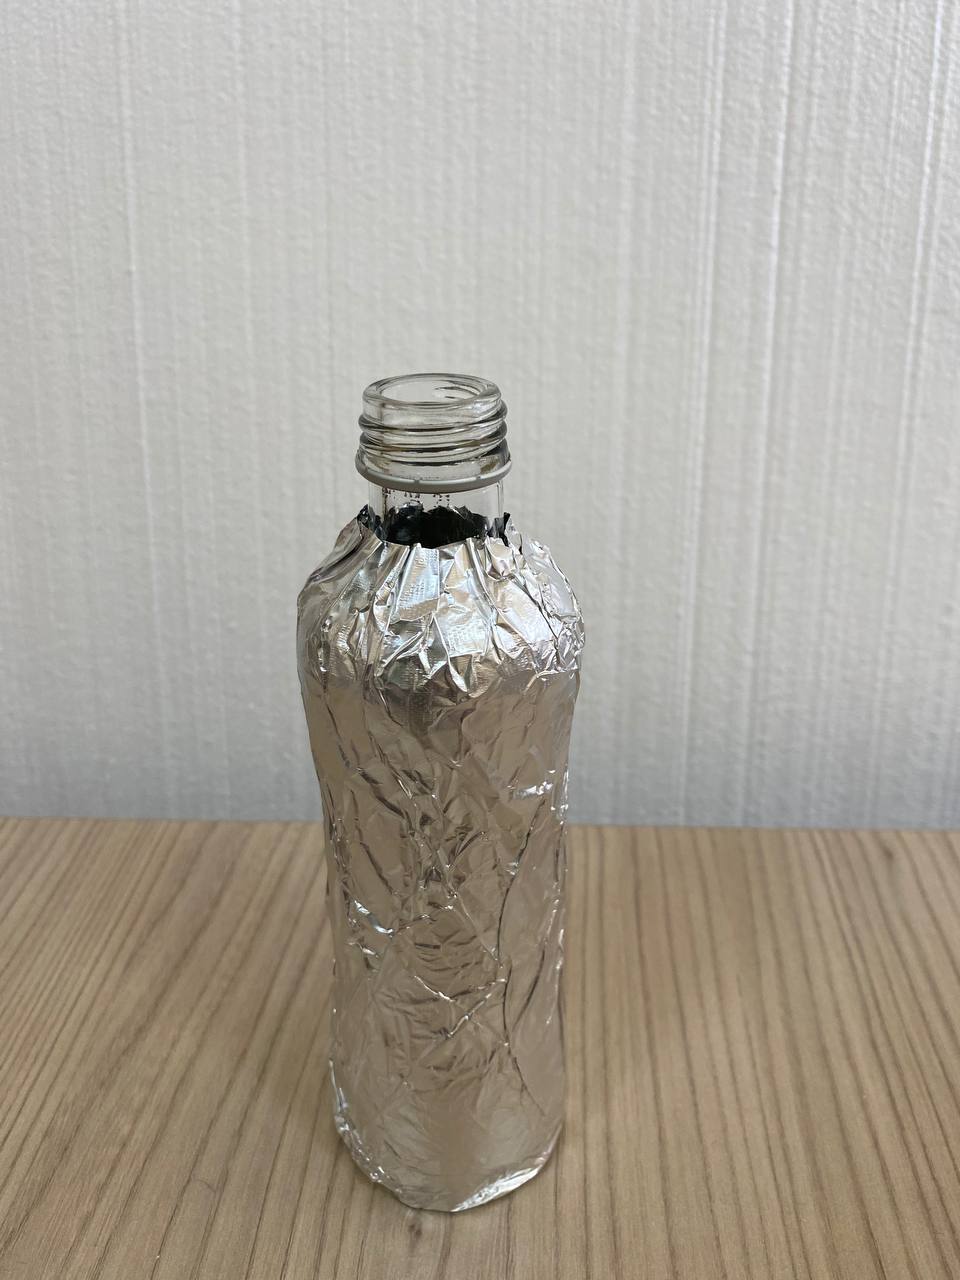
Step 5. Cut 2 pieces of foil and wrap the glass bottle in stages.
Work at home
1. Think about how you could make a thermo-box (backpack) for food.
2. with what materials?
3. Before the next lesson, think of how you will decorate your thermos (you can bring glitter, stickers, etc.)