Lesson 2
The practical part
Step 1: In the last lesson, you assembled 2 photo frame parts
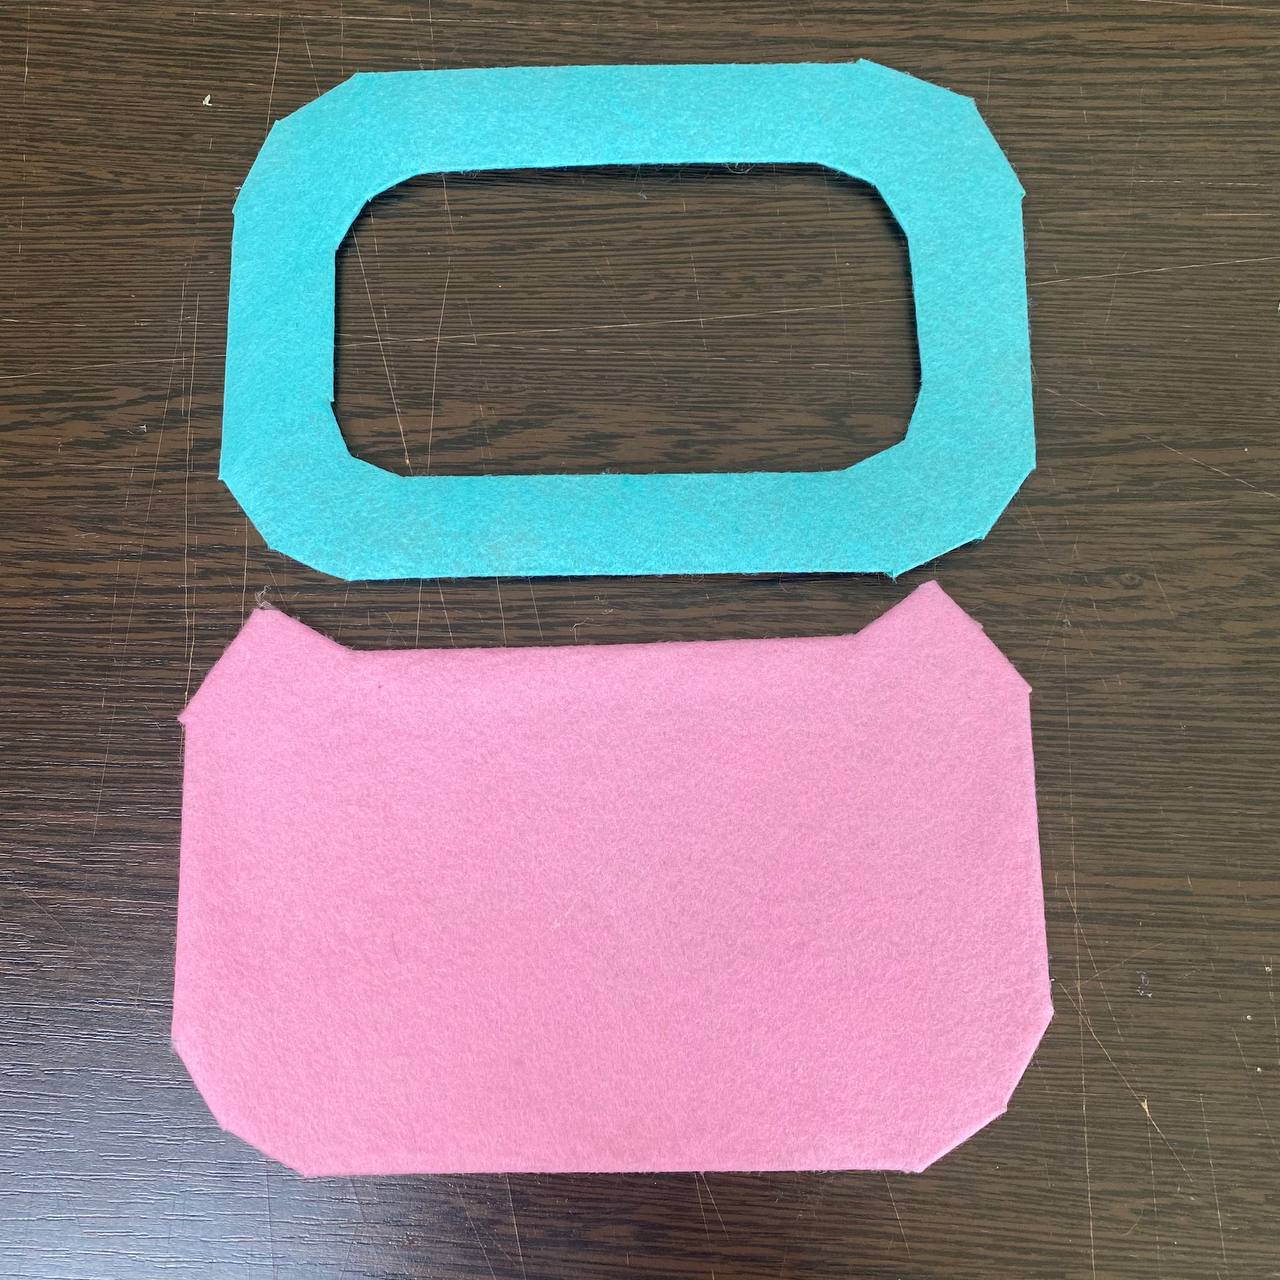
Step 2. Now join the two parts together. Face each other on the wrong side.
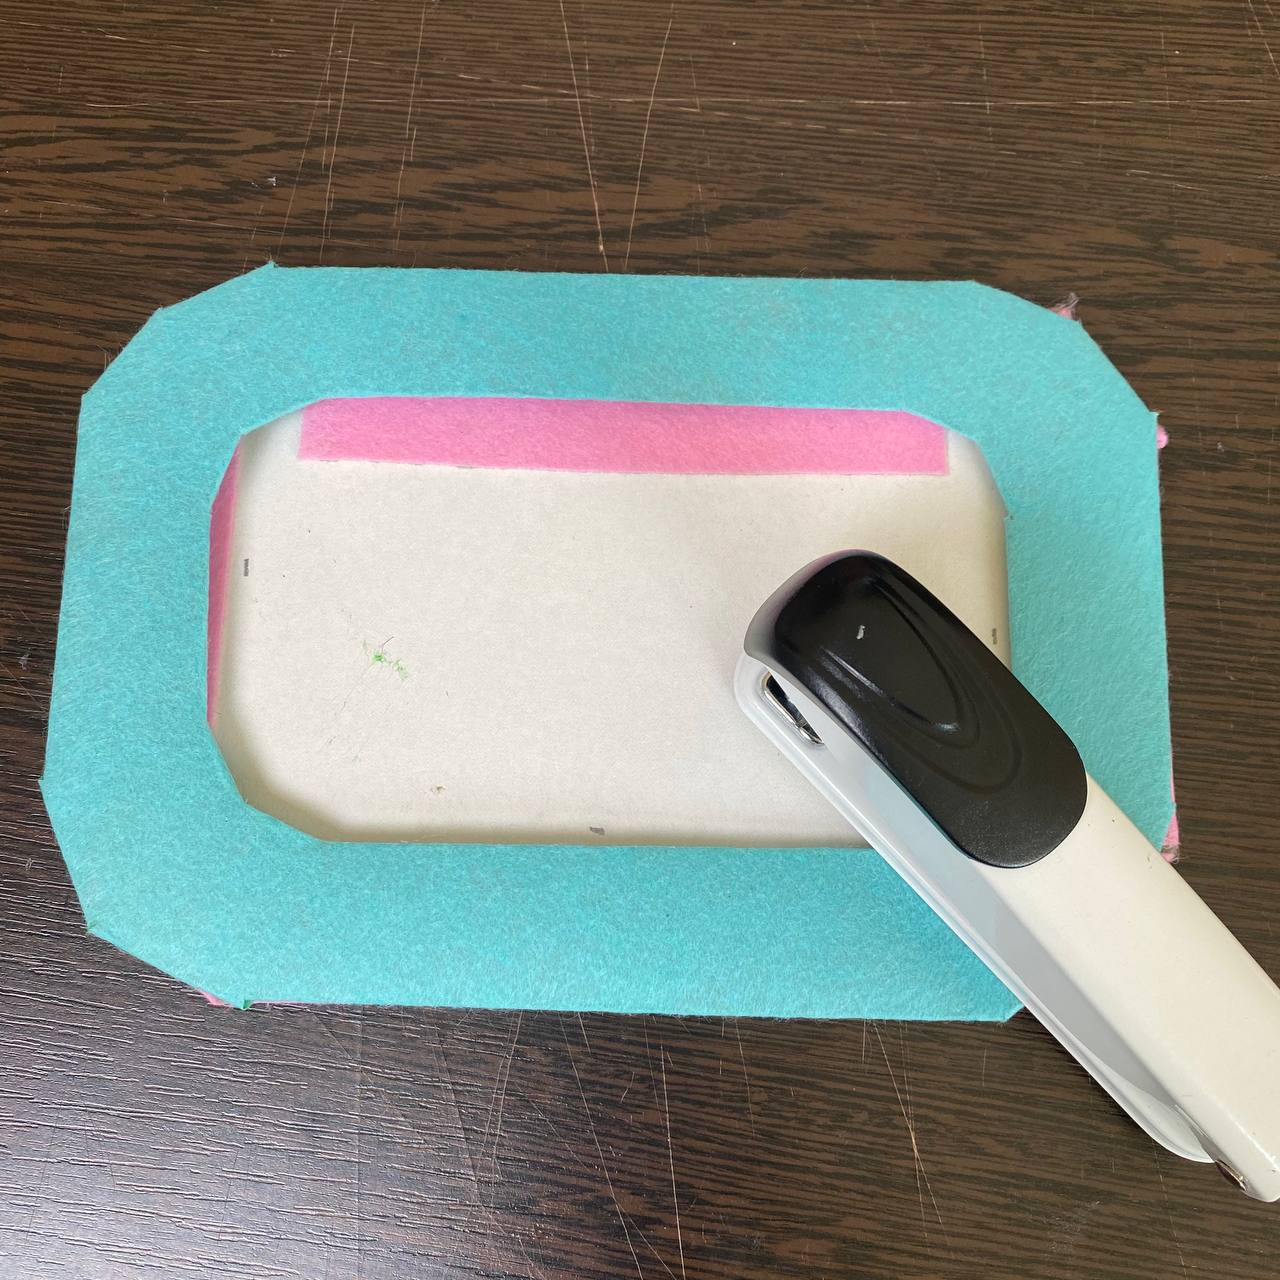
Step 3. Using a stapler or hotmelt glue, work the frame edges together, gripping two pieces at a time.
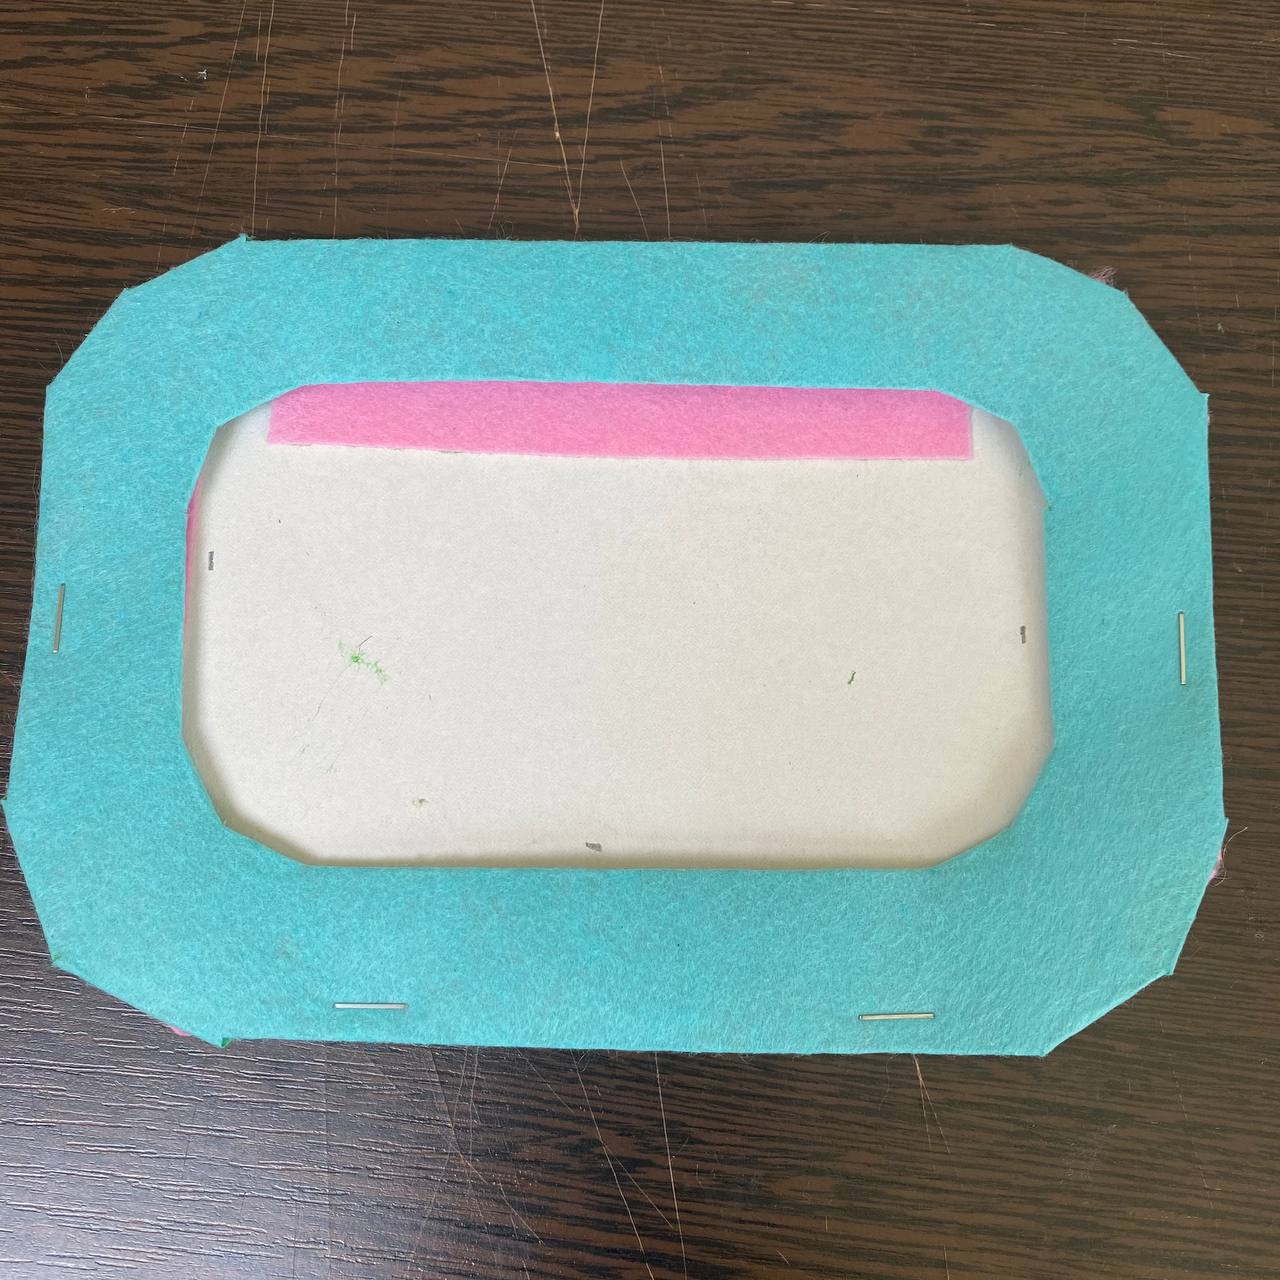
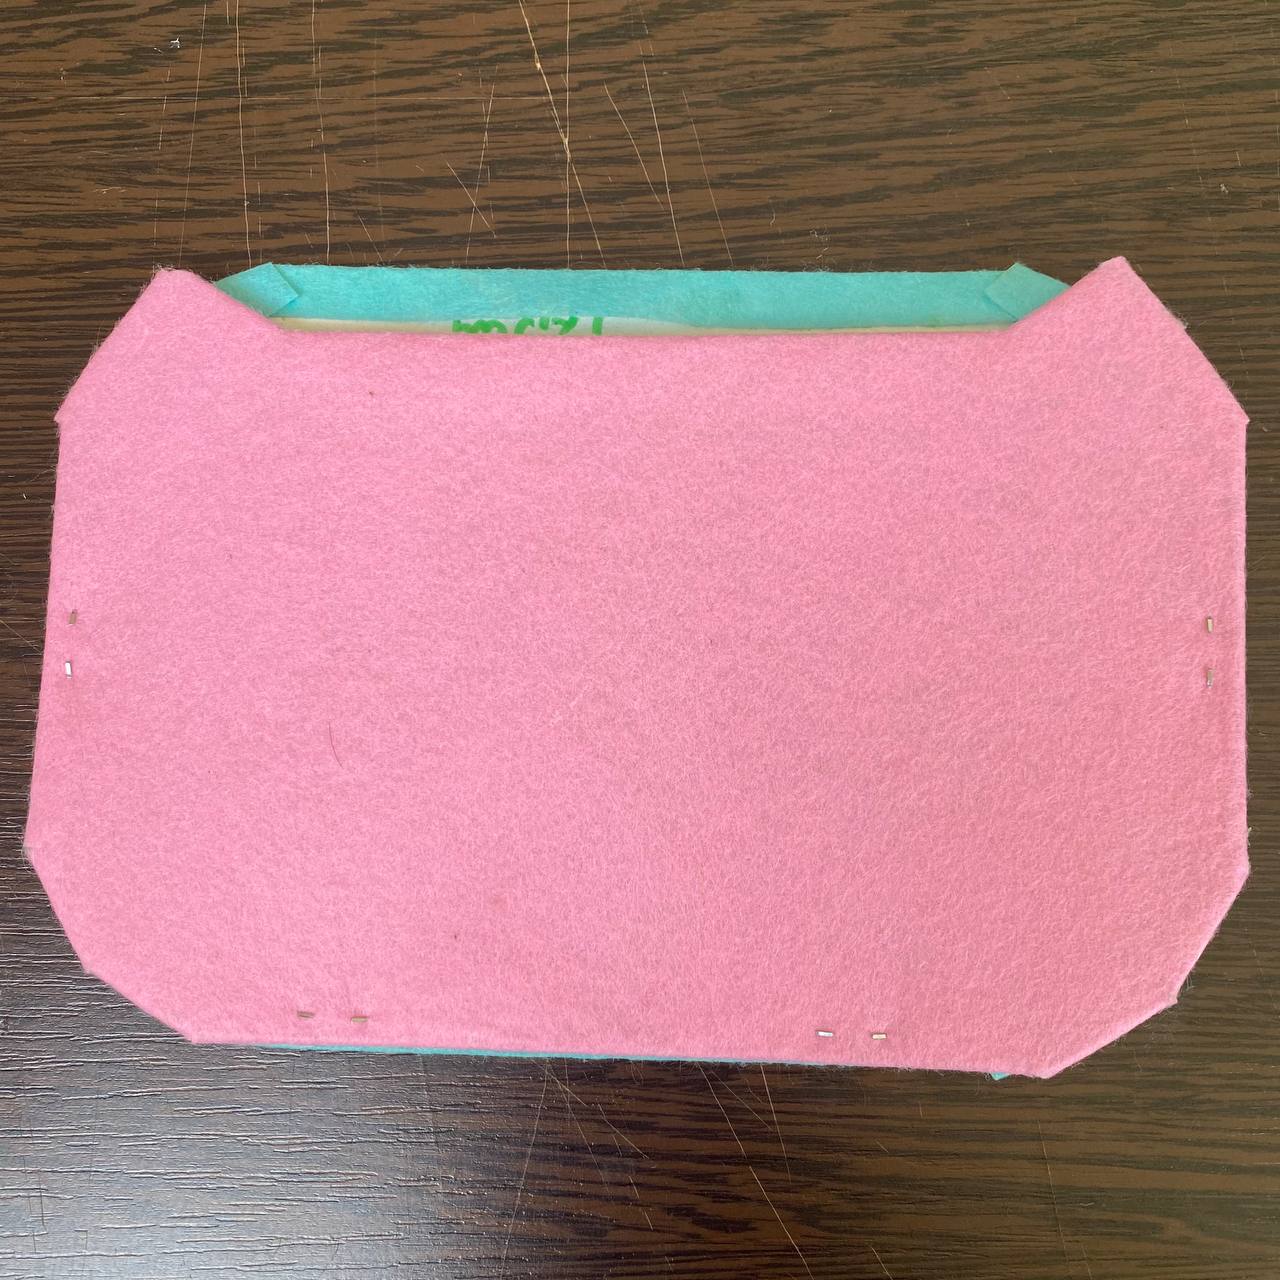
Step 4: Place the photo you have brought.
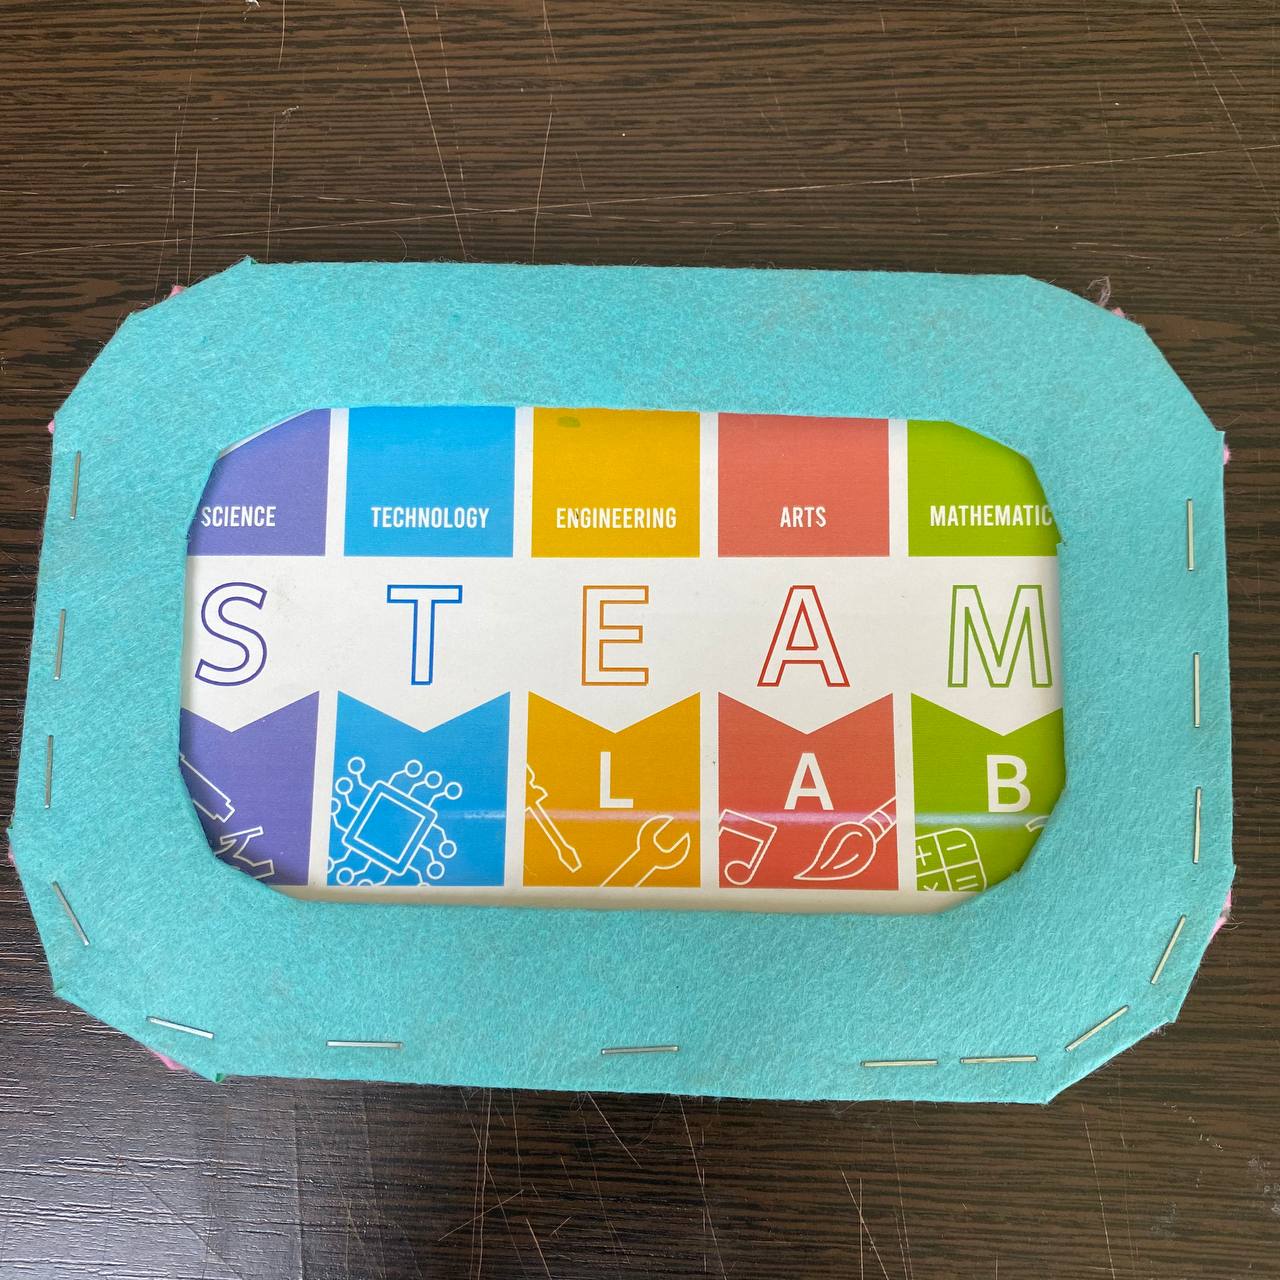
Step 5: Get the magnetic strips
Then remove the adhesive tape and glue on the back of the photo frame
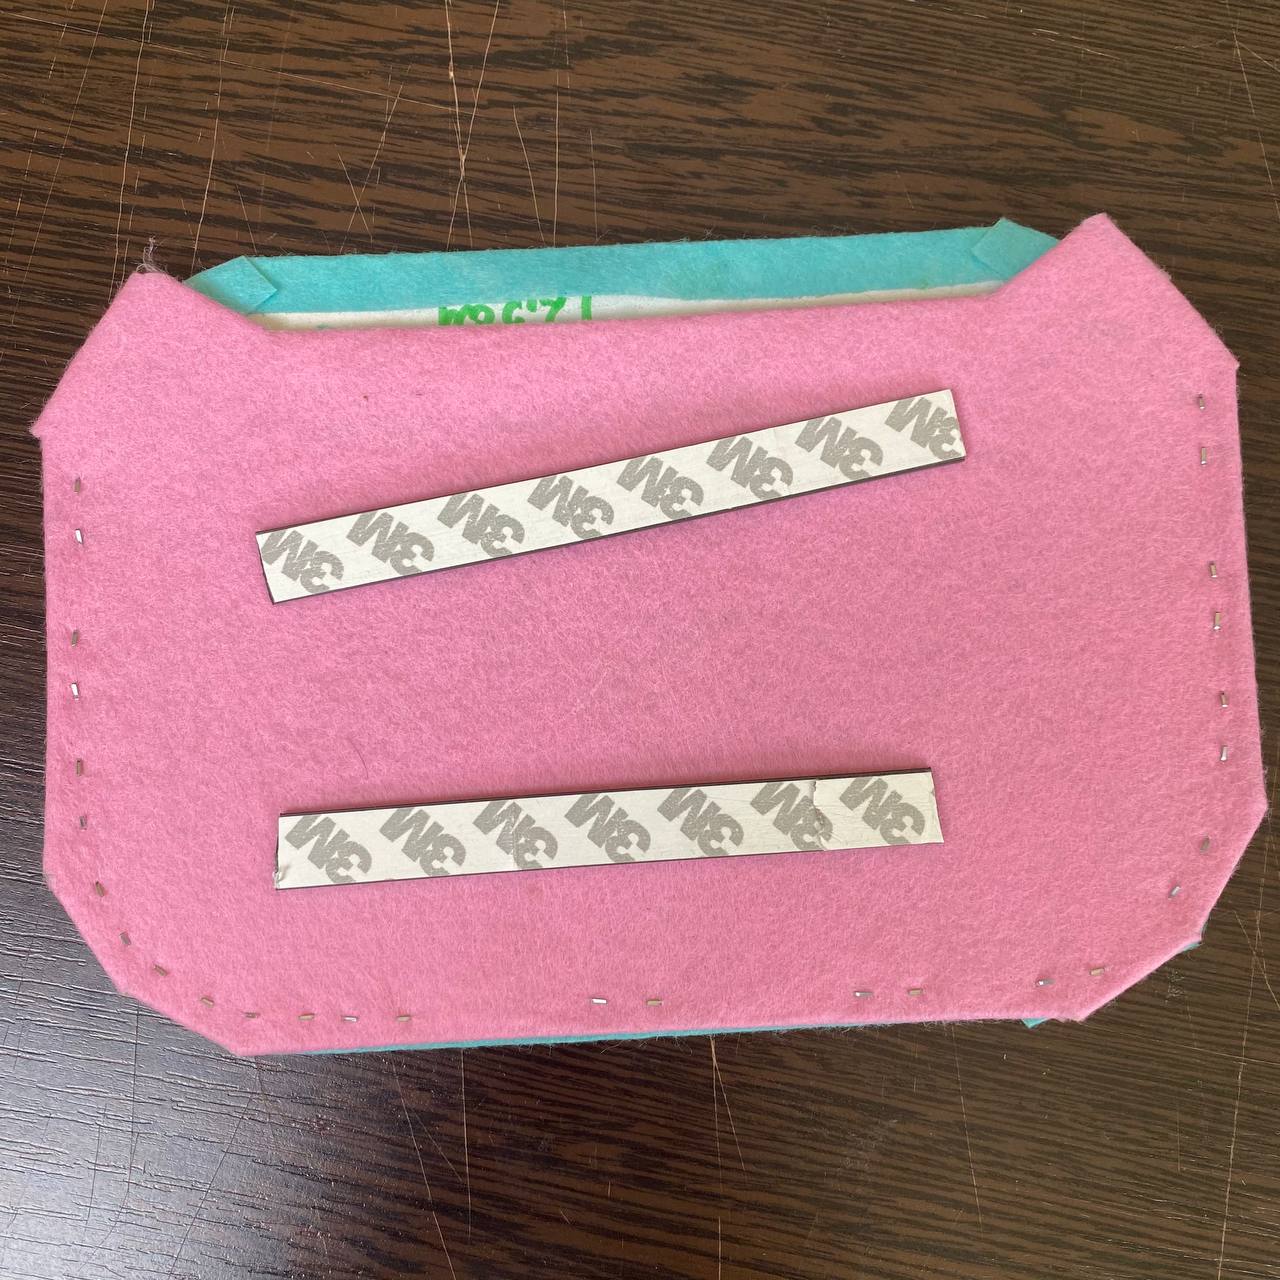
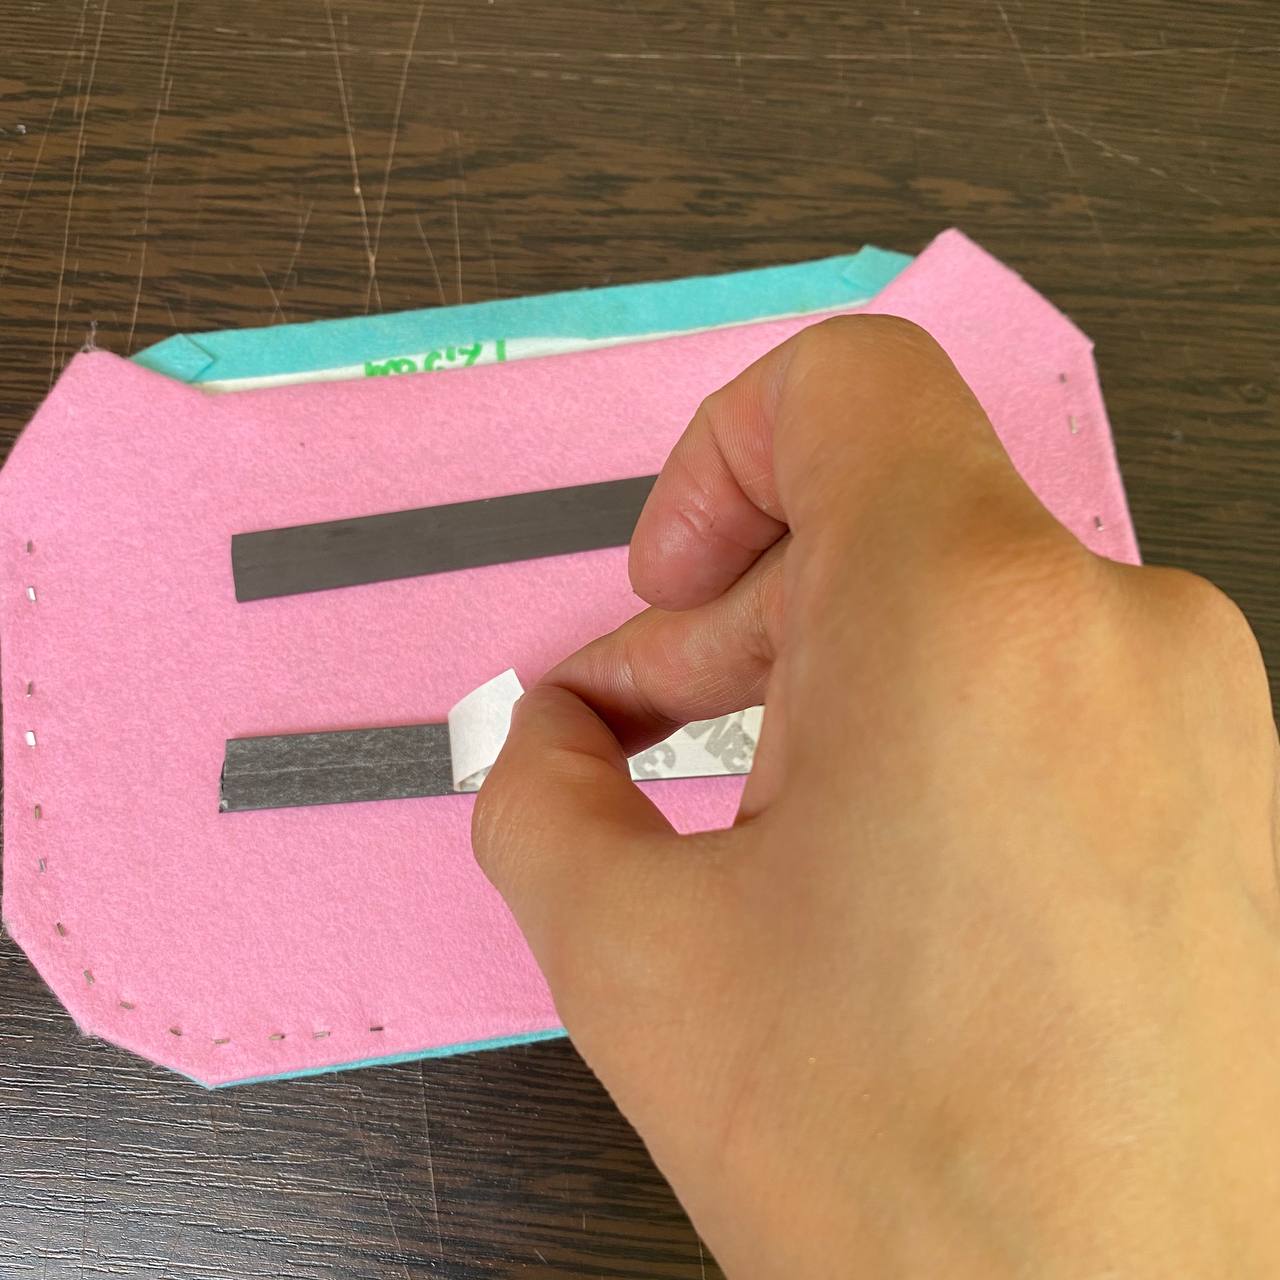
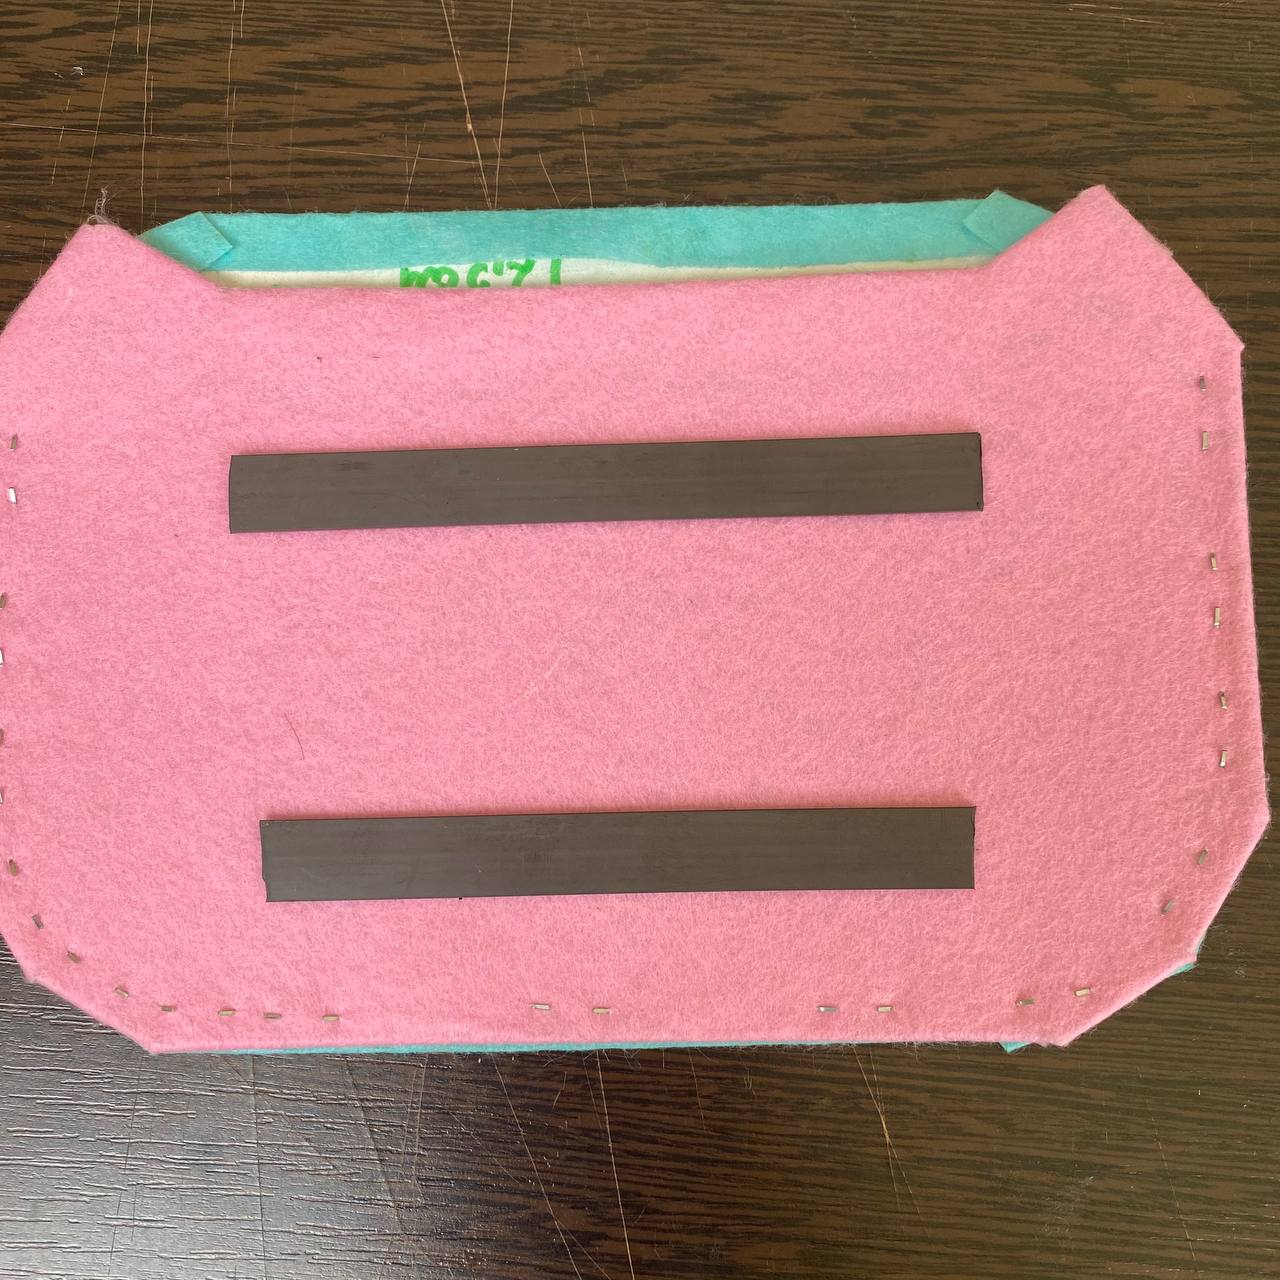
Step 6: Make sure that the magnetic strips are firmly bonded to the material.
Optionally, you can secure with hot melt adhesive
Step 7. You have a Latin alphabet (stencil). Cut out the necessary letters. You can cut out your Name and/or initials etc. Anything you like
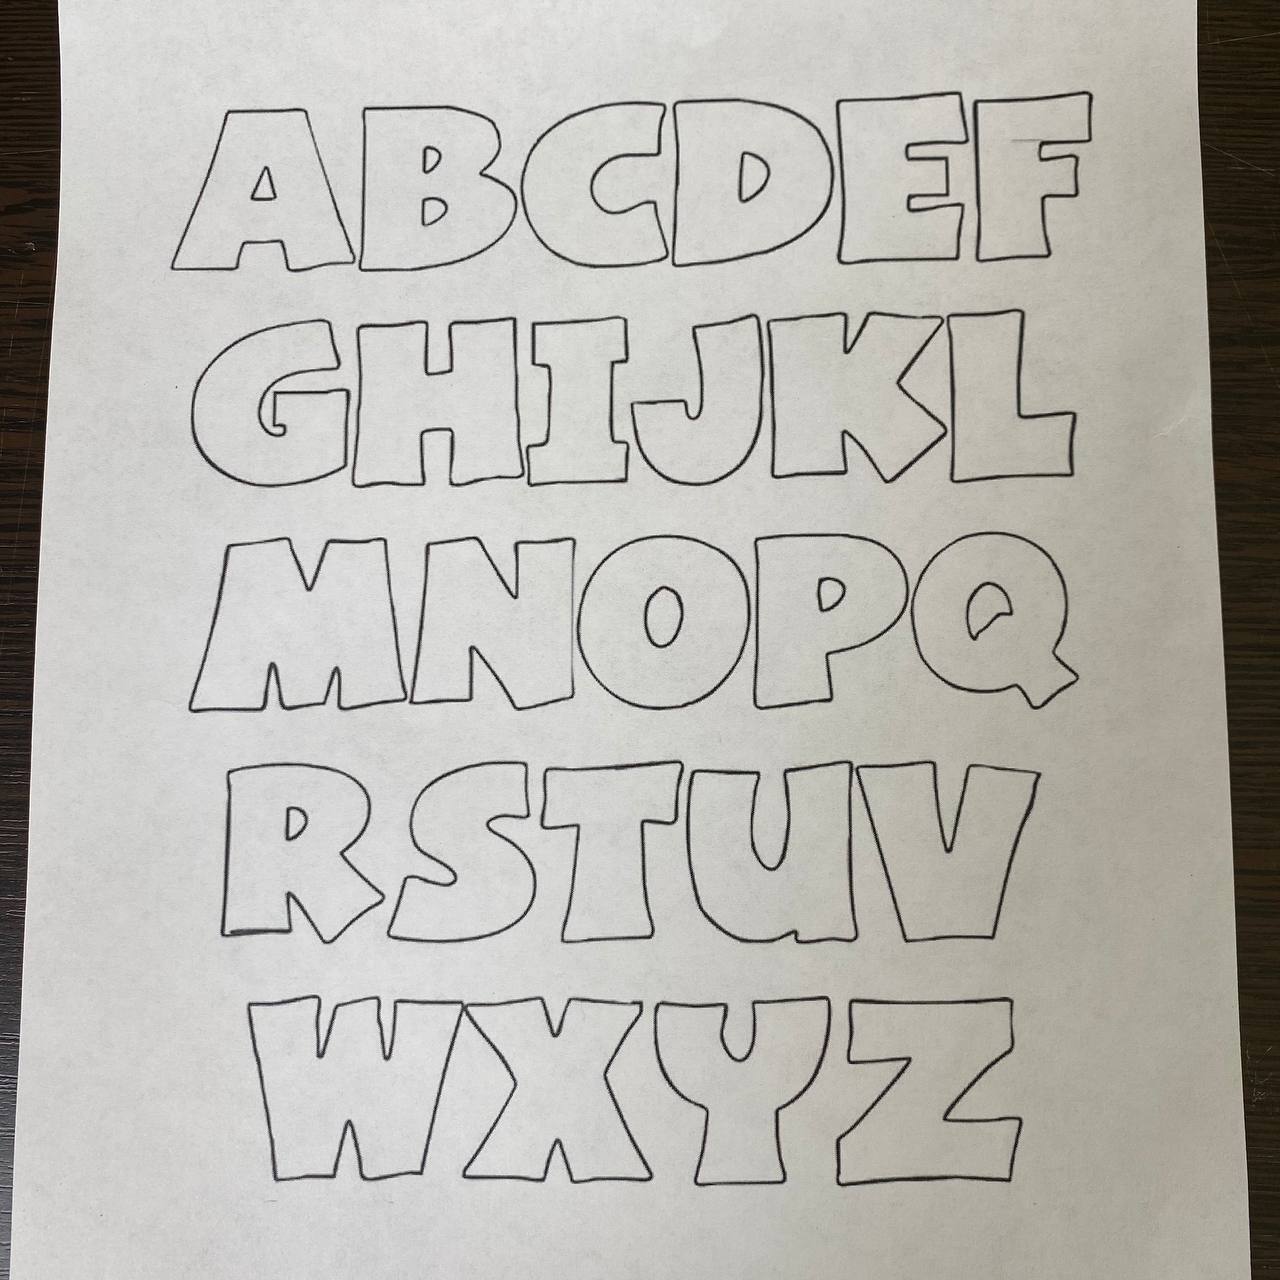
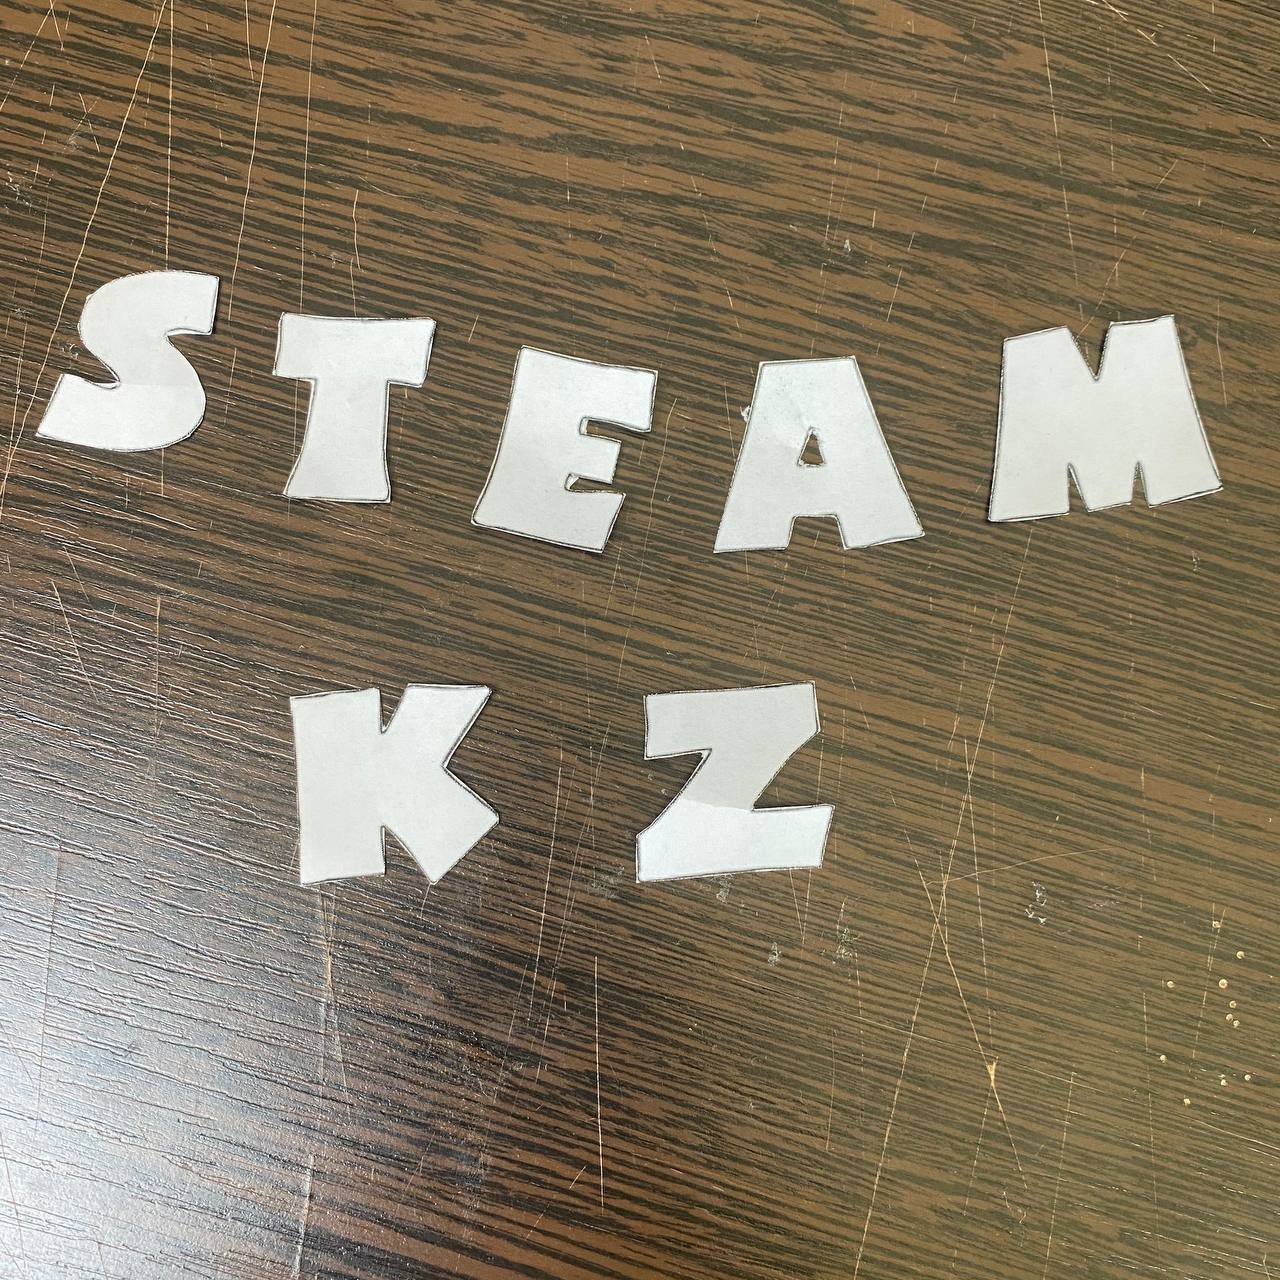
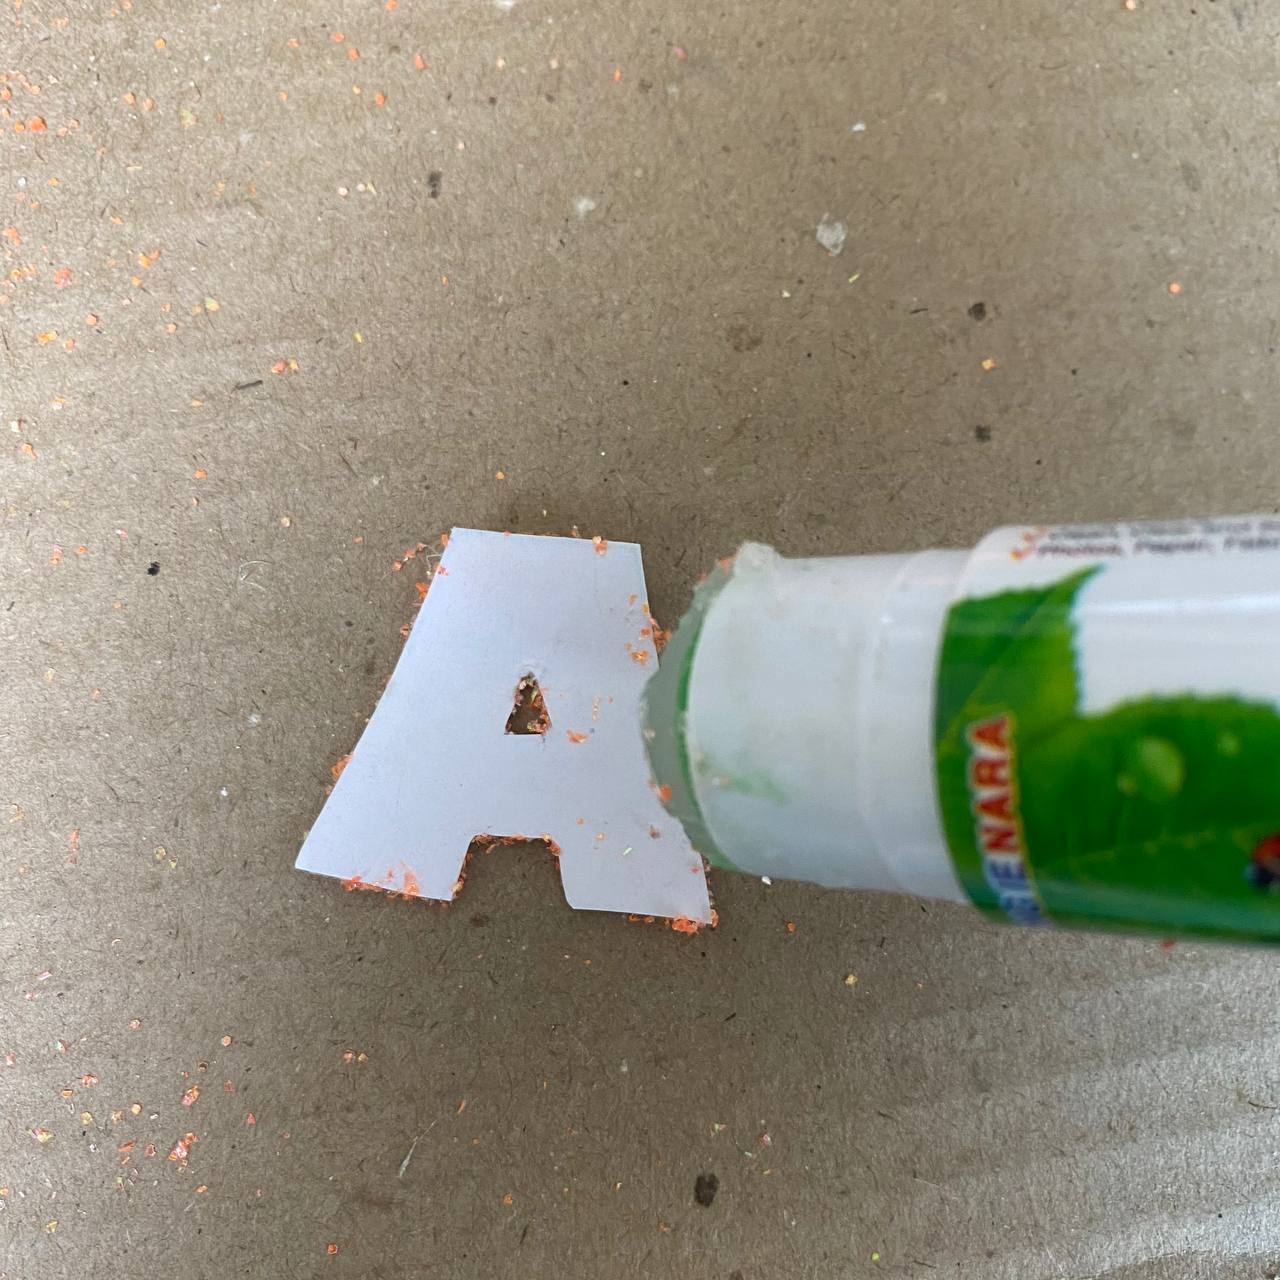
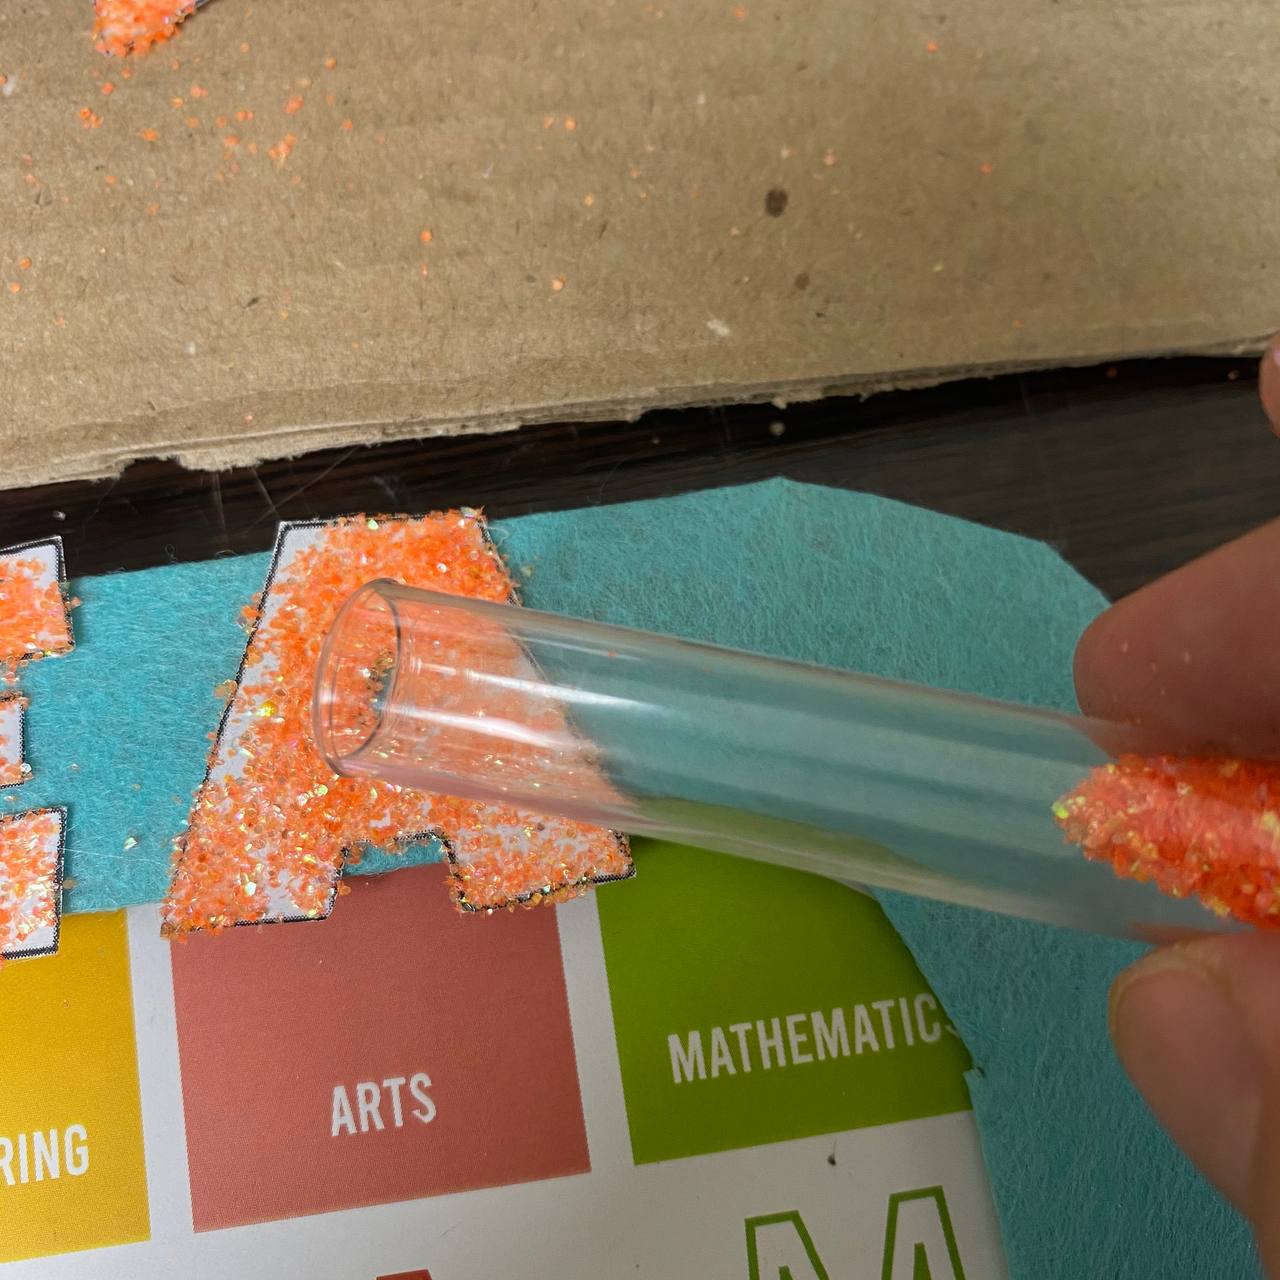
Step 8: After using glue, glue the letters to the photo frame
Then apply glue to the letters again and sprinkle glitter on them.
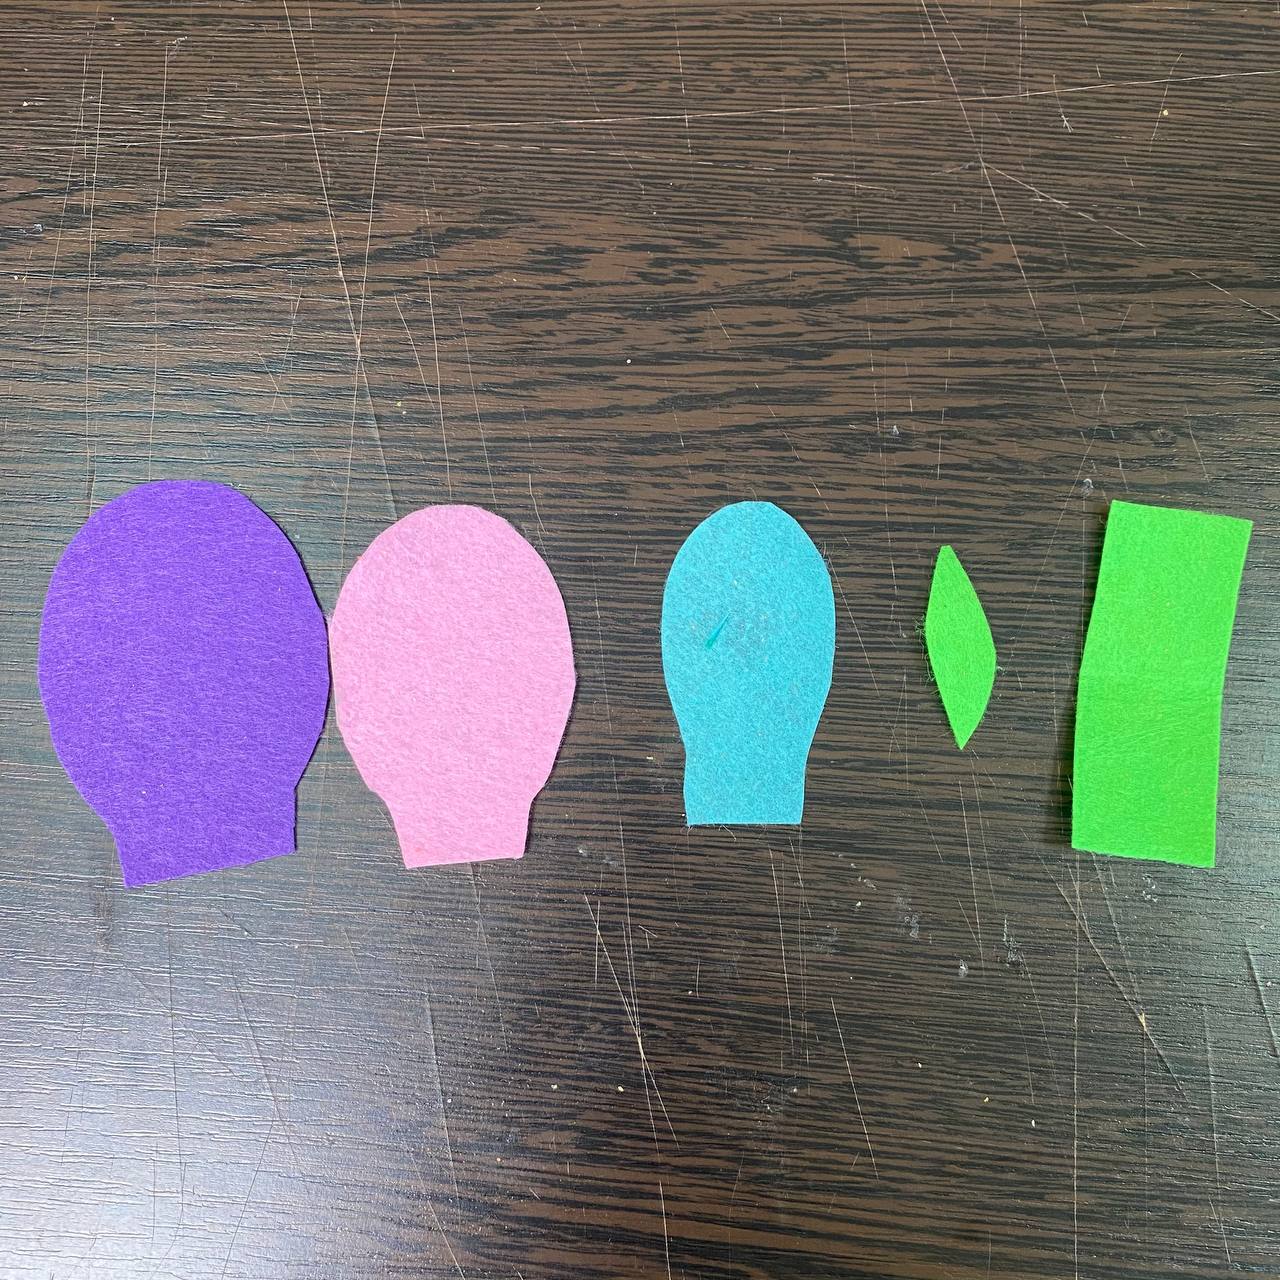
Step 9: Make a balloon.
You can let your imagination run wild and cut out any shapes from felt or paper.
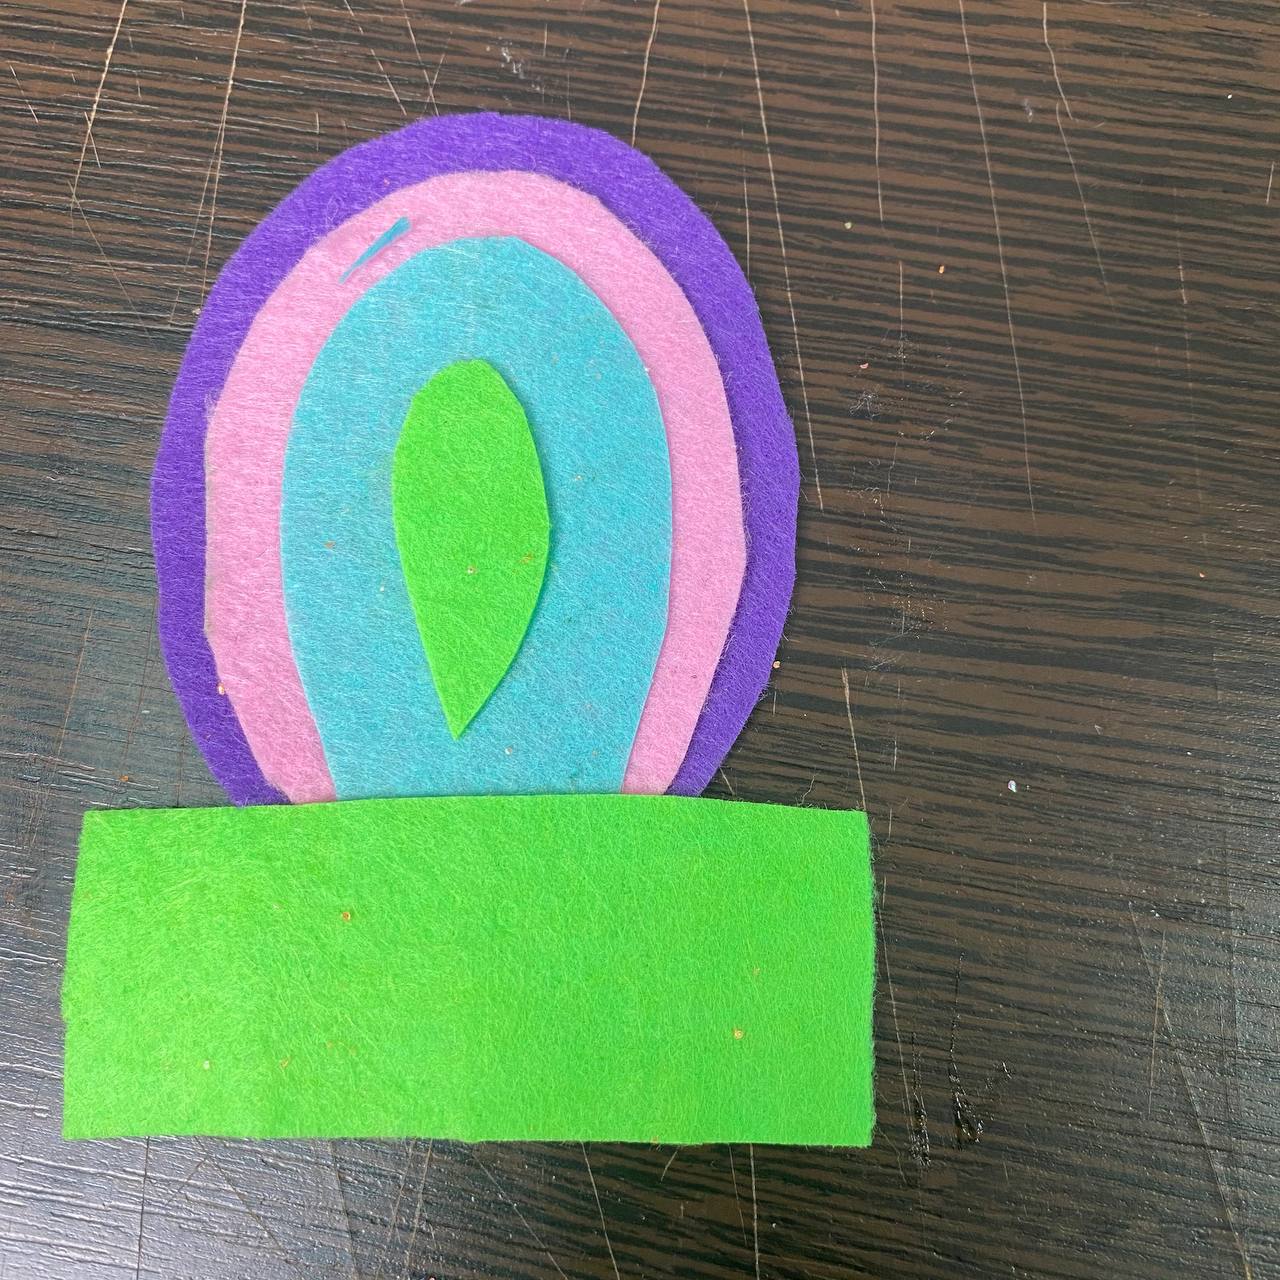
Step 10. Then secure the balloon to the photo frame.
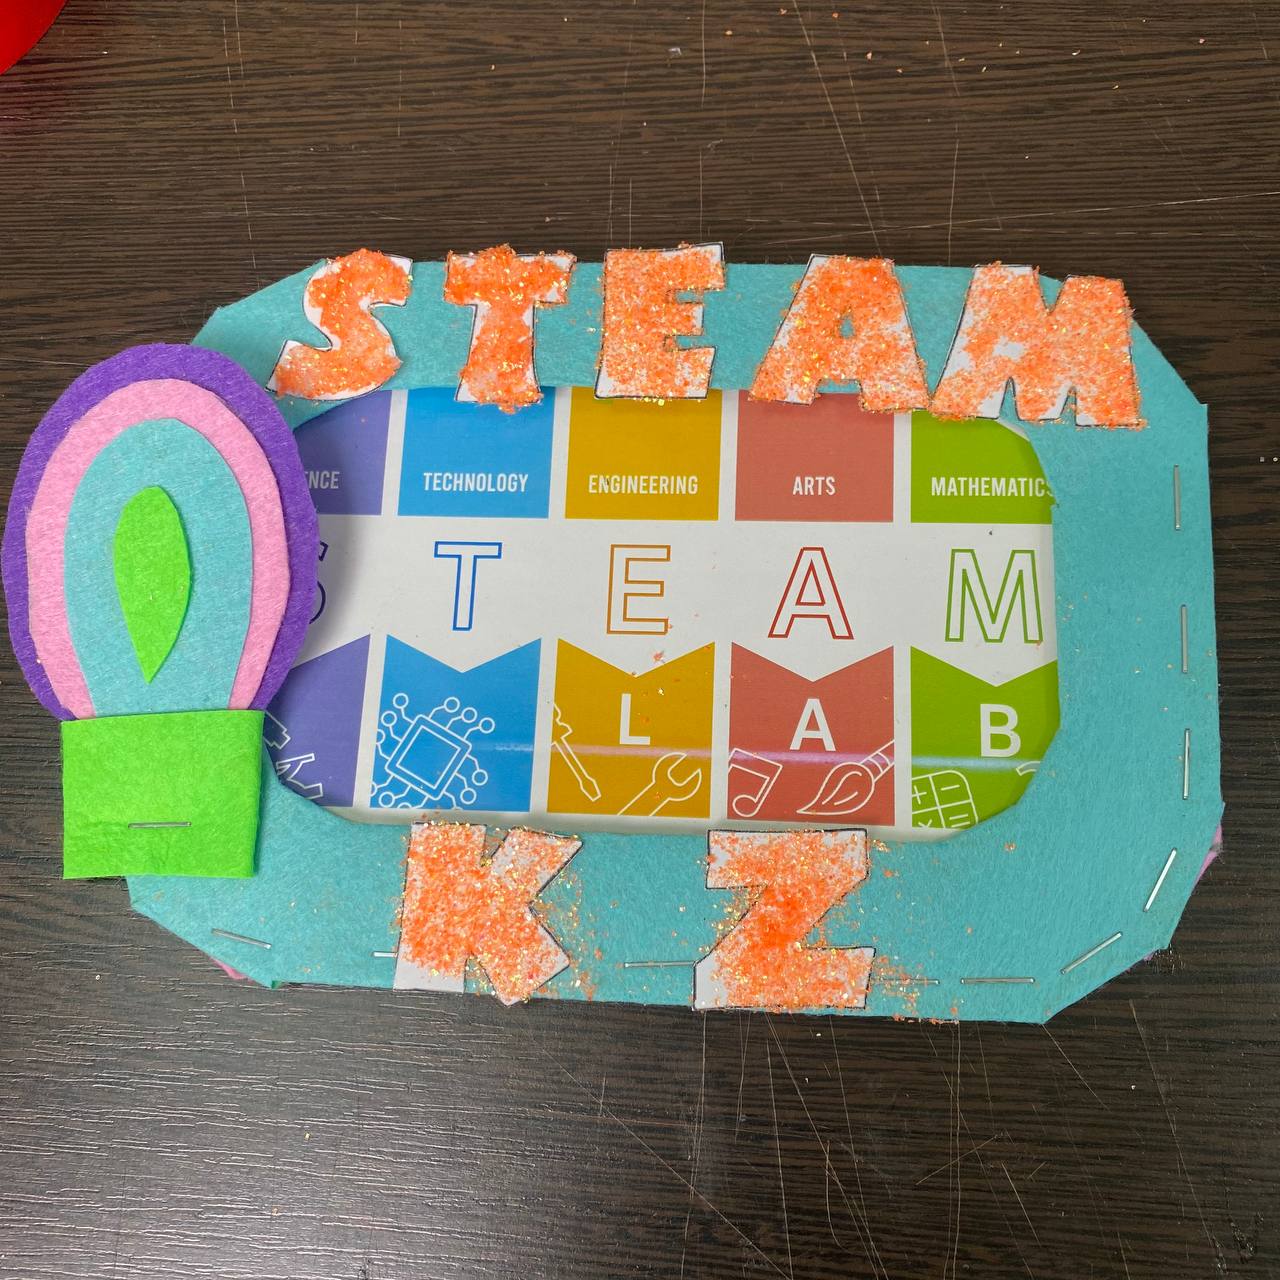
Congratulations, the MAGNET PICTURE is ready!
Conclusion
In this way, the pupils made their own photo frame

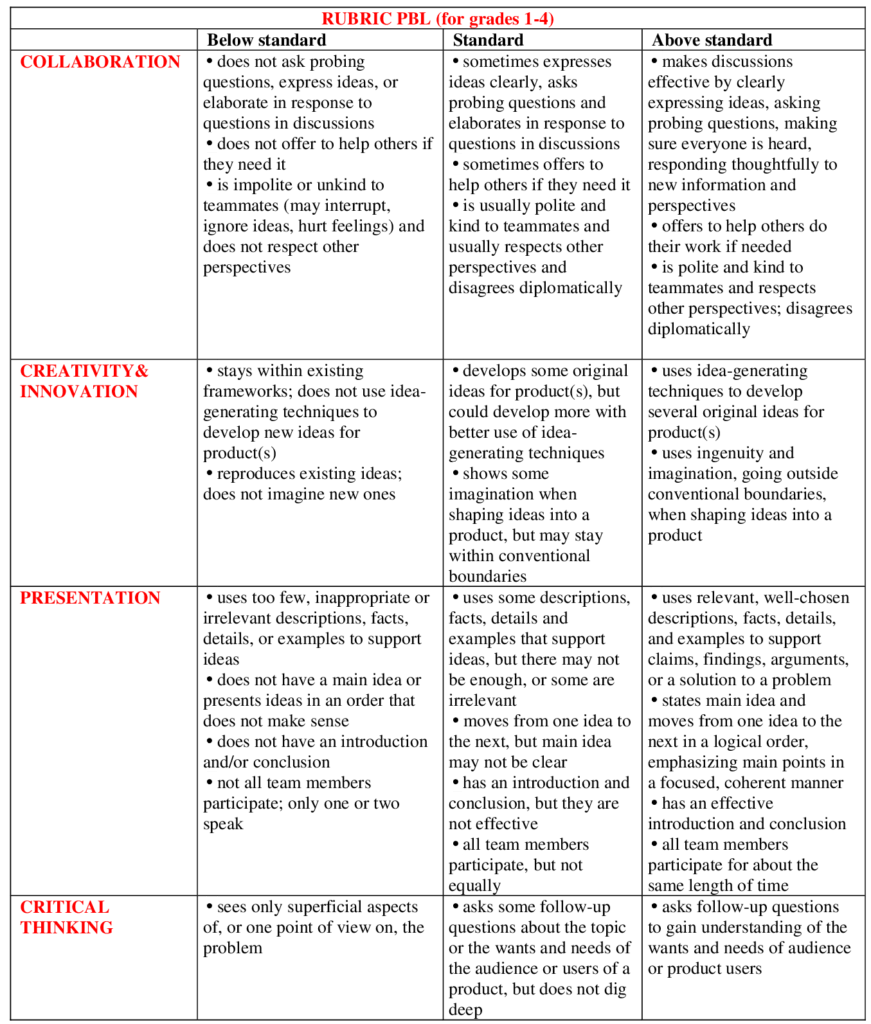
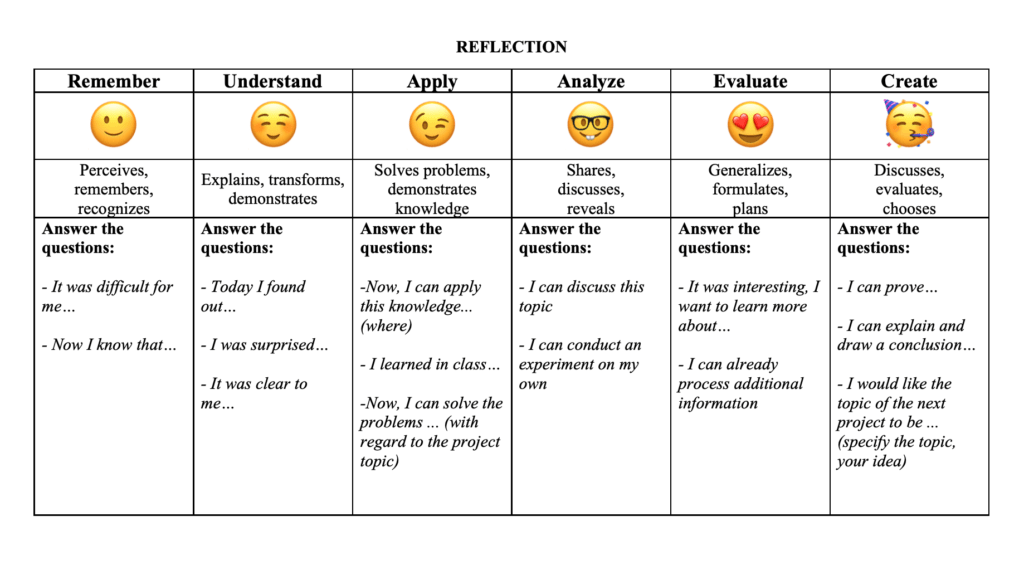
On this project, each student is awarded a STEAM title, in two categories:
– You have independently, researched magnetism, specifically the field of application of magnets, you are a true research scientist!
– You independently made a magnetic photo frame. This in turn is a creative, creative, technological process. Congratulations, you are a young design engineer!
Evaluation