
Lesson 1
Project objective
1. to investigate magnetism
2. Make a magnetic picture frame
Teacher’s guide
– In the practical part of the project, pupils work in pairs or individually.
– Pupils should be familiarised with topics like magnet/ magnetism/ magnetic field/ applications of magnets.
– Before starting the experimental part, familiarise and provide the students with all the necessary materials.
– Give brief instructions on how to use the stapler and hot melt glue.
– At the beginning of the lesson explain the PBL (project based learning) rubrics to the students. Skills 4K (critical thinking, collaboration, creativity, anticipation)
Safety in Steam lessons
It is recommended that teachers are fully aware of the safety procedures before the beginning of the lesson. If necessary (if they are using items specified in the PPE guidelines), brief the students. Visit Safety in Steam lessons: Safety rules
Theoretical Part

A magnet is a body that can attract objects made of iron or steel. It also has the ability to repel objects. It does this because of the magnetic field.
The field of application of magnets is wide. They are used to lift, hold, move and separate metallic objects. And they are needed to convert electrical energy into mechanical energy, and vice versa.
Magnets can be found in:
Headphones;
Fans;
Mobile phones;
Refrigerators;
Dishwashers;
Televisions;
Toys;
Electric toothbrushes.
This list could go on for a long time, as a magnet is responsible for the operation of the devices that people use every day.
A magnet is also indispensable in the automotive industry. In cars, magnets are installed almost everywhere. For example, in the starter, alternator, fan, pump, sensors, window lifters, and door locks.
It should not be forgotten that magnets are also used in medicine.
Practical part
In this project, pupils will make a MAGNET PHOTORAMM
Step 1: Familiarise yourself with all the necessary materials
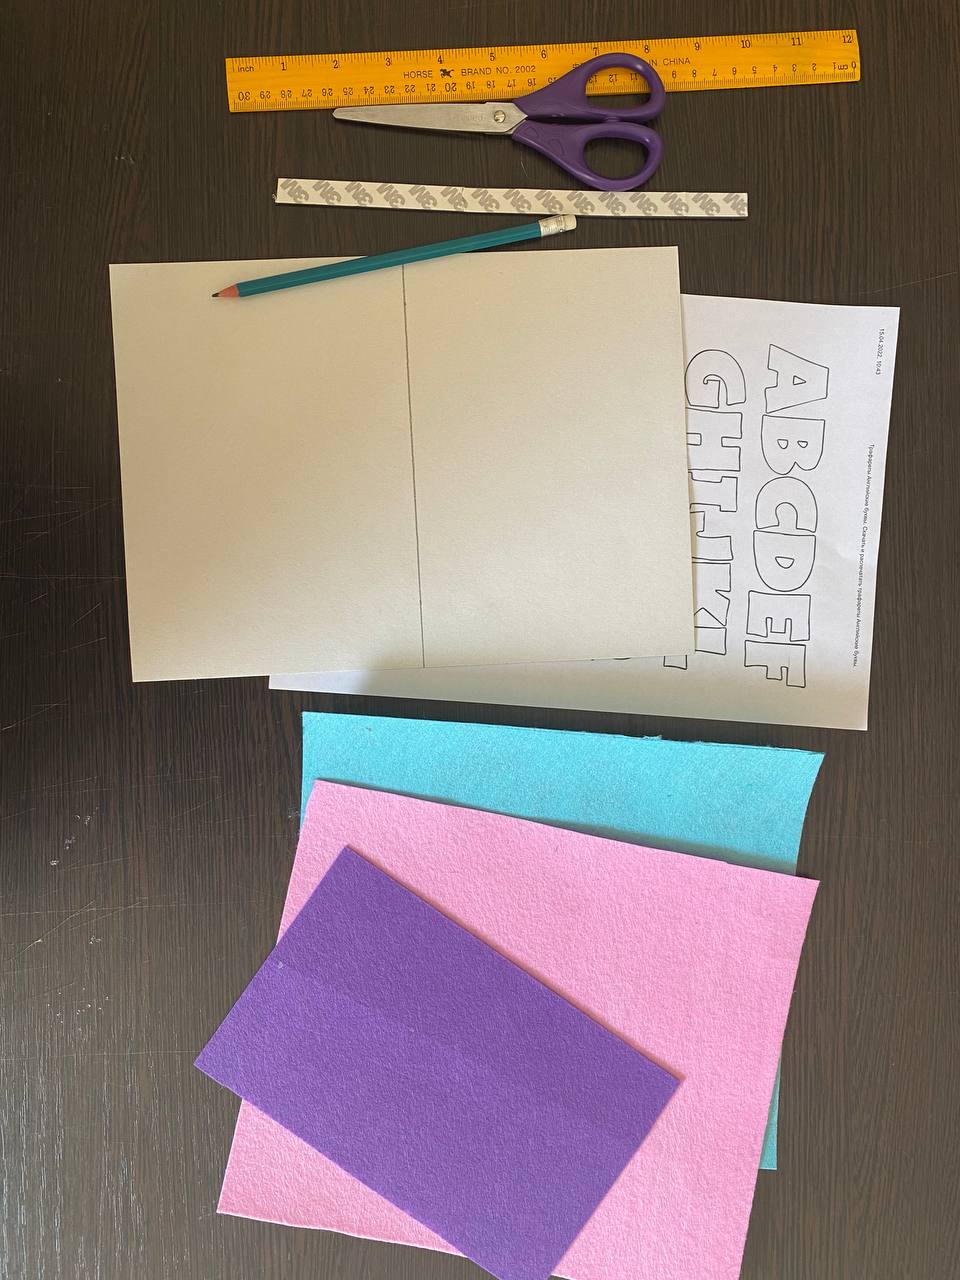
Step 2: Take A4 cardboard. Divide it into 2. Or cut the cardboard to size 20cm*14cm.
Then cut the edges of the paper into an oval shape
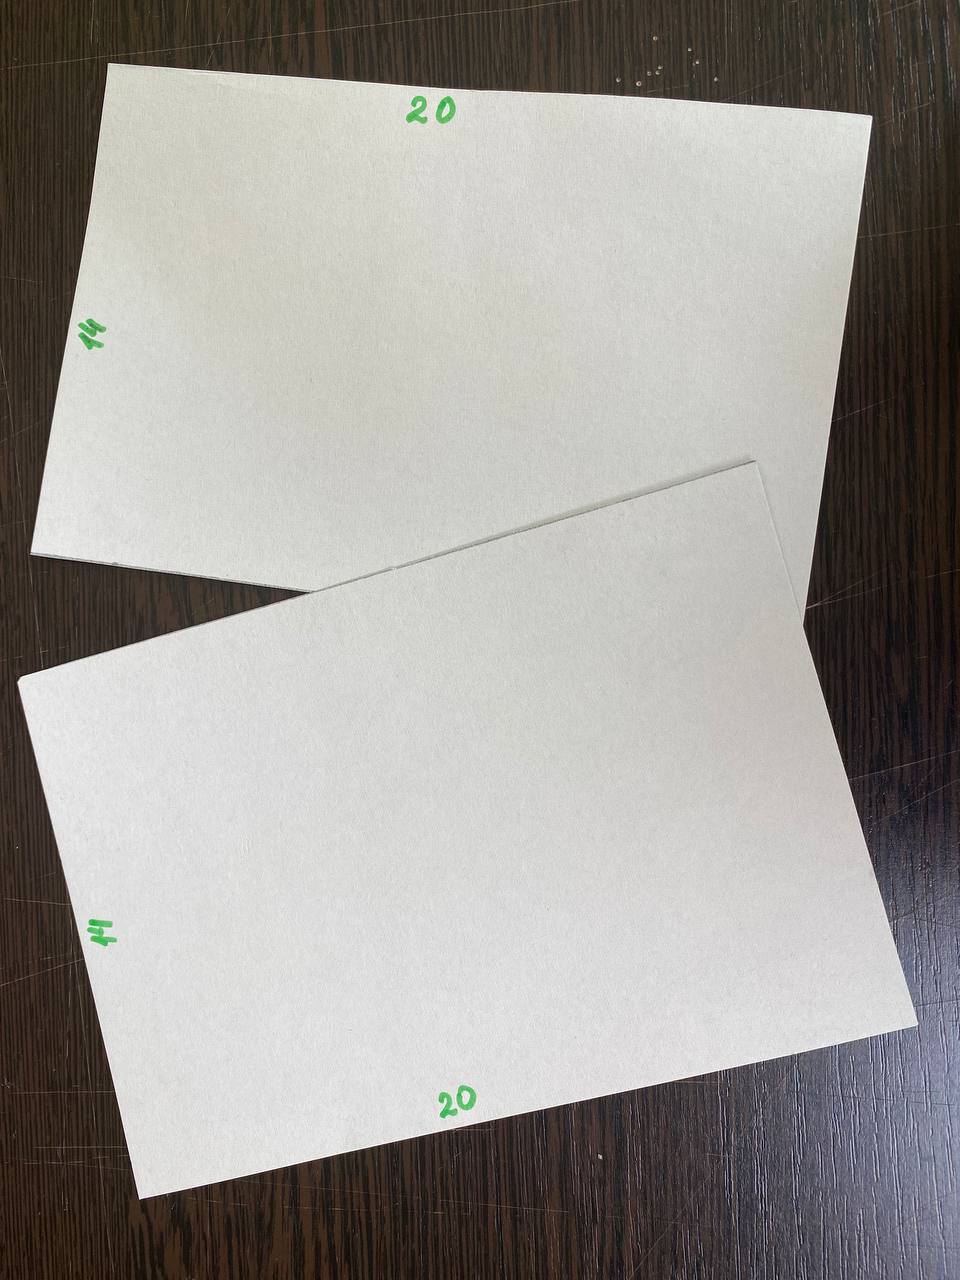
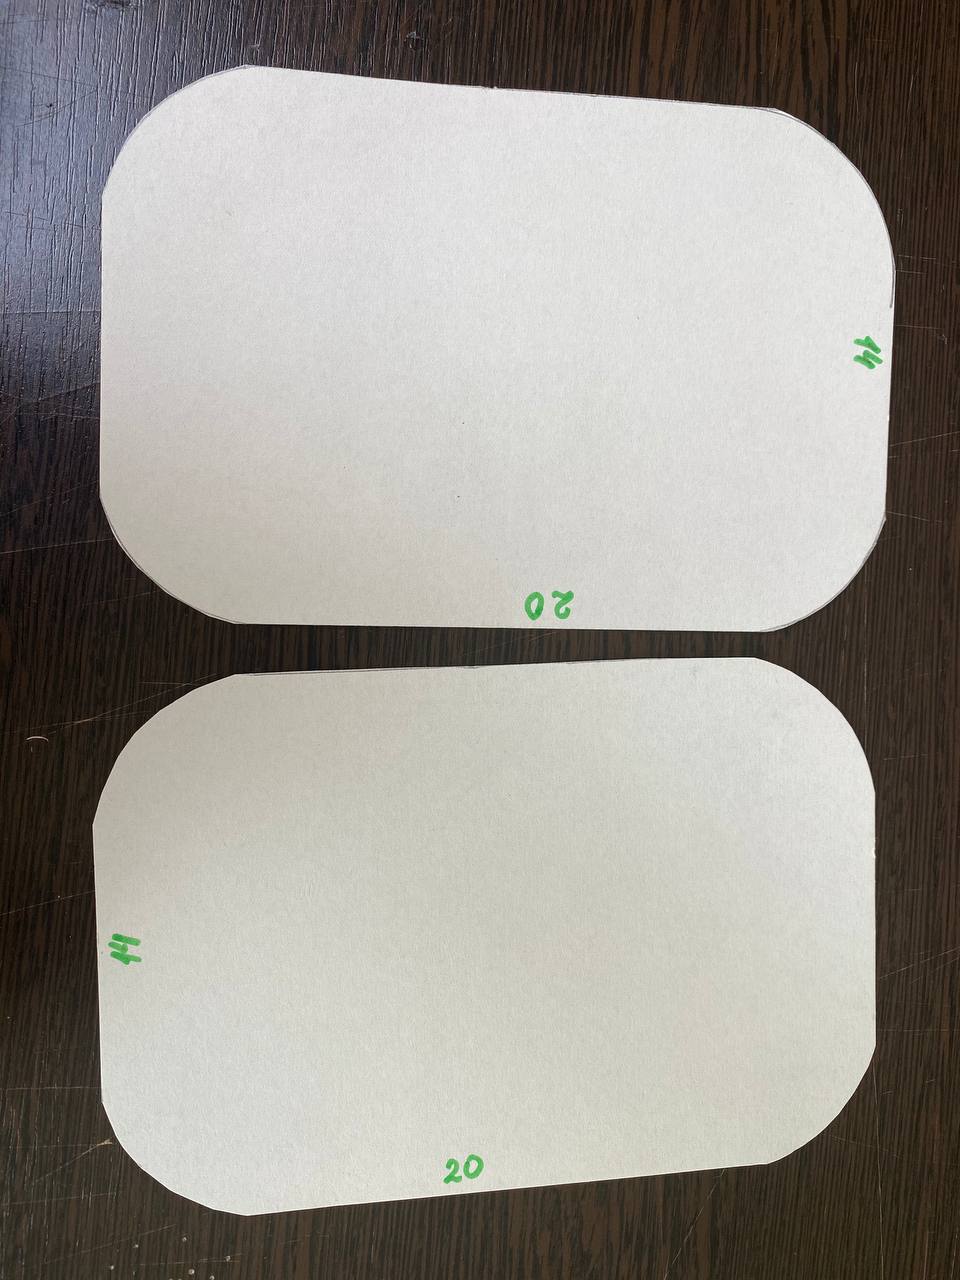
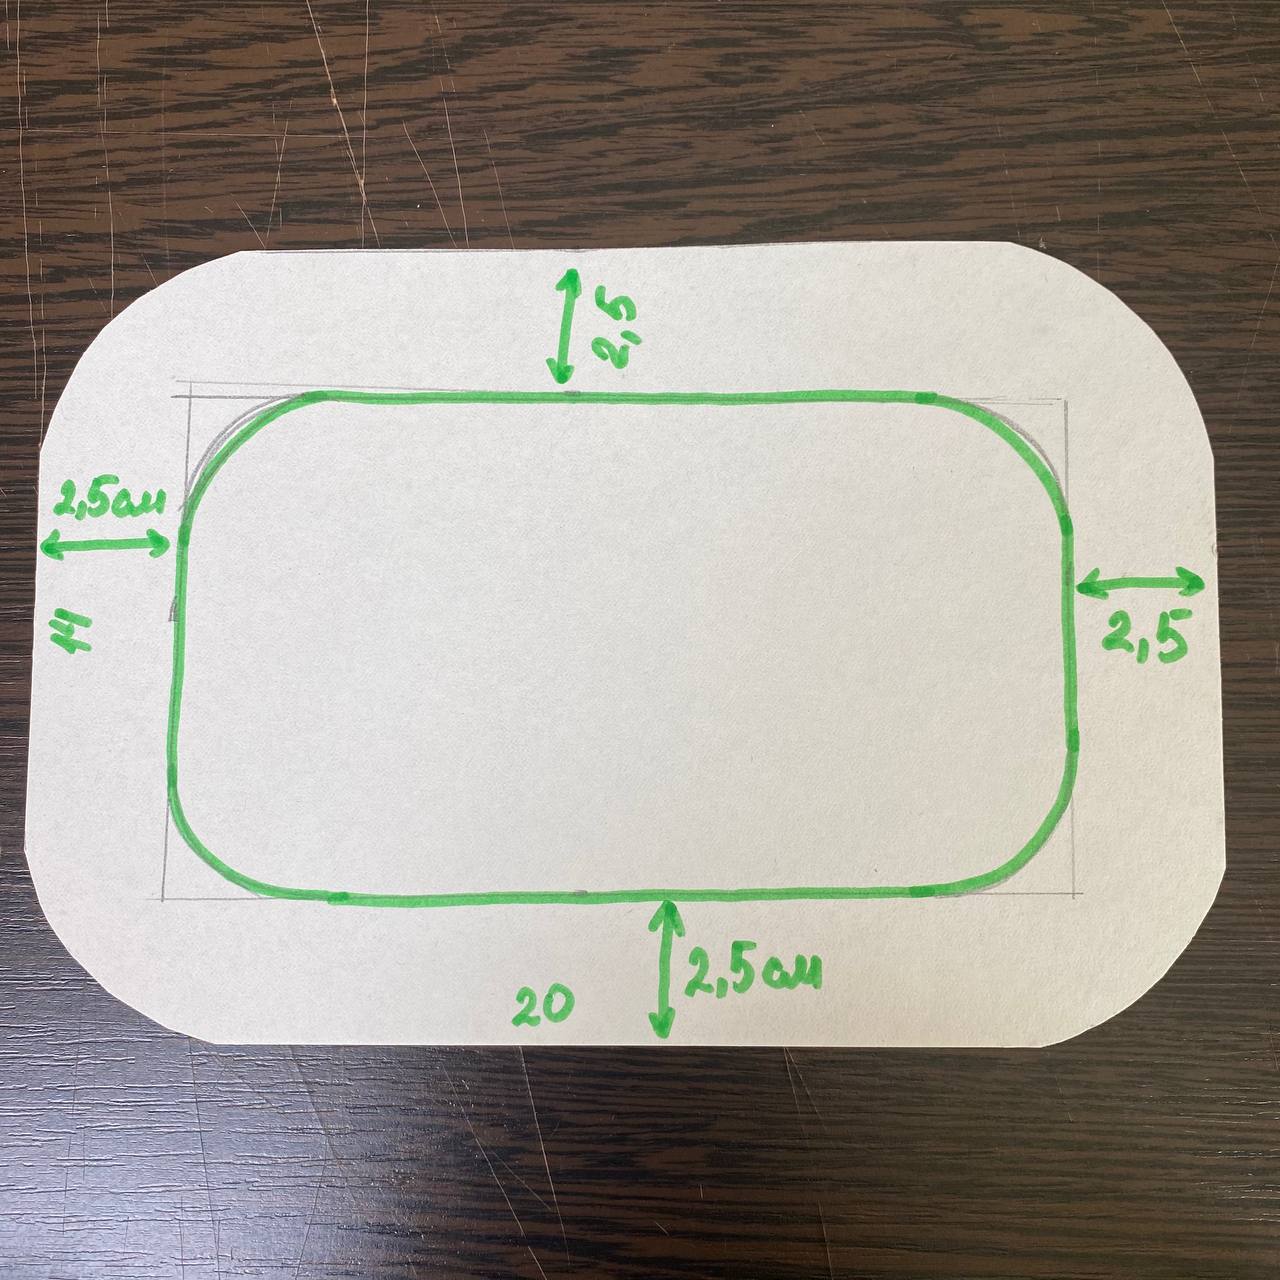
Step 3: Measure out 2.5 cm on each side of the first paper. Then draw another oval circle. Cut out the centre.
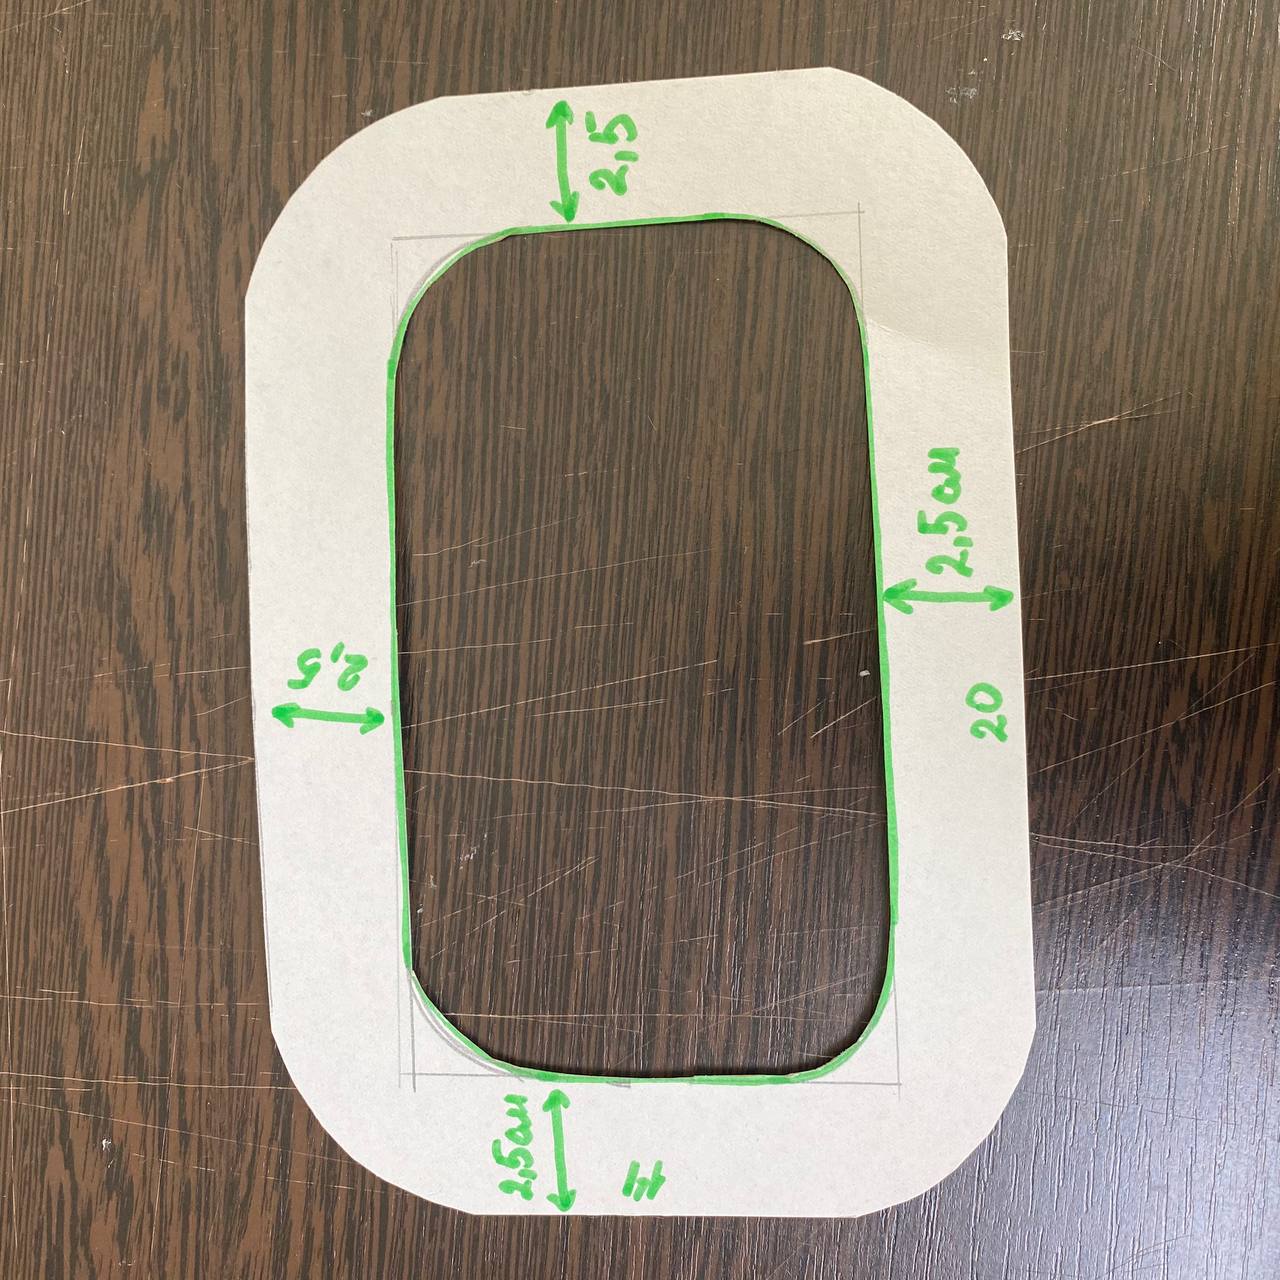
Step 4. Then measure 1.5 cm from the top on the second paper and cut out as shown
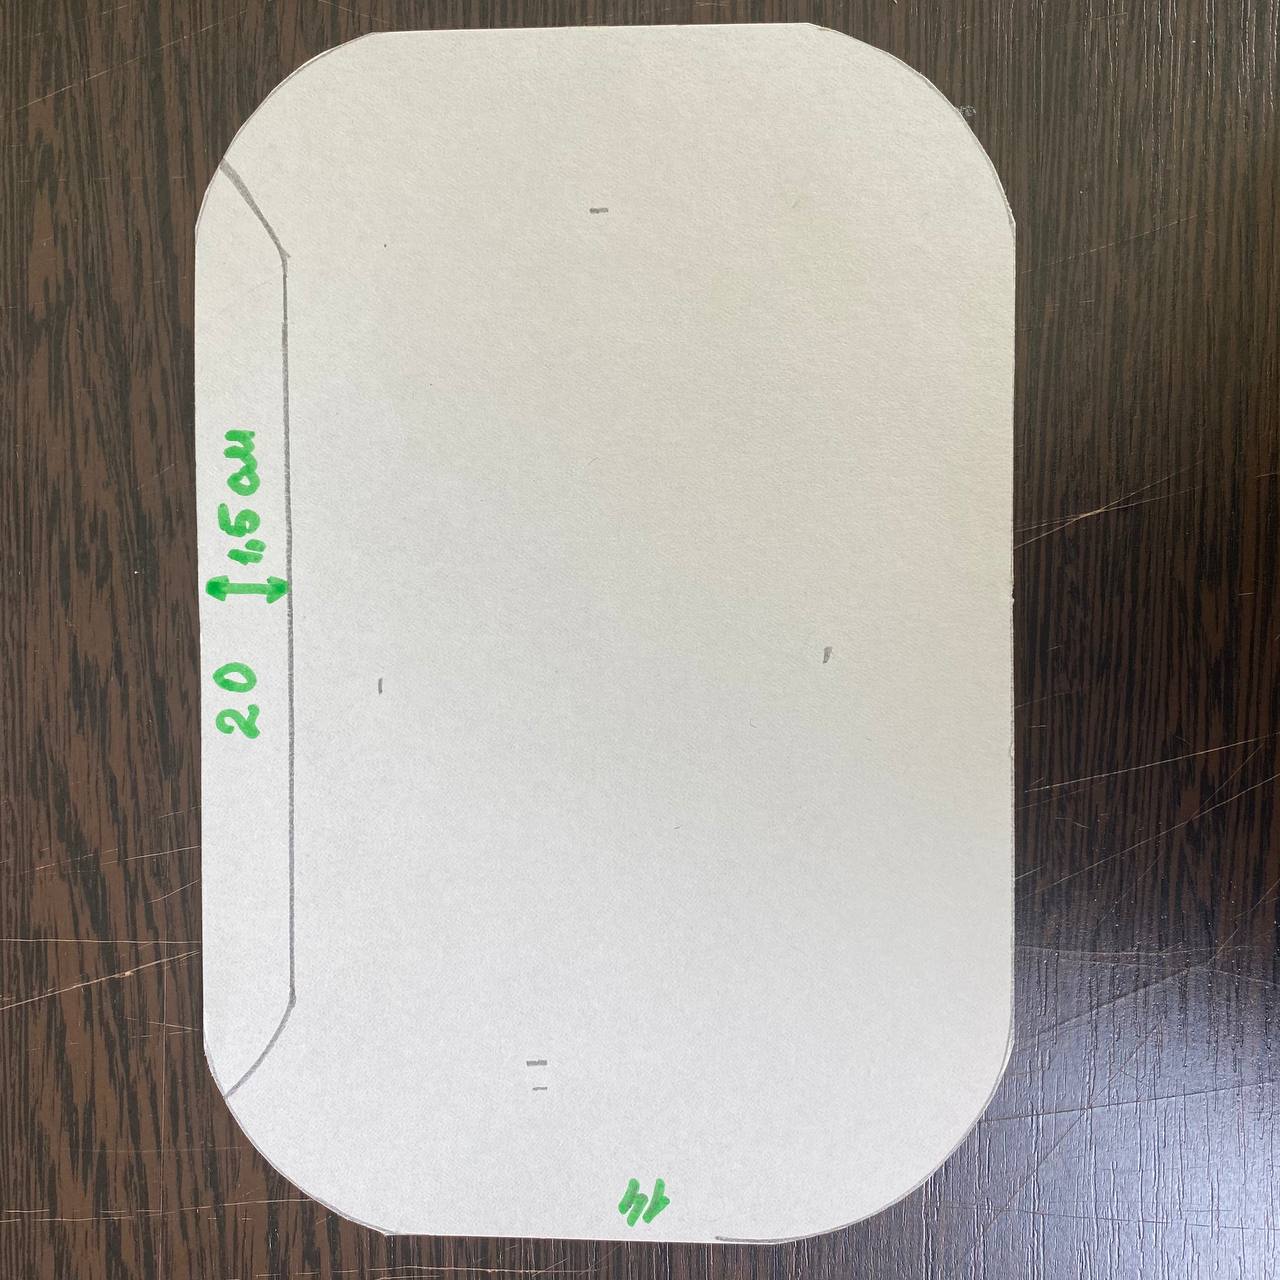
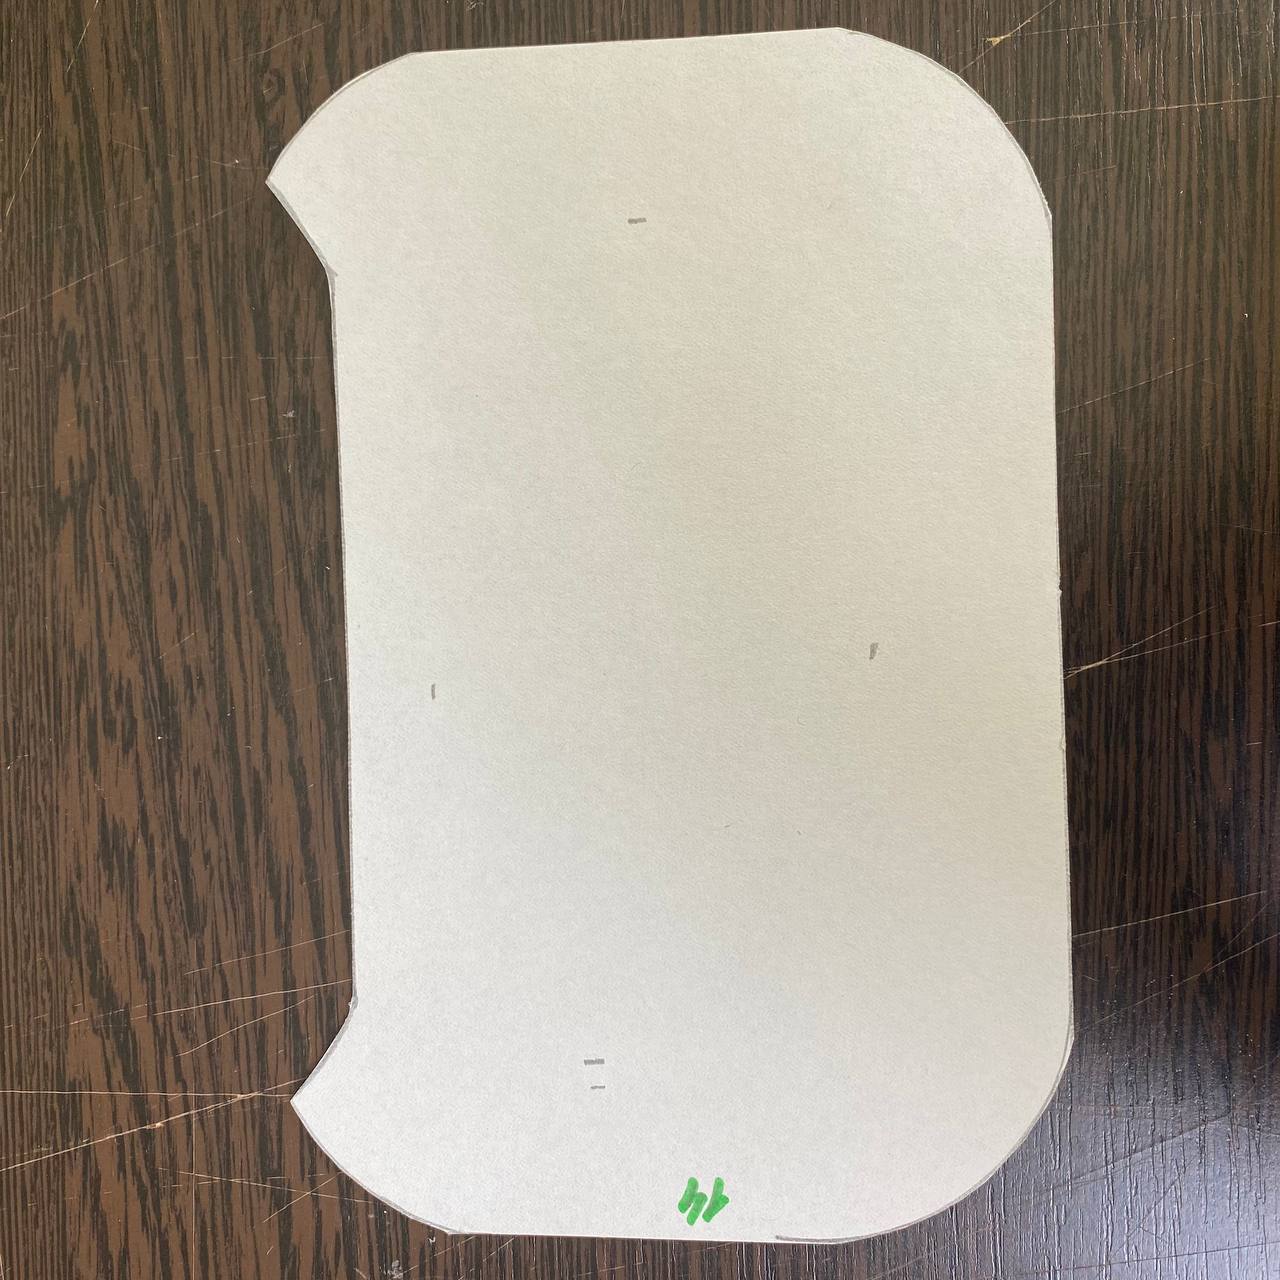
Step 5: Take the felt, apply the template to it and then trace with a special marker or gel pen.
Carefully cut out the pieces, 3 to 4 cm from the main line.
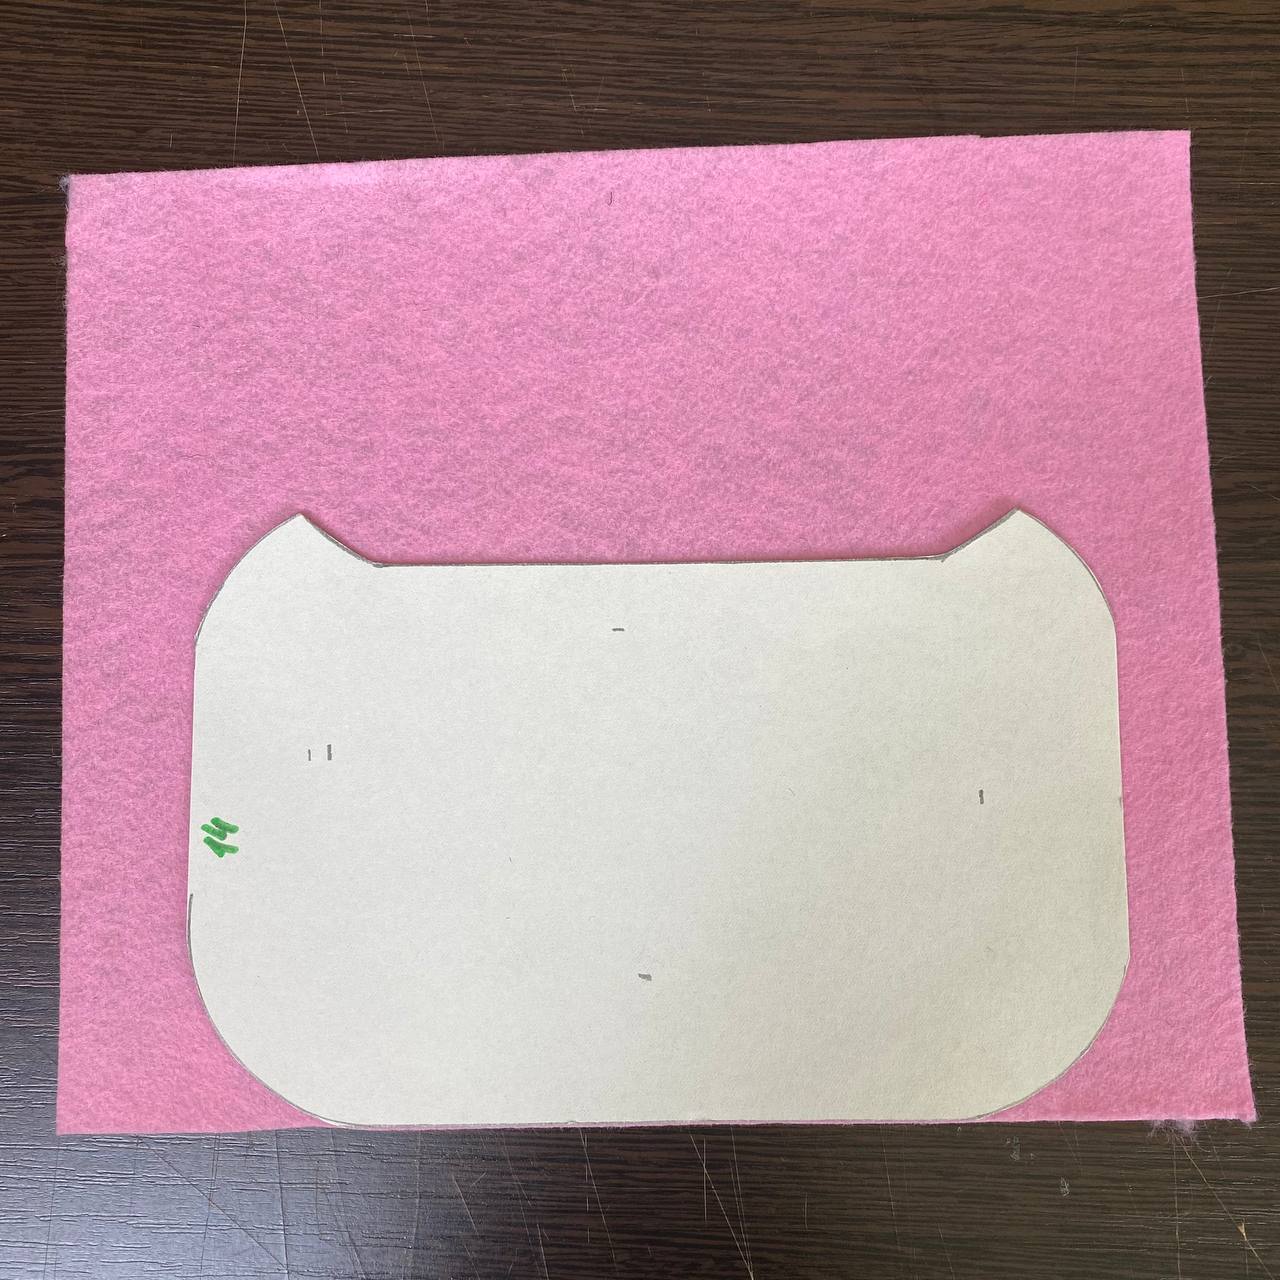
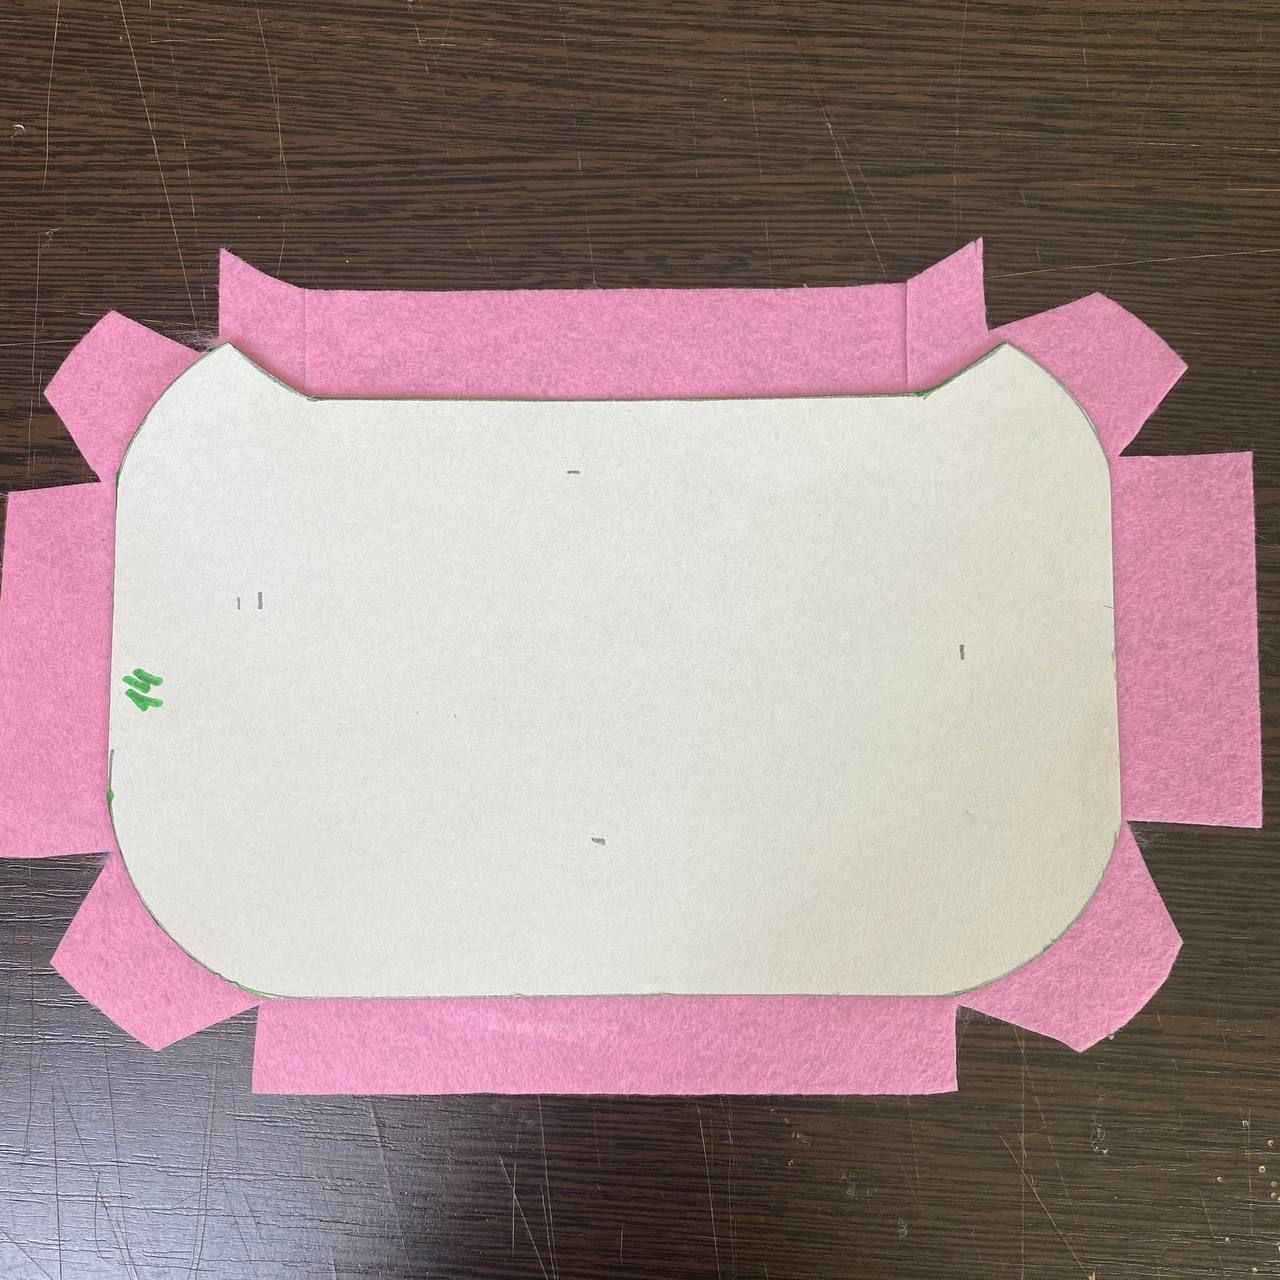
Step 6. Then carefully glue the template cardboard onto the felt. And wrap the crochet using glue.
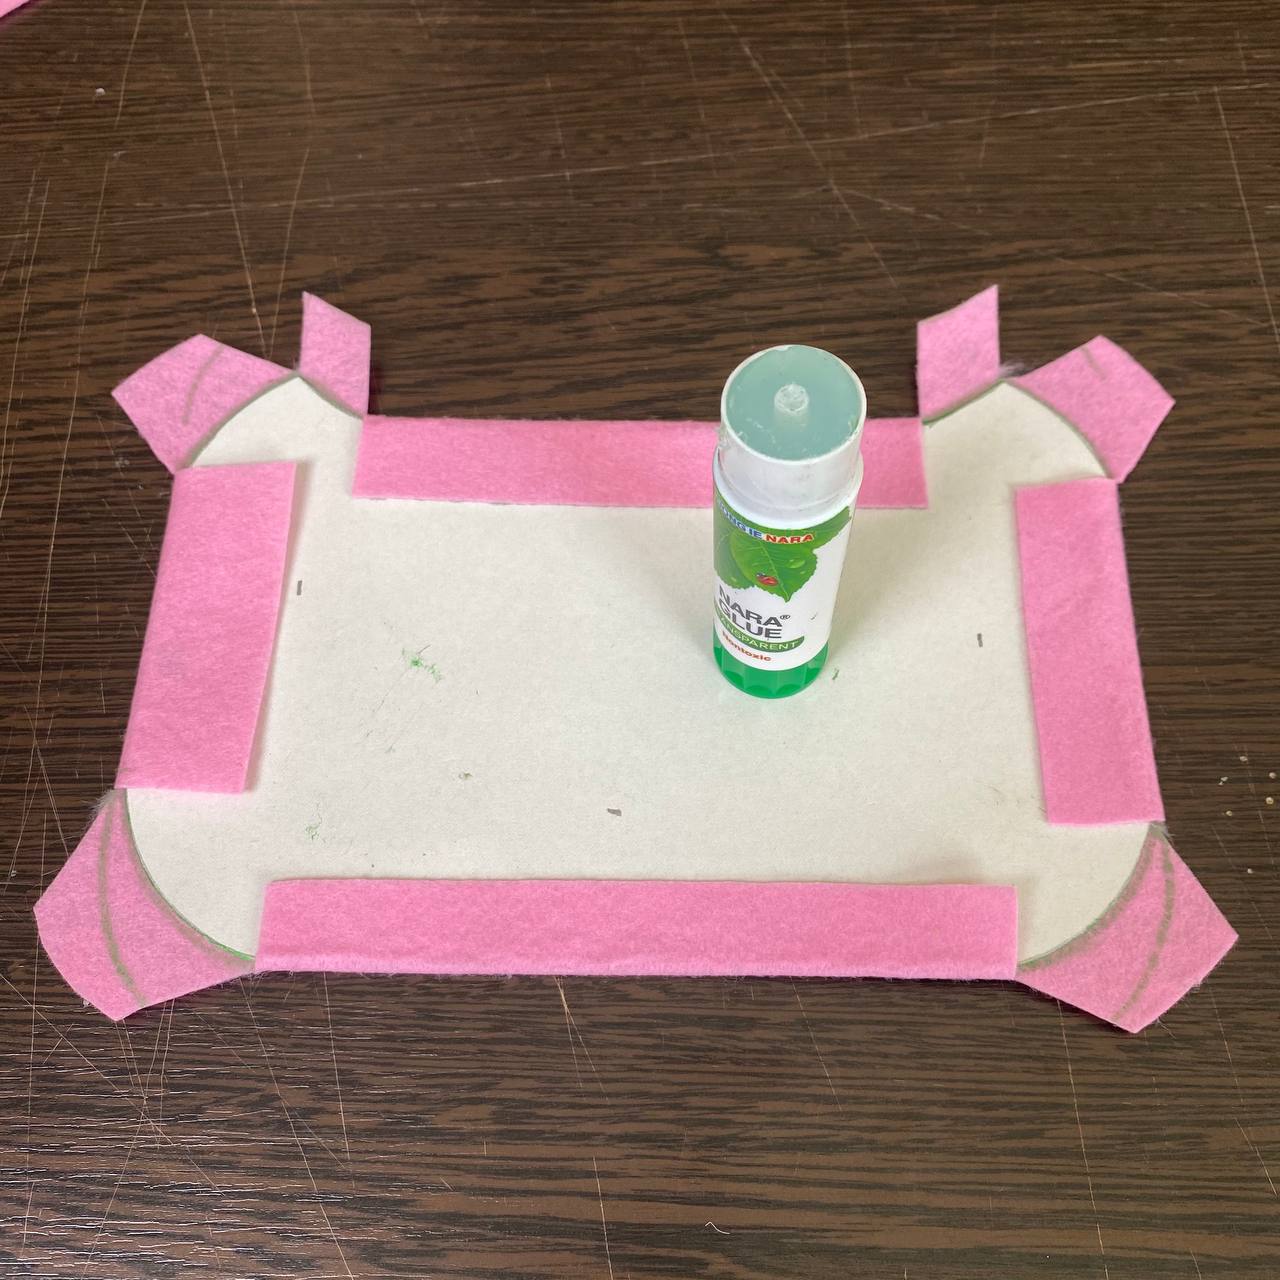
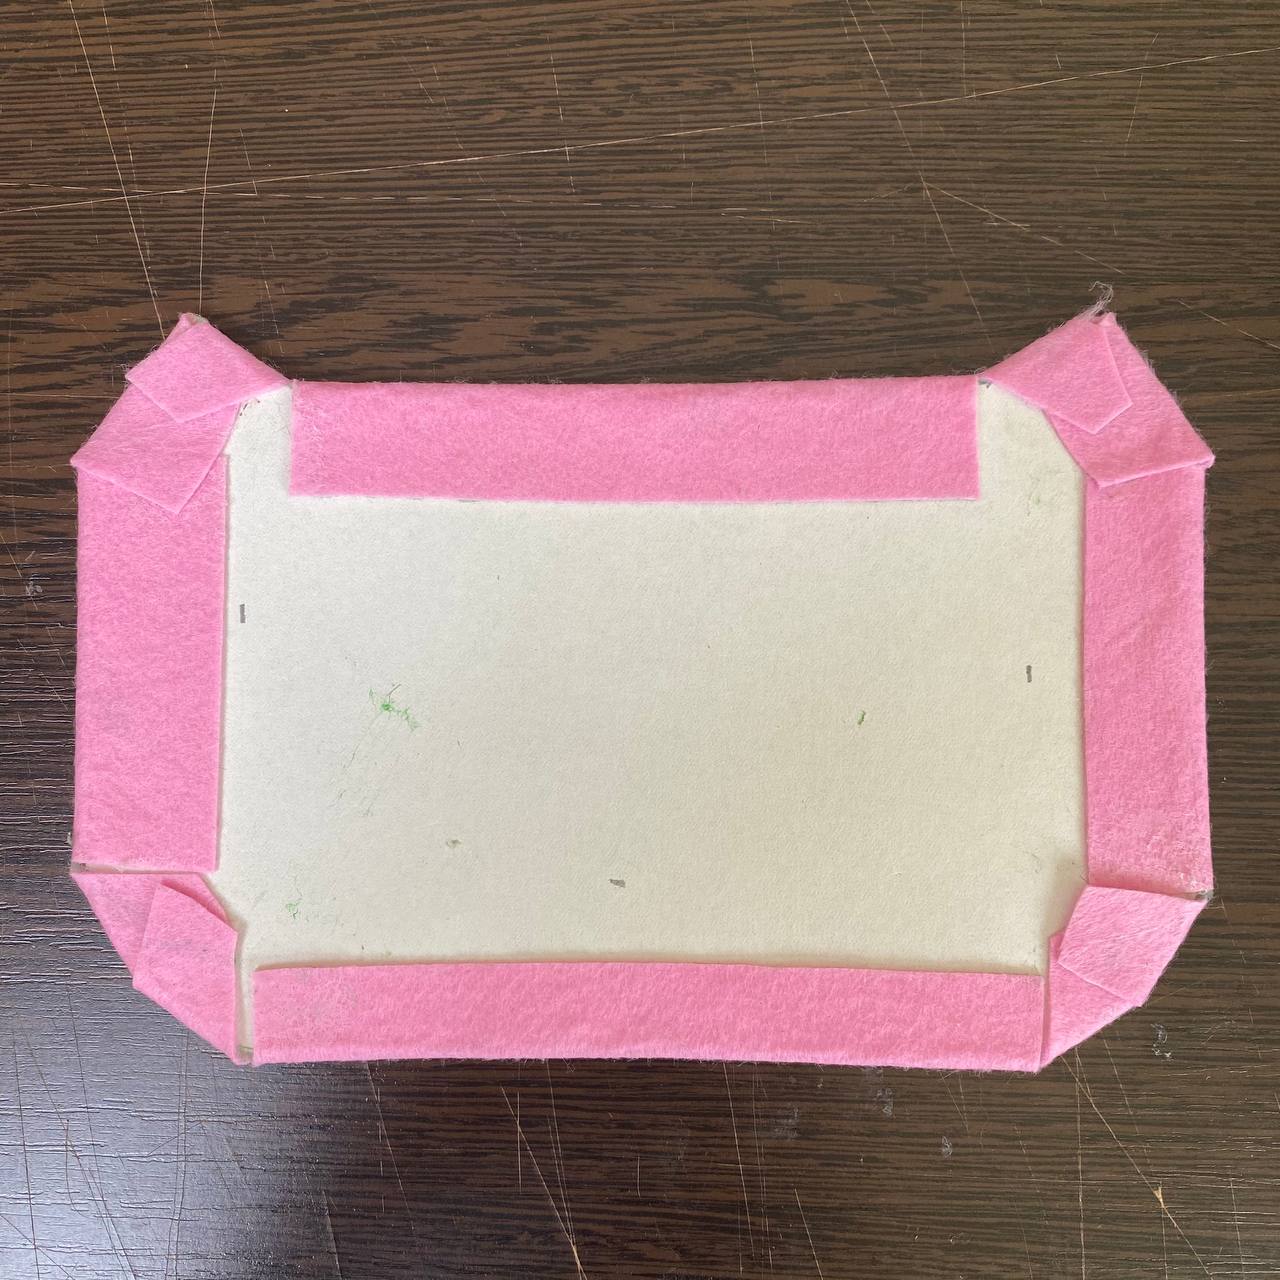
Step 7: Take another template, also apply the resulting pattern to it, then trace with a special marker or gel pen.
Carefully cut out the pieces, 3 to 4 cm from the main line.
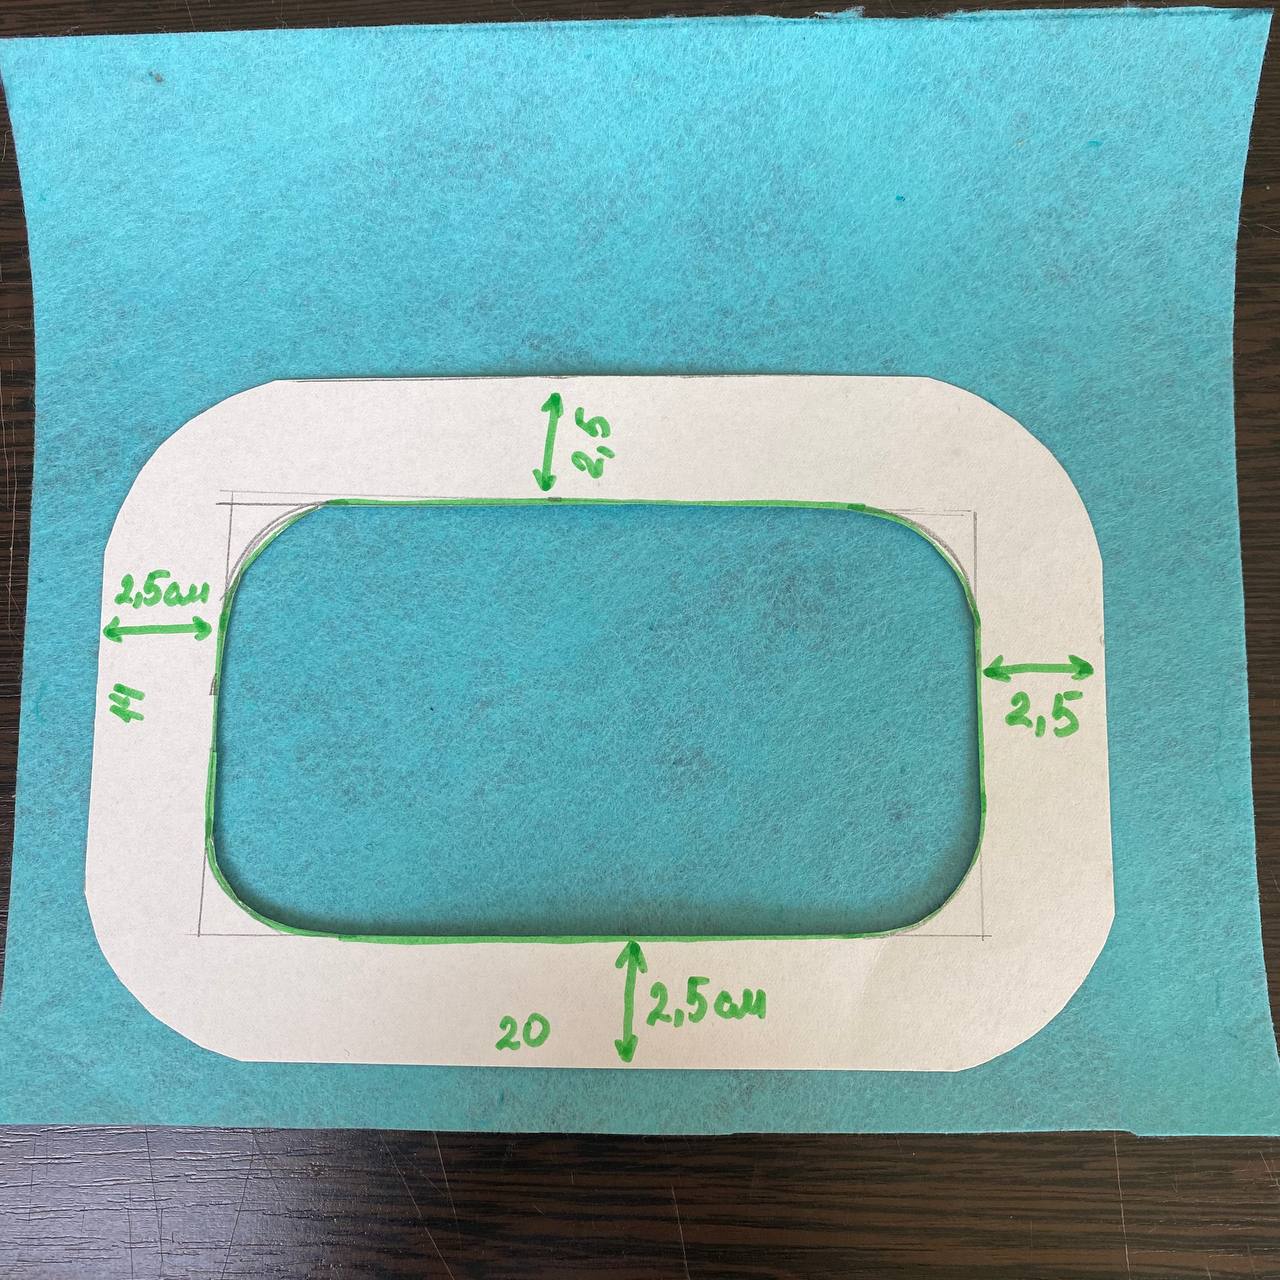
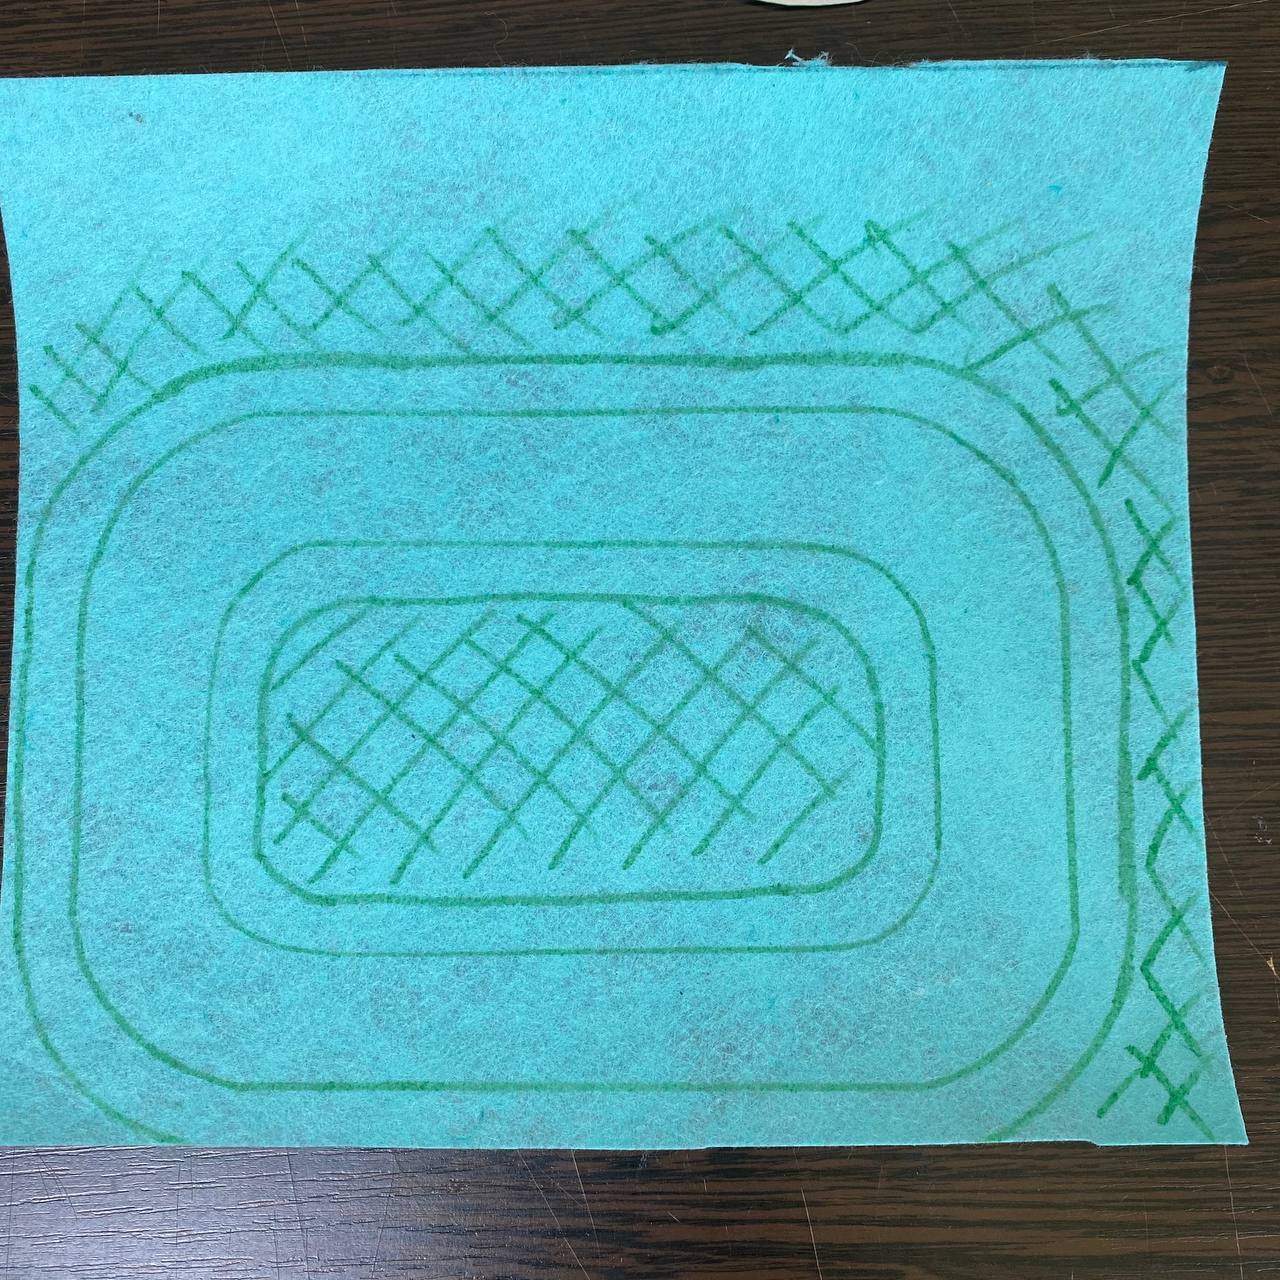
Step 8. Then carefully glue the template cardboard onto the felt. And wrap the crochet using glue.
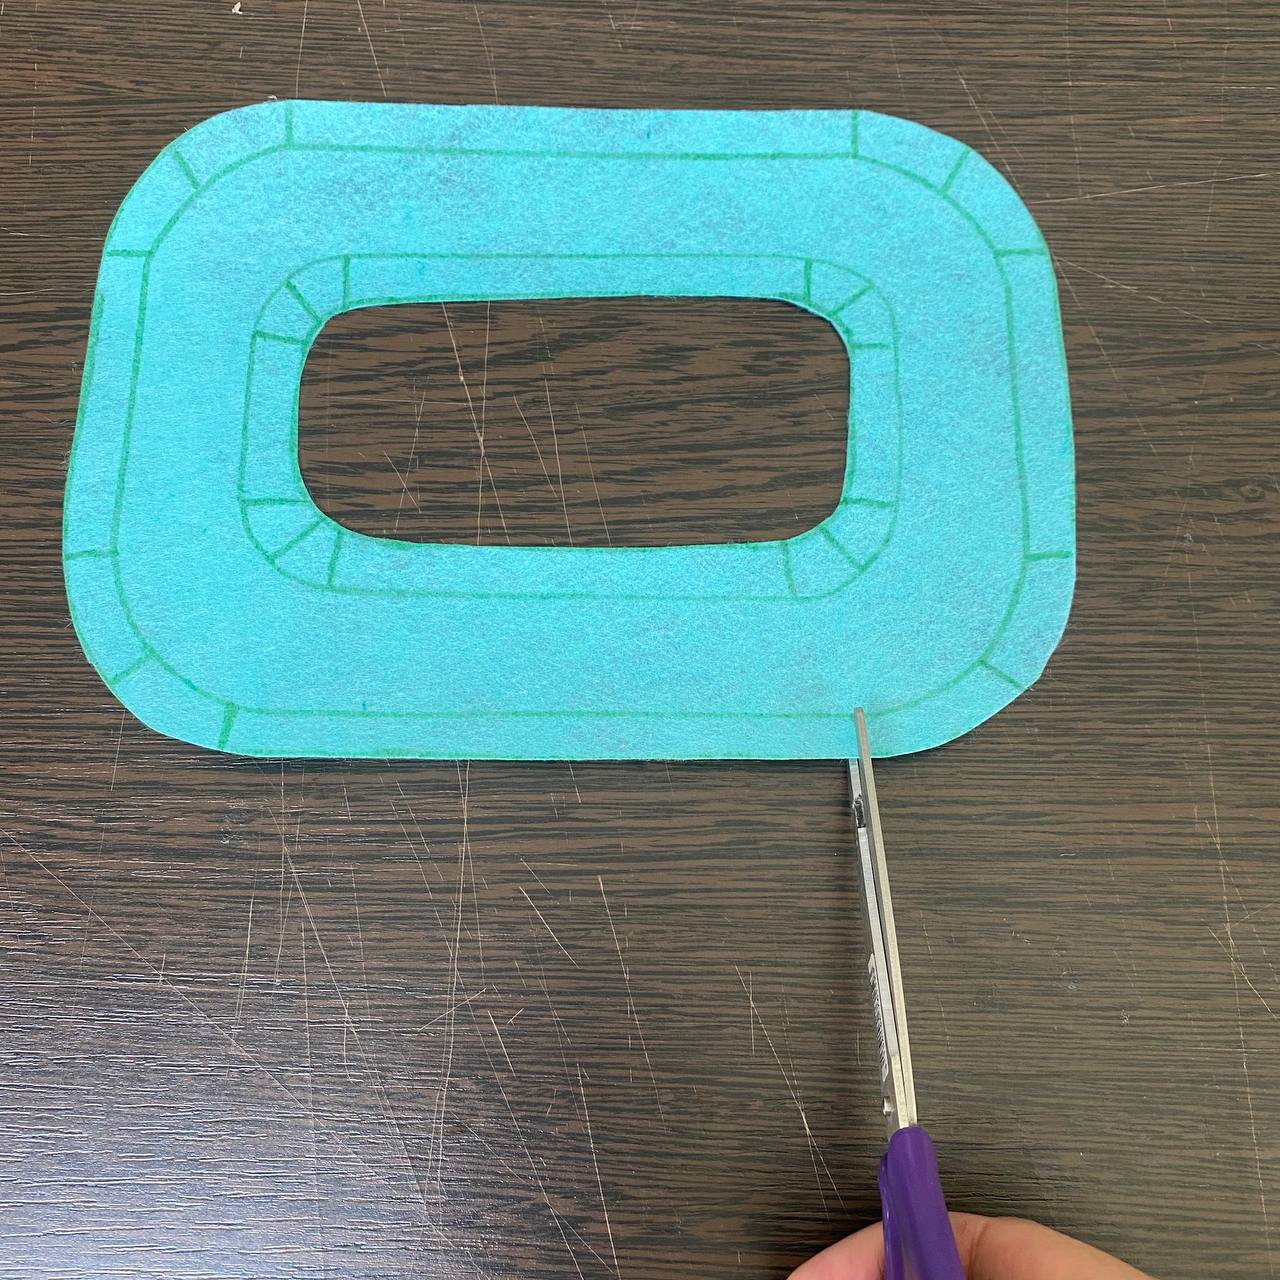
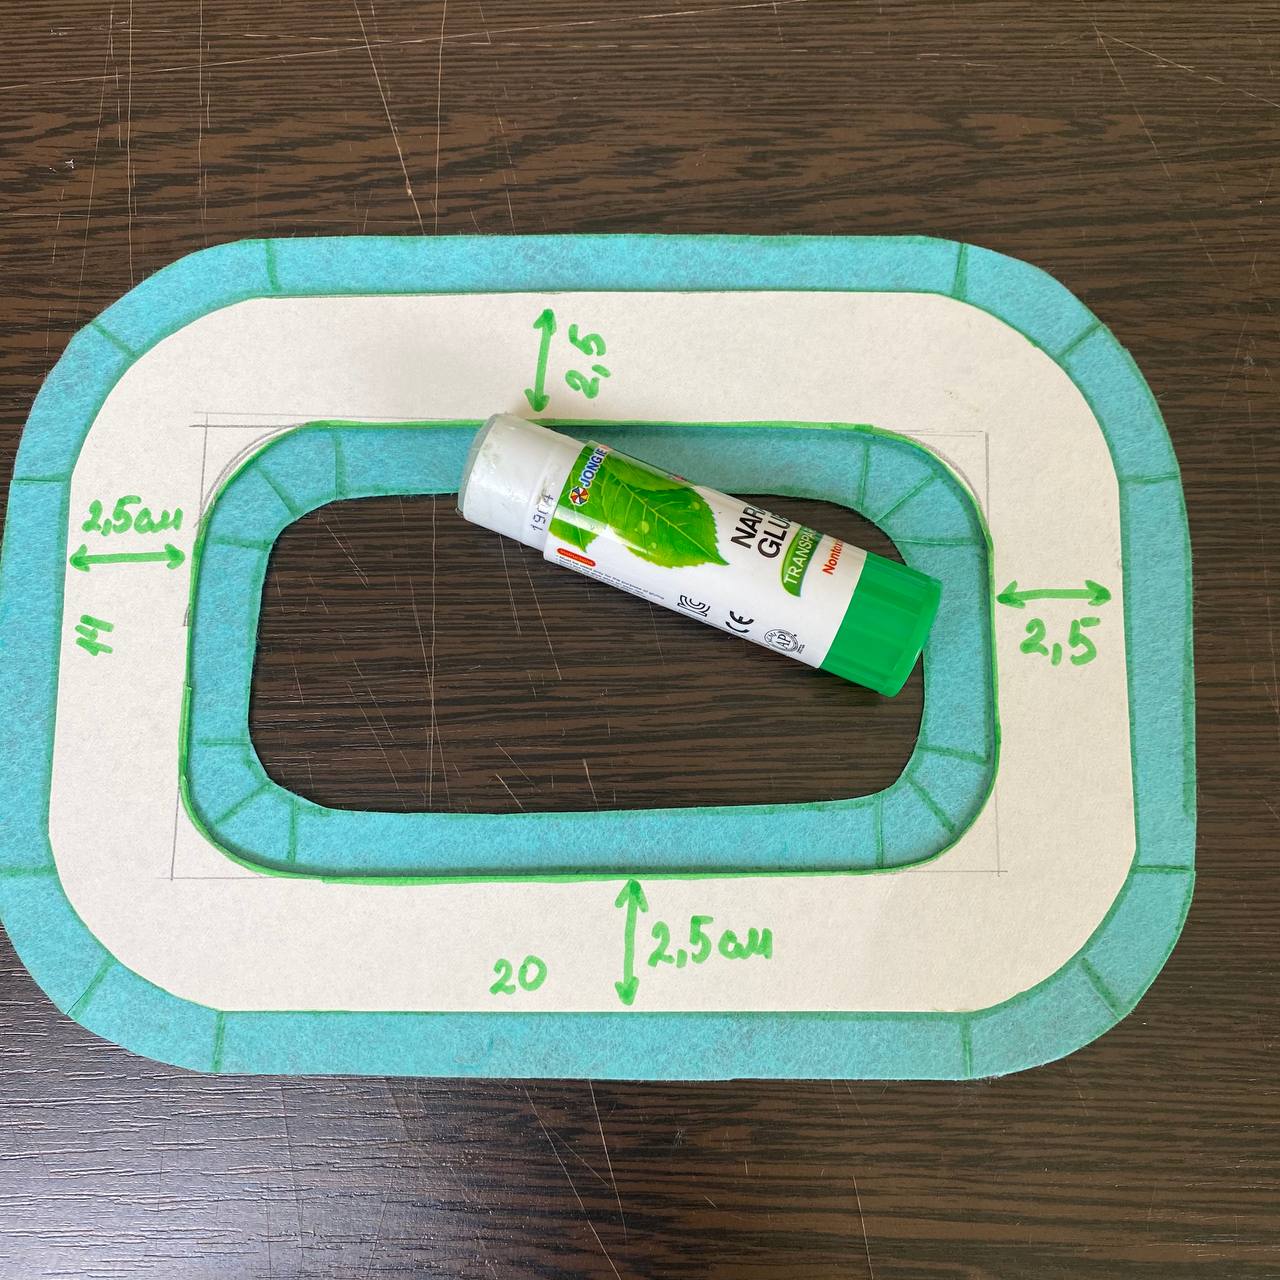
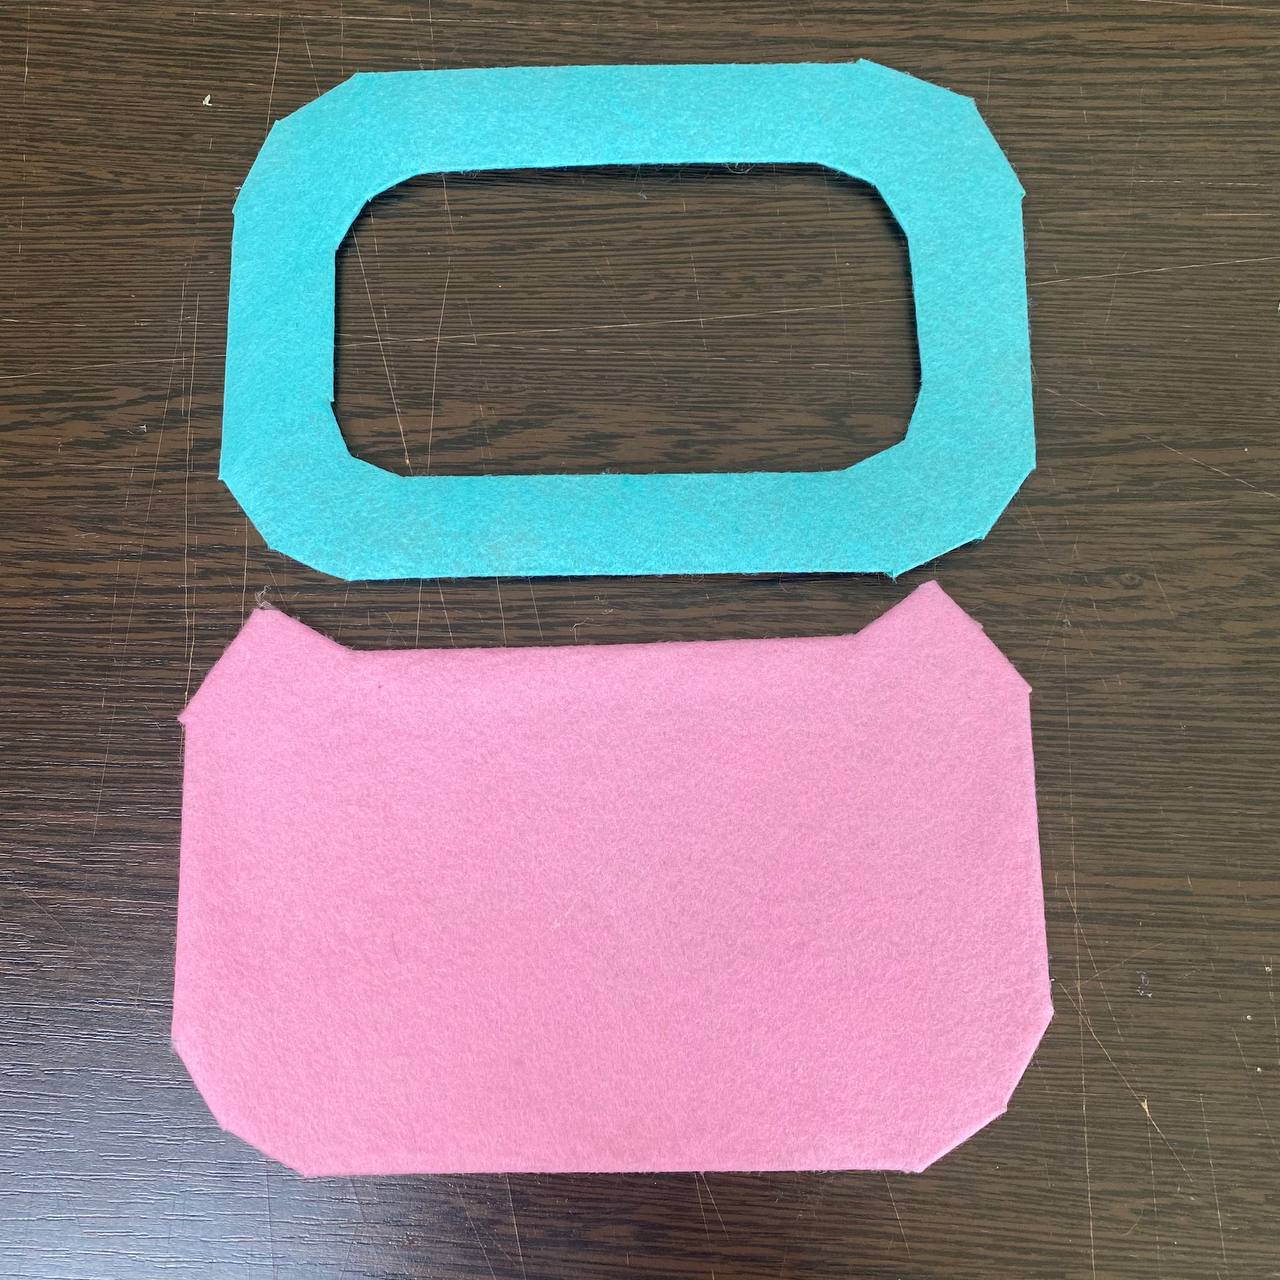
Step 9. You should have 2 photo frame parts
Work at home
1. Think about what creative ideas you can add.
2. If you have round magnets at home, try making a magnetic compass.
3. Before the next lesson, think of how you will decorate your magnetic picture frame (you can bring glitter stickers etc.).
4. Bring a 10cm*15cm photo of yourself to the next lesson.