
Lesson 2
Theoretical part
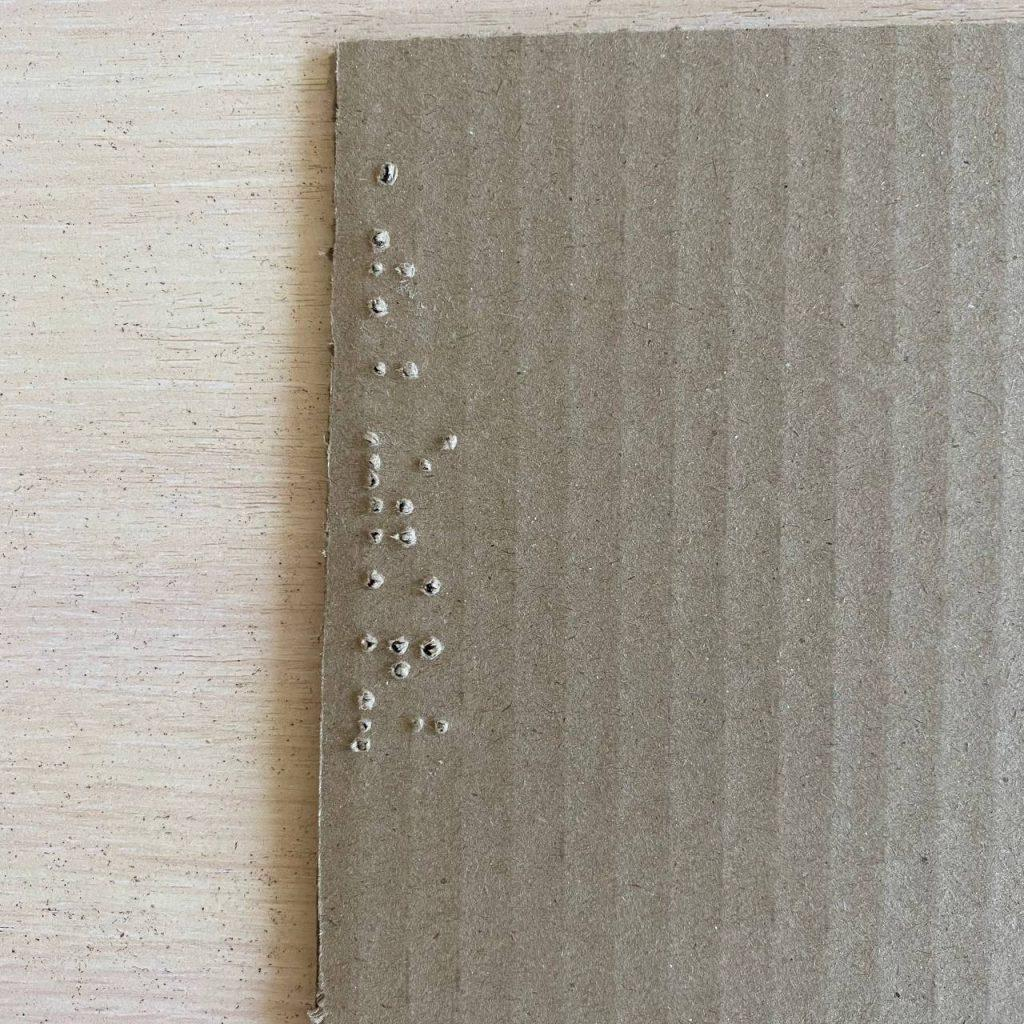
Braille on paper
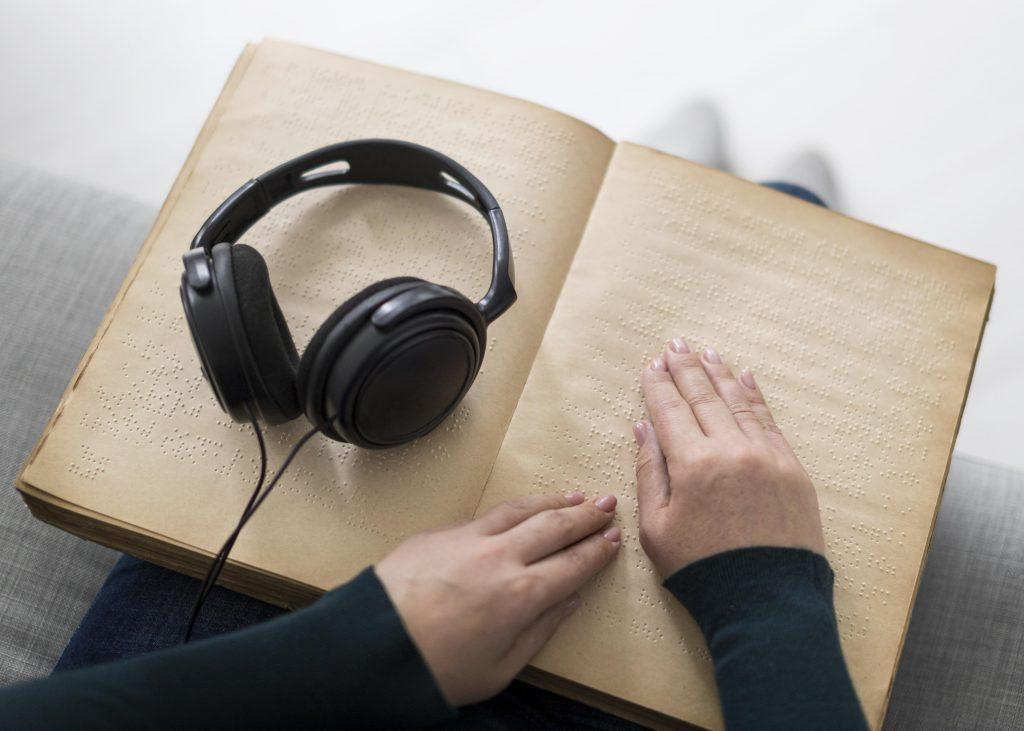
To record Braille characters, special writing utensils are used – a device and a stylus. When writing, the dots are punctured, since you can only read on raised dots. The main feature of the Braille font is that the text should be written from right to left, then turned over and read already written from left to right.
For a reading person, the points are numbered in columns from left to right and in rows from top to bottom. For a writer on a turned page, the numbering looks different: dot 1 is in the upper right corner, below it is dot 2, in the lower left corner is dot 6. The parameters of the raised dot in Braille are clearly indicated by state standards. Three font sizes are used (large, medium, small), but large is the standard.
Practical part
- Before you start 3D printing, you should consult with your institution’s 3D modeling/printing specialist.
- It is necessary to follow all the rules and safety measures when working with a 3D printer.
- Try to 3D print during the daytime, preferably in the morning until the print is complete. You need to watch the process.
Step 1. Finish all your projects. Check all elements and the 3D model of each element for serviceability. Show the specialist your projects. Only after the approval of a specialist, send for printing.
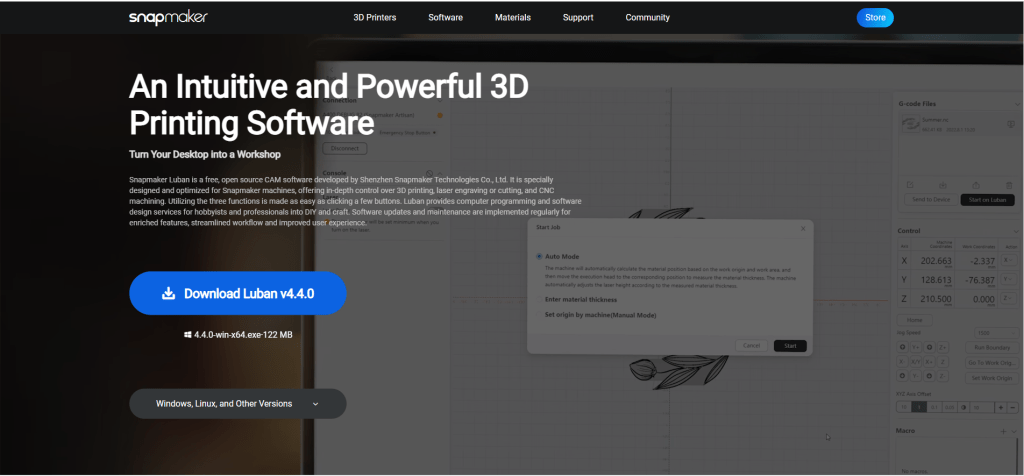
Step 2: Download SnapMaker Luban: https://snapmaker.com/snapmaker-luban.
Step 3. Then install the program on your computer
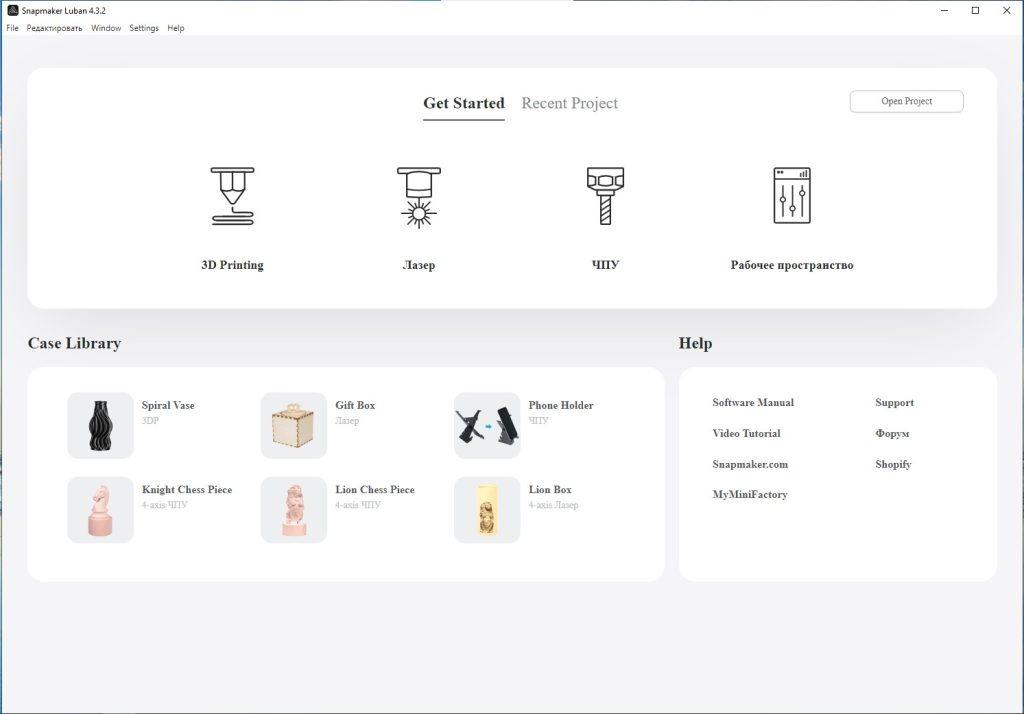
Step 4. Open the program.
Step 5. Then select the 3D printing command.
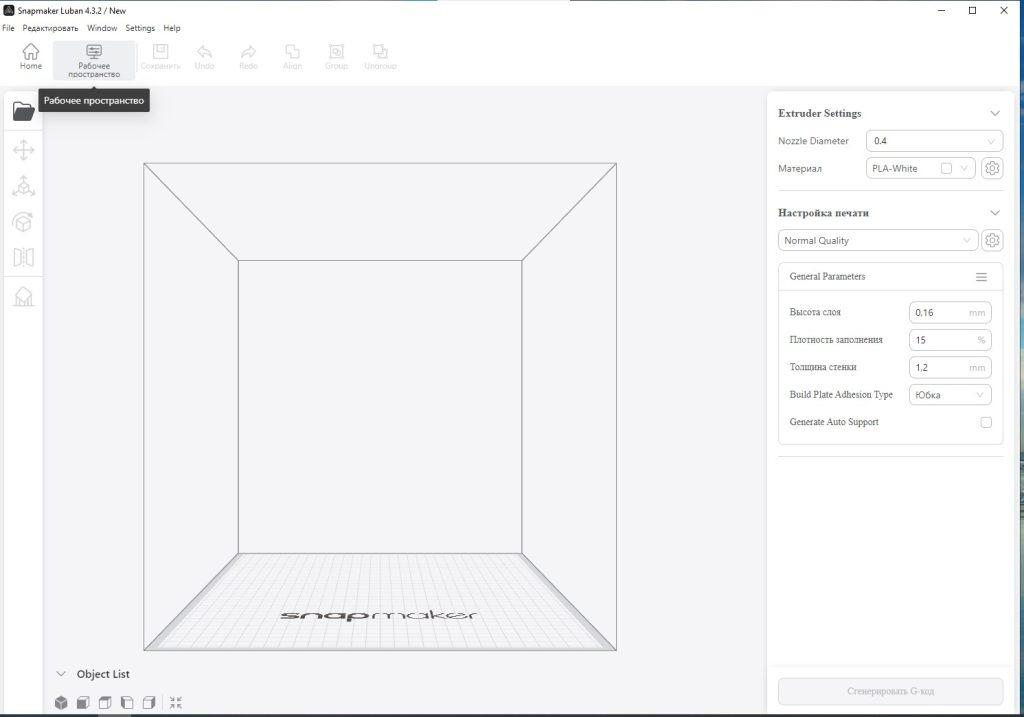
Step 6. You will get a working window.
Step 7. You need to select the options for printing. Here, too, under the supervision and clear indication of a specialist, you need to choose your optimal parameters.
Step 8. Then send it to 3D printing and watch the process from time to time.
Sources:
Braille on paper
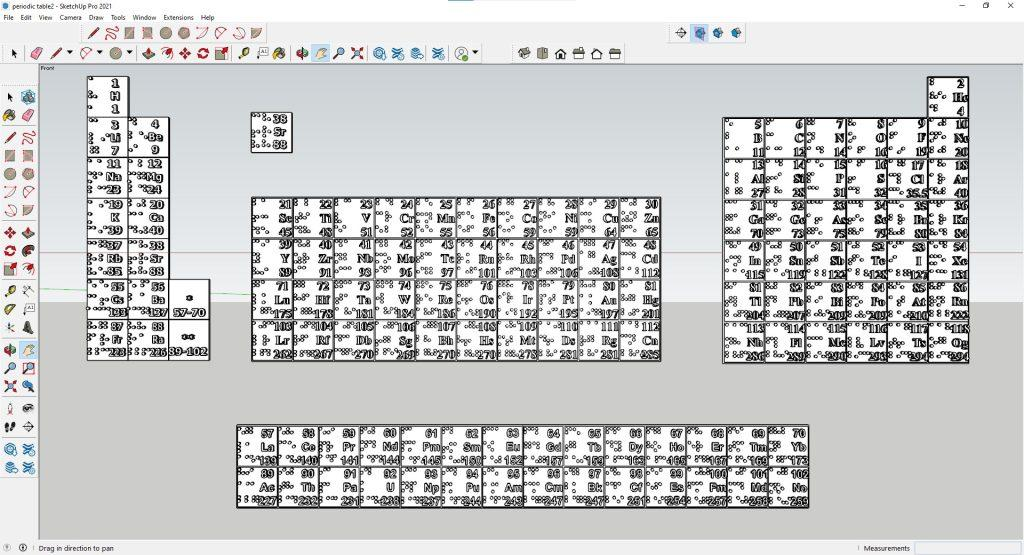
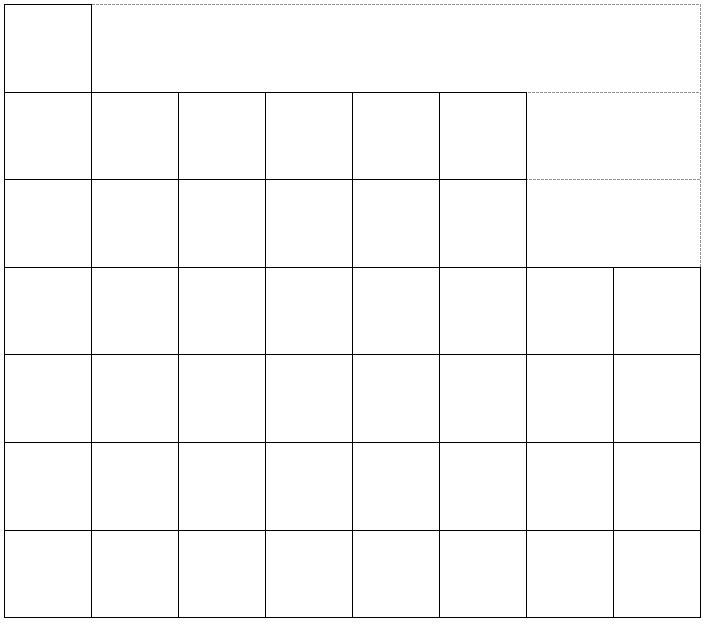
Step 1. Draw in Word (or in another program) the periodic table. But the table should be displayed in a mirror section, that is, from 18 to 1 groups.
By choosing the parameters 2.57*2.57cm. Divided from 1 to 8 groups and from 9-18 groups. Also the lanthanides and actinides into pieces.
In addition, you can supplement the table with signs of elements to fill in Braille.
Then print.
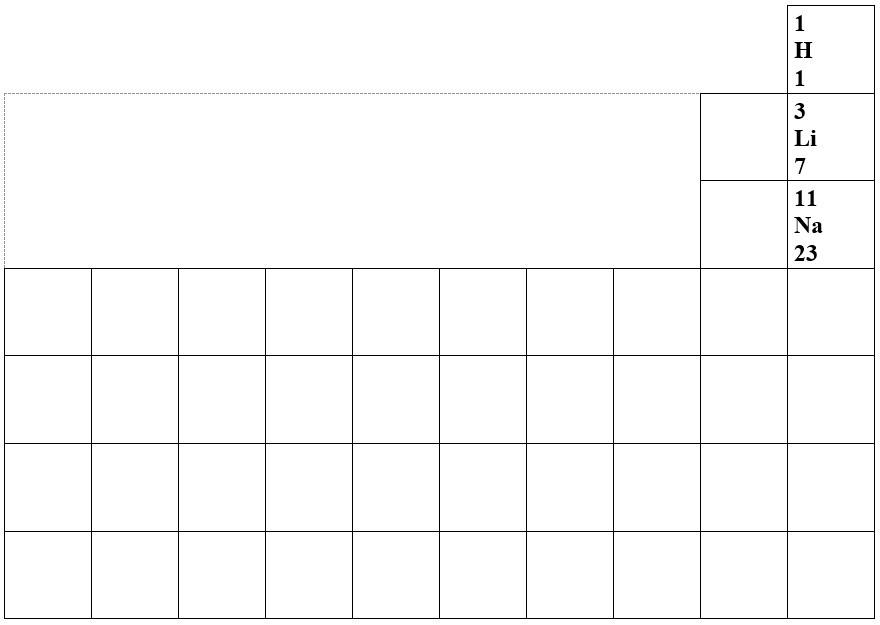

Or you can print the finished table from the link:
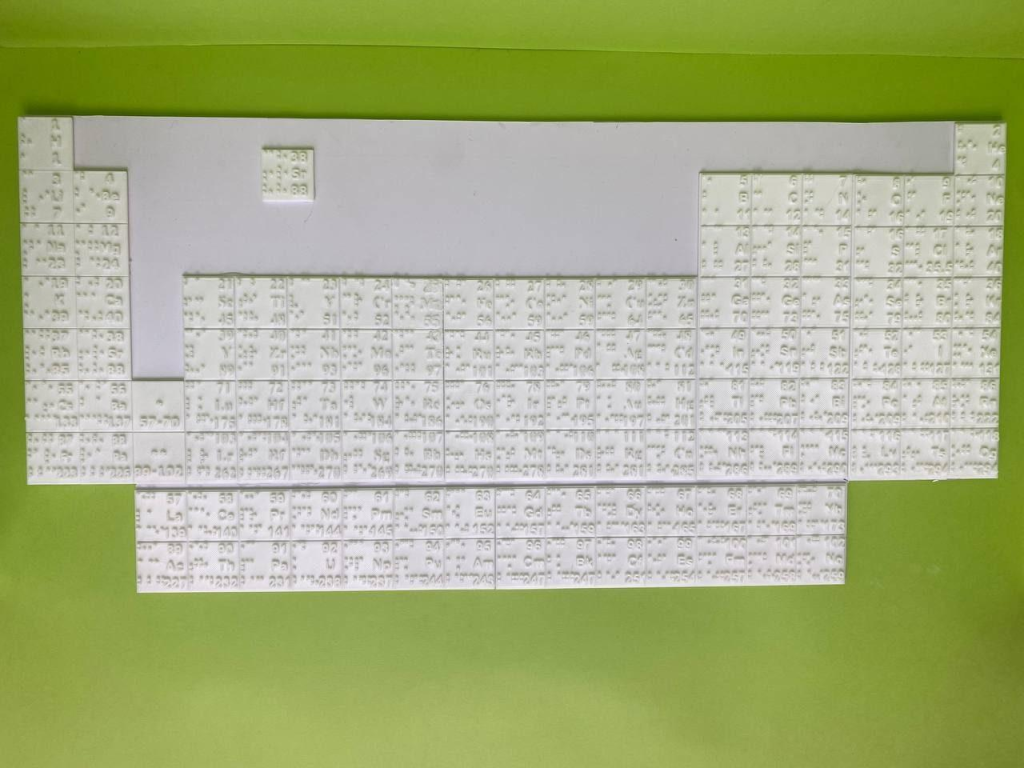
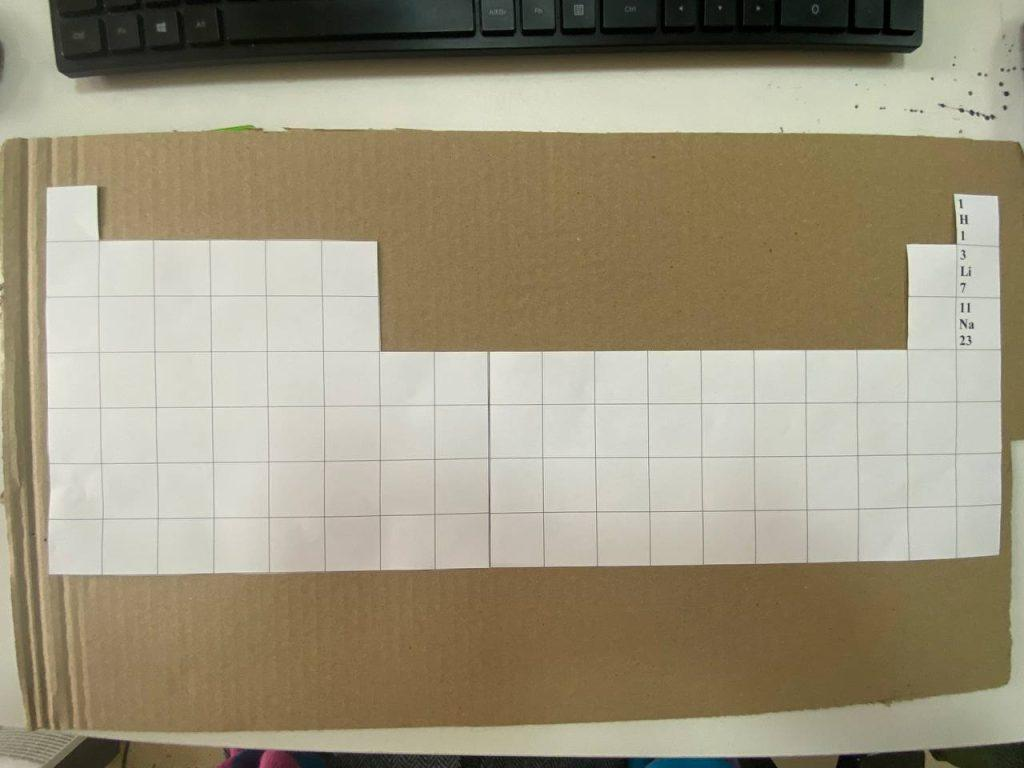
Step 2 Prepare a 50*30cm cardboard. And paste the printed table. This will be the reverse side of the tactile table.
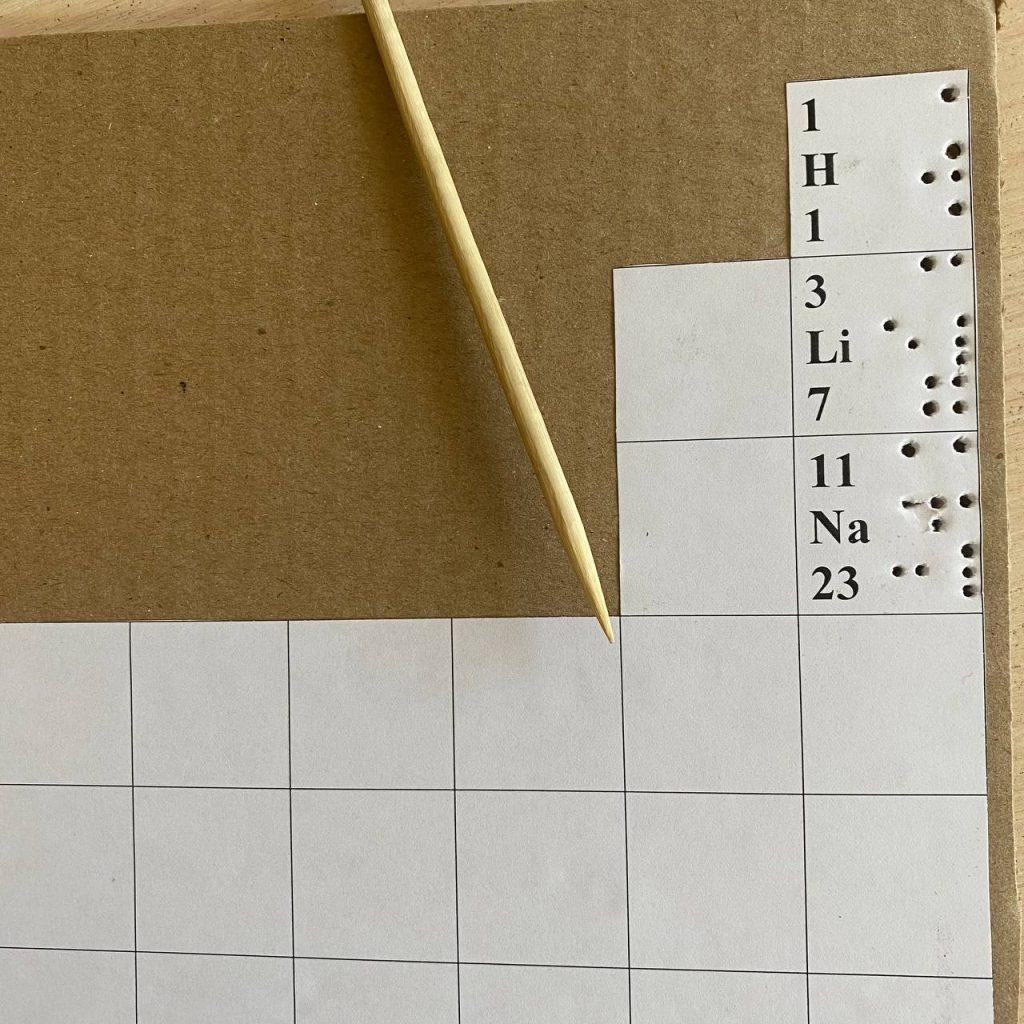
Step 3. Then, using a skewer and Braille, make the appropriate holes for each character.
Note: Be careful. And keep in mind that the finished font is displayed on the back, that is, on the front side and check that the correct characters should come out on the front side.
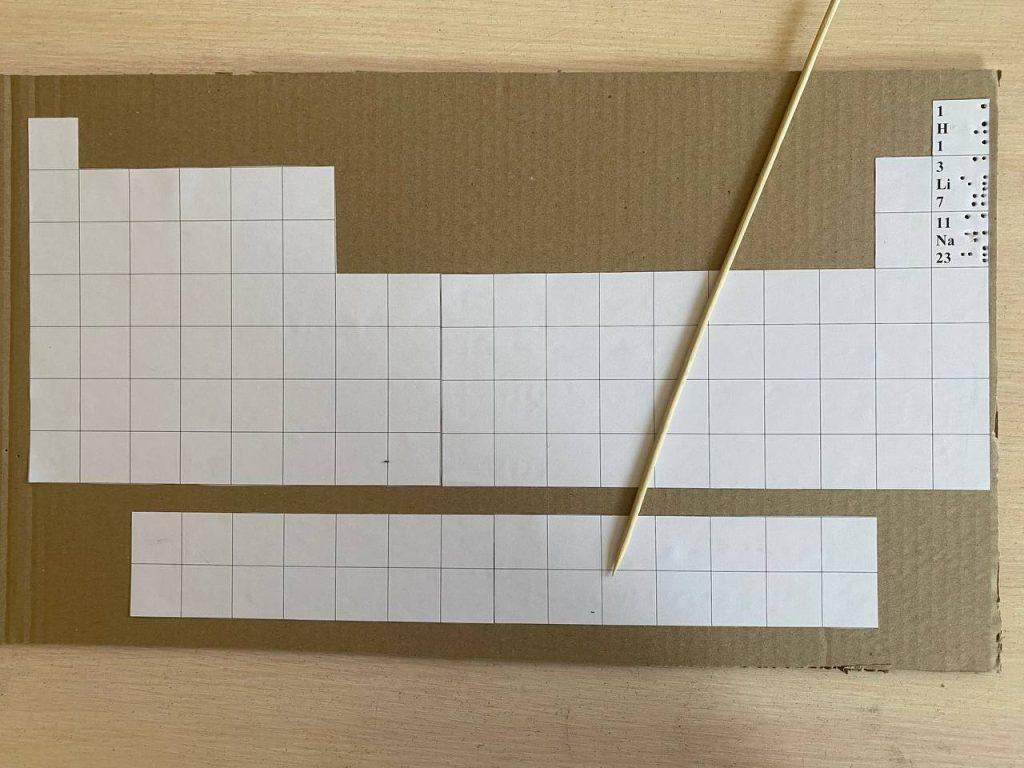
Step 4. Continue on all other elements and complete the entire table.