Week 2
Step 1.
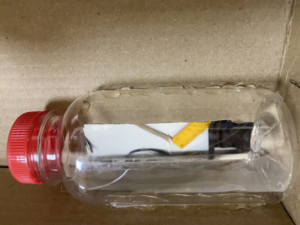
Take a 0.3L plastic bottle. Cut out the top of the bottle. Attach the rest of the bottle to the bottom of the rectangular notch (use thermoplastic adhesive).
Step 2.
Cut out the tops of the plastic dishes by 12 cm and 4 cm. Glue the pieces at the top of the rectangle.
Step 3
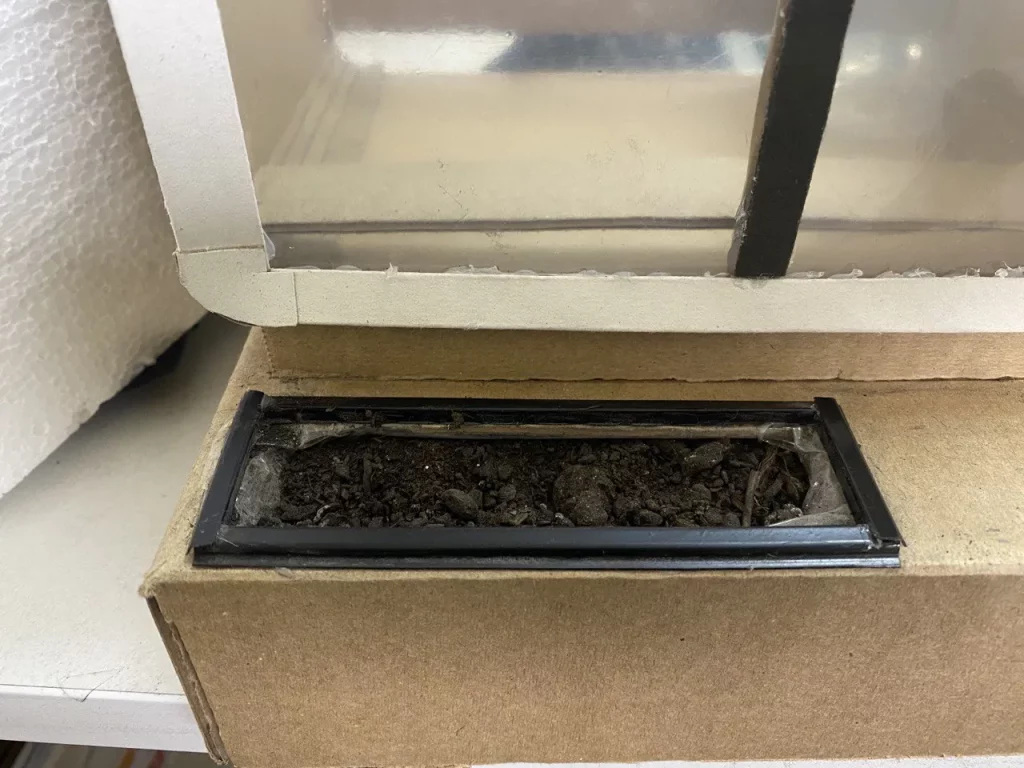
Fill the hole with primer
Step 4.
Plant lettuce leaves in the rectangular hole with soil at the front of the house. The lettuce leaves will grow in about 5 days after regular watering of the plants.
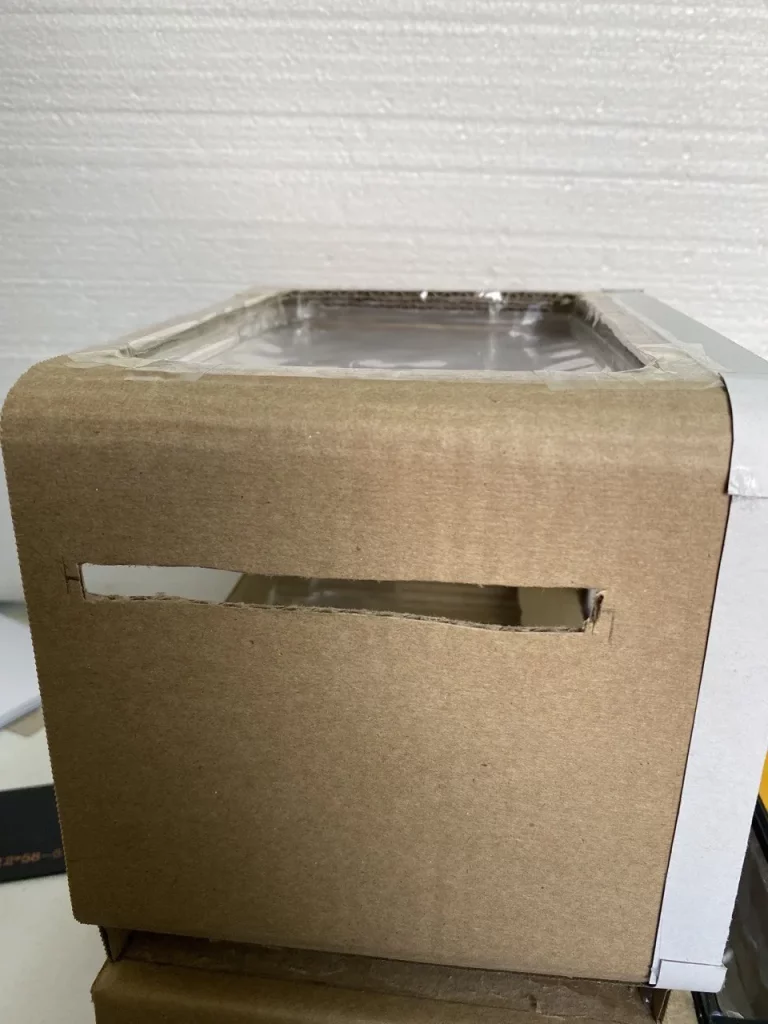
Step 5.
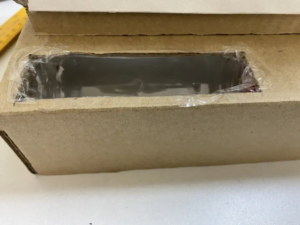
On the left side of the house frame, make an 8 cm x 1 cm incision.
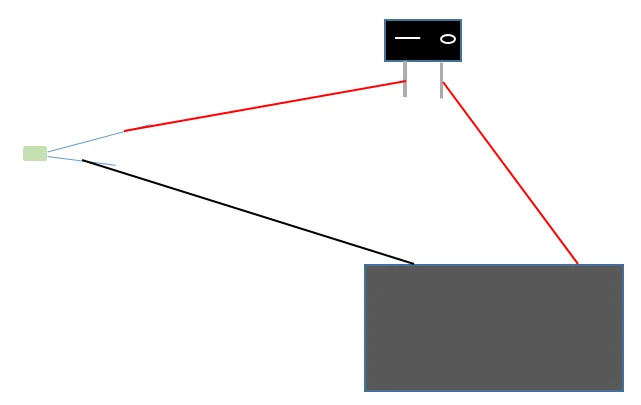
Step 6
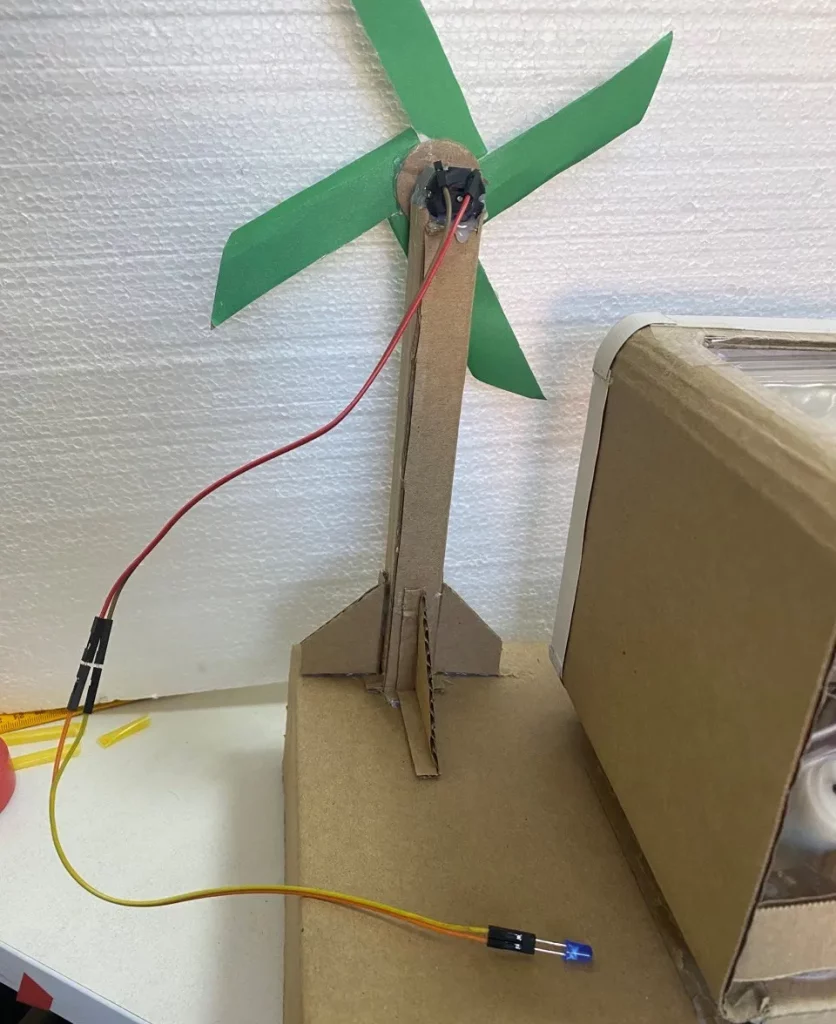
Connect the diode, the switch and the solar panel as shown in the diagram
Step 7
Lead the solar panel wires through the hole you made
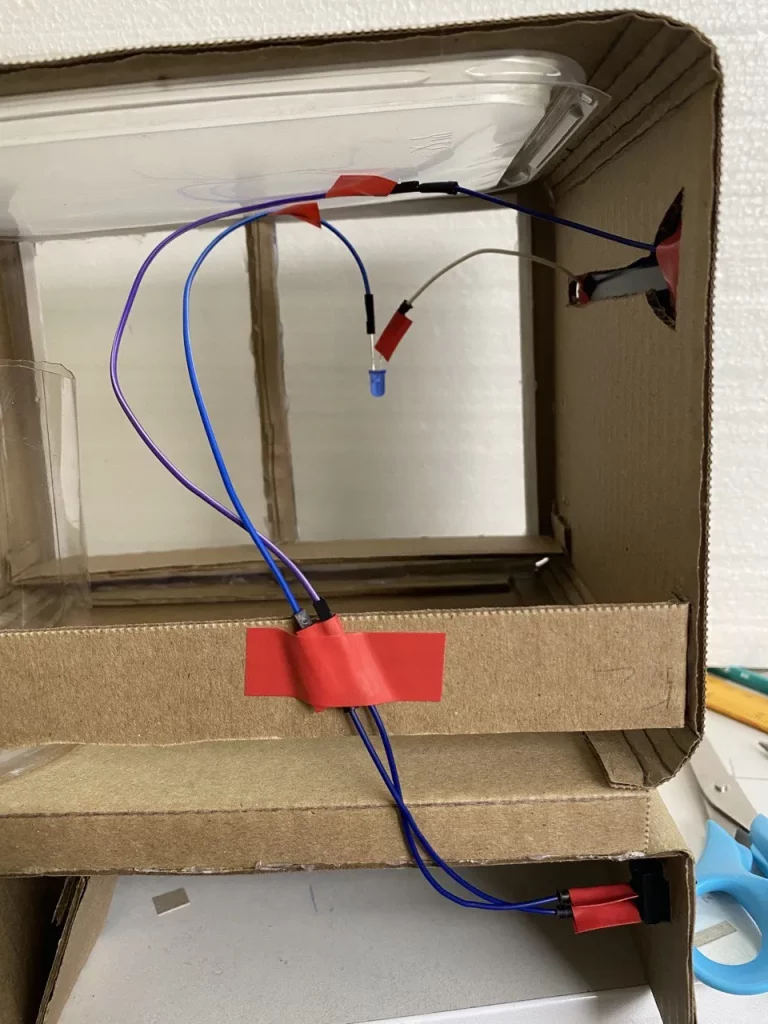
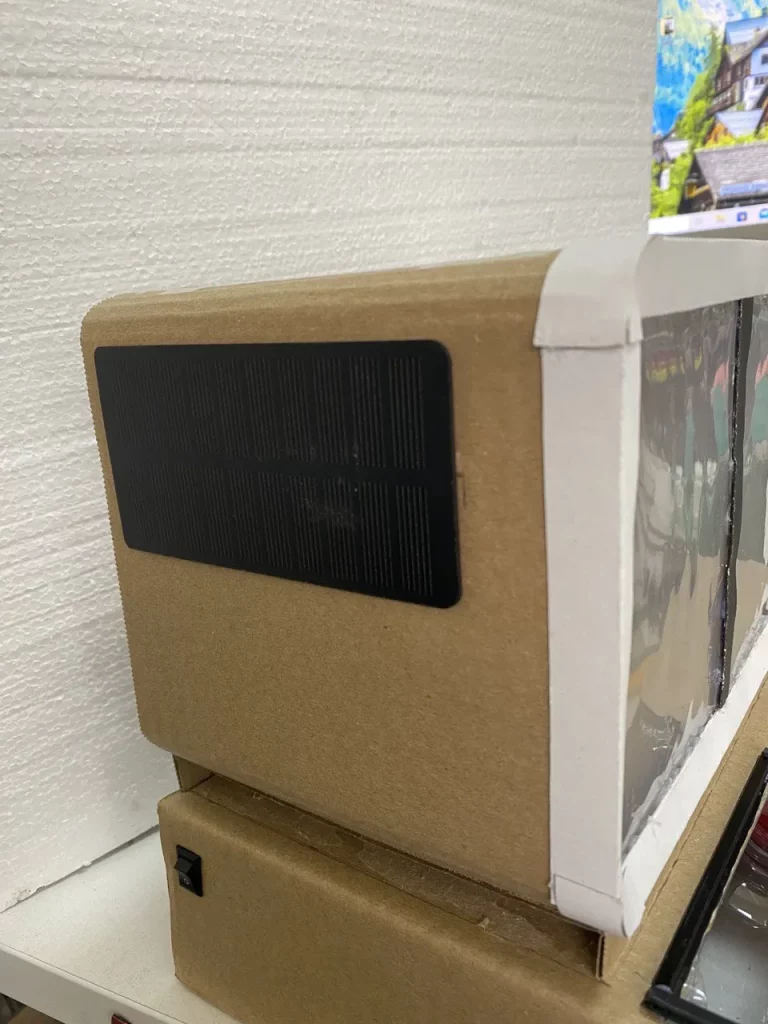
Step 8
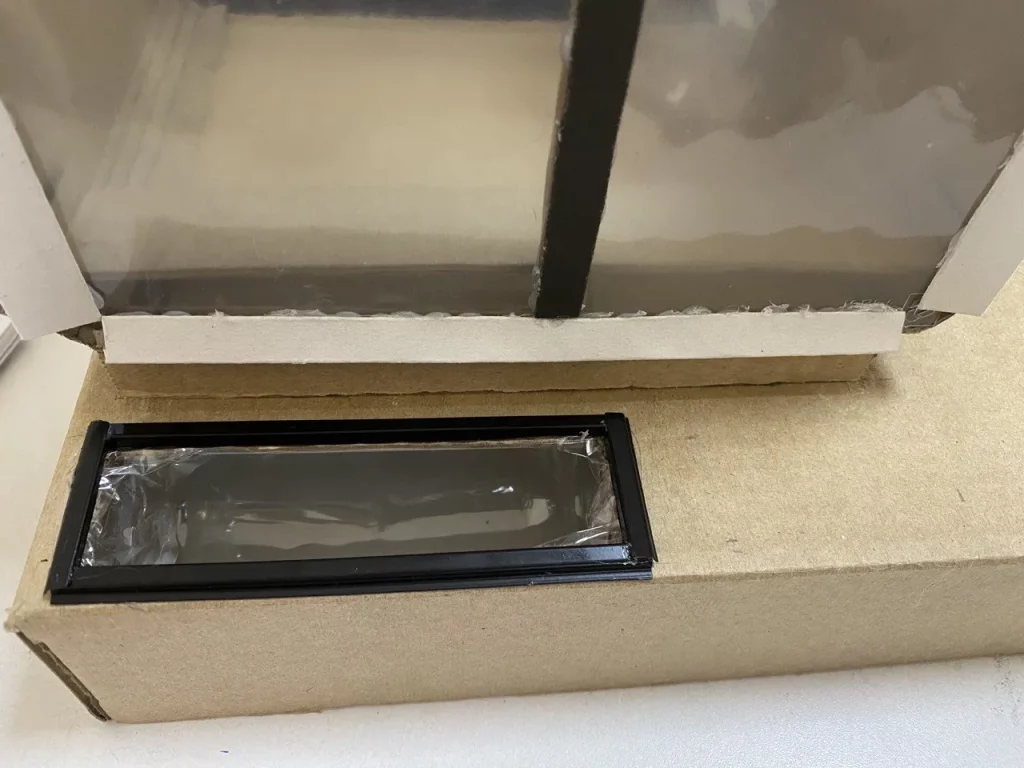
After connecting the wires, glue the solar panel to the frame of the house using double-sided adhesive tape.
Step 9
Cut out a piece of cardboard measuring 9 cm x 20 cm.
Draw lines with a pencil on the resulting piece of cardboard according to the dimensions shown in the picture
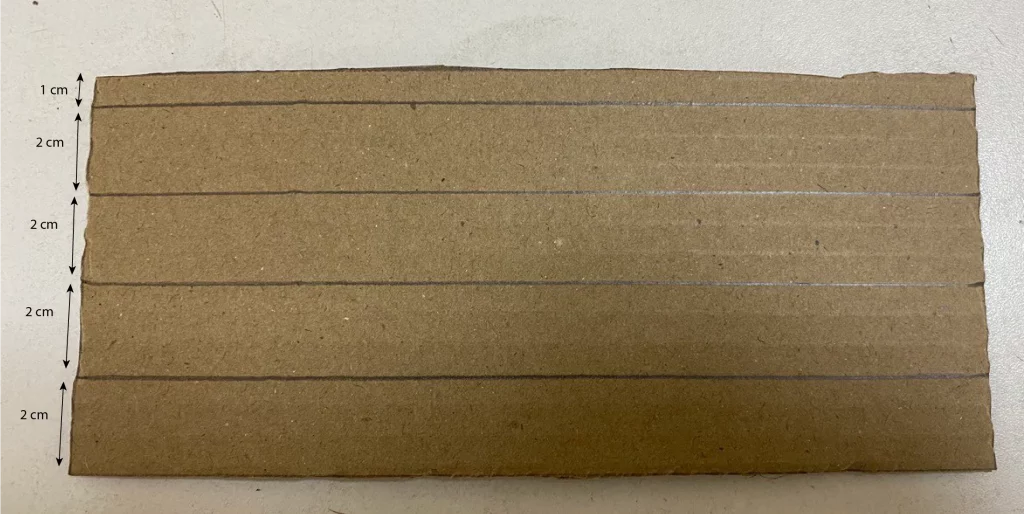
Step 10
Fold the piece along the lines obtained.
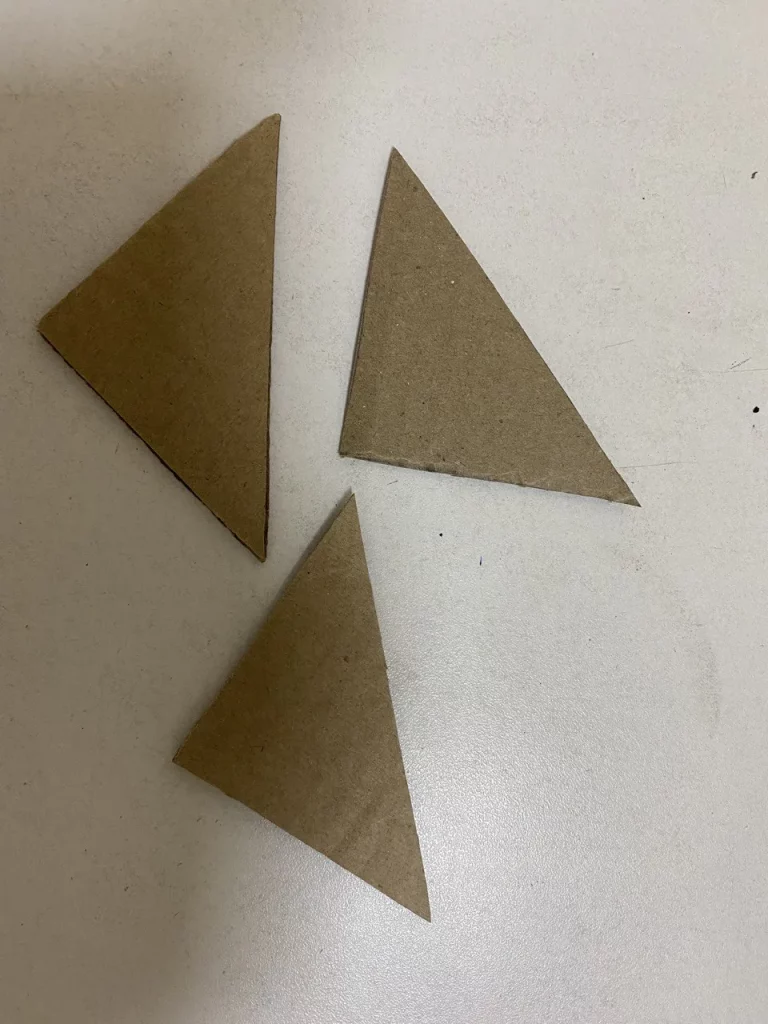
Cut out 3 rectangular triangles with 5 cm and 5 cm cathetuses from cardboard.
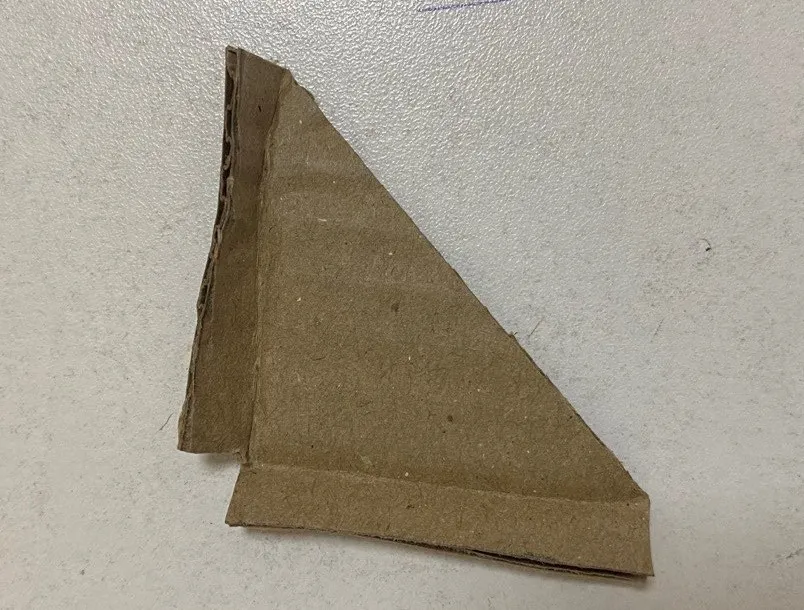
Step 11.
Indent the cathetuses by 0.5 cm and fold the edges. Cut out the corner of the triangle as shown in the picture
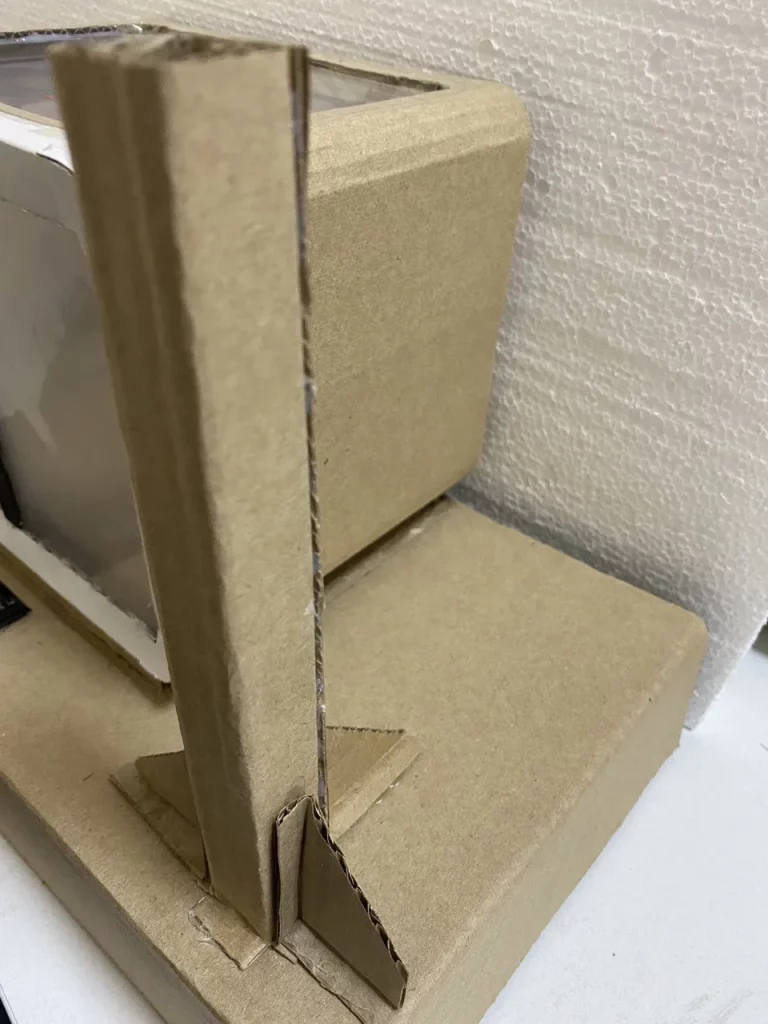
Step 12
Glue the 3 parts obtained from the triangles to the stand of the wind generator and the base of the layout with thermoplastic adhesive.
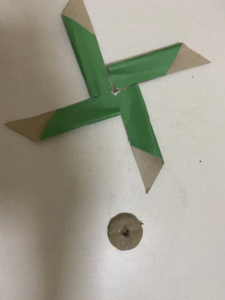
Step 13
Make a propeller out of a 20 cm by 20 cm piece of colored cardboard as shown in the picture
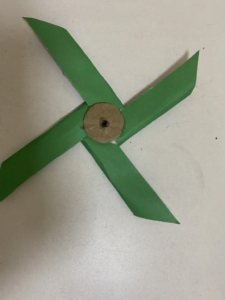
Step 14
Attach the propeller to the motor