Lesson 3
Preparing textbook materials
TurboSite is just a tool for turning your textbook materials into HTML pages. Therefore, the bulk of textbook development is spent on preparing materials (text, images, videos, etc.).
It is not recommended to format page text in the built-in editor. As it does not work correctly. It is suggested to prepare all the content in advance, in any text processor convenient for you, e.g:
- Microsoft Word
- OpenOffice
- WordPad
Pages
It is best to create all pages as separate files, using one of the above programmes. We recommend that you only use the following tools:
- bold
- italics
- underlined and strikethrough text
- numbered and bulleted lists
- Footnote and superscript
- links and images
You should not adjust the font style, font size, and similar text styles. This will make it awkward to control the appearance of your textbook and the pages will be unwieldy with unnecessary inline styles.
Tip
Styling of text and images should only be done in the template, using CSS styles. This will give flexibility when refining the theme, as changing the style in one file will apply to the whole tutorial
Practical part
Step 1: This week the students will use their tutorials to make an EUP in TurboSite. Week 1 has already explained how to insert a picture and how to edit text
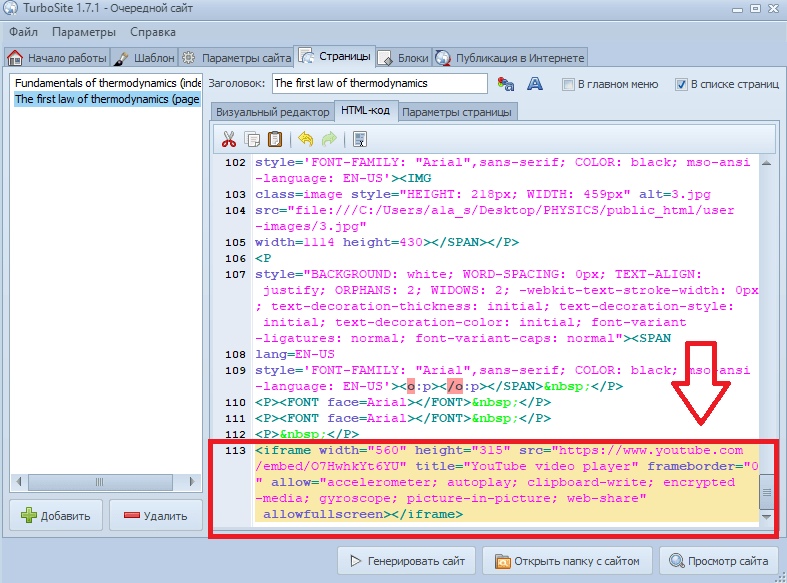
Videos need to be converted to .mp4 format. Audio should be converted to .mp3. This avoids a lot of browser compatibility problems. If you want to insert video from youtube, you can either download the video from youtube or copy and paste it into HTML code.
For example:
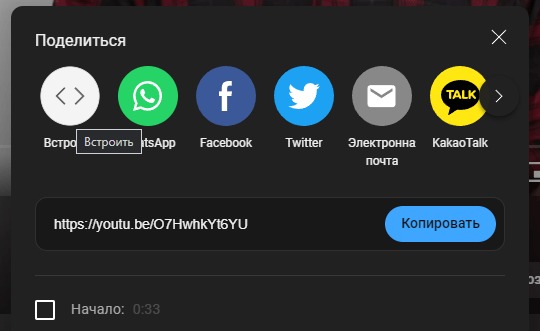
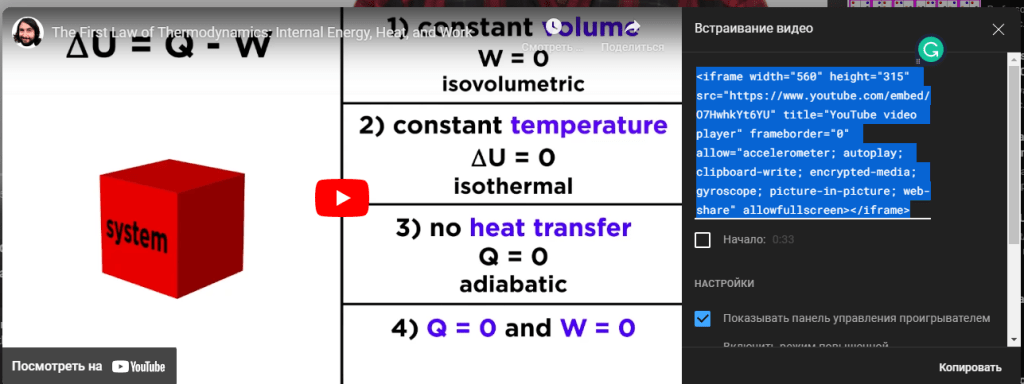
- Go to YouTube in the search engine, type in any theme we want, find the video
- In the bottom right corner click on Share and then click Embed.
- Then we have a window with the code of the video. This is how you can download the code of the video and paste it into the HTML code
Step 2: After inserting the code, be sure to press the Generate Site button, otherwise your video will not appear on the website
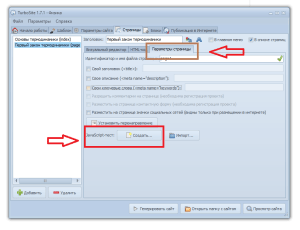
Step 3: Or as mentioned above you can simply download the video and paste it into the page using the Video Editor (located in the top right corner). The picture shows what the downloaded video looks like in the ETM
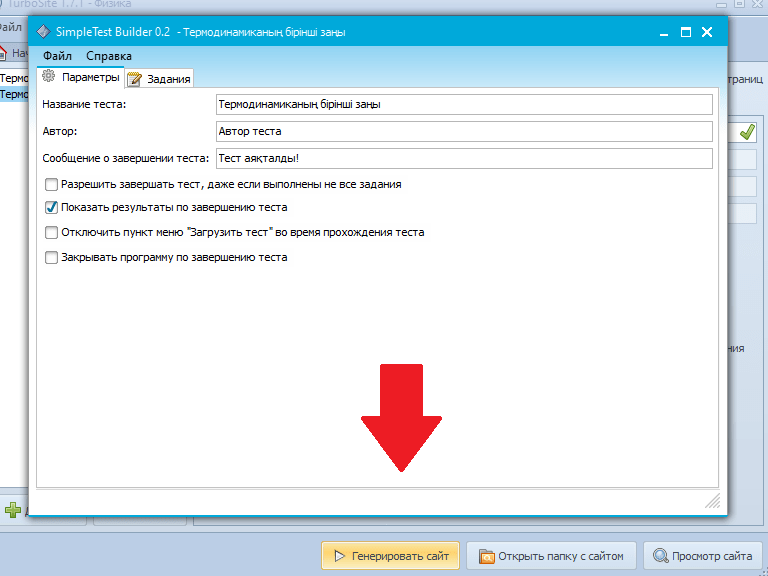
Step 4: Now create a test on our theme page.
To do this, go to Page Setup, go down to the bottom, there should be a JavaScript test and next to it click on the create button
Step 5: Once clicked you will be presented with a new window where you can see several options on how the quiz should be completed. After this change the name of the quiz, and go to the next page called Assignments
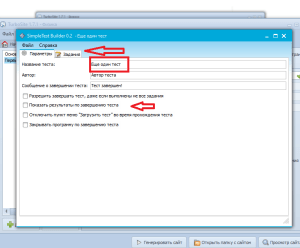
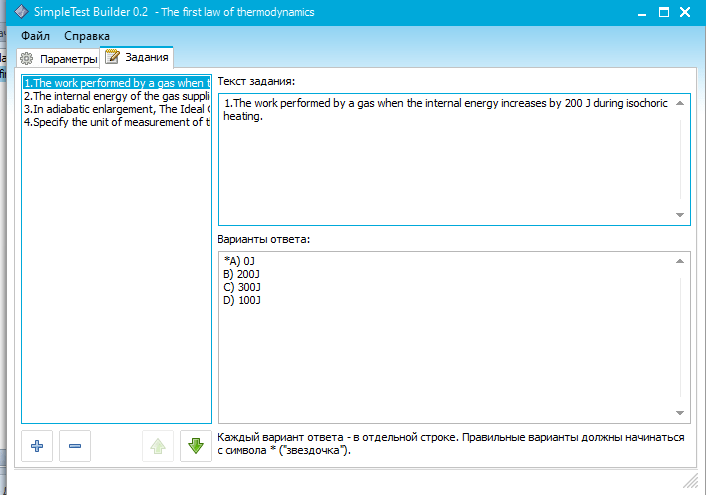
Step 6: After clicking on it you will be taken to another page where you can write the task text and the answer options. But first click on the plus button, as shown in the picture, and then you can type your text on the page.
Before you start editing the answer choices, you must read the warning at the bottom of the page. It says.
Each answer choice must be preceded by an asterisk (*).

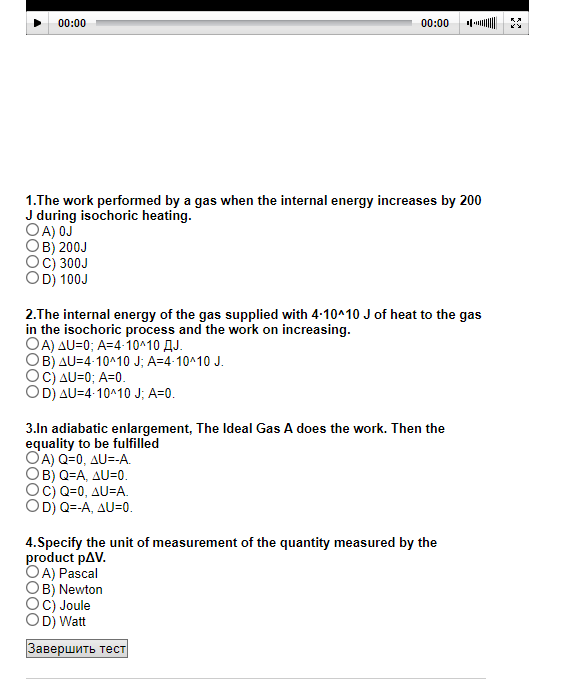
Step 7: Write the test question and the answer options at the bottom as shown. You can add more questions in the same way.
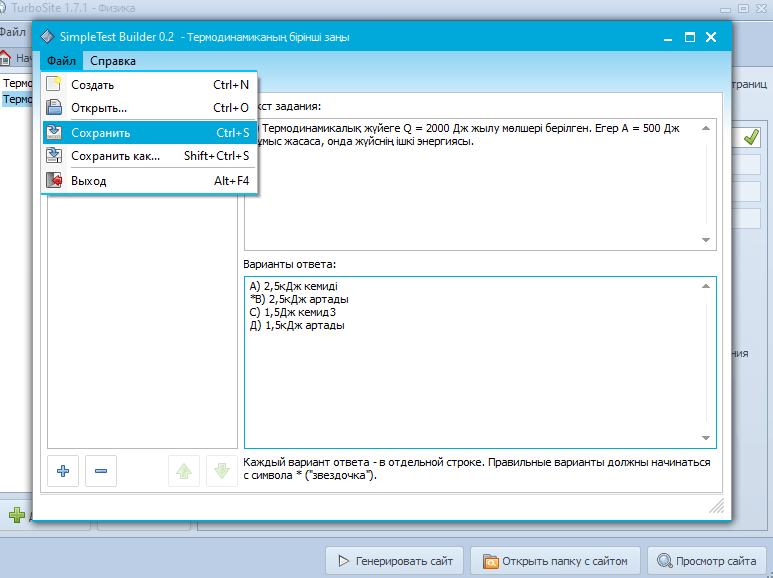
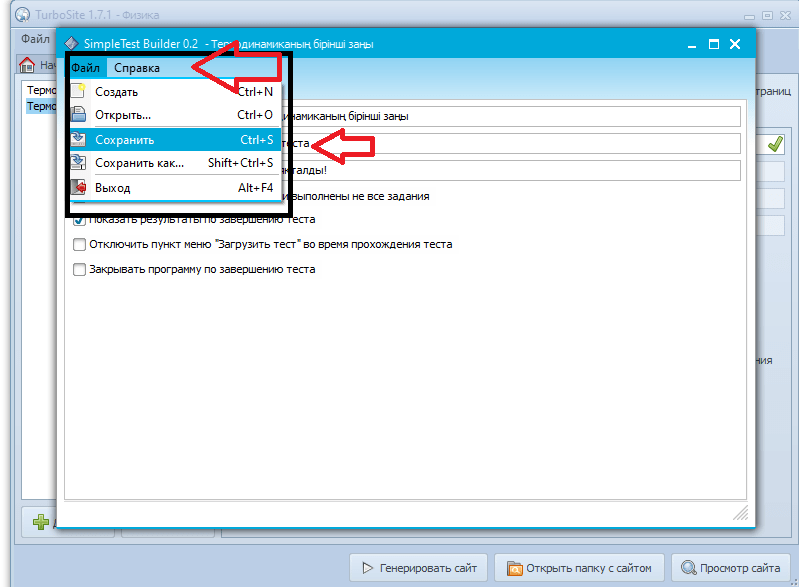
Step 8: After each question6 it is important to save the questions by clicking File and Save, then go to Options ⇒File⇒Save, at the bottom click on Generate Site ⇒View Site
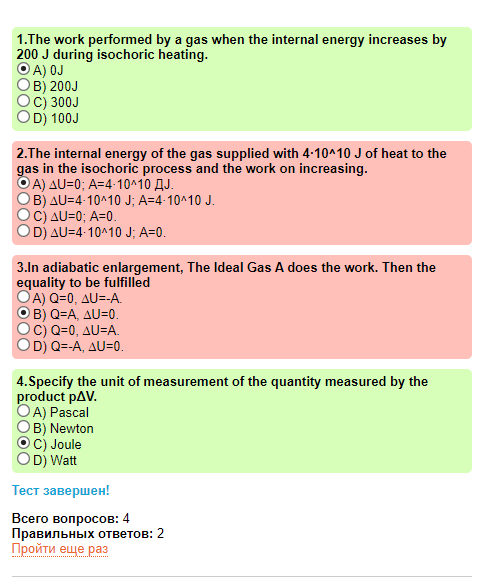
This is what the test should look like on the EТМ page
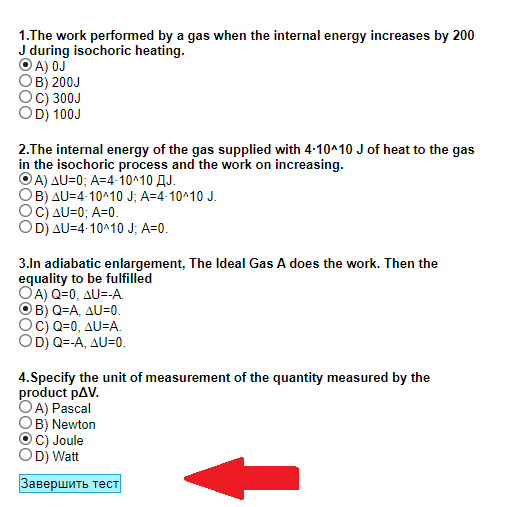
Each correct answer – is green, an incorrect answer – is red.
Step 9: To add a formula to the EC, you must first design the formula in Word, you must copy the formula from the document and paste it into the EC.
Step 10. Go to the very beginning
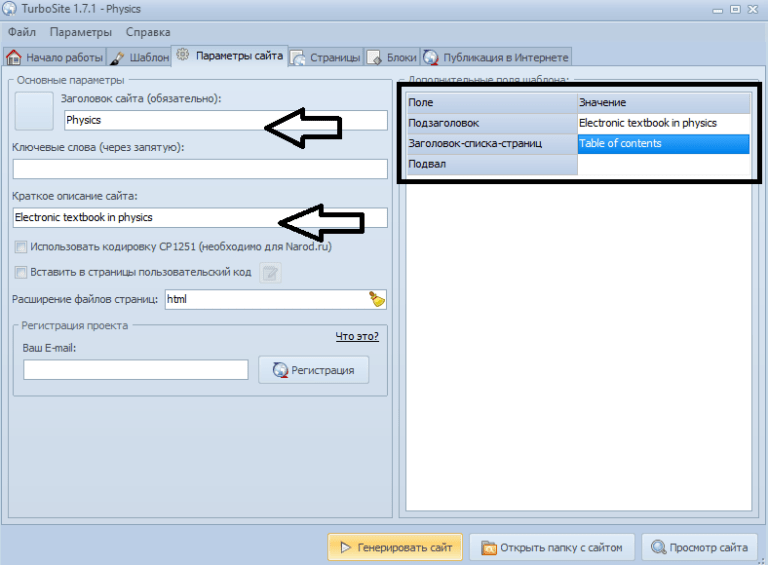
On the Site Options tab, fill in the basic fields with any information you want:
- Site Title (displayed in the header of the eTextbook)
- Sub-title (displayed in the header of the electronic textbook)
- Page list heading (displayed above content in sidebar)
- Basement (displayed at the bottom of the textbook)