
Lesson 1
Project Goals
– Familiarization with the stages of creating an animated film;
– Development of creative skills by creating a scenario;
– In the working process in groups, create a full-fledged animated video and present it to the audience.
Teacher’s Guide
– Divide students into groups;
– Every week at the beginning of the lesson, do a brief review of the theoretical part and introduce students to the practical part;
– Pay special attention to homework;
– In the last week of the project, each group must present a fully finished animated film in video format to the viewer;
– Provide PBL rubrics to students to:
– the students understood in advance what criteria they need to prepare for,
– students were able to independently evaluate their colleagues.
Safety in Steam Lessons
Before starting a lesson, the teacher is advised to familiarize himself with the safety precautions. If necessary (in the case of using the items specified in the TB), conduct a brief briefing for students. Go to the link Safety in Steam Lessons
Theoretical part
Stop Motion is an amazing animation technique available to everyone. This is a great way to express your creativity and get to know the wonderful world of filmmaking.
Let’s get acquainted with the stages of creating an animated video:
– Idea
– Storyboard
– Create backgrounds and characters
– Take pictures
– Sound
– Video editing
Screenplay. At this stage, the copywriter creates a general concept, the idea of a cartoon. It is necessary to think about the goal, the target audience aimed at creating, the duration of the cartoon, style preferences, voice, etc. The screenwriter usually comes up with several different ideas. The selected version becomes a full script.
In films, the script is a three-act structure that you can use.
The screenwriter captivates the viewer with the first act and draws him into the story.
In the second act, the main actions take place, events develop that lead the hero from the starting point to the place where the goal is achieved or defeated. The situation becomes more complicated, and through the desire of the hero to overcome all difficulties and achieve his goal, we come to the third act.
The third act is a consequence of what happened in the second act. This climax is the moment when the hero fights for his goal. Tension is escalating here, the pace is accelerating, and the conflict is nearing resolution and completion. The most important thing is that the story has a logical conclusion, and you should also be able to show your main point and what you want to say with your story.
Character development. Character development begins, as a rule, when cartoonish, stylistic preferences are known. According to the scenario, the concept artist creates an image of each character. Sometimes, before drawing characters, the personality of each character is described. For artist depicts the character’s personality when creating a visual image.
Hand-drawn cartoons owe a long life to the American animator Walt Disney, who was one of the first to introduce manual drawing techniques. To use this method, you must work hard and prepare a large art gallery. You can use watercolors, colored pencils, and even regular ballpoint pens. On paper, each subsequent movement should be drawn completely from beginning to end.
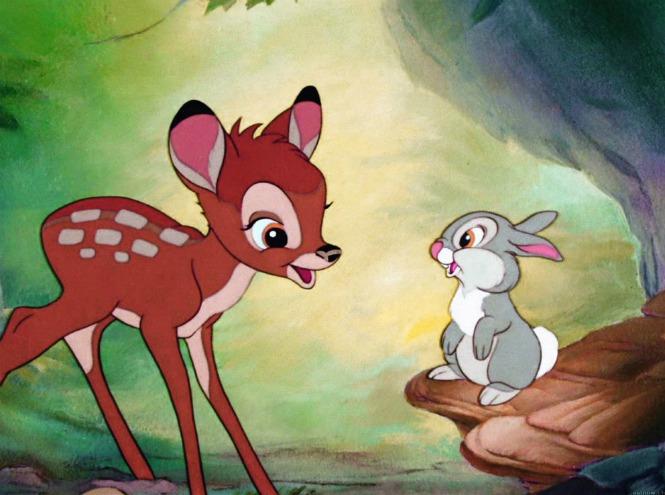
Frame from the cartoon “Bambi” (1942)
Puppet cartoons are also interesting in terms of technology. Changing the position of the dolls and imitating their movements is easier than drawing, but there are some peculiarities here.
Materials: fabric, thread, rubber, wire, buttons, wood, various fruits, LEGO toys, etc. It doesn’t matter what the puppet character is made of, the main thing is that he is given personality.
Ordinary cereals or salt will help create a winter landscape and snow storms in the frame.
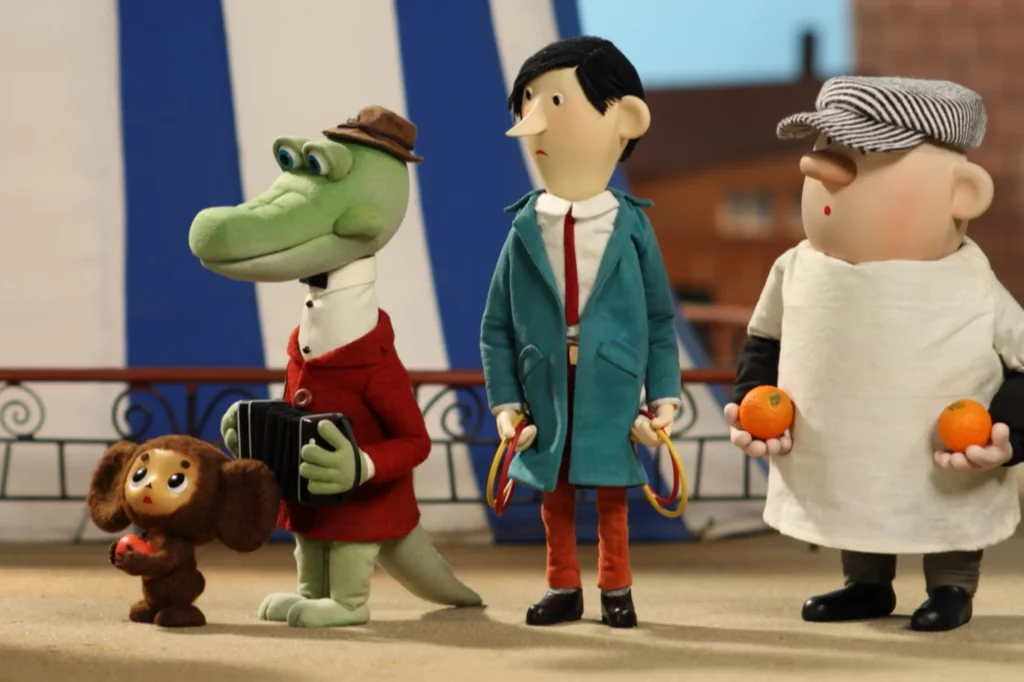
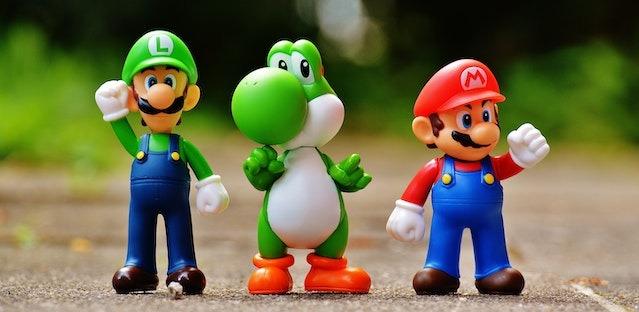
Frame from the cartoon “Cheburashka”
The image repositioning technique is a cross between a cartoon and a puppet cartoon. The finished fragments of the image cut out of cardboard are moved. The composition consists of several layers of characters and backgrounds. Characters and backgrounds are flat.
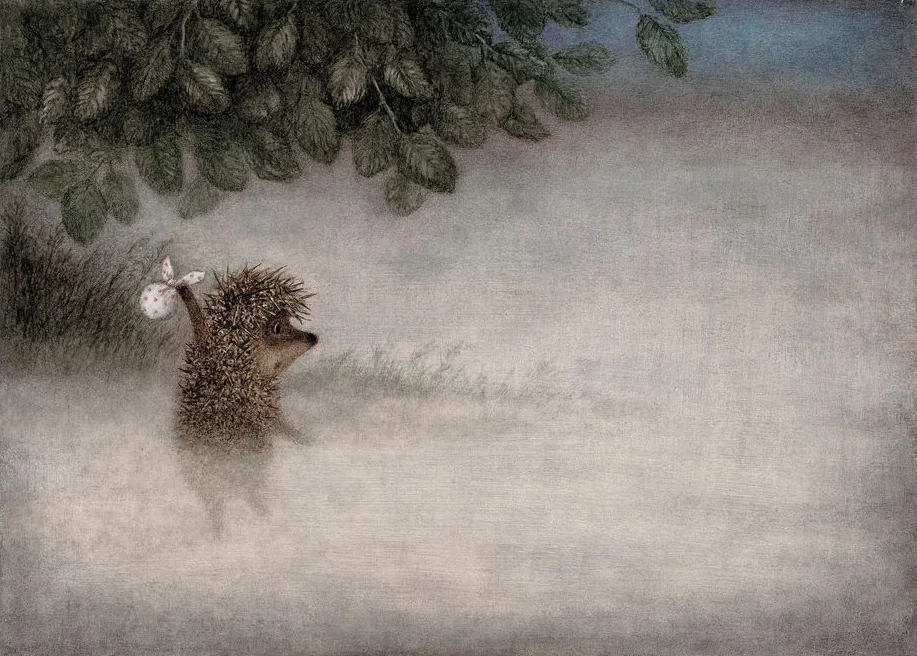
Frame from the cartoon “Hedgehog in the Fog”
Plasticine animation. Due to its special plasticity, plasticine has been one of the favorite materials of multipliers for many years. The film is created by shooting each frame and changing the plasticine molds between frames.

Frame from the cartoon “Wallace and Gromit”
Used literature and additional information:
https://urok.1sept.ru/articles/644398
https://www.movavi.io/how-to-make-a-stop-motion-en/
https://www.wikihow.com/Create-a-Stop-Motion-Animation
http://toondra.ru/sozdanie-animacii.htm
https://fantasticimago.com/blog/sozdanie-multfilmov-kak-shag-za-shagom-sozdaetsya-animirovannyj-multfilm.html
https://school-science.ru/7/22/41000
https://kinoscenariy.com/kak-napisat-stsenarij-pravila-i-sovety/
https://snegiri-studio.ru/trekhaktnaya-struktura
Practical part
1. In this lesson, each group will write a script for their future animation. The scenario is most often described as a combination of the stage direction and the dialogue of the characters. The script must be natural and effortless.
Discuss with the group. It is important not to limit yourself and write down all the ideas that come to mind. After you have collected ideas, you should filter them and keep the most successful ones. The most important thing is that the story has a logical conclusion, and you also need to show your main point, and what exactly you want to say with your story.
2. After the script is ready, you must choose what style your videos will be in, and what tools you will use.
– Drawn animation;
– Plasticine animation;
– Puppet animation;
– Translation animation;
– Or other ways.
Consult with the group and make a decision.
Homework
For the next week, each group will have to complete the scripts they have started and bring materials by the chosen animation technique. (such as dolls and toys or paper and a pen or plasticine)