
Lesson 3
Theoretical part
Animation creation. In classical animation, a cartoon is created from a sequence of still images (frames). The frame rate can be different (most often it is from 12 to 30 frames per second). That is, 12-30 frames are viewed per second, and each image will be slightly different from the previous one. This creates the appearance of movement.
Voice. A complete cartoon usually requires a voice. Dubbing may consist of the following components: announcer reading or the work of actors, dubbing the events of the cartoon, staging music, writing poetry, and mixing all the material.
Editing is the stitching together of an entire film from countless shots prepared by other departments, as well as the addition of small visual effects to refine the images.
Practical part
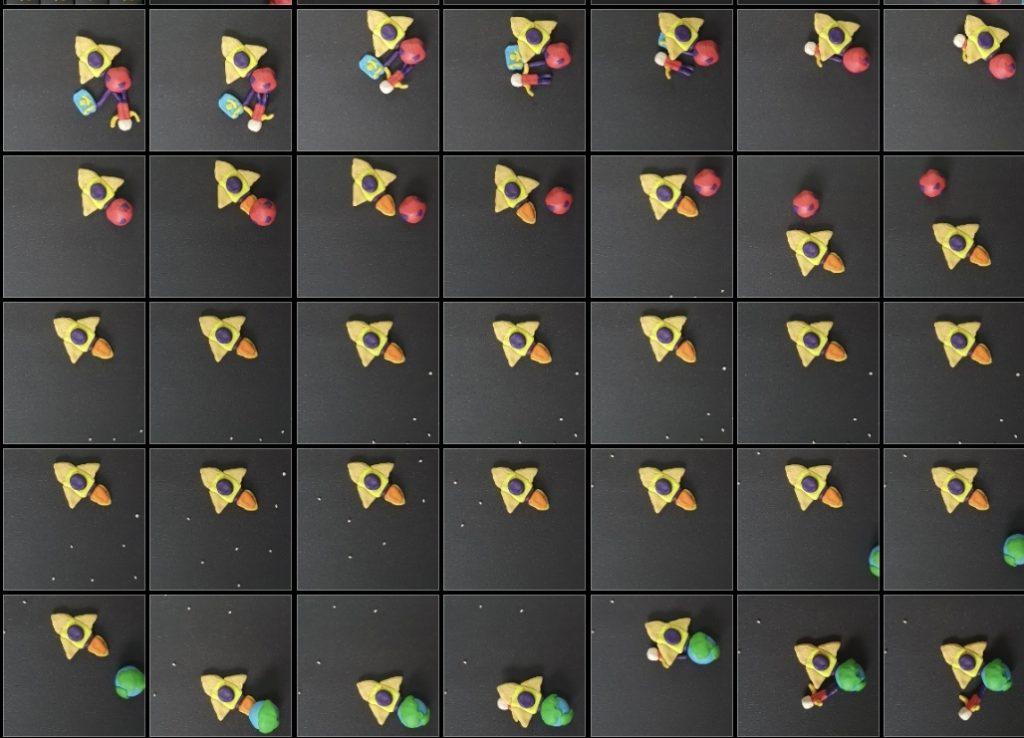
- Now it’s time to set up the scene. Arrange all elements and characters the way you want to see them in the frame. Mount the camera on a tripod, and in stop-animation the camera mustn’t move. The number of frames directly affects the animation. The more frames per second in the video, the smoother the motion looks.
- You can take the first picture! Check that the lighting and camera settings are correct. Then move on to the next step.
- Make small changes to the scene and take another photo.
- Repeat until you’re done. Be patient! Your gallery should collect a large number of consecutive images.
- To combine all the images and create a video from them, you will need a video editing program or an application on your smartphone. Editing a video with stop animation is not difficult. All you have to do is upload your photos to the app, arrange them in the correct order, set the duration for each photo, and then add music and effects. For example, InShot, Stop Motion Studio Pro, PicPac, iMotion, I Can Animate, Movavi Video Editor, Dragonframe, Filmora, etc.
- If you need voice acting for heroes, record them on a voice recorder, download music, etc. Also, video editing applications have their sounds and music, you can choose from them.
- You can select and install any program. As an example, we will show the work in InShot and Movavi Video Editor programs.
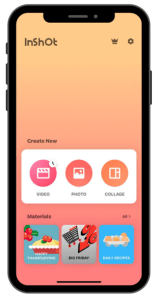
If you open the application, you will see the following page. Press the VIDEO button on the left.
press + and select all images in order. Once selected, the next page will open.
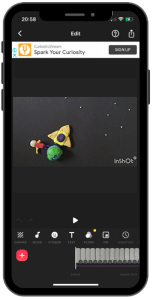
You can use all the settings below to improve your video. Use the CANVAS button to set the video aspect ratio; use the ROTATE button to rotate frames, etc.
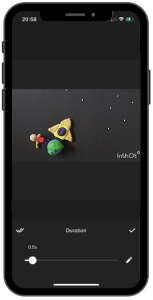
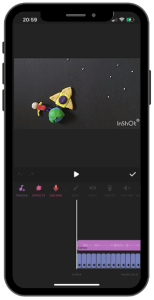
When you press the PLAY button, you will notice that the frames change very slowly. Press the DURATION button with the clock icon to speed up the frame transition. When you click it, you need to reduce the time by 0.5 seconds and click on the two checkboxes on the left.
Then turn on the music. To do this, press the MUSIC button and select the appropriate music. The result will be the following:
The animation is ready! It’s time to save it and upload it to the gallery. To do this, click the button in the upper right corner and save your work.
How to edit in Movavi Video Editor Plus
- First, you must import all photos into the program. Open Movavi Video Editor and click Add Files. Select the images and click “Open”.

- Photos are added to the Media bin. From there, you can put them into the timeline. Be careful with the images, put them in the right order!

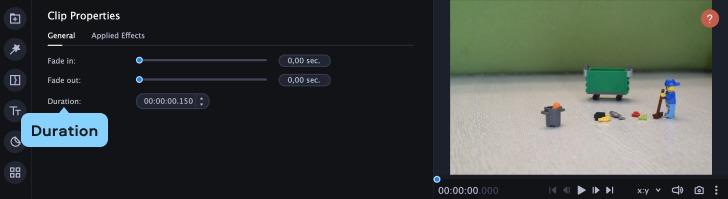
- Select all frames in the timeline (use the keyboard shortcut Ctrl/Command + A), then go to “Clip Properties” and set the duration. You can enable preview.
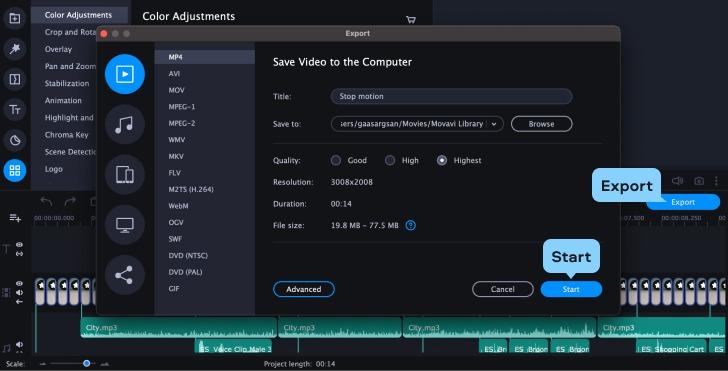
- If necessary, use color correction and filters for all images. Select All Images and click on “Color Adjustments”. On the “Easy” tab, you will find the preset filters. Find the one you like and drag it to the timeline. If you want to manually adjust the colors, go to the “Advanced” tab.
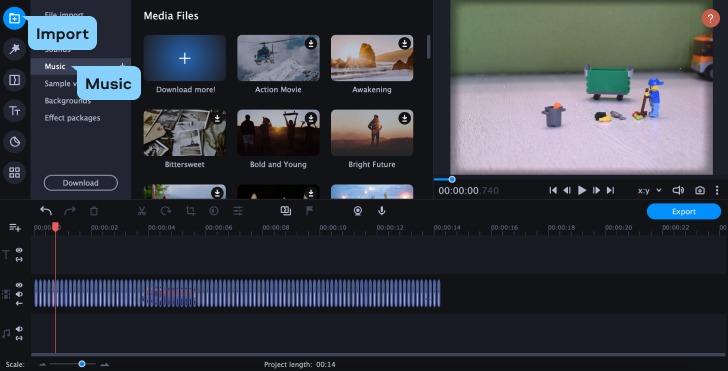
- If you want to add sounds for your characters, click the “Import” button and then the Plus (+) icon in the upper right corner of the “Media bin” tab. You can record your voice by selecting “Record Audio” from the drop-down menu and clicking “Start Recording”. Use sound effects for more robust animation. Click “Import” and go to “Sounds”. Here you can select the desired effects and add them to your project. On the Music tab, you’ll find some free tracks that you can use as your movie’s background.
- If you want to add subtitles to your videos, go to the “Titles” section and “Stickers” section to insert stickers, and find the options you like.
- When you’re ready, preview the result. If everything looks good, click Export. Enter the name of the project, select the file type and click “Start”.
Used literature and additional information:
https://www.masterclass.com/articles/how-to-make-your-own-stop-motion-animation
https://www.movavi.io/how-to-make-a-stop-motion-en/
Homework
Entries must be in video format. Next week each team will show their creations. Teams can share their filming stories and why and how they decided to make these videos.