
Lesson 1
Project objective
1. investigate and explain the dependence of the shadow on the size of the obstacle and the distance from the source to the obstacle
2. Make a shadow theatre out of cardboard and show the story
Teacher’s guide
– In the experimental part of the project, students work in groups of 4-5.
– The students should be familiar with the topics like light, shadow, dependence of shadow on the size of the obstacle and the distance from the source to the obstacle.
– Before beginning the experimental part, familiarise and provide the students with all the necessary materials.
– At the beginning of the lesson explain the PBL (project based learning) rubrics to the students. Skills 4K (critical thinking, collaboration, creativity, anticipation)
Safety in Steam lessons
It is recommended that teachers are fully aware of the safety procedures before the beginning of the lesson. If necessary (if they are using items specified in the PPE guidelines), brief the students. Visit Safety in Steam lessons: Safety
Theoretical part
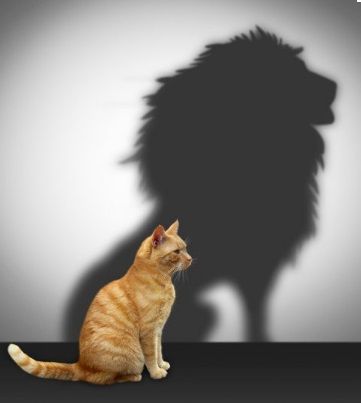
Shadows appear when an opaque object is placed in the path of the light. A substance that light cannot travel through is called opaque. One such example is your body. Because light cannot pass through your body, it forms a dark area. This dark area, into which light cannot penetrate, is called a shadow.
Opaque substances form clear black shadows.
A transparent substance does not create shadows when light passes directly through.
Transparent objects create faint shadows because light can partially pass through them.
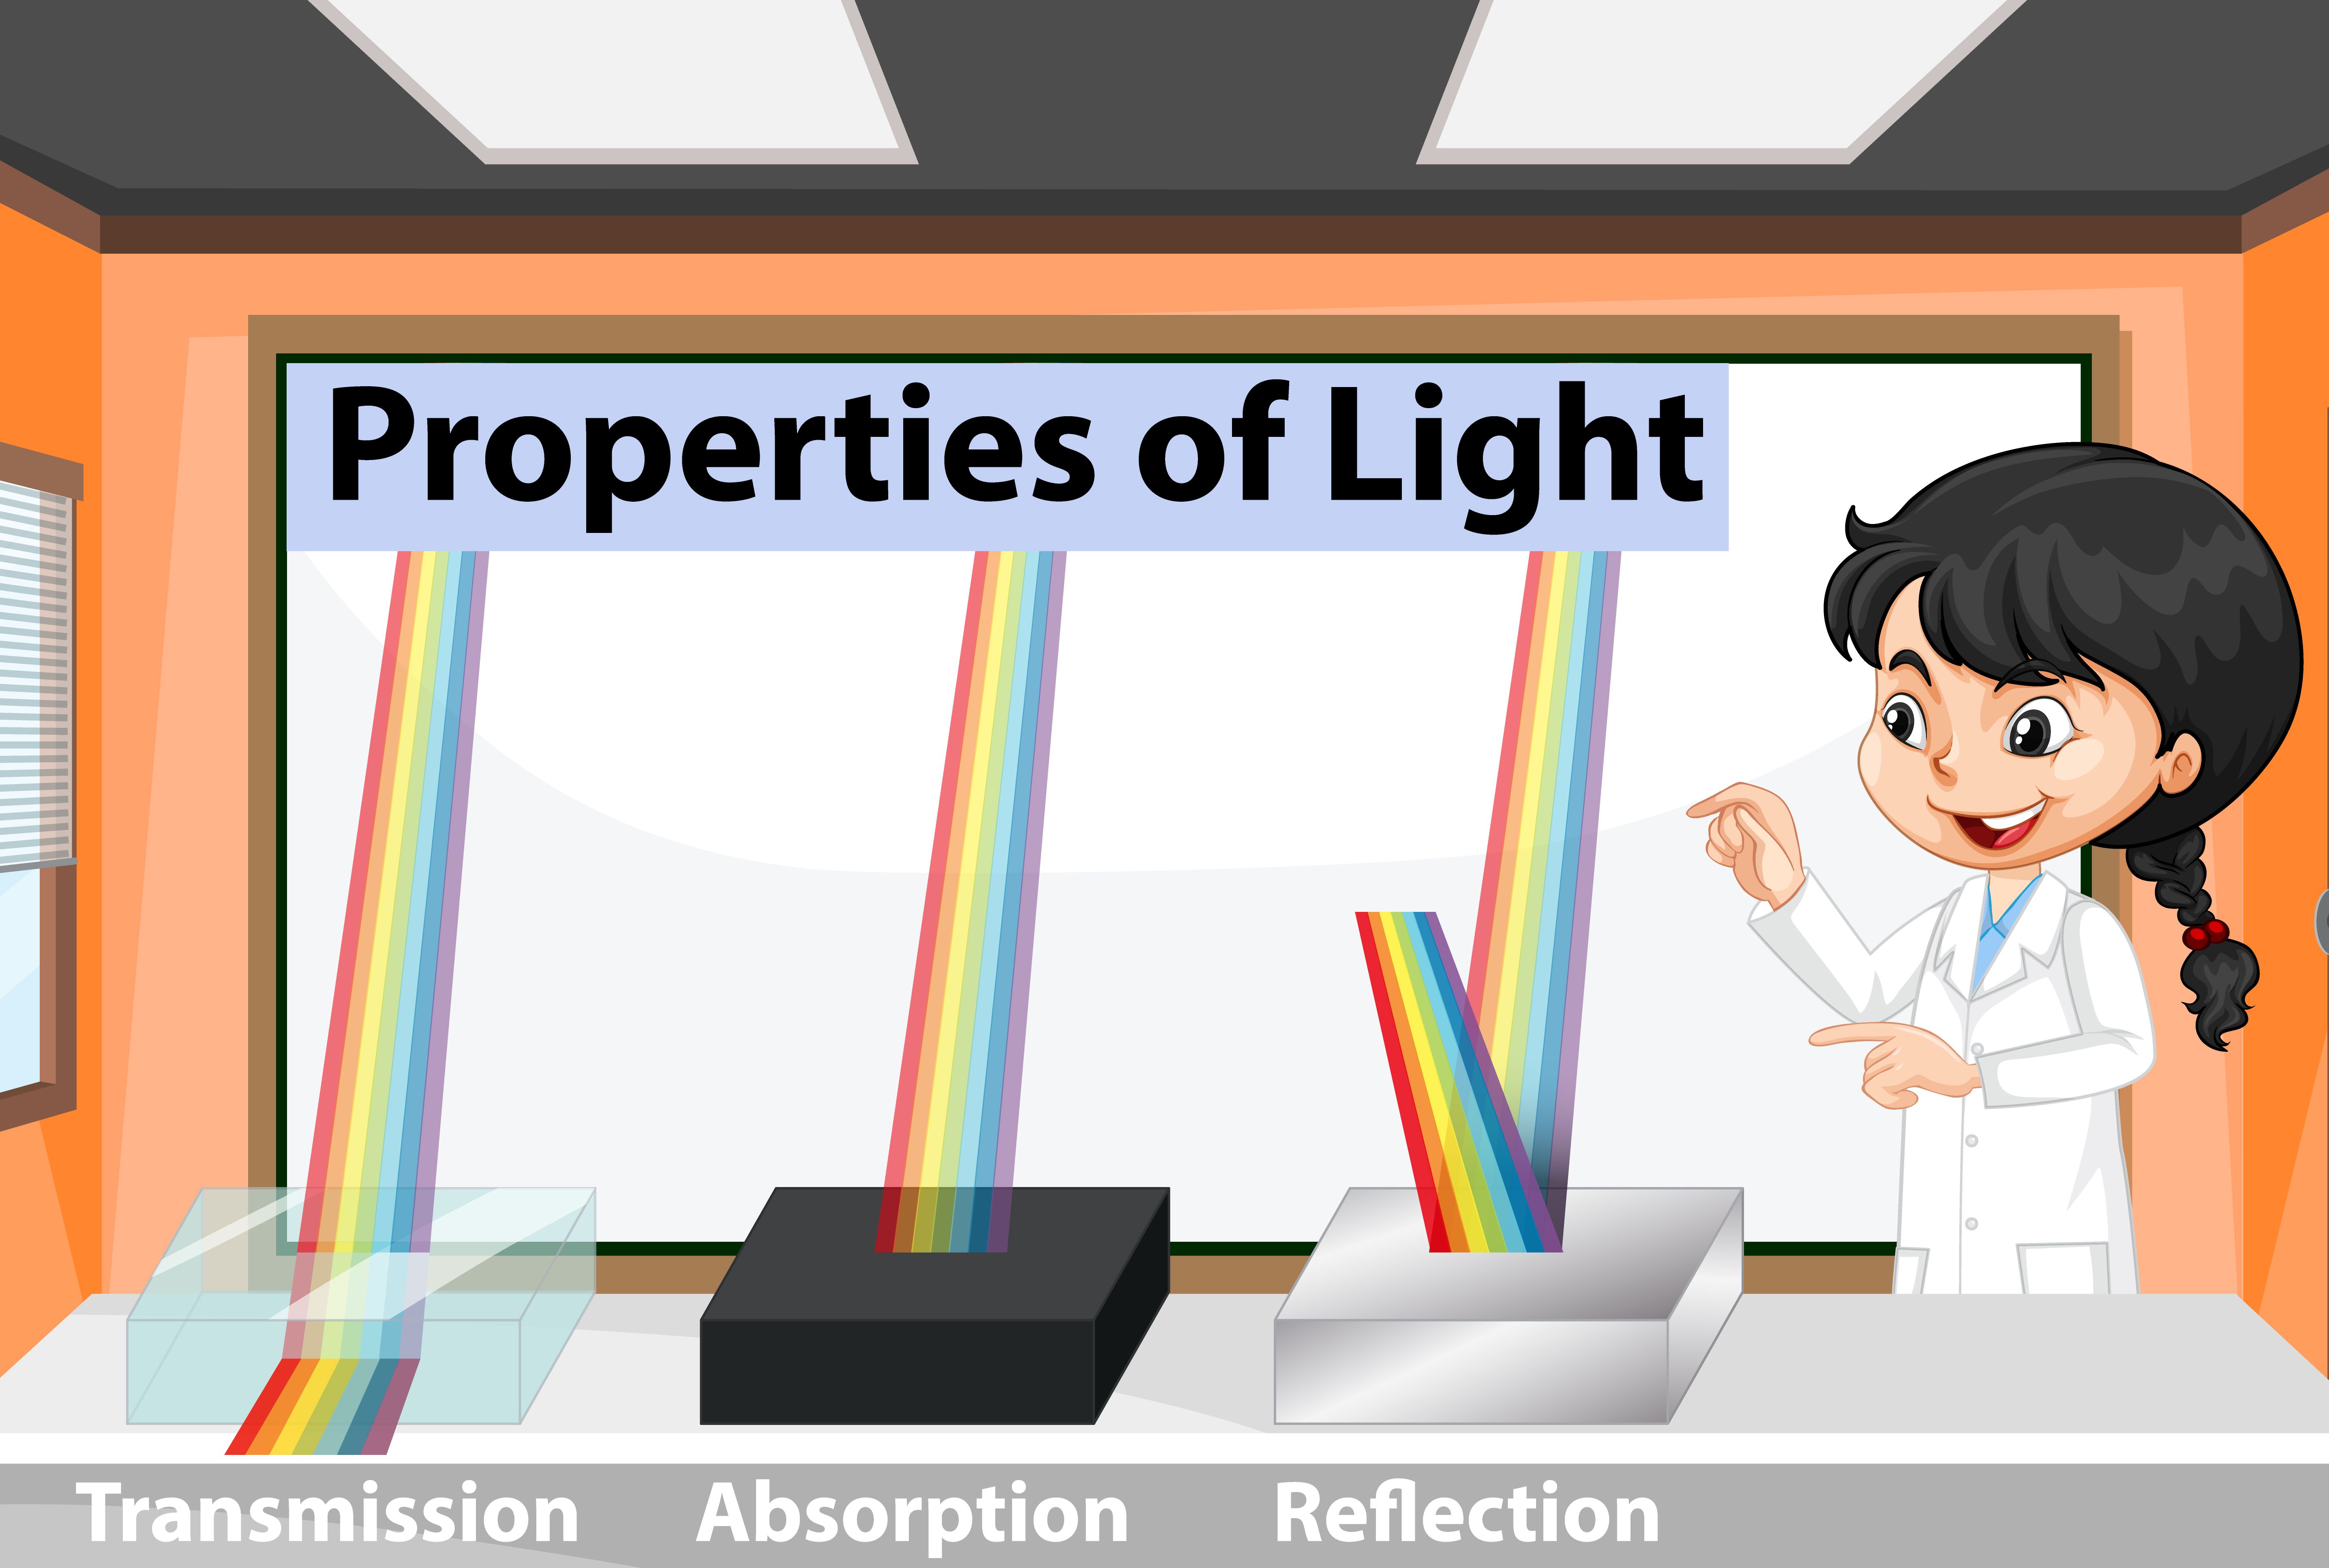
You already know that the area of space where no light enters is called a shadow. The size of the shadow depends on the distance between the light source and the obstacle. As the light source gets closer, the size of the shadow increases. As the distance between the source and obstacle increases, the shadow decreases to the size of the obstacle.
To better understand the role of shadow, let’s try shadow theatre
The practical part
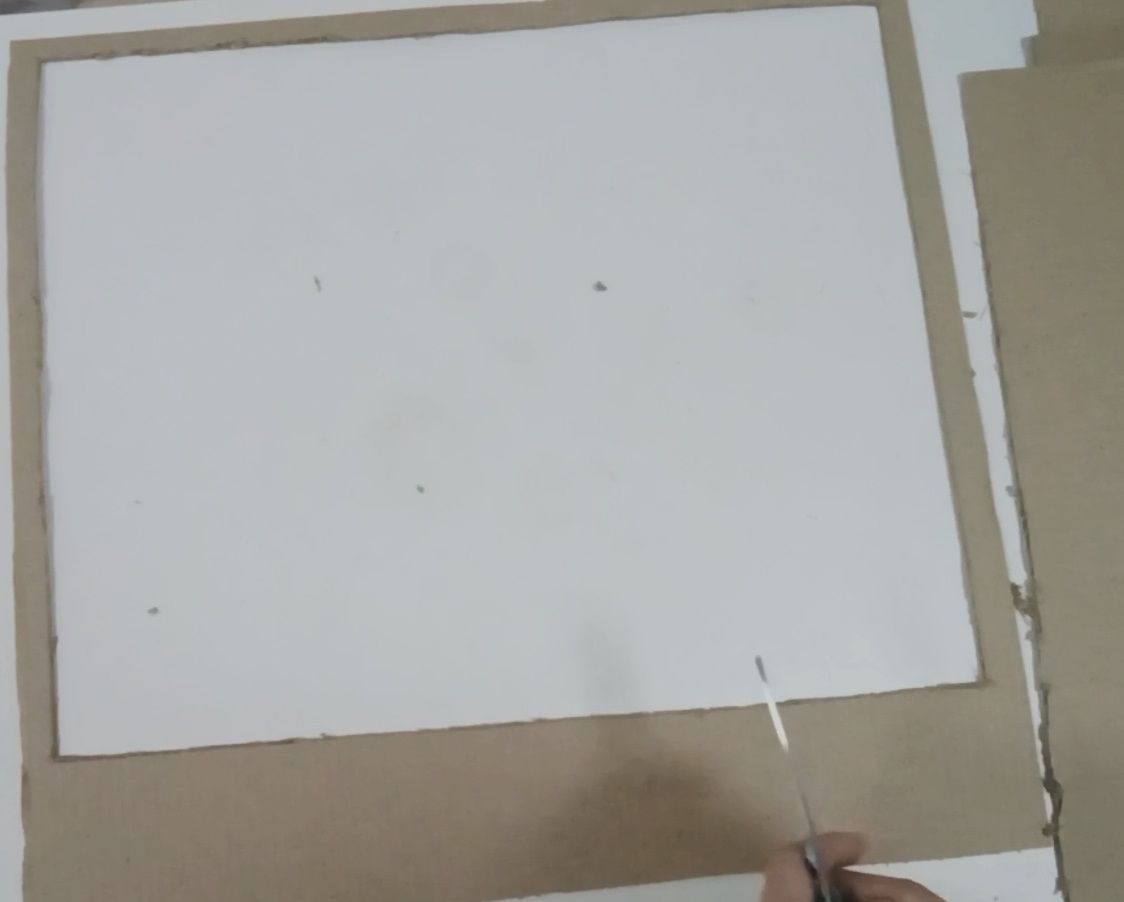
Step 1: Take 60×50 cm cardboard
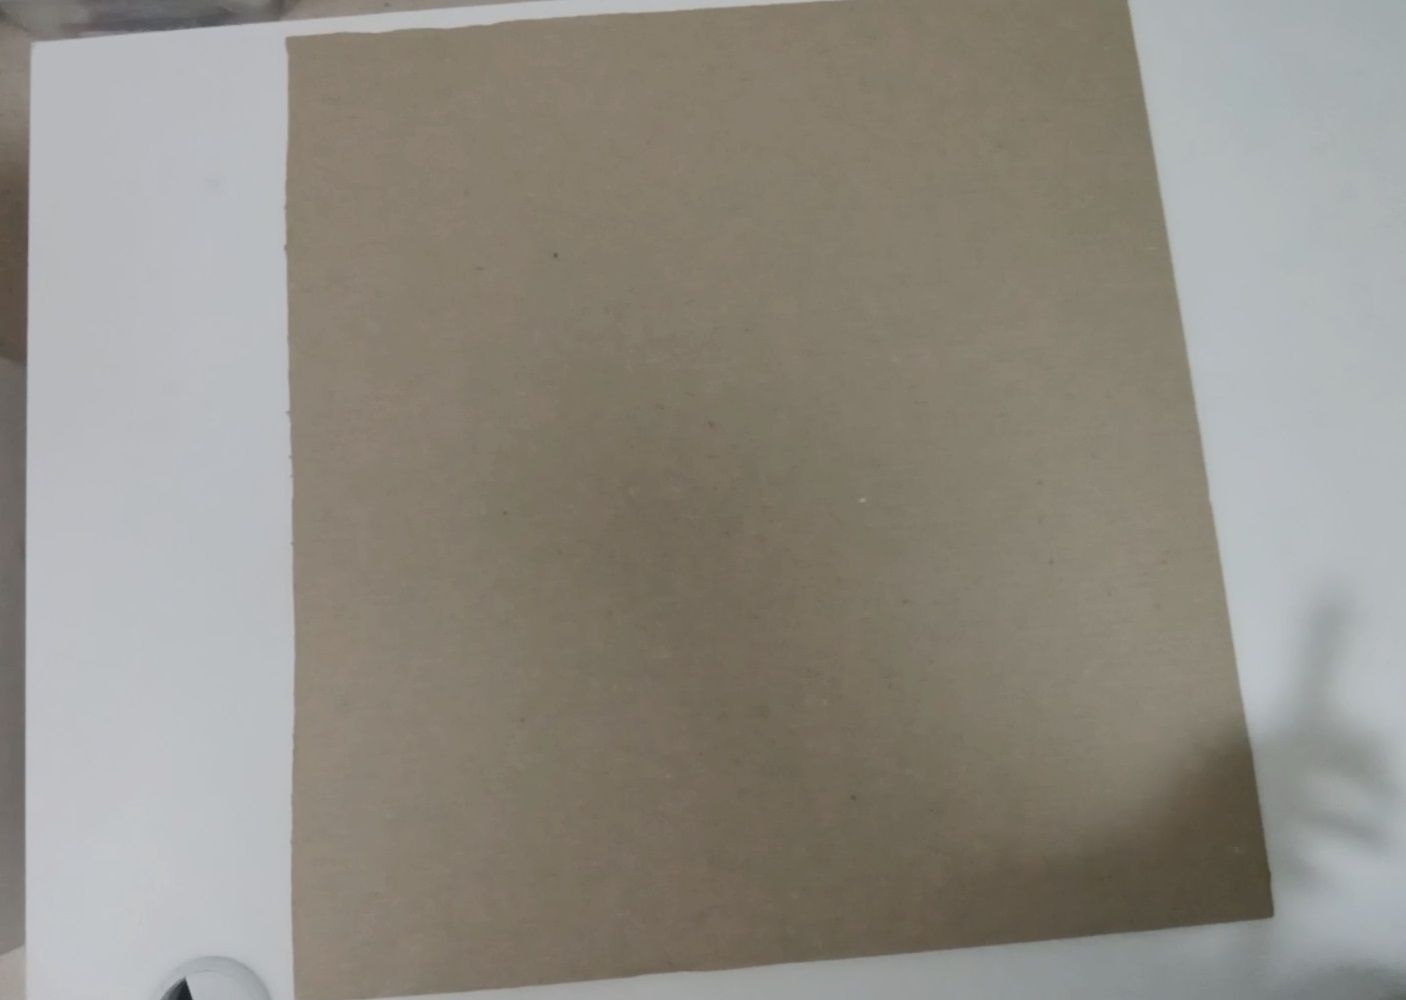
Step 2. Draw so that the top and right left side are 2.5-3cm and the bottom side is 10cm.P.S. The picture shows the cardboard upside down
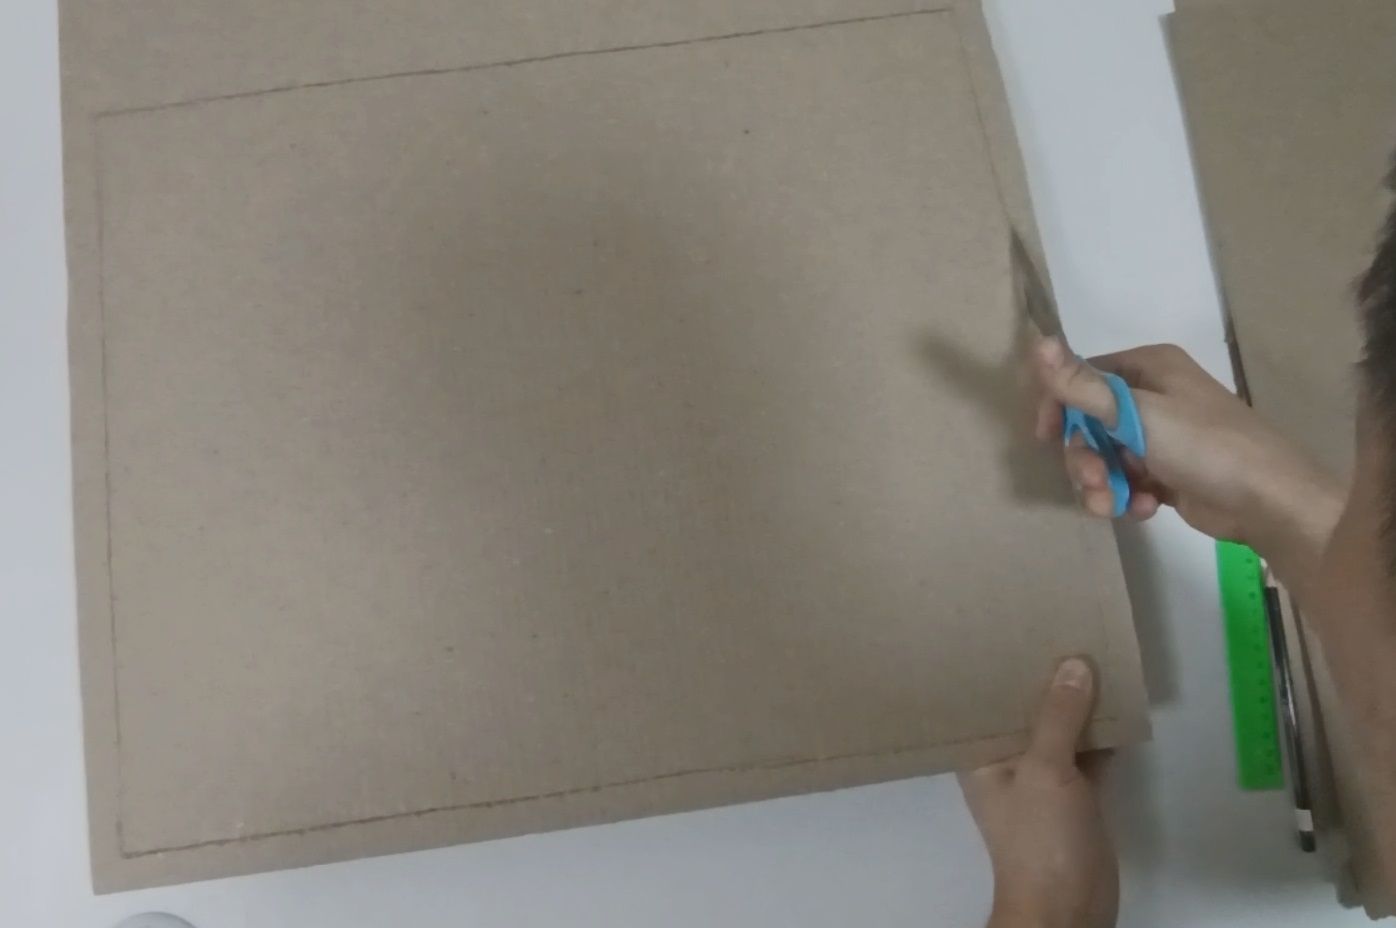
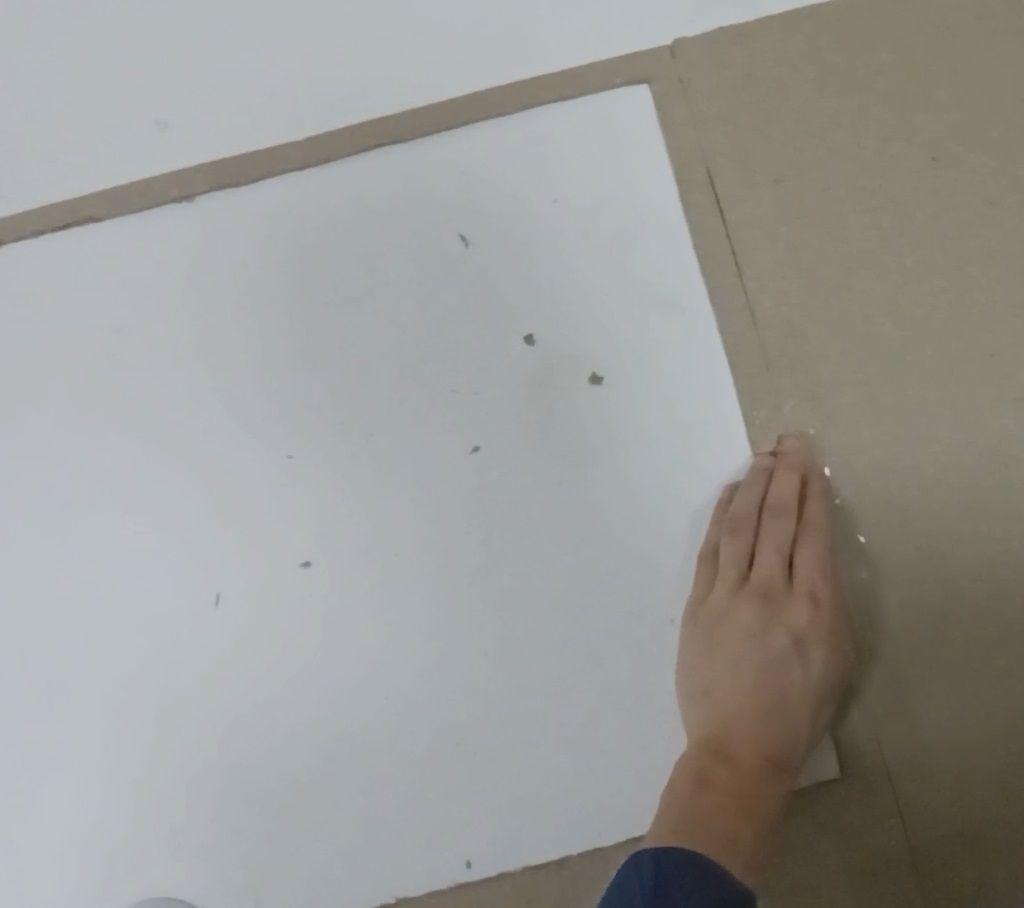
Step 3: Cut out as shown
Step 4: The space you cut out will be the scene. Then take two 50×40 pieces of cardboard
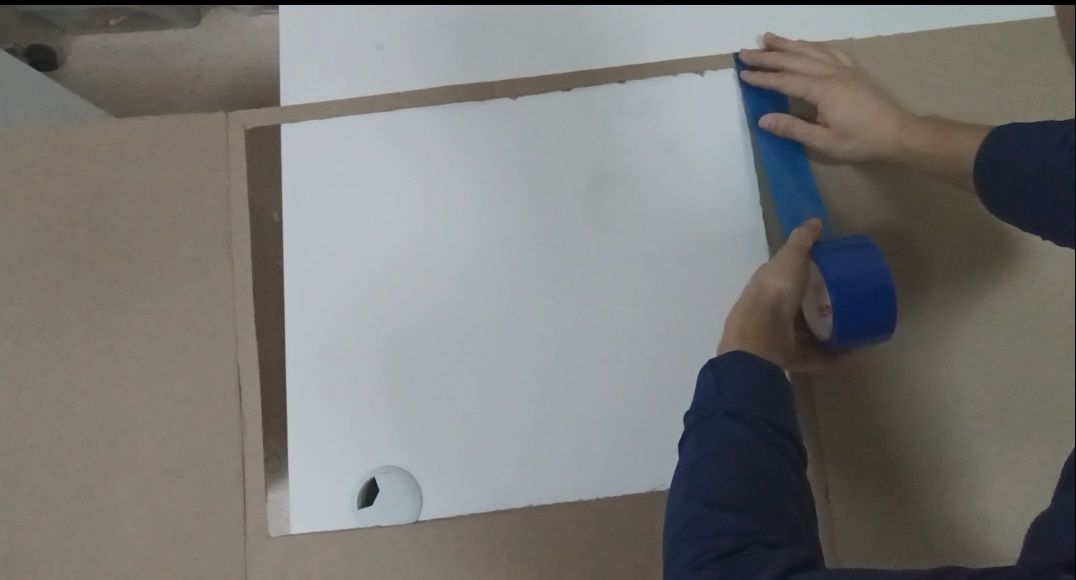
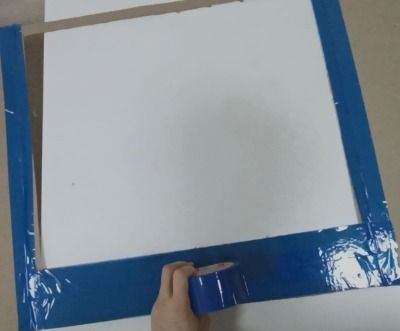
Step 5: Tape both sides of the cardboard dimensions to match the scene
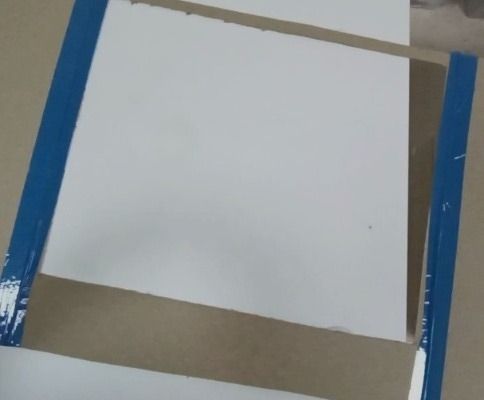
Step 6. Cover the stage with coloured tape to make it look pretty from the outside
Step 7: Glue right and left
Step 8. Seal the bottom with duct tape
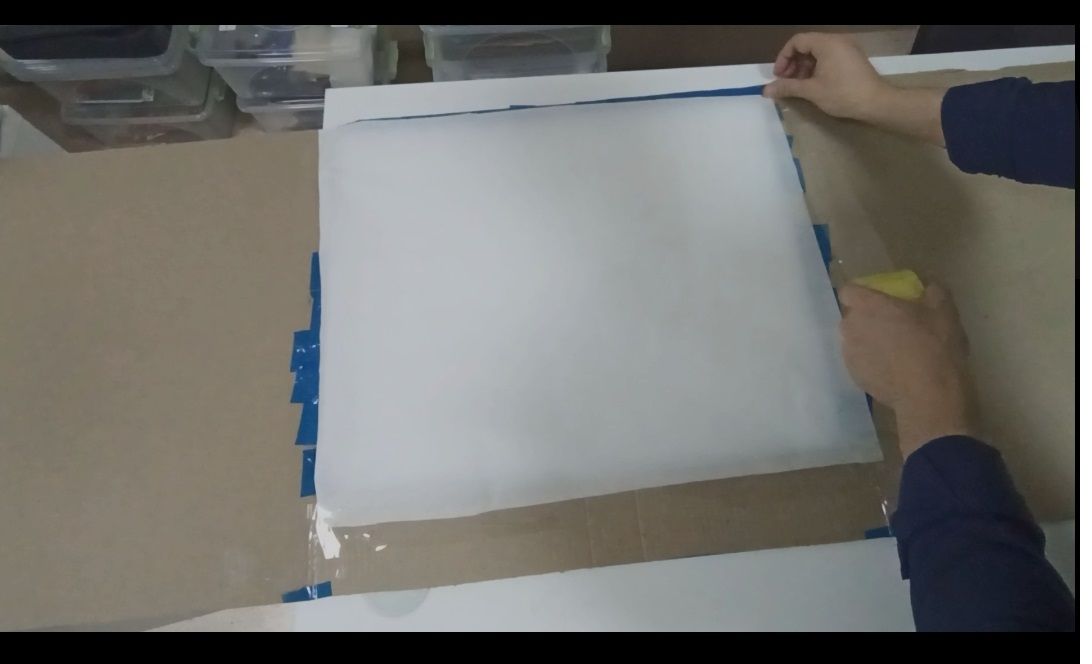
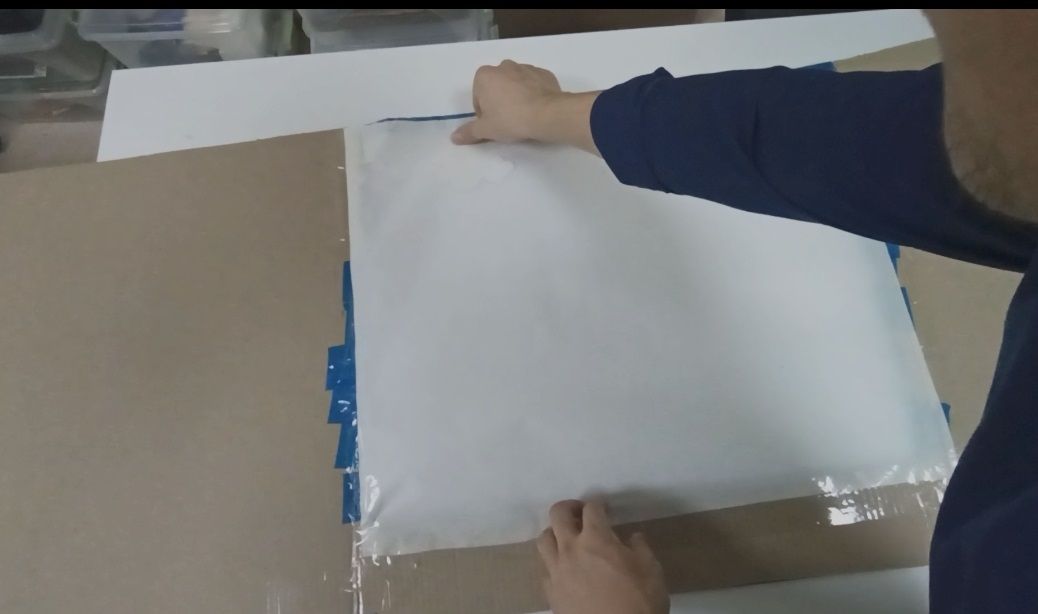
Step 9: Use tracing paper to cover the scene
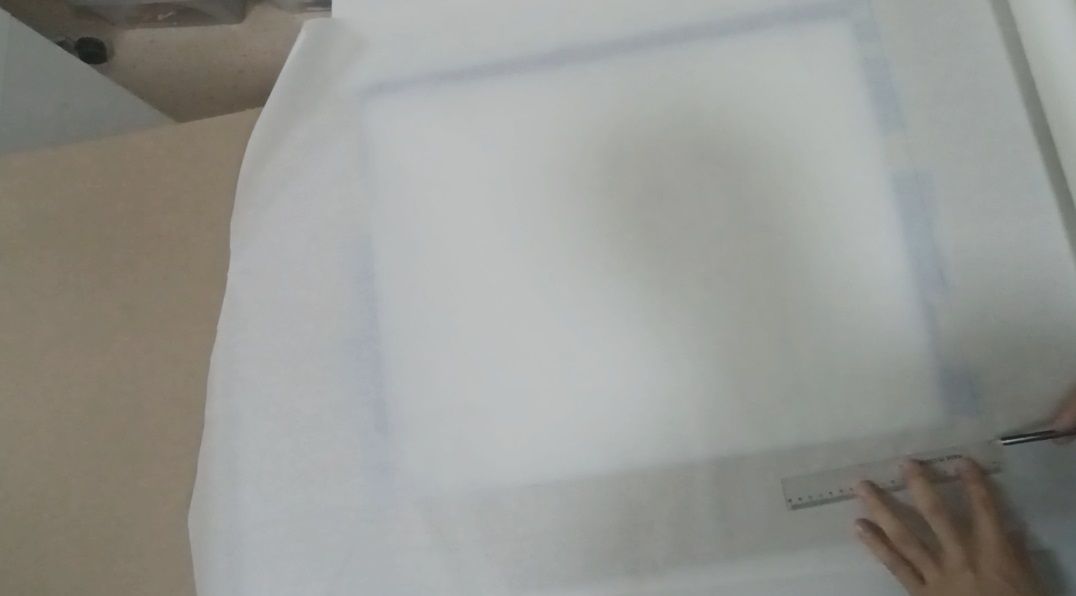
Step 10. Cut the tracing paper to fit the size of the scene and then secure it with tape
Step 11. Each group invents their own fairy tales and draws fairy tale characters on cardboard, then cuts them out
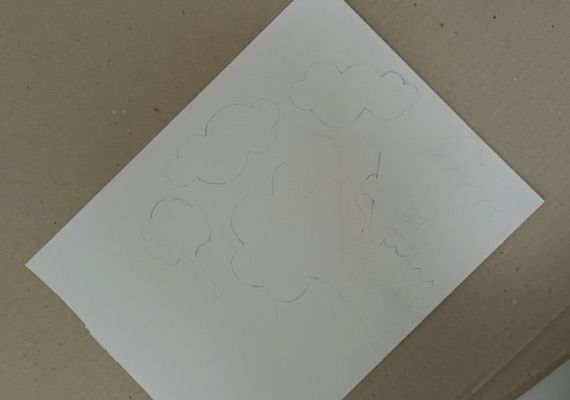
Step 12: Drawing and cutting out the decals
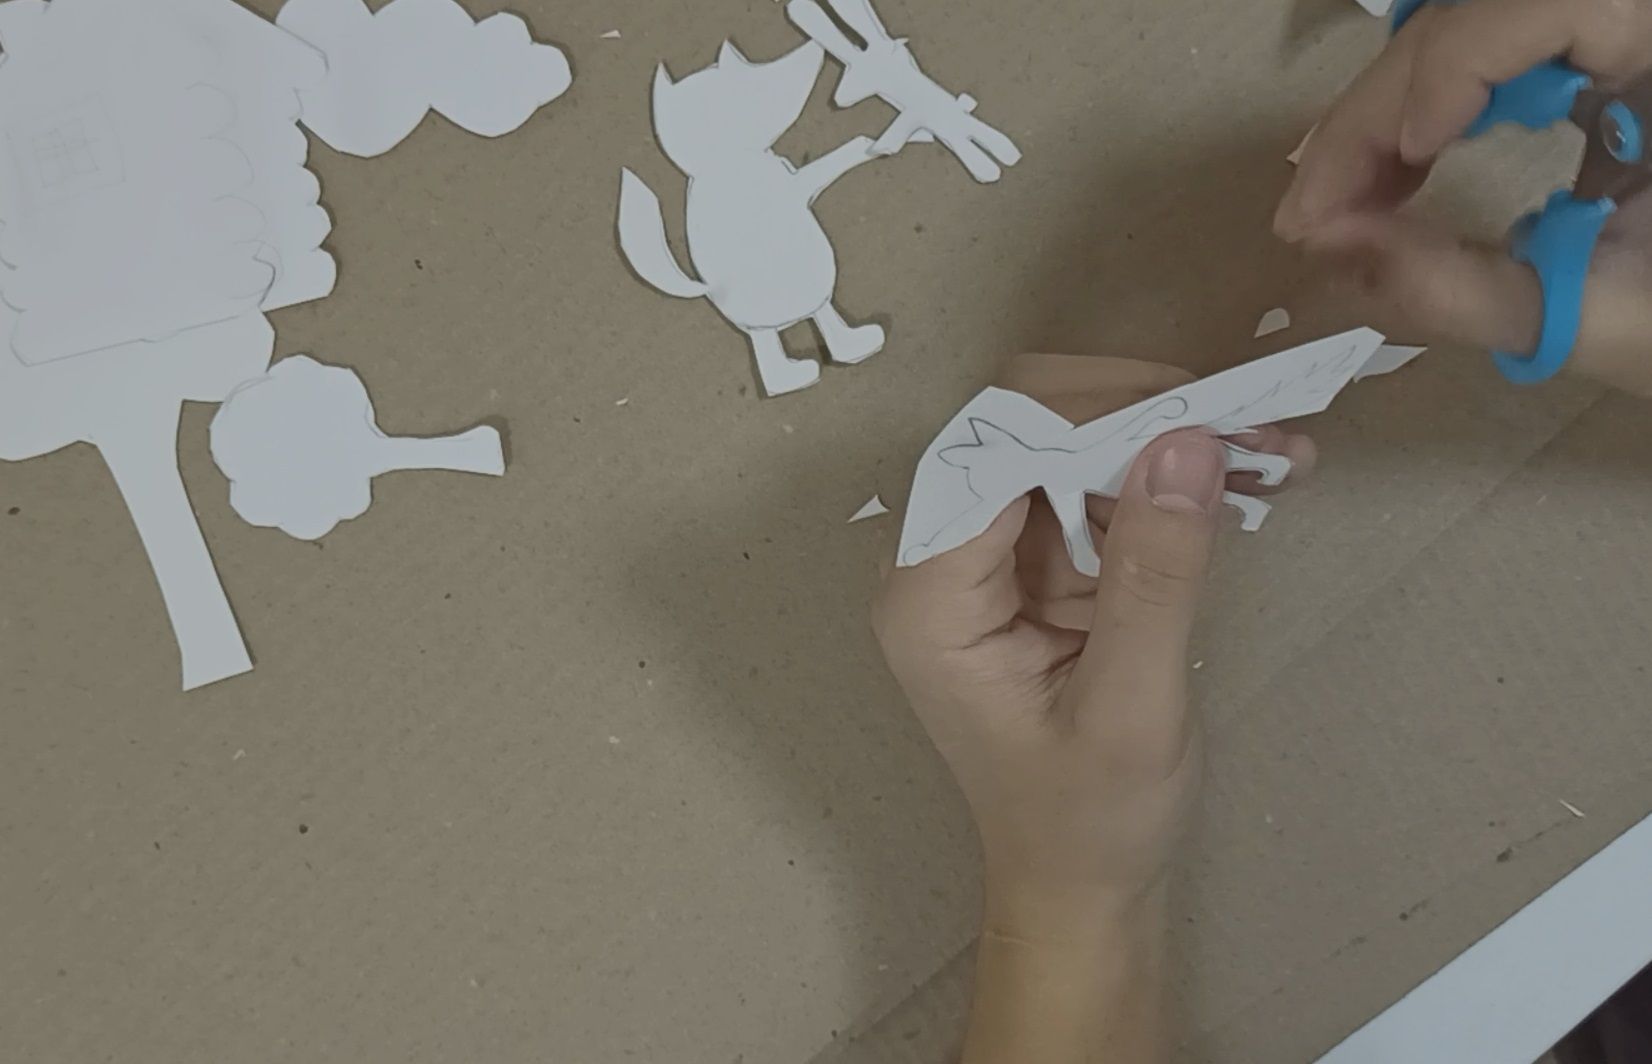
Step 13. Glue the cut out stationary decals (Willow, house, tree) to the stage with scotch tape
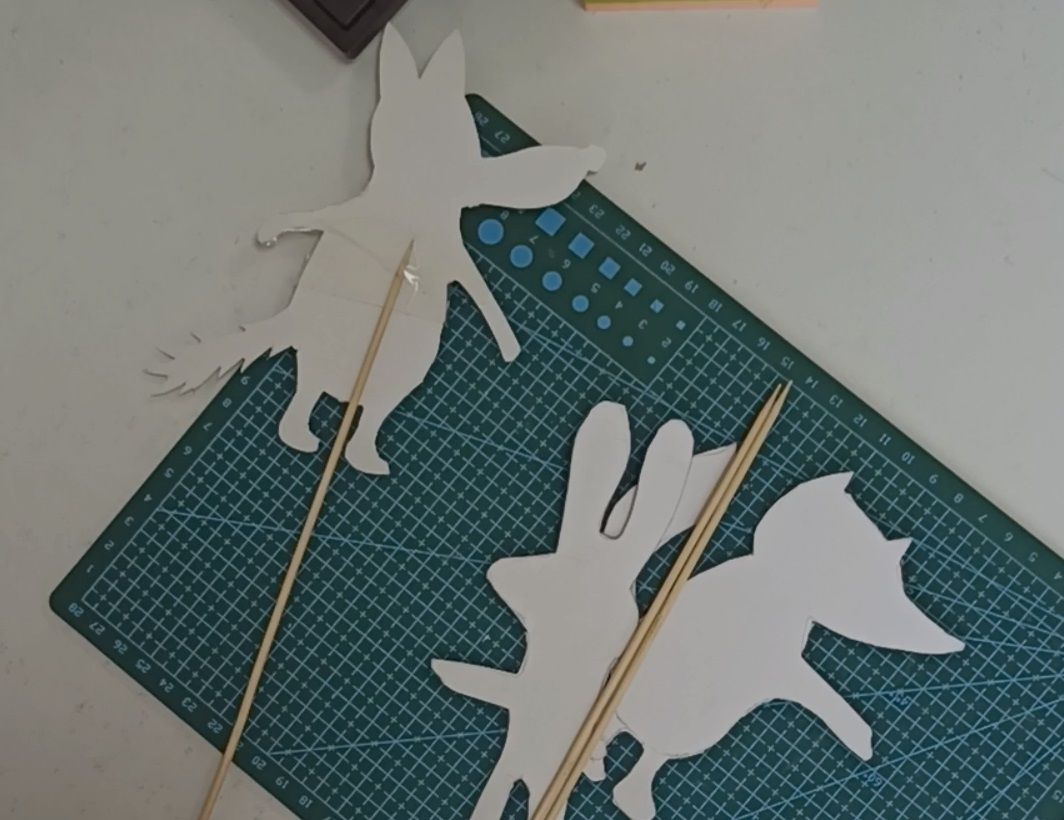
Step 14. Glue the fairy tale characters onto the stick with tape
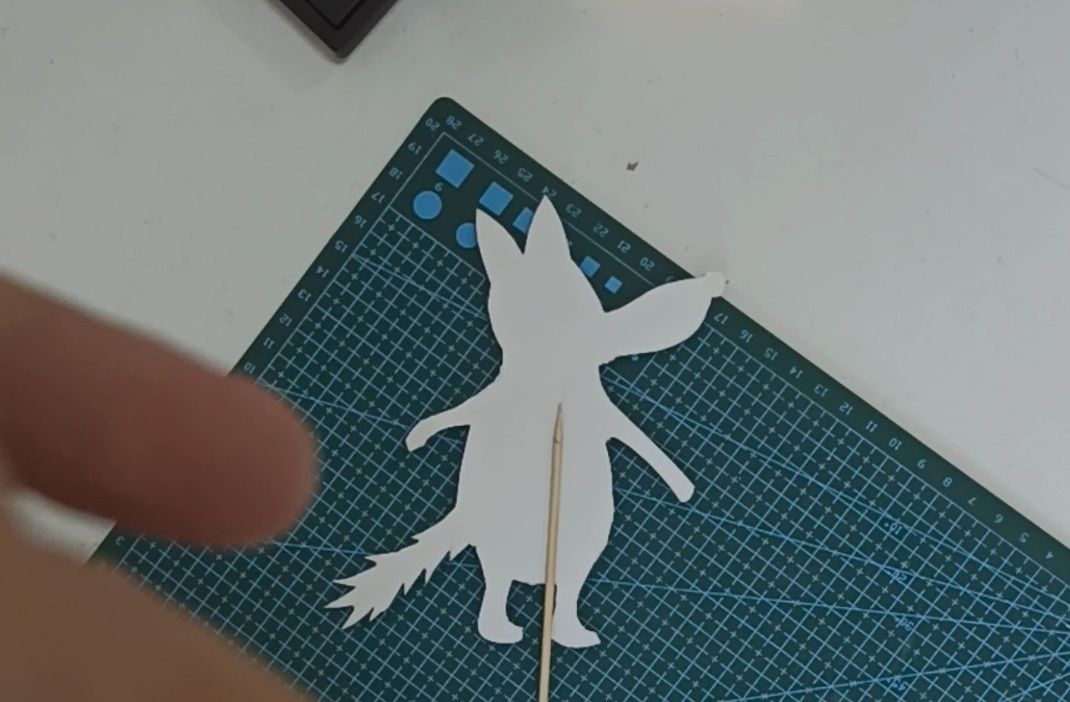
Step 15: Glue all our heroes to the stick
Work at home
1. Each team makes a brainstorm. Make up a story. They write a script. And cut out figures from cardboard paper.
2. In the next class, each team presents the play in front of the whole class.