
Lesson

Project Objective:
To measure the temperature of various objects.
Teacher’s Guide:
Divide the students into groups of 4–5 people.
At the beginning of the lesson, discuss the concepts of “temperature”, “temperature change”, and “thermometer” with the students.
Before starting the practical part, introduce the students to all the required materials and make sure they are provided.
Give a brief safety instruction on working with scissors, hot water, and alcohol.
At the beginning of the lesson, explain the PBL (Project Based Learning) rubric to the students. 4K Skills (Critical Thinking, Collaboration, Creativity, Presentation).
Theoretical part
Every day we say, “It’s warm outside today” or “It’s very cold outside.”
At such moments, to understand exactly how warm or cold it is, we use the concept of temperature.
Temperature is a value that shows how warm or cold a body, air, or liquid is. For example, ice is cold, and boiling water is hot – their temperatures are different.
To measure temperature, a special device is used – a thermometer. A thermometer accurately shows whether an object has a high or low temperature. Some thermometers show the temperature with numbers, while others work using a column of liquid inside.
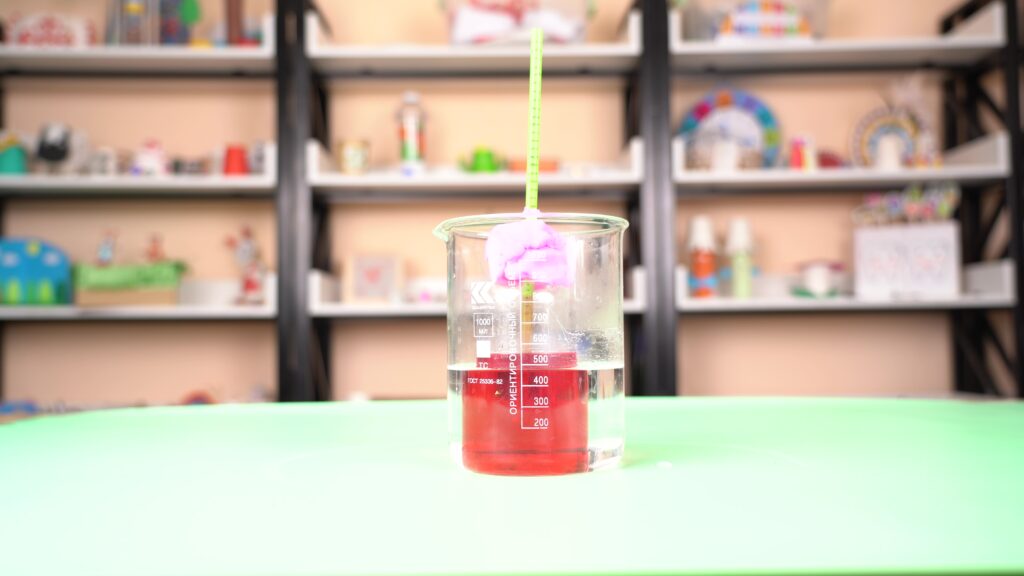
The liquid expands when heated and contracts when cooled. Thanks to these changes, we can observe how the level of liquid rises or falls, allowing us to determine the temperature.
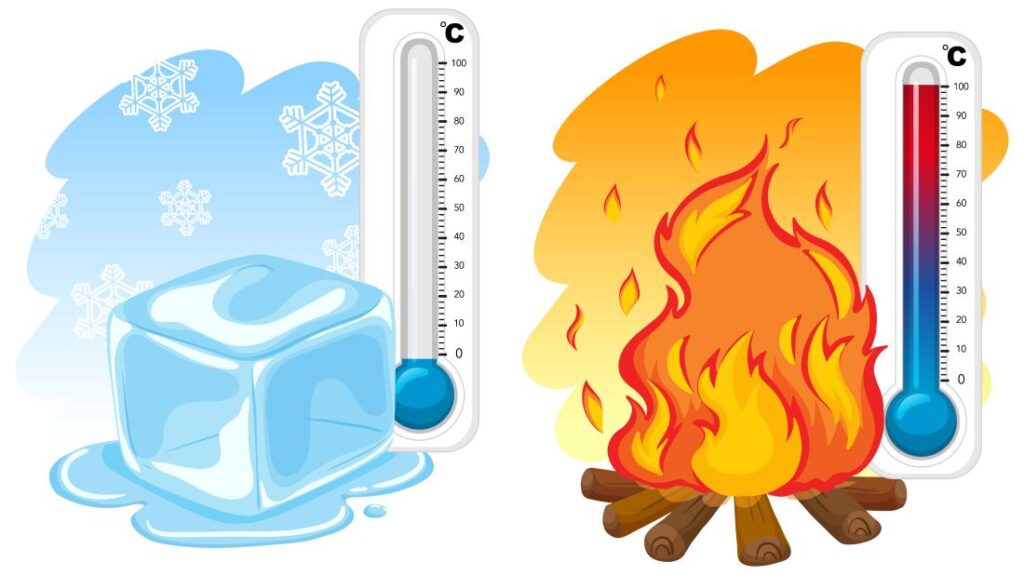
If you place the thermometer in icy water, the liquid inside will go down. But if you put it in warm water, the liquid will rise. This happens because the liquid expands when heated and moves up through the tube.
This phenomenon is called thermal expansion.
Knowing the temperature is important not only for determining the weather but also for measuring body temperature, cooking food, conducting scientific experiments, and in many other situations.
That’s why the thermometer is a simple yet very useful tool that is often used in everyday life.
Practical Part
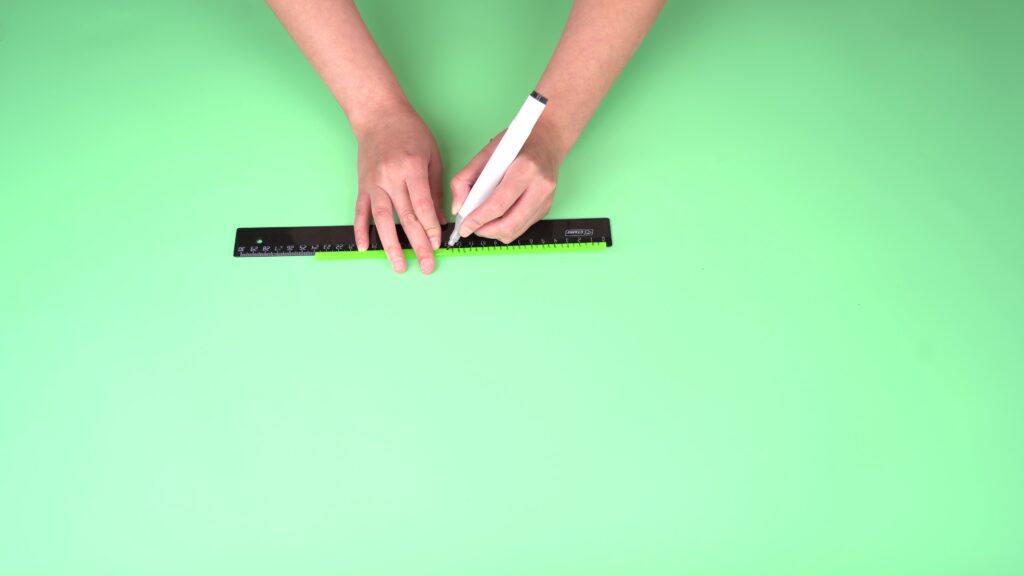
Step 1. Mark the straw with a permanent marker at intervals of 0.5 cm. This will be your scale.
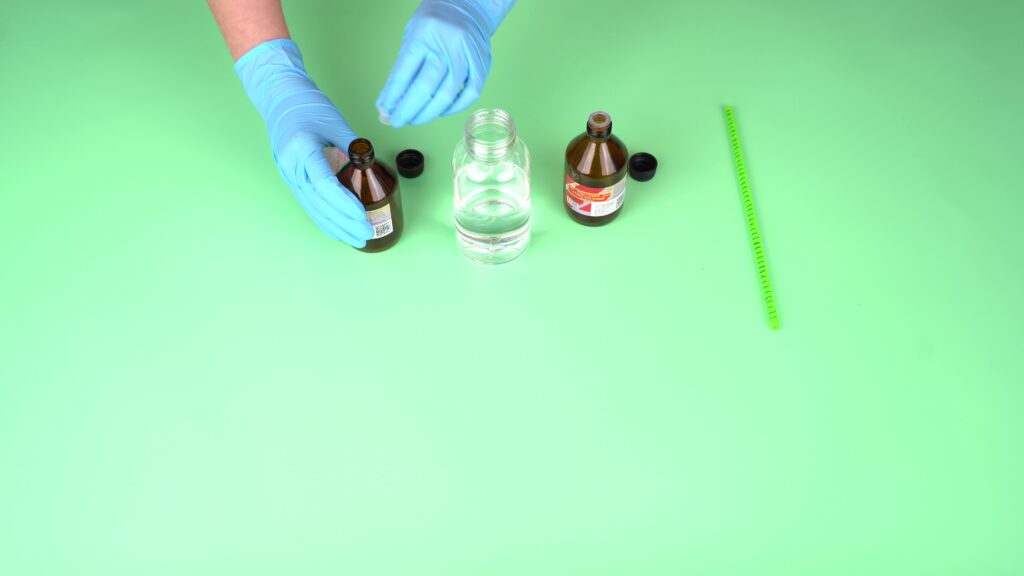
Step 2. Pour alcohol into the bottle until halfway and add food coloring. Shake the bottle.
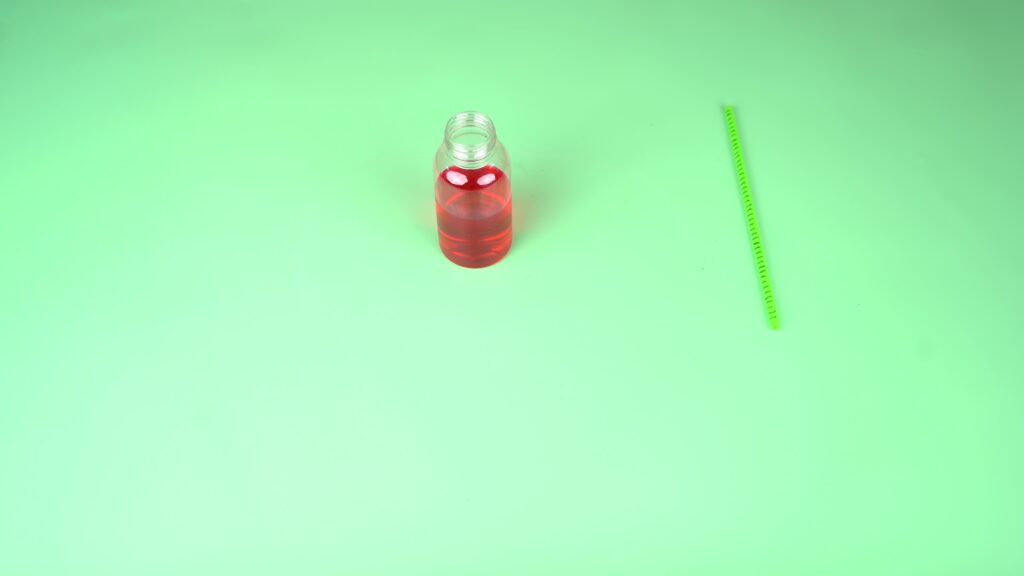
Step 3. Use a dropper or syringe to draw a little alcohol from the bottle.
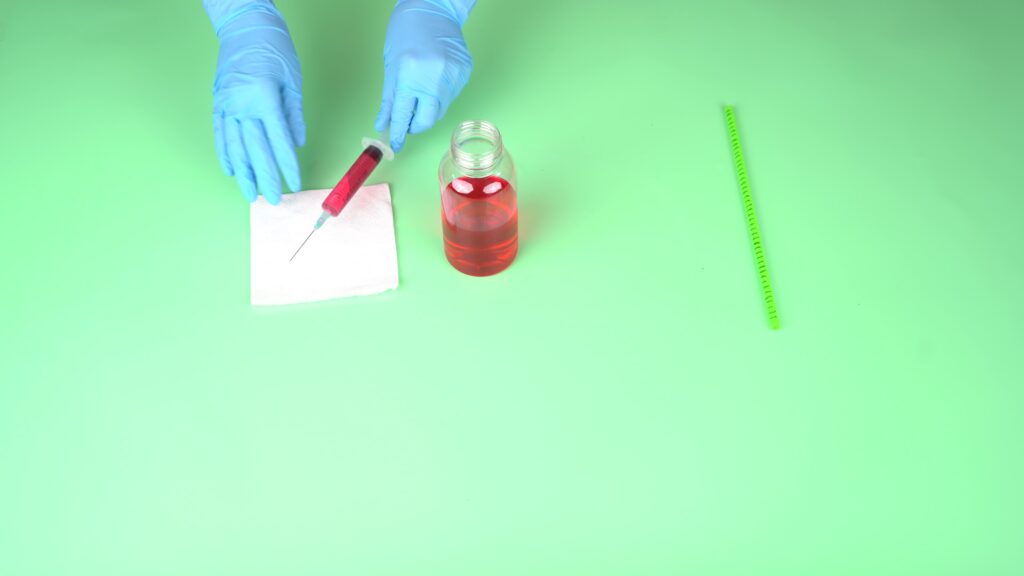
Step 4. Roll a ball out of soft modeling clay and make a hole in the center for the straw. The clay is needed to seal the bottle opening tightly.
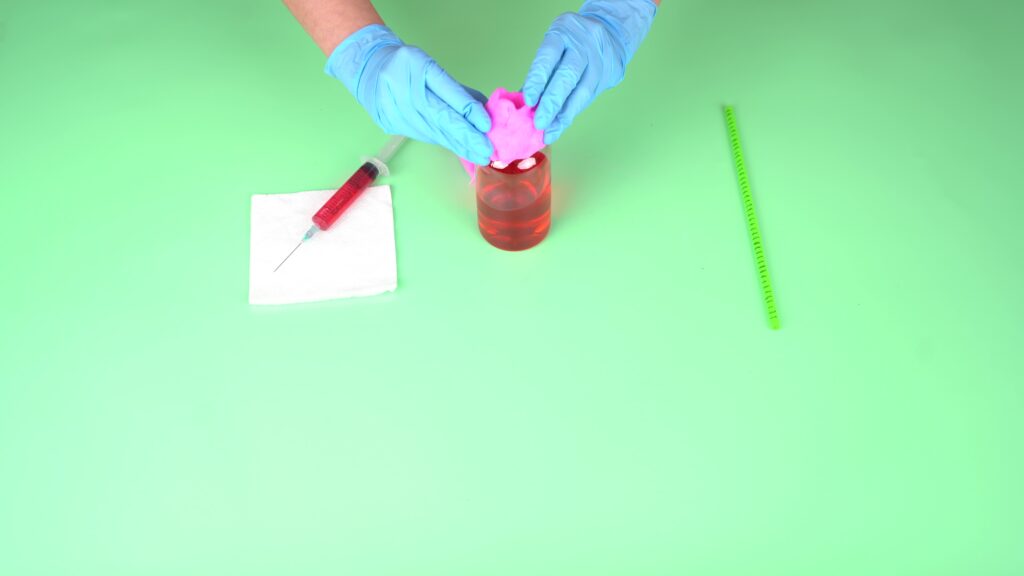
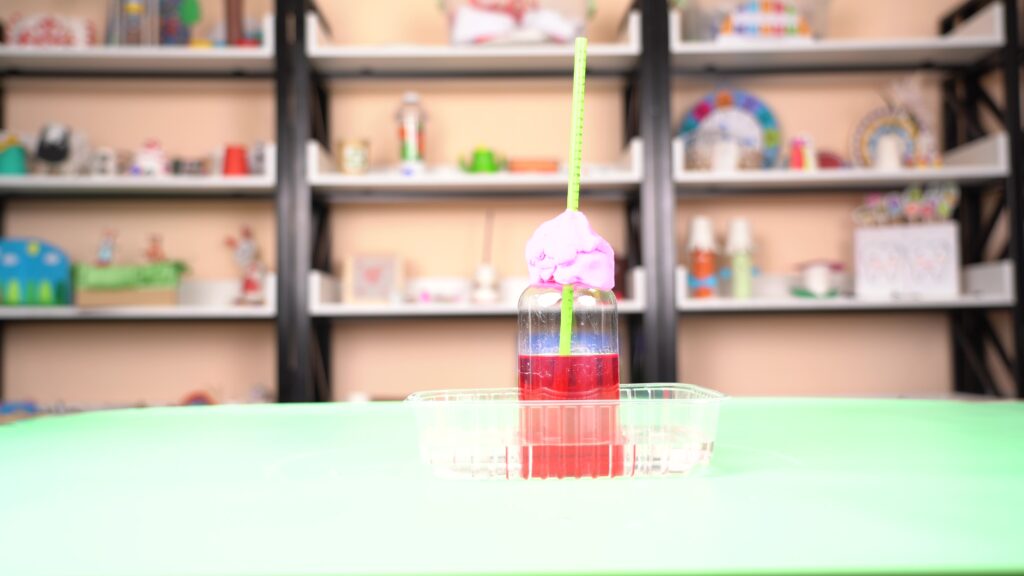
Step 5. Insert the straw into the bottle through the hole in the clay. The straw should be immersed in the alcohol but not touch the bottom. Seal the opening with clay to make it airtight.
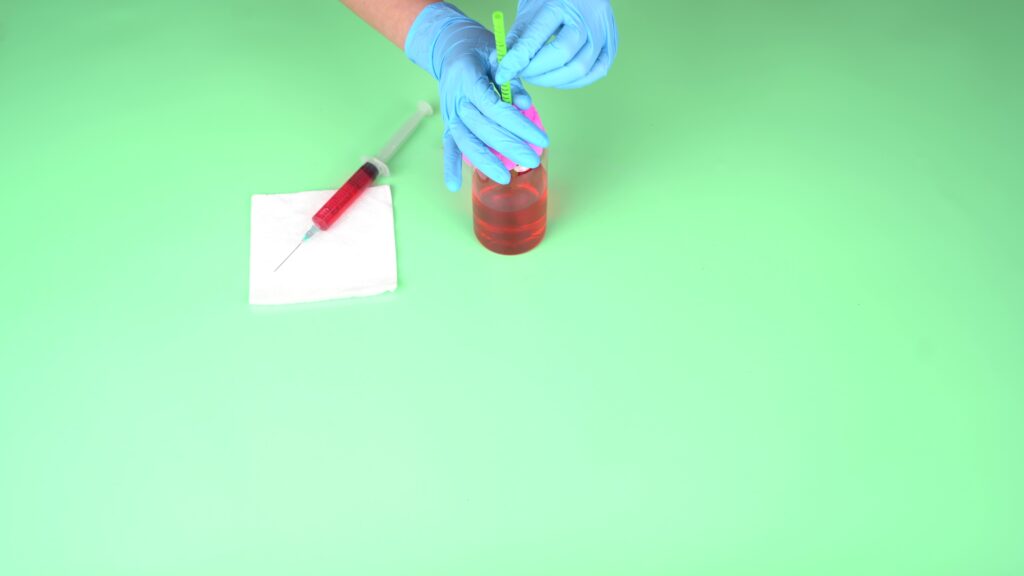
Step 6. Use the dropper to add a small amount of alcohol into the straw. Mark the current level of liquid as the “room temperature.”
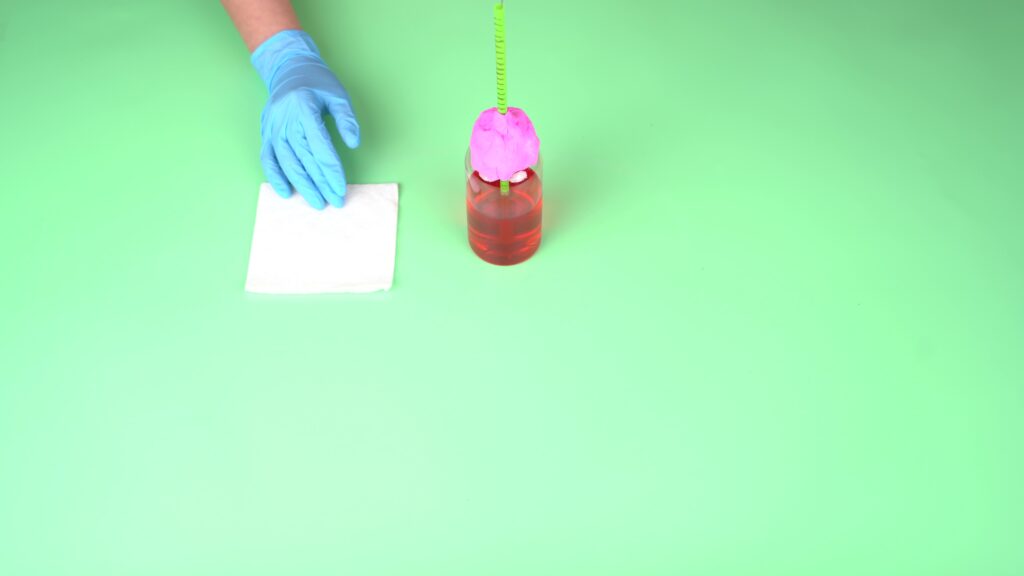
Done!
Pour cold water with ice into one cup and hot water into another. Place the bottle first in the cold water and observe how the liquid level changes. Then place it in hot water and observe again. Use the scale on the straw to track temperature changes.
Conclusion
The students made a thermometer with their own hands and used it in different conditions. They formed a clear understanding of how temperature is measured. Thus, the project combined the fields of science (physics), engineering (construction), and mathematics (scale and measurement) as part of the STEAM approach, helping students develop diverse thinking skills.

In this project, each student is assigned a STEAM title in several categories:
– By assembling this model, you have become a true master of science! You have learned how clocks work. This is real scientific thinking!
– Look at this beautiful clock! You have used your design and problem-solving skills to create a working model. Congratulations, you are an expert engineer!