
Lesson

Project Goal:
To explain the consequences of Earth’s rotation on its axis
Teacher’s Guide:
Begin the lesson with a discussion about Earth’s daily rotation.
Divide the class into groups of 4-5 students to complete the project.
Before starting the practical part, introduce students to all required materials and provide them.
Give a brief safety instruction for working with the tools.
At the beginning of the lesson, explain the PBL (Project Based Learning) rubric to the students. 4K Skills (Critical Thinking, Collaboration, Creativity, Presentation).
Theoretical Part
Earth is the third planet in the Solar System. It performs two types of motion at the same time:
- Rotation on its axis – approximately once every 24 hours.
- Revolution around the Sun – approximately once every 365 days.
In this project, we study Earth’s rotation on its axis.
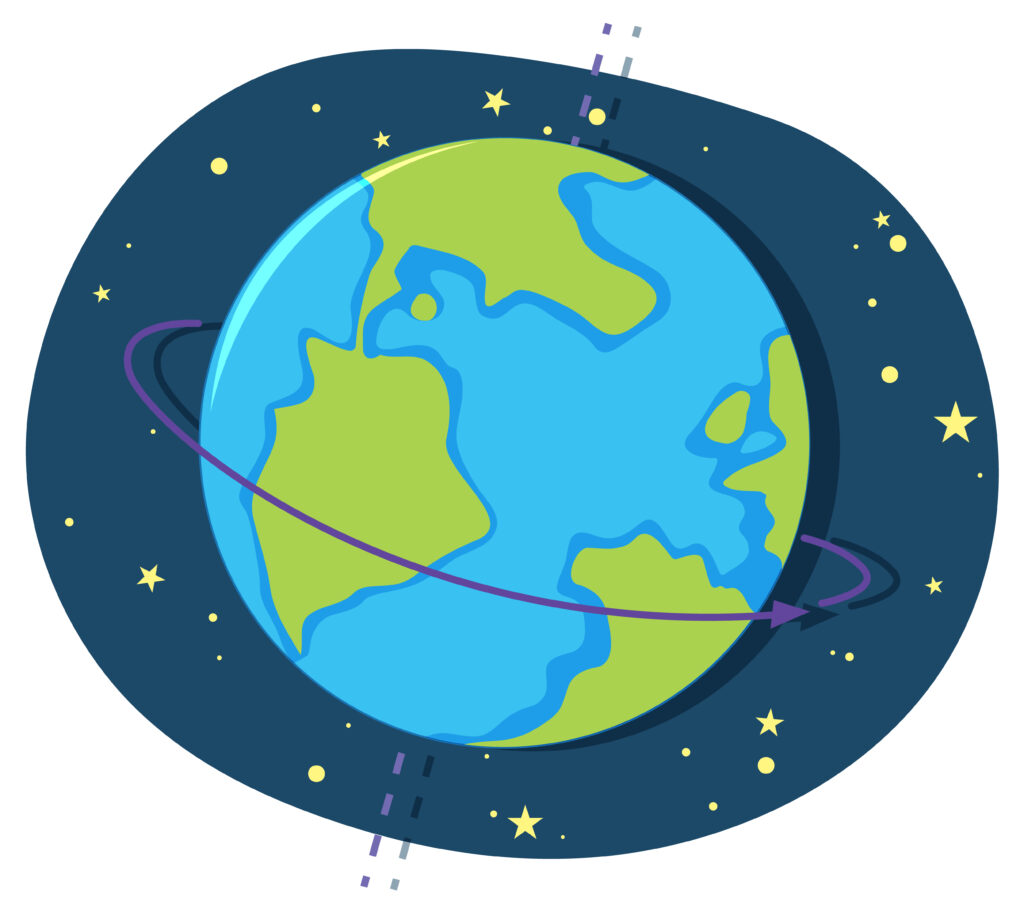
Earth’s Rotation on Its Axis
Earth rotates around an imaginary line – the axis. The axis passes through the North and South Poles. Earth rotates from west to east, which is why we see the Sun rising in the east and setting in the west.
Importance of rotation:
- Day and night. The side of Earth facing the Sun is illuminated – it is day there. The opposite side is in darkness – night.
- The appearance of a day. One full rotation of Earth equals 24 hours, which makes one day.
- Time zones. Since day and night begin at different times in different regions of the world, Earth is divided into time zones.
Practical Part
Step 1. Print and cut out an image of Earth on white cardboard (use the link provided).
Step 2. Fold the cut-out images in half and glue them together. This will create a small globe.

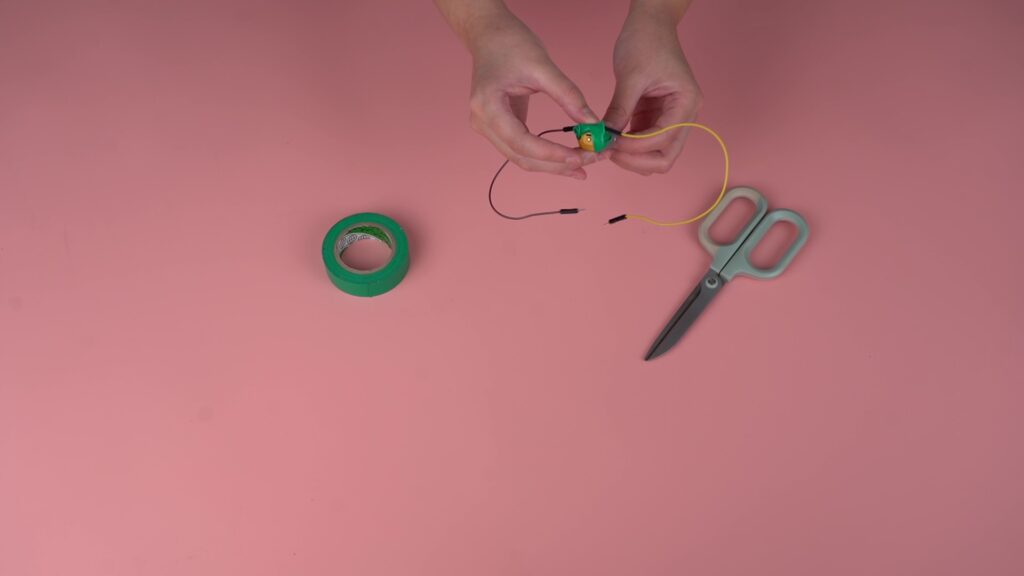
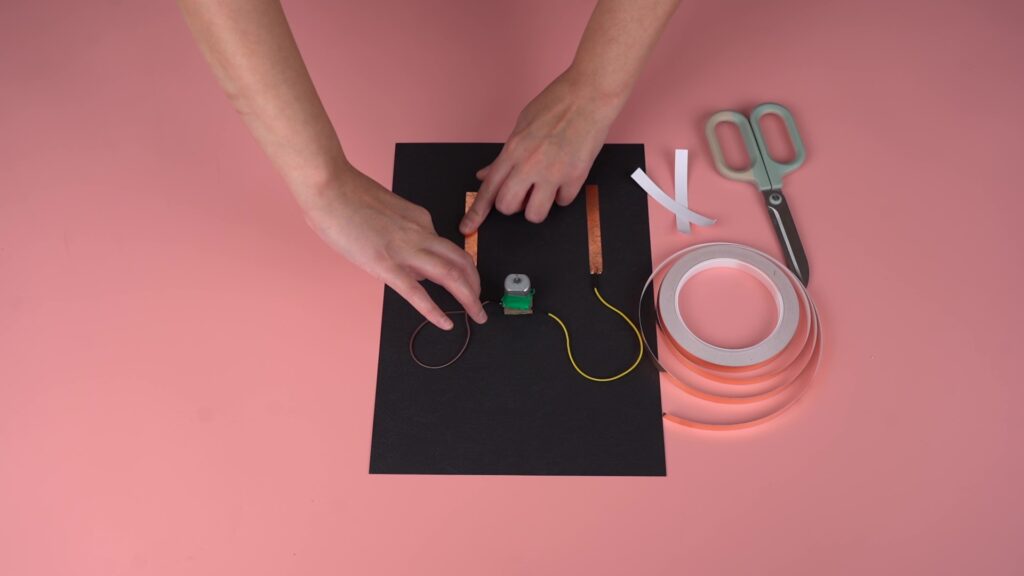
Step 3. A DC motor has two small holes for inserting wires. Carefully insert the wire ends into these holes and secure them with tape.
Step 4. Pierce the center of a piece of corrugated cardboard with a needle. Glue the motor to the cardboard so that it stands vertically, with the shaft pointing upward.
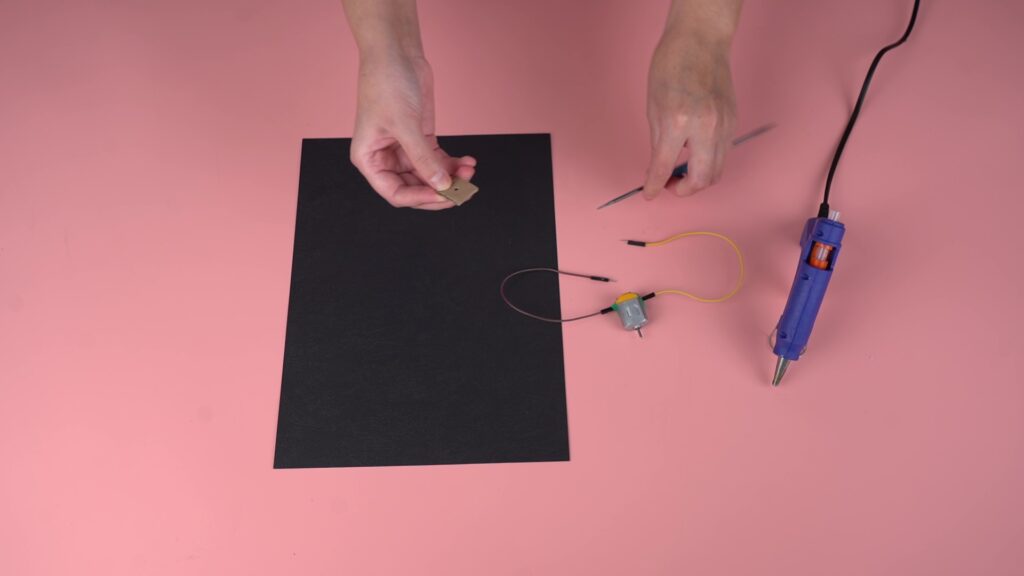
Step 5. Glue the corrugated cardboard with the motor to the center of the black cardboard.

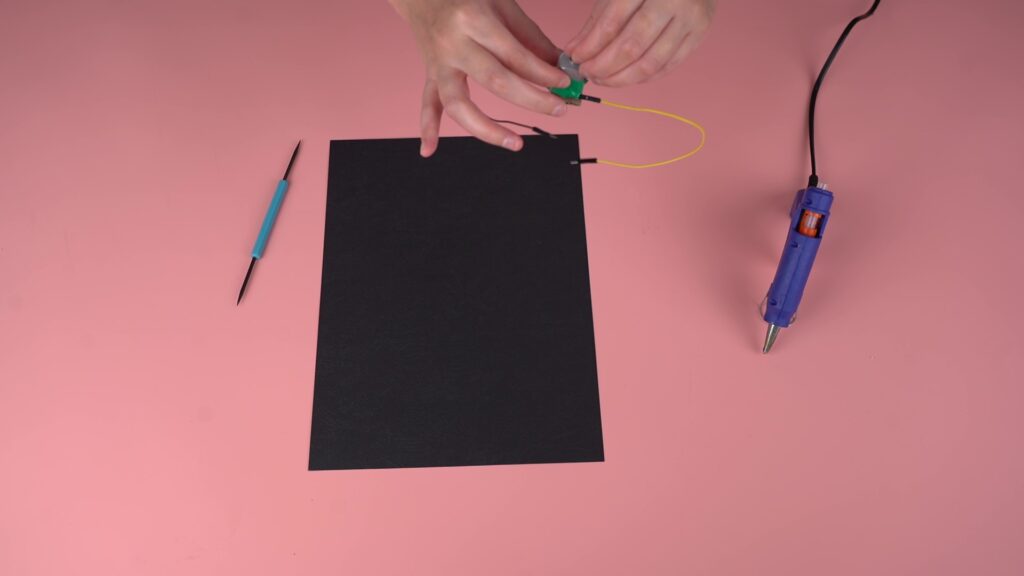
Step 6. Place the wire ends on the cardboard and secure them with copper tape (foil can be used as a substitute). The tape should form a straight line.
Step 7. Place another line of copper tape across the first one. Do not stick the end of the tape to the cardboard – fold it back.
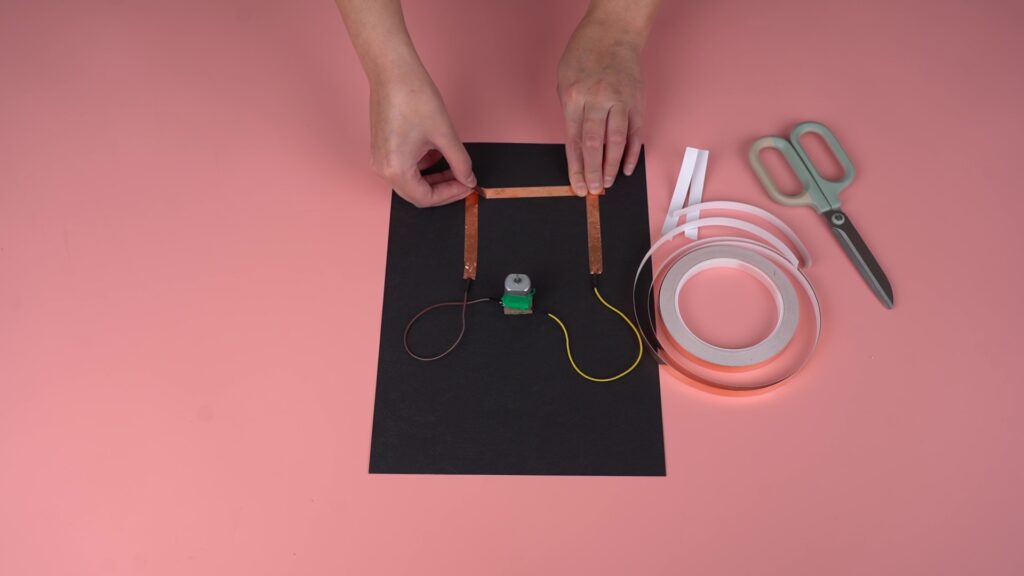
Step 8. Place the battery on the free end of the tape.

Step 9. Attach the globe you made to the motor shaft.
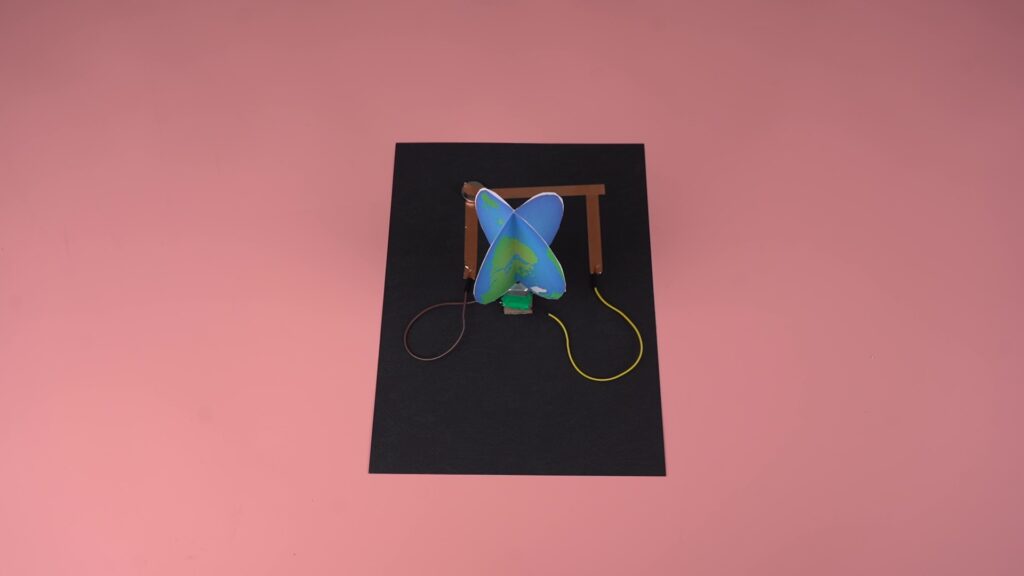
Done!
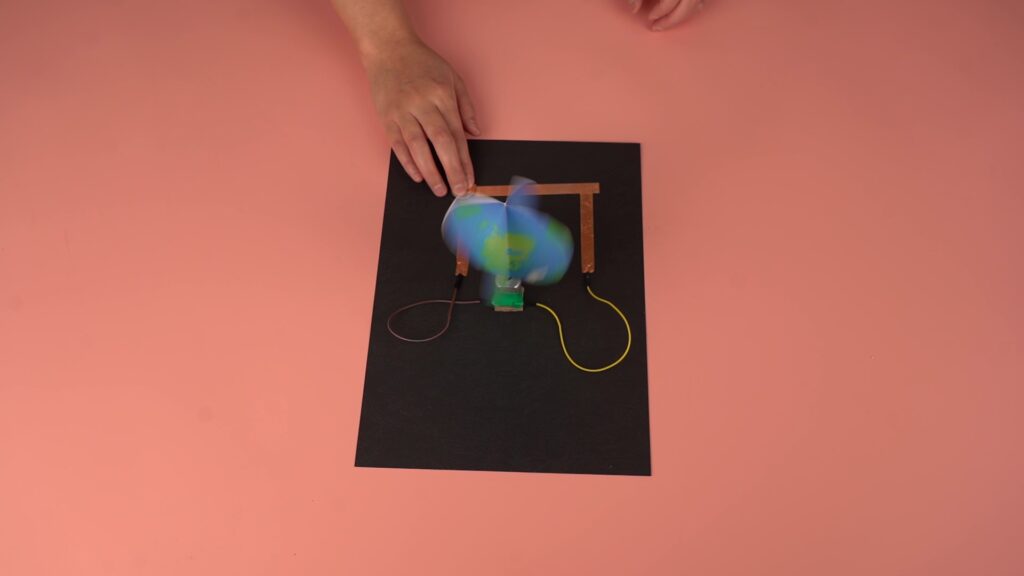
When you press the tape onto the battery, the motor starts running and the globe rotates. This process demonstrates Earth’s rotation on its axis.
Conclusion
Through this experiment, students can see a real model of Earth’s rotation on its axis. They understand that the alternation of day and night depends on this motion. By the end of the project, students will:
- learn the direction of Earth’s rotation;
- understand the reason why days exist;
- realize how the experimental model represents a natural phenomenon.

In this project, each student is assigned a STEAM title in several categories:
– By assembling this model, you have become a true master of science! You have learned how clocks work. This is real scientific thinking!
– Look at this beautiful clock! You have used your design and problem-solving skills to create a working model. Congratulations, you are an expert engineer!