
Areas of Figures
Area Builder by PhET Interactive Simulations, University of Colorado Boulder, licensed under CC-BY-4.0 (https://phet.colorado.edu)
Objective:
- To learn the formula for calculating area;
- To calculate the area of different figures;
- Understand the relationship between area and perimeter.
This virtual activity is designed to be used in the geometry lessons in the next chapter:
- Grade 8. “Areas of figures”.
Theoretical part
Area is a quantitative measure of a two-dimensional surface. It represents the space occupied by a flat figure. Knowing the area of figures is important in several fields, including math, physics, engineering, architecture, and design.
Formulas for calculating area:
Each of the basic geometric figures has a formula for calculating its area:
- Rectangle: S = a × b, where S is the area, a is the length, and b is the width.
- Square: S = a², where S is the area and a is the side.
- Triangle: S = 1/2 × b × h, where S is the area, b is the base, and h is the height.
- Circle: S = πr², where S is the area, π is pi (about 3.14159), r is the radius.
- Trapezoid: S = 1/2 × (b1 + b2) × h, where S is the area, b1 is the larger base, b2 is the smaller base, h is the height.
- Polygon: A polygon can be broken down into simpler shapes (such as triangles), and the area of each can be found and added together.
Ways to calculate area:
- Use formulas: Substitute known values into the appropriate formula and calculate the area.
- Graphical method: Draw a figure to scale and use millimeter paper or a grid to calculate area.
- Software: Use specialized computer programs or online calculators to find areas.
Virtual Experiment
The Area of Figures simulation teaches students how to find the area of a figure by counting unit squares. Describes the relationship between area and perimeter. Constructs figures with a given area and perimeter.
Workflow:
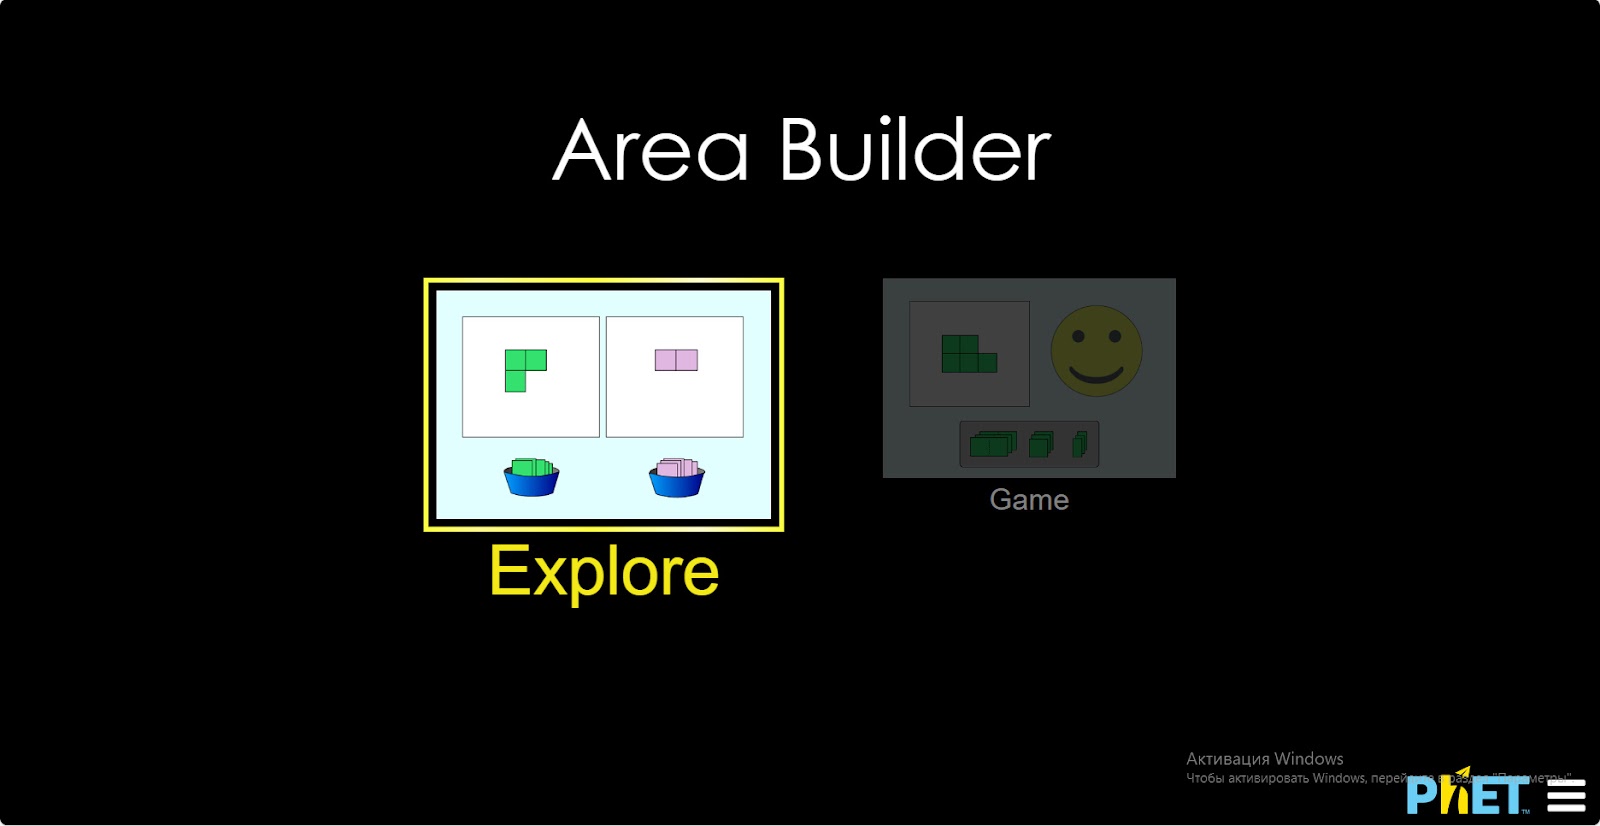
Step 1. Start the simulation: you will be offered 2 different modes, “Explore” and “Play”. Open the “Explore” section.
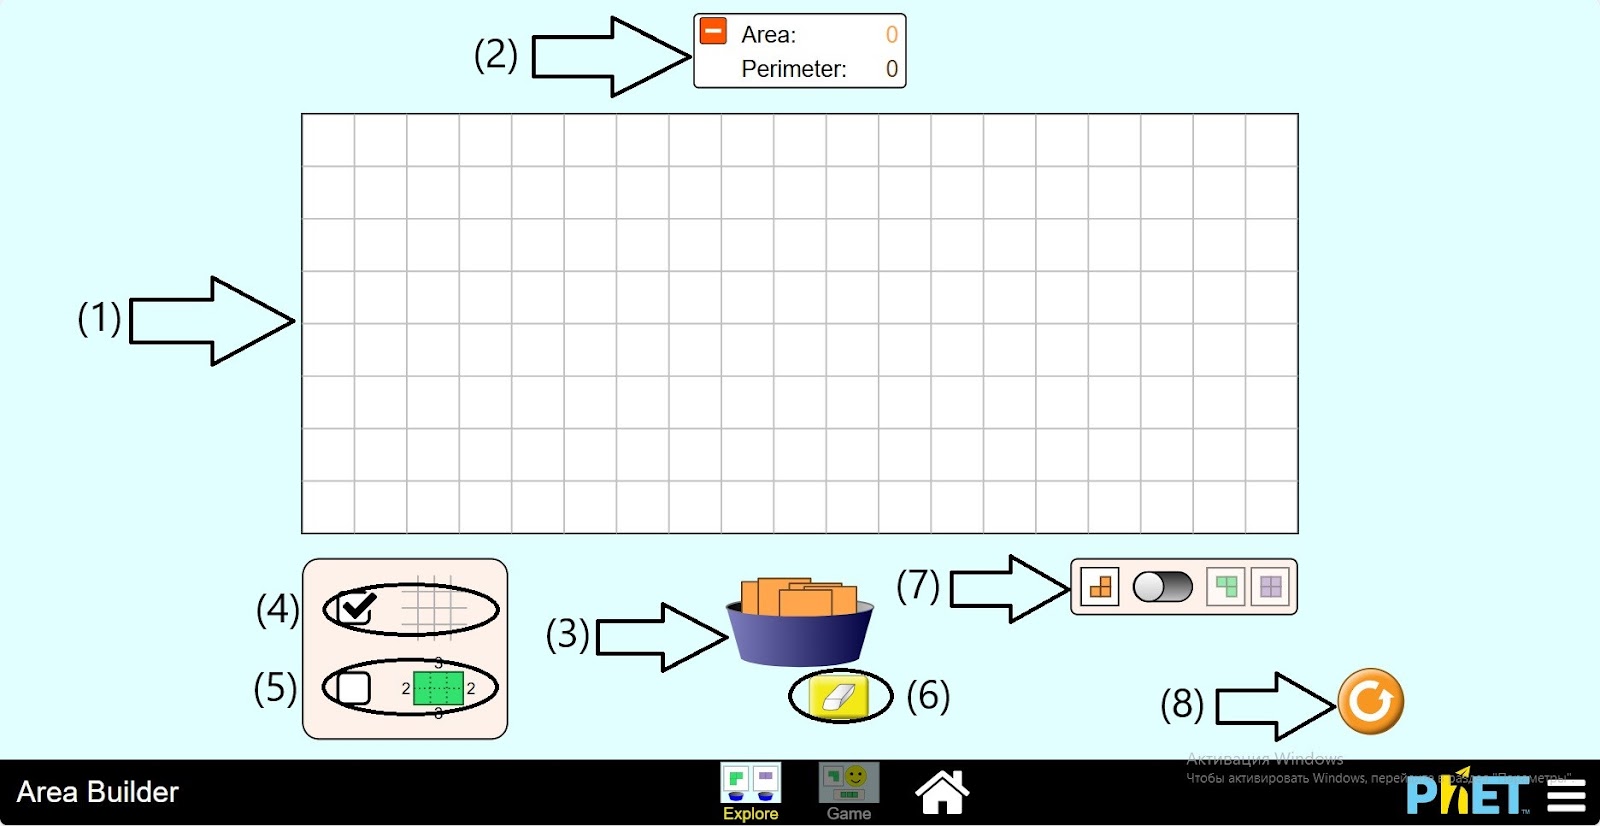
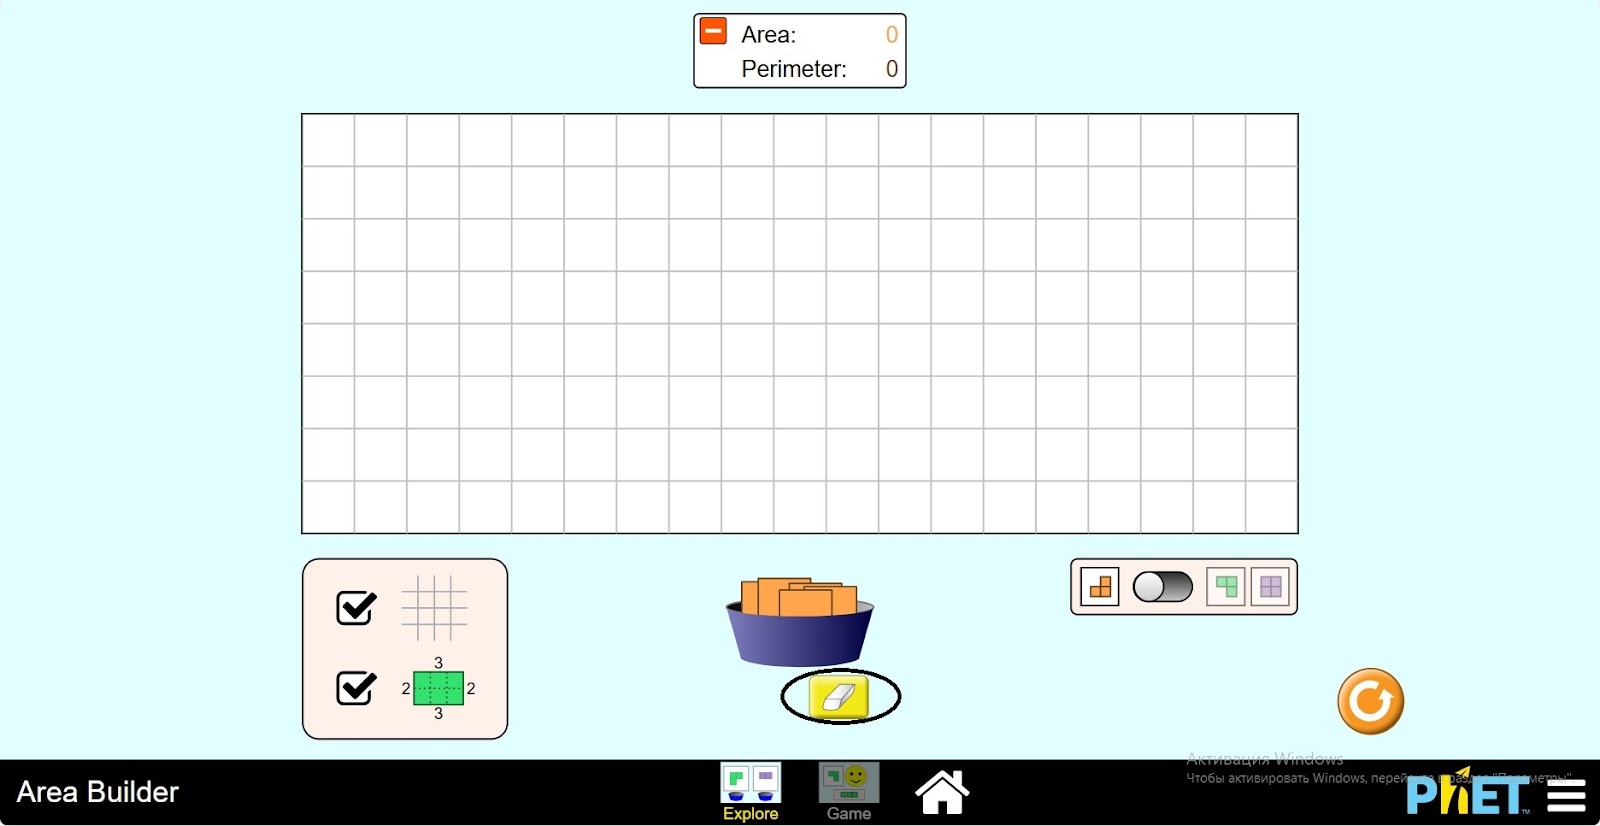
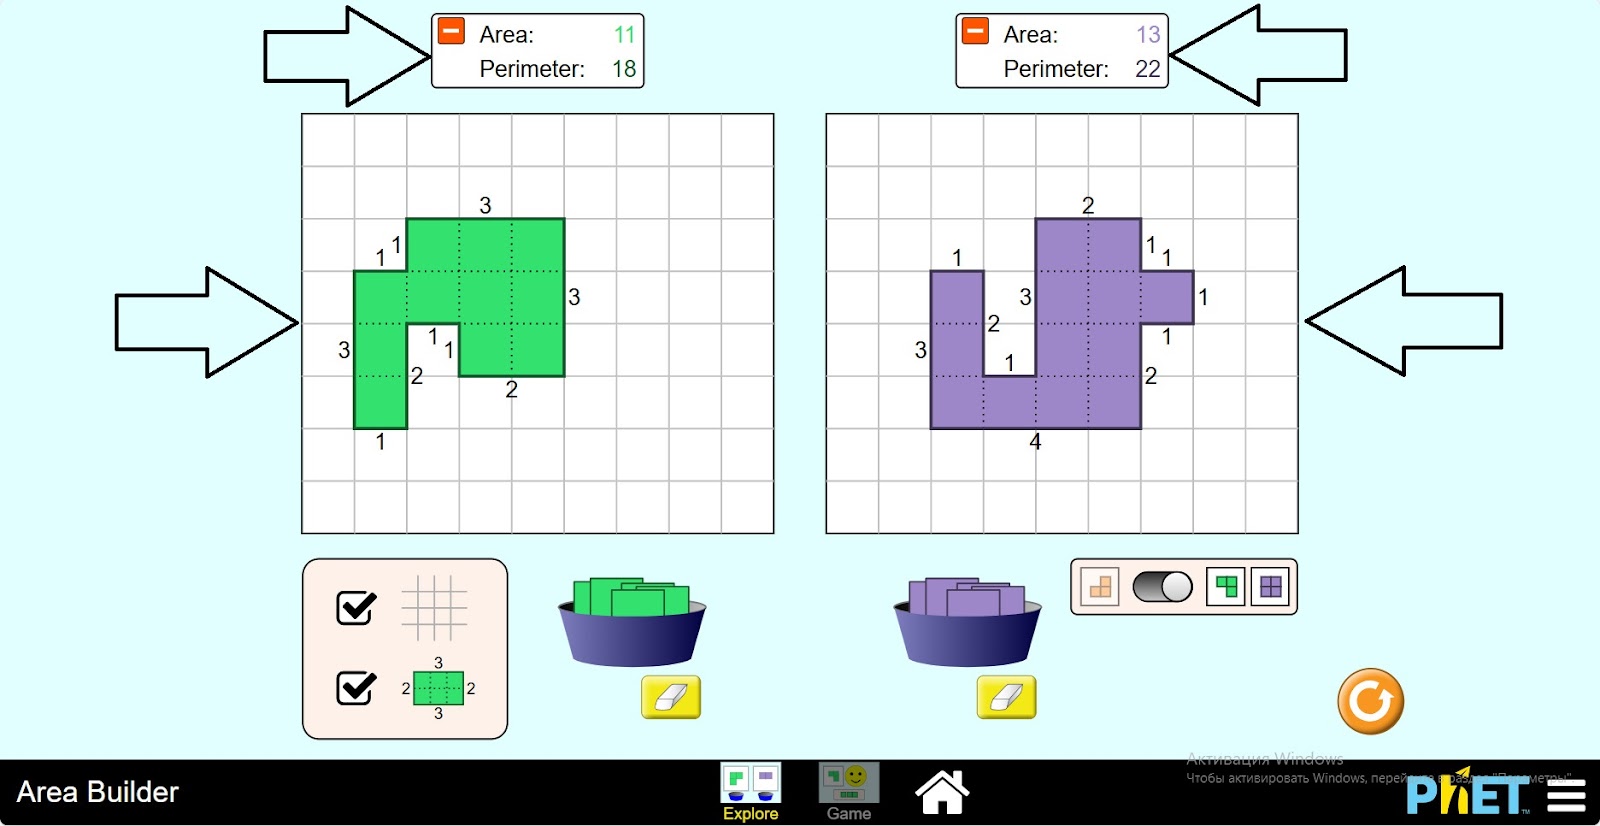
Step 2. In the workspace you will find
- A board for creating shapes (1);
- An area and perimeter board (2);
- Unit squares for creating shapes (3);
- Button to hide the grid on the board (4);
- Button to show the size of the figure on the board (5);
- Eraser (6);
- Button to halve the work area (7);
- Reload button (8).
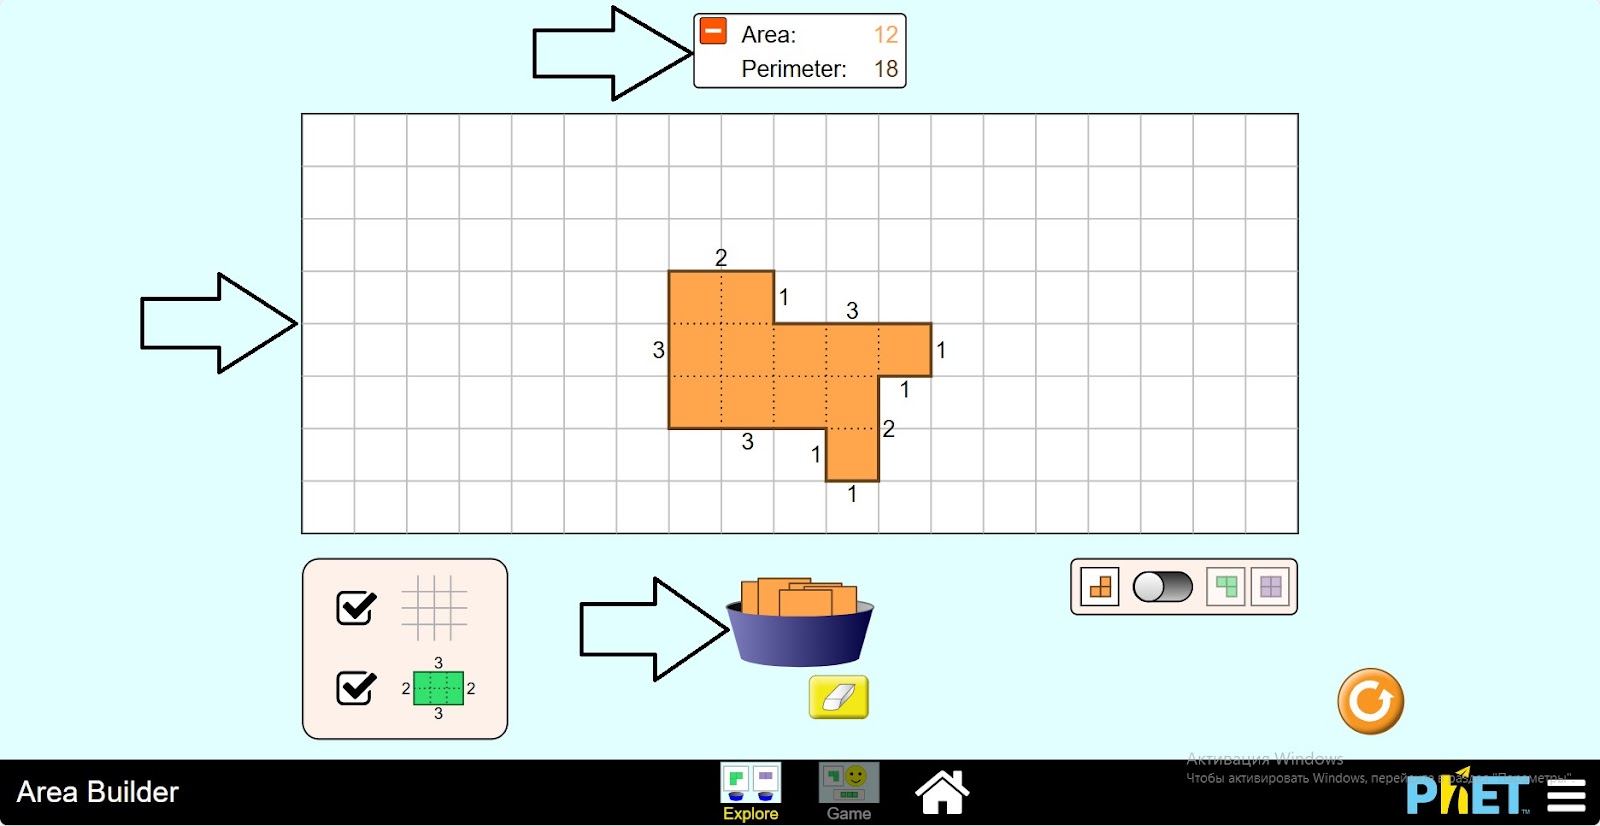
Step 3. Build the figure by drawing a row of unit squares on the board. Activate the button “Show shape size” on the board.
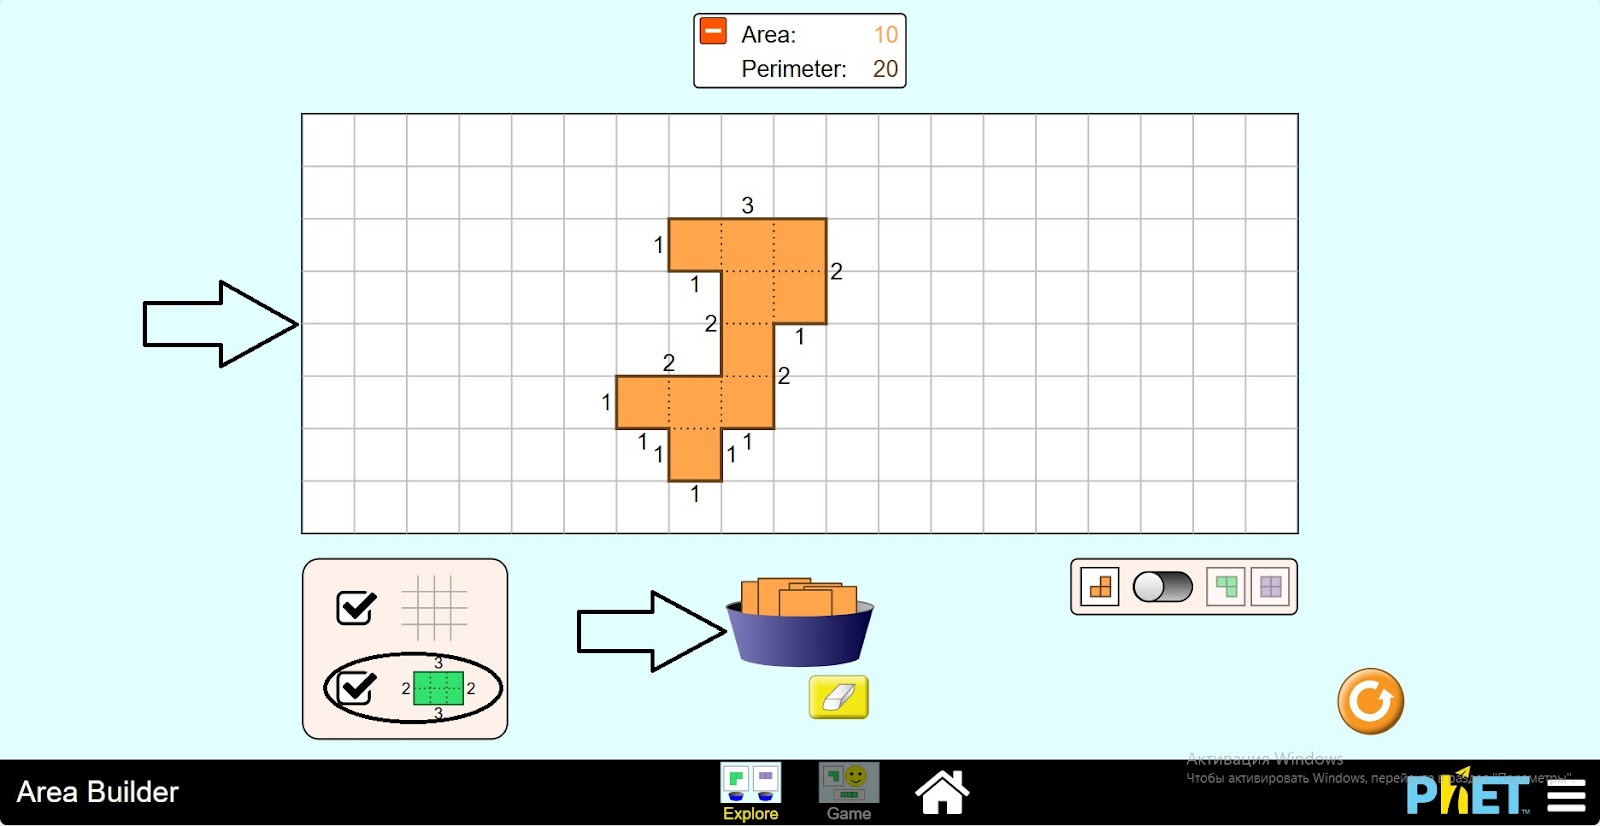
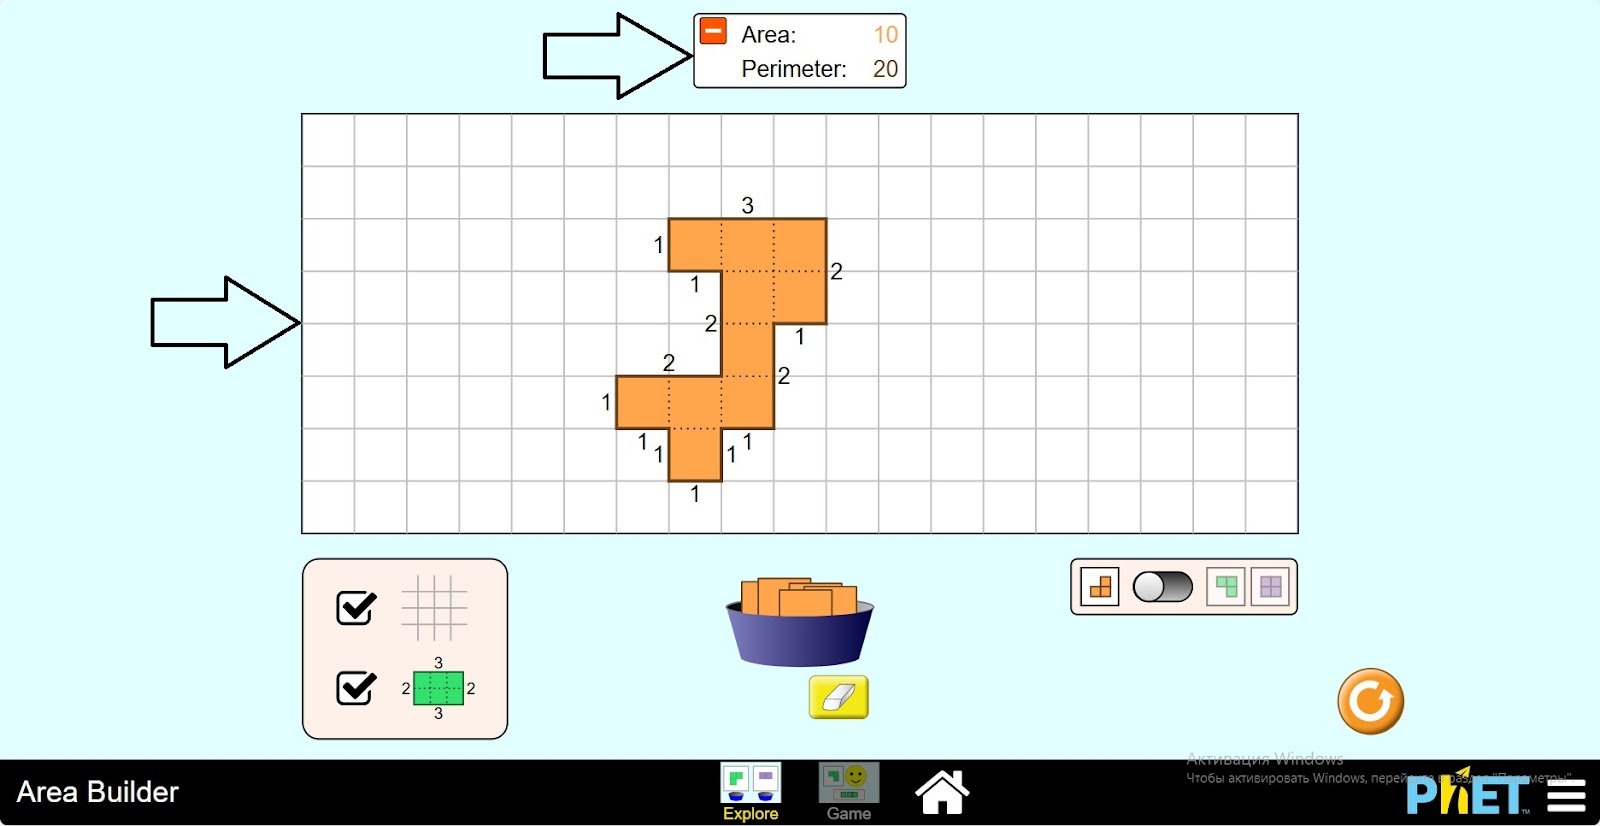
Step 4. Look at the data on the board that shows area and perimeter. Examine how the area and perimeter of the figure are calculated.
Step 5. Erase the board by clicking the eraser.
Step 6. Create a new figure on the board. Examine its area and perimeter.
Step 7. Click the button to divide the workspace in half.
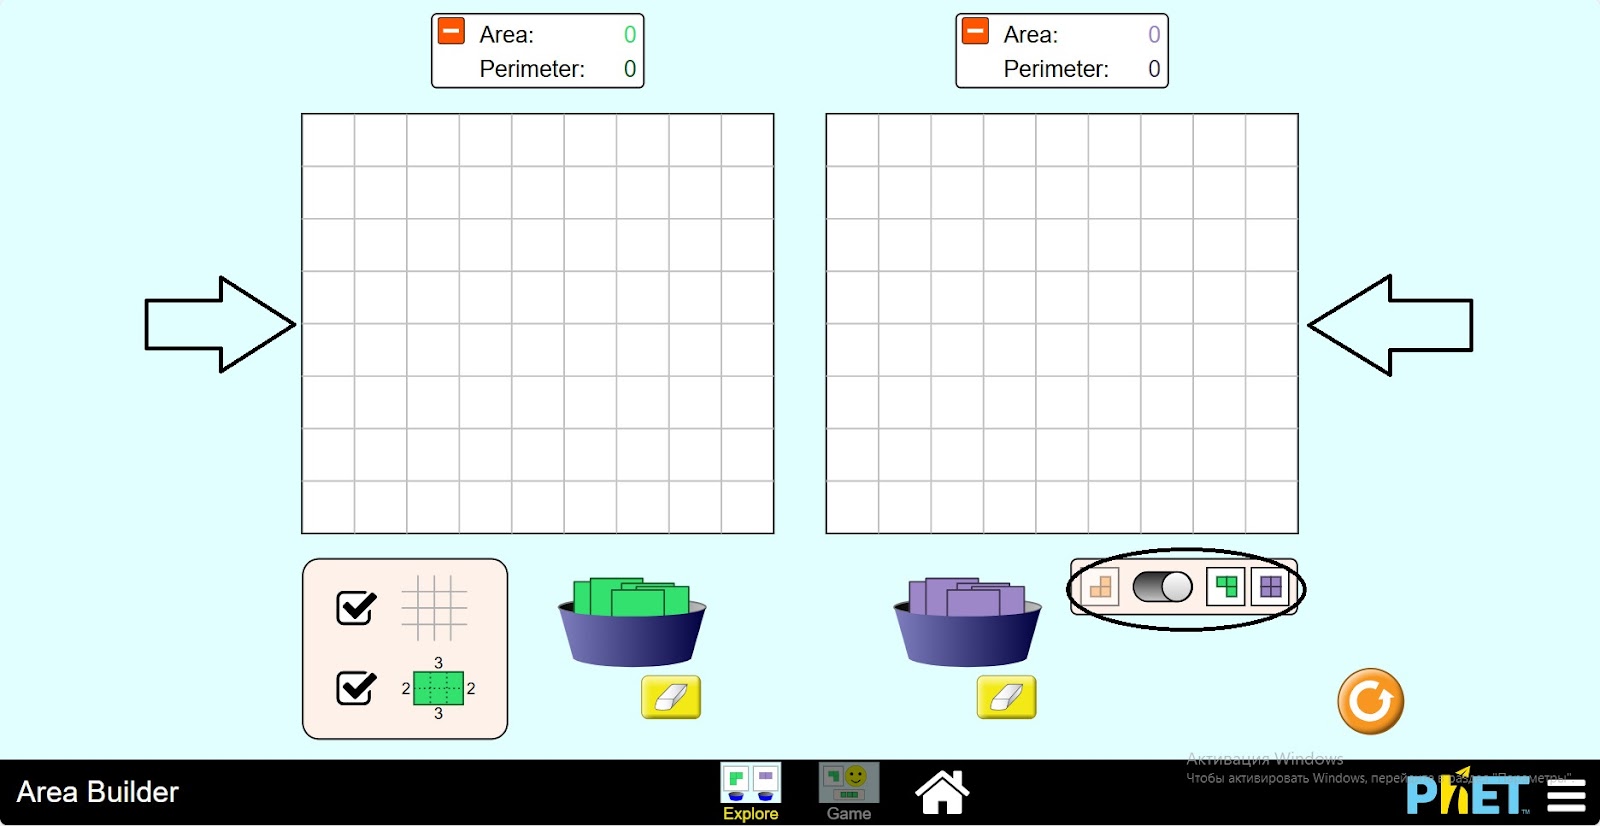
Step 8. Create two different shapes on two boards. Study their area and perimeter.
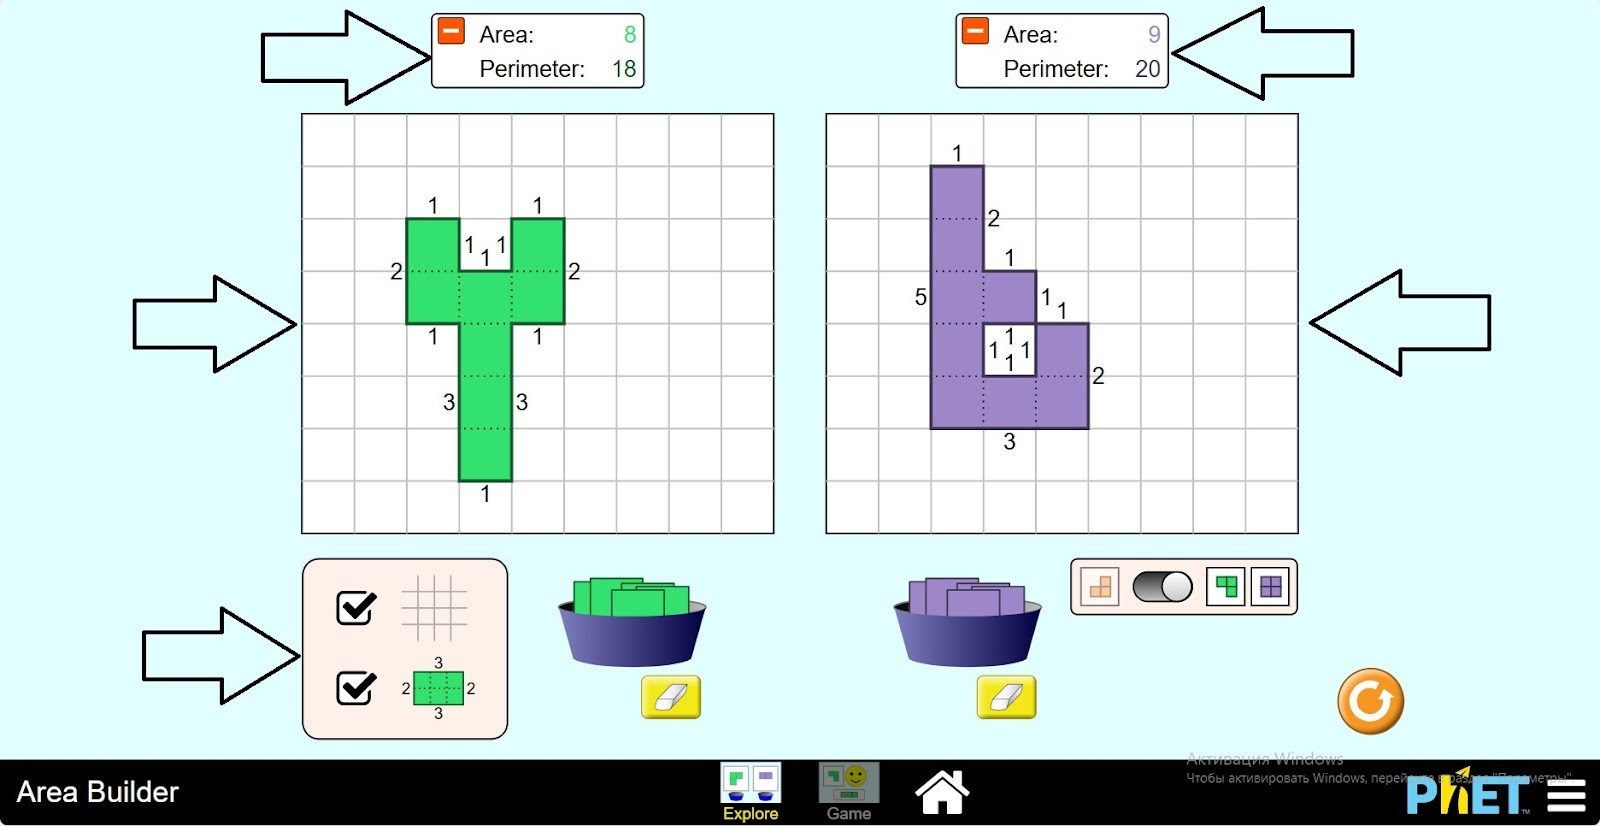
Step 9. Try to create and study several figures in this way.
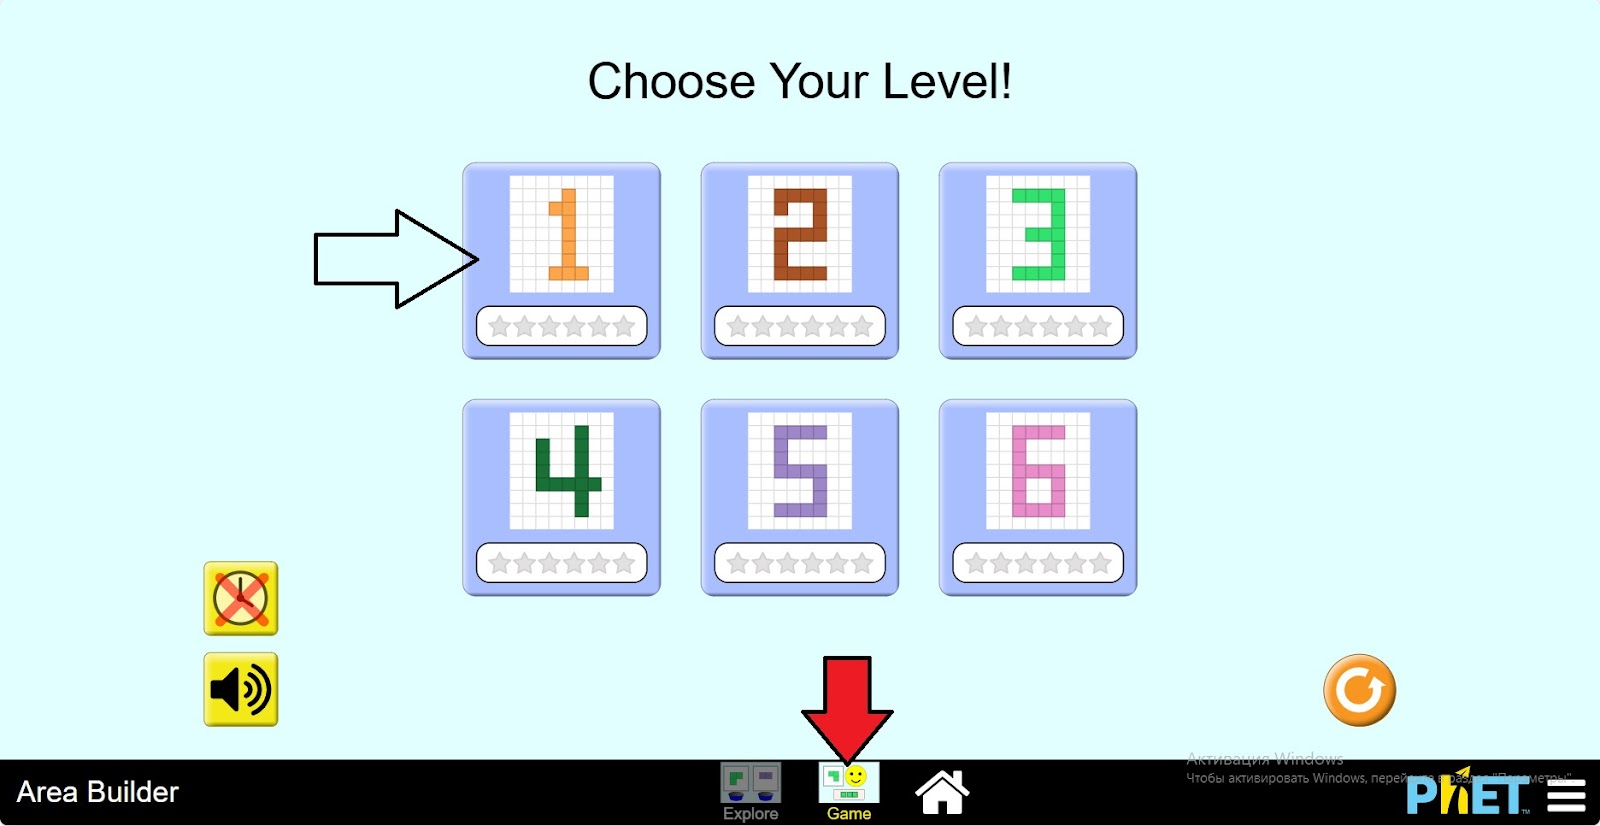
Step 10. Open the “Game” section. You will be given tasks in the form of a game on 6 different levels. Open the first level.
Step 11. In the workspace you will find:
- A board for creating shapes (1);
- A board with the area of the figure to be assembled (2);
- Rectangles for creating shapes (3);
- Button to show the grid on the board (4);
- Button to show the size of the figure on the board (5);
- Eraser (6);
- Check button (7);
- Button to return to the levels section (8).
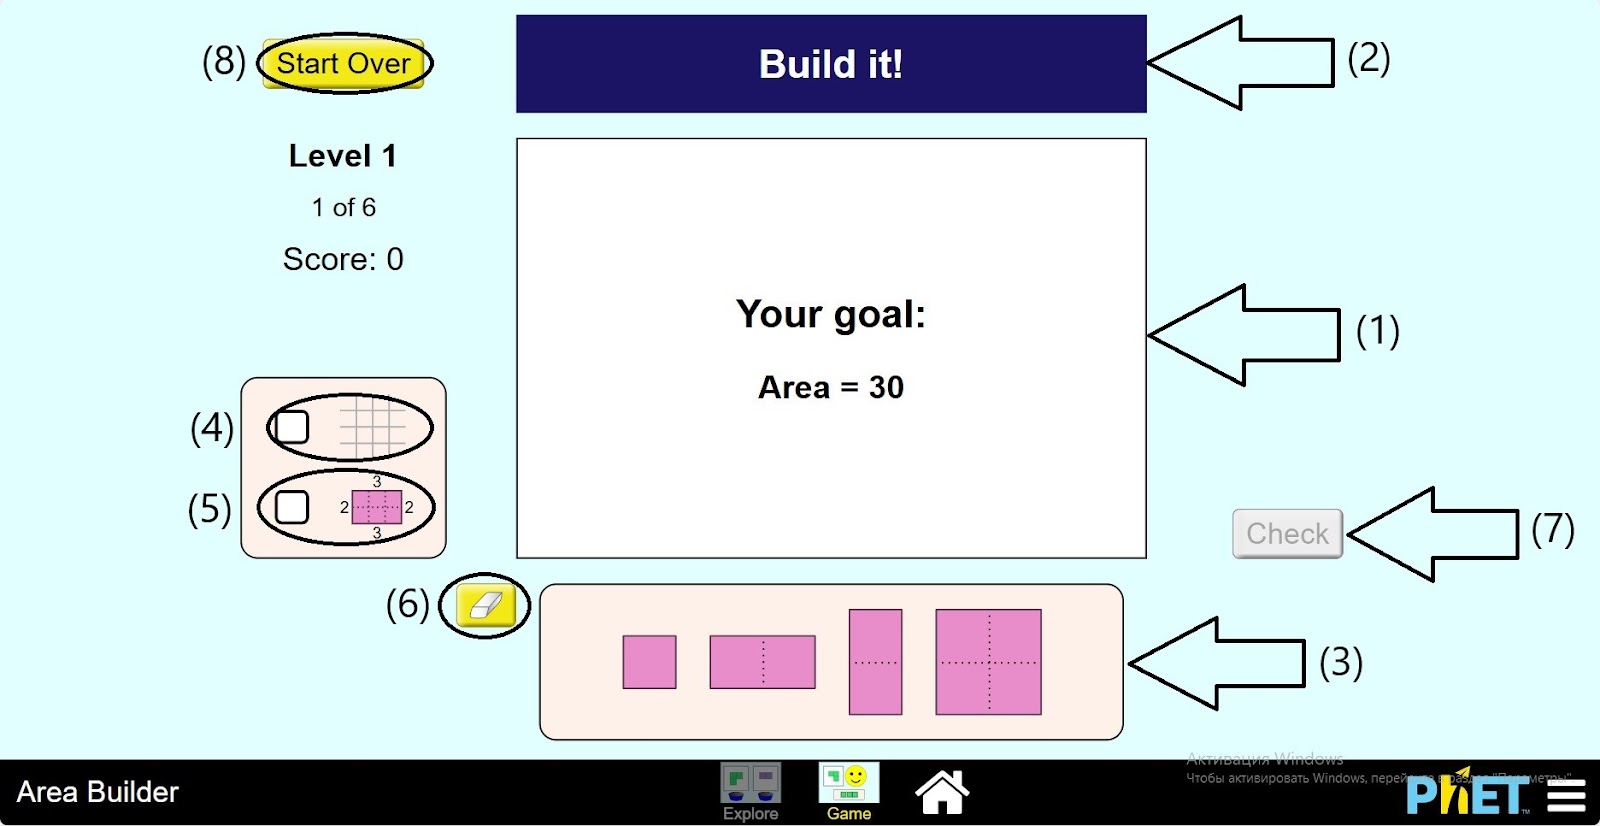
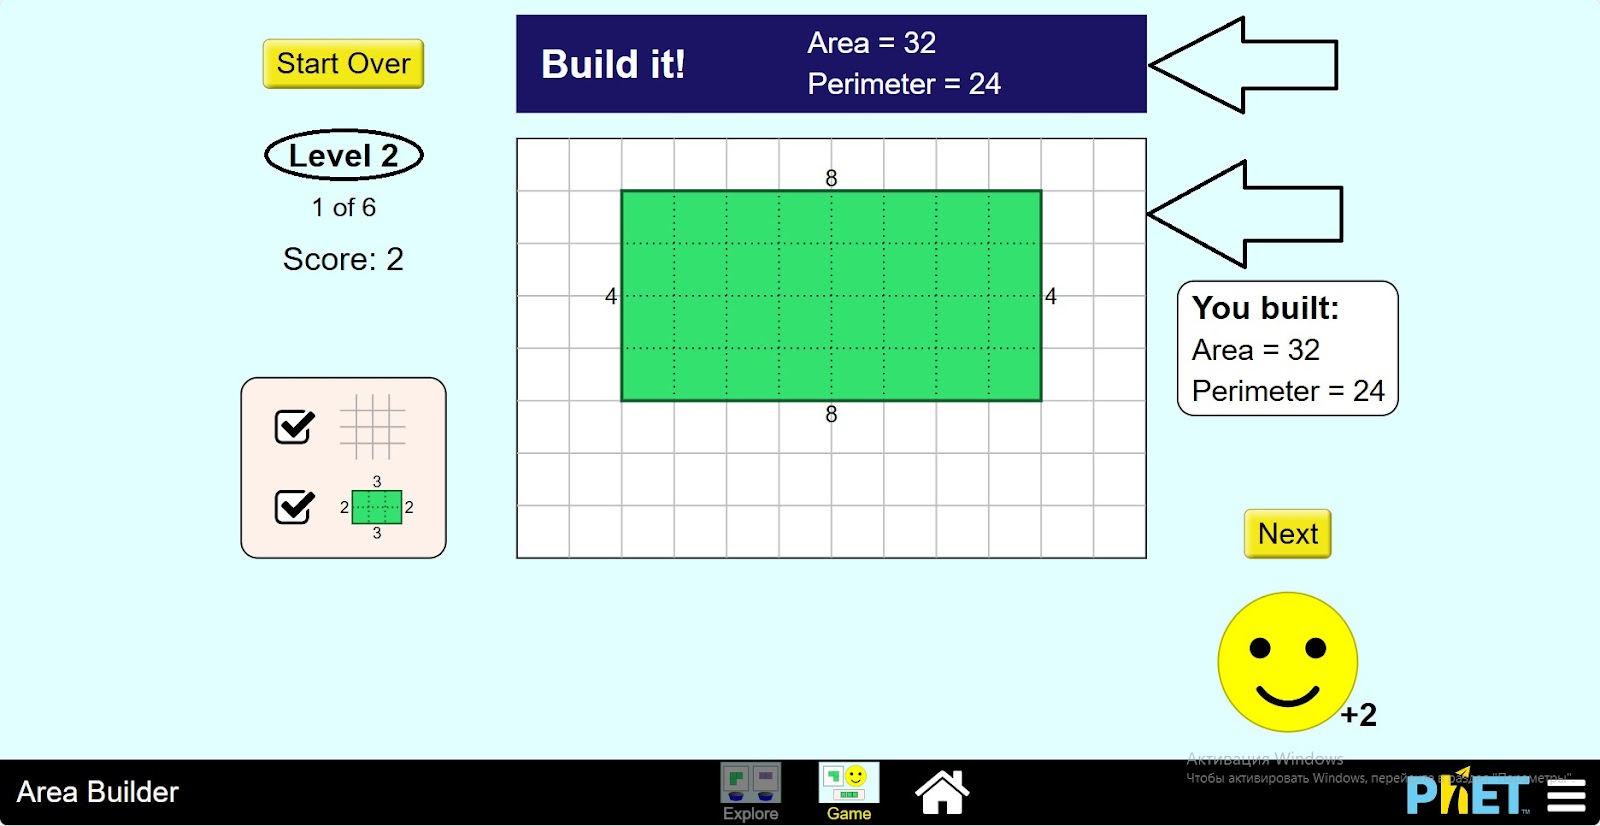
Step 12. The area of the figure to be built is set. Build the figure on its base. If necessary, you can add the buttons for displaying the grid and the size of the figure.
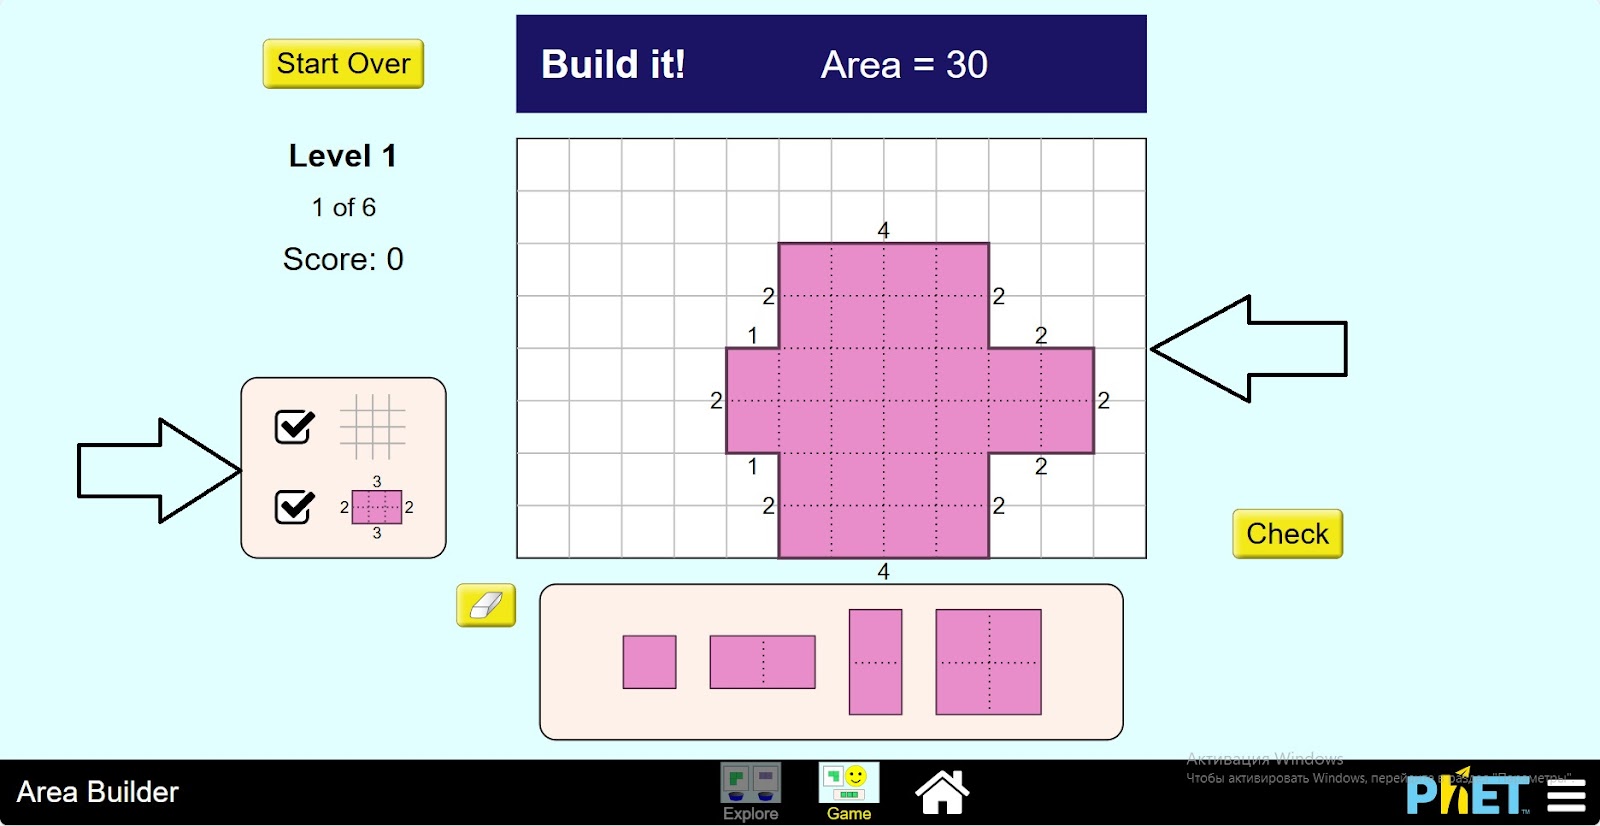
Step 13. Click on the Verify button to check that the figure is correct.
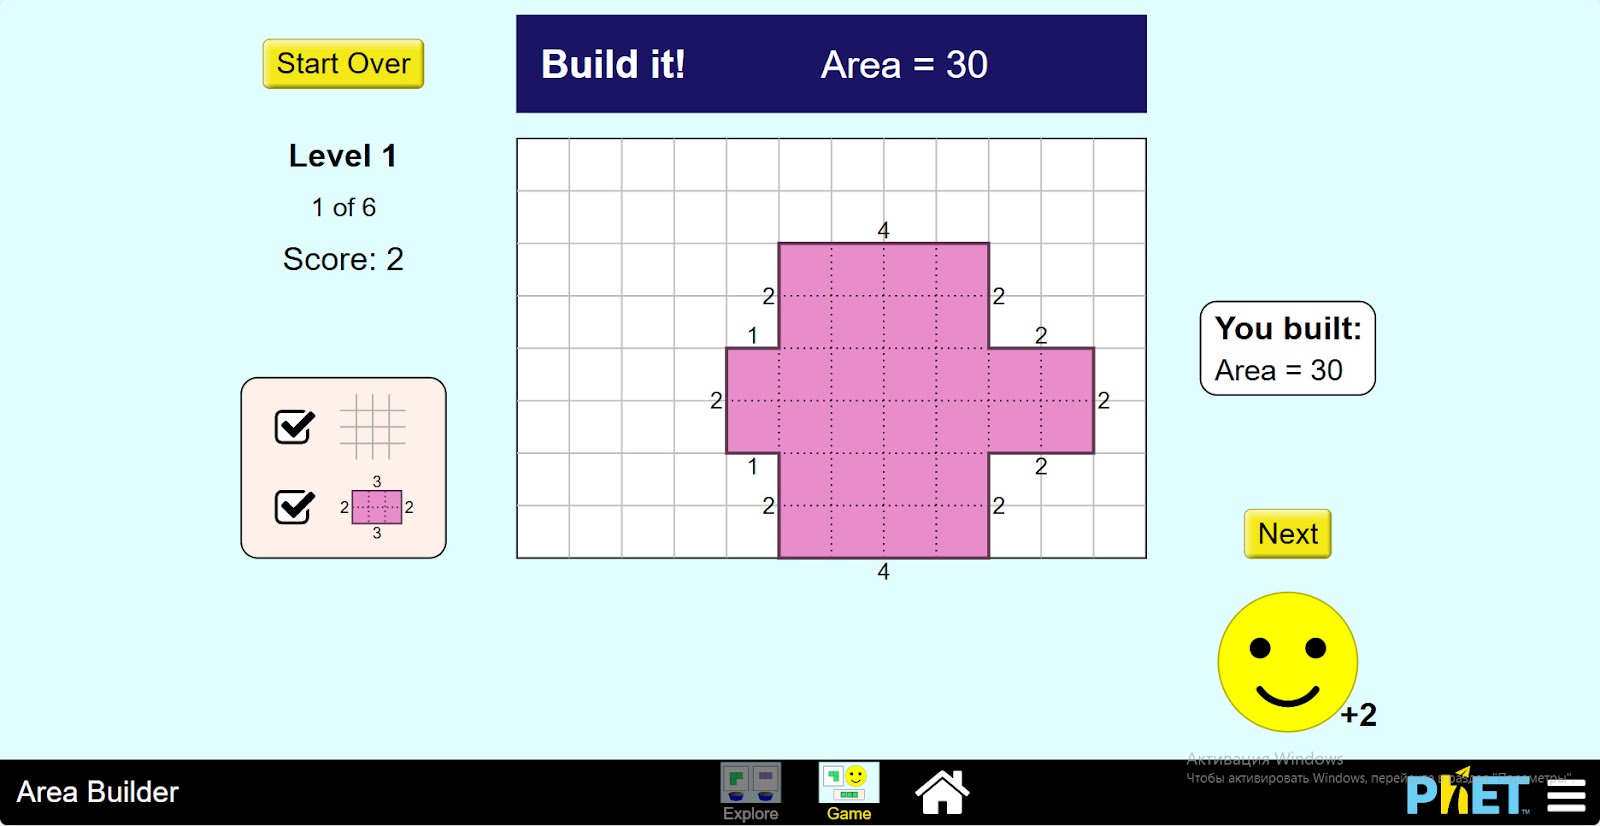
Step 14. Complete the tasks of the first level and move on to the next levels.
Conclusion
Students have learned how to find the areas of figures of different irregular shapes. Made the connection between area and perimeter. Explored the topic of neighborhood by making shapes with a given area and perimeter.