Lesson 1
Purpose of the work:
- study the main stages of yogurt and cheese production
- find out how bacteria are involved in this process
- learn how to make your own yogurt and cheese
Expected results:
After completing the work, students can:
- develop teamwork skills
- be able to analyze and summarize the information received
- draw logical conclusions
Safety:
- Wash your hands thoroughly before and after the experiment.
- Be careful handling hot liquids and glassware.
Teacher’s Guide:
- The task is performed in groups of 3 people
- Before starting laboratory work, please read the safety rules by following the link:
- To download the worksheet, follow the link:
Theoretical part
Yogurt is a fermented milk product obtained by fermenting milk with lactic acid bacteria. In the process of fermentation, the milk thickens, acquires a characteristic fermented milk taste and aroma.
Cheese is a dairy product obtained by coagulating milk under the action of enzymes, acids or other factors. During the coagulation process, the milk turns into a cheese mass, which is then pressed and molded.
Practical part
First let’s try to make a yogurt.
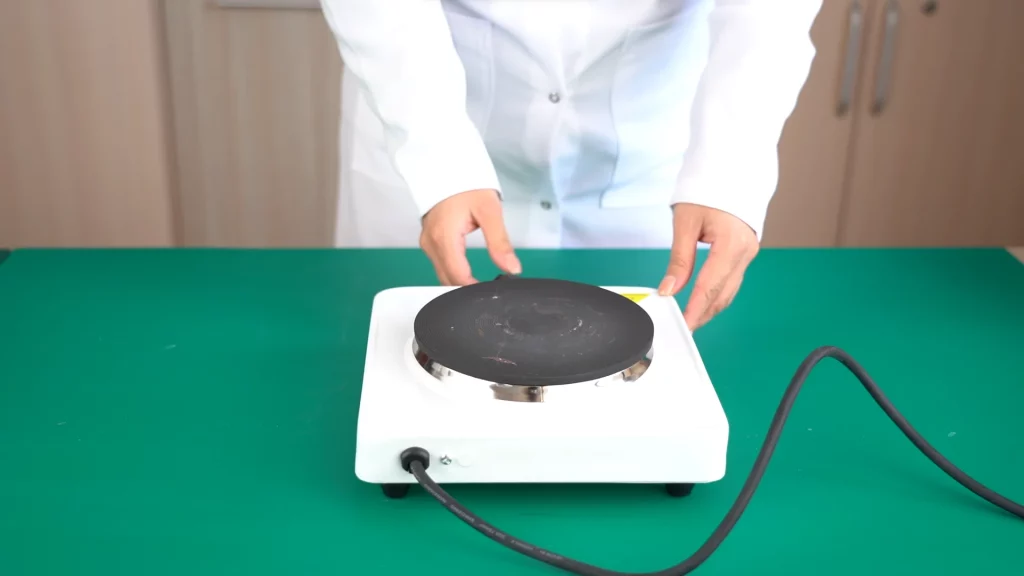
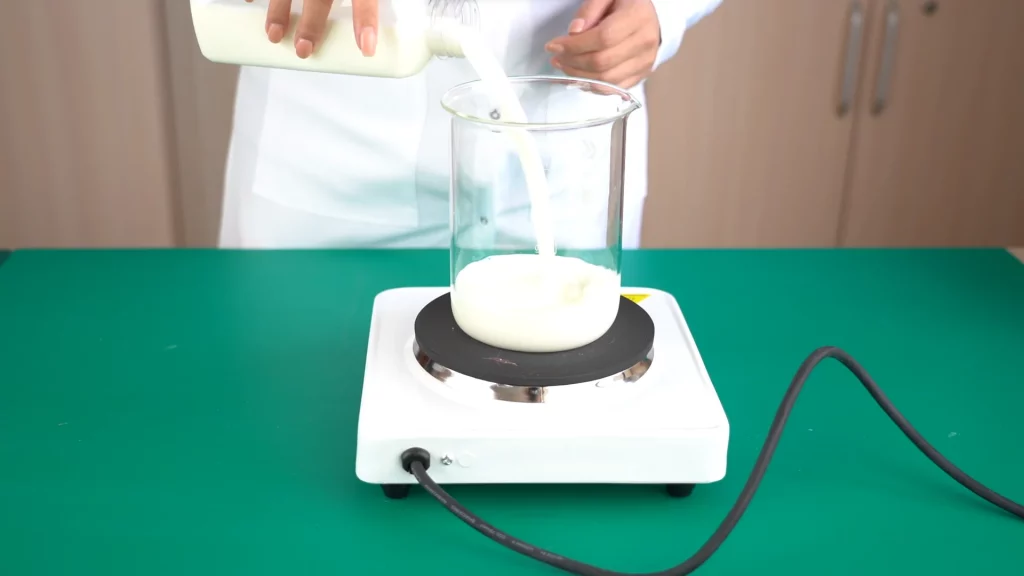
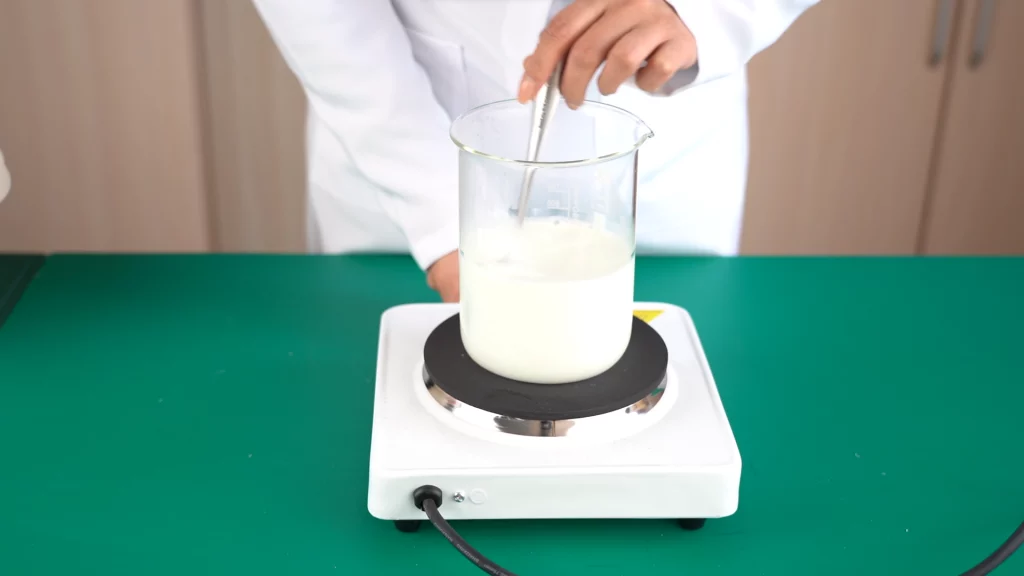
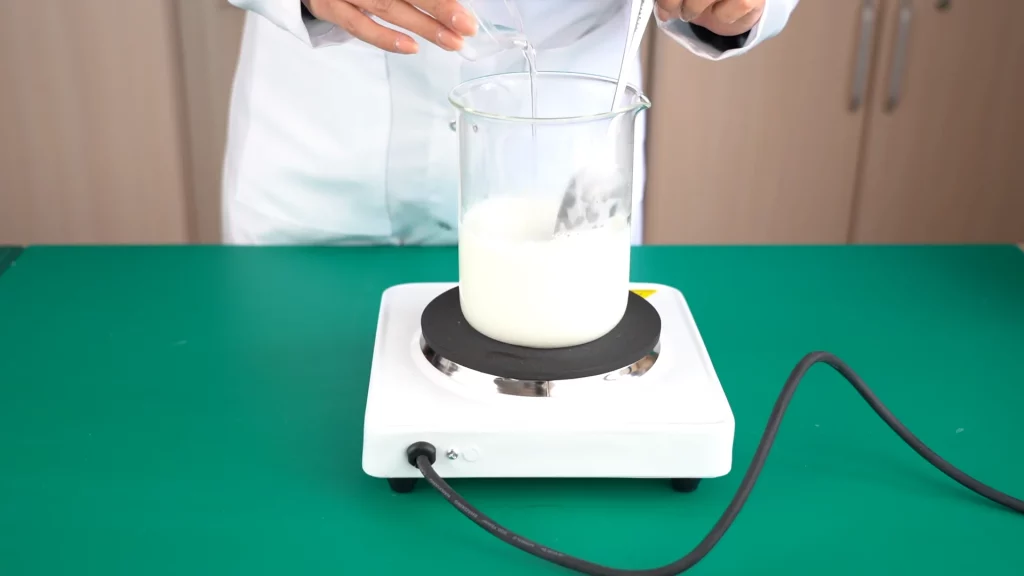
Step 1: Warming the Milk. Turn on the heating element and place a clean vessel with 500 ml of milk on it. Heat the milk over medium heat until it reaches 80-85°C (176-185°F). It should be quite hot but not boiling, as high temperatures can destroy beneficial bacteria.
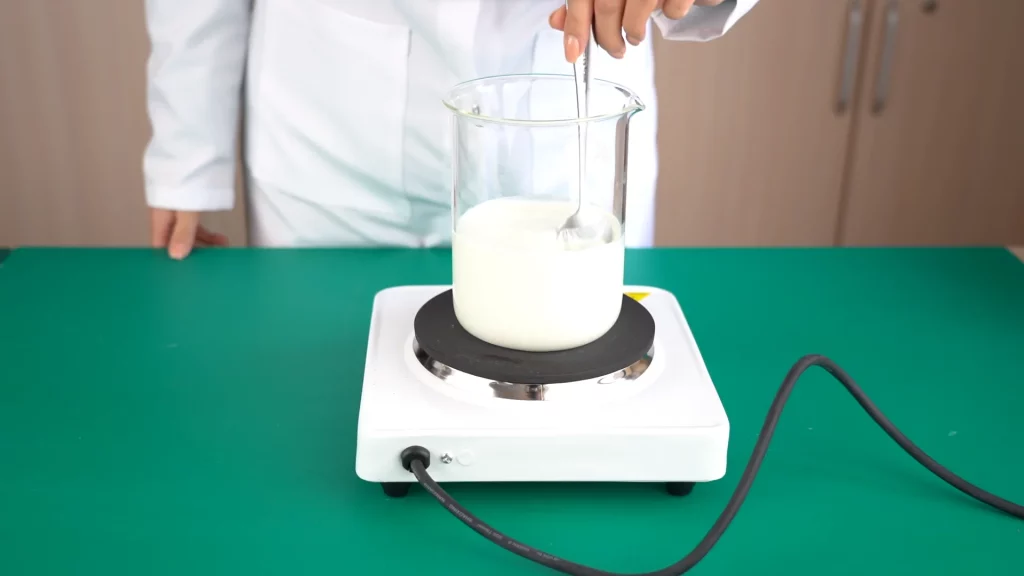
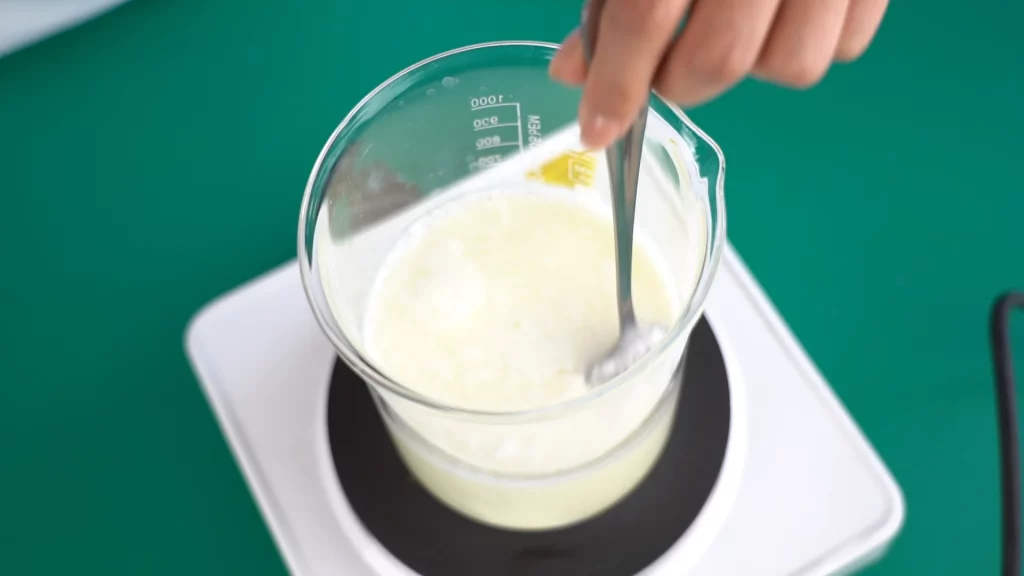
Step 2: Cooling and Inoculating. After 10 minutes, turn off the heat and stir the milk frequently to help it cool evenly. Aim for a temperature slightly above room temperature, around 40-43°C (104-109°F), as this is optimal for lactic acid bacteria growth.
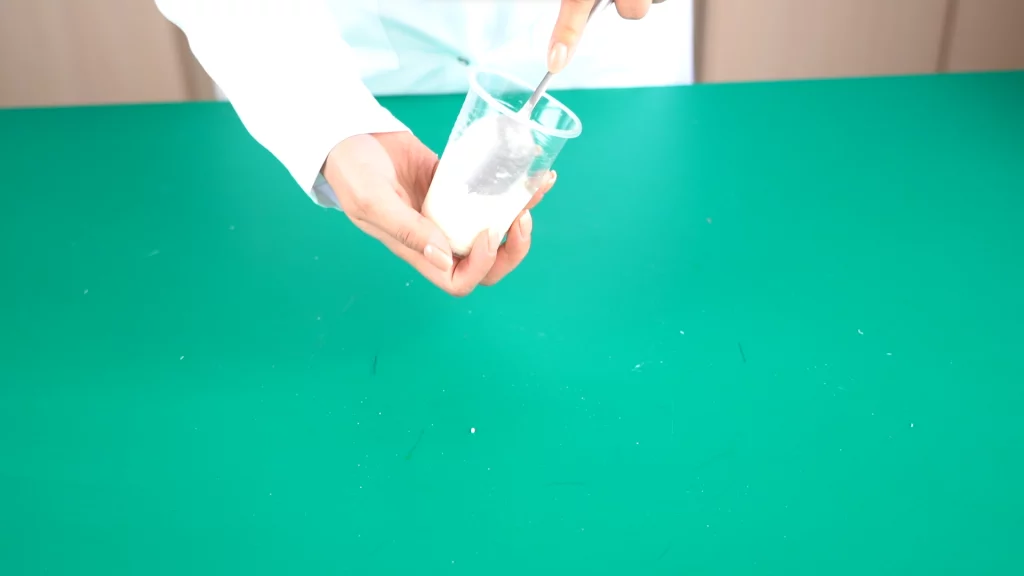
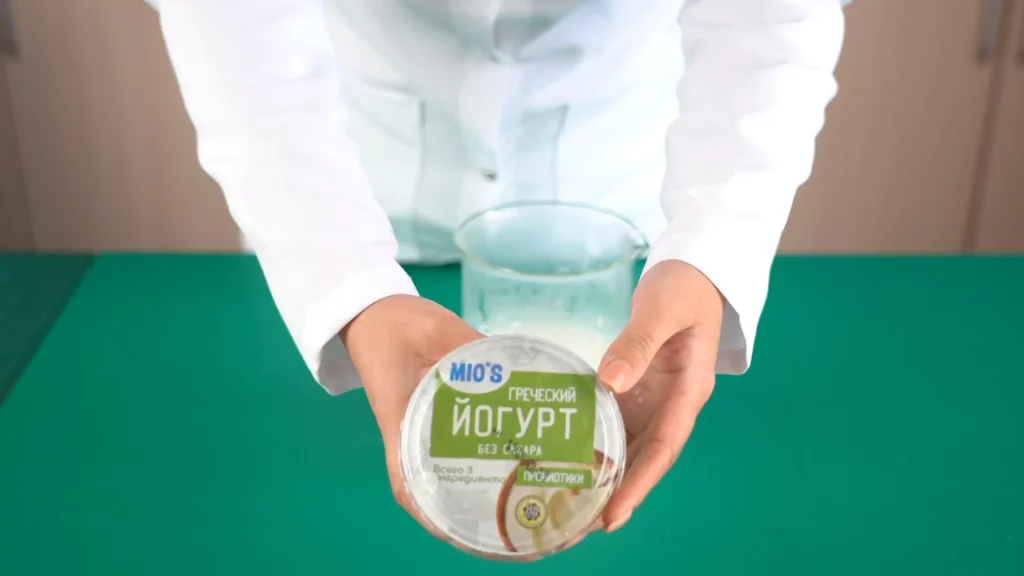
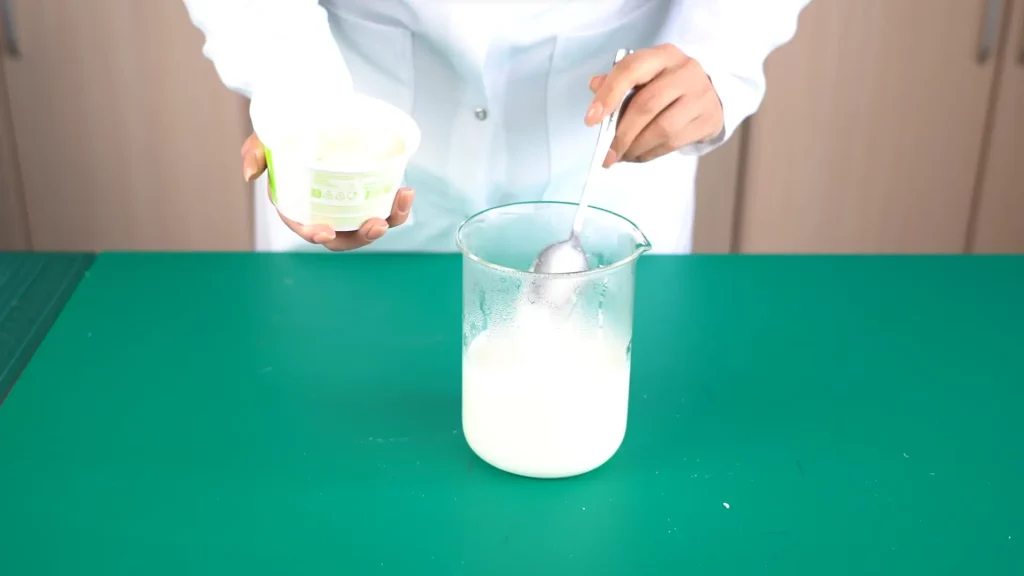
Step 3: Once at the right temperature, stir in 3 tablespoons of plain yogurt with live bacteria to introduce the necessary cultures.
Step 4: Fermentation Magic. Seal the vessel tightly and create a hot water bath or wrap it in an insulated blanket to maintain warmth. Leave it undisturbed for 4-5 hours. During this time, the lactic acid bacteria will multiply, fermenting the sugars in the milk and giving yogurt its characteristic tangy flavor and thick texture.
Now Let’s Make Cheese!
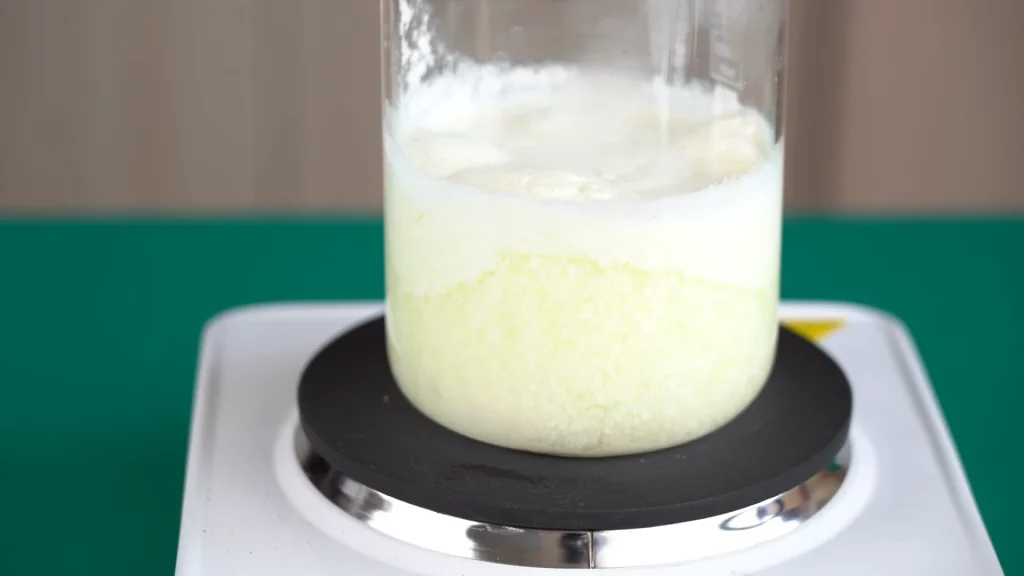
Step 5: Follow Steps 1 and 2 again to prepare the milk for cheese. Once the milk reaches 80-85°C, slowly add citric acid diluted in water, stirring gently.
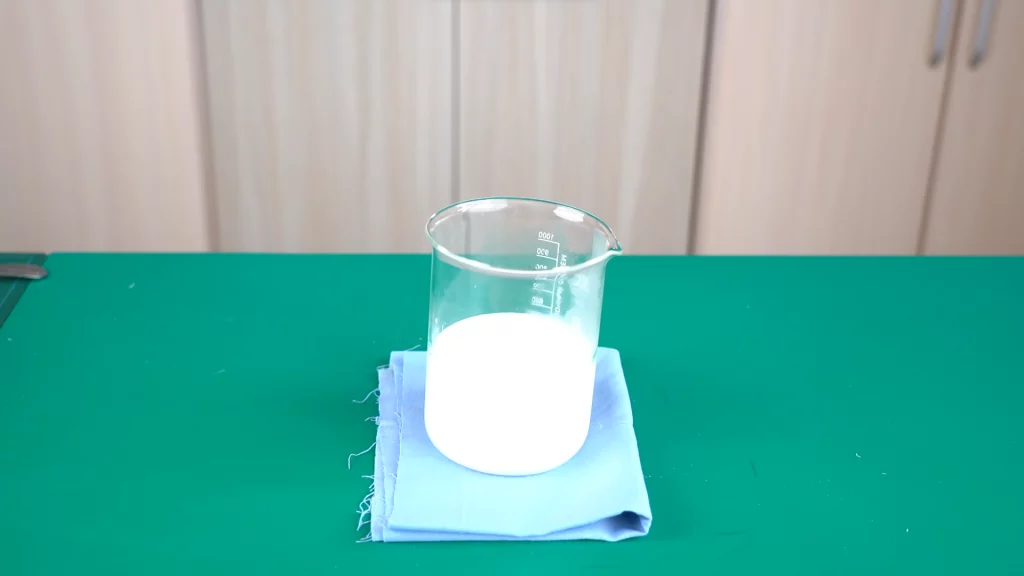
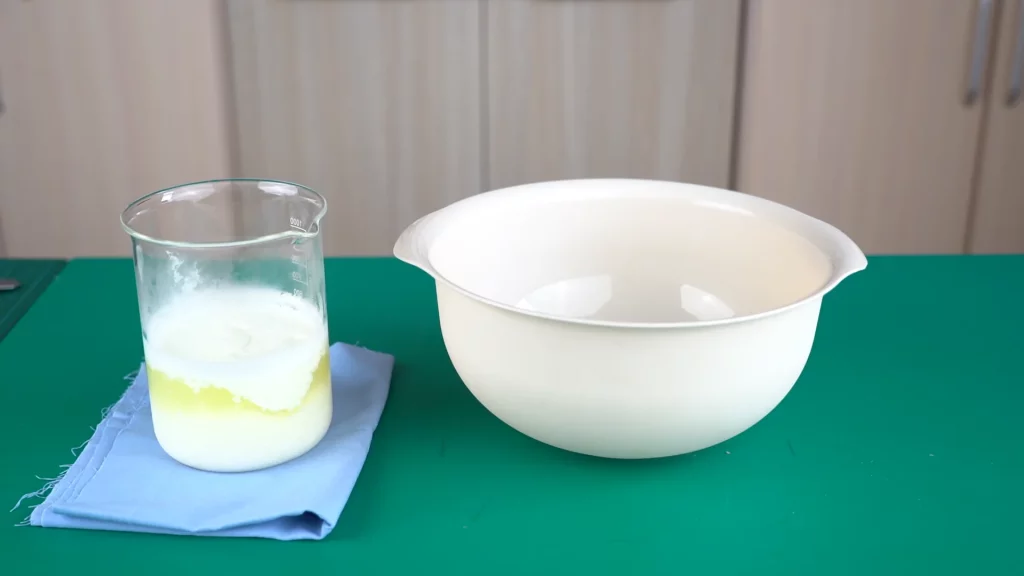
Step 6: Curdling the Milk. You should see the milk begin to curdle immediately, separating into milky curds and clear whey. Reduce heat to low and simmer for 10 minutes to ensure complete curdling.
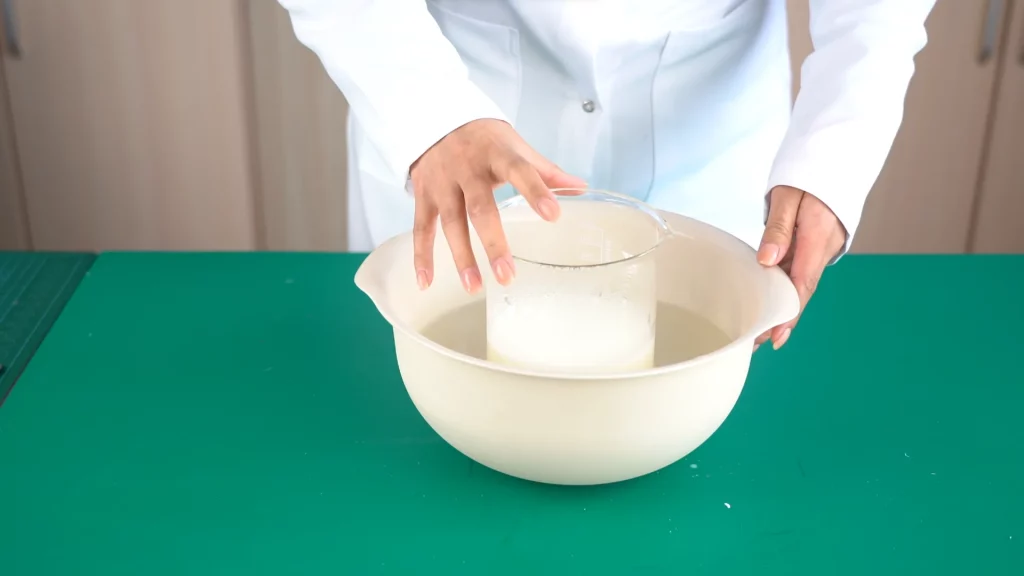
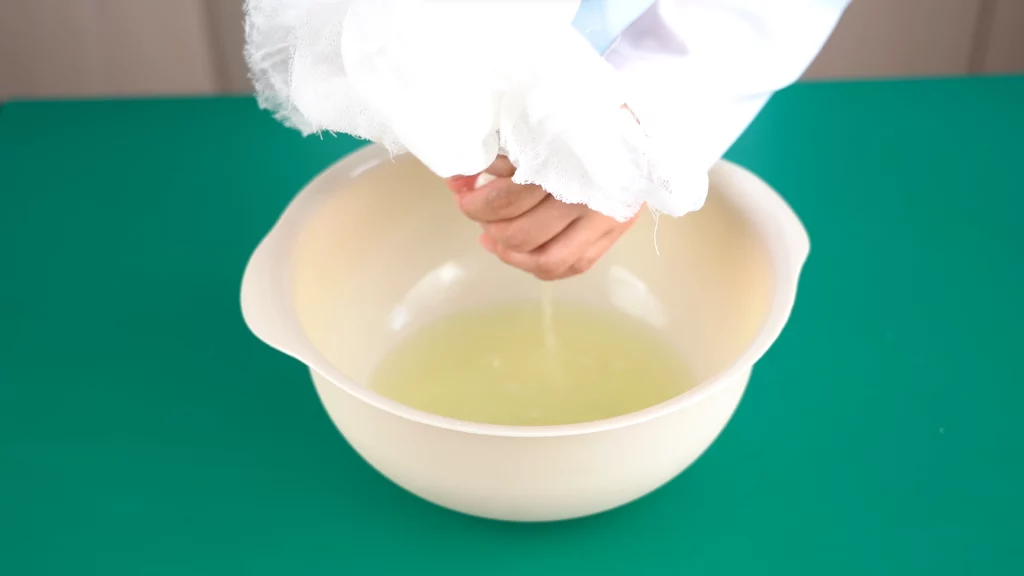
Step 7: Straining and Forming the Cheese. Turn off the heat and remove the vessel from the heat source.
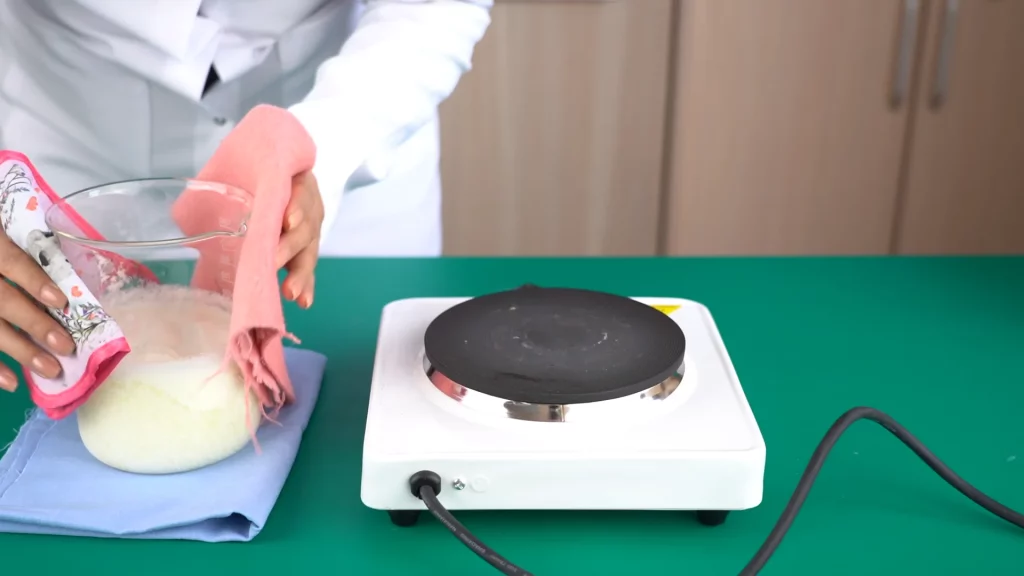
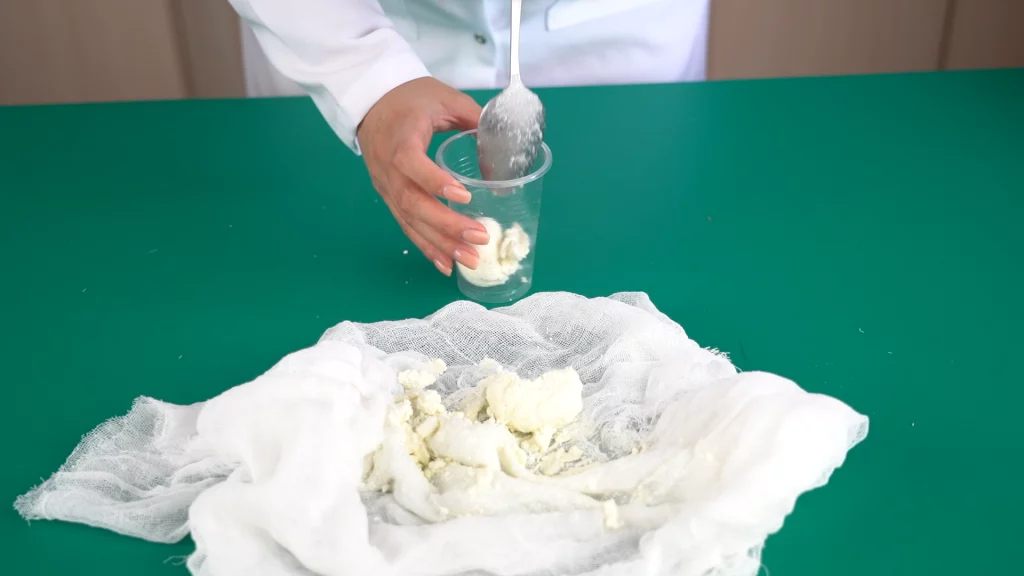
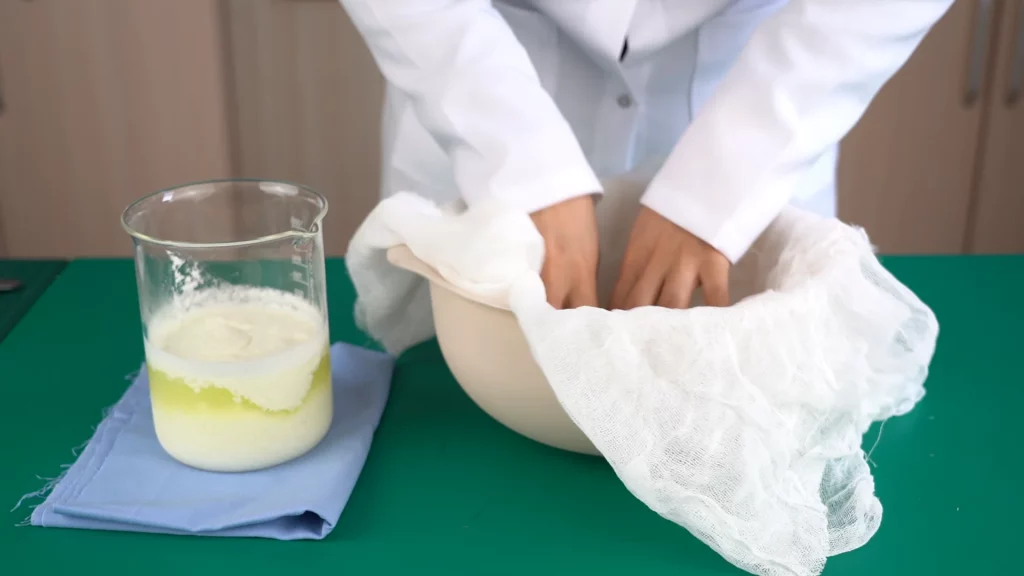
Step 8:Take a large bowl and line it with cheesecloth or gauze folded in several layers.
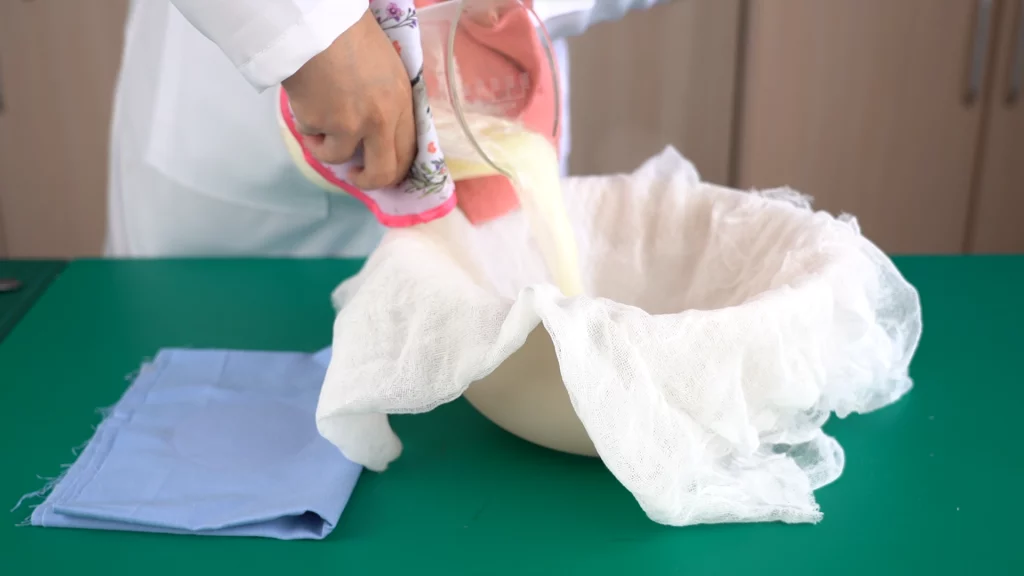
Step 9: Gently pour the curdled milk into the lined bowl and allow it to drain for another 5-10 minutes. Most of the whey will drain through the cheesecloth, leaving behind the cheese curds.
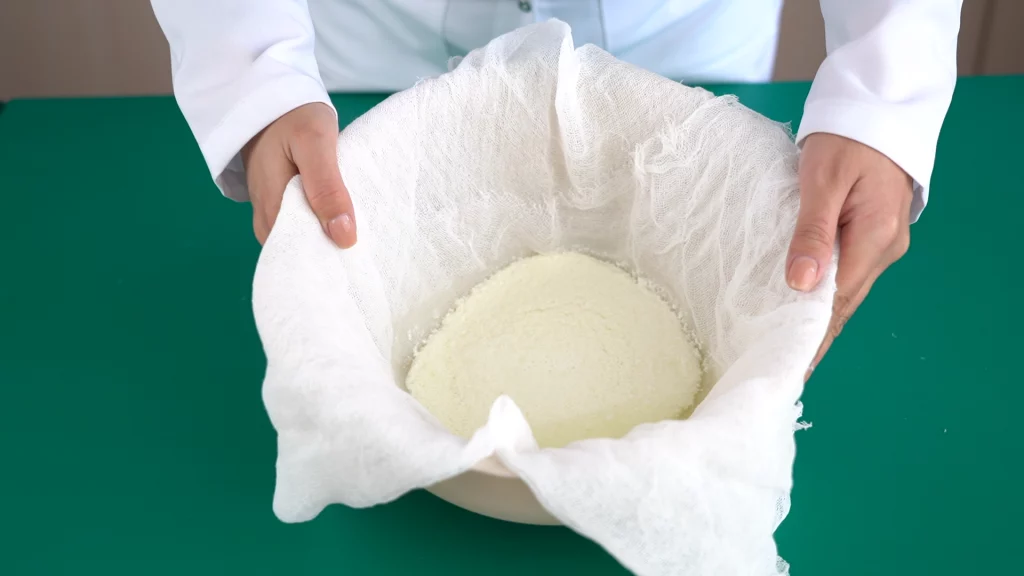
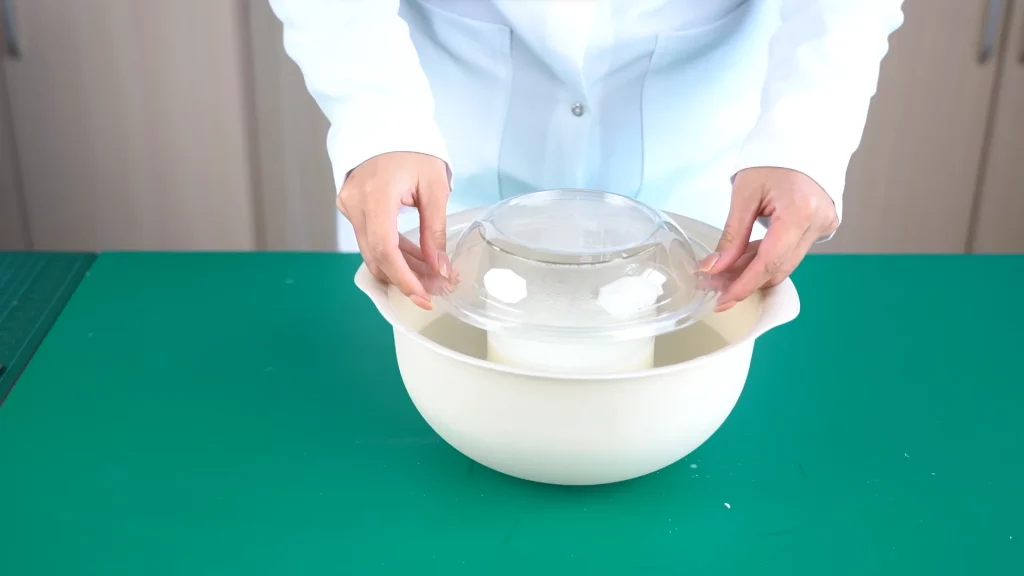
Step 10: Shaping and Seasoning. Gently gather the cheesecloth and squeeze out any remaining whey. The resulting curd is your fresh cheese! Feel free to add salt to taste at this point.
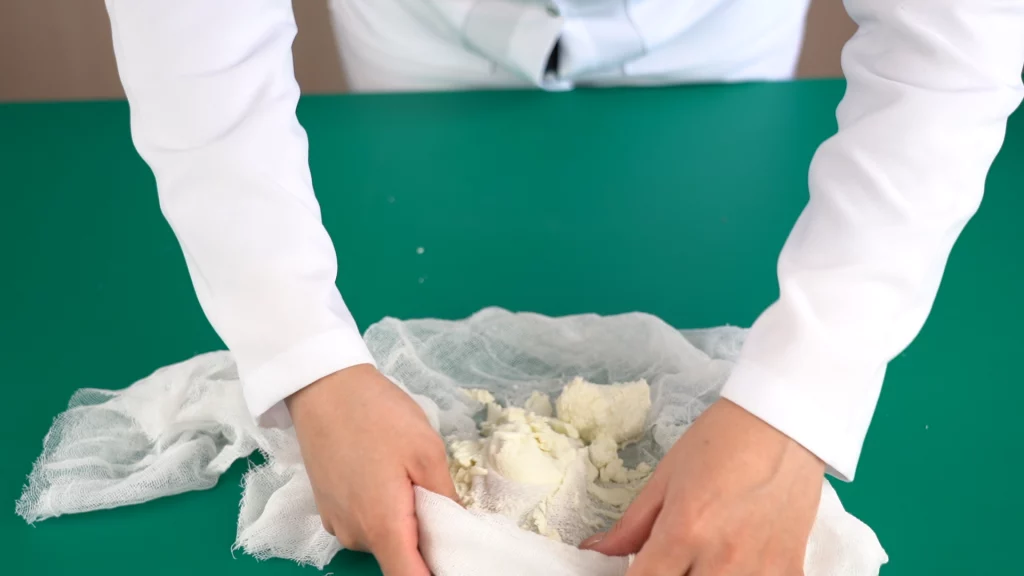
Step 11:To shape the cheese, you can place it in a mold or container and press it gently to compact it.