Lesson 1
Project Goals
– Acquaintance with natural resources;
– Build a well to draw water.
Teacher’s Guide
– Divide students into groups;
– Introduce students to the theoretical part and proceed to the practical.
Safety in Steam Lessons
Before starting a lesson, the teacher is advised to familiarize himself with the safety precautions. If necessary (in the case of using the items specified in the TB), conduct a brief briefing for students. Follow this link Safety in Steam Lessons
Theoretical part
Mankind uses natural resources as sources of energy, consumption, means, objects of labor, etc. Natural resources include sunlight, water, soil, air, minerals, wave energy, wind power, flora and fauna, internal heat, etc. Among them, consider the water resources in this project. Water resources are the reserves of fresh water on the planet, covering both surface and groundwater. These include the waters of rivers, lakes, canals, reservoirs, seas and oceans, groundwater, and water (ice) of the mountain and polar glaciers. Even though all of them, it would seem, are numerous, fresh water, that is, suitable for drinking, and consumption occupies only a very small part. Therefore, it is important to always use water sparingly.
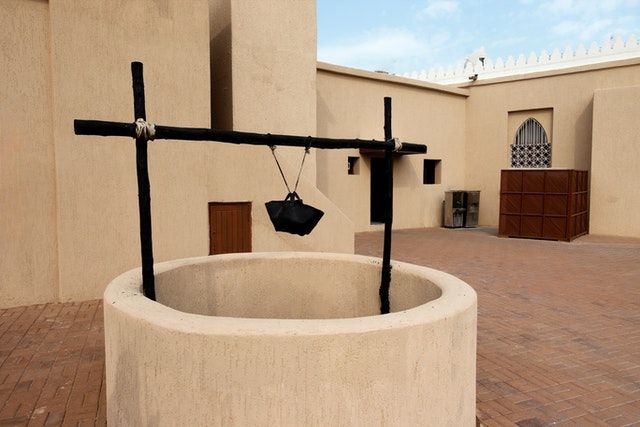
A photo: Frans van Heerden: https://www.pexels.com/ru-ru/photo/1661306/
In the past, when tribes created settlements in which they lived, the choice of water source was an important issue. The use of rivers, lakes, and streams would be difficult for various reasons. The drinking water well was the only reliable source of water for domestic use, irrigation, and livestock. From the earliest hand wells until the early 19th century, wells were dug by hand. People obtained groundwater by digging into the earth and used various mechanisms to raise it for use. It was not until 1808 that mechanical drilling replaced manual labor. And since 1884, drilling rigs began to be used. In the practical part, we will create one of the mechanisms that will allow the use of groundwater.
Additional information and references:
https://bentsteel.ru/istoriya/istoriya-proishozhdeniya-kolodcza/
http://files.school-collection.edu.ru/dlrstore/0aa16c08-ad07-4cf2-b53b-047d0bf26d18/Metod_mat/help/geo_eco/str6.htm
Practical part
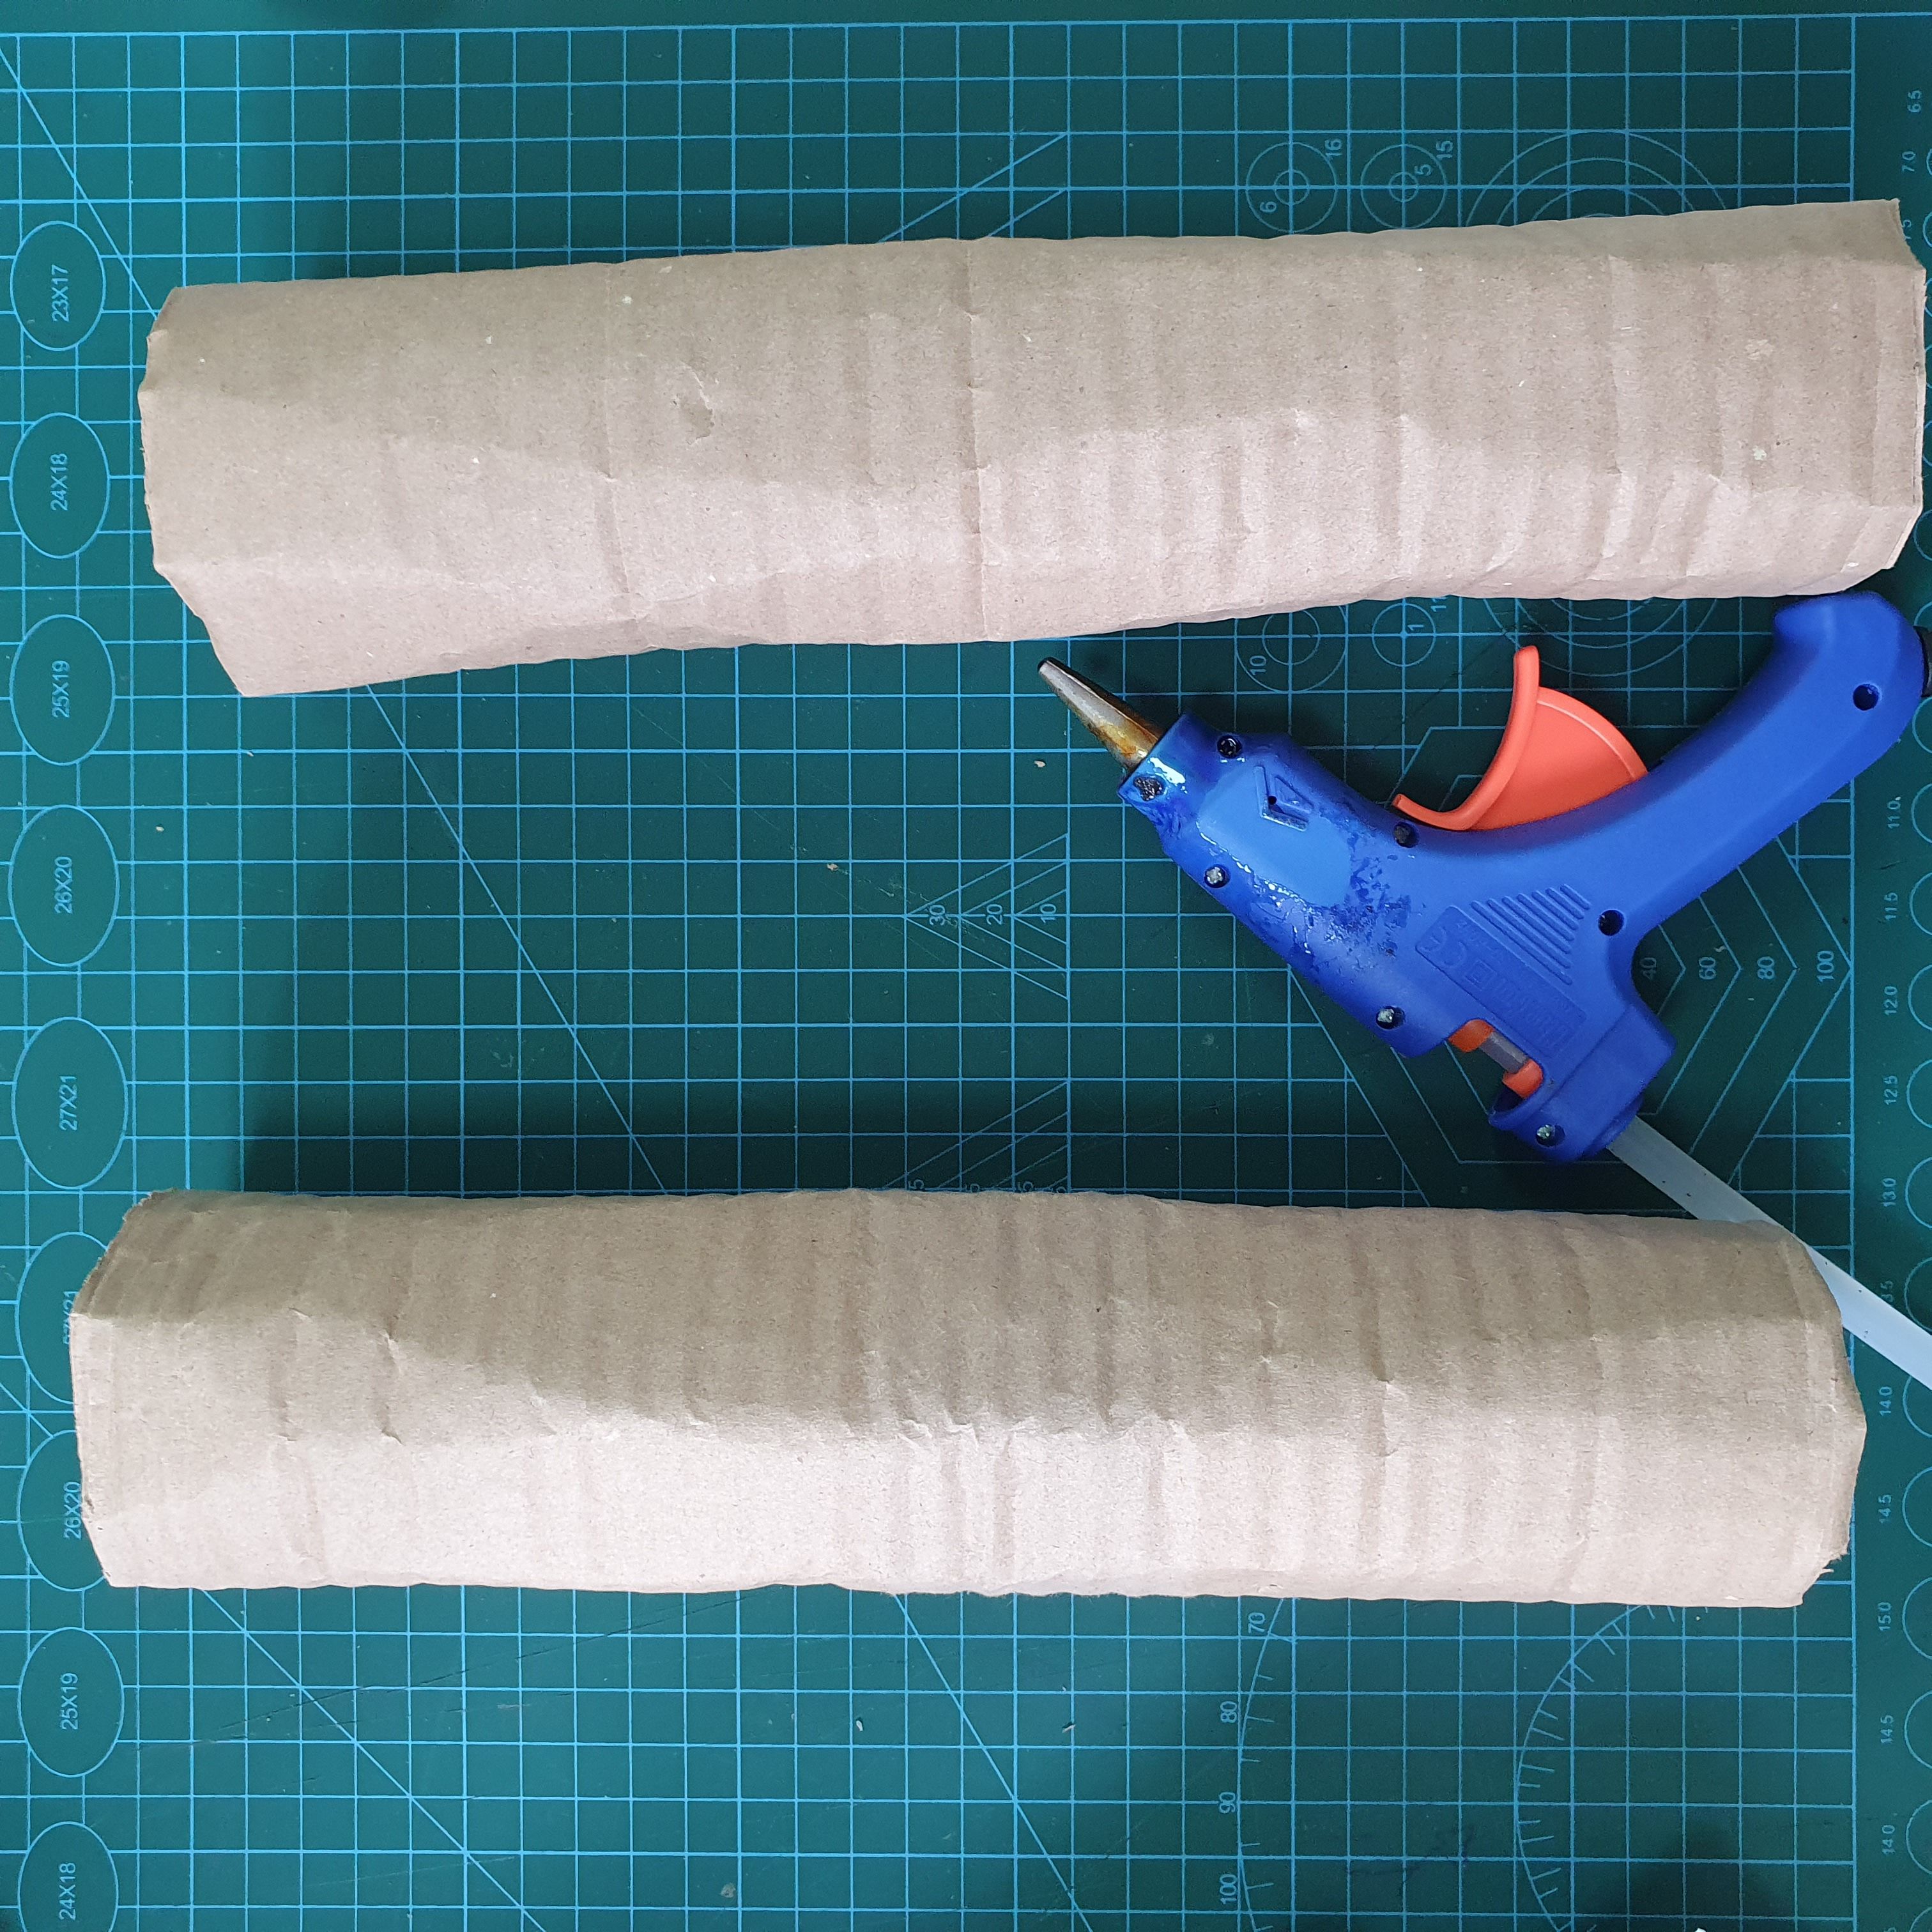
1. Take 2 sheets of cardboard about A4 in size and bend them into a tube. These will be the legs of the well.
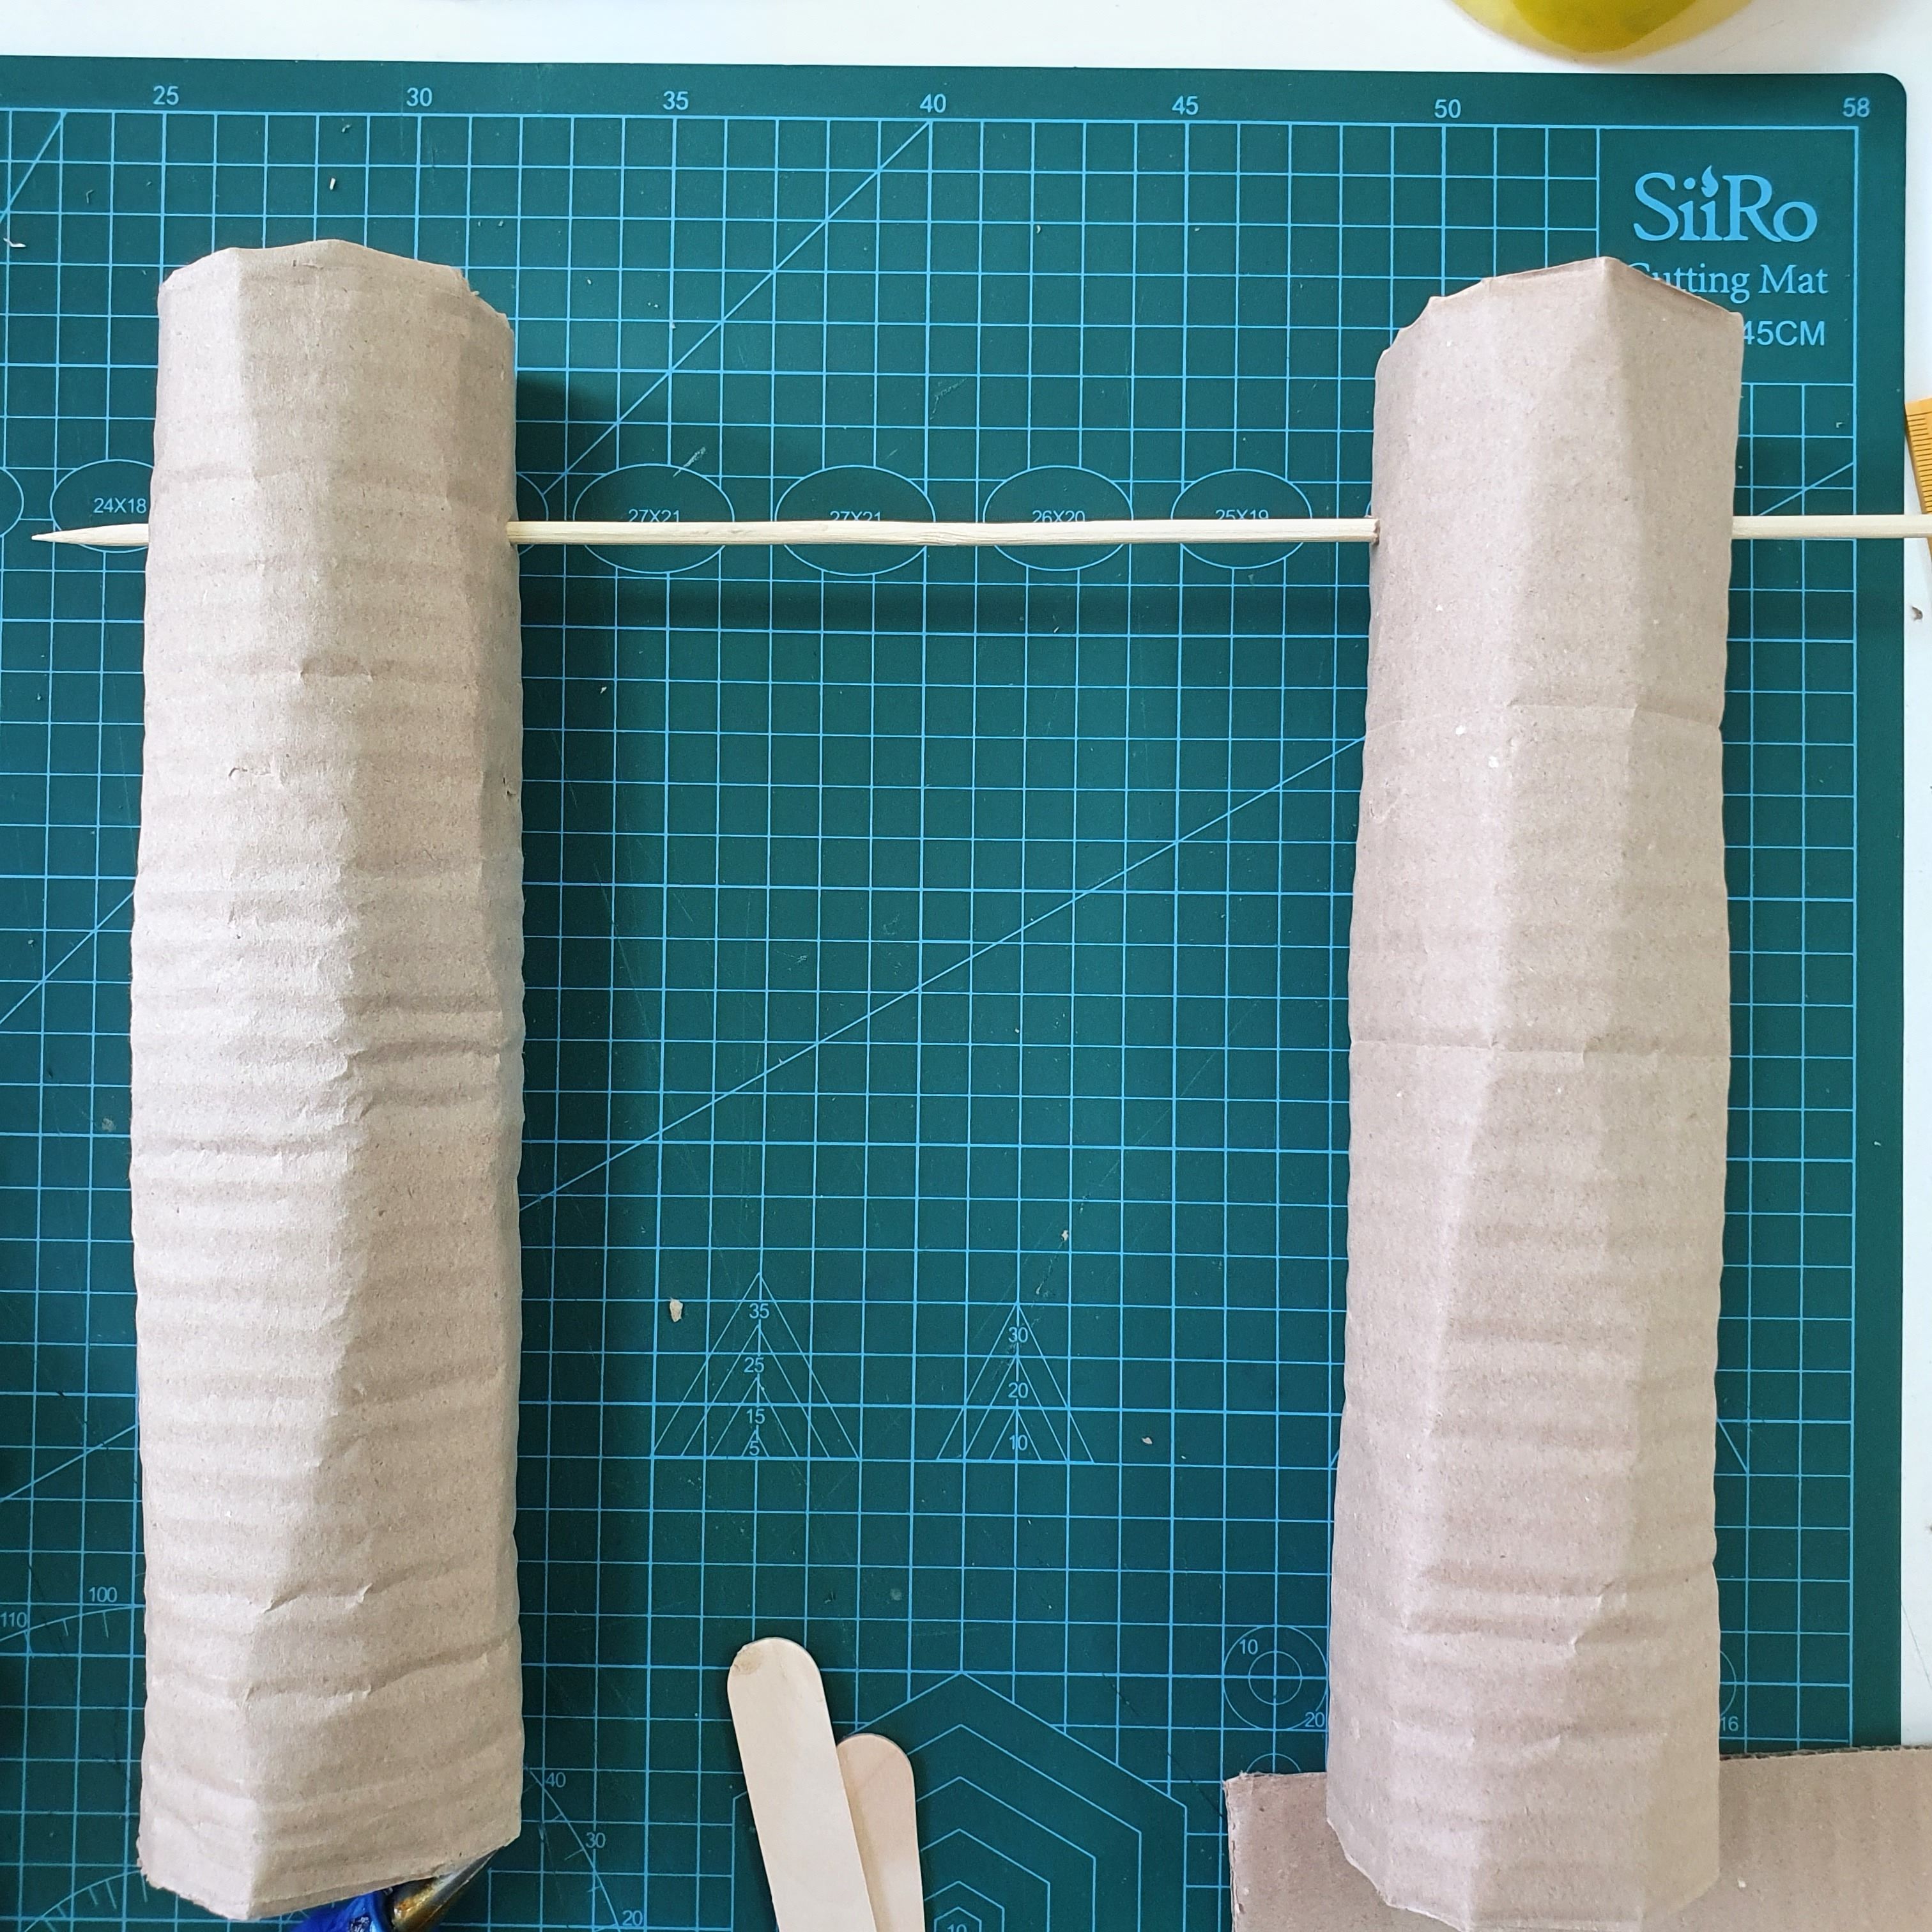
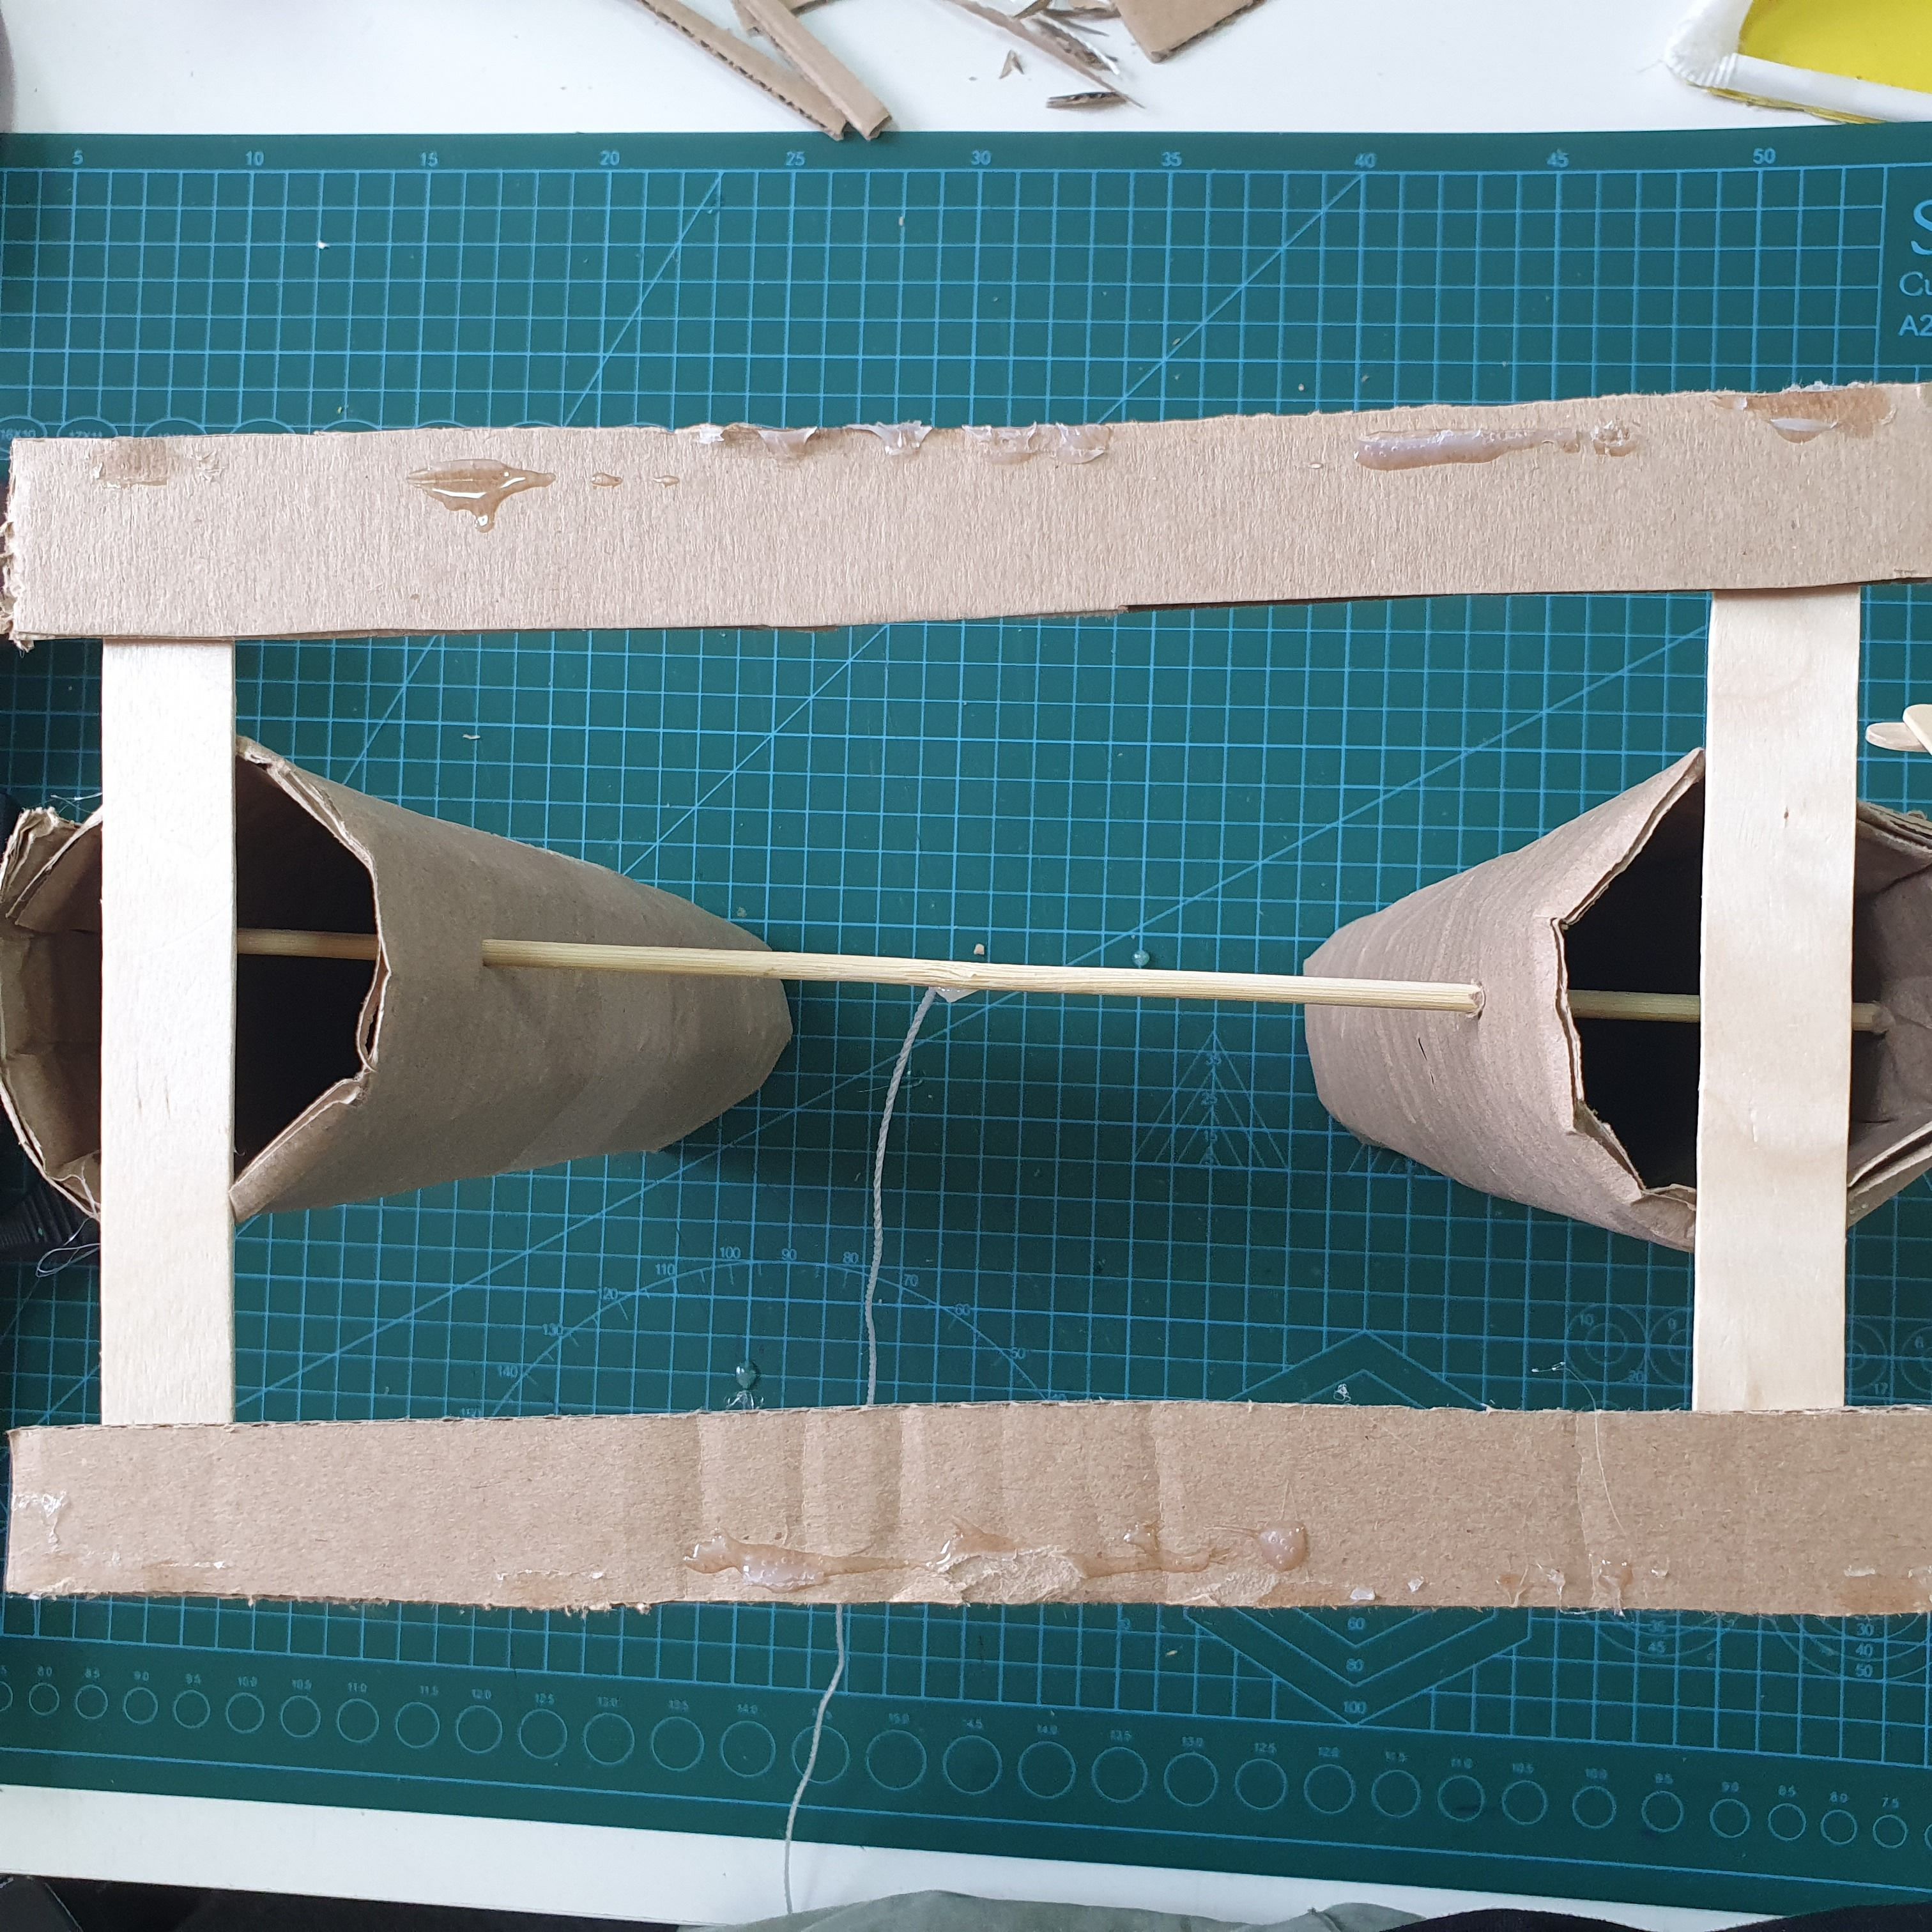
2. Take a long skewer and thread it through the top of the two tubes.
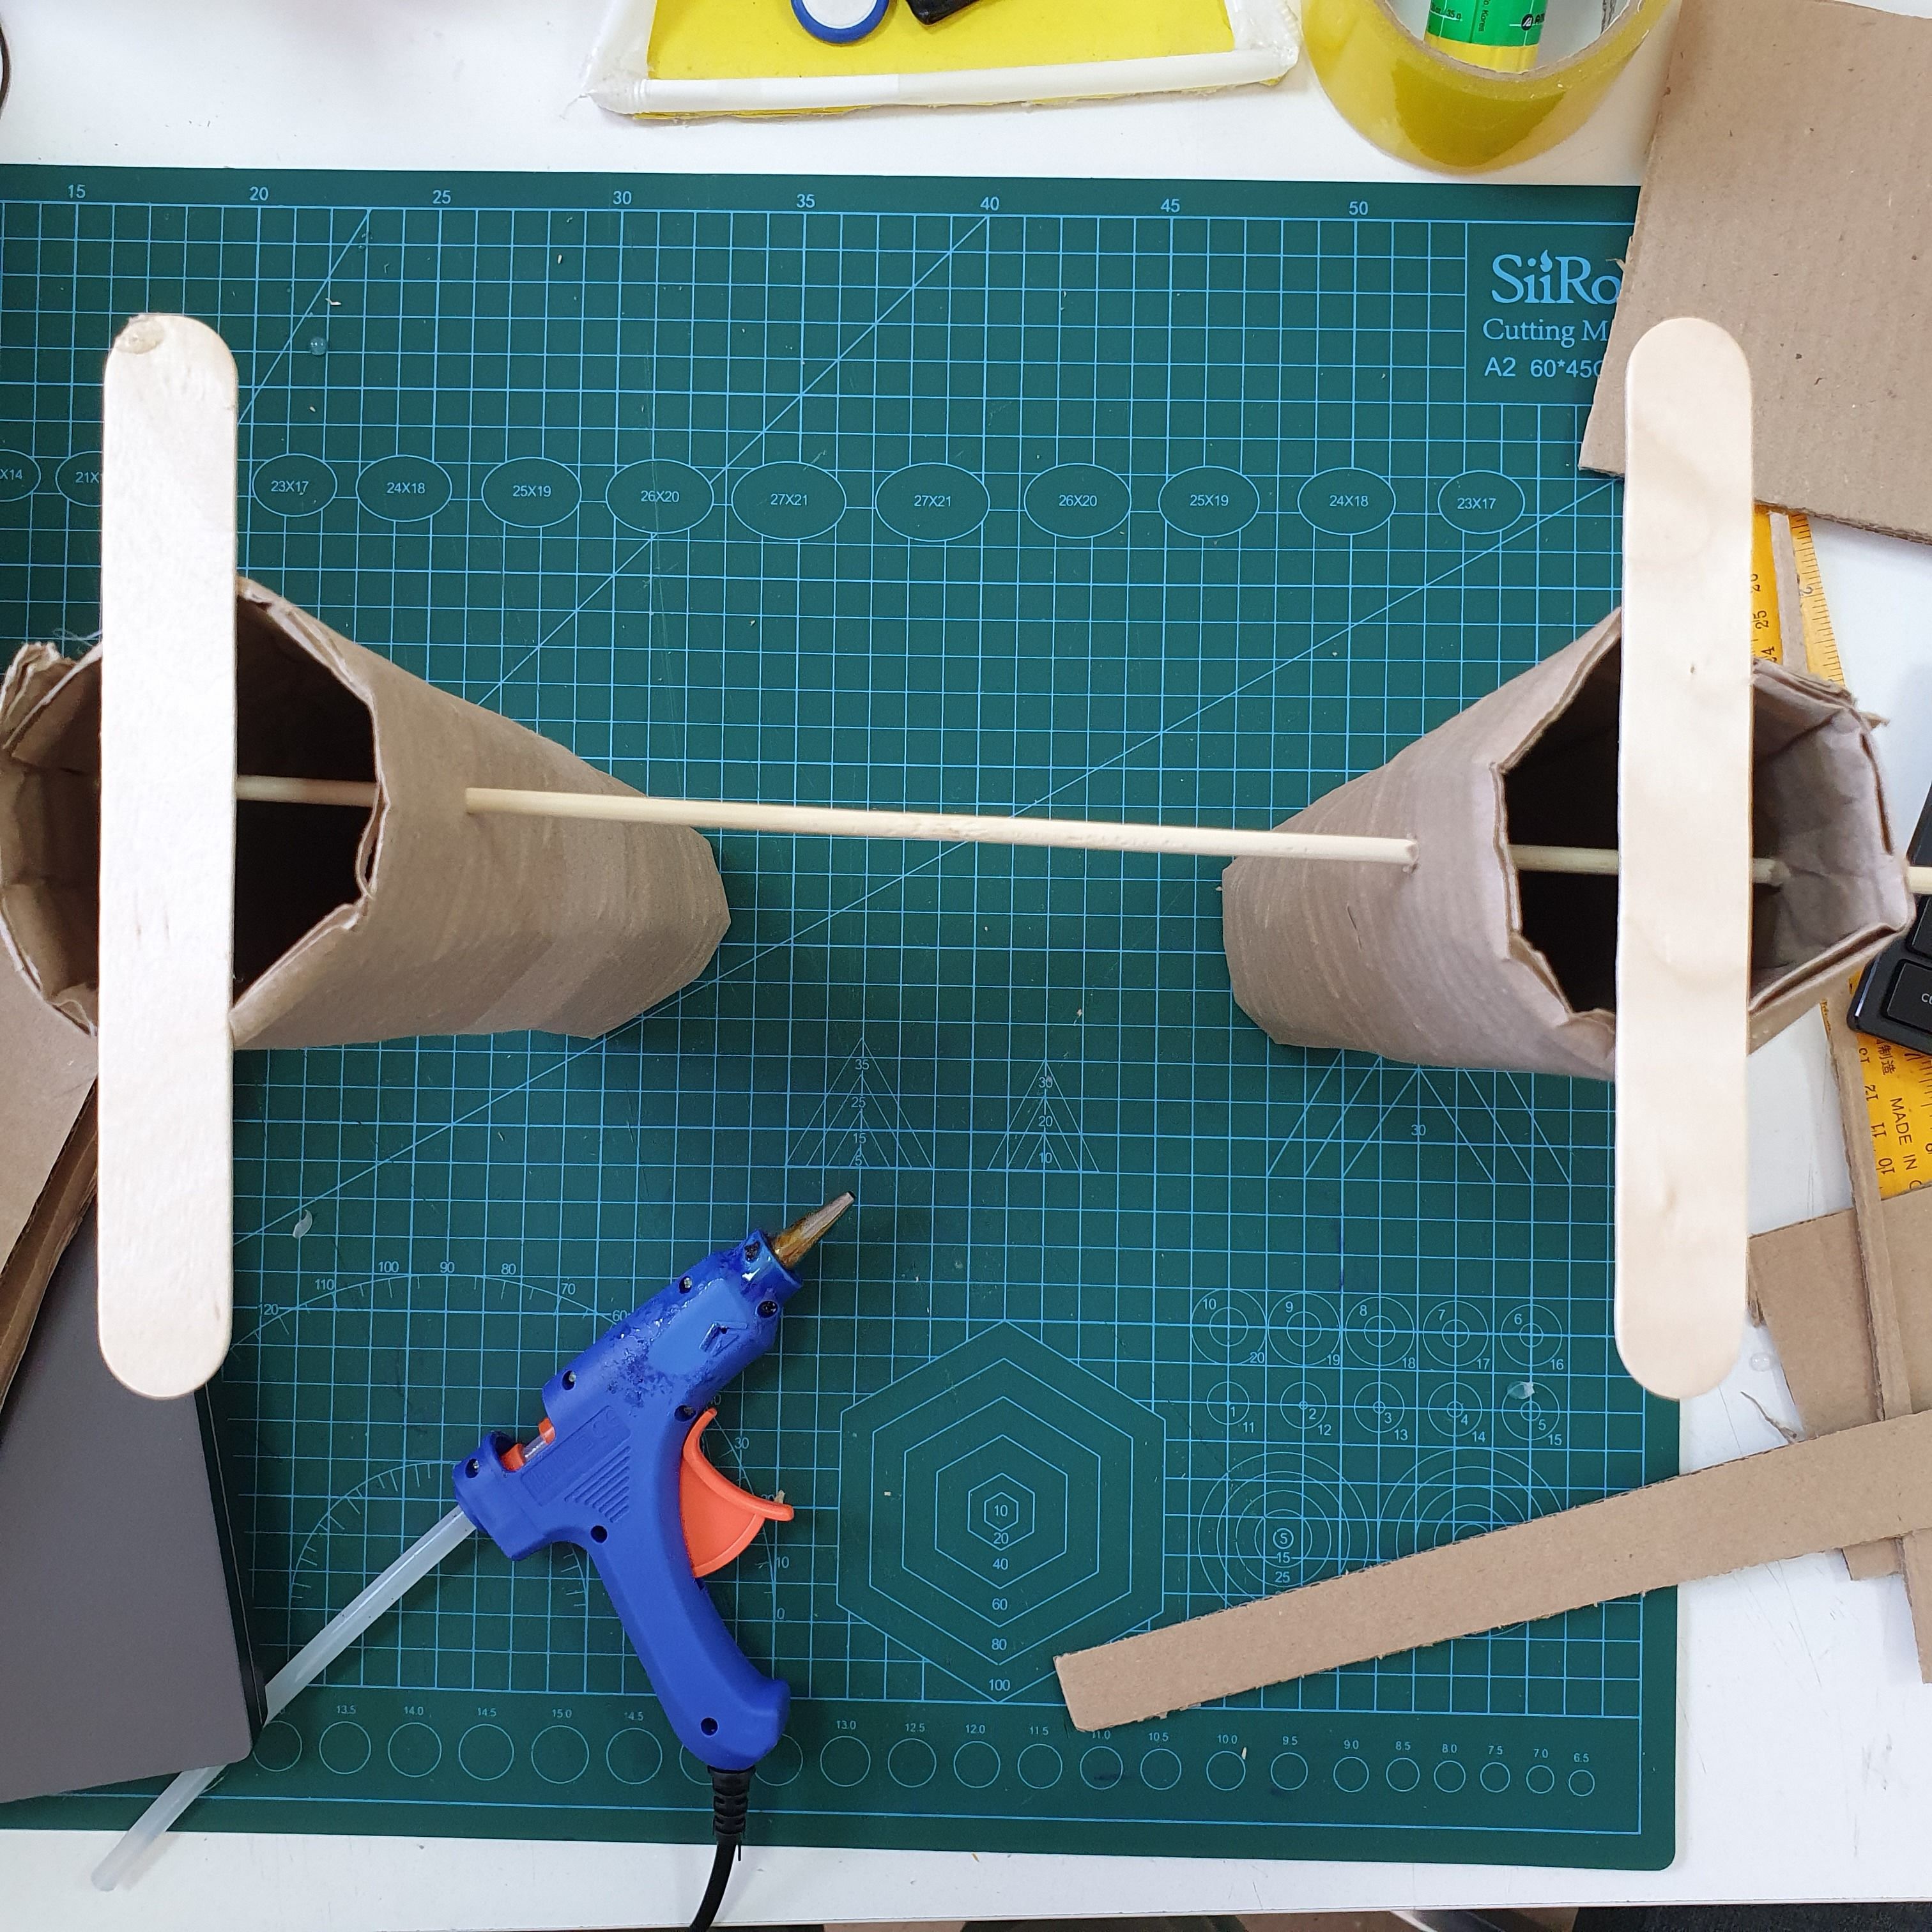
3. Install two ice cream sticks with hot glue on the roof of the legs.
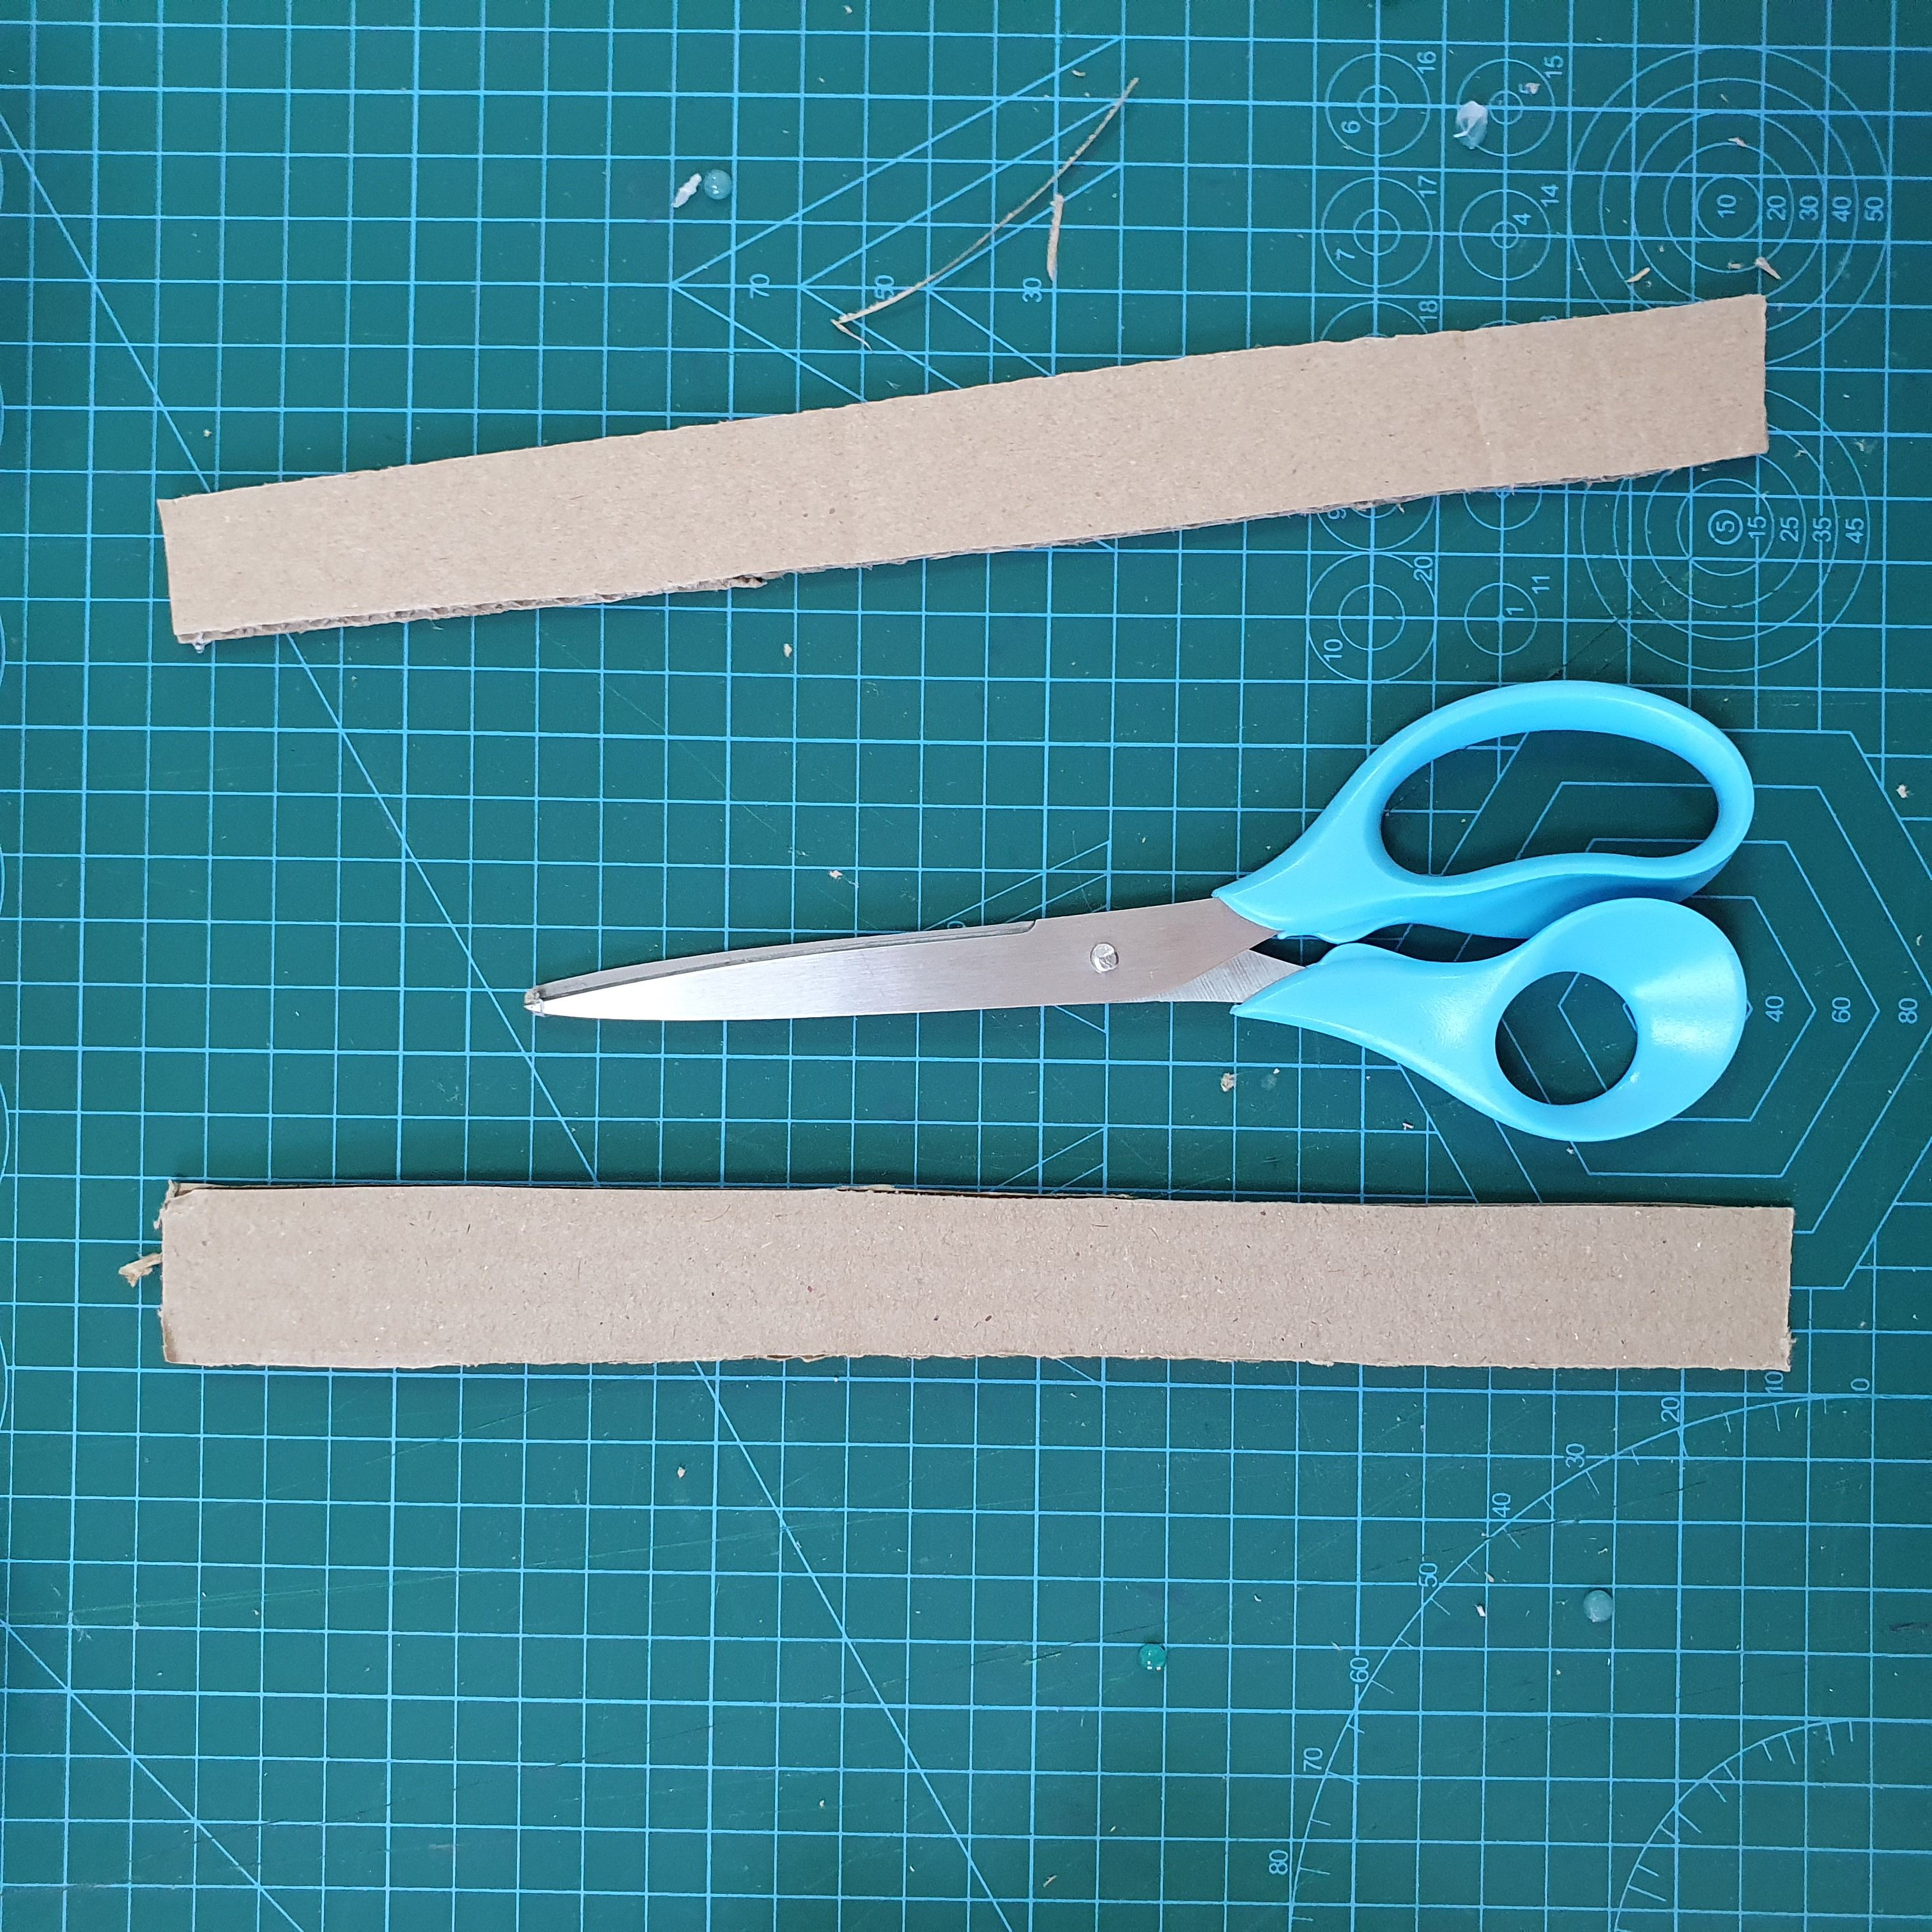
4. Cut the cardboard into the form of two sticks and connect them between the ice cream sticks. Use hot glue.
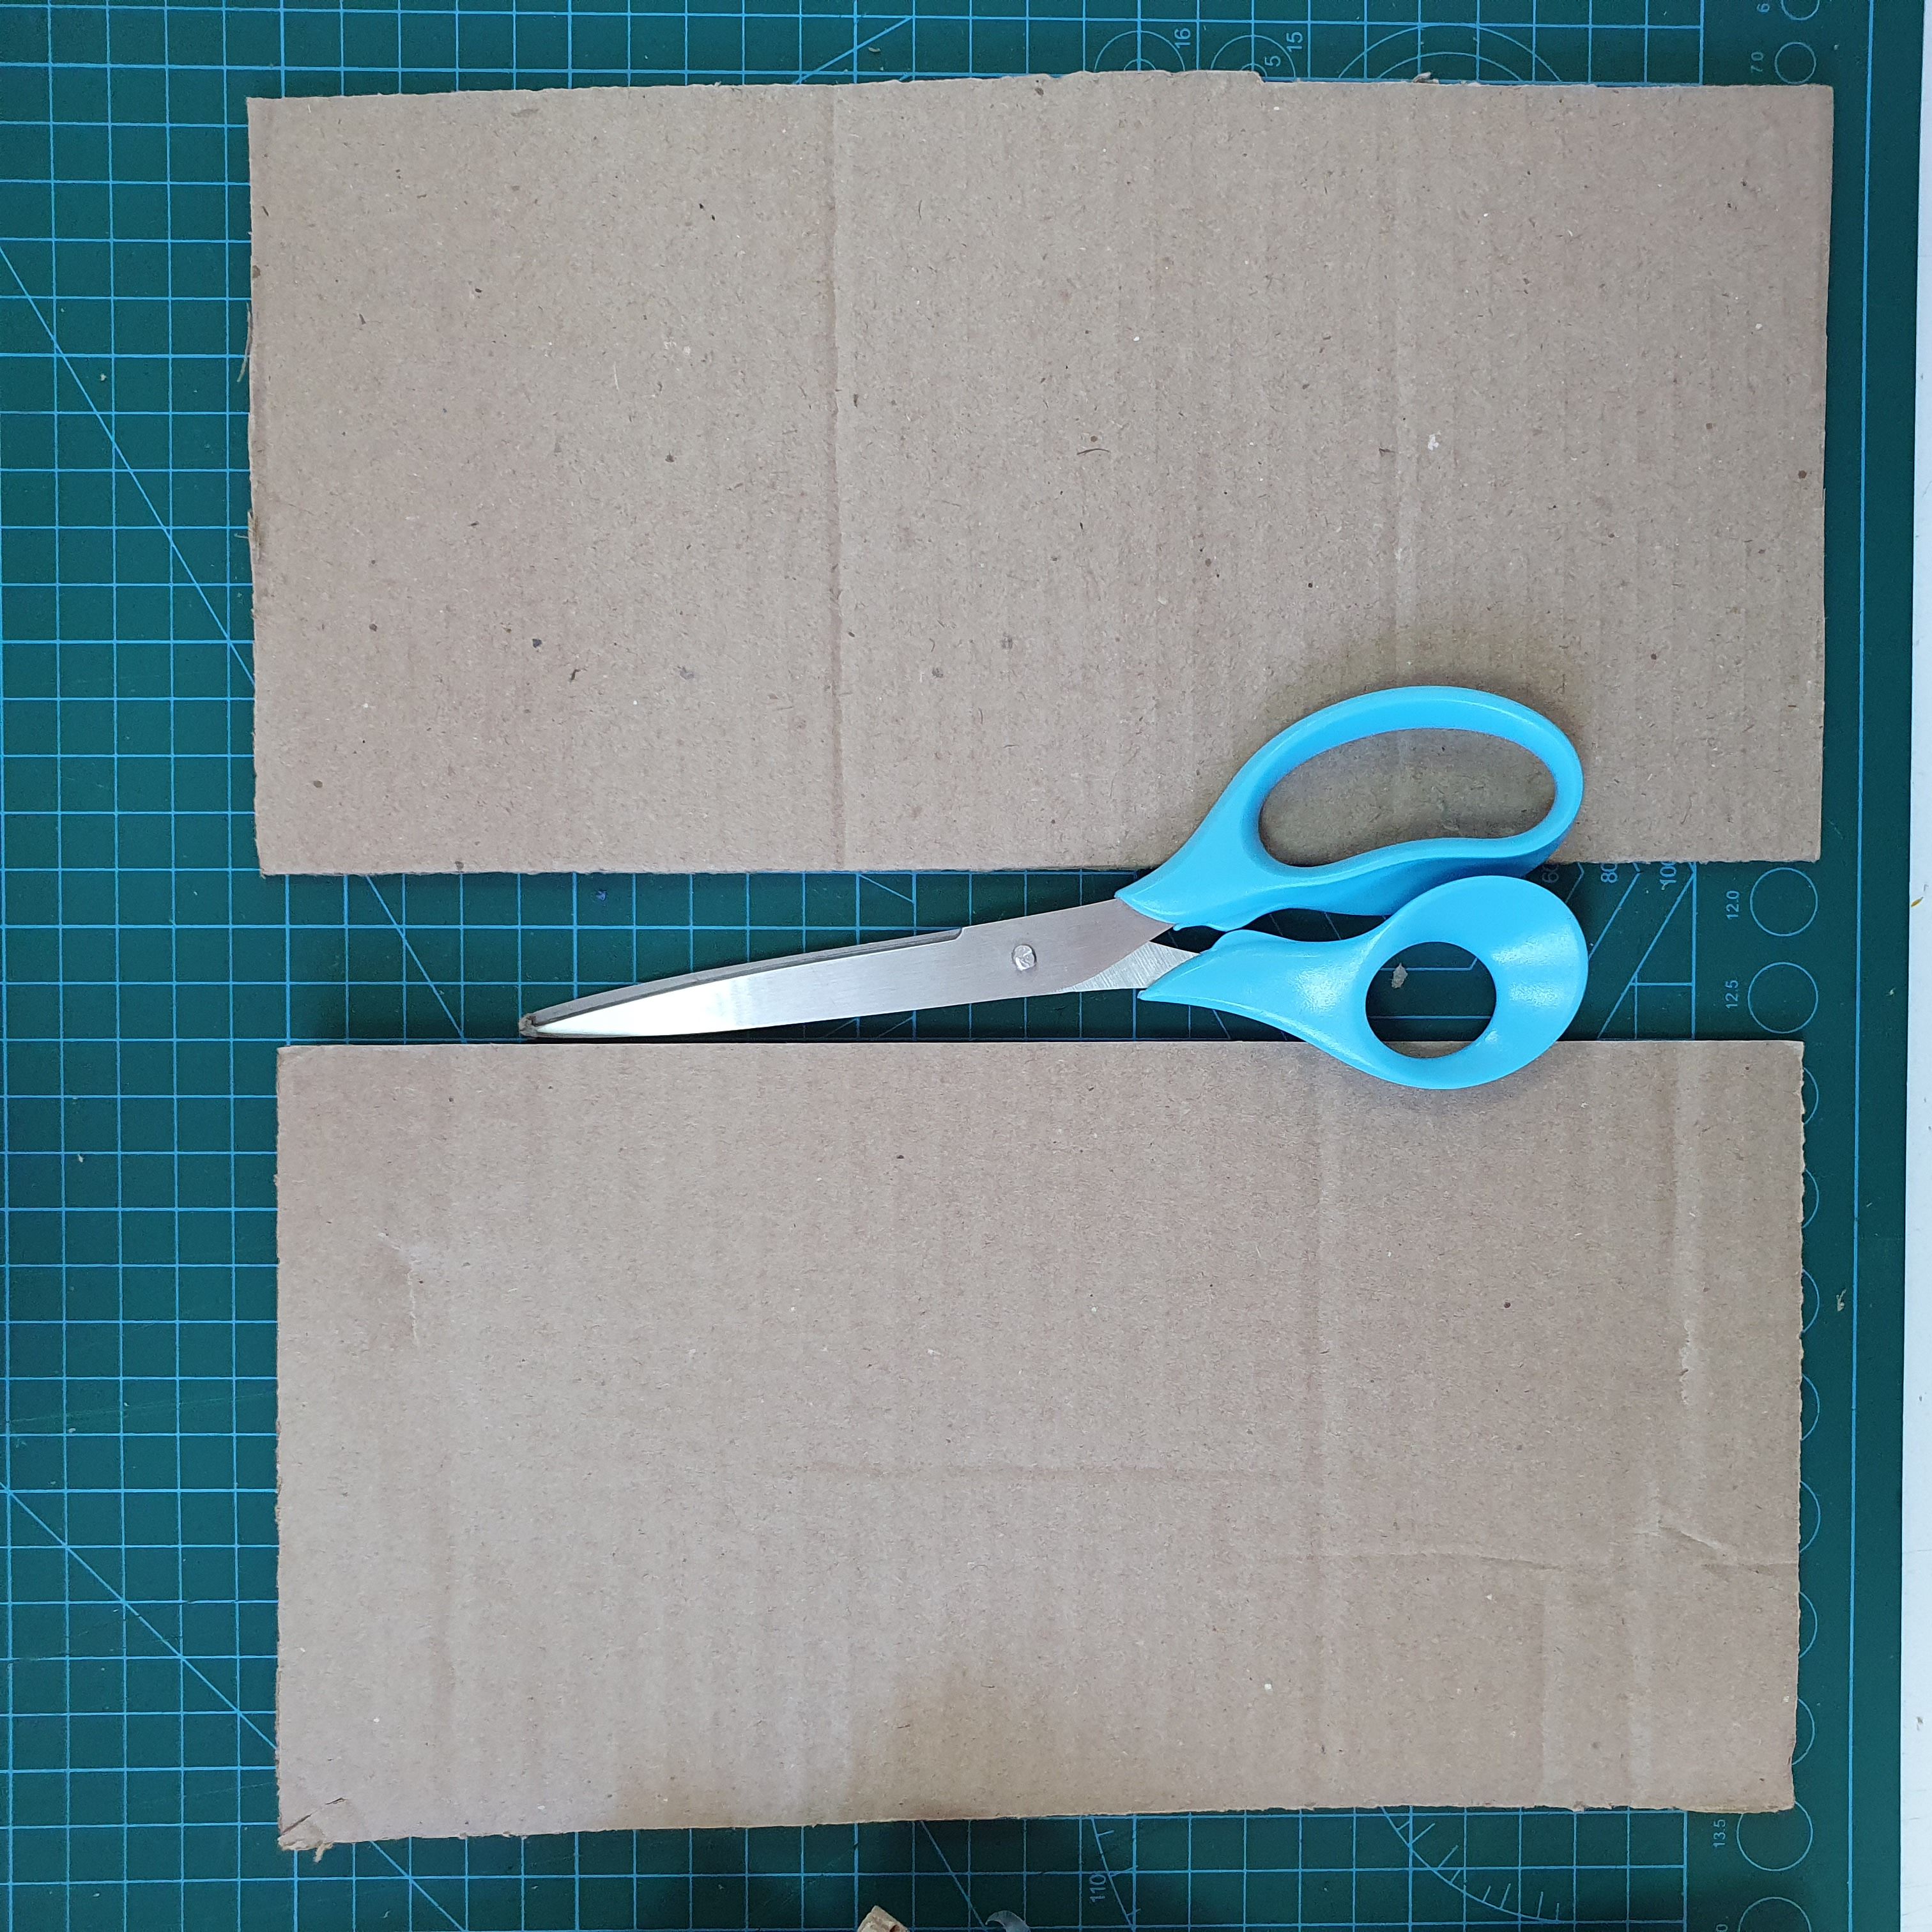
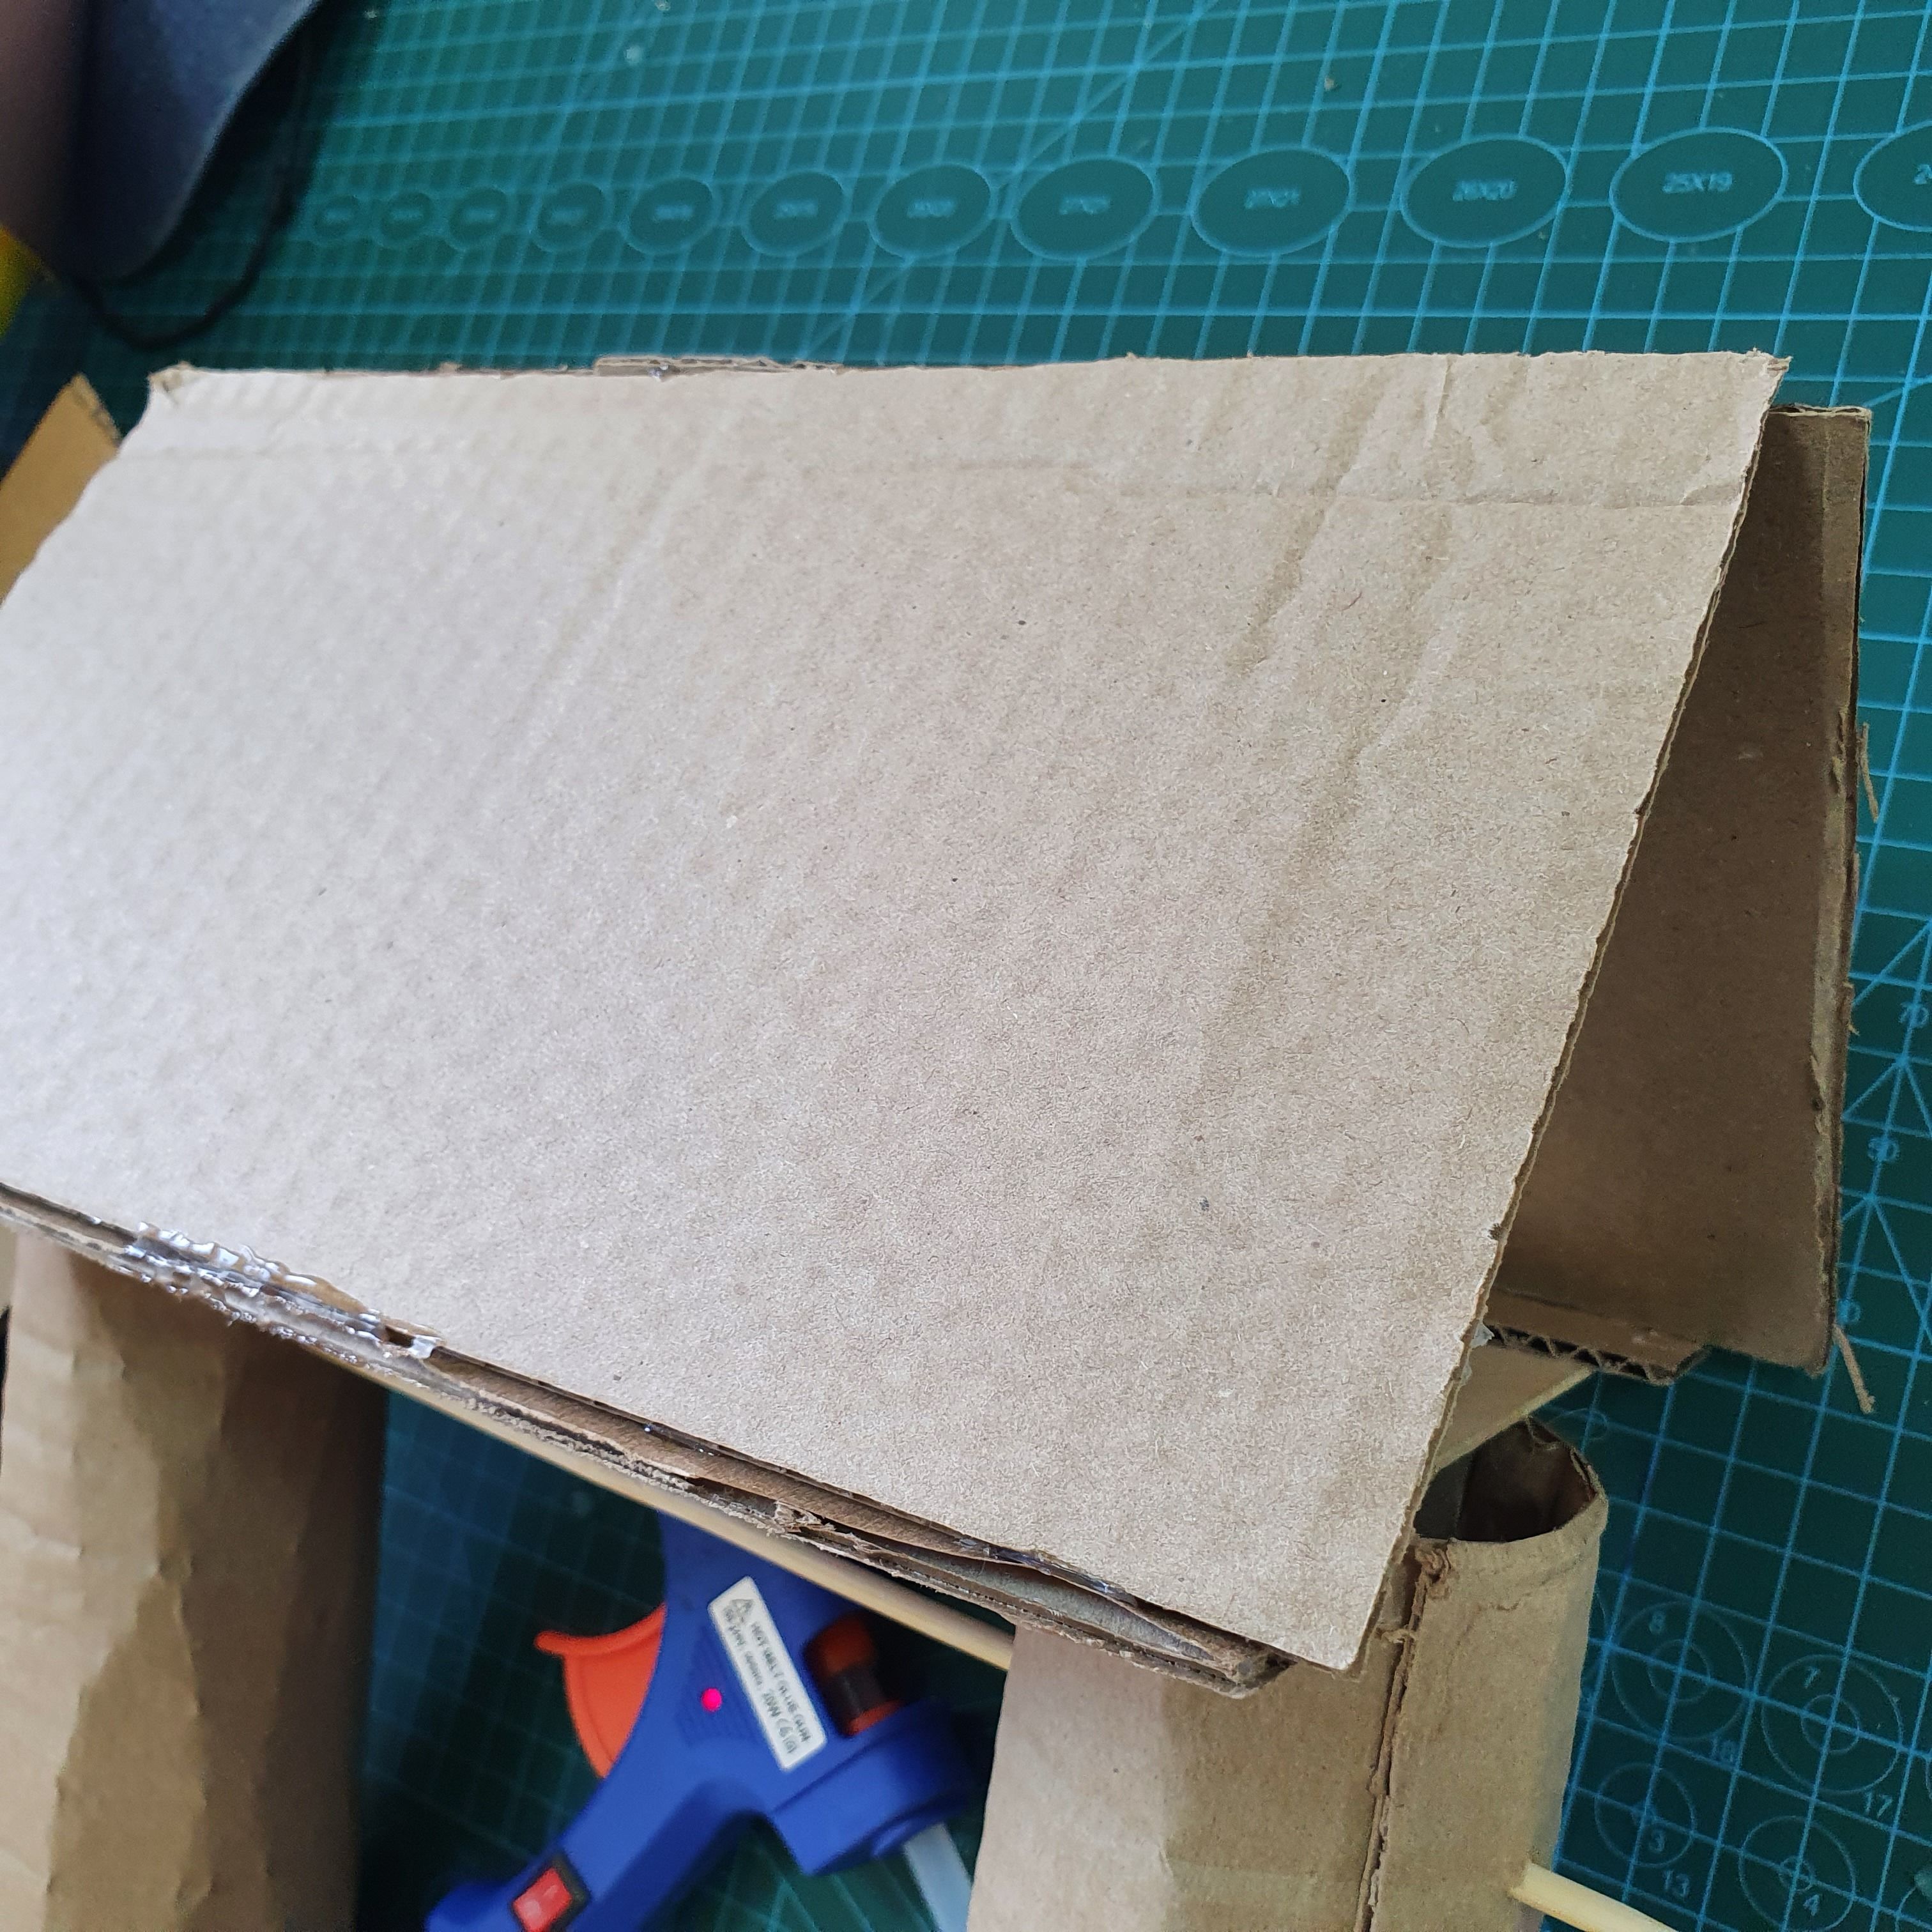
5. Cut the cardboard into two rectangles and make a canopy.
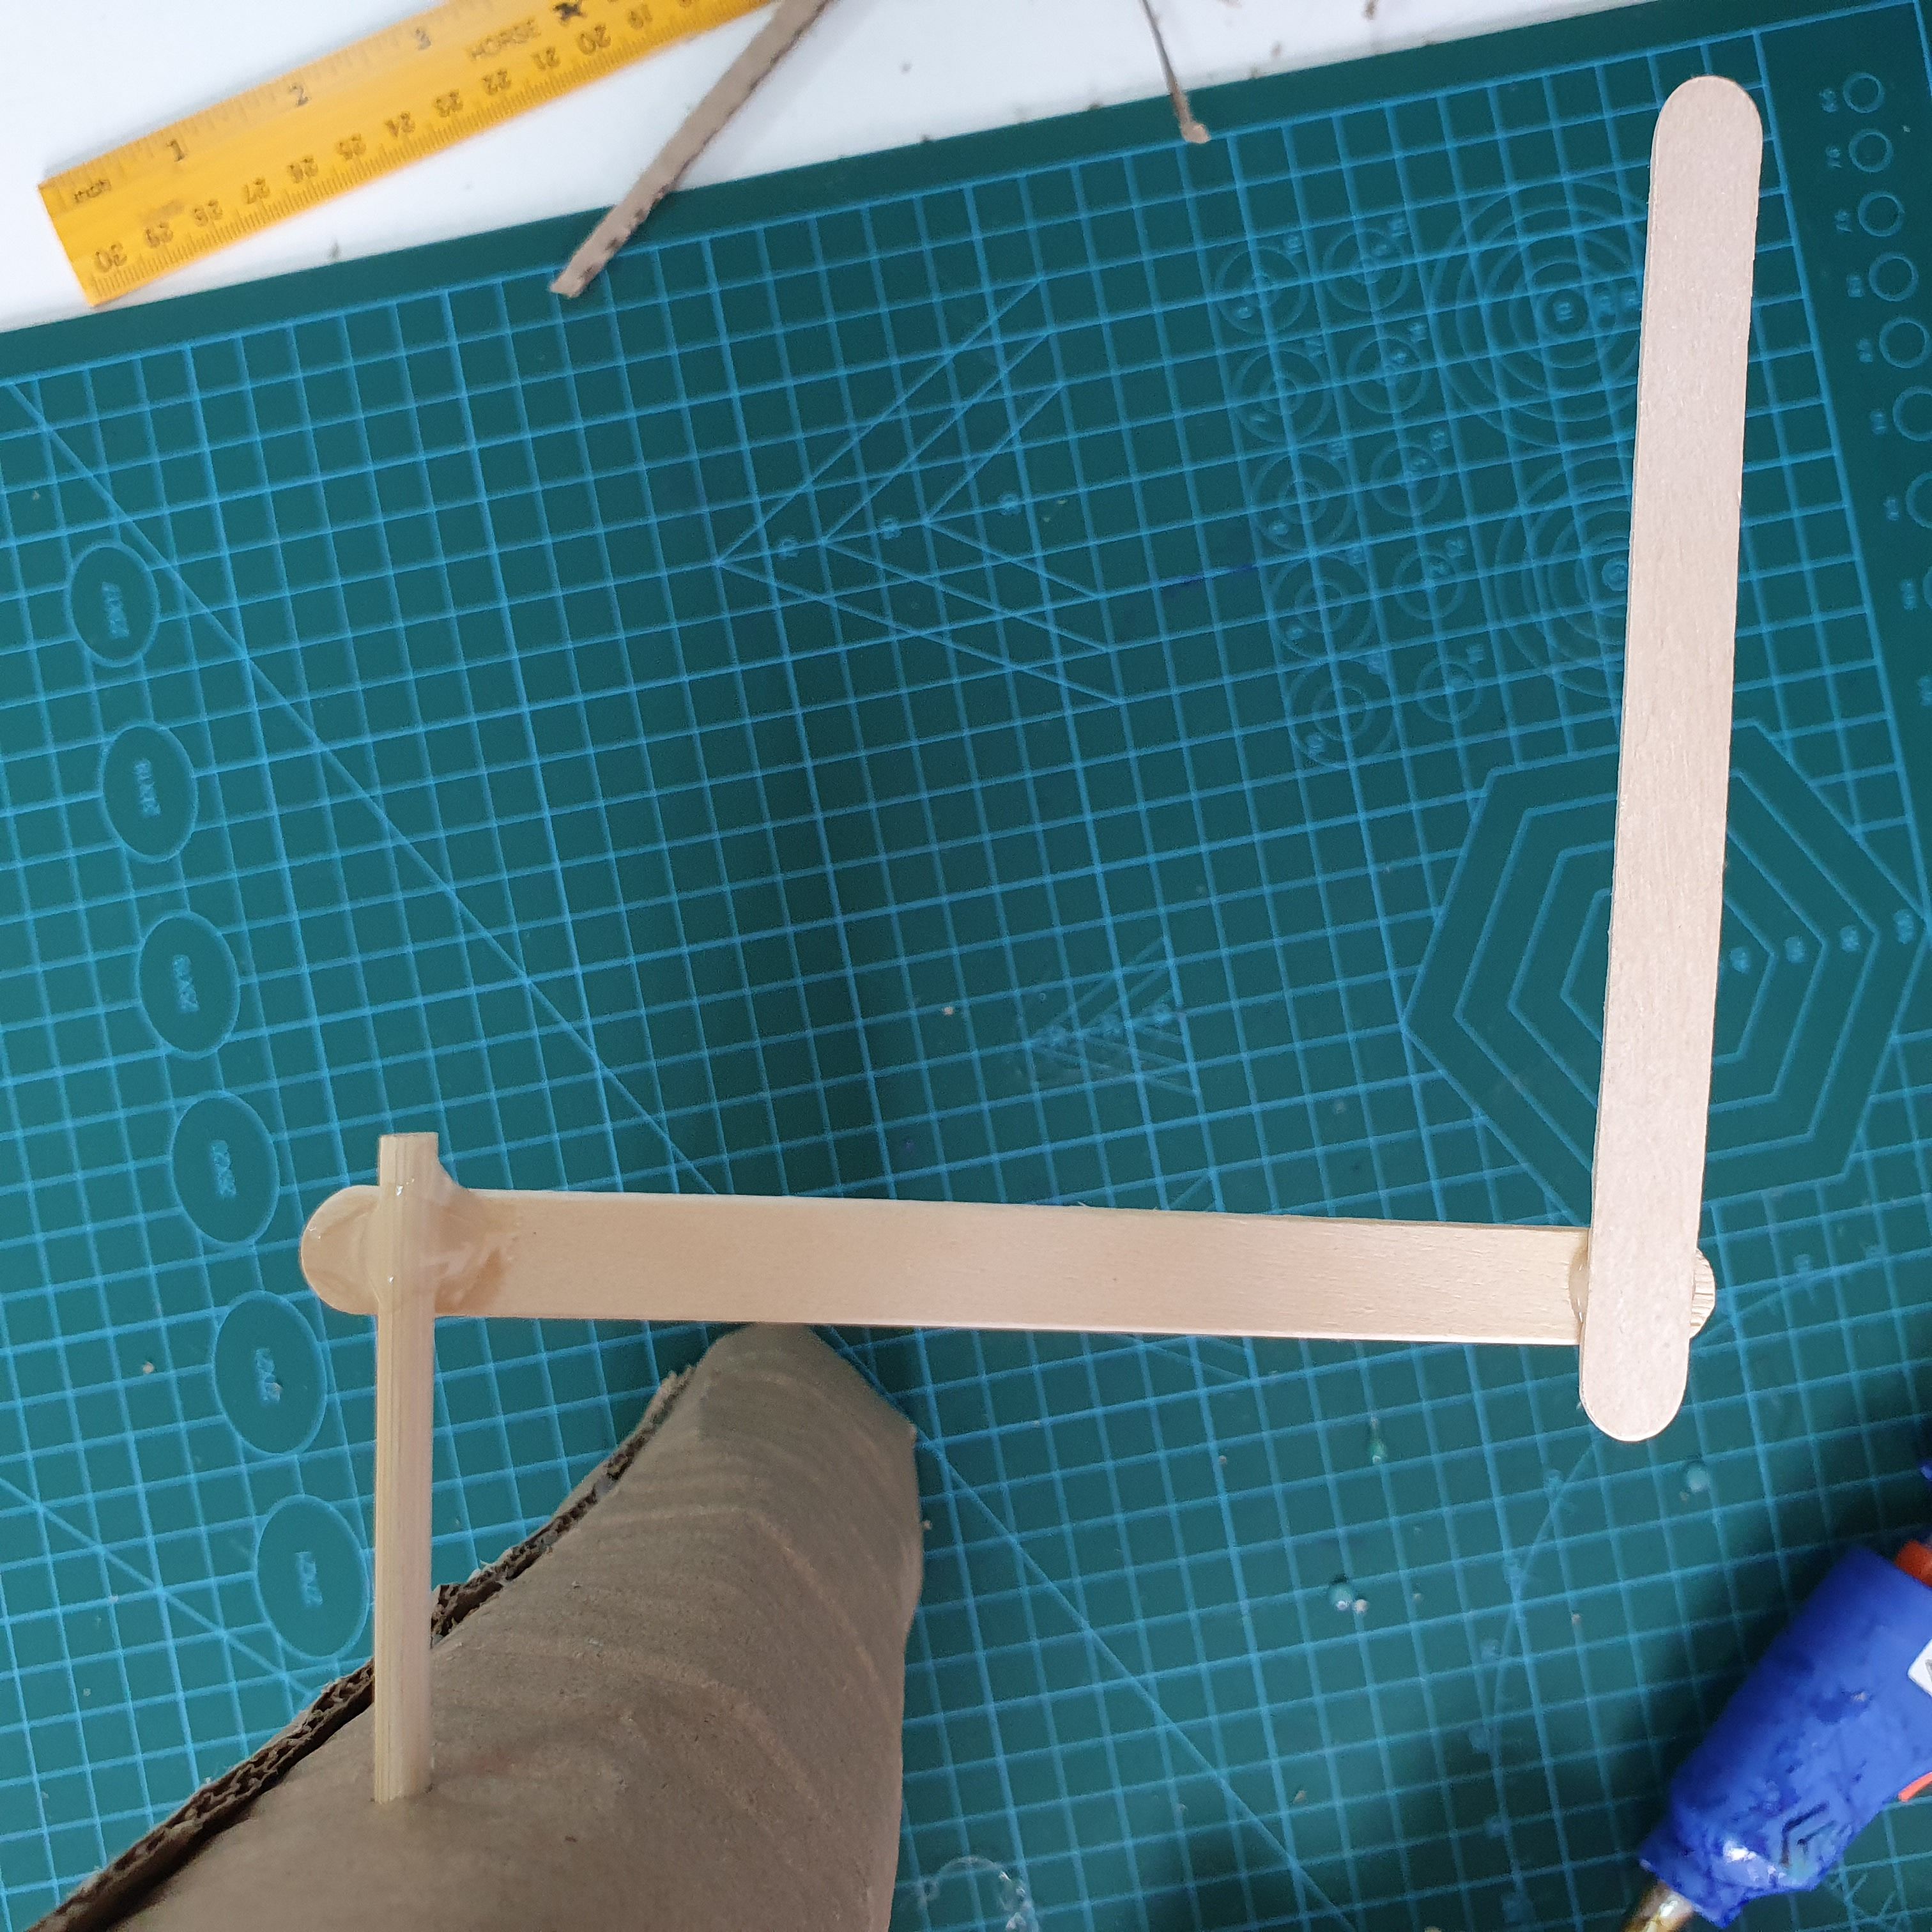
6. Make a handle for rotation by connecting ice cream sticks with a skewer, as in the picture.
7. Now let’s make a bucket of water. Cut out the cardboard with a rectangle and a circle and make a small bucket like in the picture.
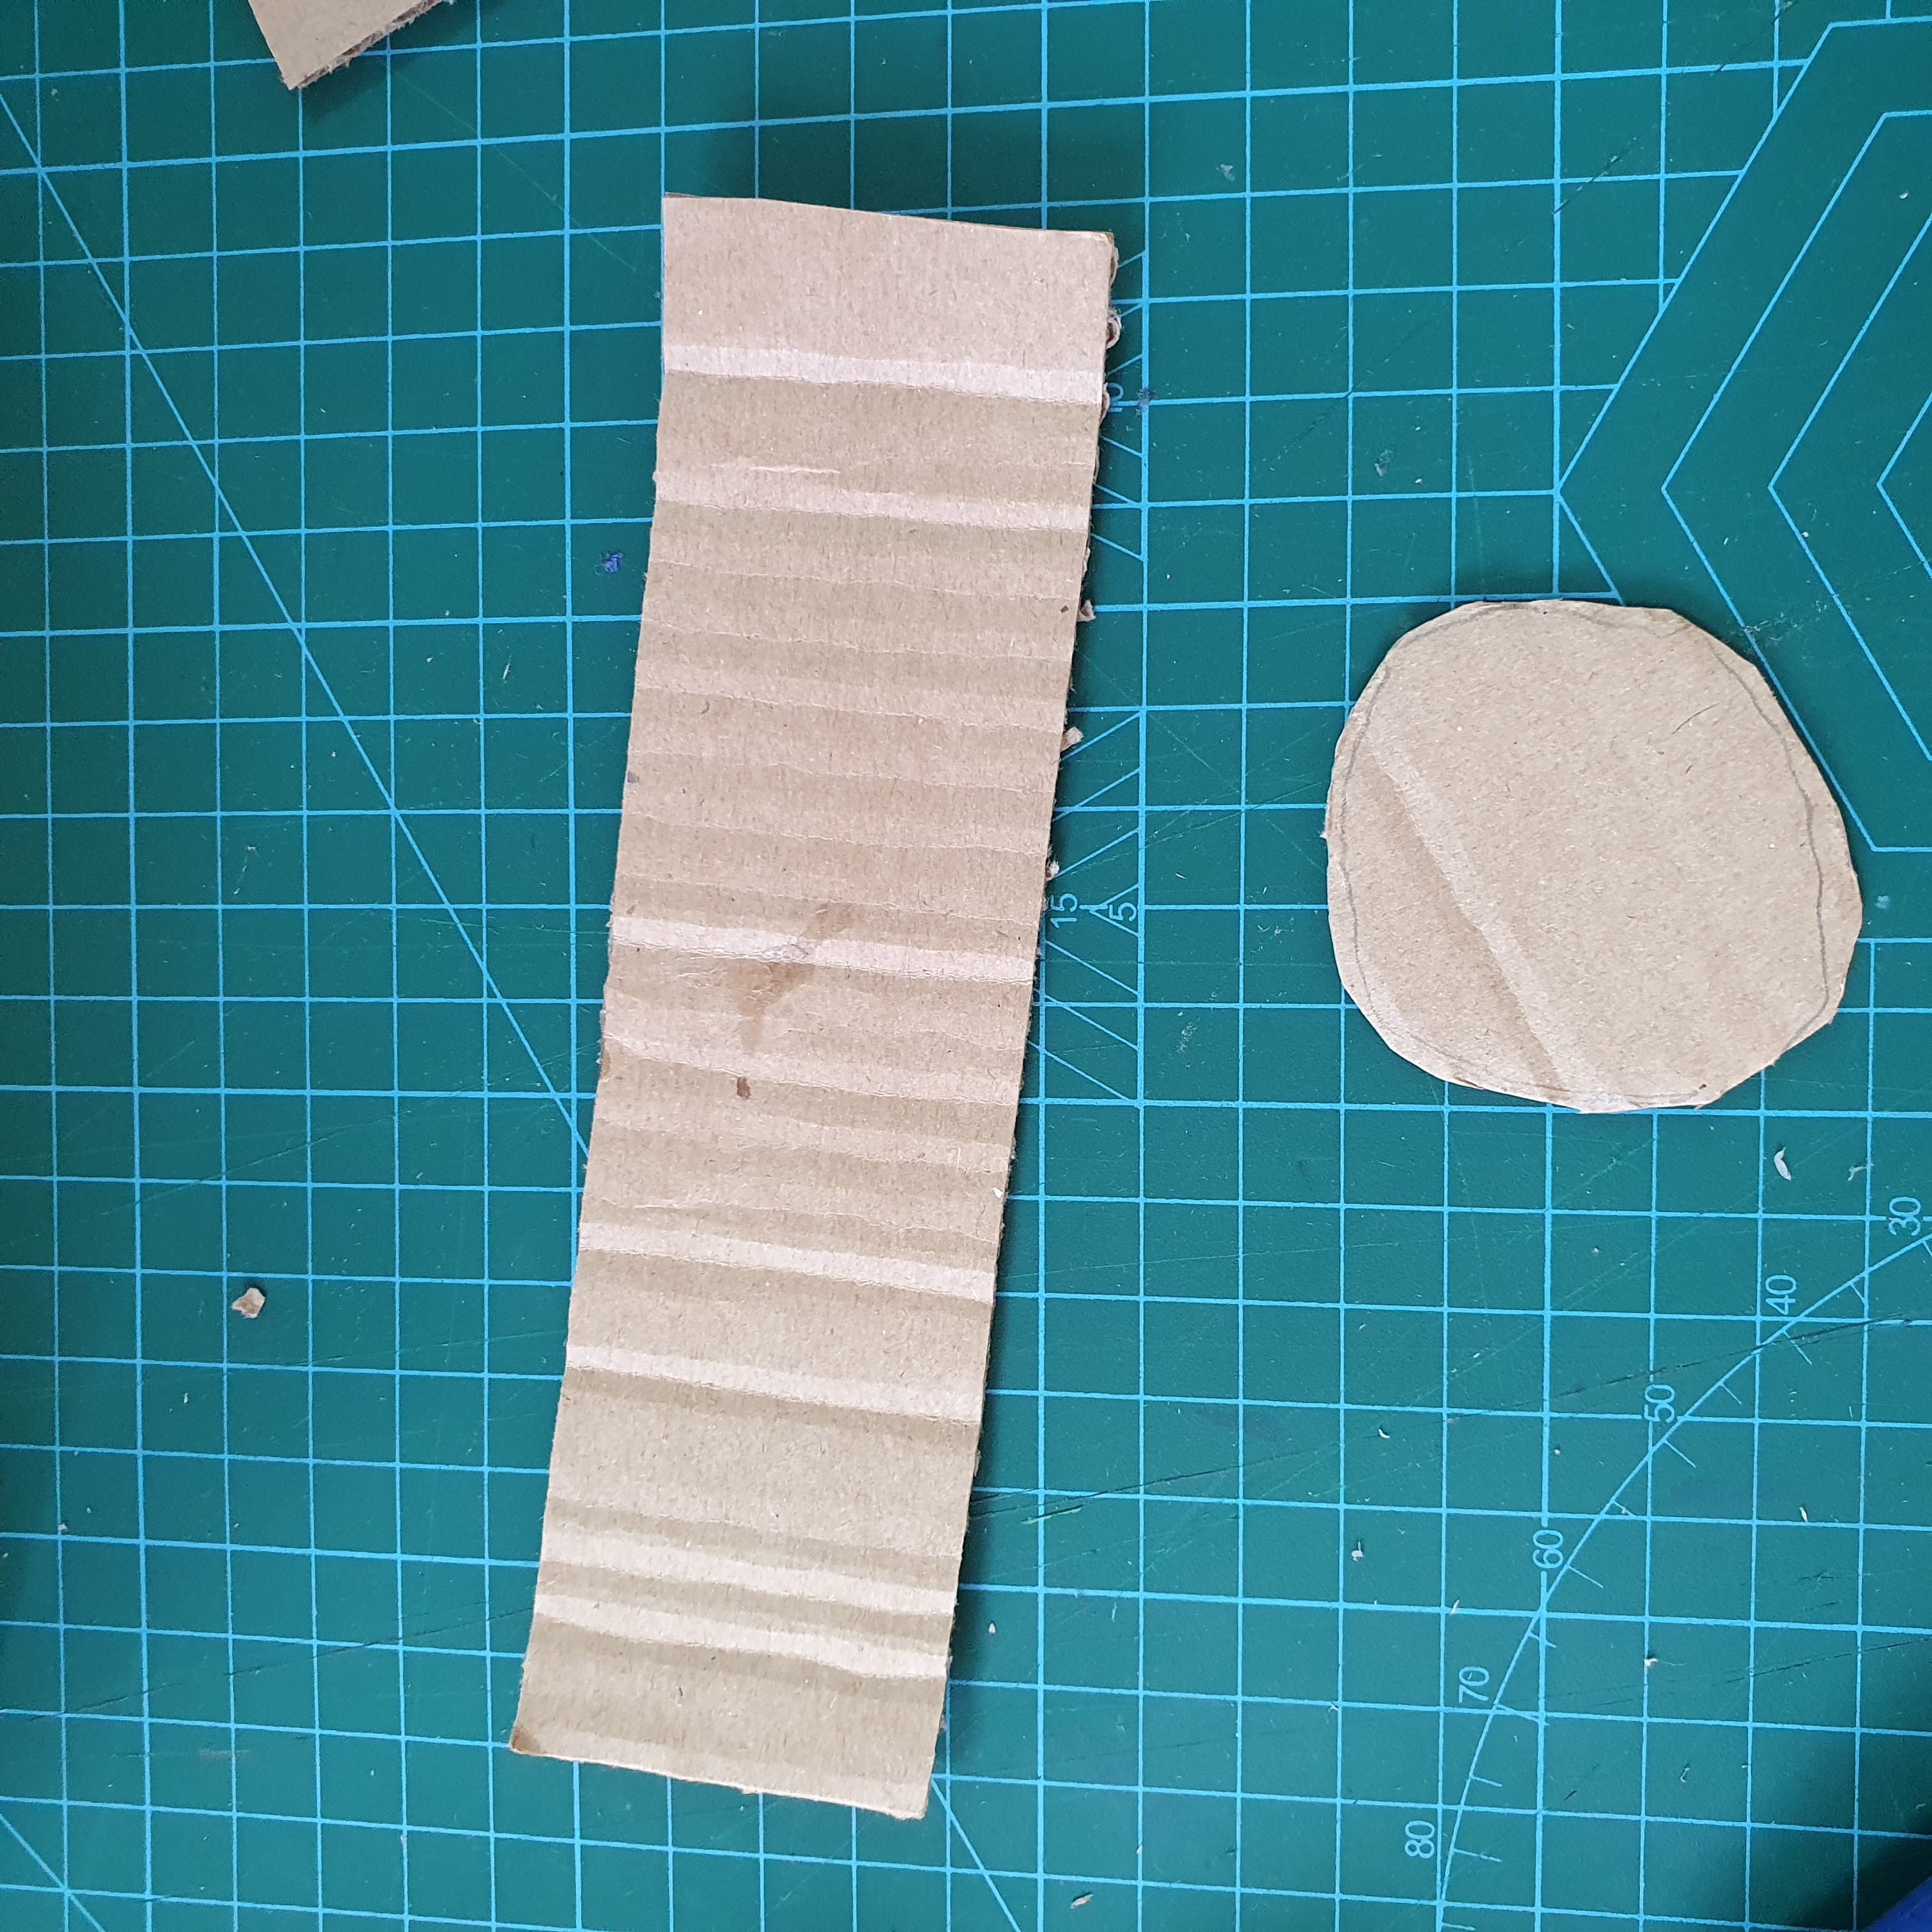
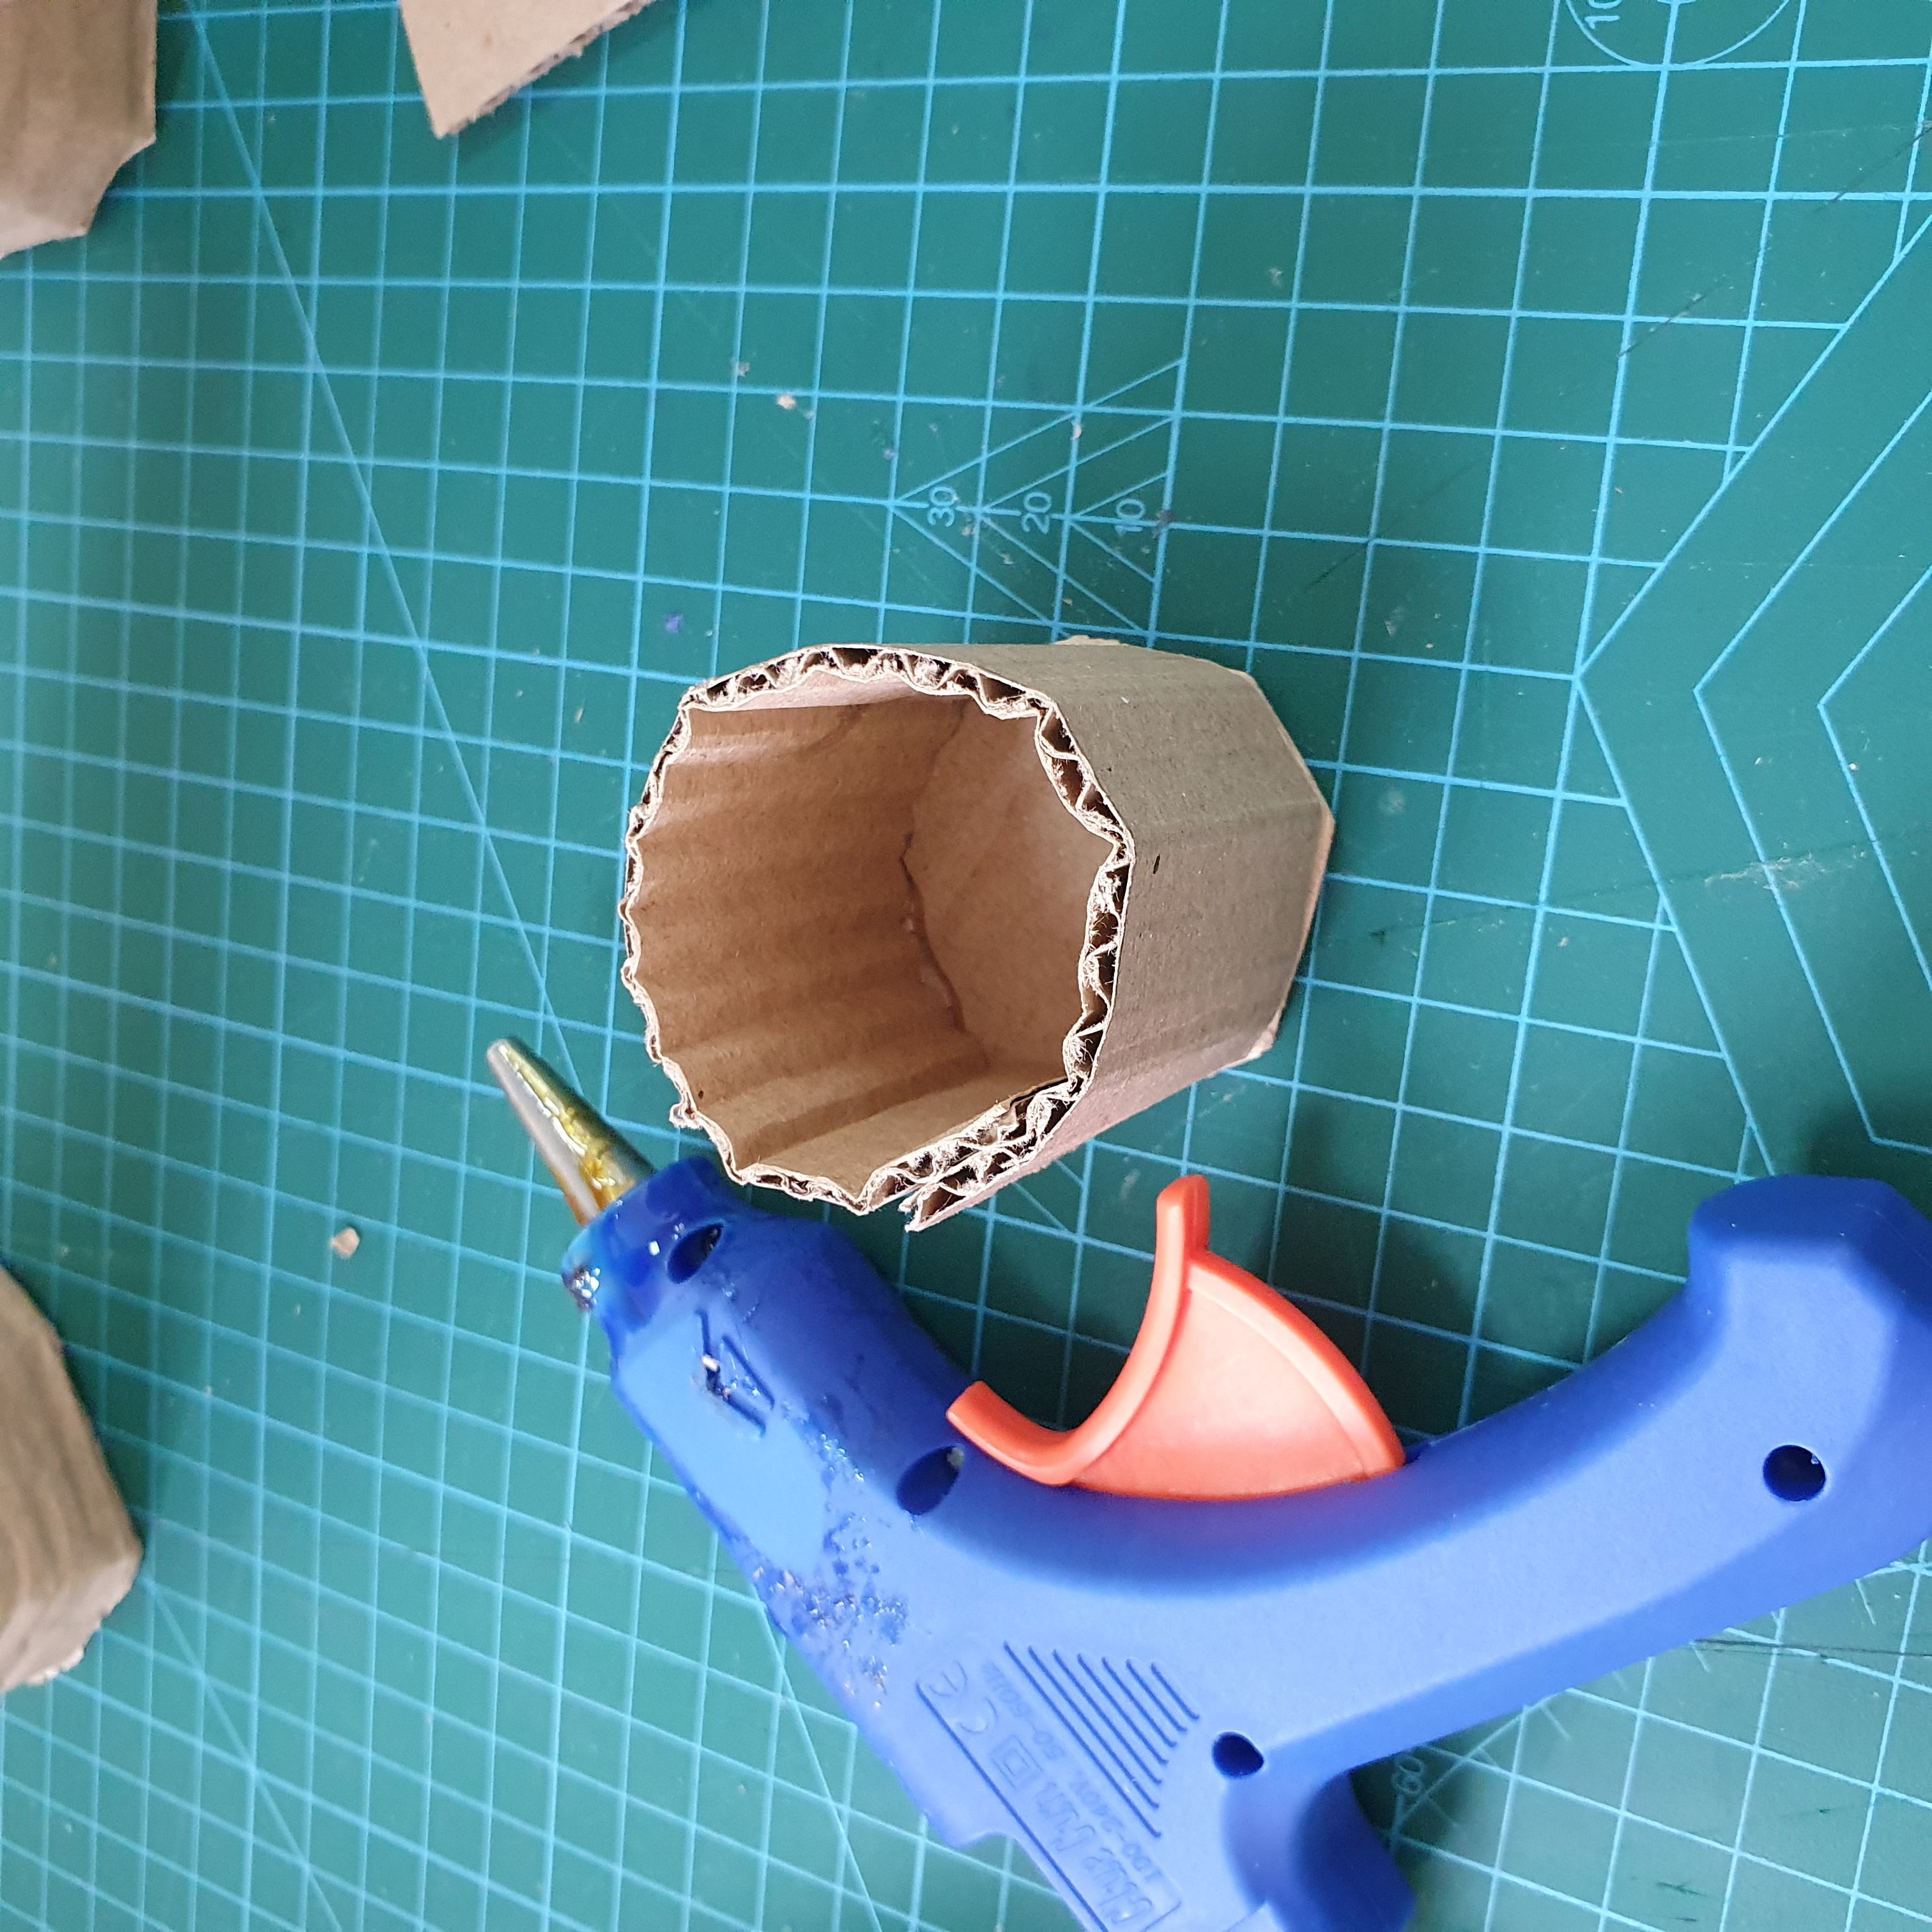
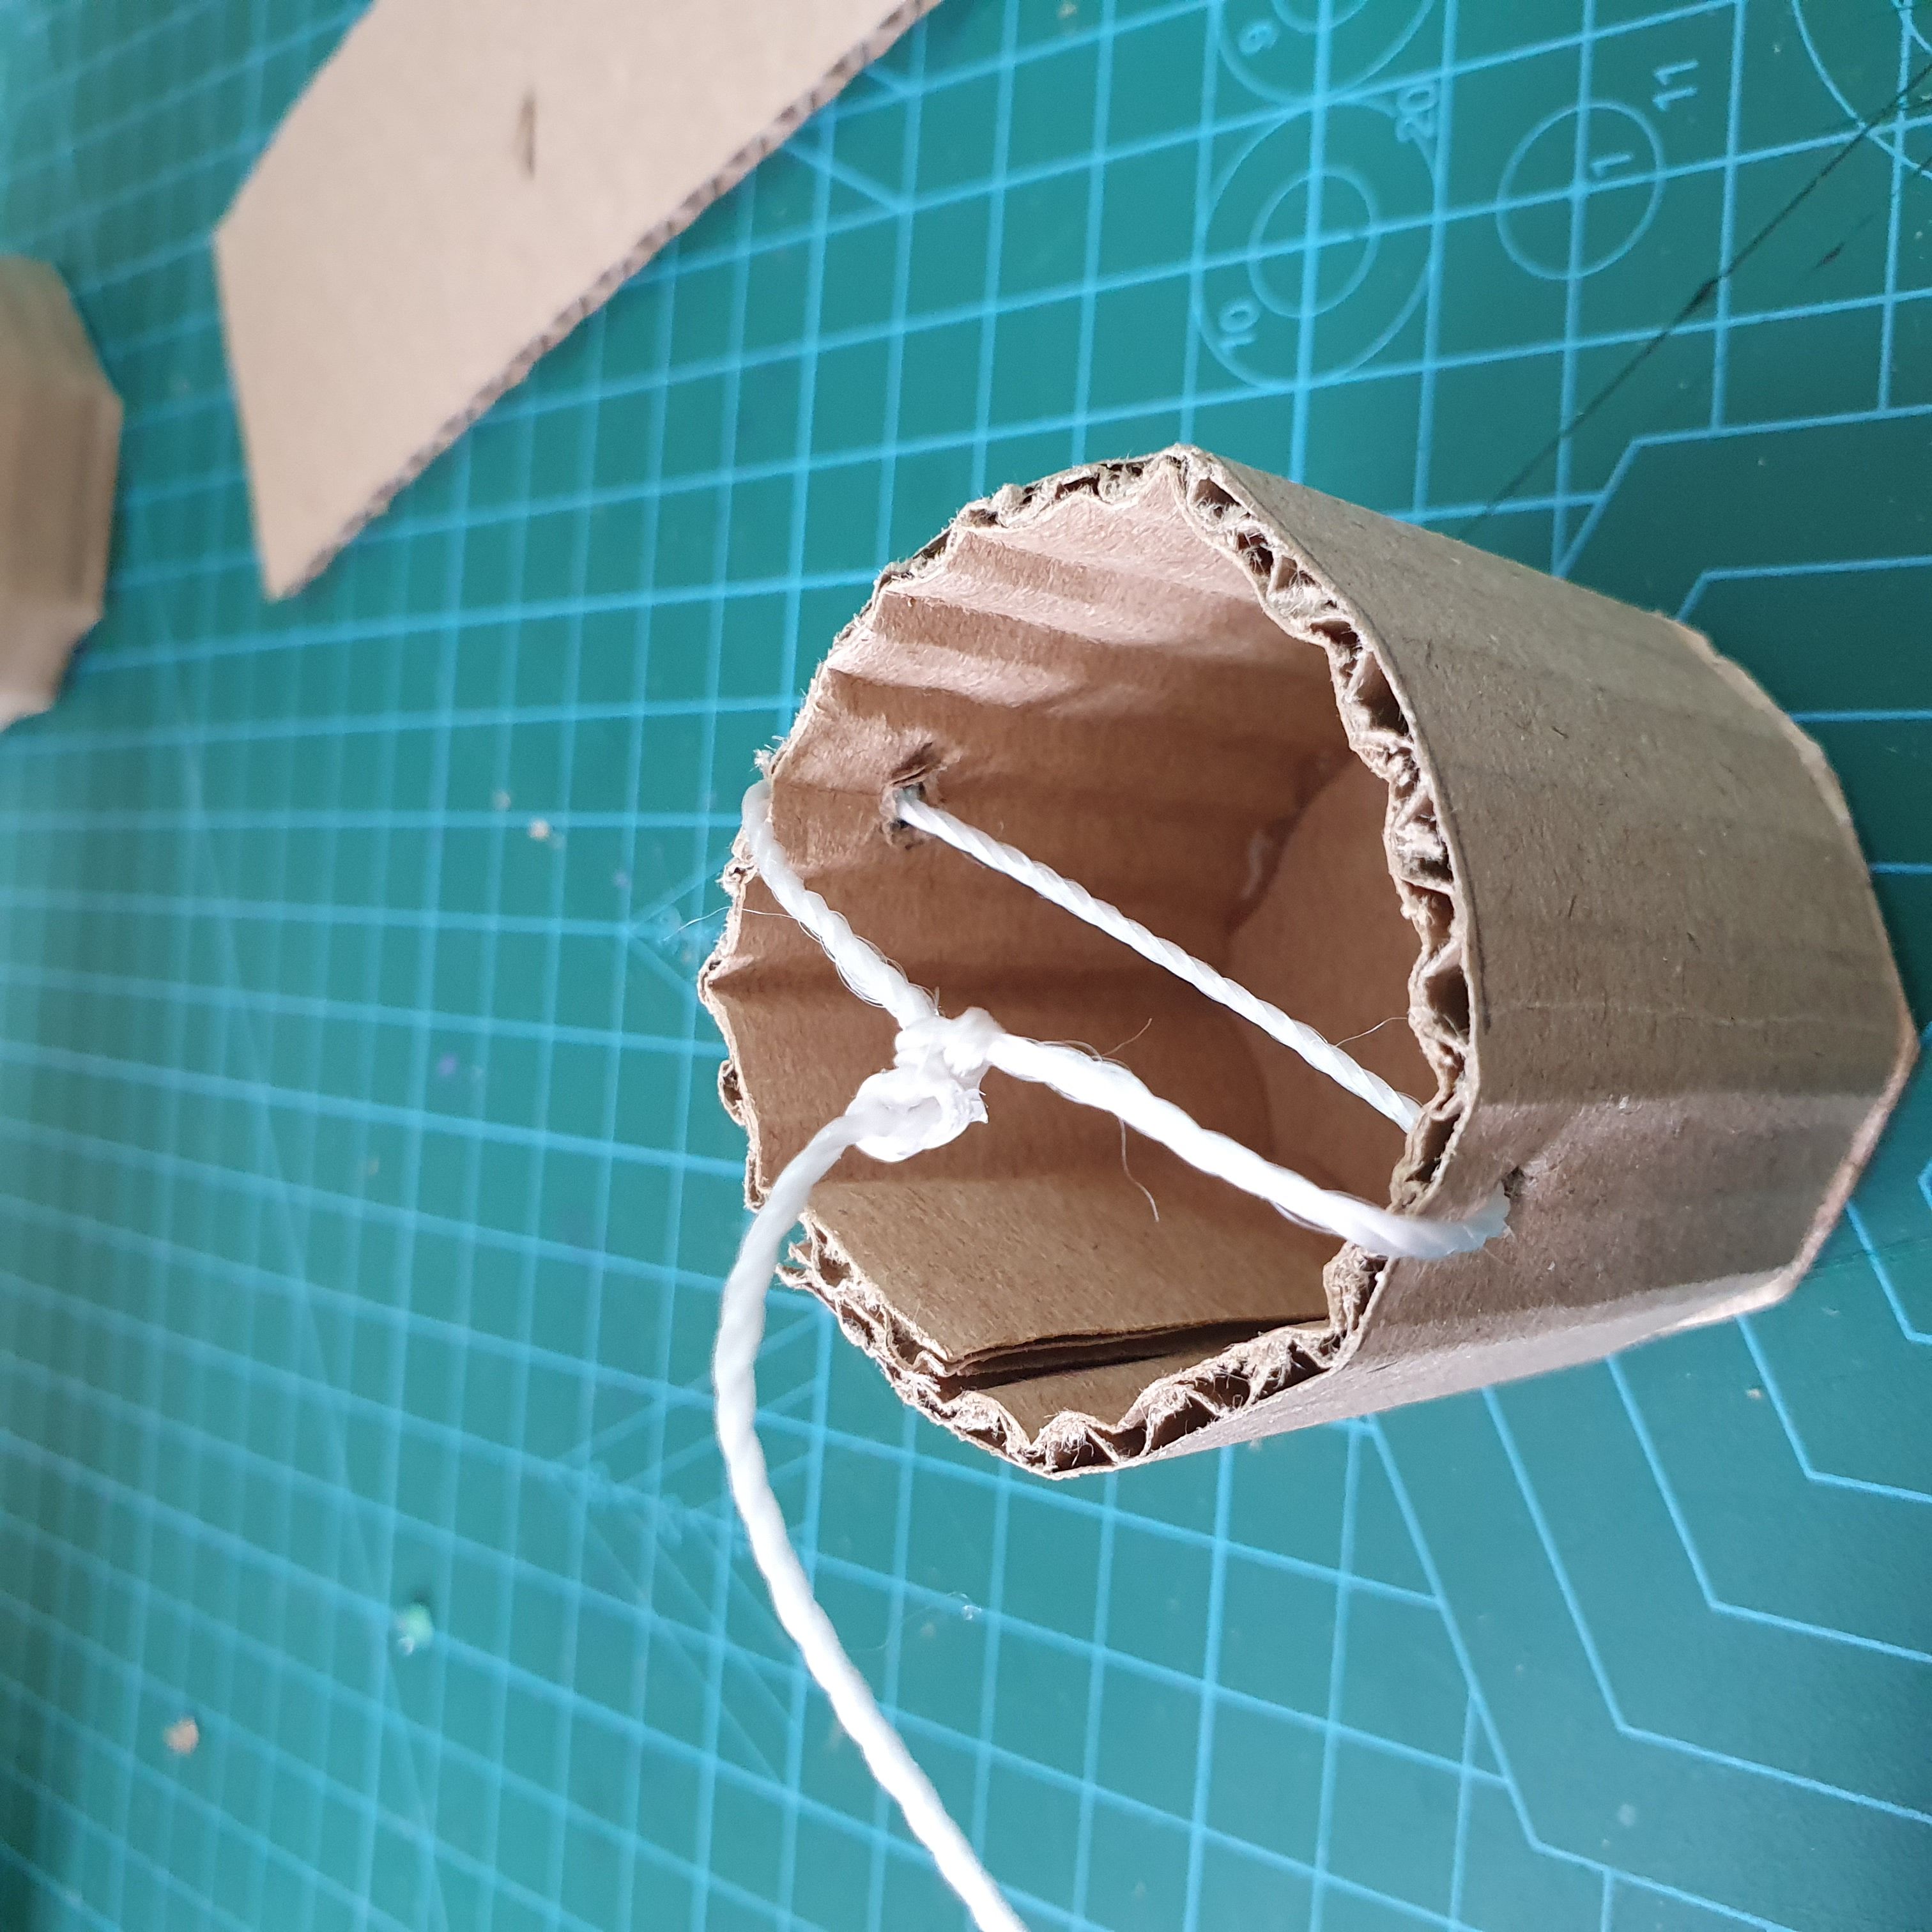
8. Pass the yarn through both sides of the bucket and tie it off as shown.
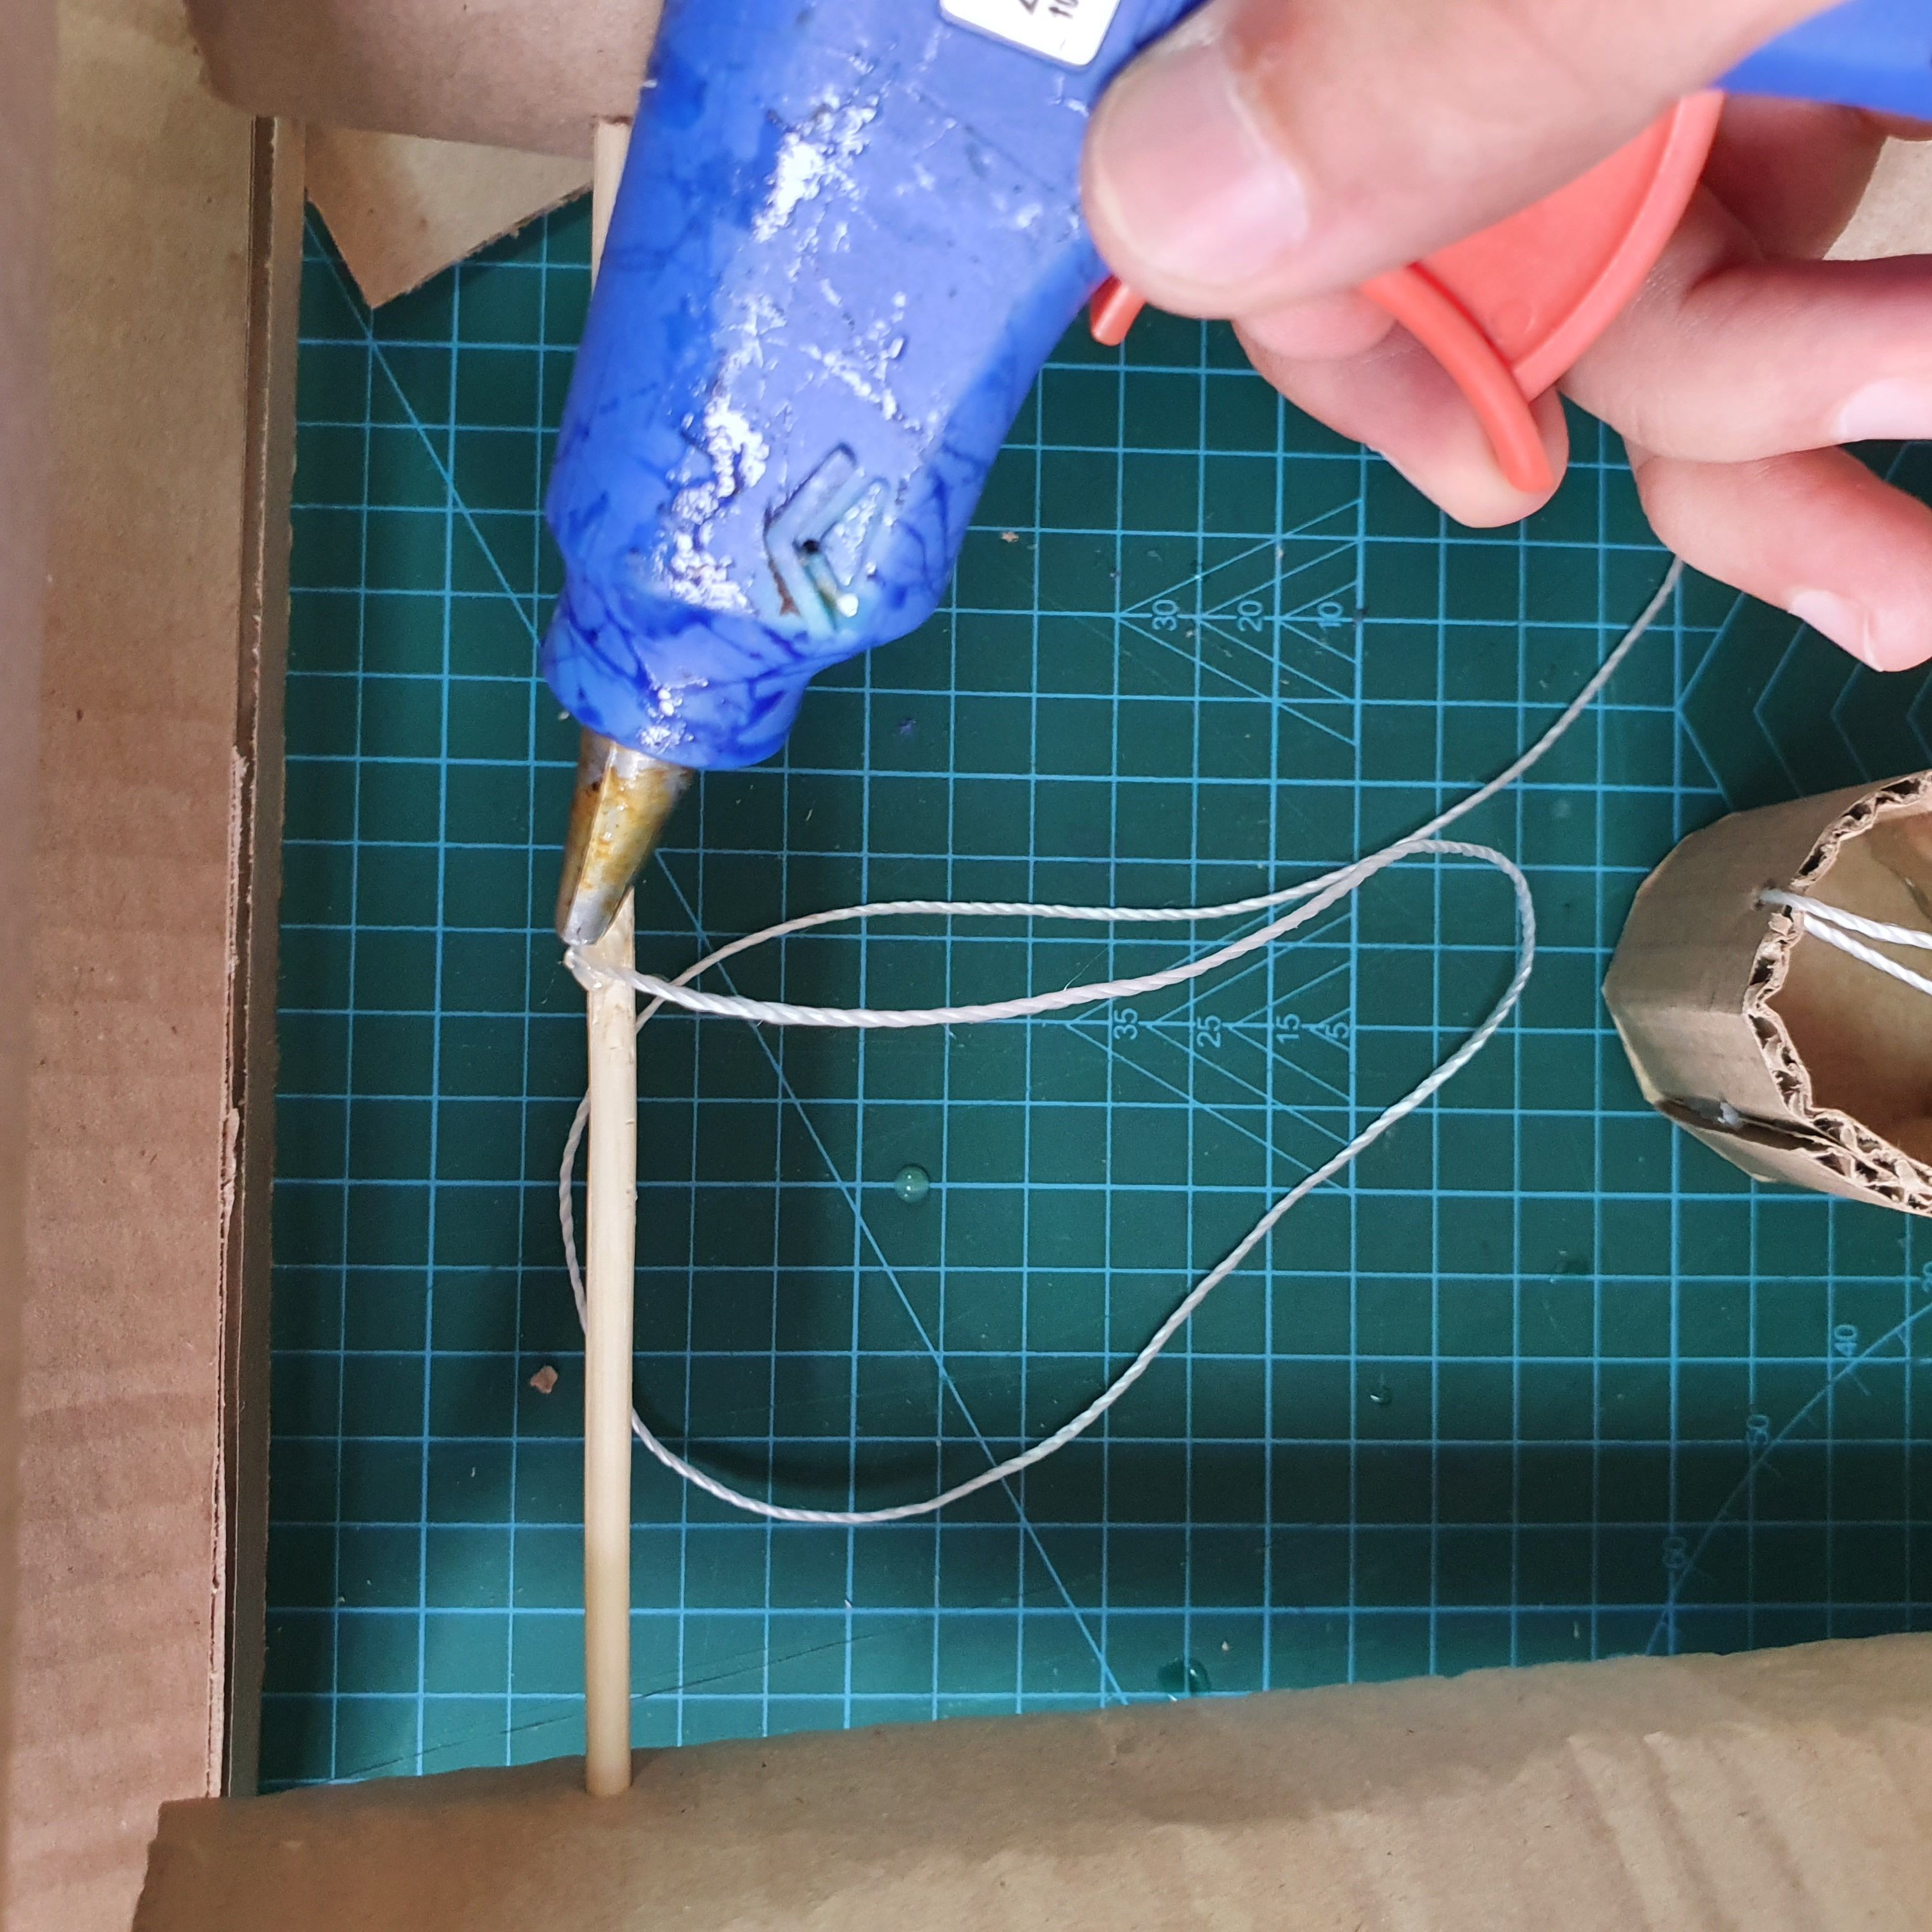
9. Glue the other end of the thread to the skewer.
Ready. By rotating the wand, a bucket filled with water extracts clean fresh water from the ground. Try to raise the bucket from below by placing the finished water well in the middle of two desks.

Conclusion
In this project, students got acquainted with natural resources and understood their significance. Taking water as an example of a natural resource, they understood how humans have been using it since ancient times. To obtain clean water in the absence of modern technologies, they made a well with their own hands.
Evaluation
PBL grading criterion:
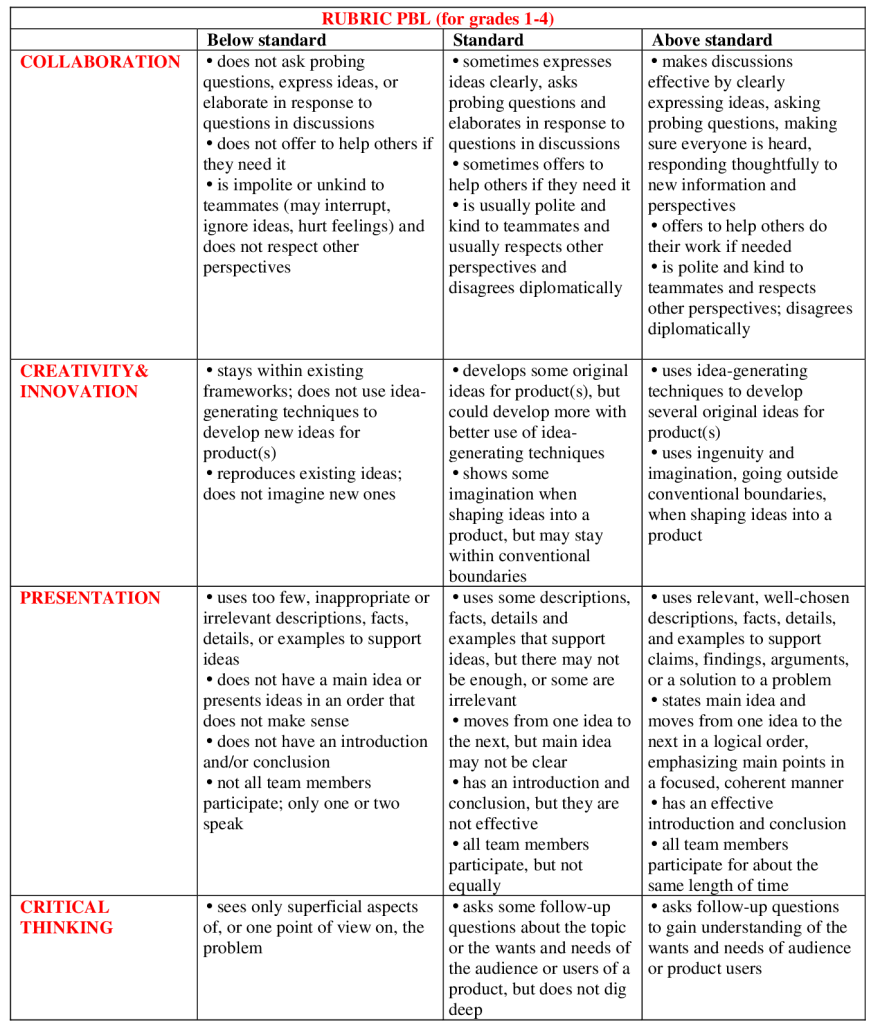
Project-based learning is a learning method in which students acquire knowledge and skills by working on a single project to explore and find an answer to a genuine, interesting, and complex question, problem, or challenge.