
Lesson 1
Project Goals
– Remember the elements of the figures of the cube and the parallelepiped;
– Distinguish between cube and parallelepiped shapes using an infinite cube.
Teacher’s Guide
– Divide students into groups;
– Familiarize students with the topic of the lesson and the introduction;
– In the first week, each student must make 8 cubes;
– Check that the students save 8 cubes until the next lesson (or do it again);
– In the second week they will connect the cubes and make one infinite cube.
Safety in Steam Lessons
Before starting a lesson, the teacher is advised to familiarize himself with the safety precautions. If necessary (in the case of using the items specified in the TB), conduct a brief briefing for students. Follow this link Safety in Steam lessons
Theoretical part
Spatial figures

One of the spatial figures is a rectangular parallelepiped. A rectangular parallelepiped is a three-dimensional figure whose faces are rectangles. Many objects around us are in the shape of a parallelepiped: a wardrobe, boxes, a TV, etc. The parallelepiped has 6 faces and opposite faces are always equal. The vertices of the faces are called the vertices of the parallelepiped, and the sides of the faces are called edges. A box has 8 vertices and 12 edges. Three edges have different sizes, they are called the dimensions of the box – length, width, and height.

Another spatial figure is a cube. A cube is a rectangular parallelepiped with all dimensions equal. All faces of a cube are made up of a square.
Practical part
Assembling the cube model for the infinite cube.

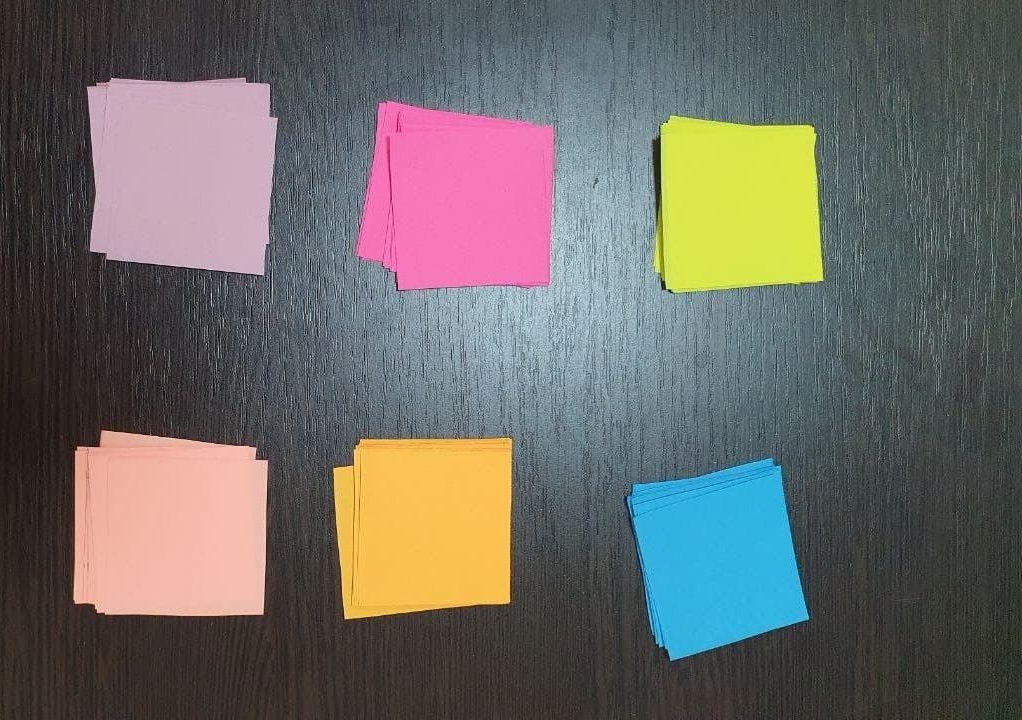
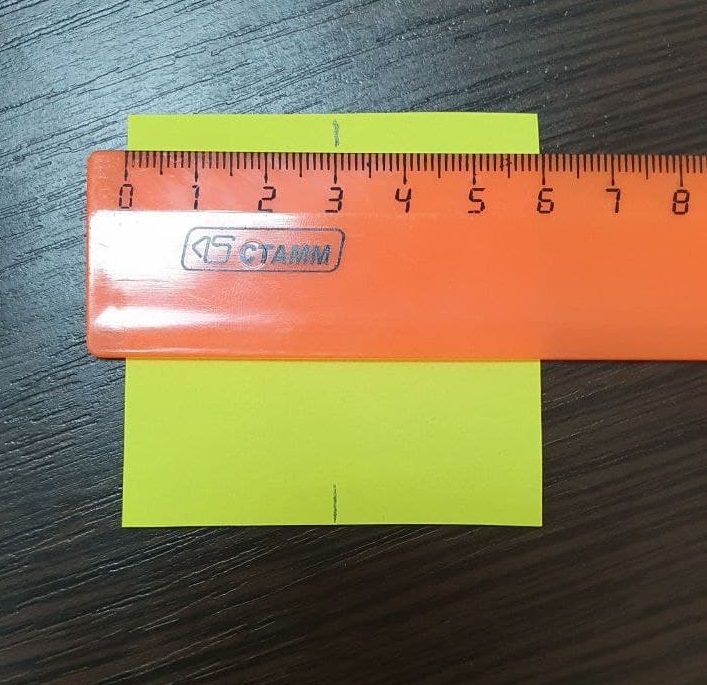
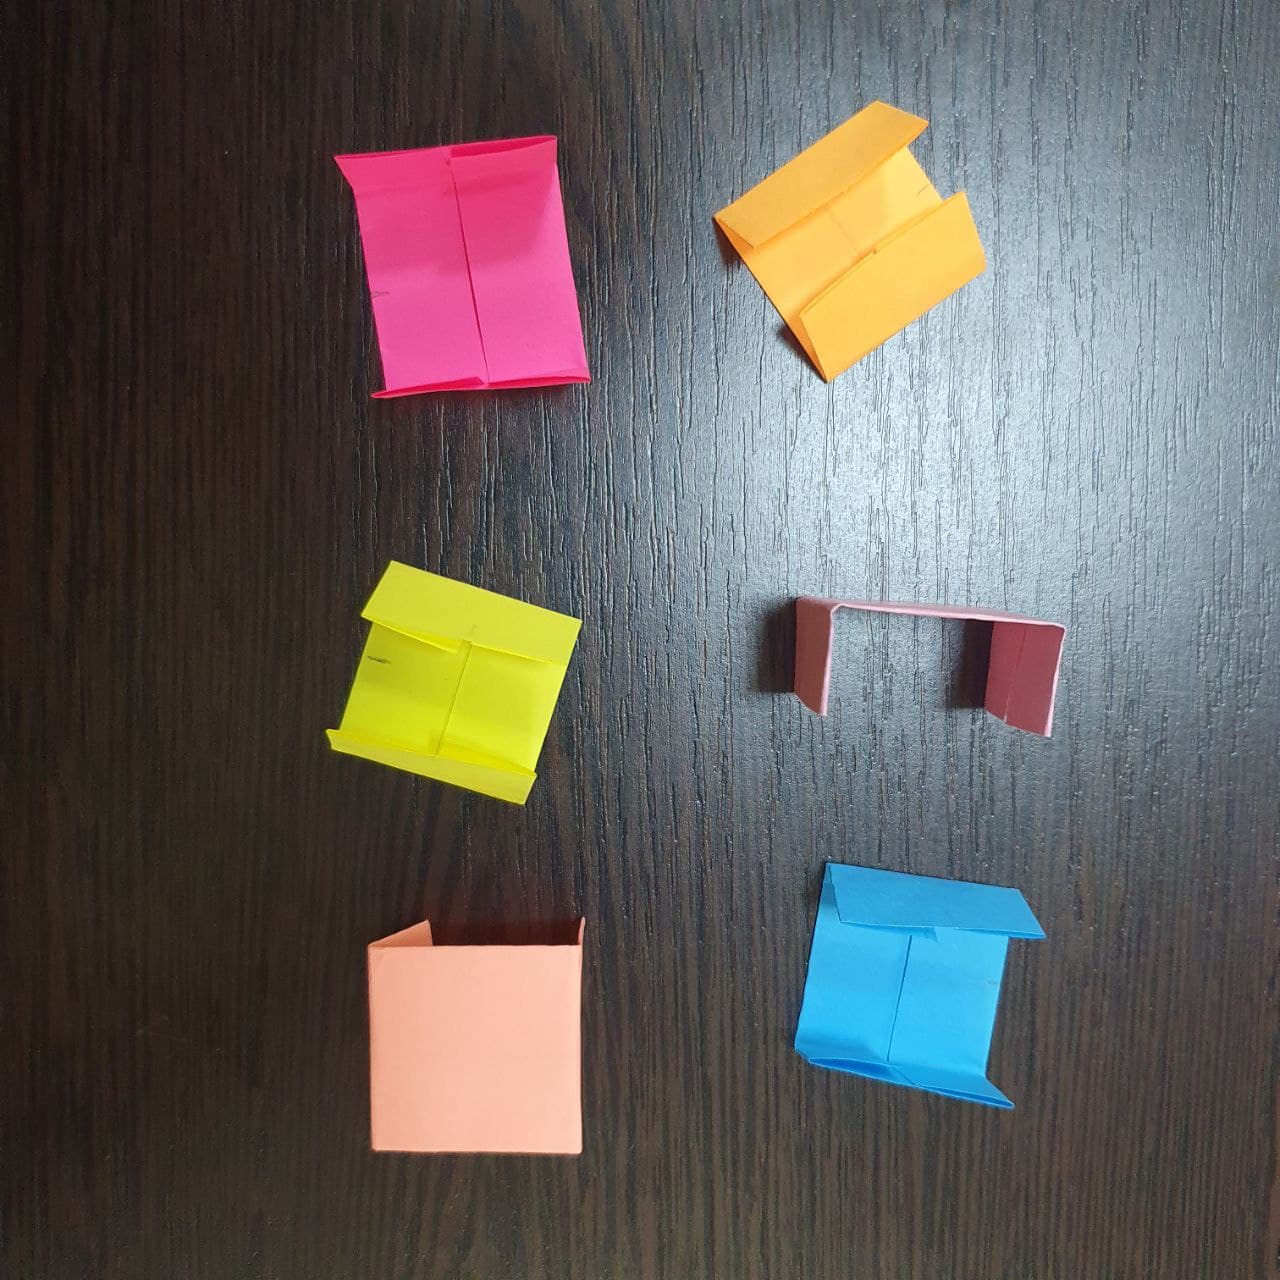
1. Cut out 6 colors of paper for the six sides (faces) of the cube, 8 pieces each, because we will be making 8 cubes for the infinite cube. Dimensions: 6 cm x 6 cm.
2. Mark the middle and bend the two sides to the middle as in the photo.
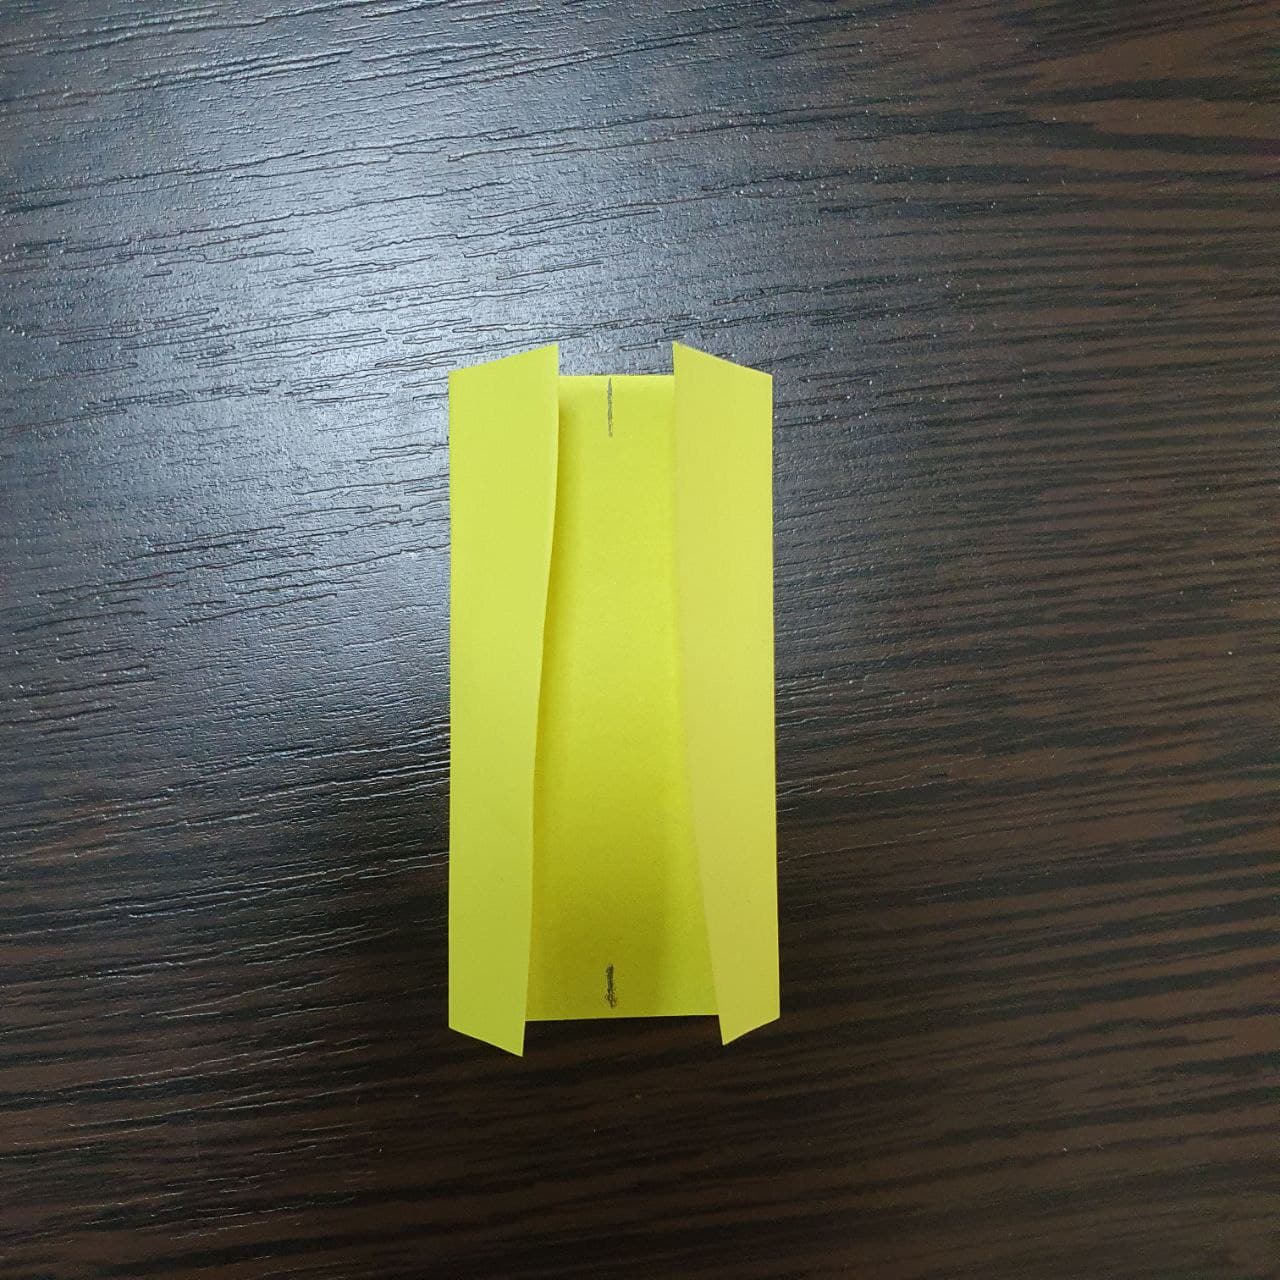
3. We also mark the middle along the length and bend it as in the photo.

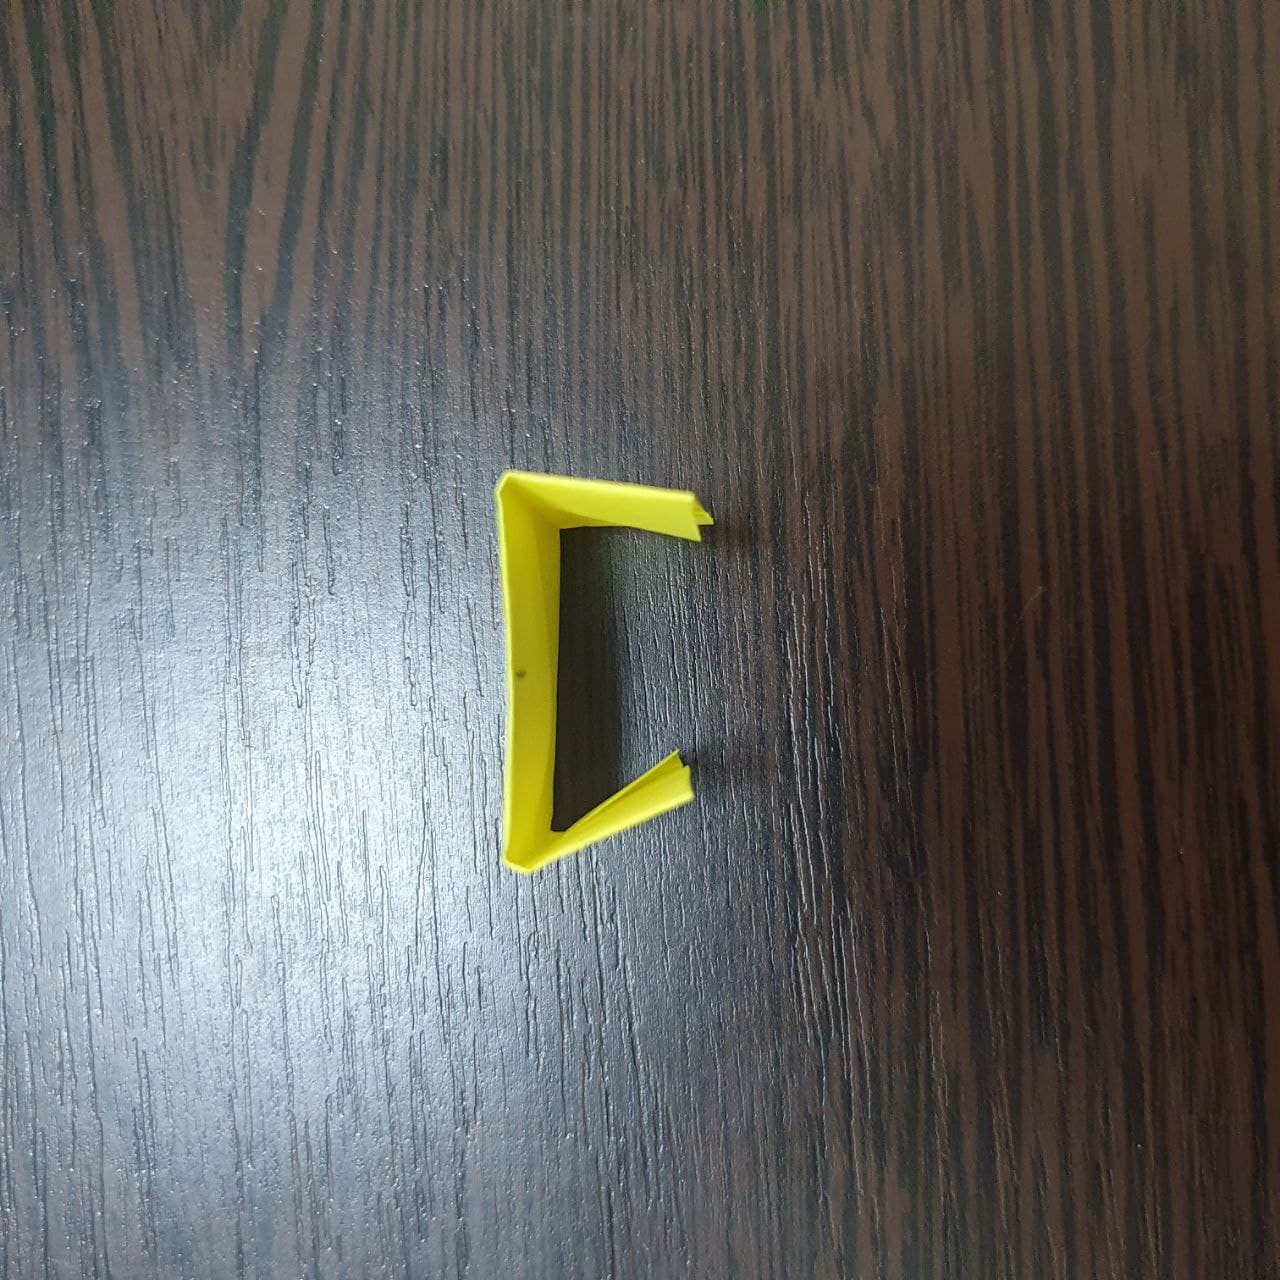
4. You need to make 6 of these from different colors of paper for the six sides of the cube. Do you remember how many faces a cube has?
5. Now we connect the sides (faces) as in the photo.
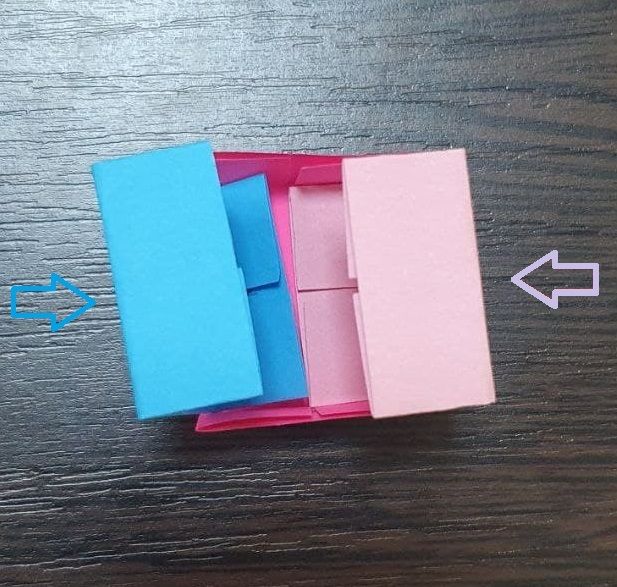
6. We connect the following sides as in the photo. Pink and orange.
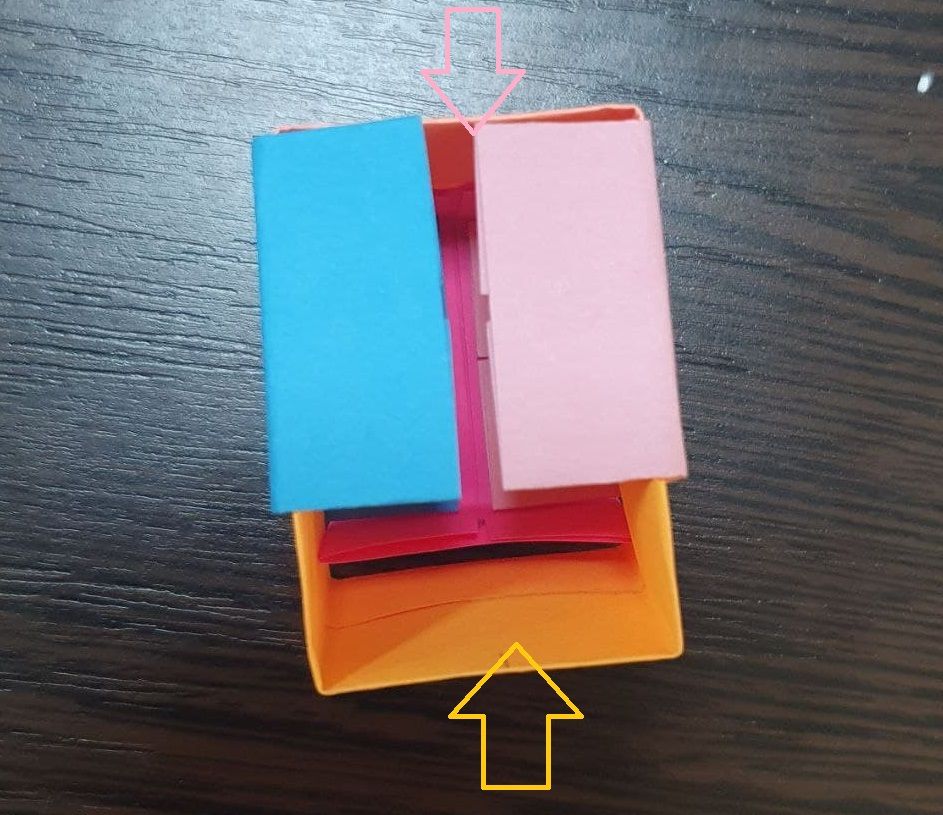
7. From above we put on the last side of the cube. Remember which color you have for which side.
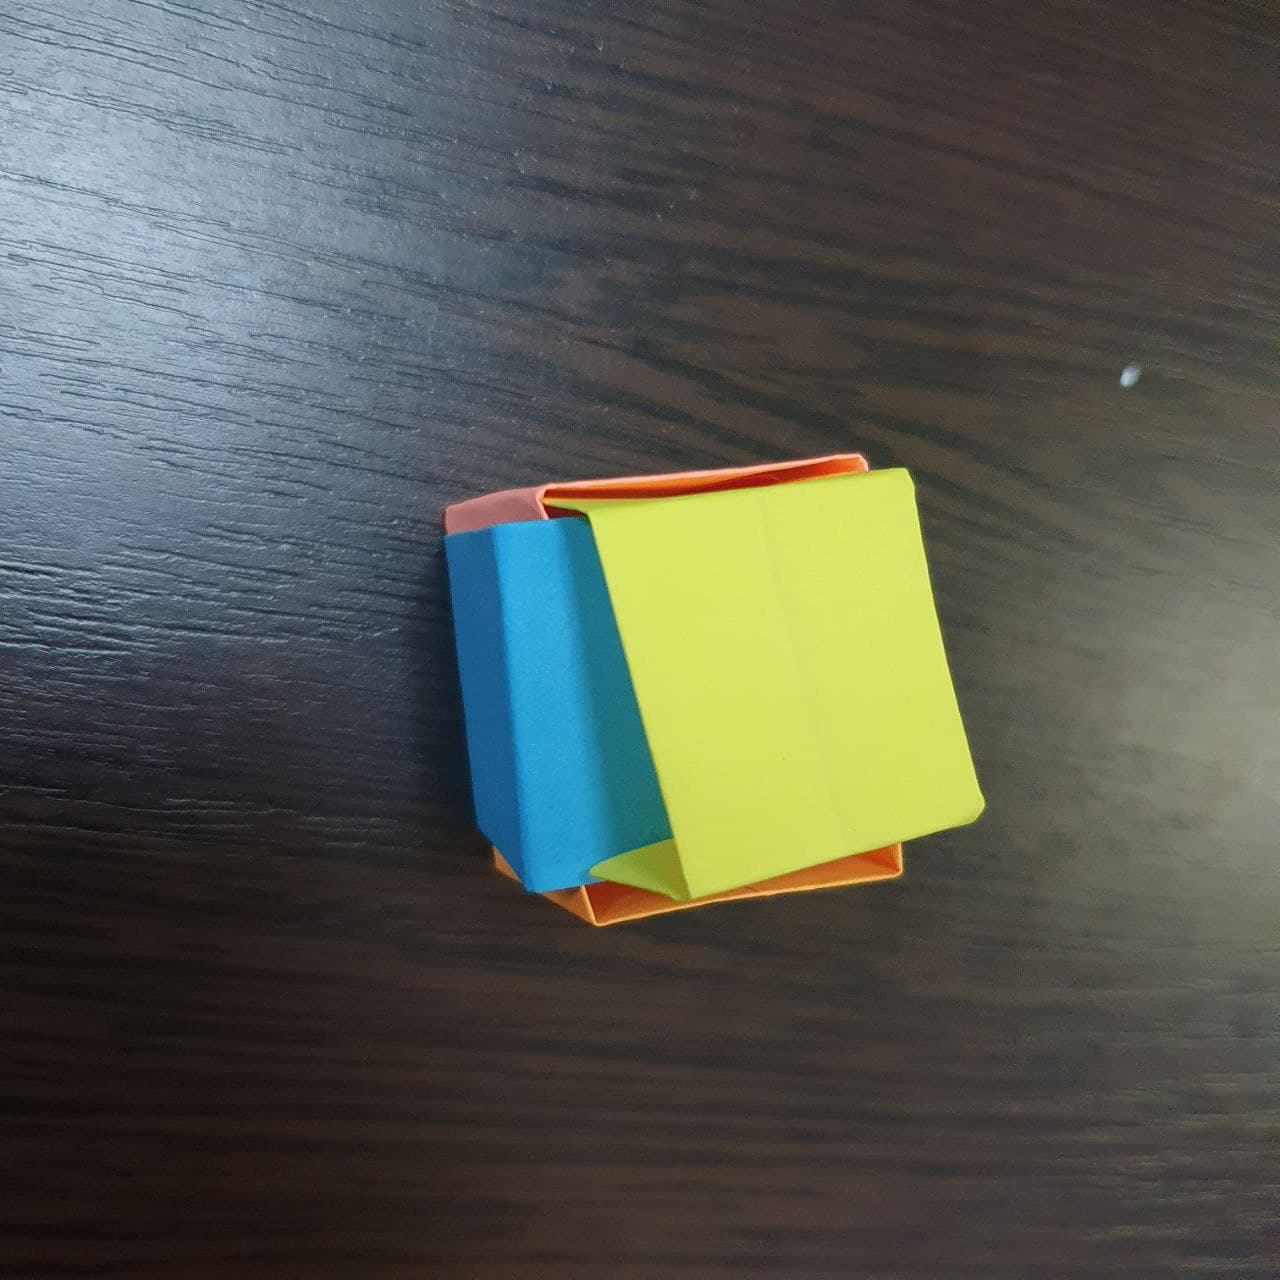
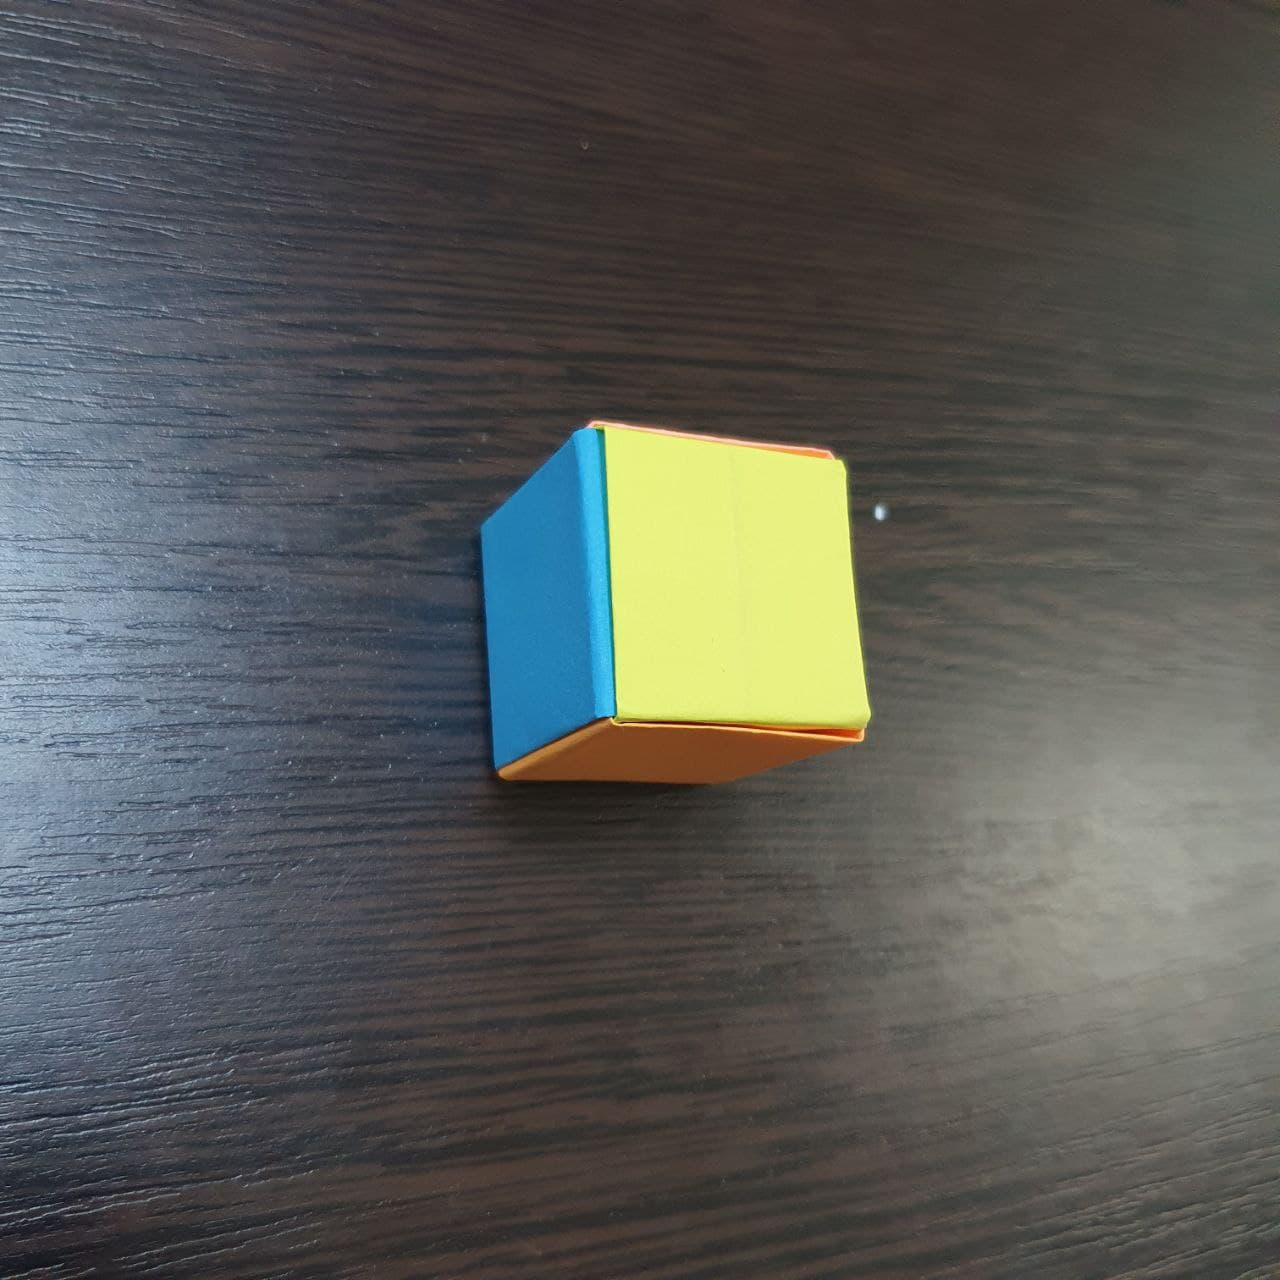
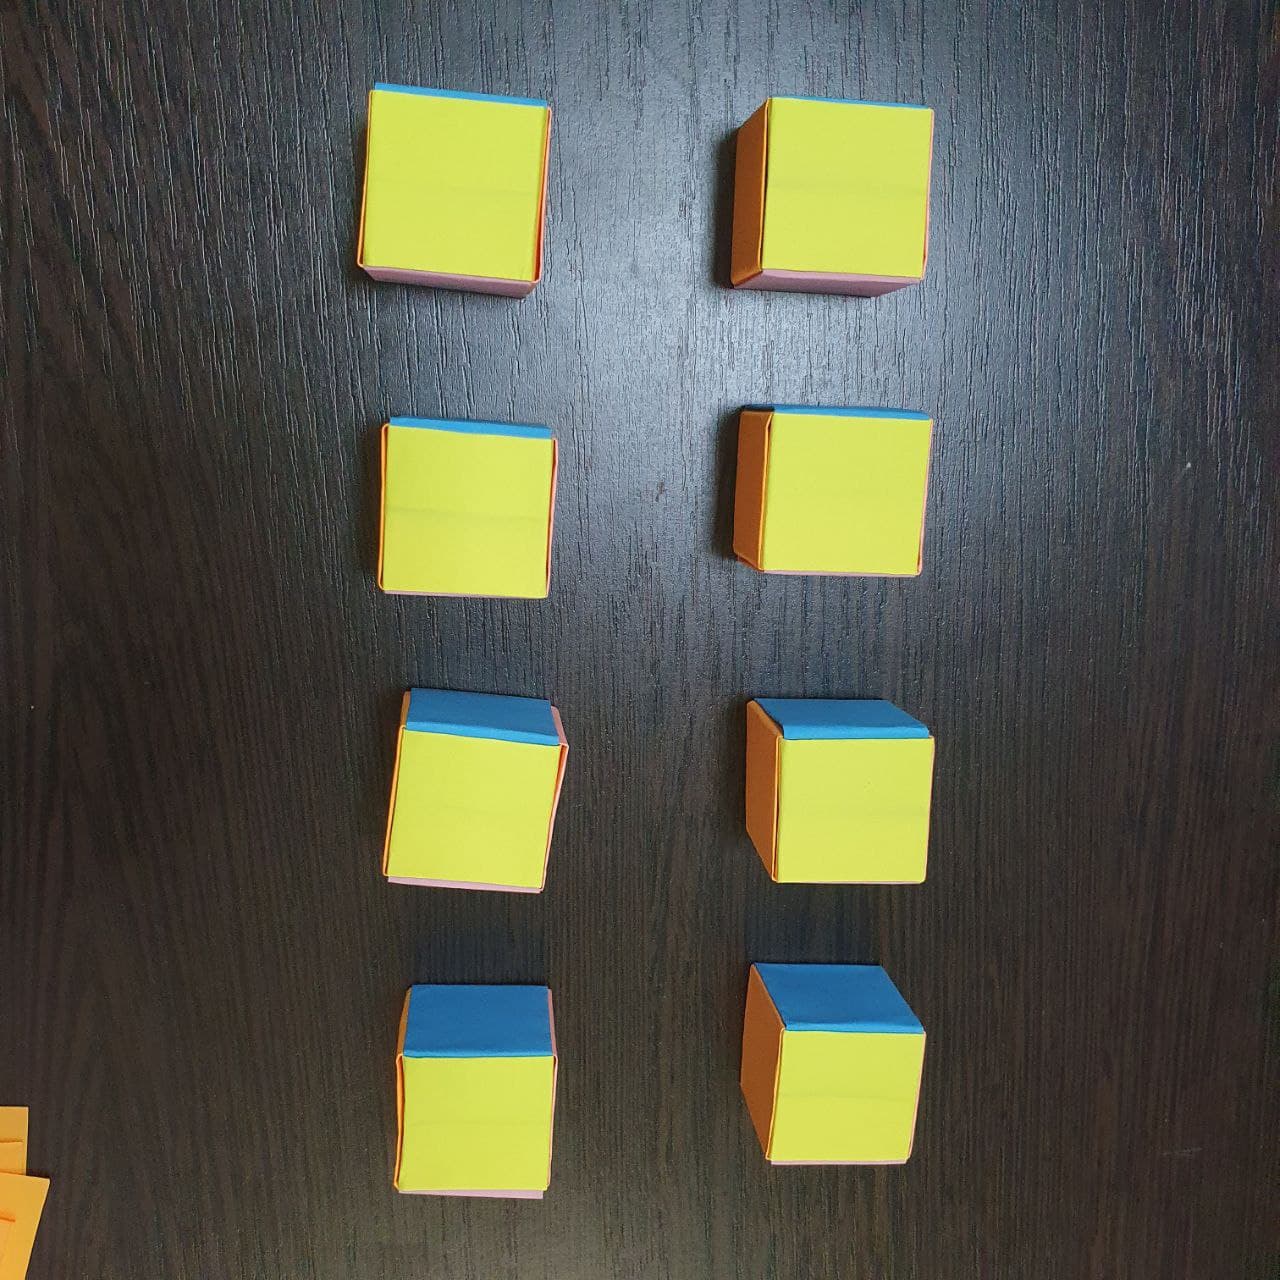
8. Make 8 of these identical pieces.
Used media files:
<a href=’https://ru.freepik.com/photos/abstract’>Abstract фото создан(а) freepik – ru.freepik.com</a>
<a href=’https://www.freepik.com/vectors/augmented’>Augmented vector created by rawpixel.com – www.freepik.com</a>