
Lesson 1
Project Goals
– Merge and combine multiple images to create animations;
– Come up with your own story to develop creative thinking.
Teacher’s Guide
– This project is designed for 2 lessons;
– Divide students into groups;
– Each group will create a simple animation on their phone;
– The project uses a simple storyline, the teacher can adapt to the type of lesson.
– For integration: to integrate this lesson into the subject of science, you can add to the storyline those objects that the student needs to study during the lesson.
Safety in Steam Lessons
Before starting a lesson, the teacher is advised to familiarize himself with the safety precautions. If necessary (in the case of using the items specified in the TB), conduct a brief briefing for students. Follow this link Safety in Steam Lessons
Theoretical part
Discuss the following questions with the children:
– Have you seen Lego cartoons before?
– Did you like them?
– Have you noticed something strange?
– How do you think the characters can move? How is this possible?
Frame-by-frame animation technology differs from video in that a video camera is not required. All frame-by-frame animations are created by moving objects around and photographing each movement. Lego cartoons are created in the same way.
Stop-motion animation is created like this: you need to take a picture of the object, then move it (changes its pose, facial expression) for the next frame, and so on. With accelerated viewing of the received photos, an illusion of the movement of the object is created. It looks simple, but this process is laborious, long and expensive. Such films can take much more time and effort than developing a quality CGI cartoon.
Practical part
1. To create an animation, first prepare the necessary objects. Make a character and scenery. An astronaut takes off from the earth on a rocket to explore Mars. After flying a long way, he finally lands on Mars and is the first on its surface. The joyful cosmonaut sets our flag and gets to work.
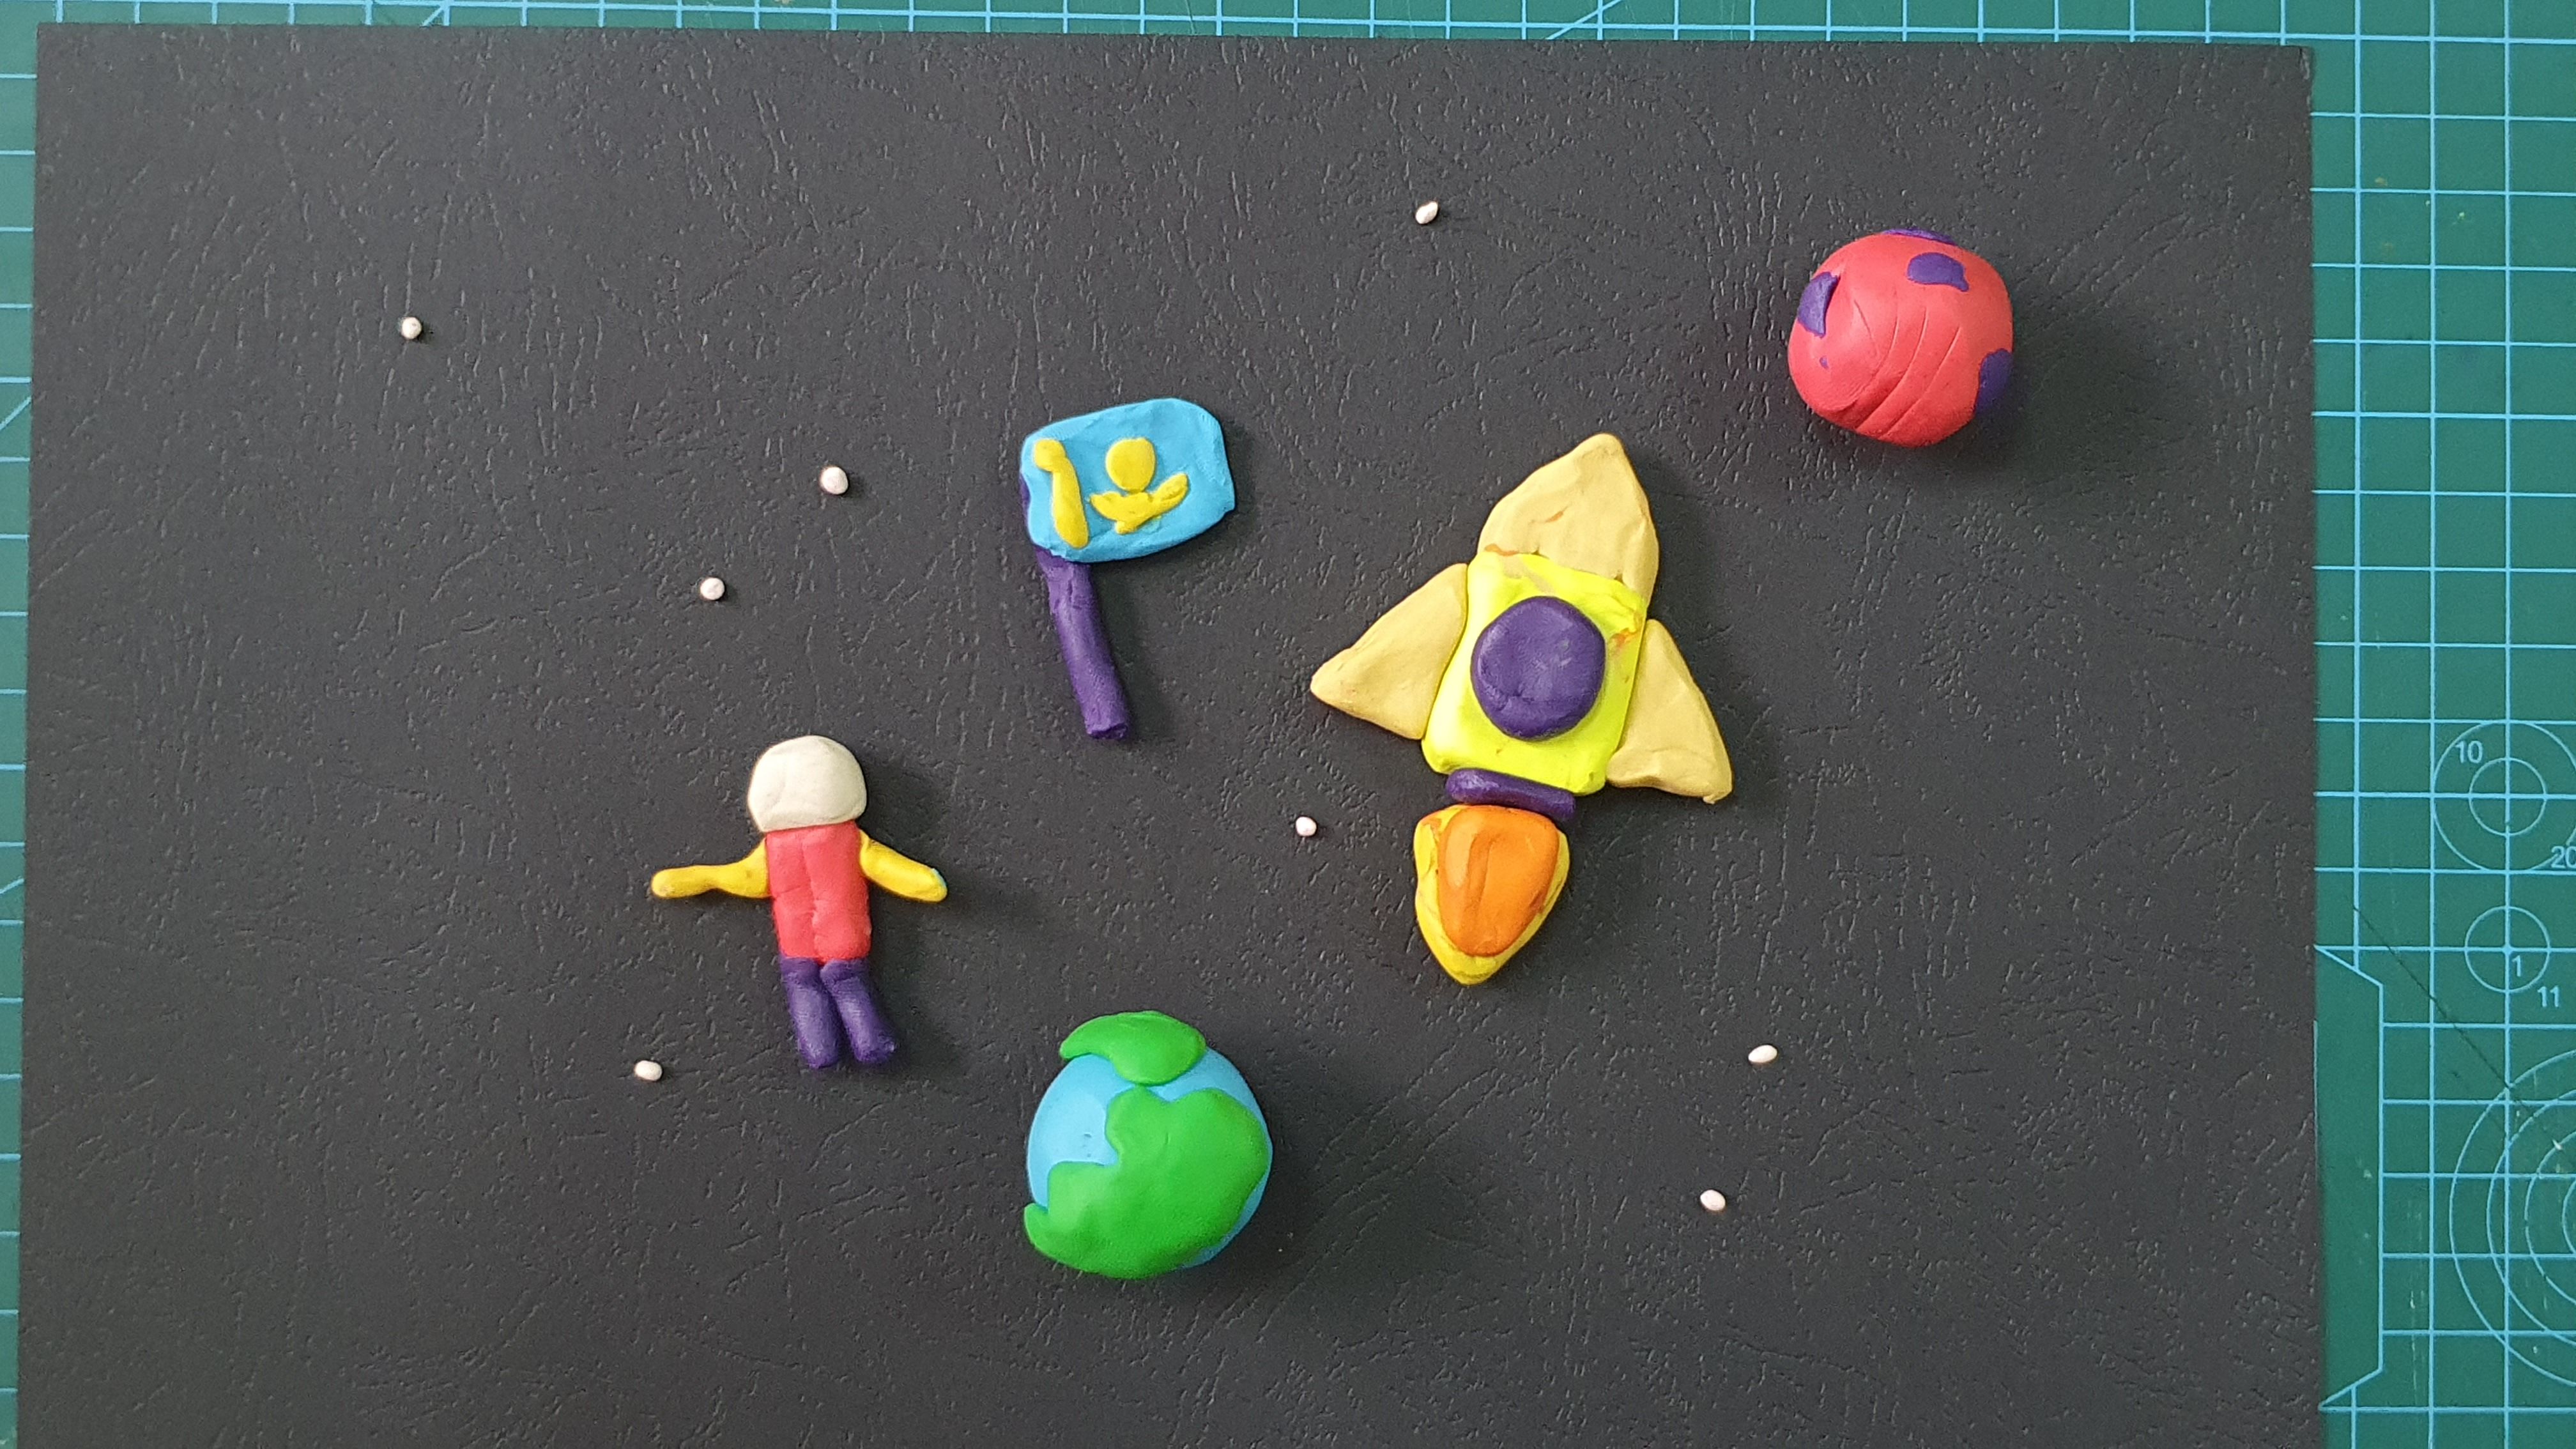
2. Prepare the background. In our example, we are using black paper for the background.
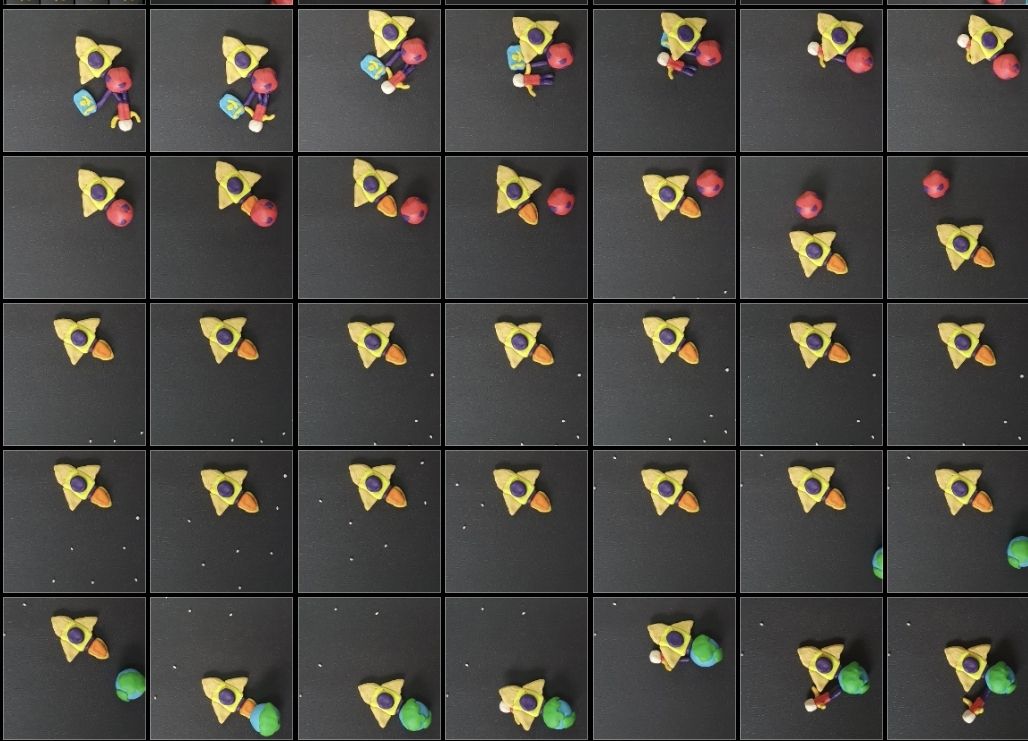
3. Next, you need to arrange the objects and take pictures in stages. It is important that the transition of objects is smooth. As a result, you will have a large number of photos, which we will combine in the future. If necessary, you can add and remove objects for the storyline.

4. As soon as the pictures are ready, we proceed to work on the smartphone. There are many applications where you can create animation. We use one of the most common and easy to use – inShot. Download this app from appstore/playmarket. One smartphone with this application is enough for one team.
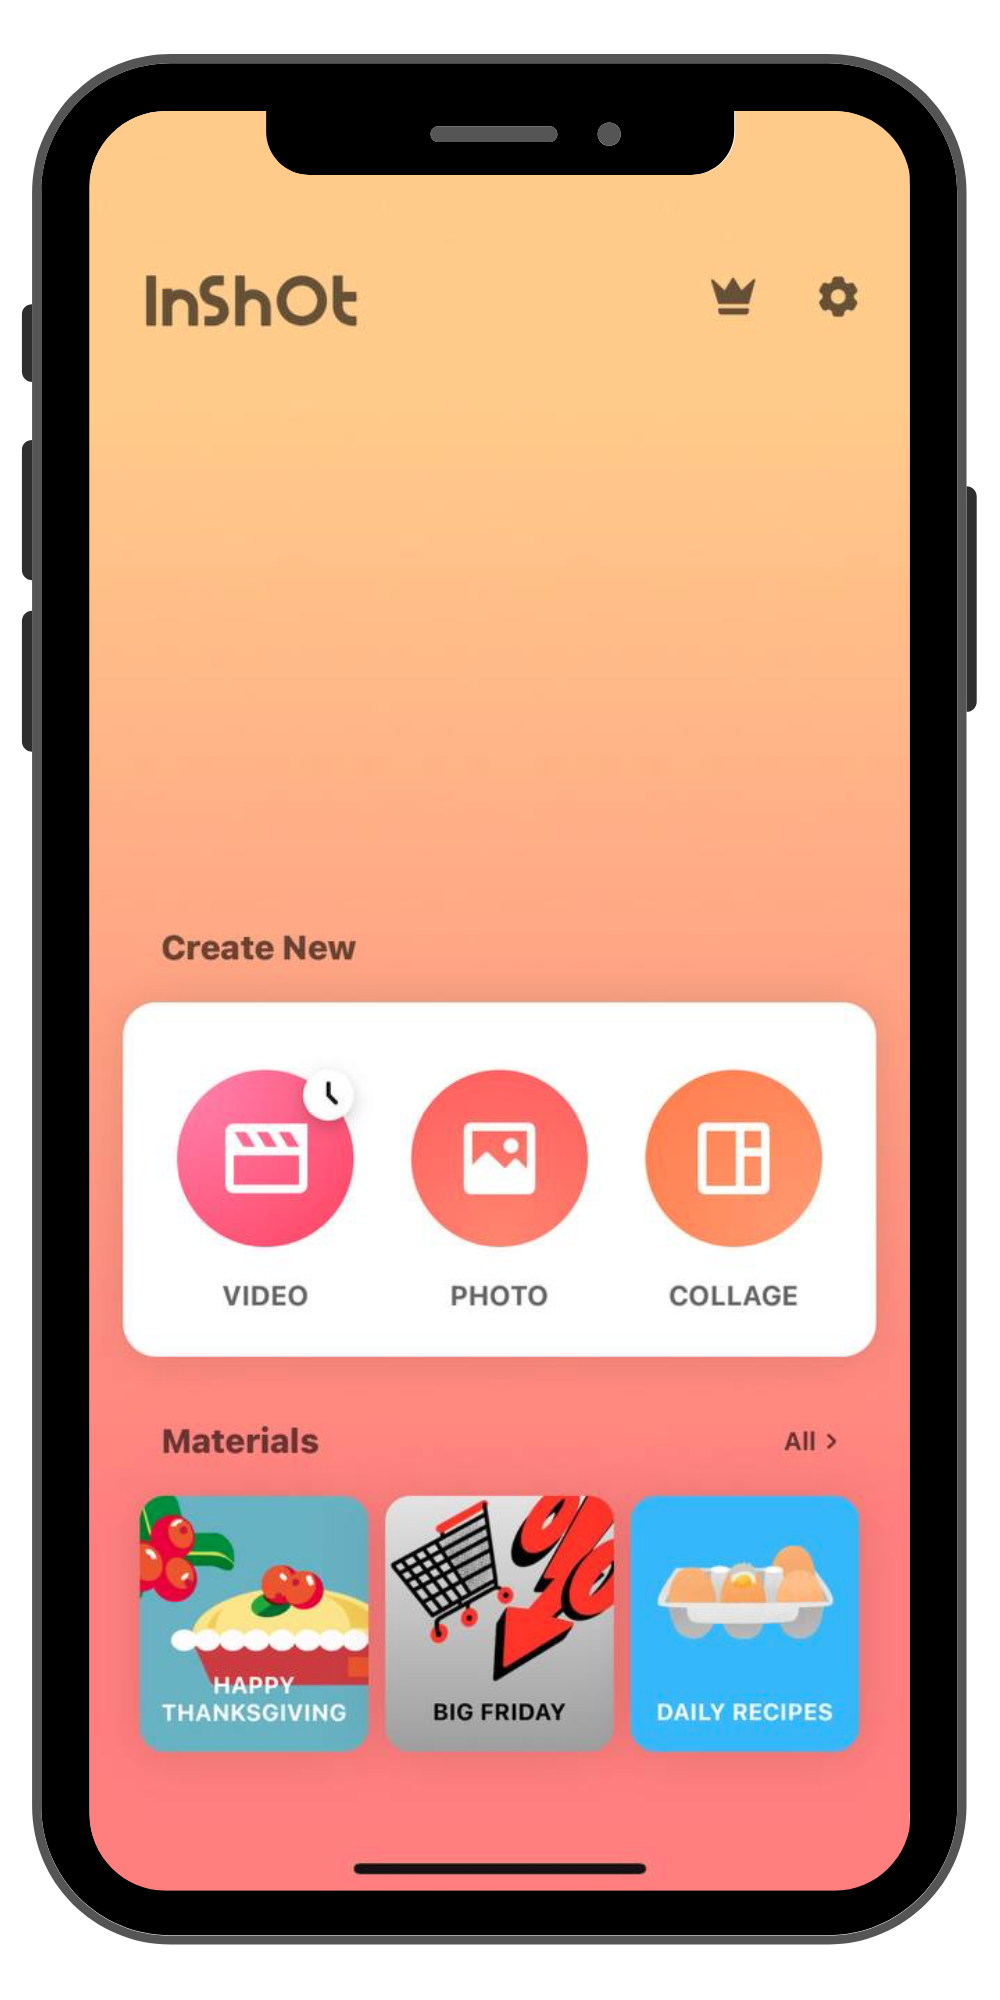
5. Open the application and you will see the following page. Click on the button on the left – video.
6. Press the + button and select all your pictures in order. And the next page will open.
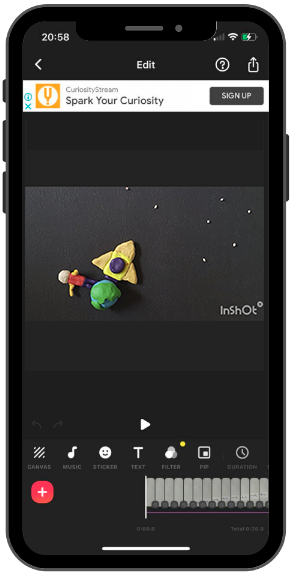
7. You can use all the settings below to enhance your video. Use CANVAS to set the aspect ratio of the video; ROTATE to rotate frames, etc.
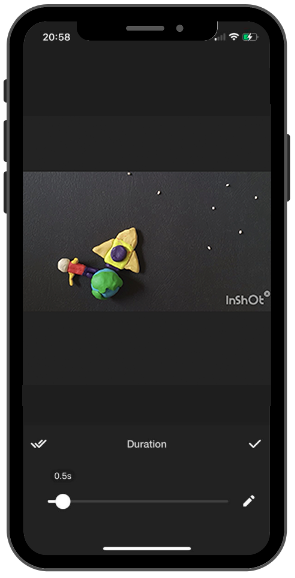
8. When you press PLAY, you will notice that the frames change very slowly. In order to speed up the frame change, you need to press the DURATION button with the clock icon. When you click on it, you need to decrease the time by 0.5 seconds and click on the two checkmarks on the left.
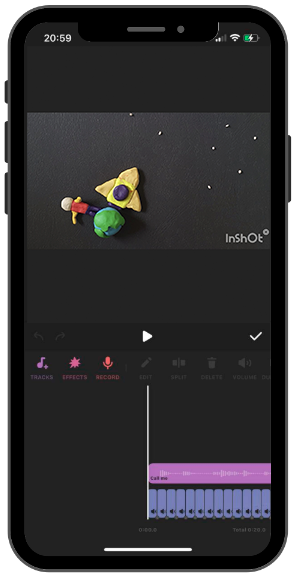
9. Next, add music. To do this, press the MUSIC button and select the appropriate music. The output will look like this:
10. Animation is ready! Time to save and upload it to the gallery. To do this, click the button at the top right and save your work.
Homework
Have the students come up with a story they would like to film in stop-motion, as they will be filming their own story in the next lesson.